Get the most out of Hoshimi Miyabi in Zenless Zone Zero.
You’ll find out about all that and more today.
All Phase One Attacks
Eachfight against the Dead End Butcher takes place across two phases.
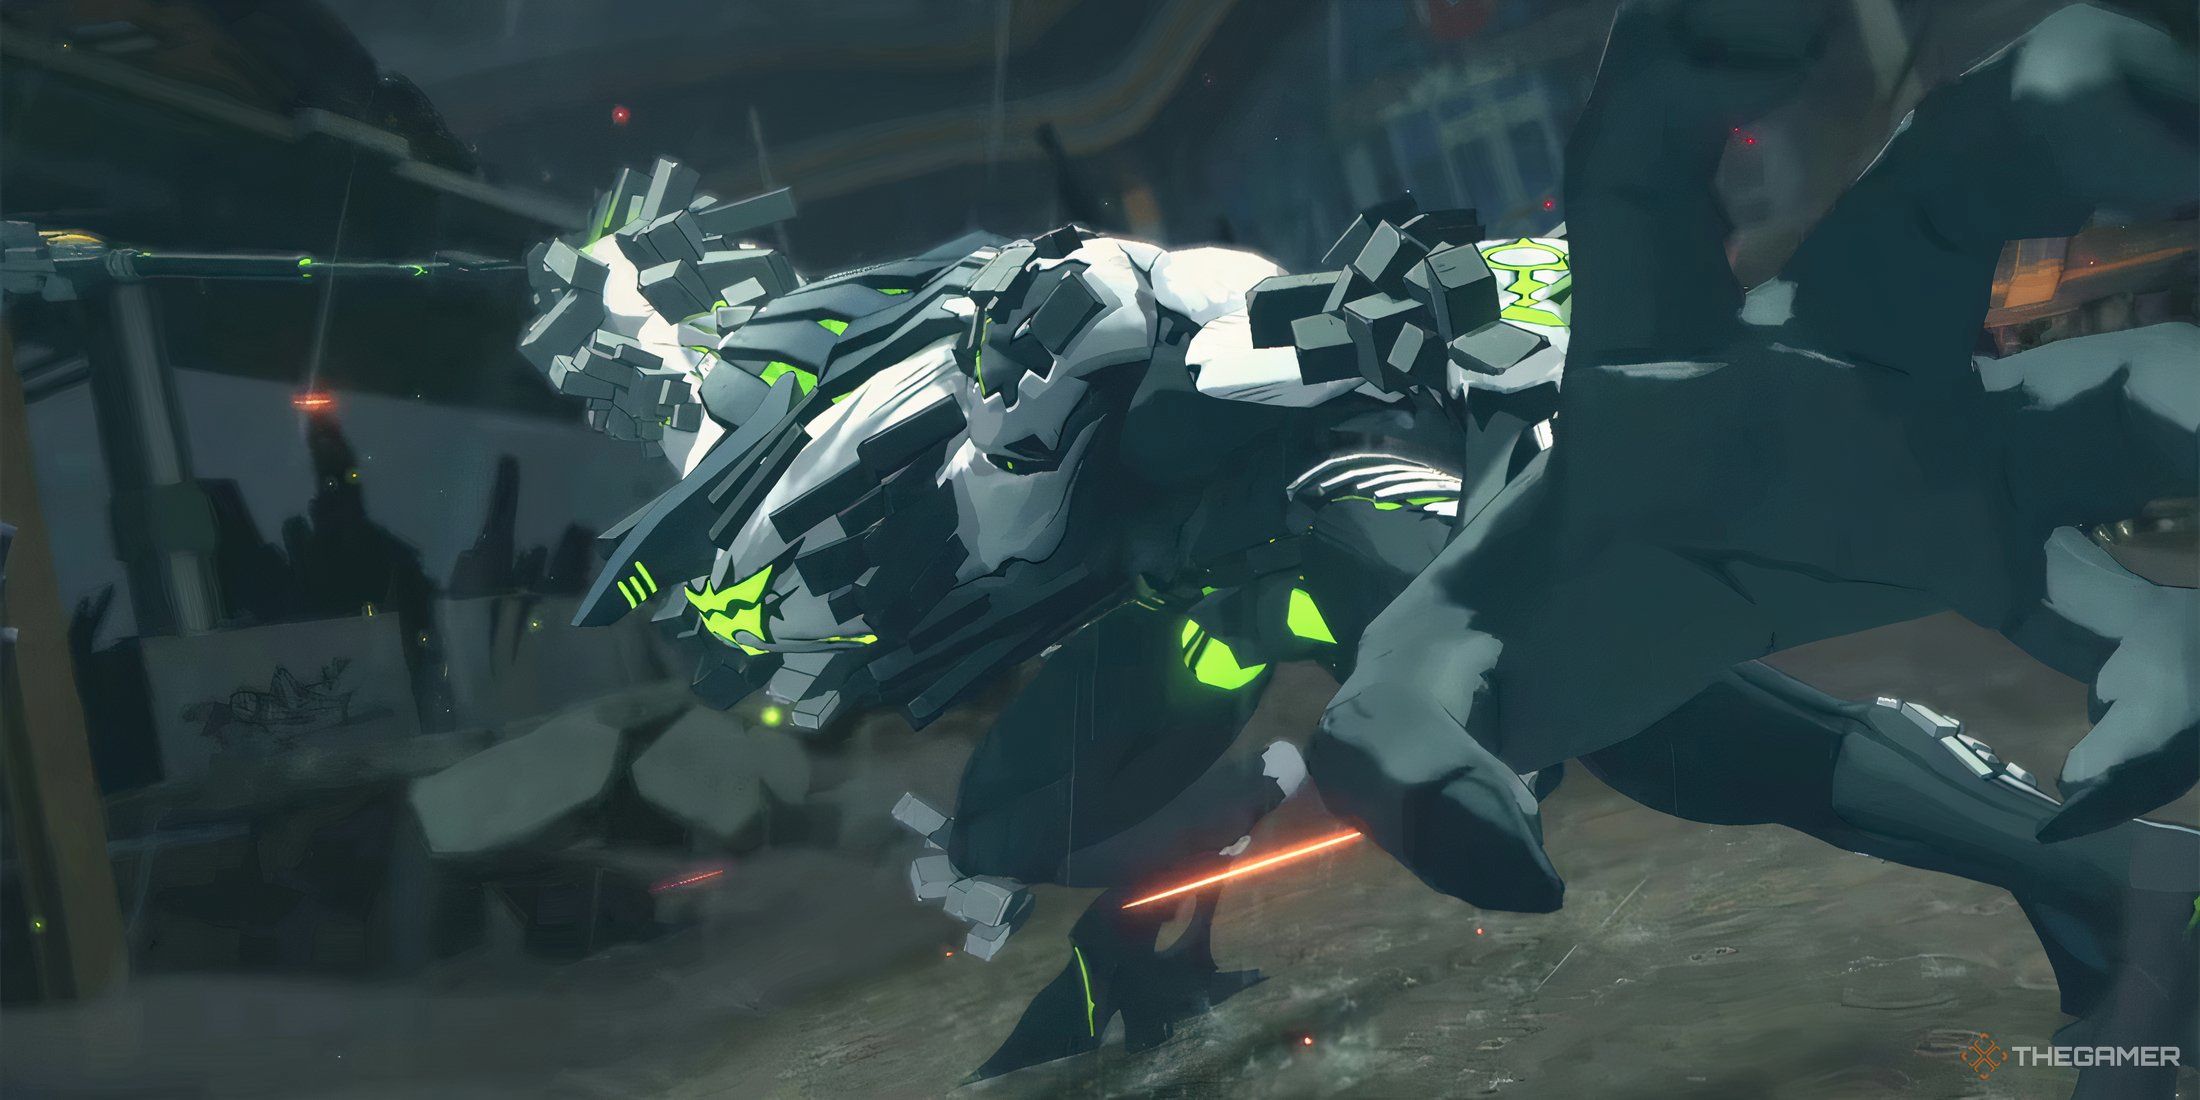
Here’s everything you oughta watch out for when taking on the Dead End Butcher.
Attack
Can Be Parried?
Description
How to Deal With/Avoid
Jumping Thrust and Sweep
The first attack can be parried.
Both can be dodged.
The Butcherjumps across the arenaand thrusts its spear into the ground at your location.
The boss then sweeps the area behind itself.
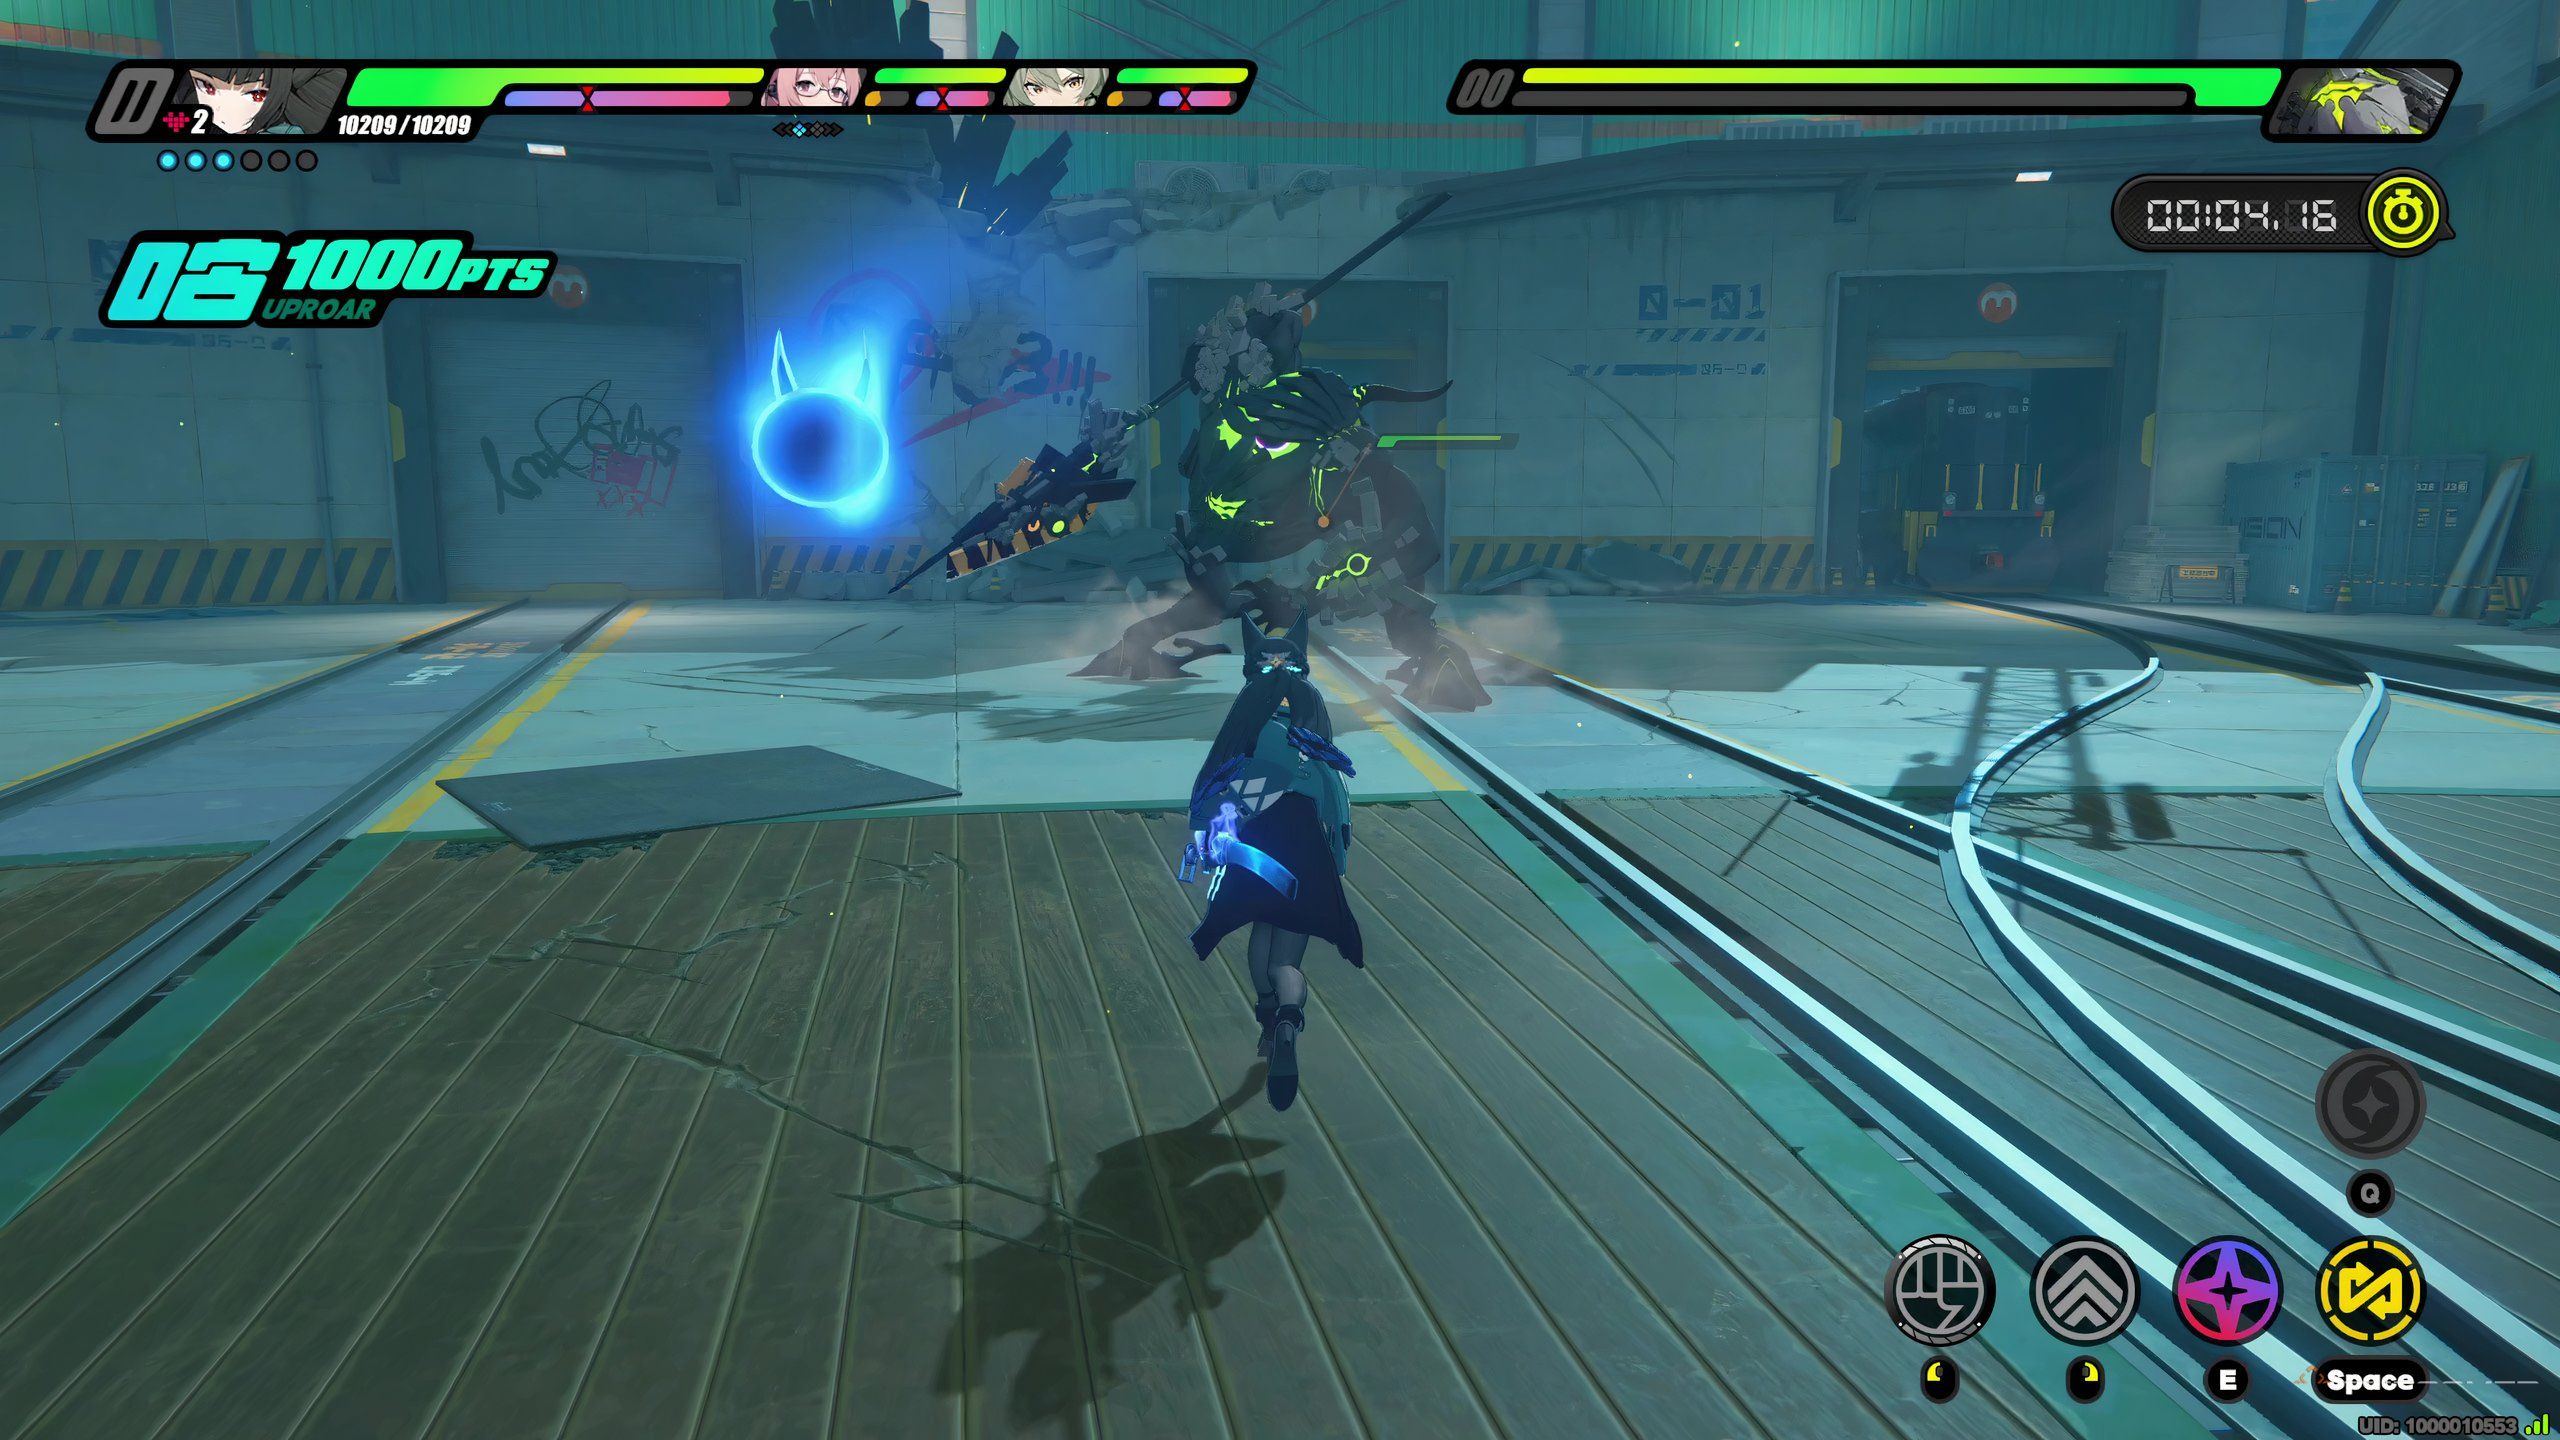
If you’re not out of range of the follow-up,you’ll need to dodge twice.
Parrying the first attackof the combo gives you breathing room to dodge the second and third hits.
Asthe attack doesn’t have much forward momentum, dodging away lets you avoid it entirely.
Spinning Four-Hit Combo
The first and third attacks can be parried.
All can be dodged.
The spin can hit twice.

Stomp
Can be parried and dodged.
One of its rarer attacks, the Dead End Butcherraises its left leg and stomps the ground.
Can Be Dodged or Parried?
Jumping Slam
Can be dodged but not parried.
Charge and Claws
The charge can be dodged and parried.
The claws must be dodged.
Six-hit Ground Swipe Combo
The first, third, and fifth attacks can be parried.
All attacks can be dodged.
Dodging to the side is a good way to deal with it.
Seven-hit Slam Combo
The first, fourth, and sixth hits can be parried.
All attacks can be dodged.
Note the seventh slam has a large recovery window for damage.
you might alsododge away to avoid it.
Two-handed Stab into Three-Hit Combo and Explosion
The first and second hits can be parried.
All attacks can be dodged.
you’re able to also try dodging in circles around the boss to avoid the attacks.
Three Slams into Explosion
The first hit can be parried.
All attacks can be dodged.

The ground explodes shortly after.
Get either far away from or behind the boss.
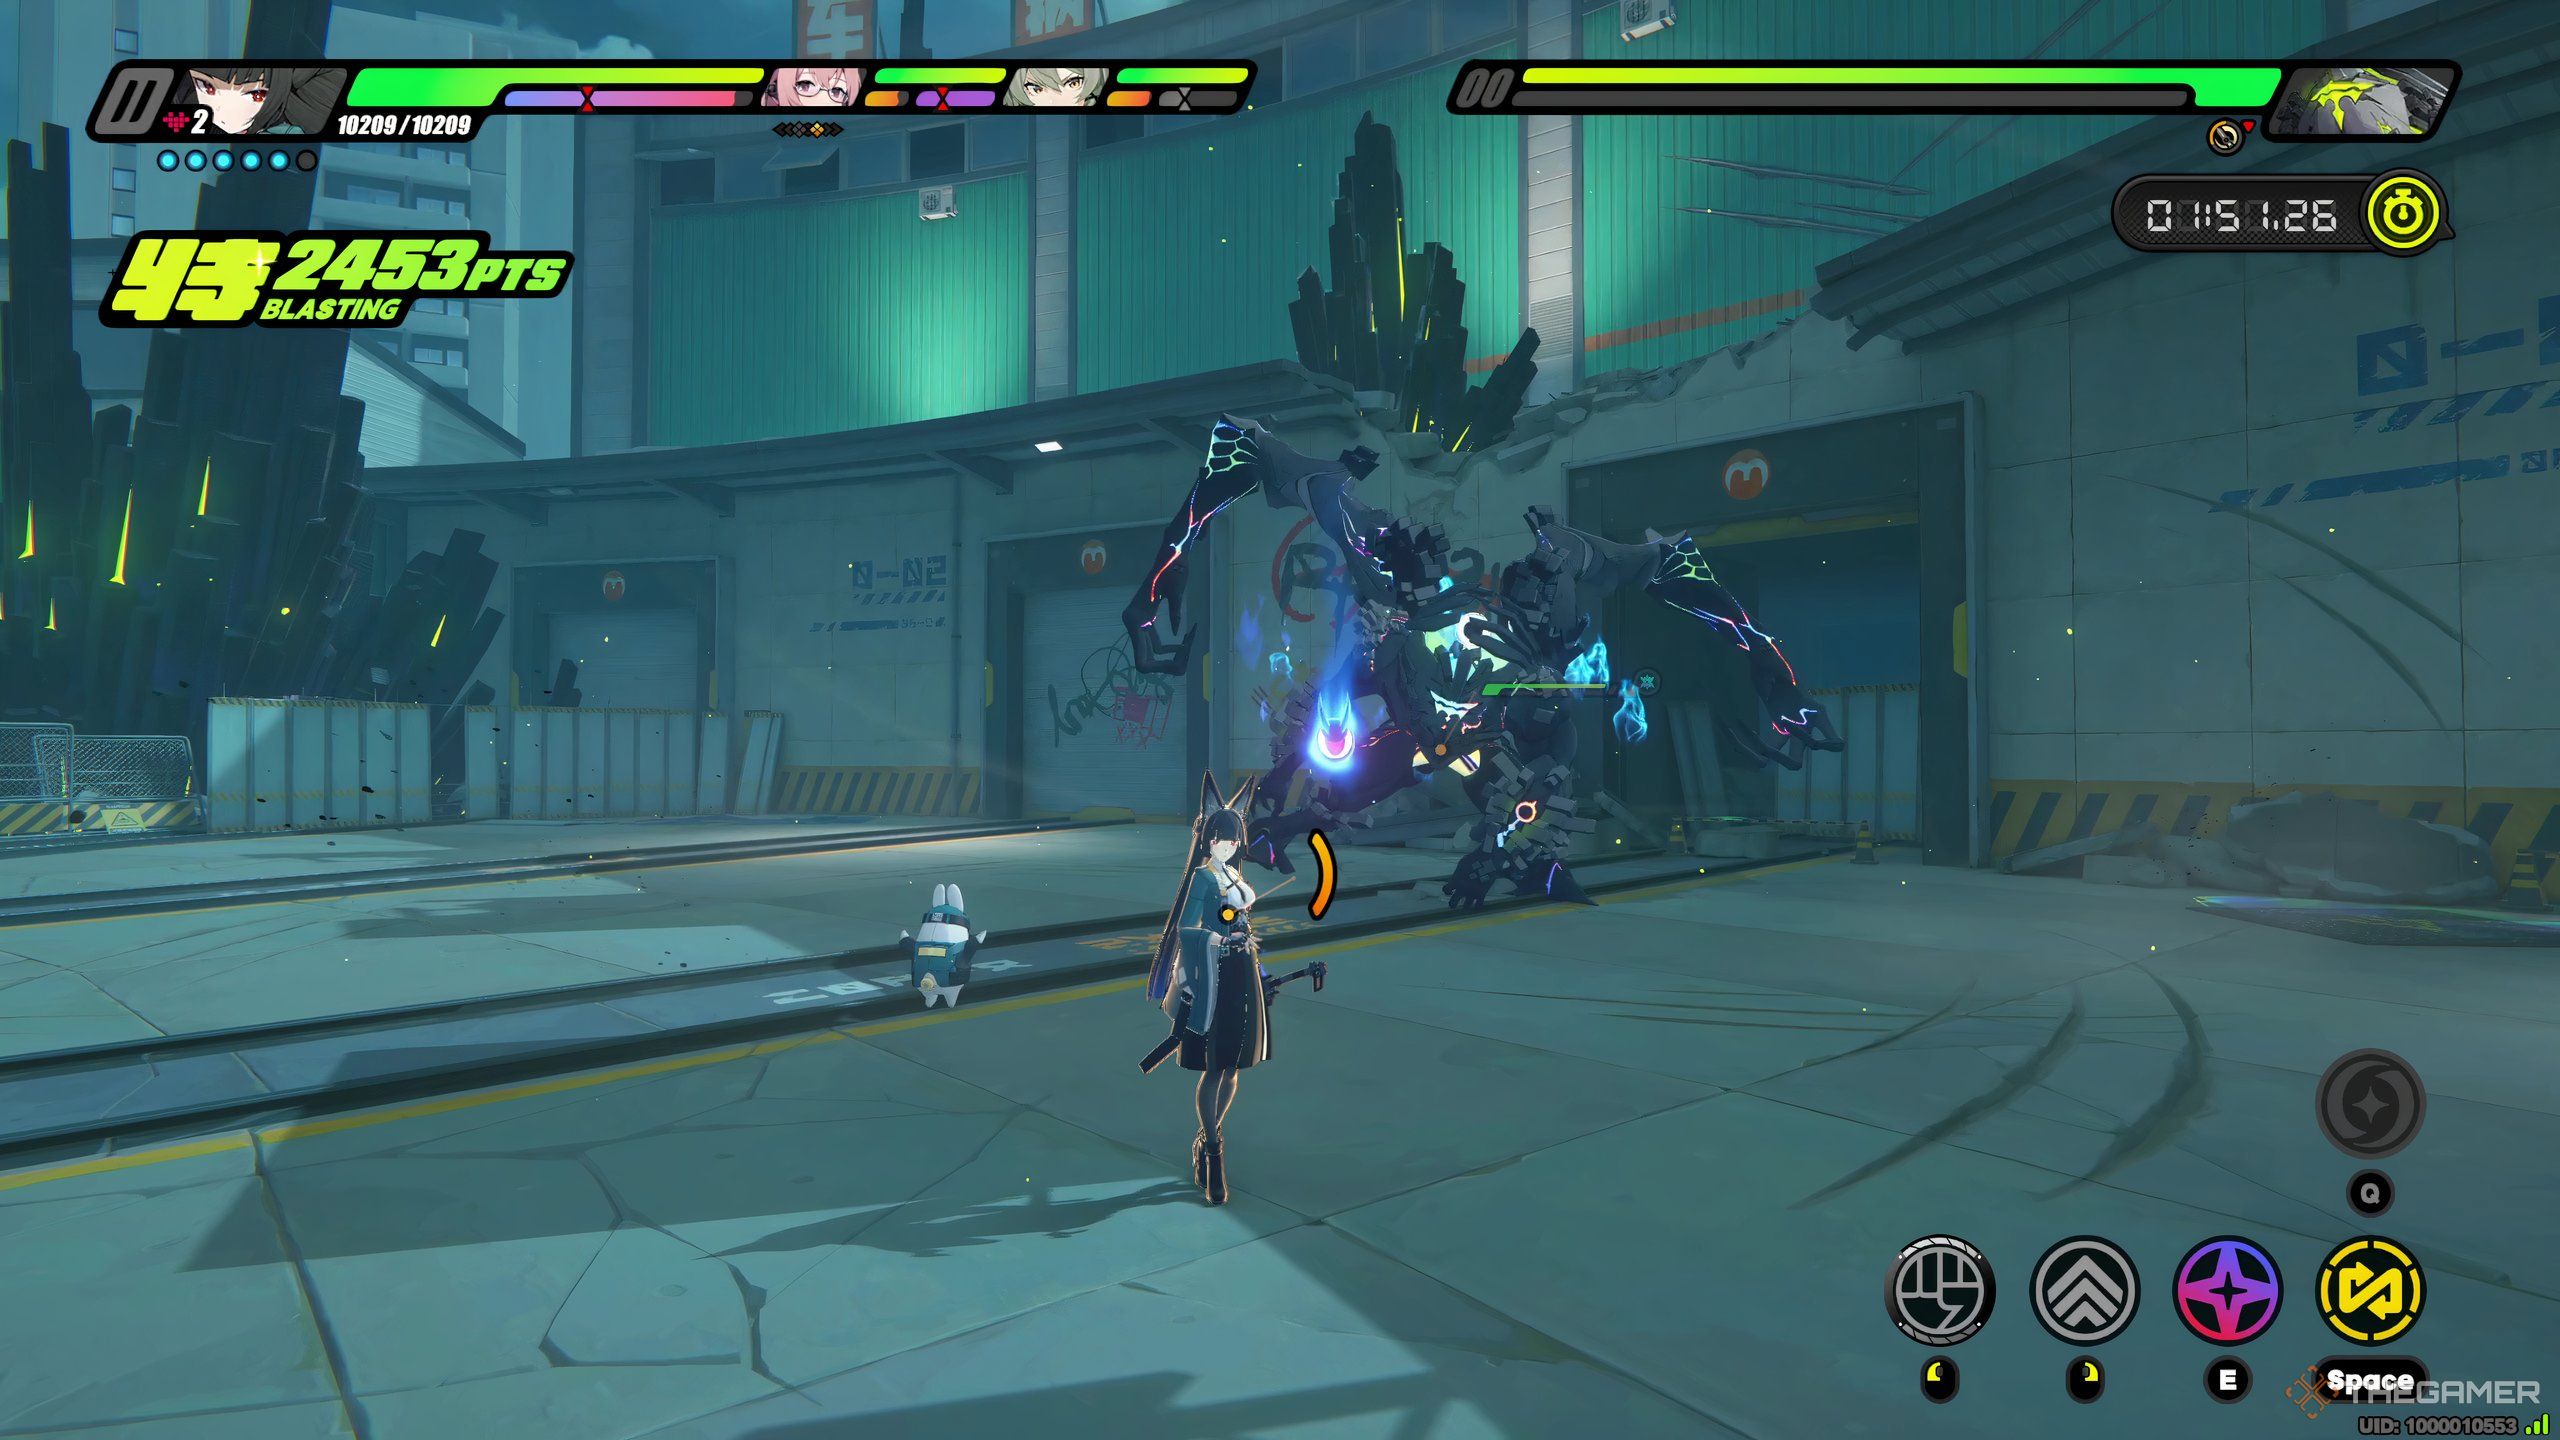
Laser Sweep
Cannot be parried, but can be dodged.

The Butcher fires alaser from one eye from right to left.
Rising Laser
The Butcher powers up its eye and thenshoots a laser verticallyfrom the ground.
While powering its eye,the Butcher will track your movements.
Once the laser fires, tracking ends, so dodge just before it would fire.
Gore
it’s possible for you to parry and dodge this attack.
This attack sees the Butcher briefly bringing its arms behind it before thrusting them forward.
If it connects,it tries to rip at youwith both its upper claws.
Parrying this attack neutralizes it, as doesdodging to the side and behindthe boss.
Here’s how to play as Astra Yao in Zenless Zone Zero!
In short, don’t expect a fight with this team to last long.
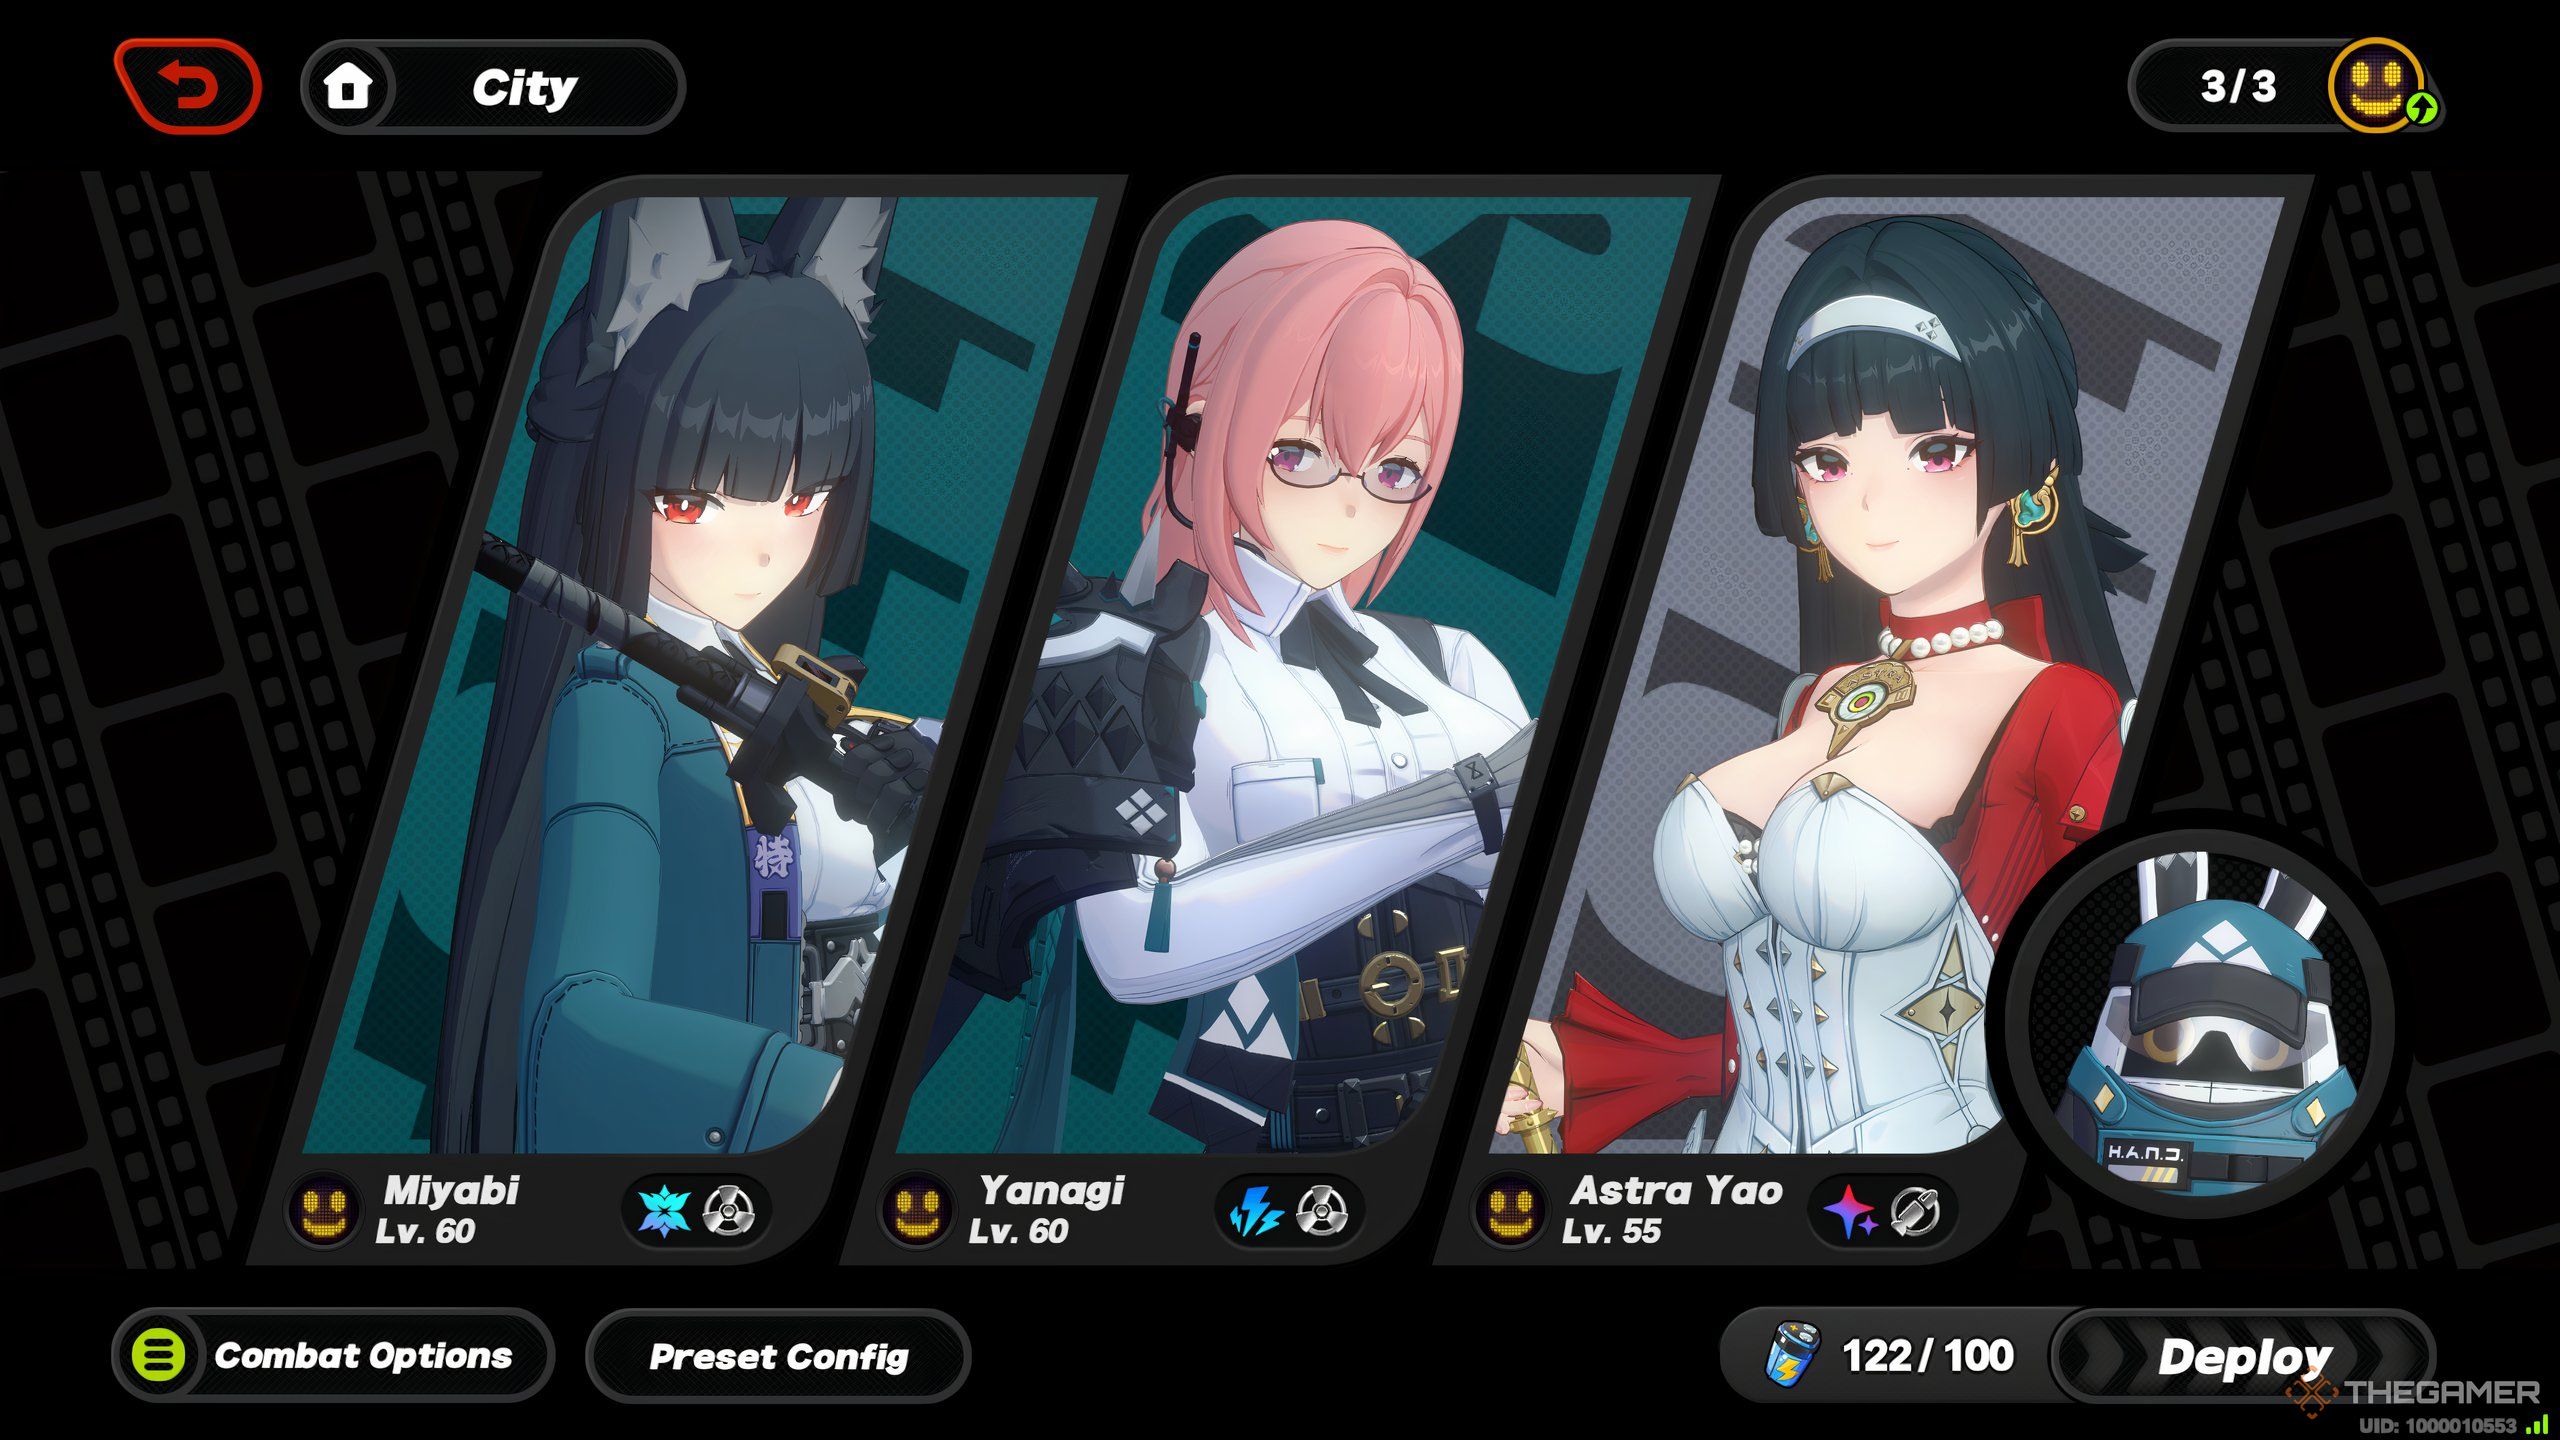
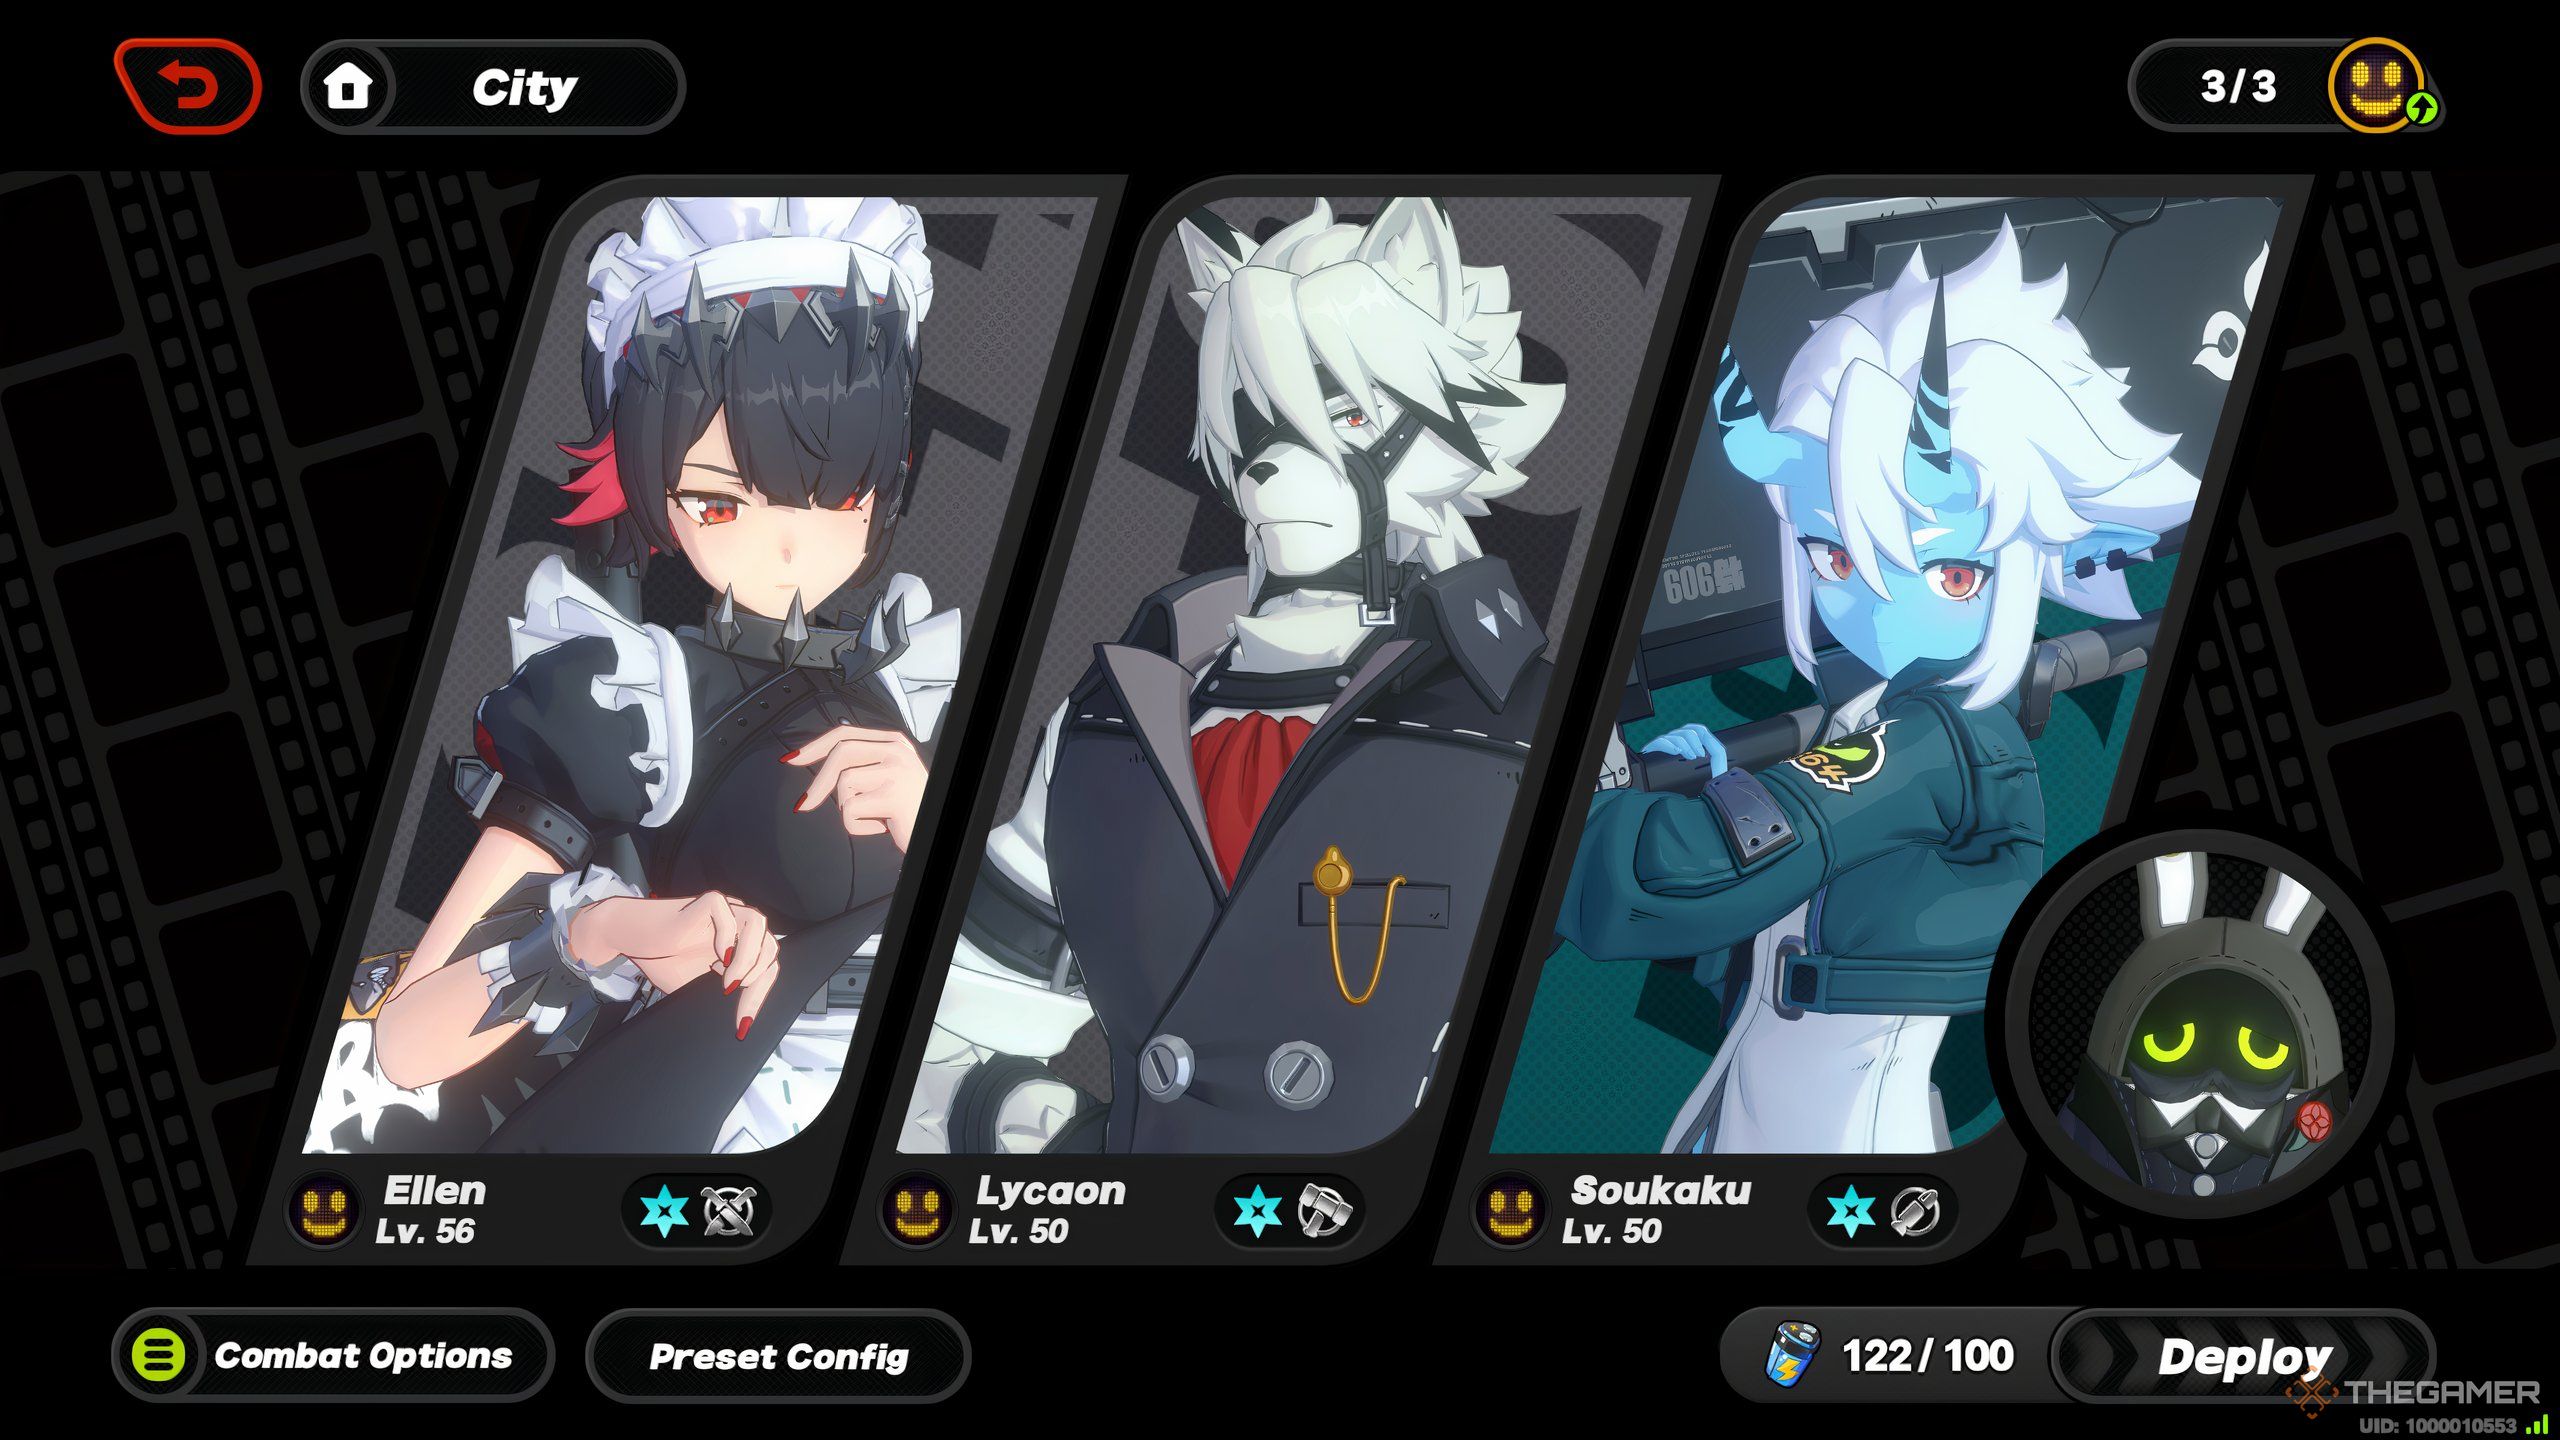
And with the Dead End Buthcer’s Ice weakness, this team is well-suited to the fight.
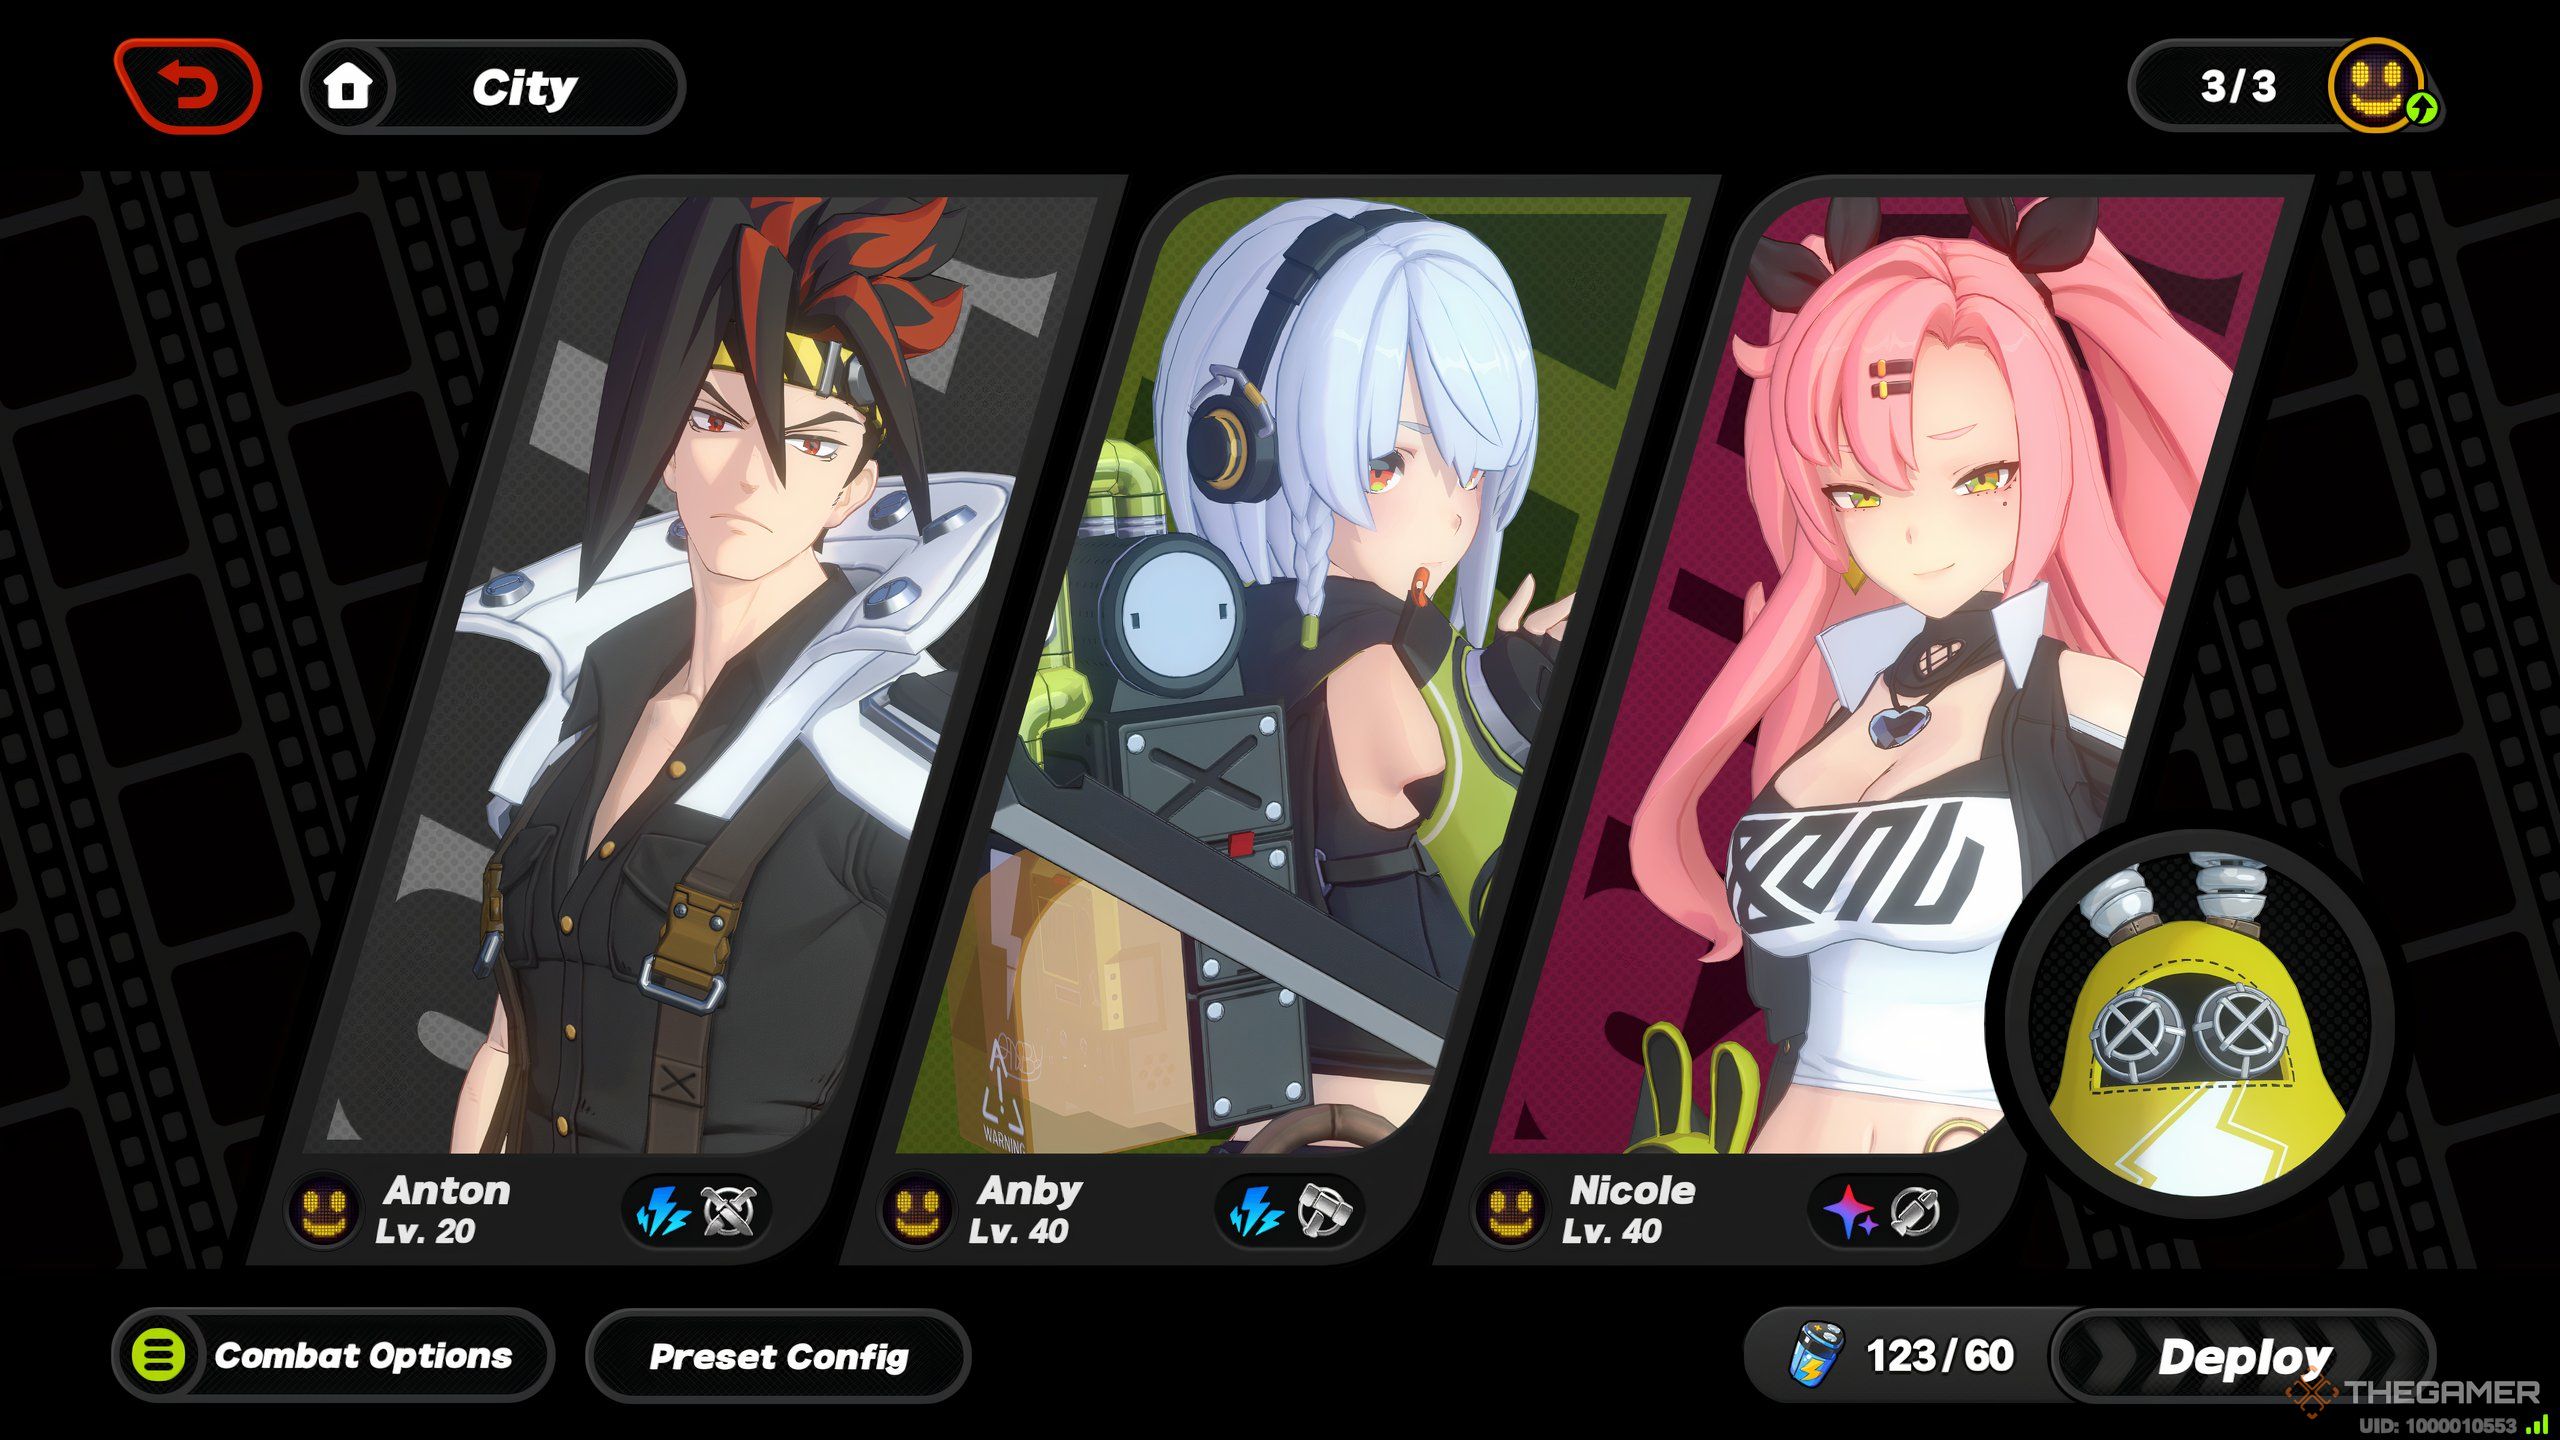
Anton is a very straightforward DPS and benefits from long Stun windows, which Anby can provide.
Nicole ensures you get the Cunning Hares team bonus.
Specifically:
Looking for tips on building Asaba Harumasa in ZZZ?
We’ve got all the information you could ever need.
