Warframe’slatest cinematic quest, The New War, is finally here.
After years of waiting, fans can finally start the war with the Sentients in this four-hour cinematic adventure.
The quest makes many innovations to the Warframe formula, some of which many fans might not be expecting.

Related:Warframe: The Best Quests, Ranked
But with new innovations comes new challenges.
The New War features critical choices and certain encounters that might prove challenging for some players.
This massive guide will go over every aspect of The New War quest from start to finish.
Oh, and if it wasn’t obvious… You must have completed the following quests:
In addition, you must also own a Necramech and Railjack.
For more information on preparing for the New War, consult ourNew War prep guide.
The Tenno are nowhere to be seen, leaving the Grinner to fend off against the Sentient threat.

Ballistic Inflatable:Deploy an inflatable piece of cover.
Your first objective is to help a crashed pilot.
The path forward is quite linear and will lead you straight to the pilot.
Dotting the path will be a few Sentient Battalysts.
Despite their ability to adapt to damage, Kahl’s weapons deal immense damage to them.
You should be able to kill them with your Grakata with ease.

Be sure to activate them.
Unfortunately, the pilot didn’t make it out alive.
It’s a one-way ticket.
Once the bomb is armed, there’s no coming back.
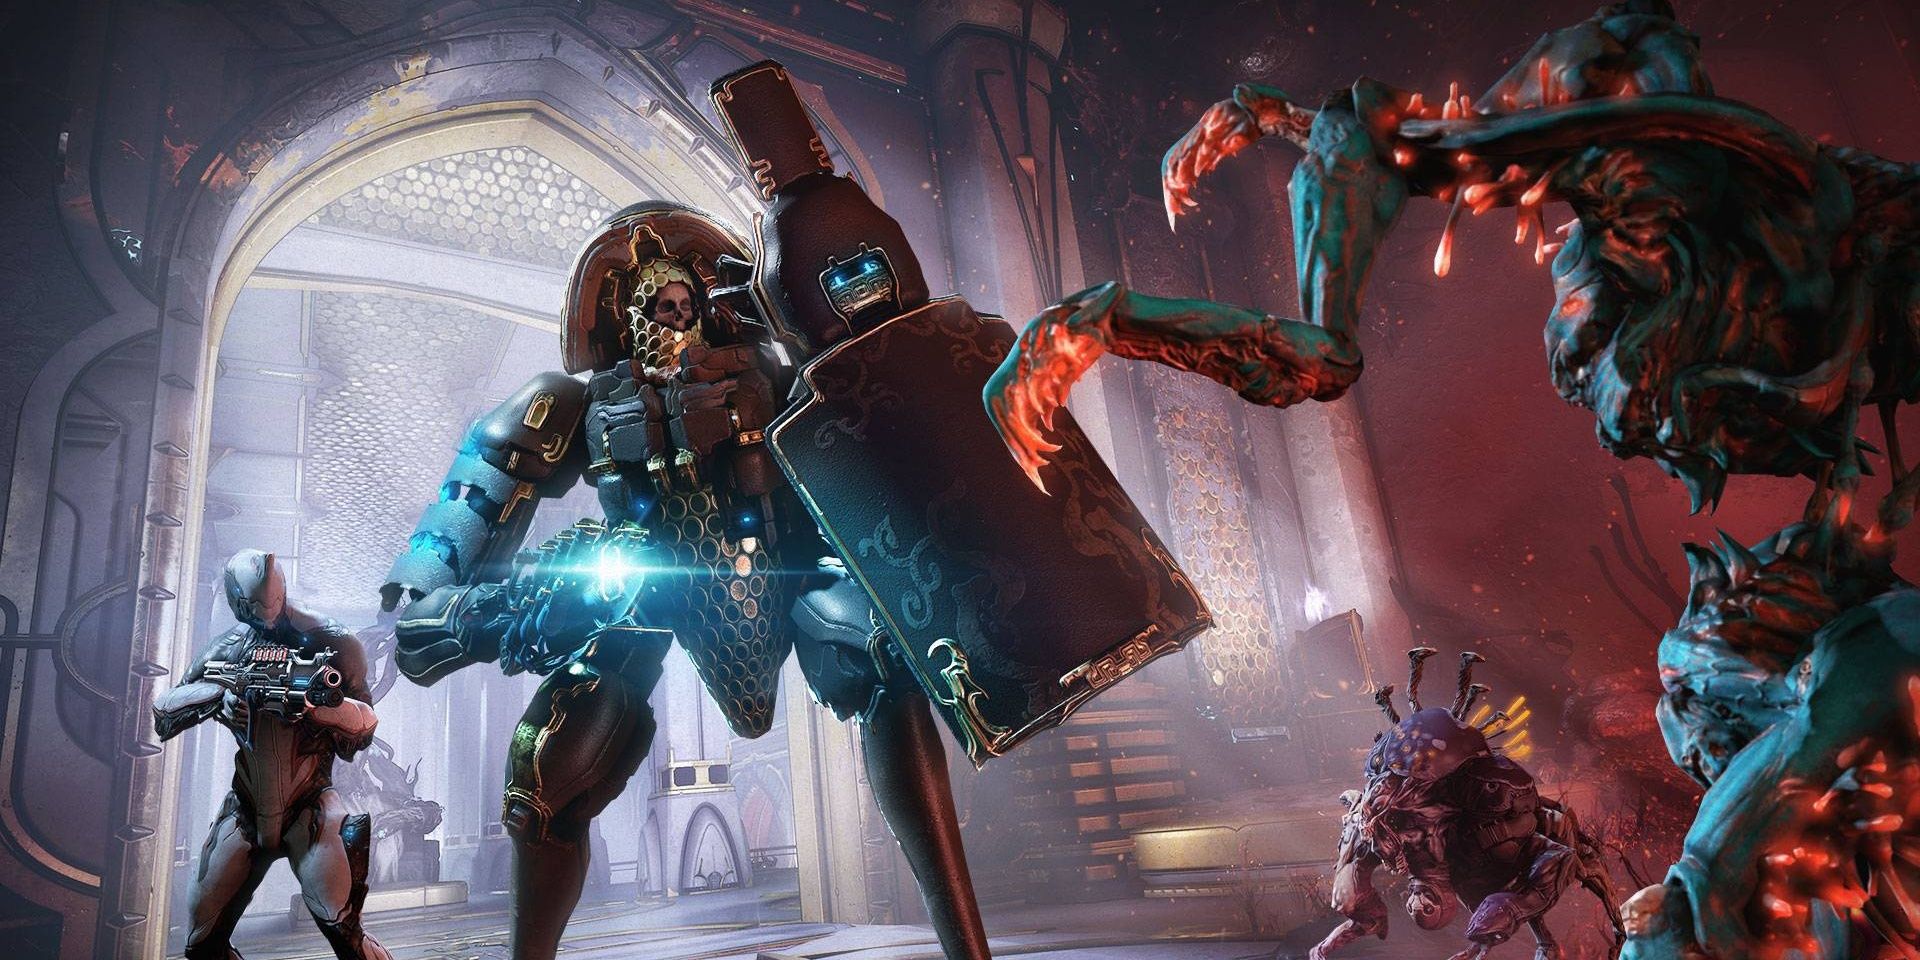
After you grab the bomb,Kahl will conveniently find a Corinth Primebeside a dead Rhino Warframe.
This weapon annihilates Sentients, particularly its buckshot fire mode.
Clear out all of the Sentients near the Orphix to arm the bomb.
Return to Table of Contents
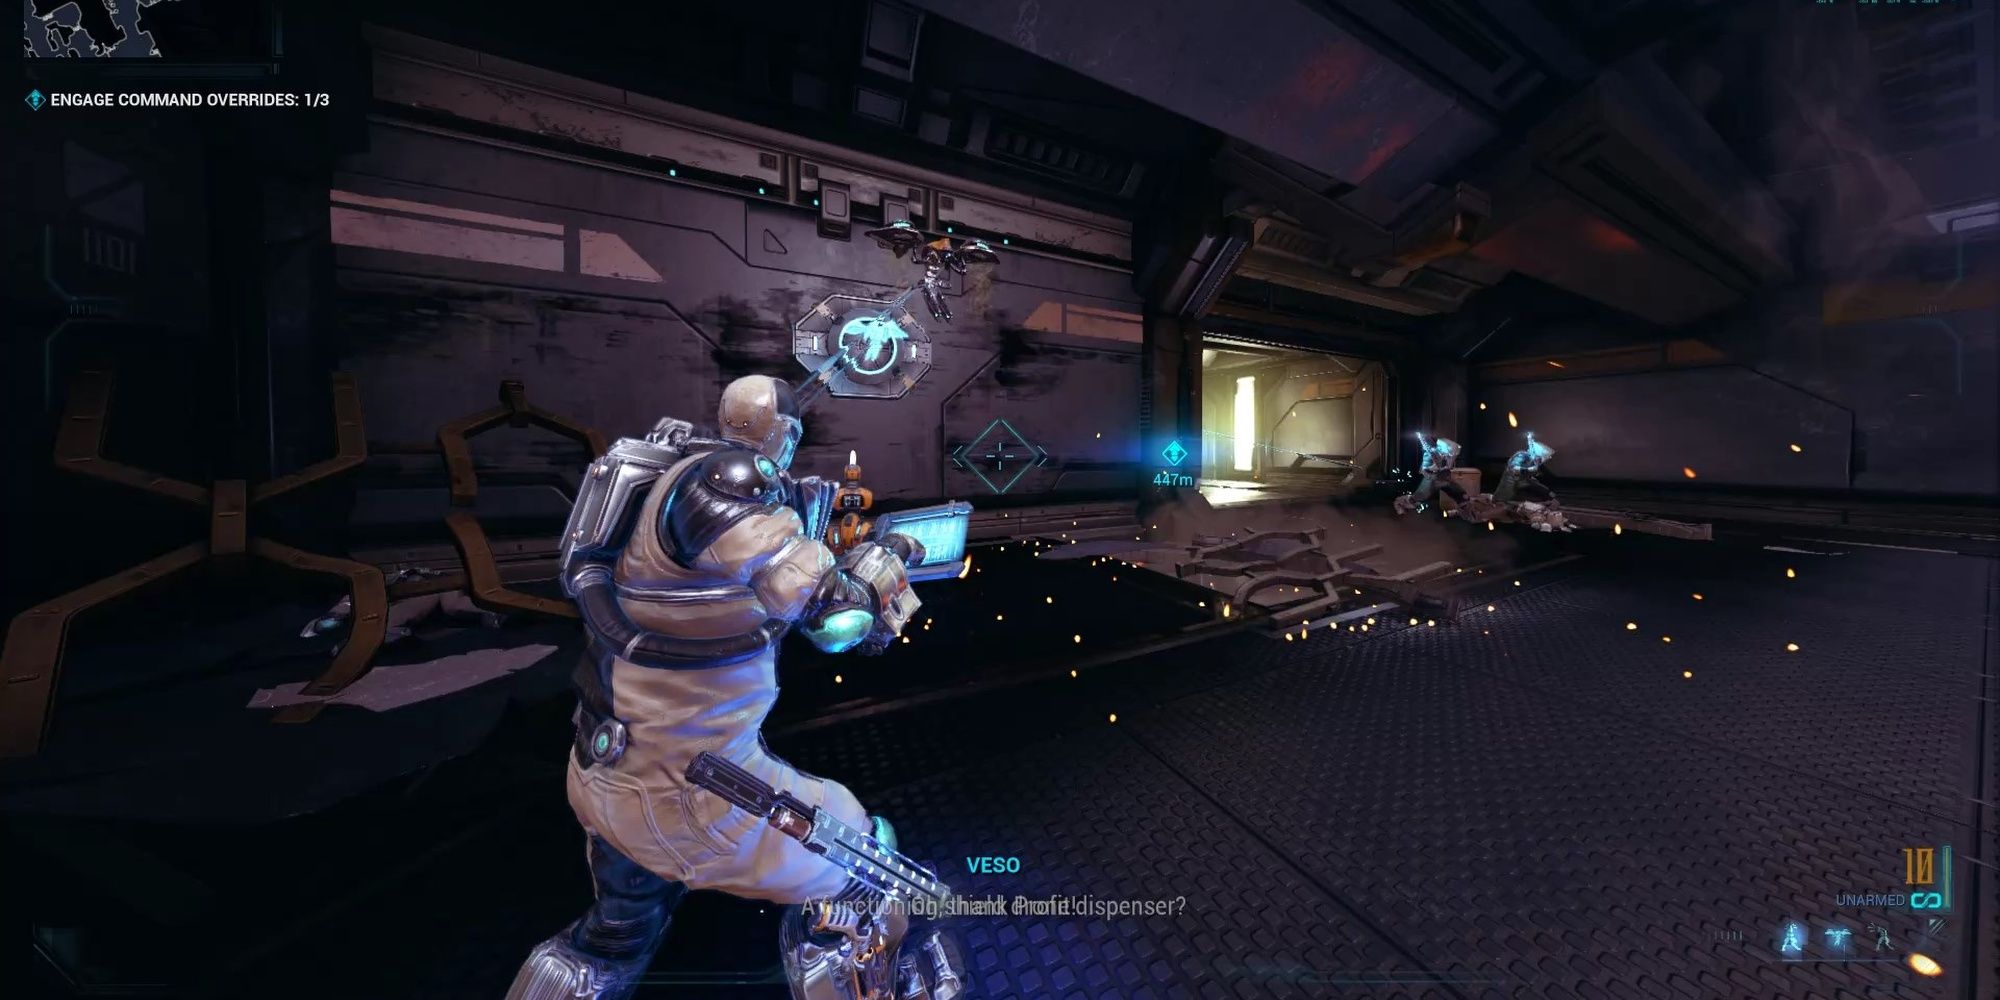
You’ll now be in control of a Corpus engineer namedVeso.
Veso gets a communication from Alad V telling him to engage three command overrides on the ship.
Shield Drones:Deploy an osprey that replenishes the shields of Veso and his drones.
Striker MOA:Deploy a MOA weapons platform.
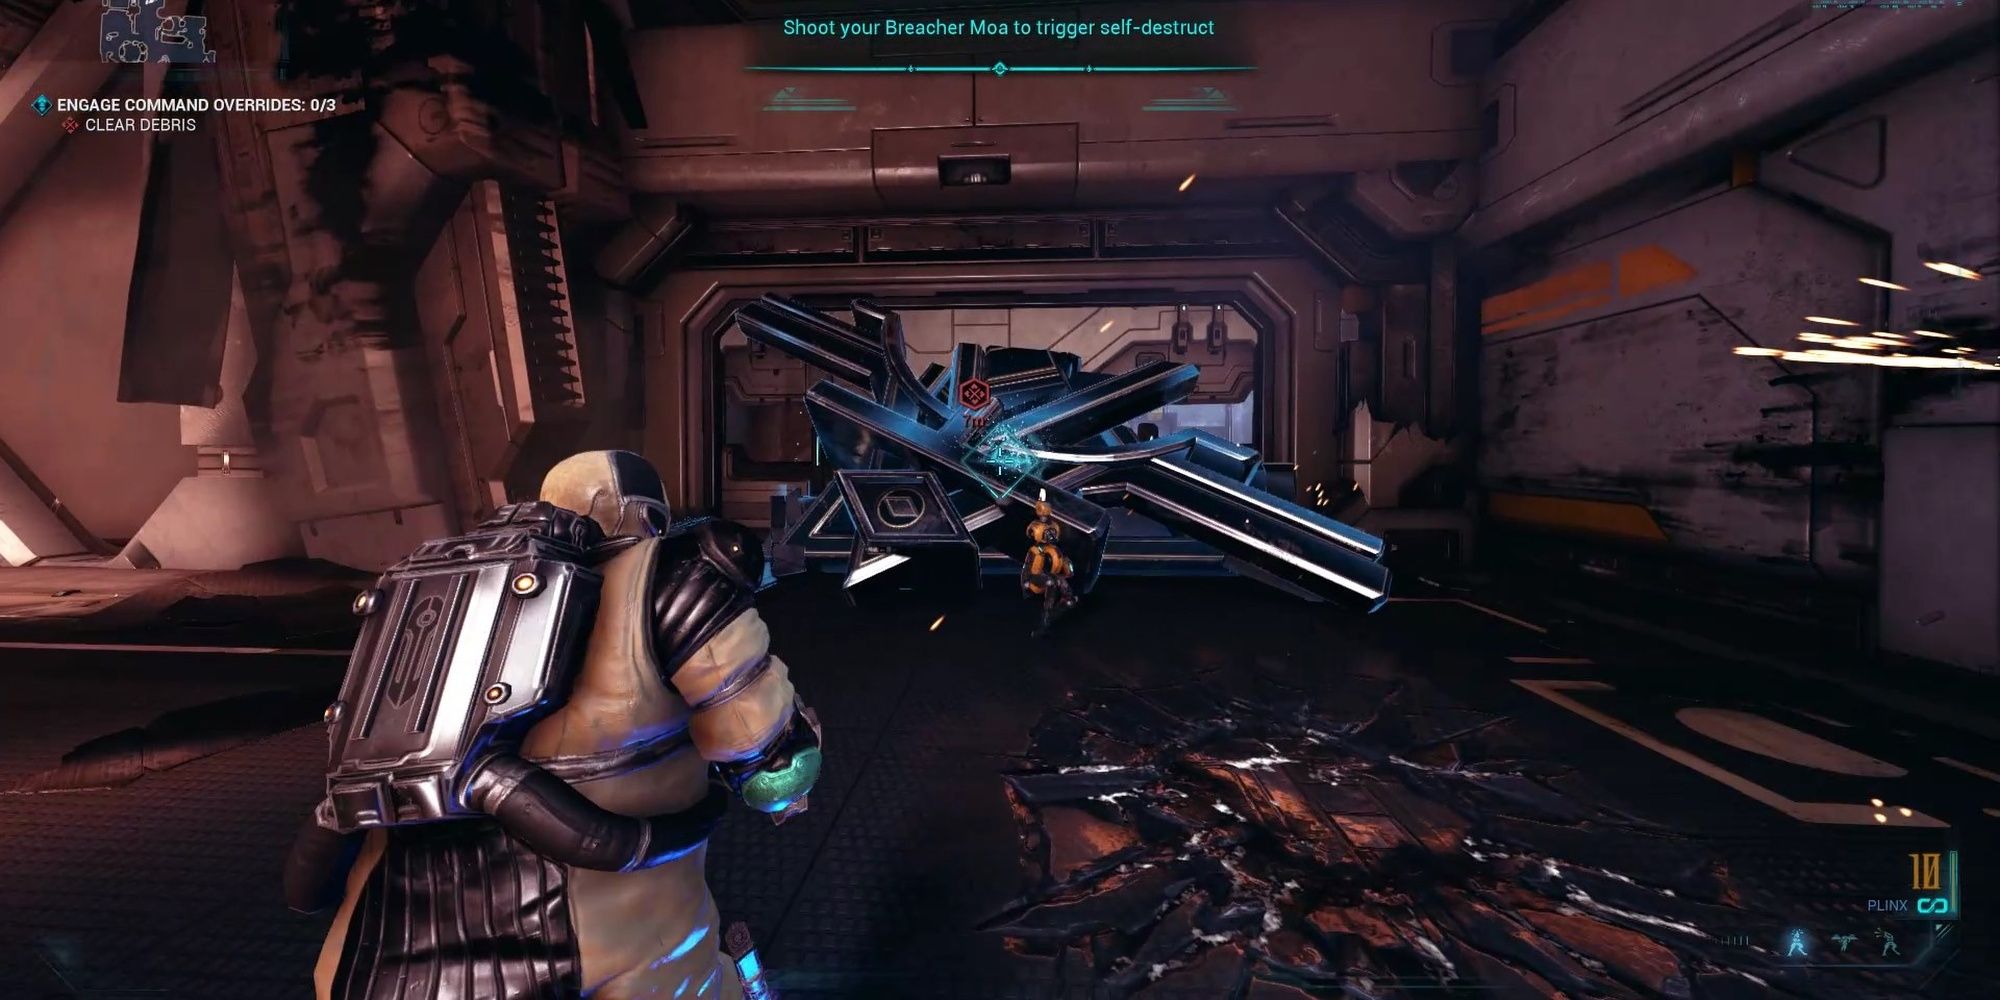
Command Override #1
Veso’s abilities require a nearby MOA dispenser to activate.
If one is near you, press the respective ability input to summon that minion jot down.
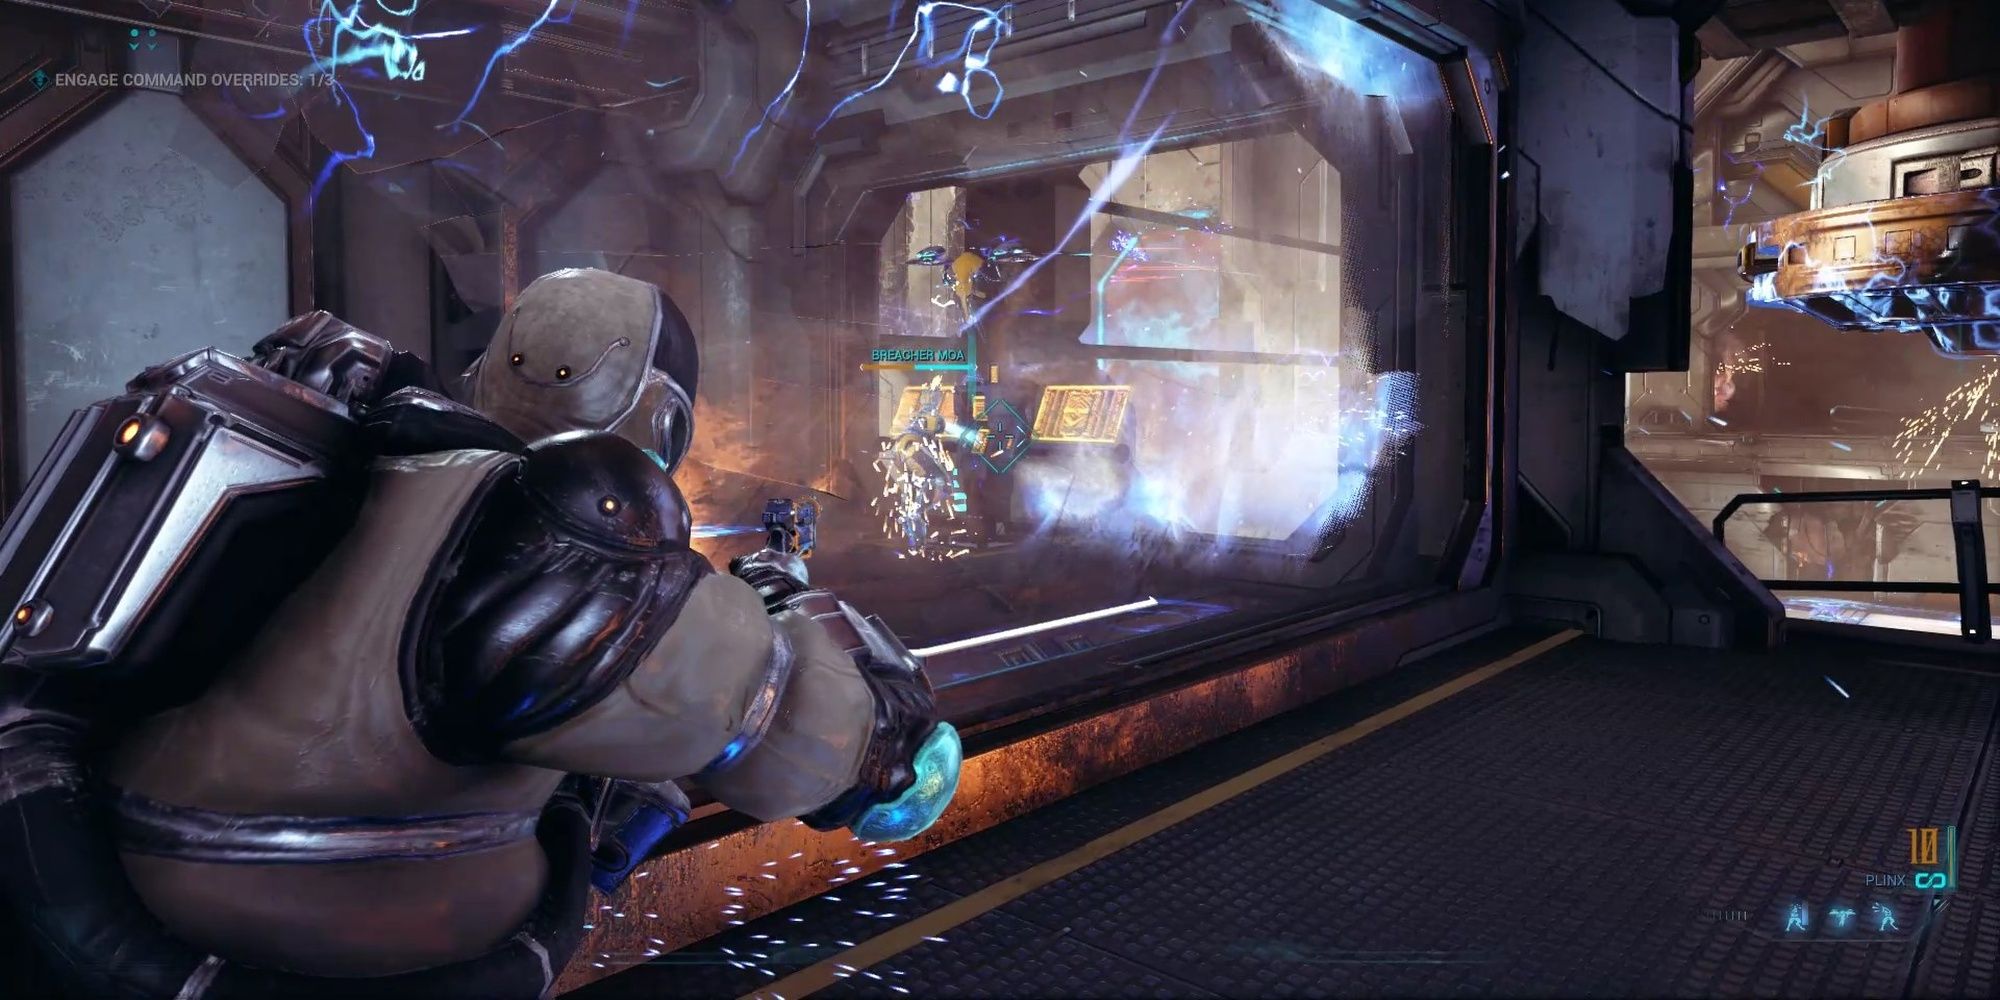
This wll cause it to explode, clearing the path forward.
Call in another Breacher MOA before proceeding.
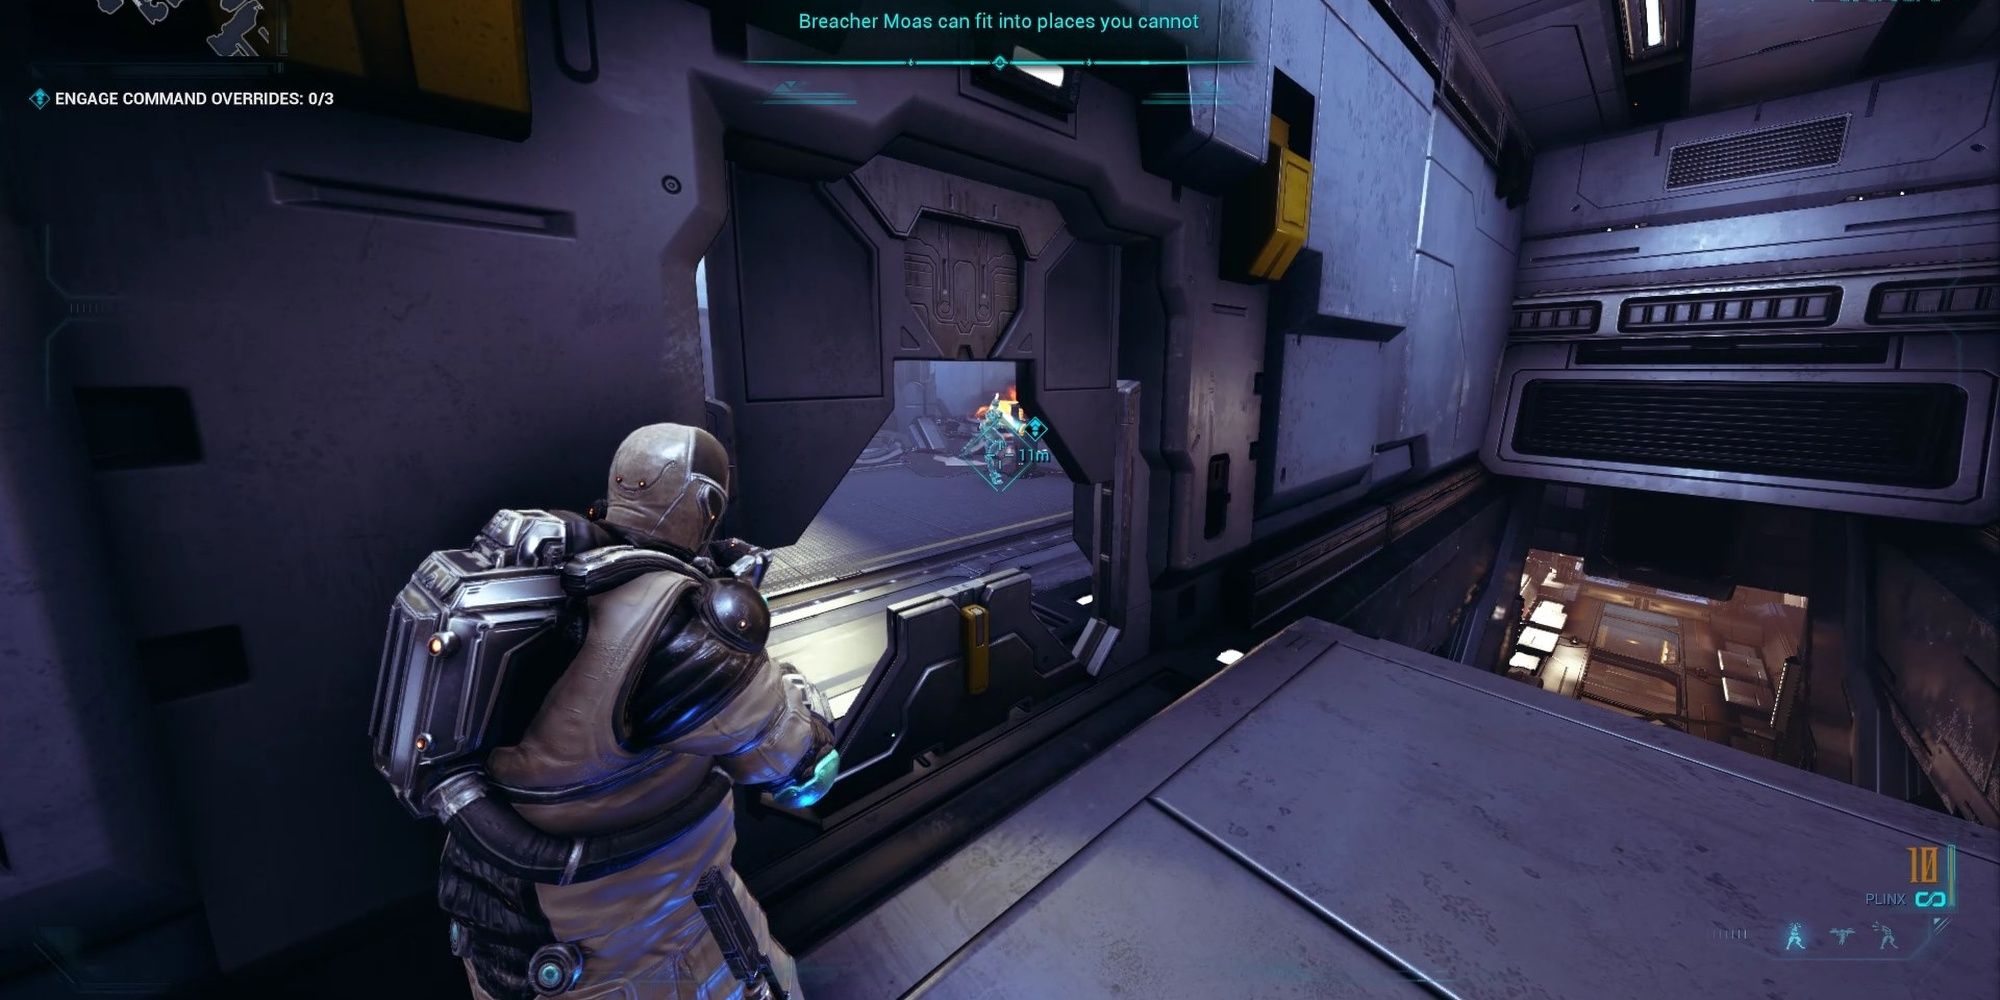
Further into the ship, up a set of stairs, is the first command override console.
Press the Breacher MOA input on the terminal to order the MOA to hack it.
Command Override #2
Further down the ship, you’ll find a Shield Drone deployment station.
Veso’s weapons are no match for their shields.
Fight your way through the series of MOAs up ahead to reach a Striker MOA station.
These MOAs are equipped with serious firepower, enough to destroy Corpus turrets and most corrupted Corpus machines.
The next room will have a box connected to a rail.
To move it, have your Breacher MOA hack the nearby terminal while you’re inside the box.
The following room will have stations to deploy all of Veso’s abilities.

Summon them while talking to Alad V; you’re about to fight a boss.
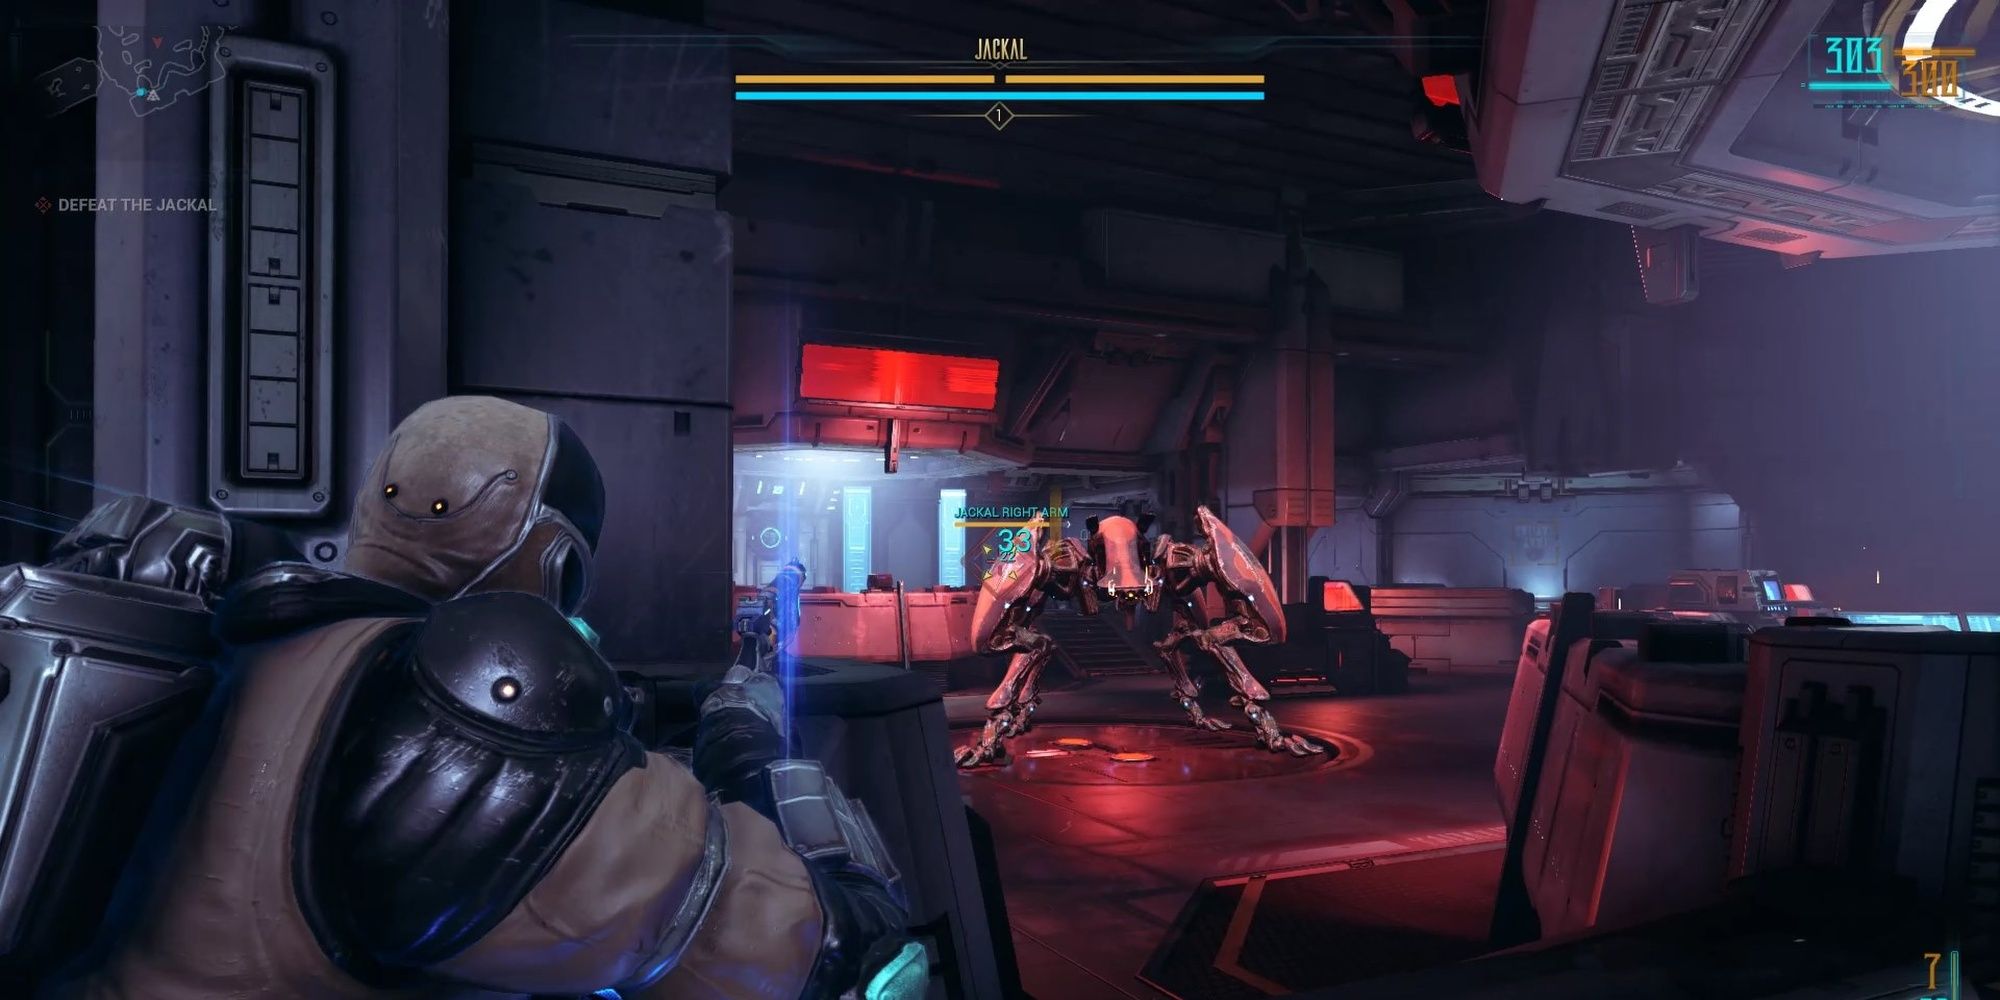
Since you aren’t playing as a Warframe, taking out the Jackal is going to prove more difficult.
This version of the Jackal only has two health bars instead of four.
Mechanically, this fight is almost the same as the Jackal boss on Venus.
You’ll need to damage one of the Jackal’s legs to start its repair routine.
Direct your Striker MOA to damage a specific limb.
Stick to cover to avoid the lasers.
The Jackal will drop down shortly after, giving you a moment to permanently damage it.
Direct a Breacher MOA to the Jackal and detonate it.
This will remove half of the Jackal’s total health.
Repeat this one more time to destroy the Jackal.
Push into the next room to find the final command override.
Alad V will give the order for all Corpus ships to stand down.
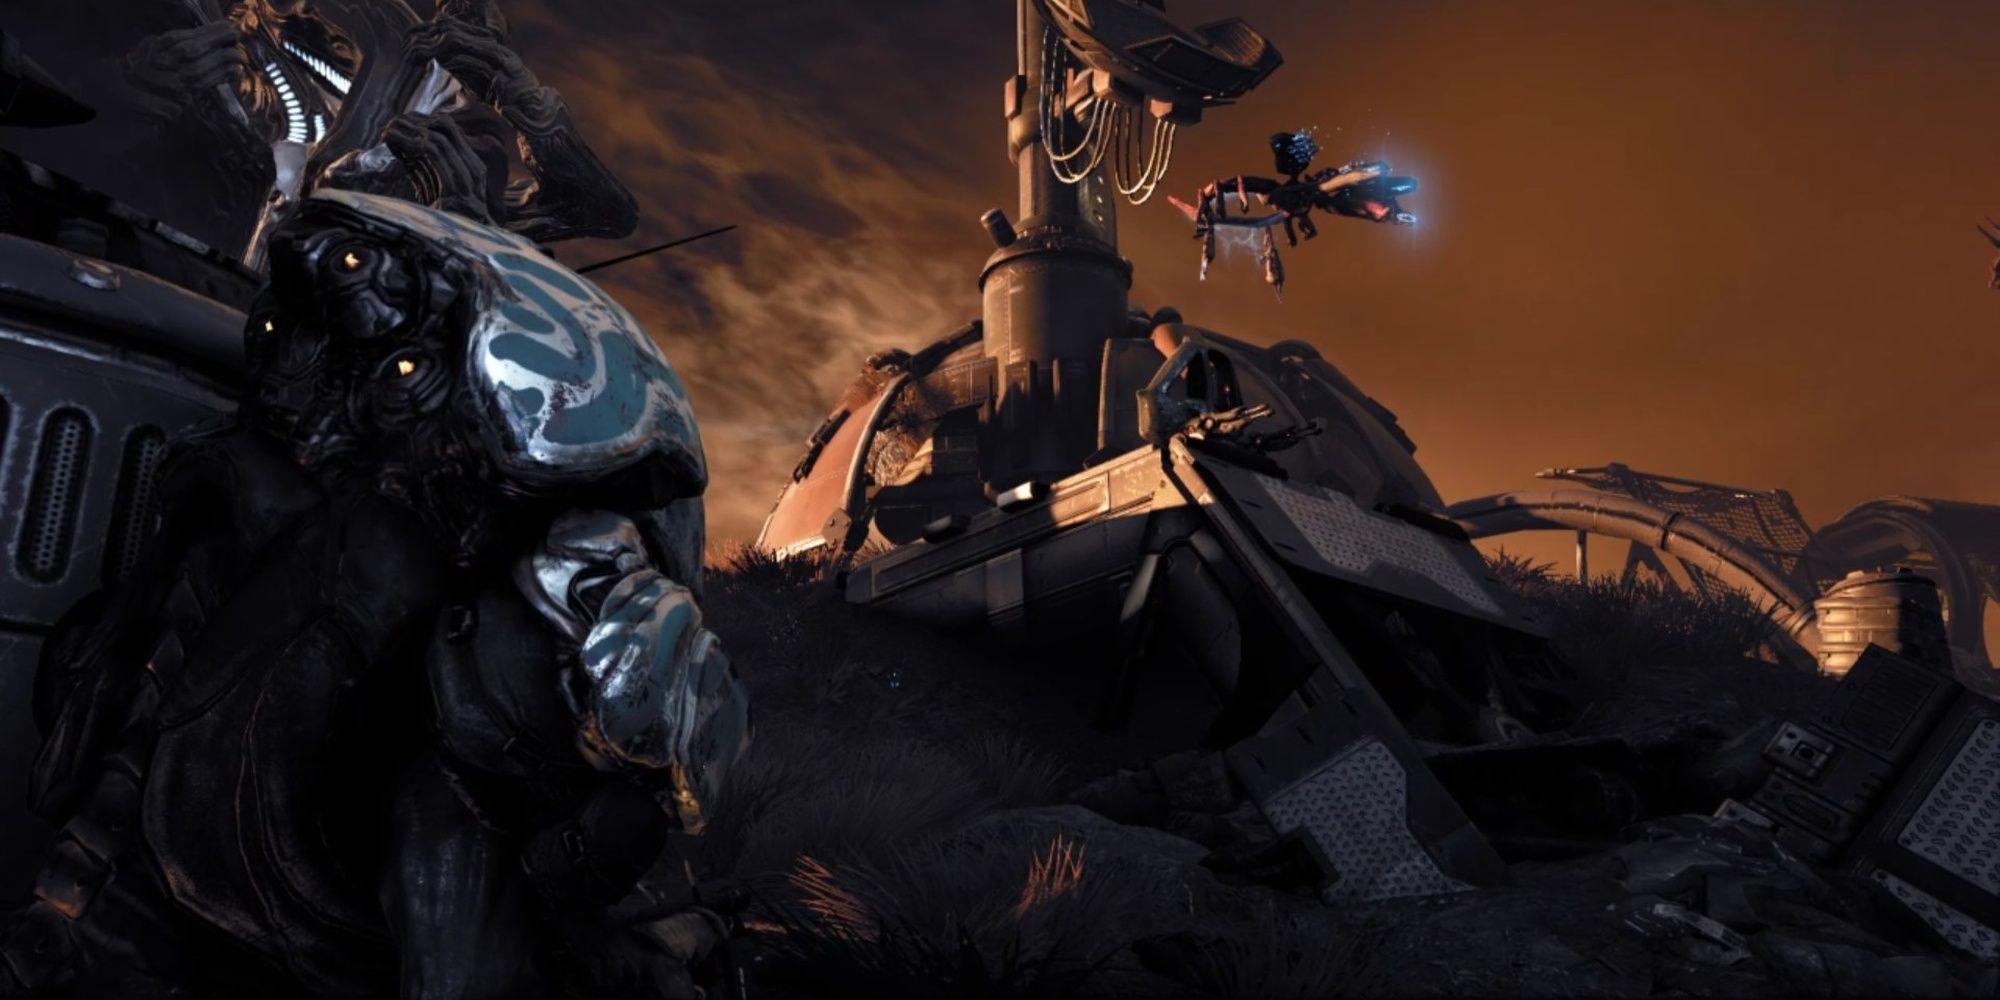
Your Railjack has been deployed as a response to the Sentient threat.
Using your Railjack, you’ll need to defeat Sentient fighters and make your way inside the Sentient mothership.
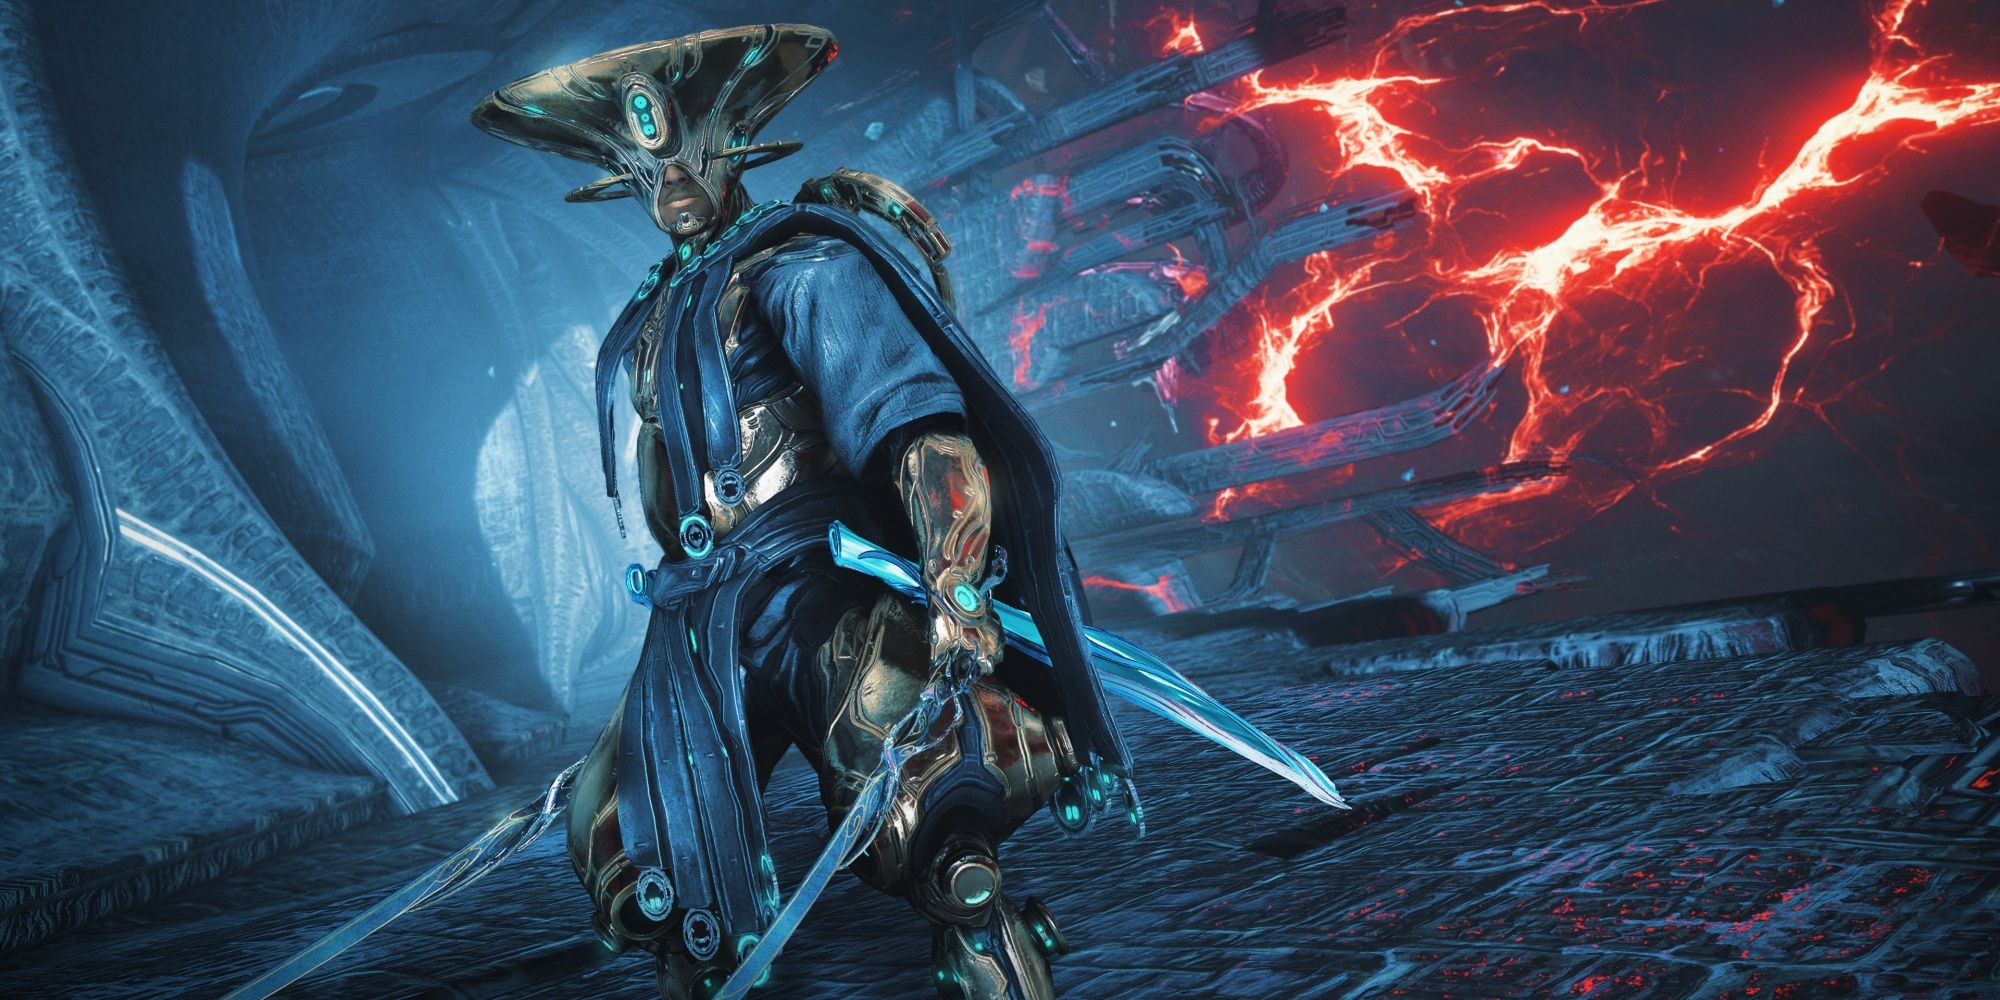
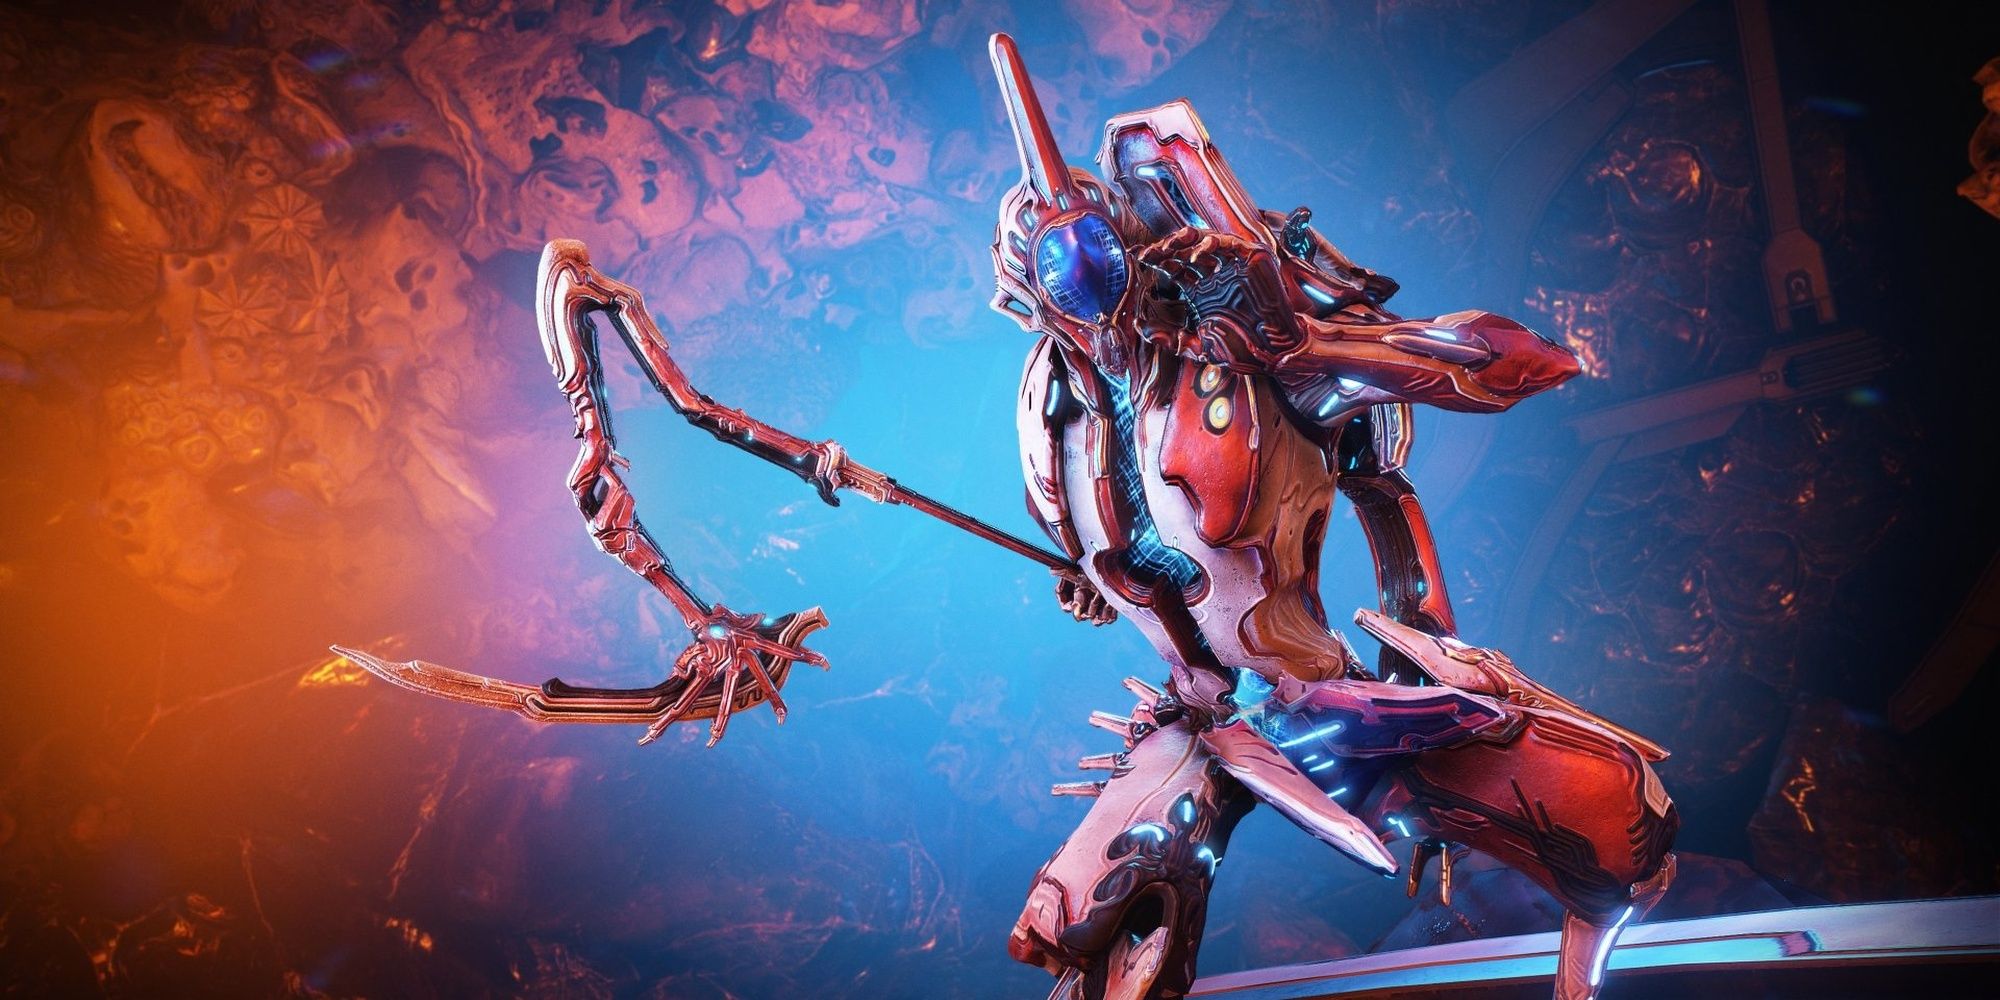
Before your Warframe can enter the Sentient ship, Teshin needs to destroy Orphix field generators aboard the ship.
Out of every playable character, Teshin is the closest to your Warframe.
Cold Aspect:Envelop your blades in ice.
Electricity Aspect:Cover your blades in lightning.
Each element you swap to will also change your melee Stance.
Teshin also has access to his signatureglaivethrough your fire input.
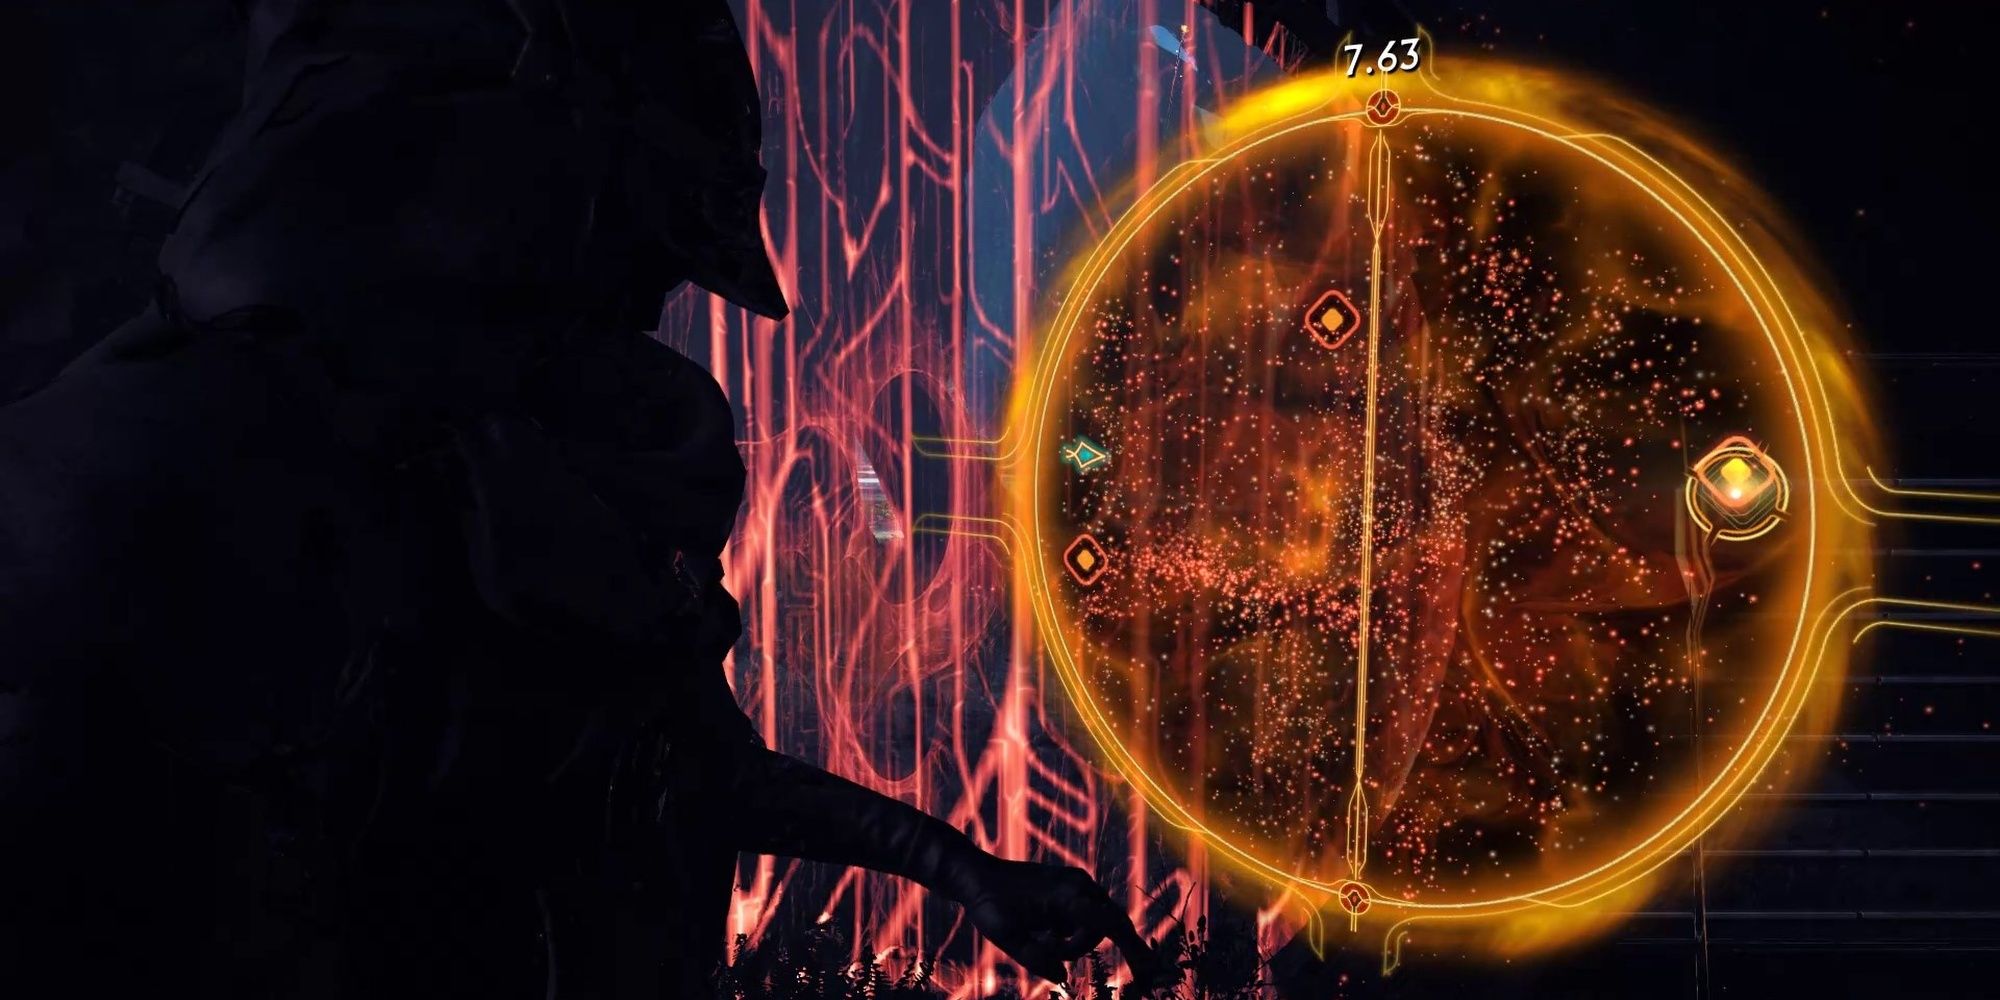
This will spawn a series of smaller locks you must break in a moderate timeframe.
Breaking a lock will create a trail of energy that will lead you to the next lock.
Should you miss the trail, keep your eyes peeled for a Sentient-looking pod with a red aura.
A single hit from your nikanas or glaive will break it.
If the timer reaches zero during this part, you’ll need to break every lock once again.
Break every lock to progress.
Orphix generators themselves are quite easy to break.
Defeat all of the nearby Sentient defenders to remove their shields.
Hack away at the generator with your nikanas to break it.
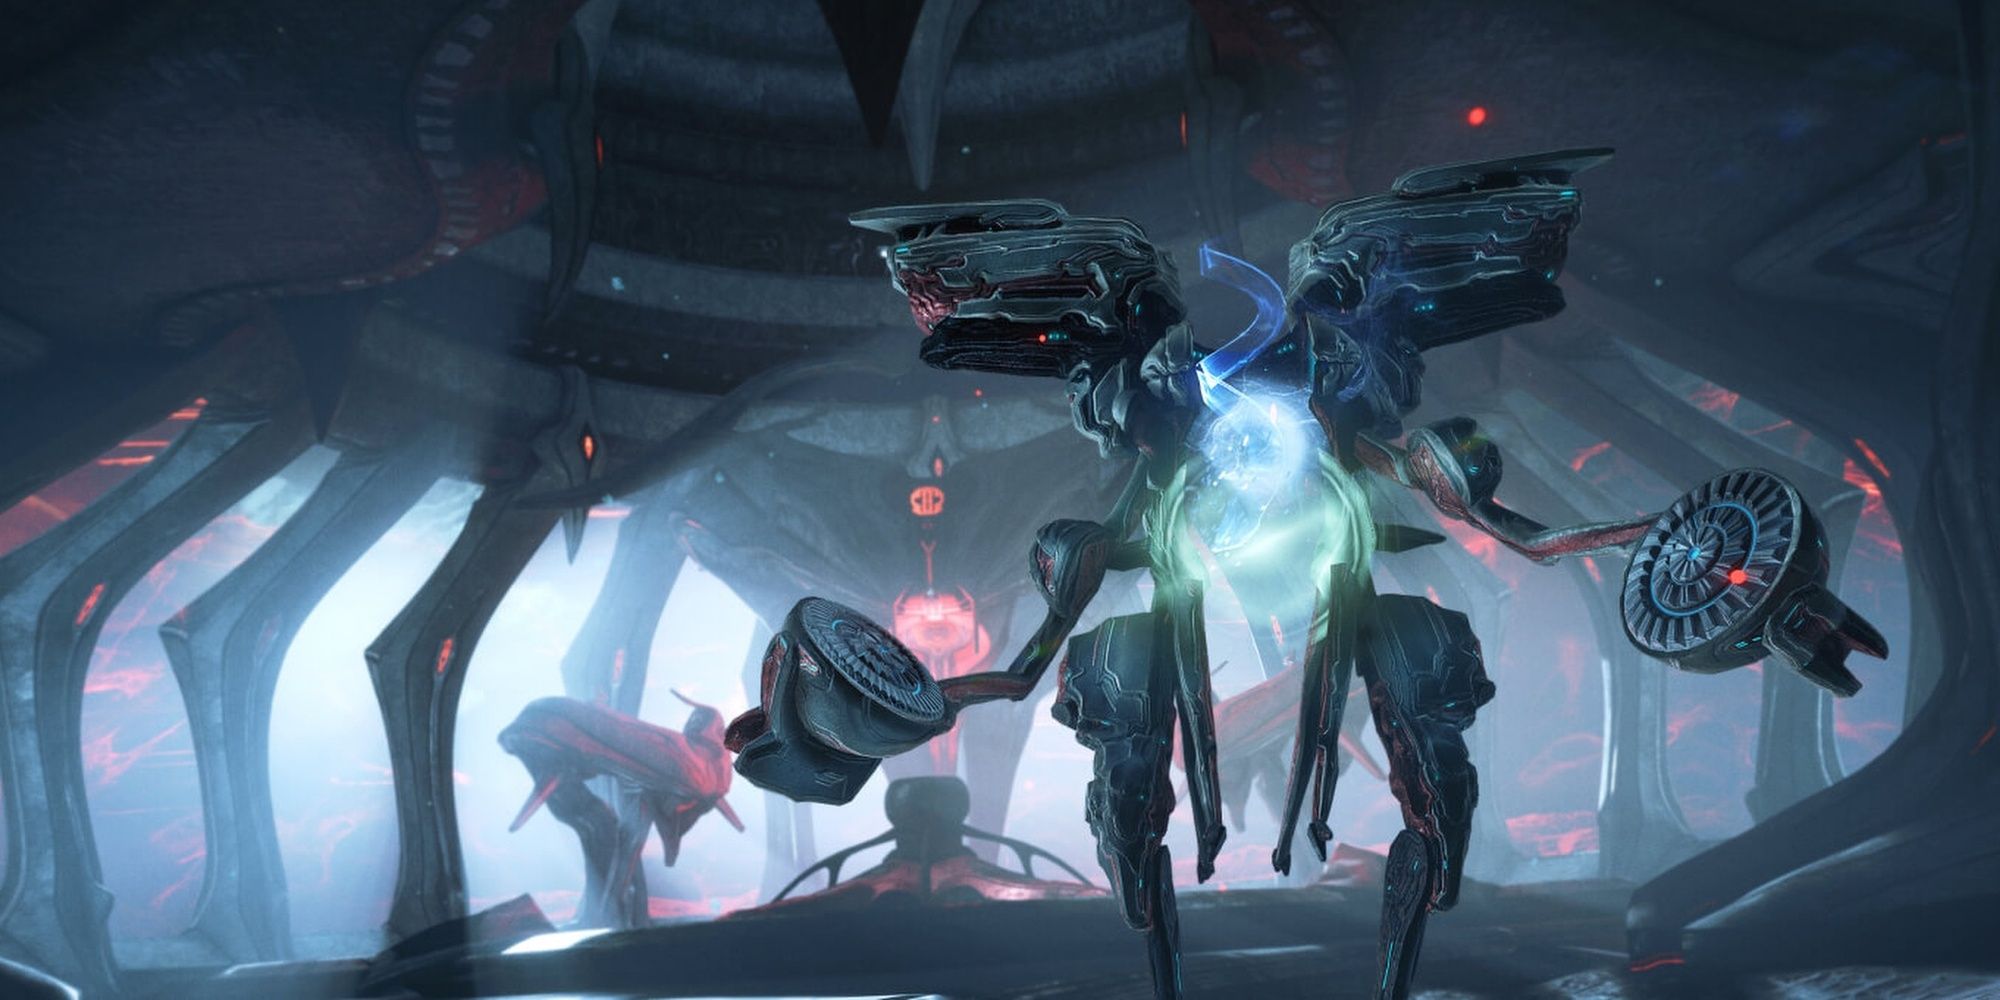
When you’ve fully lowered the enemy’s HP, get near the Typholyst and use a finisher.
Break the Orphix and proceed further into the ship.
You’ll have to fight another Typholyst near the end of the mission.
Use the same strategy as above to slay the boss.
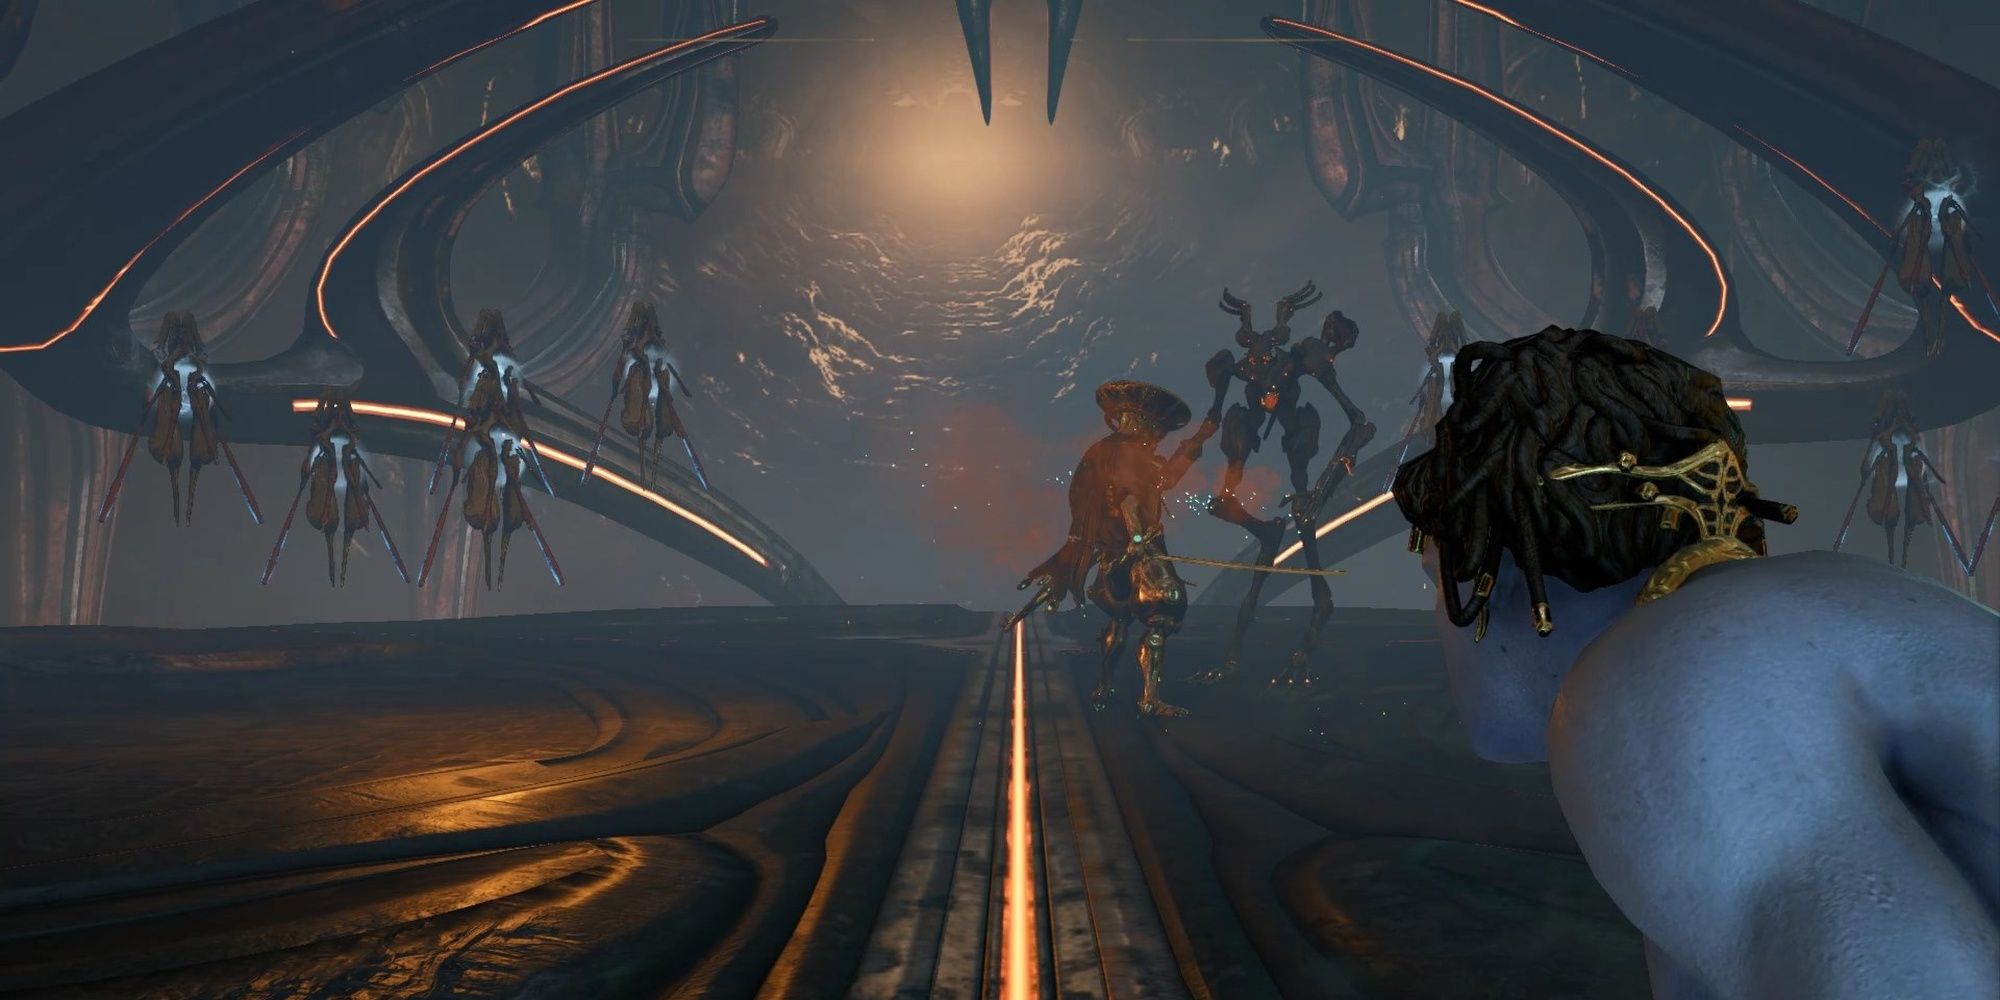
Duel Erra
A first-person cutscene will play near the end of Teshin’s segment.
You’ll have to duel Erra as Teshin but from the perspective of another character.

This part is fairly simple.
Rinse and repeat until this section’s over.
The Sentients have won.
Your Warframe and Operator appear out of action for the time being.
Everyone refers to this character asthe Drifter.
Target Radar:Detect nearby allies and enemies through walls.
You’ll be deployed just outside of a Narmer gate, guarded by an indoctrinated Grineer soldier.
Use your Sirocco pistol to take them down.
Make your way to the gate’s terminal.
When one side is done, flip to the other side and hack the remaining dots.
The cursors in this minigame have an inverse relationship with respect to the central divider.
If you move your cursor up, the other cursor moves down.
If you move your cursor right, the reflected cursor moves left.
Line up the cursor with all the dots to unock the gate.
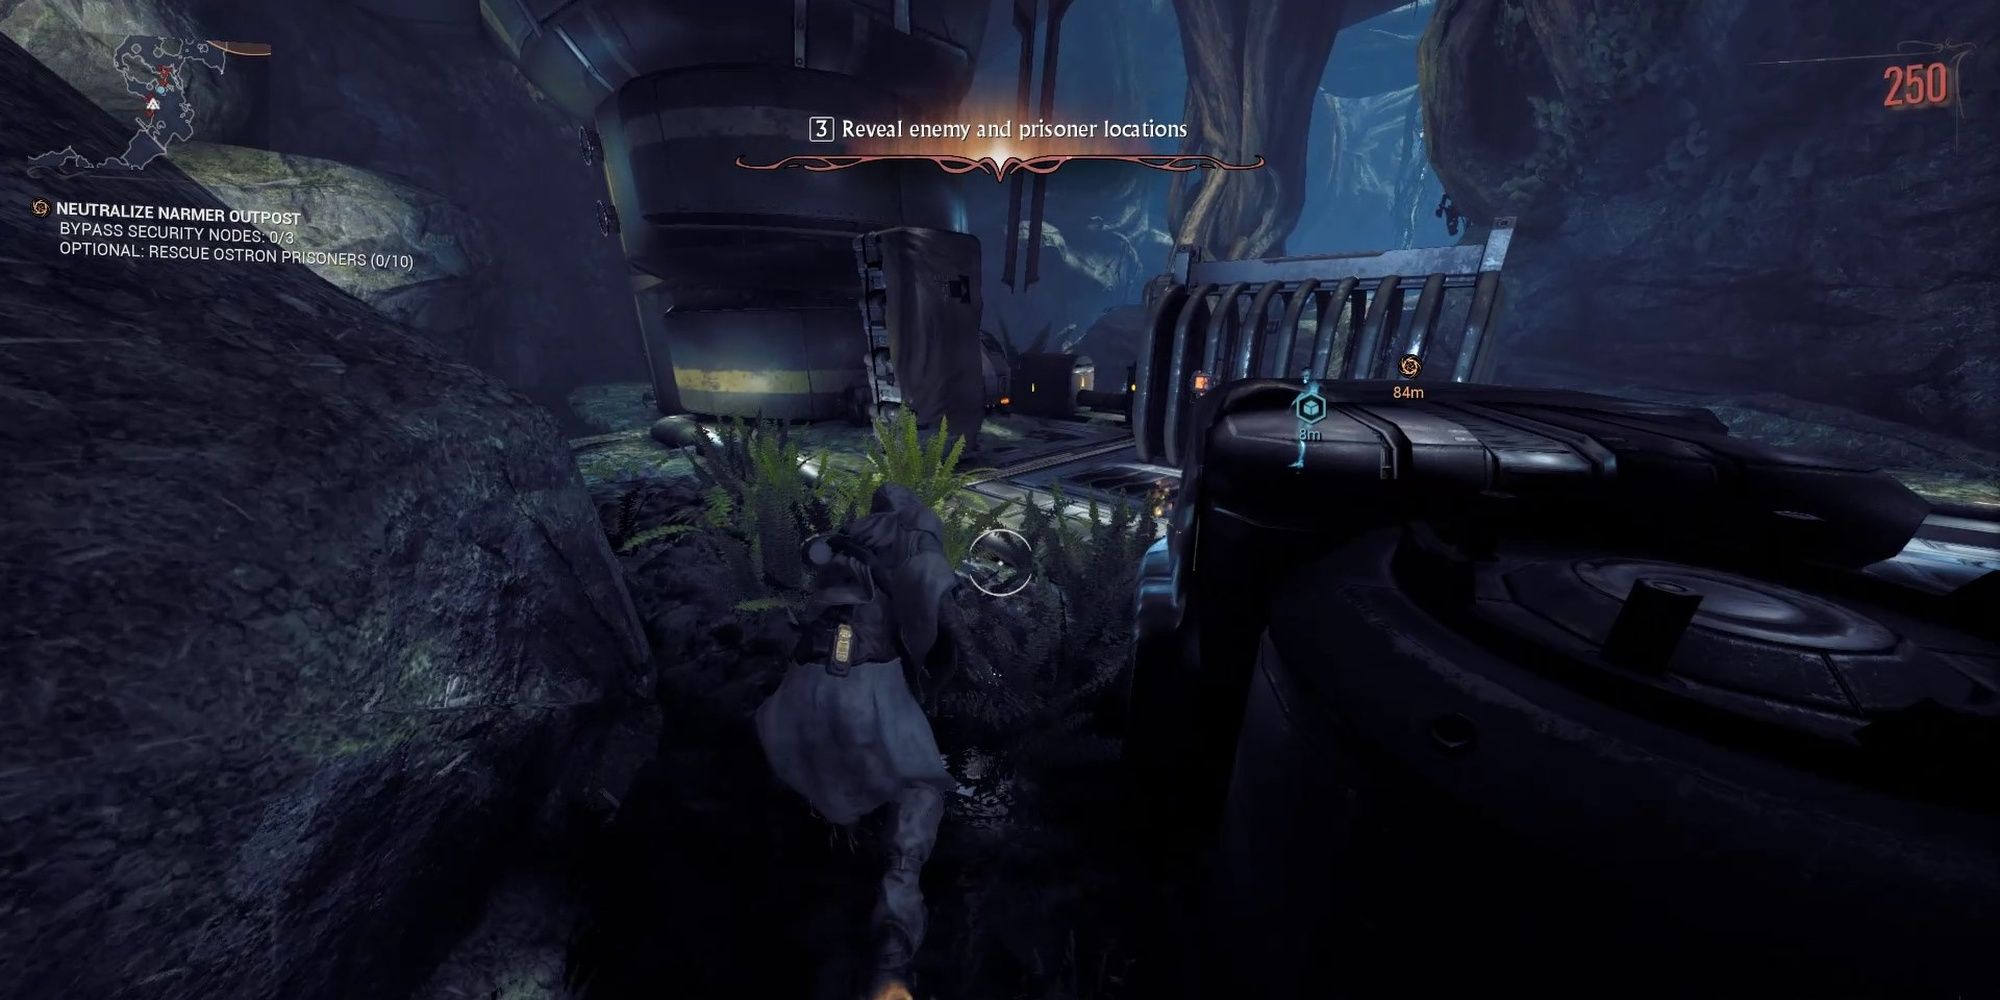
Neutralize Narmer Outpost
Narmer soldiers will be patrolling the forest for the remainder of the mission.
Ostron captives are held in cages found throughout the map.
There are ten Ostron in total.
Each cluster of soldiers is typically guarding at least one Ostron, usually two or three.
Descend into the building to find a group of Narmer soldiers indoctrinating an Ostron.
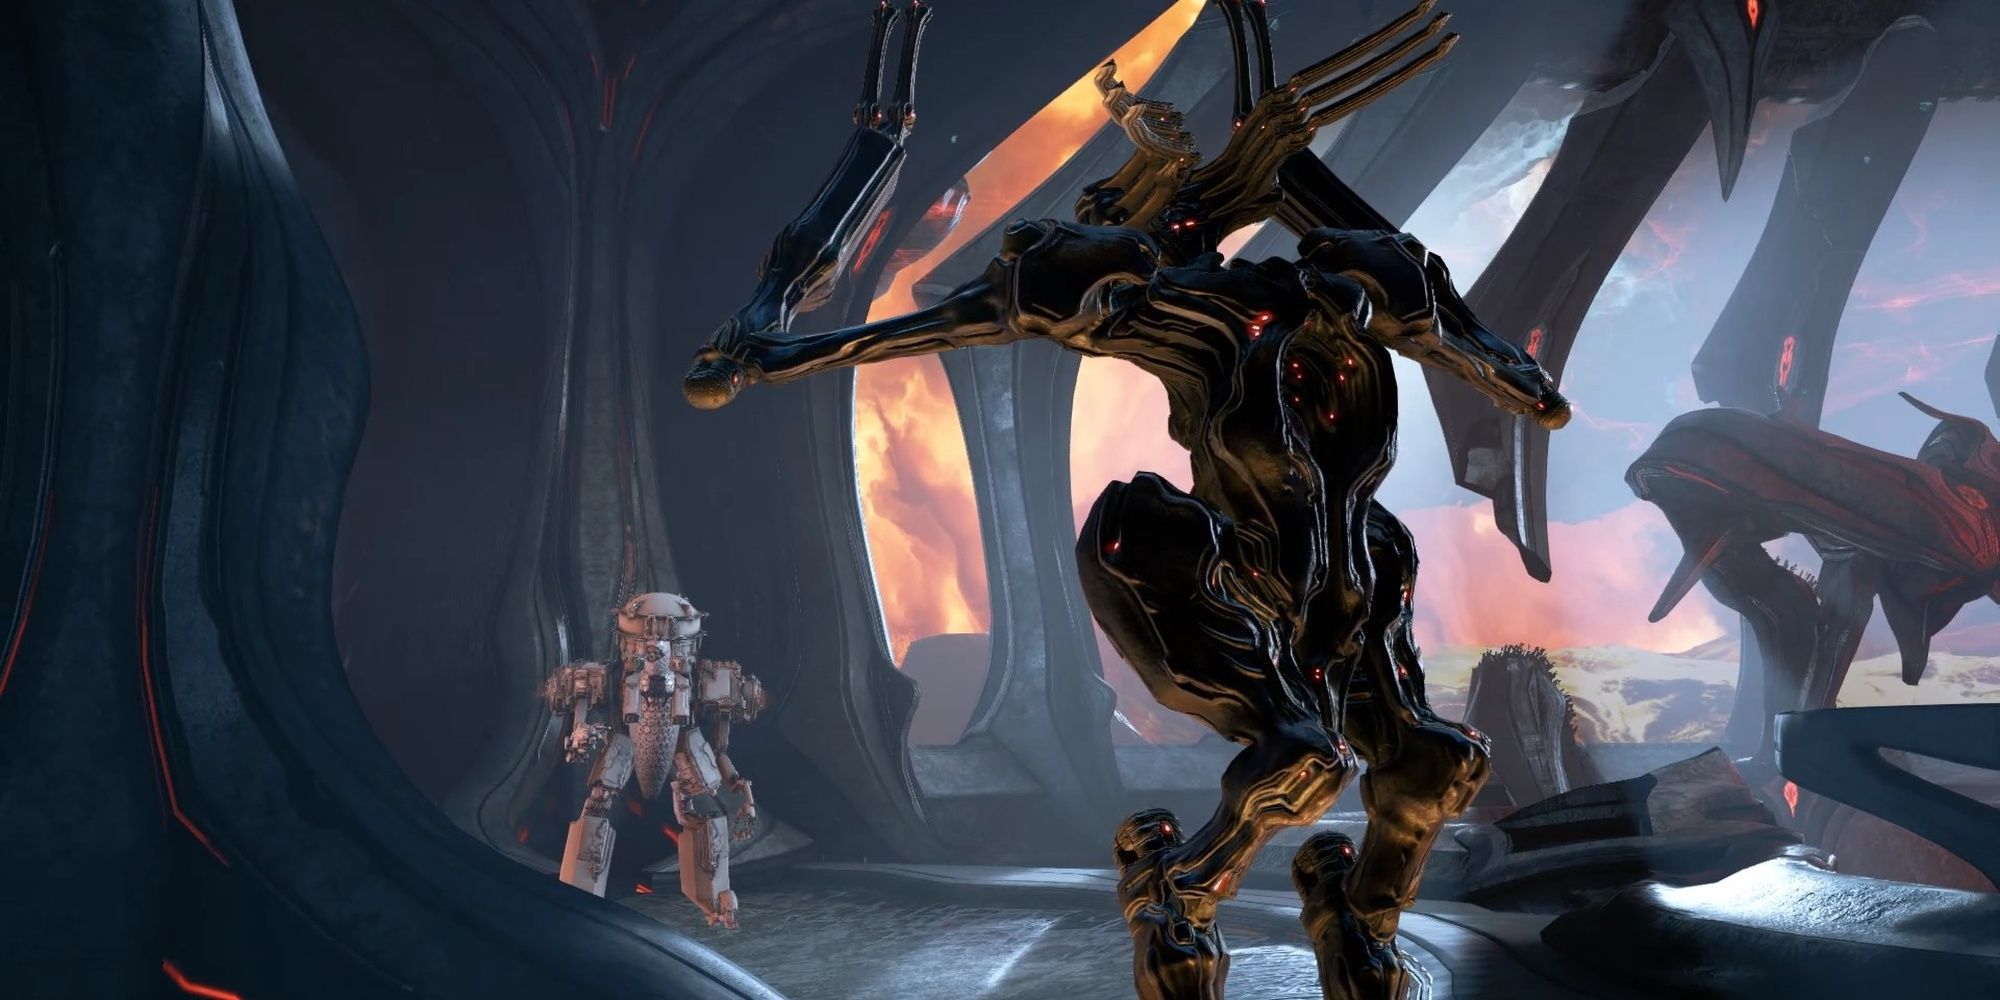
AnArchona Sentient and Warframe hybridwill spawn shortly thereafter.
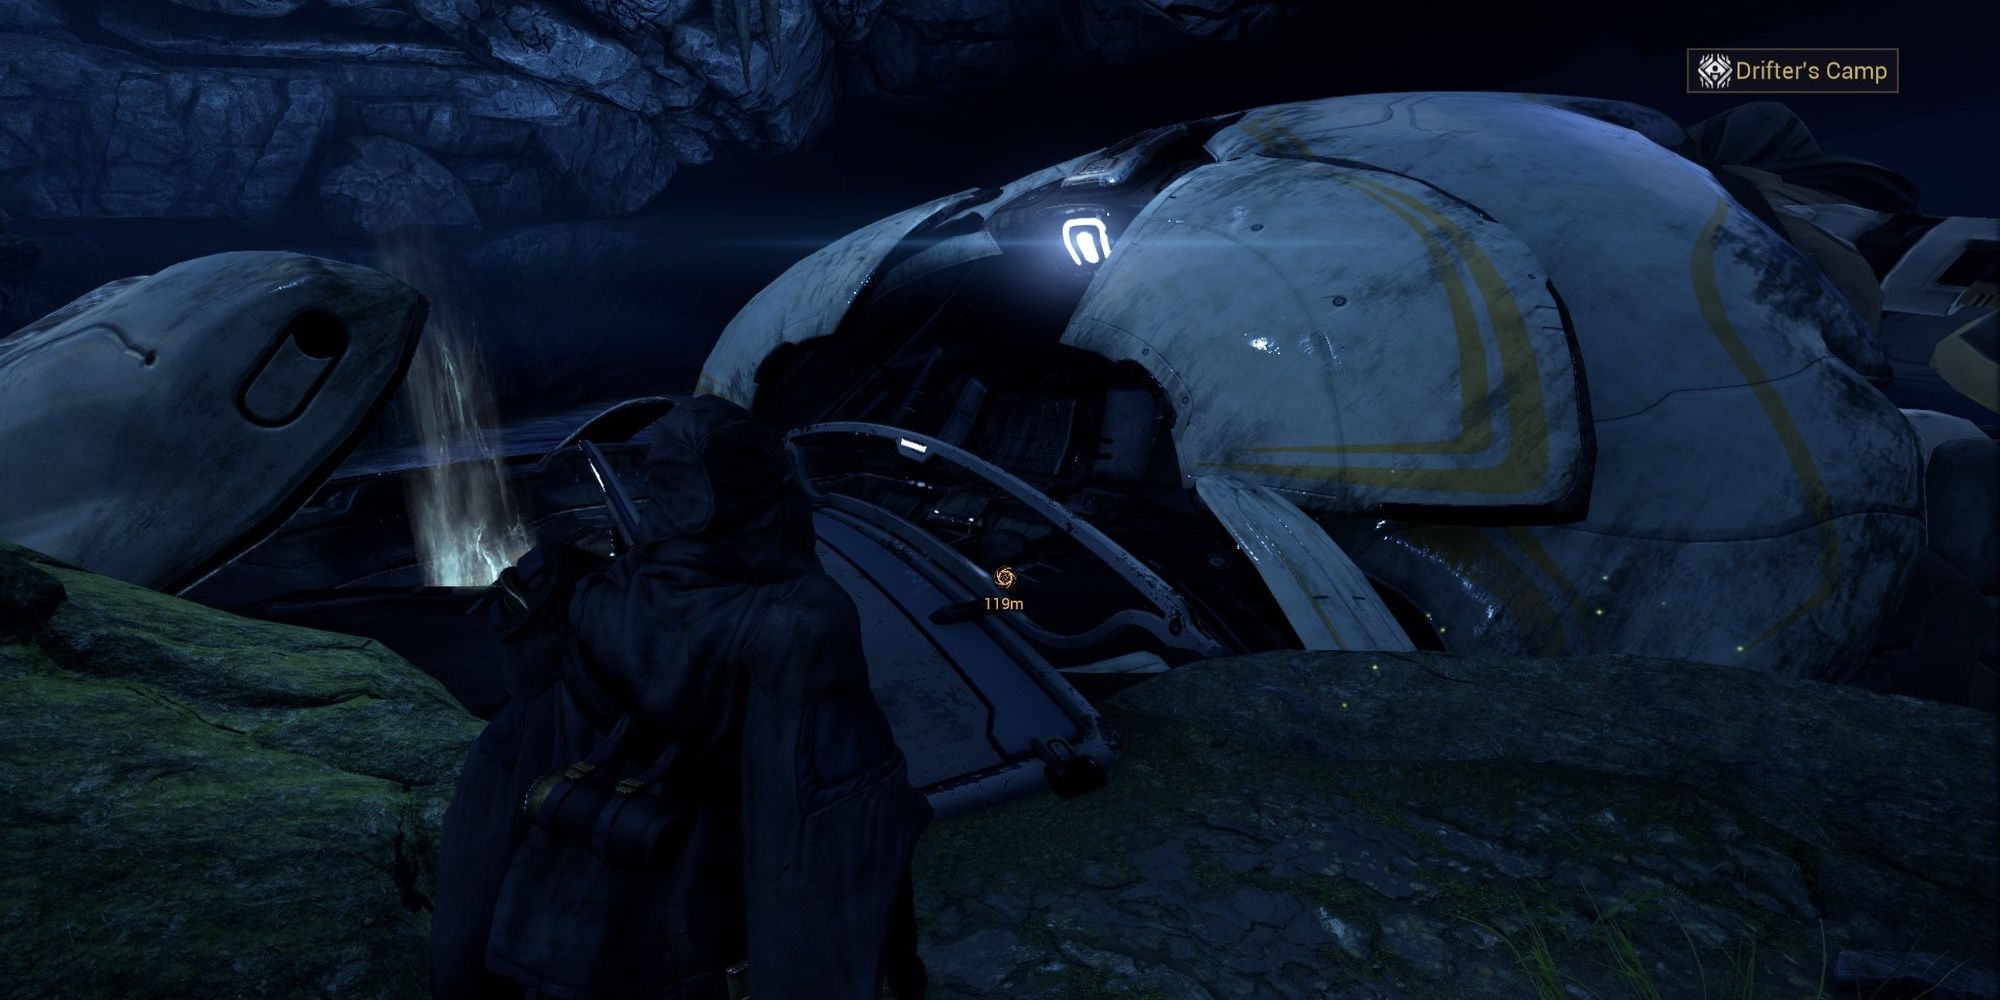
It seems that the Operator’s ship and orbiter have been relocated to the depths of Earth’s forests.
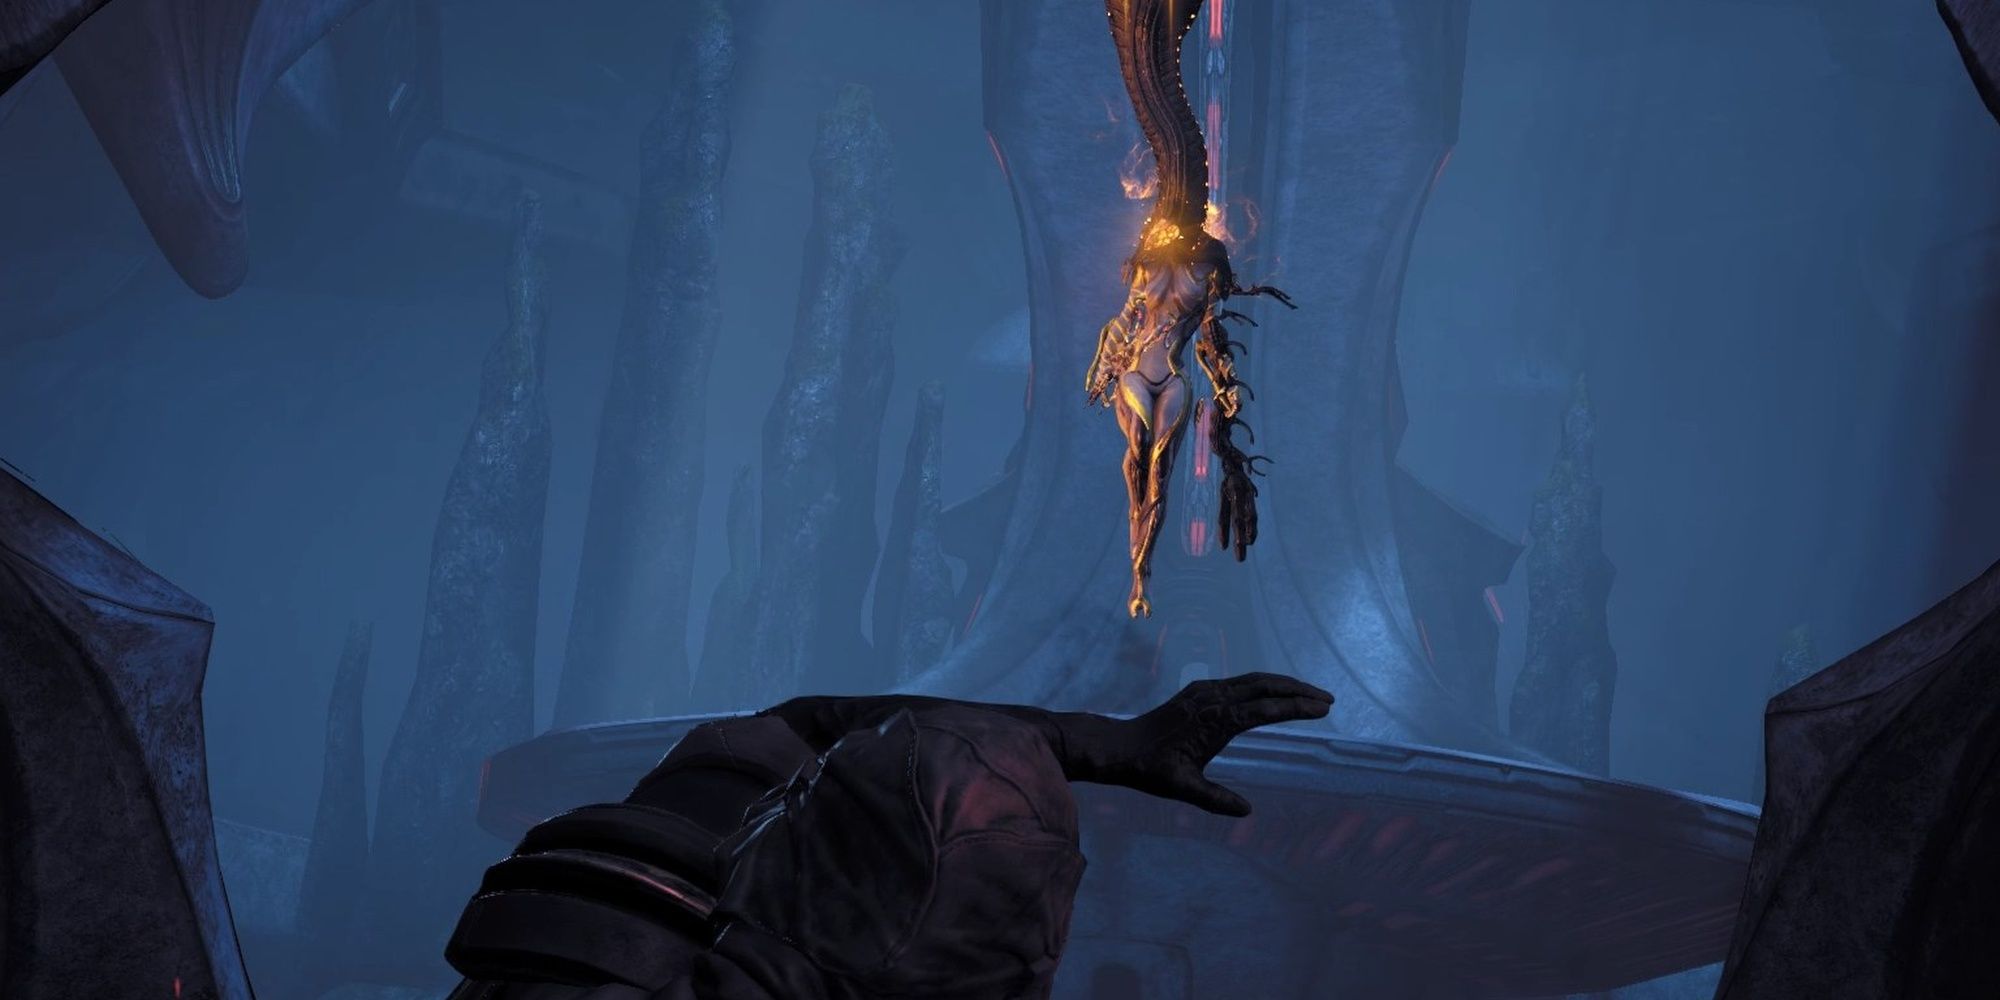
You’ll be dropped off right outside of the orbiter.
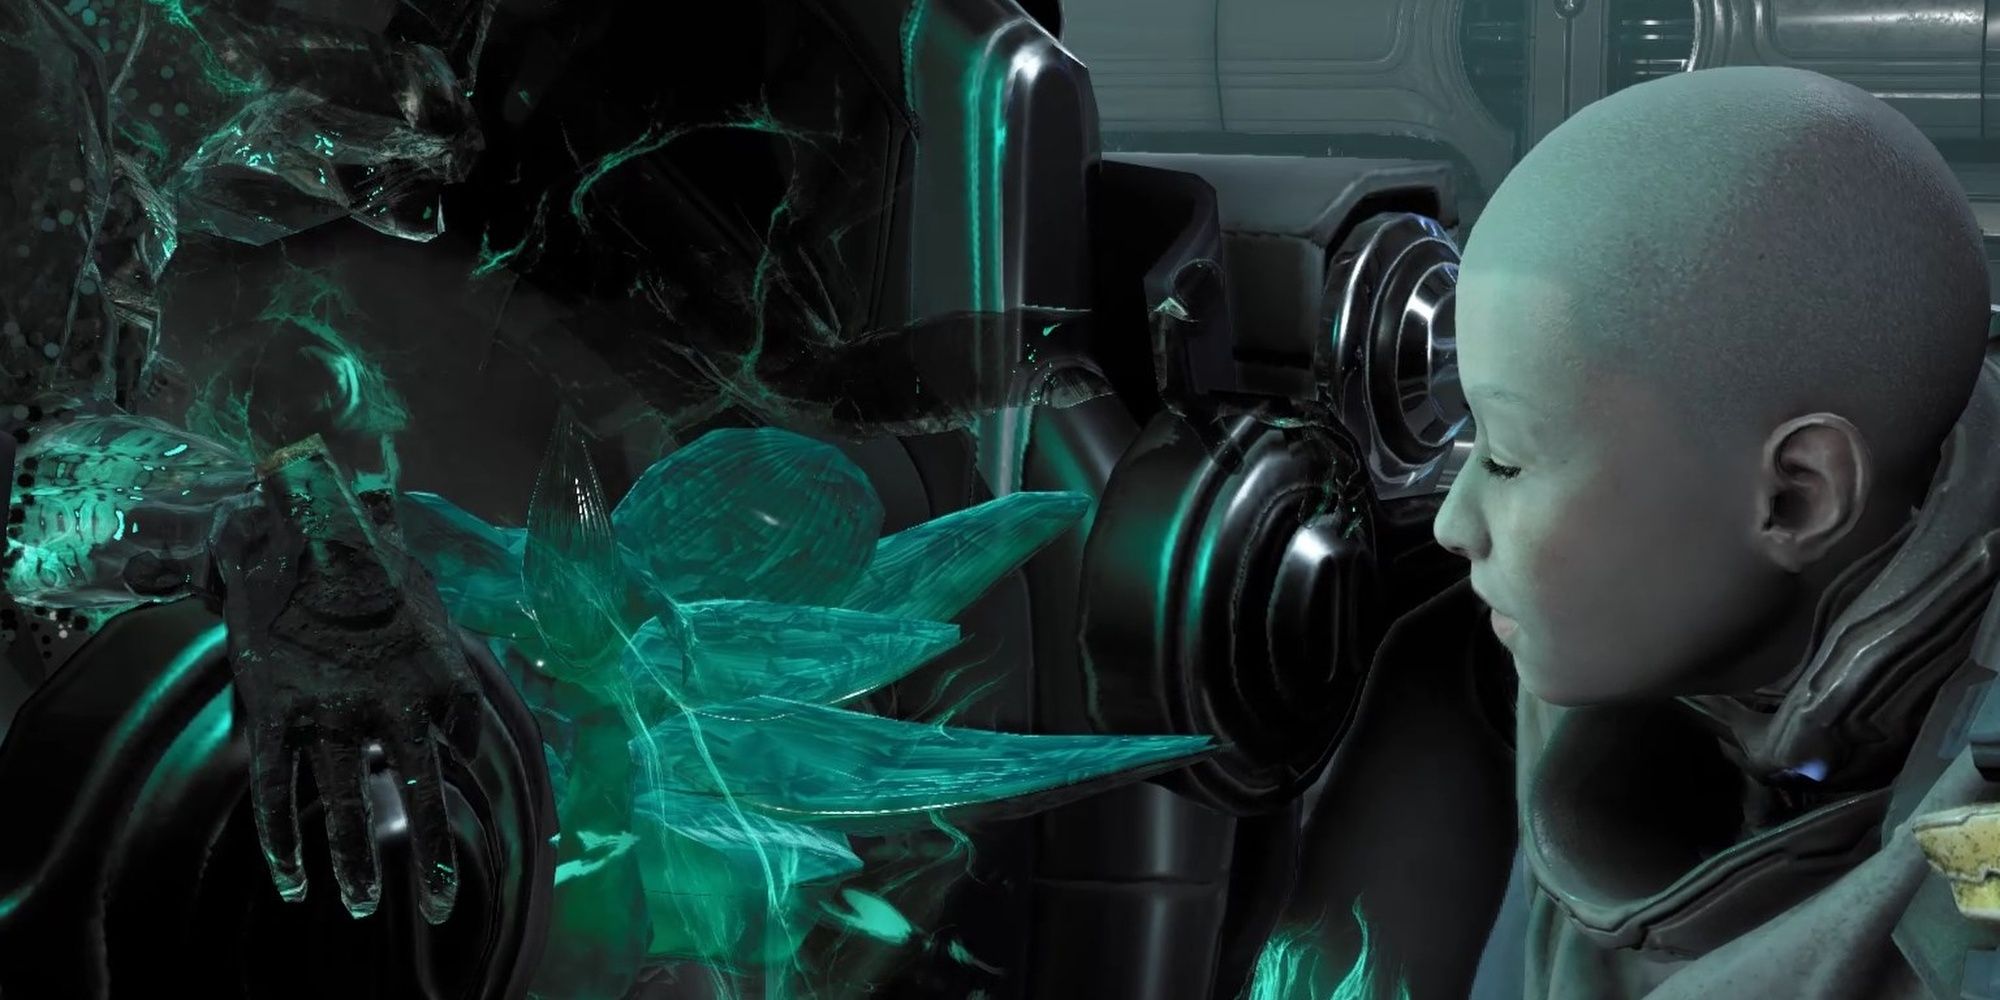
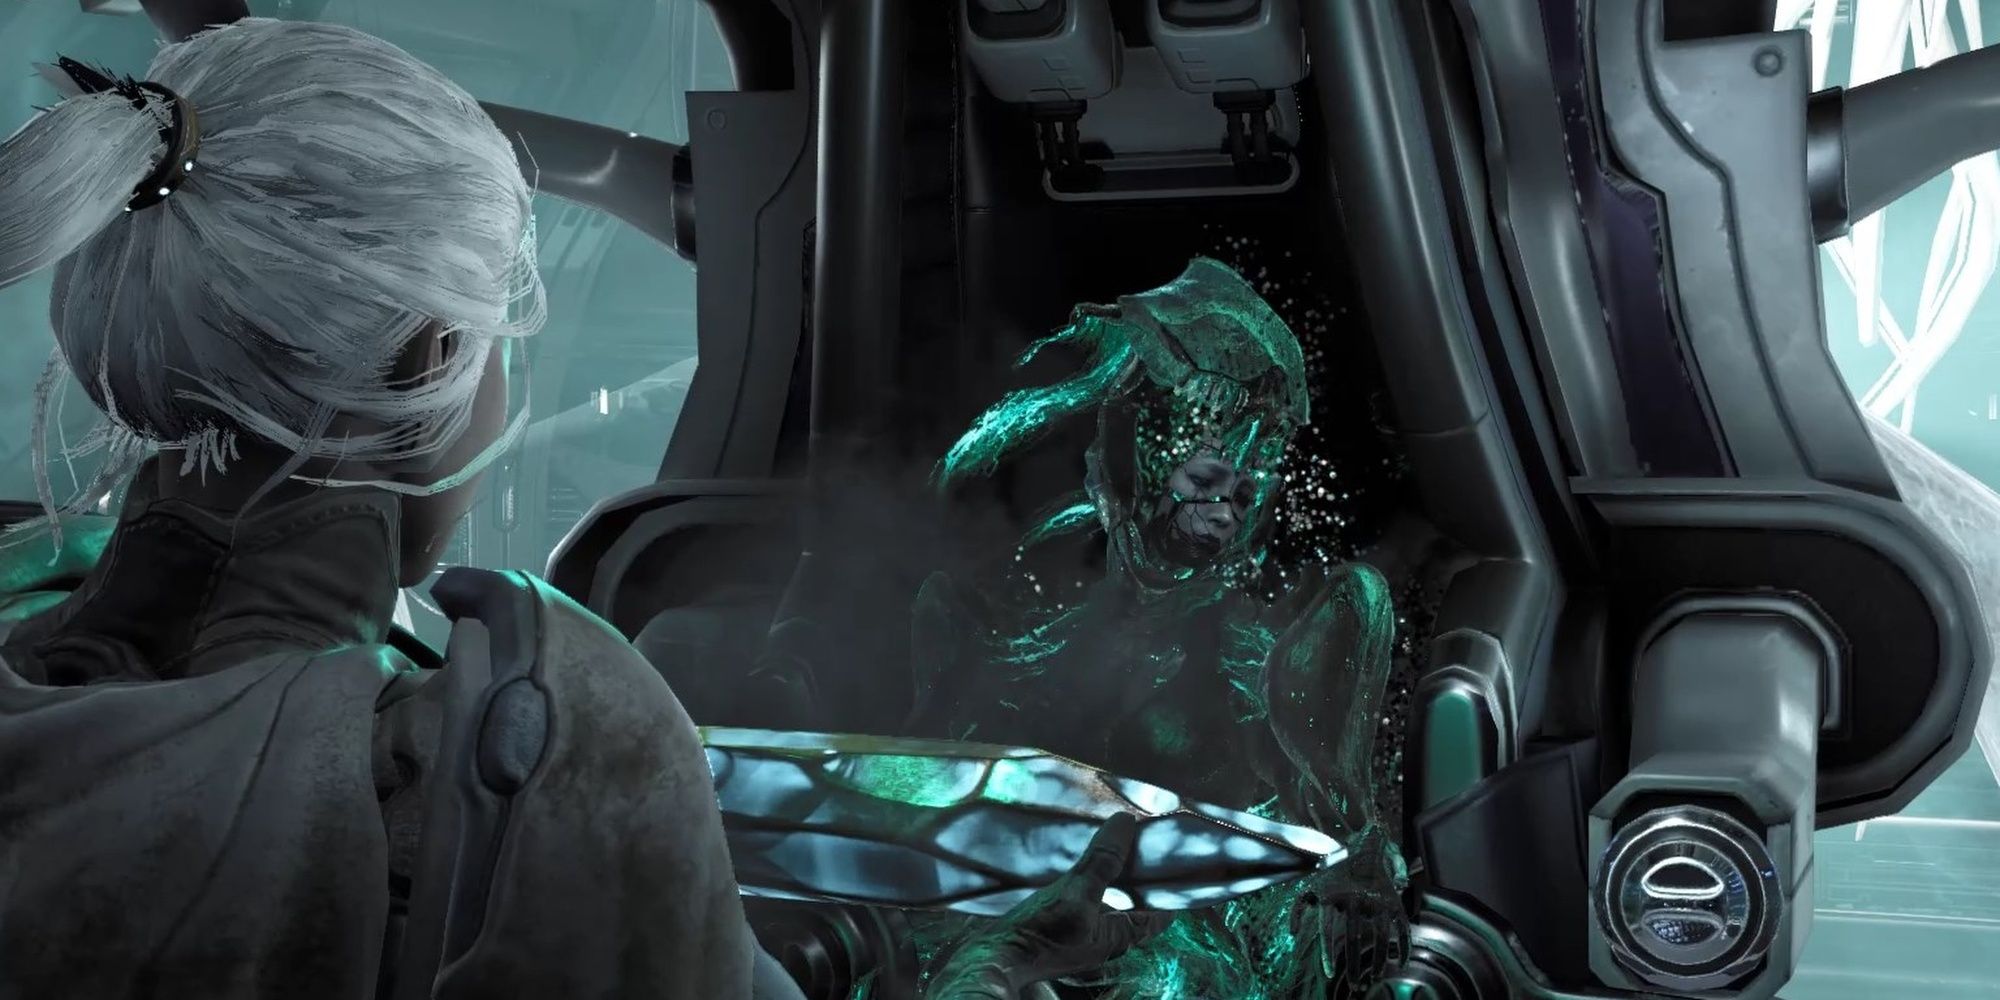
Descend into the Operator’s room to find the remains of the Lotus.
It is revealed thatyouare actually the Drifter.
And that strange robot talking to you in the last mission?
That’s Ordis, although how he obtained that mechanical body is unknown.
Lotus is going to need some sort of energy to stay alive.

You’ll need to steal one from the Orb Vallis on Venus to reach your contact.
Solaris United has been compromised.
The entirety of Fortuna has been indoctrinated to worship Ballas.
Getting to the Orb Vallis will require using the elevator in Fortuna.
If these enemies spot you, you’ll need to restart the stealth section.
Stick to nearby crates, waiting for the Deacons to look away.
Use it to reach the end of Fortuna, then book it for the elevator.
A Smoke Screen will ensure no Deacon will see you.
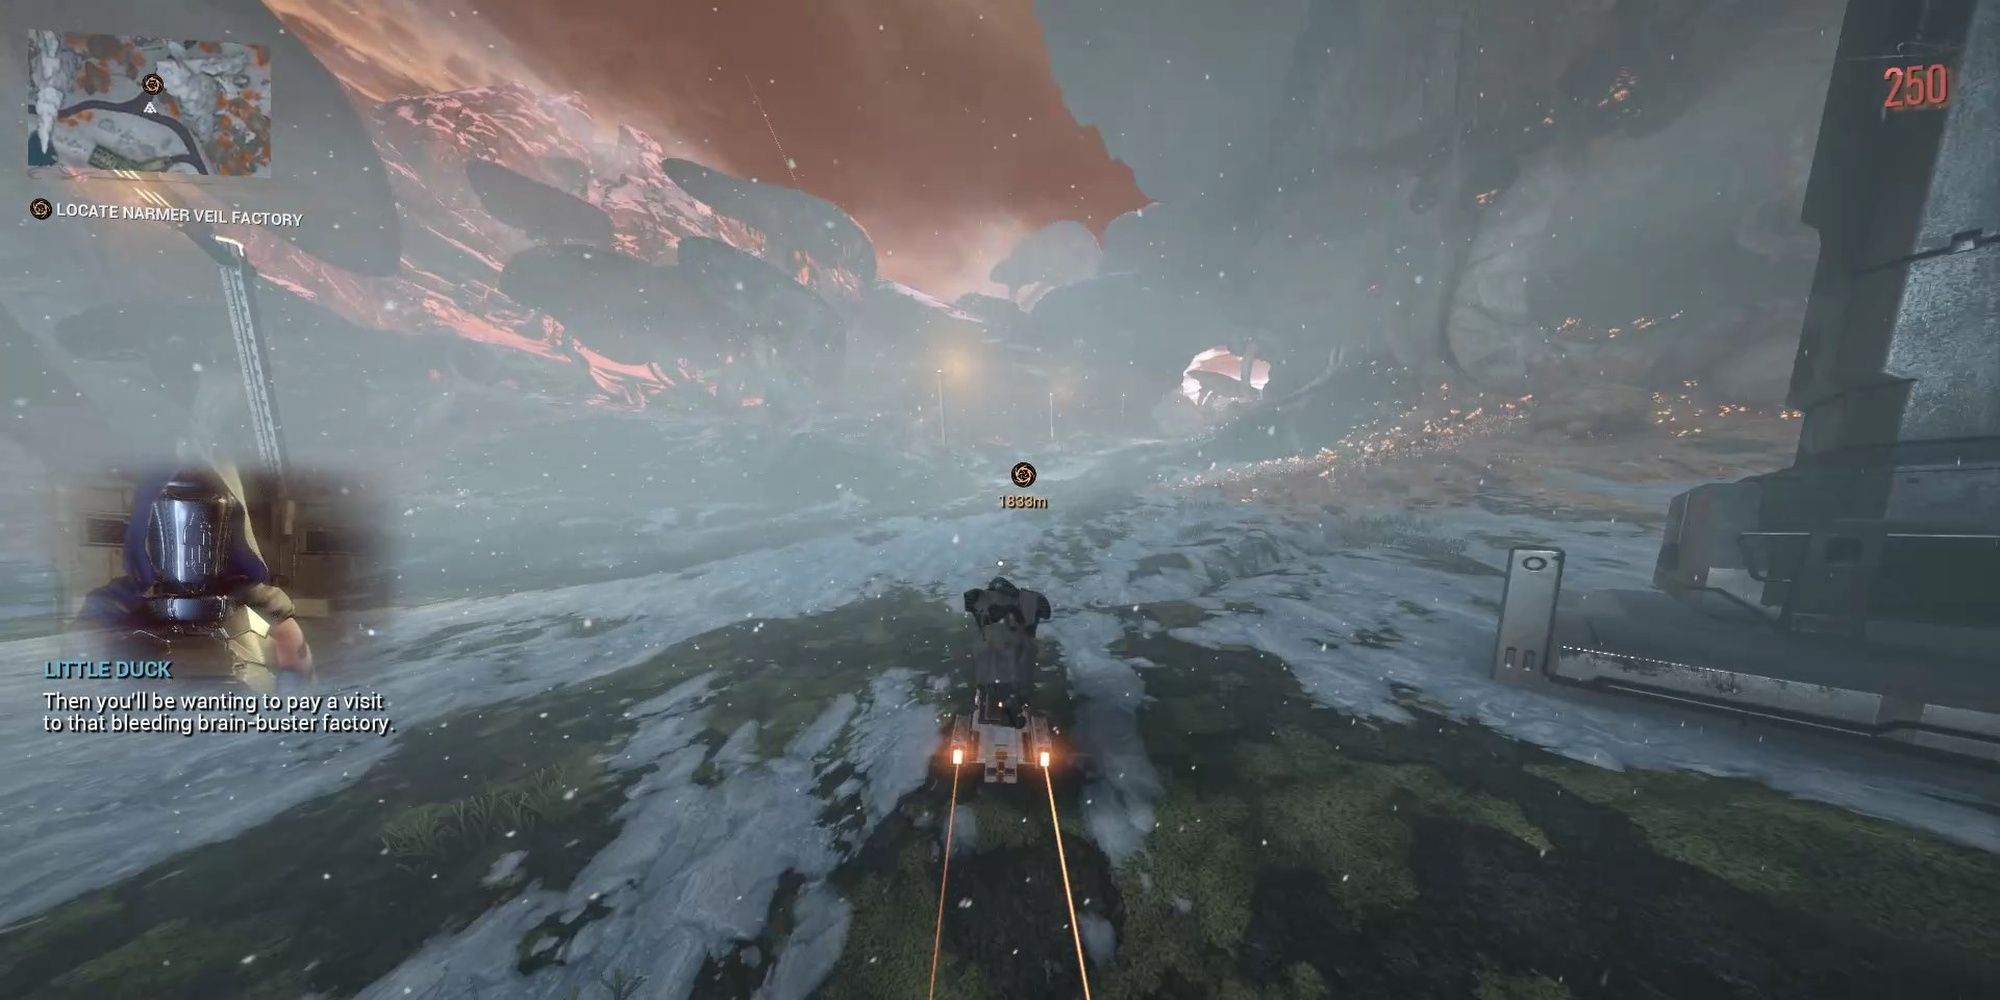
Use the K-Drive beside the Fortuna entrance to reach the factory.
Once at the Spaceport, clear out the enemies until Little Duck tells you to wear a Veil mask.
With the mask on, make your way into the factory.
Standard NPCs won’t notice you, but patrolling Deacons will still kill you if you’re spotted.

Deacons will be patrolling just about every part of this factory.
Activating this terminal will trigger an alarm, so prepare to make a mad dash out of the facility.
Use your Smoke Screen to safely exit the facility.
So long as you bring the Lotus back to full health, Hunhow is willing to help you.
To heal the Lotus, you’re going to need three Archon crystals.
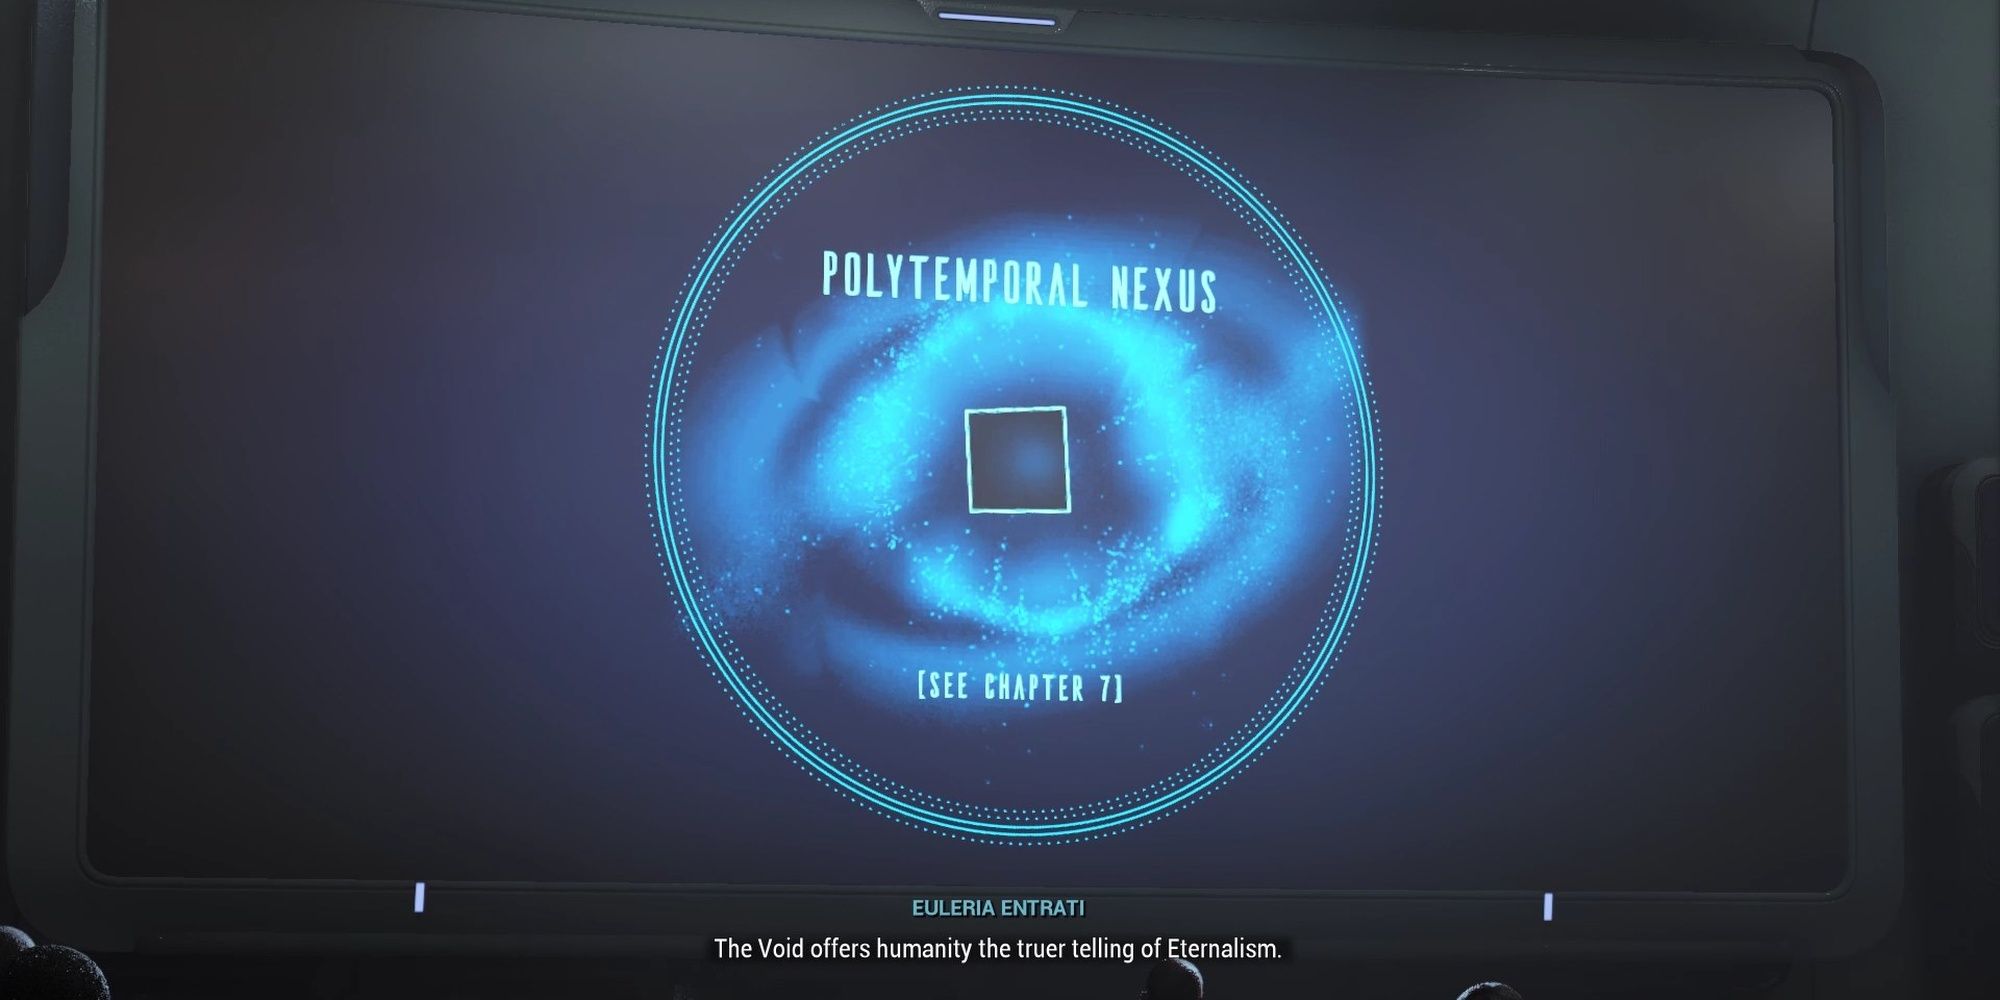
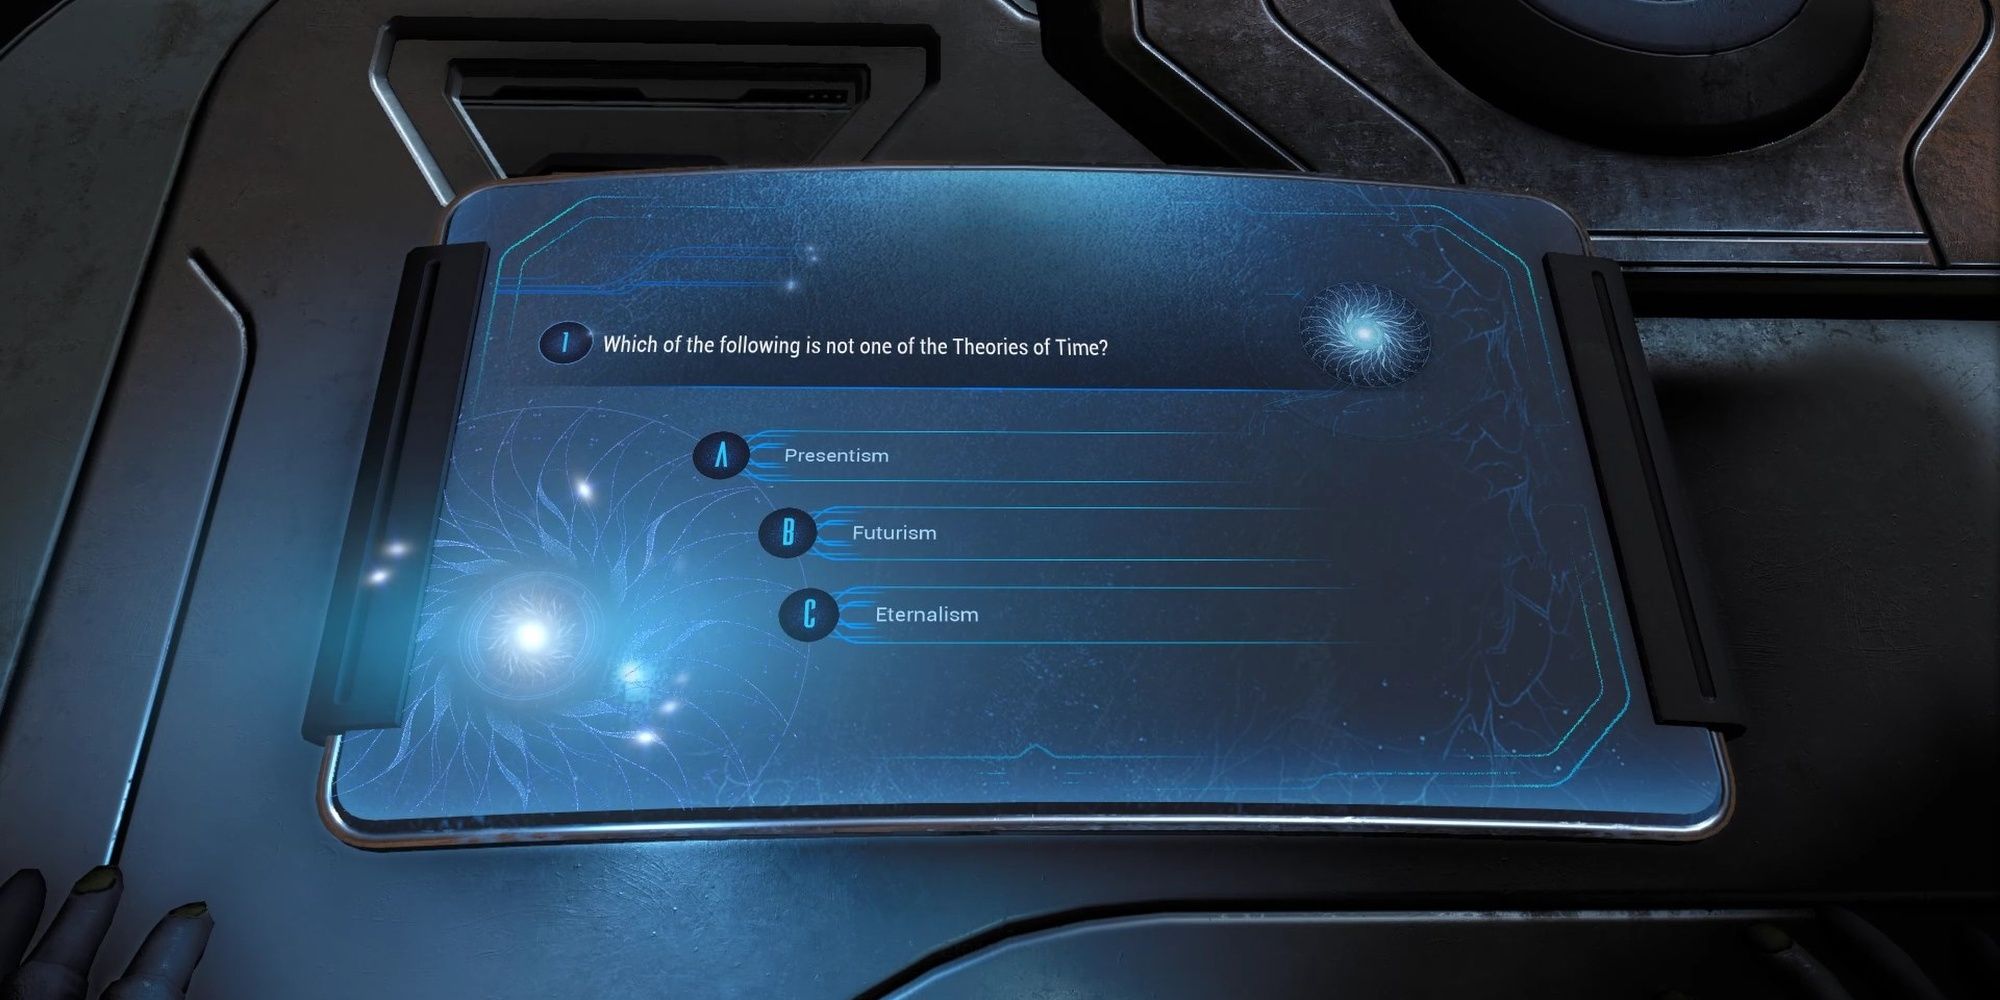
Before the Orokin discovered the Void, humanity believed inPresentism, the belief that only the present matters.
The past is set in stone and the future is an abstract concept.
The correct answers to the questions are listed below.
This will help explain why some of the later scenes for this quest seem out of place or disjointed.
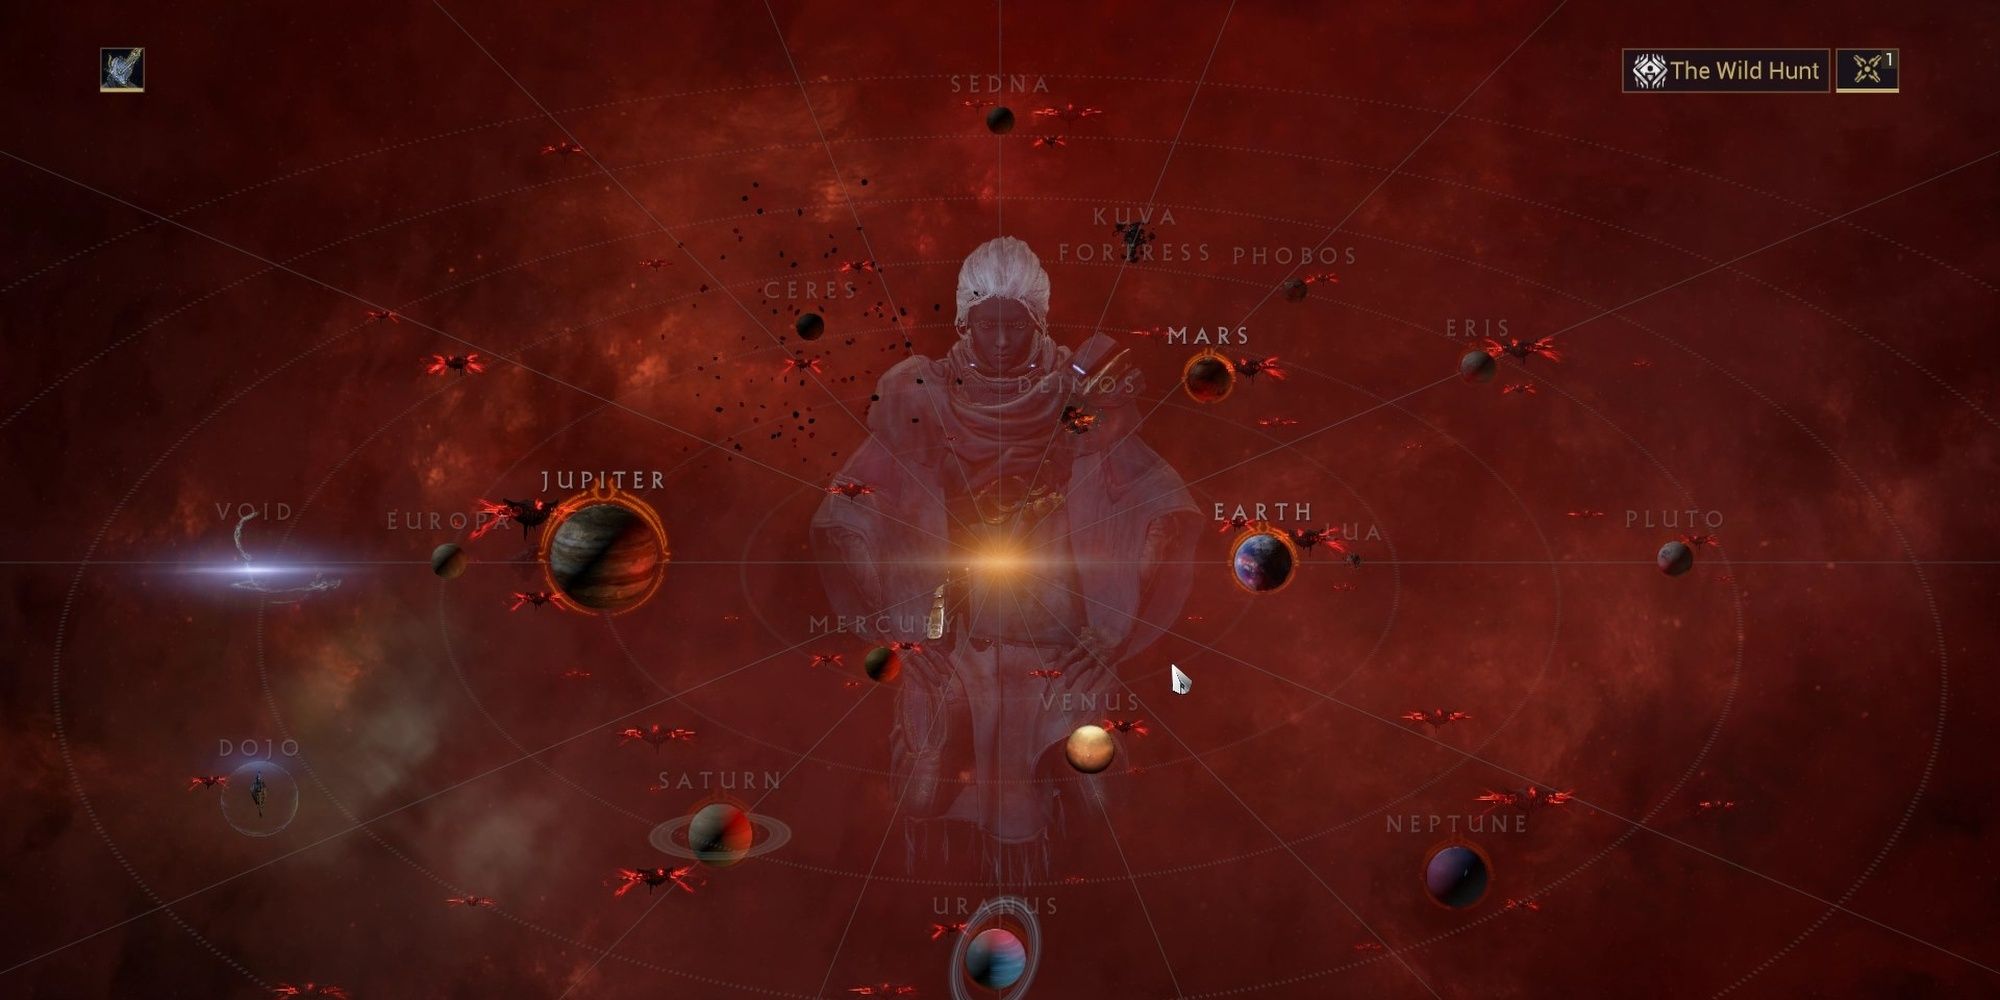
There’s no “best” Archon to fight first; fight whichever enemy seems interesting to you.
All three boss fights are covered below.
Note:The third Archon cannot be fought until much later in the quest.
Save the Archon you think will be the hardest for last.
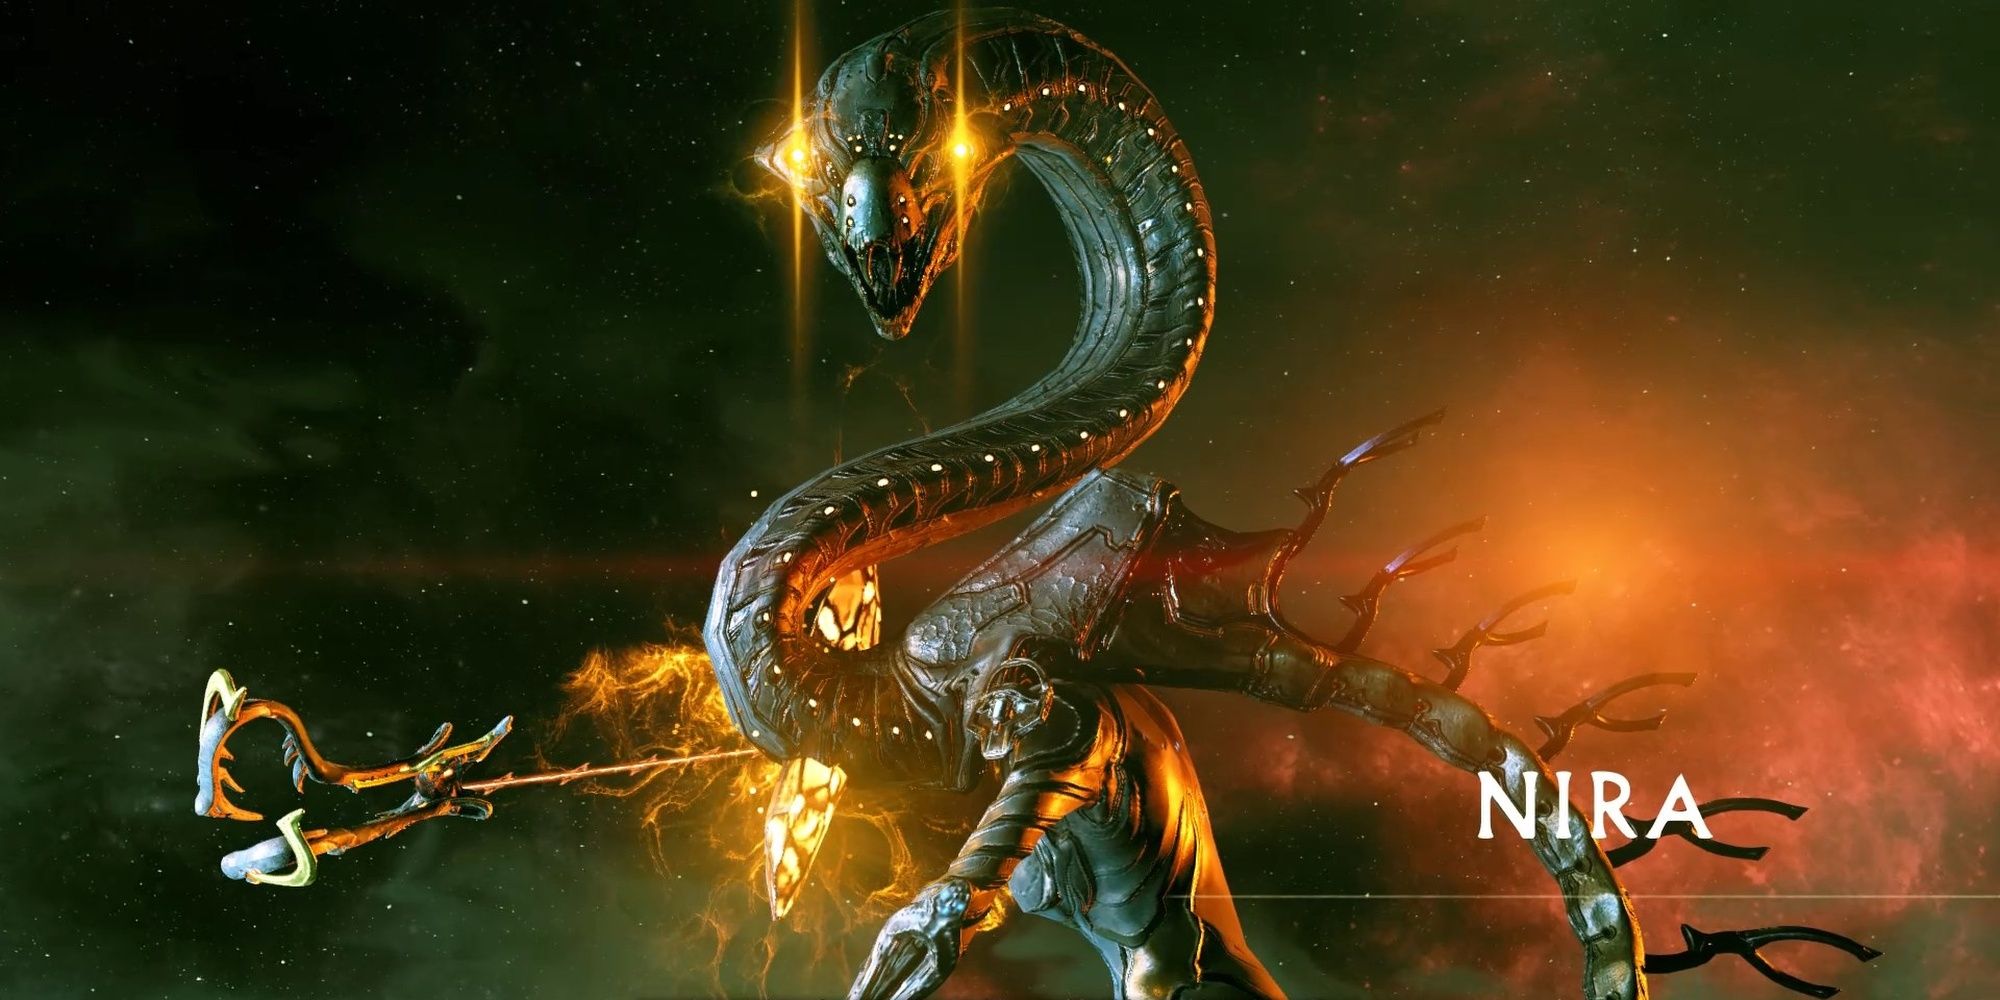
We recommend leaving Nira for last.
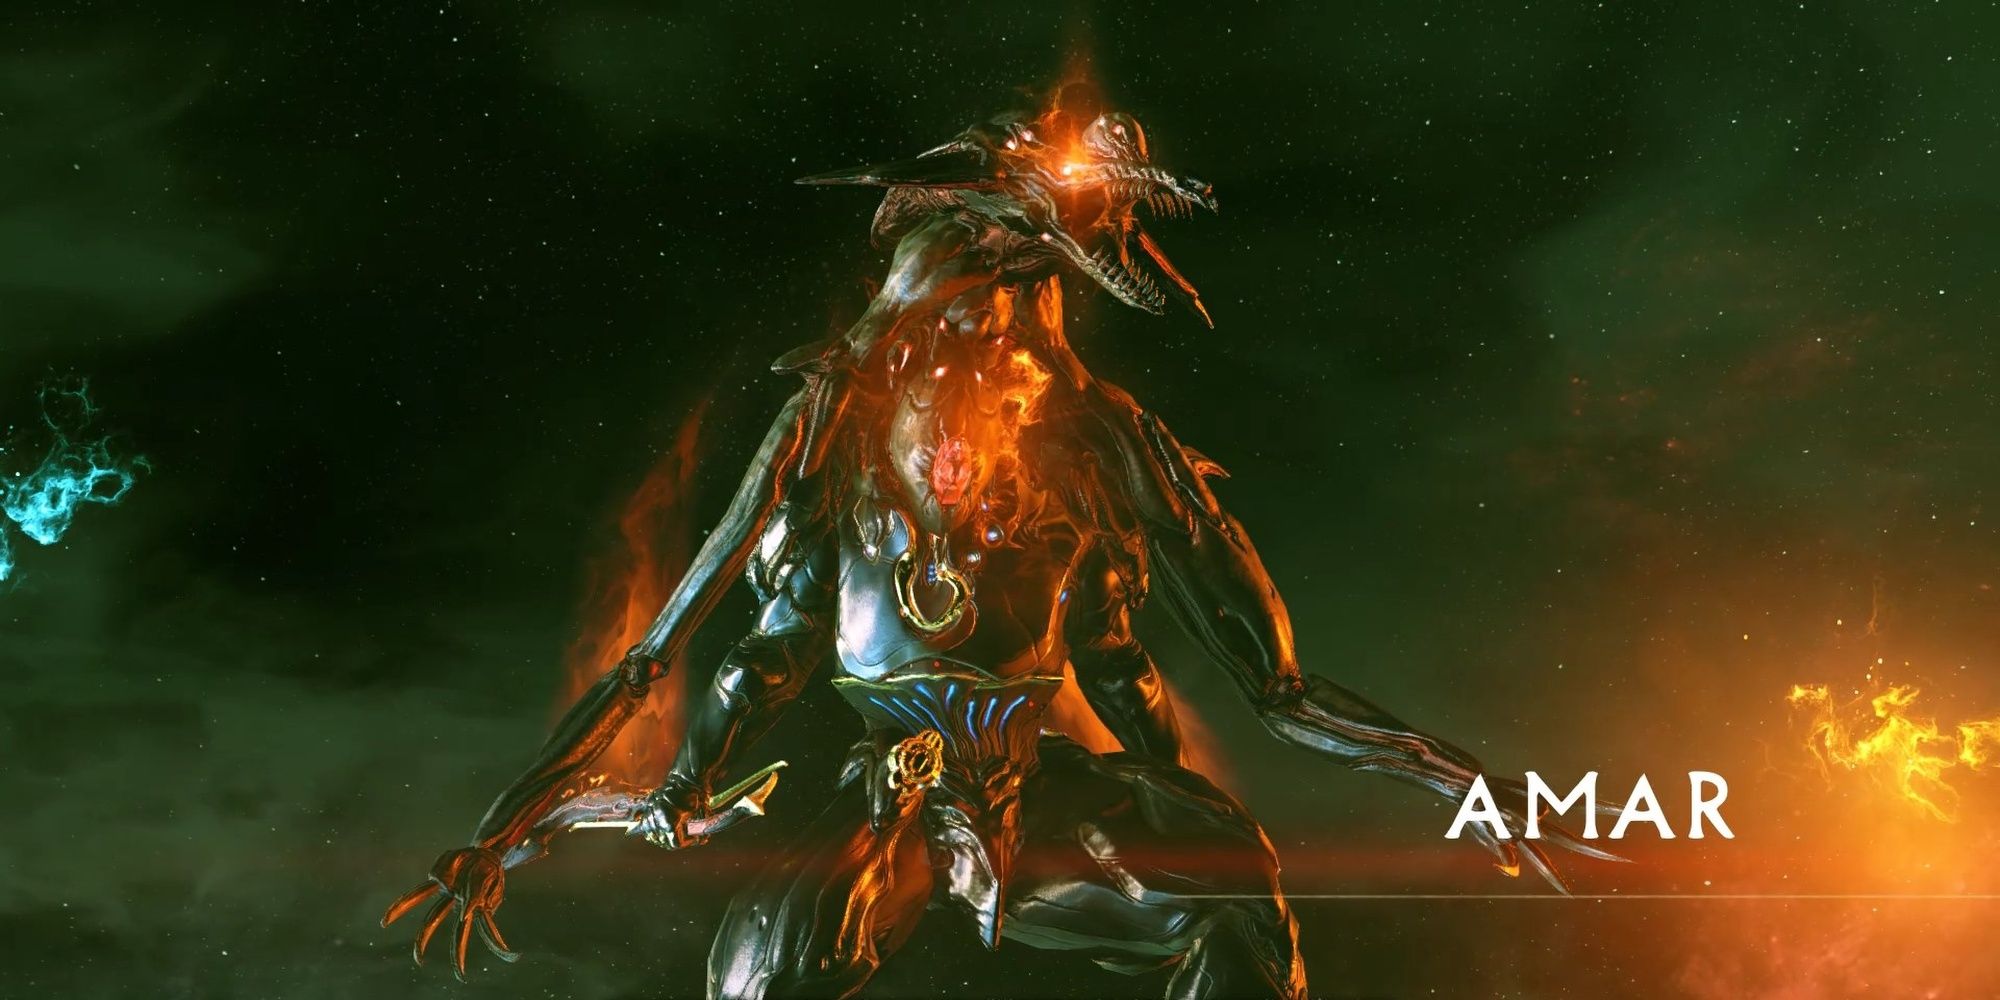
Archon Amar
Amar shares many similarities with the Rhino Warframe it’s using as a host.
Time your charges with the bow to constantly red crit Amar while it’s on the ground.
Should Amar leap into the air, immediately dodge to the side to avoid the attack.
Use the same strategy if you see Amar get on all fours.

For its clones, you’ll want to fire uncharged bow arrows to quickly kill them.
If the clones are bunched close together, use the charged attack instead.
Amar has two phases before it’ll die, both of which play out exactly the same.
Lowering Amar’s HP to zero in its second arena will end the fight.
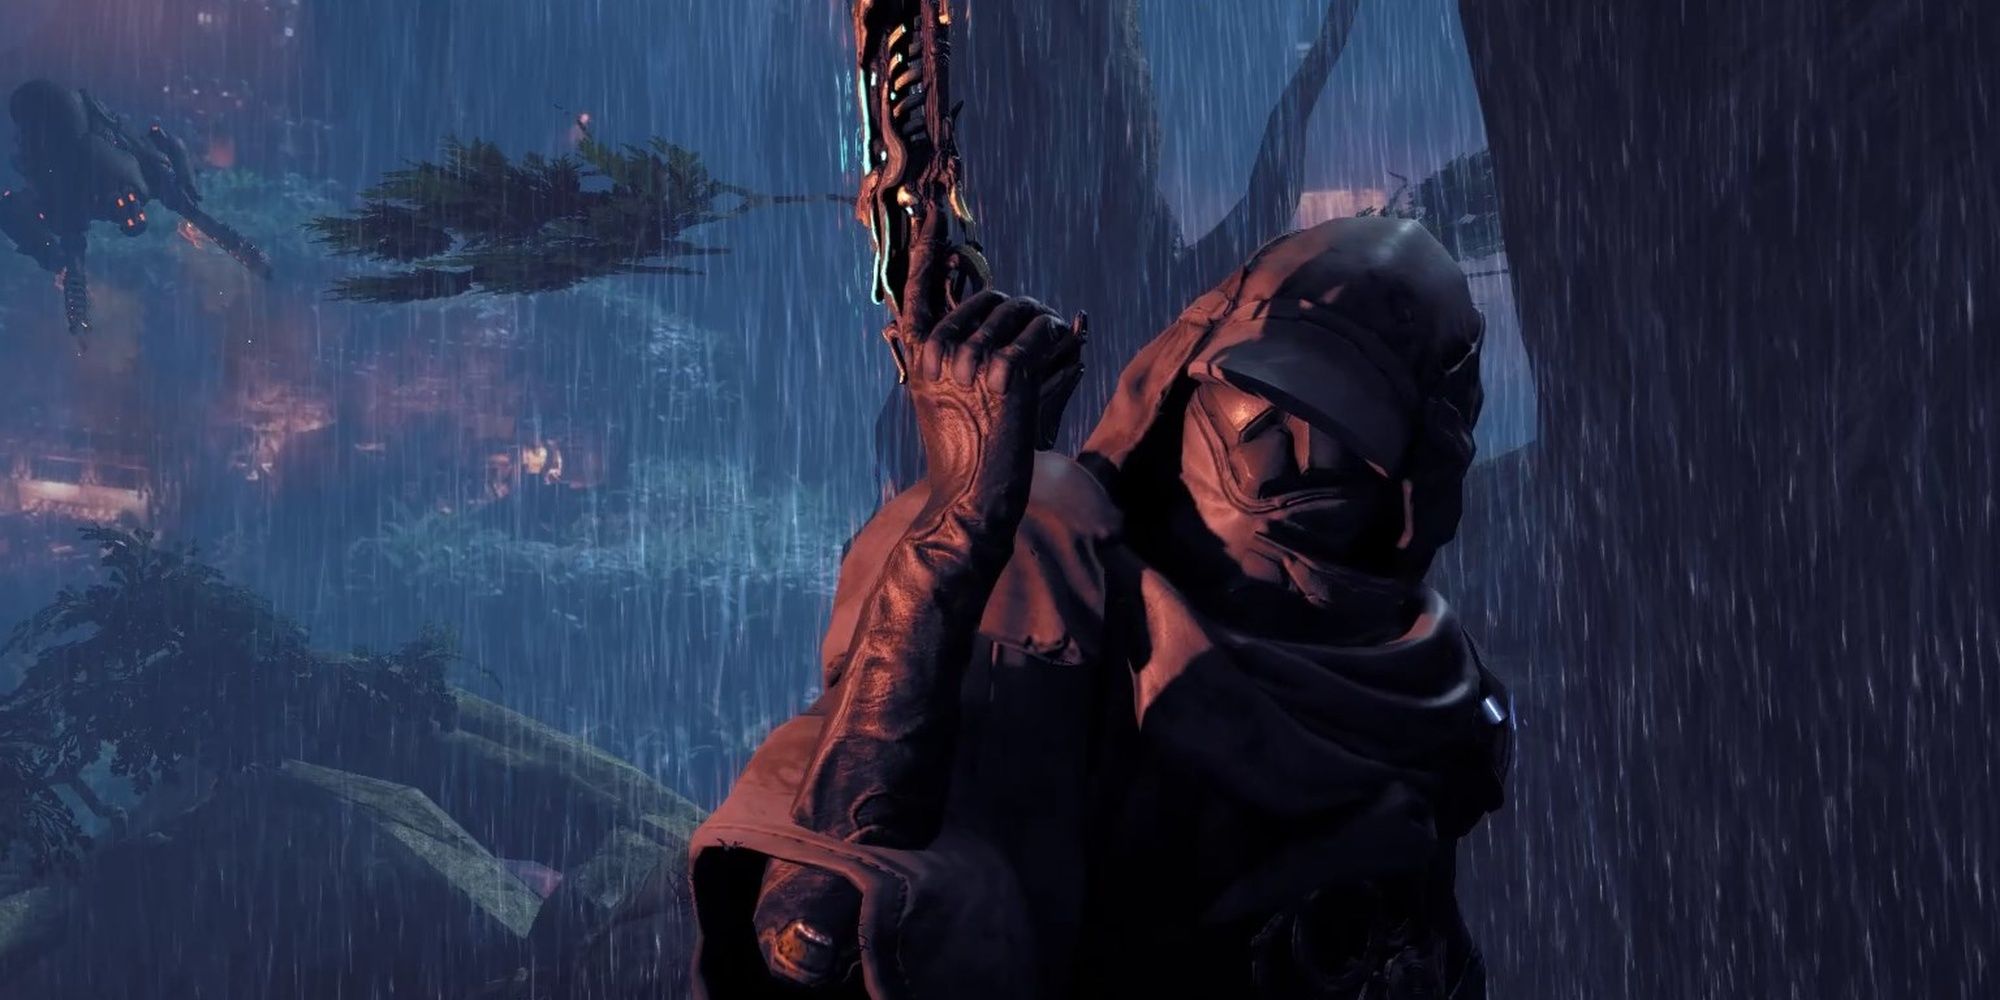
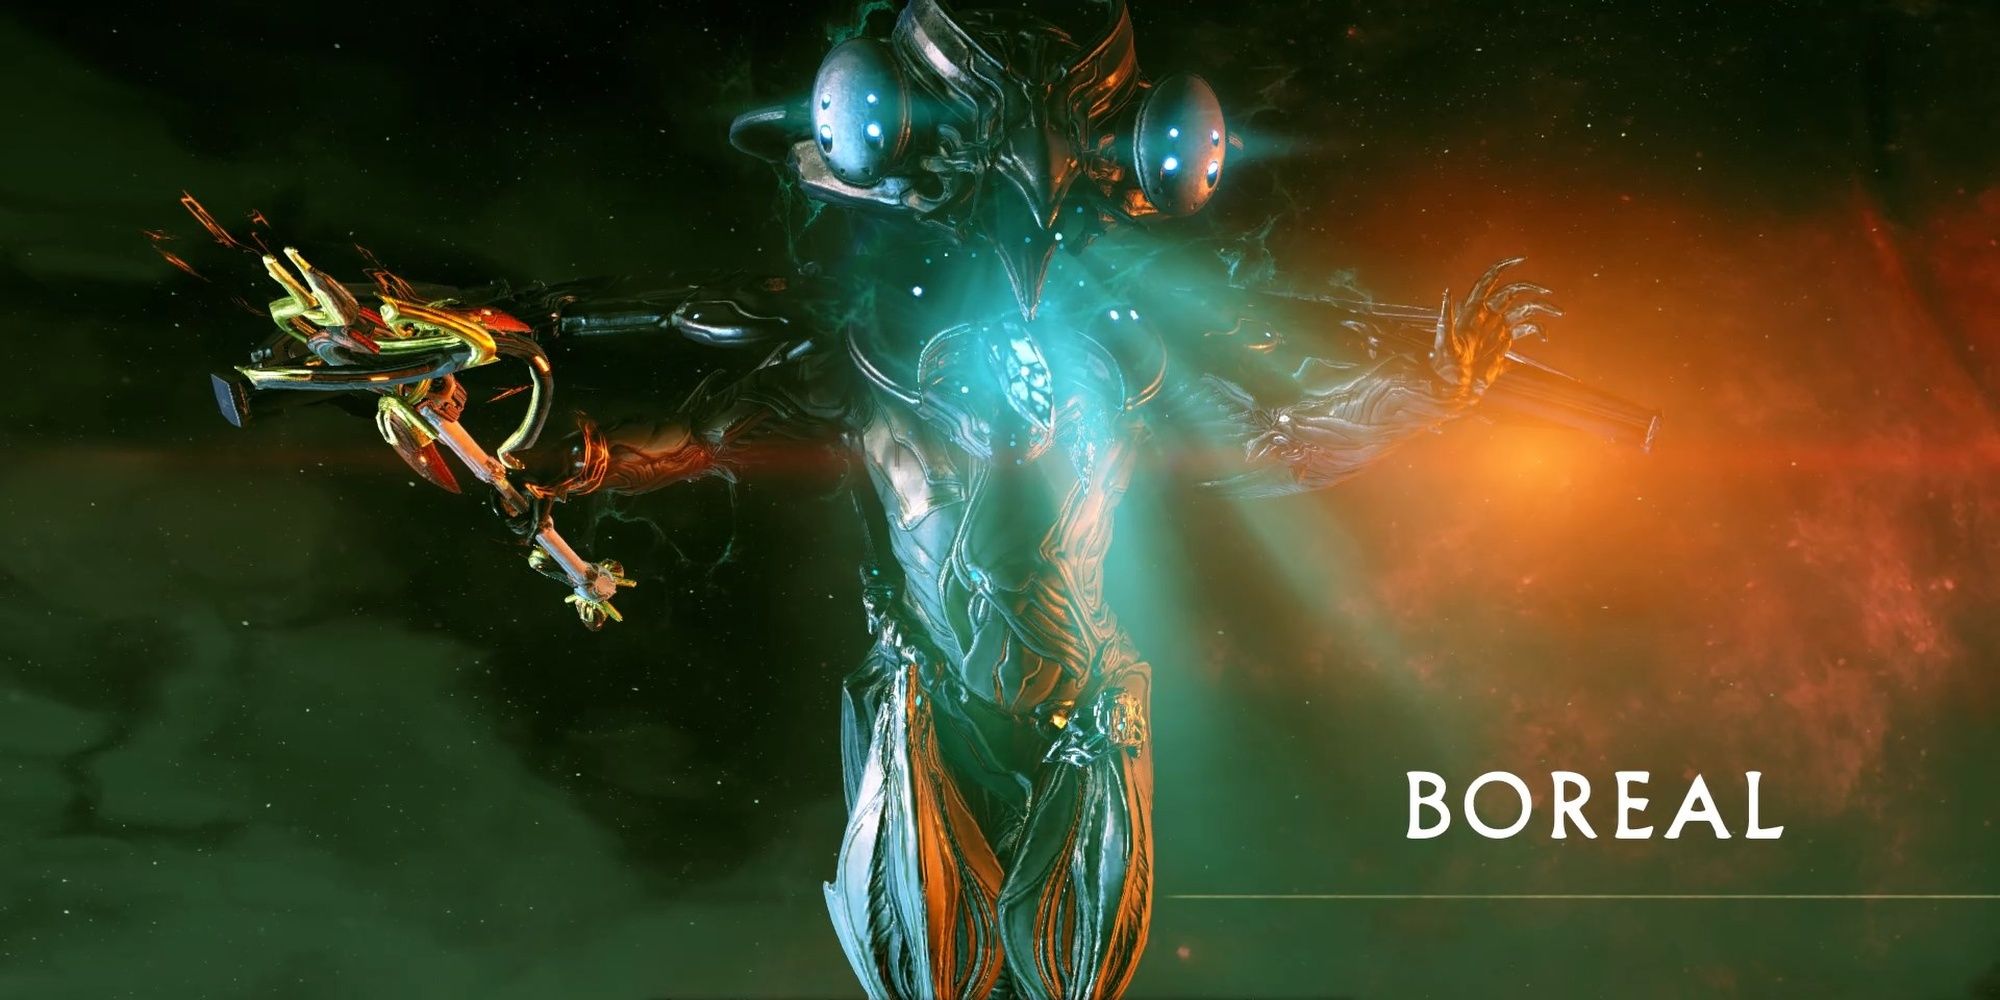
Archon Boreal
Boreal uses abilities that either stun you or provide some sort of area denial.
Here’s what Boreal is capable of:
You’ll face Boreal in the midst of an Earth forest.
Use one if Boreal lowers your HP to safely use a Restorative.
You’ll need to push through the scream to enter the dome and hit Boreal.
Hitting Boreal while in the dome will stop the attack and continue the fight.

Boreal will deploy four Conculysts each time this happens, nothing a perfectly-charged bow can’t counter.
At 33% HP, Boreal will retreat further into the forest.
Chase the Archon down and finish the fight.

It uses the same attacks for the second phase, so keep using the same strategy.
You won’t have any trees to hide behind in the second arena, however.
Use a finisher on Boreal when it loses all of its HP to finish the fight.
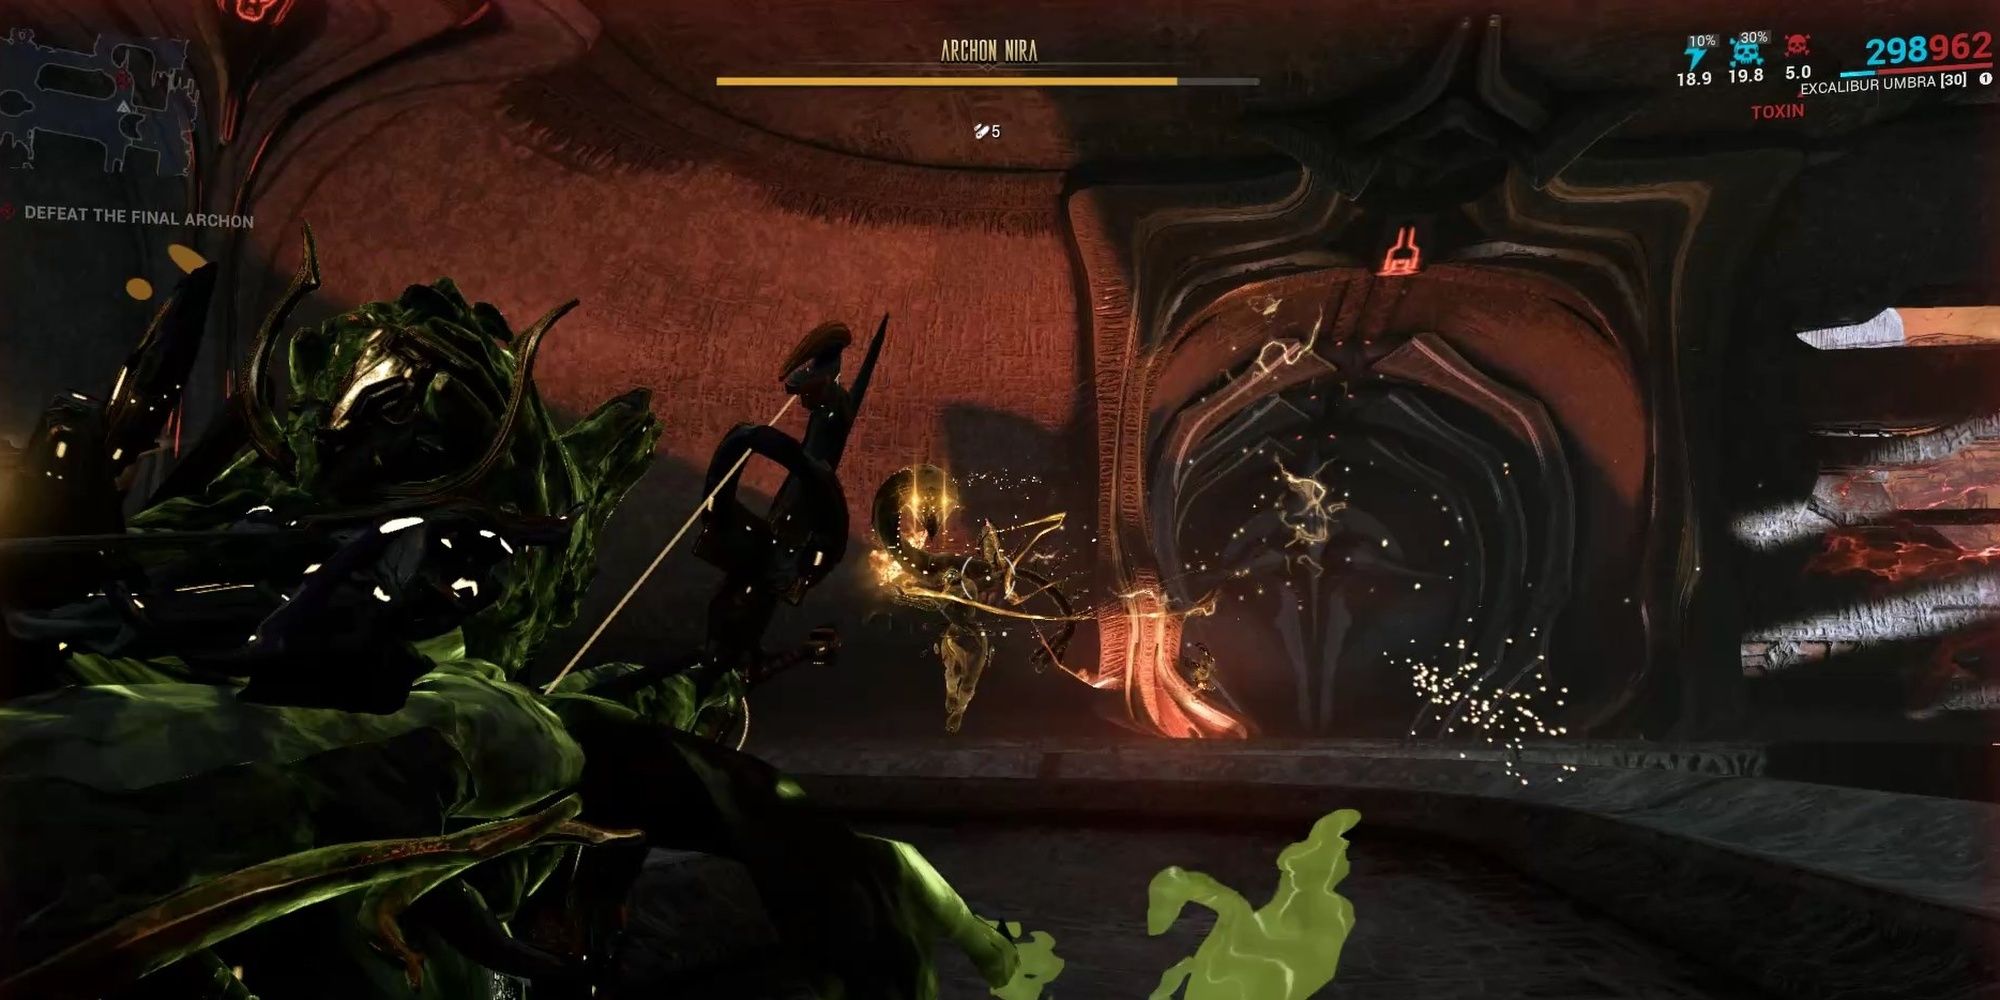
It will stick to mid-range as much as possible.
Whenever Smoke Screen runs out, you’ll want to reposition to a location with some sort of cover.
Being able to dodge Nira’s projectile attacks is key to surviving this fight.
Should the Archon charge you, reposition to a new piece of cover.
Damaging the boss enough will force Nira to retreat.
Enter the new arena and finish the boss off, using the same tactics as before.
Make good use of your bow, Smoke Screen, and nearby cover to take this Archon down.
Defeating two Archons will trigger the next part of The New War.
Return to the Lotus to begin healing her.
This is a linear section without any combat.
You’ll find a light in a classroom you could use to proceed.
When you reach a large courtyard, hang a right to find the exit.
You’ll eventually enter the residential quarters and walk into your room.
Interact with the image of your parents to continue.
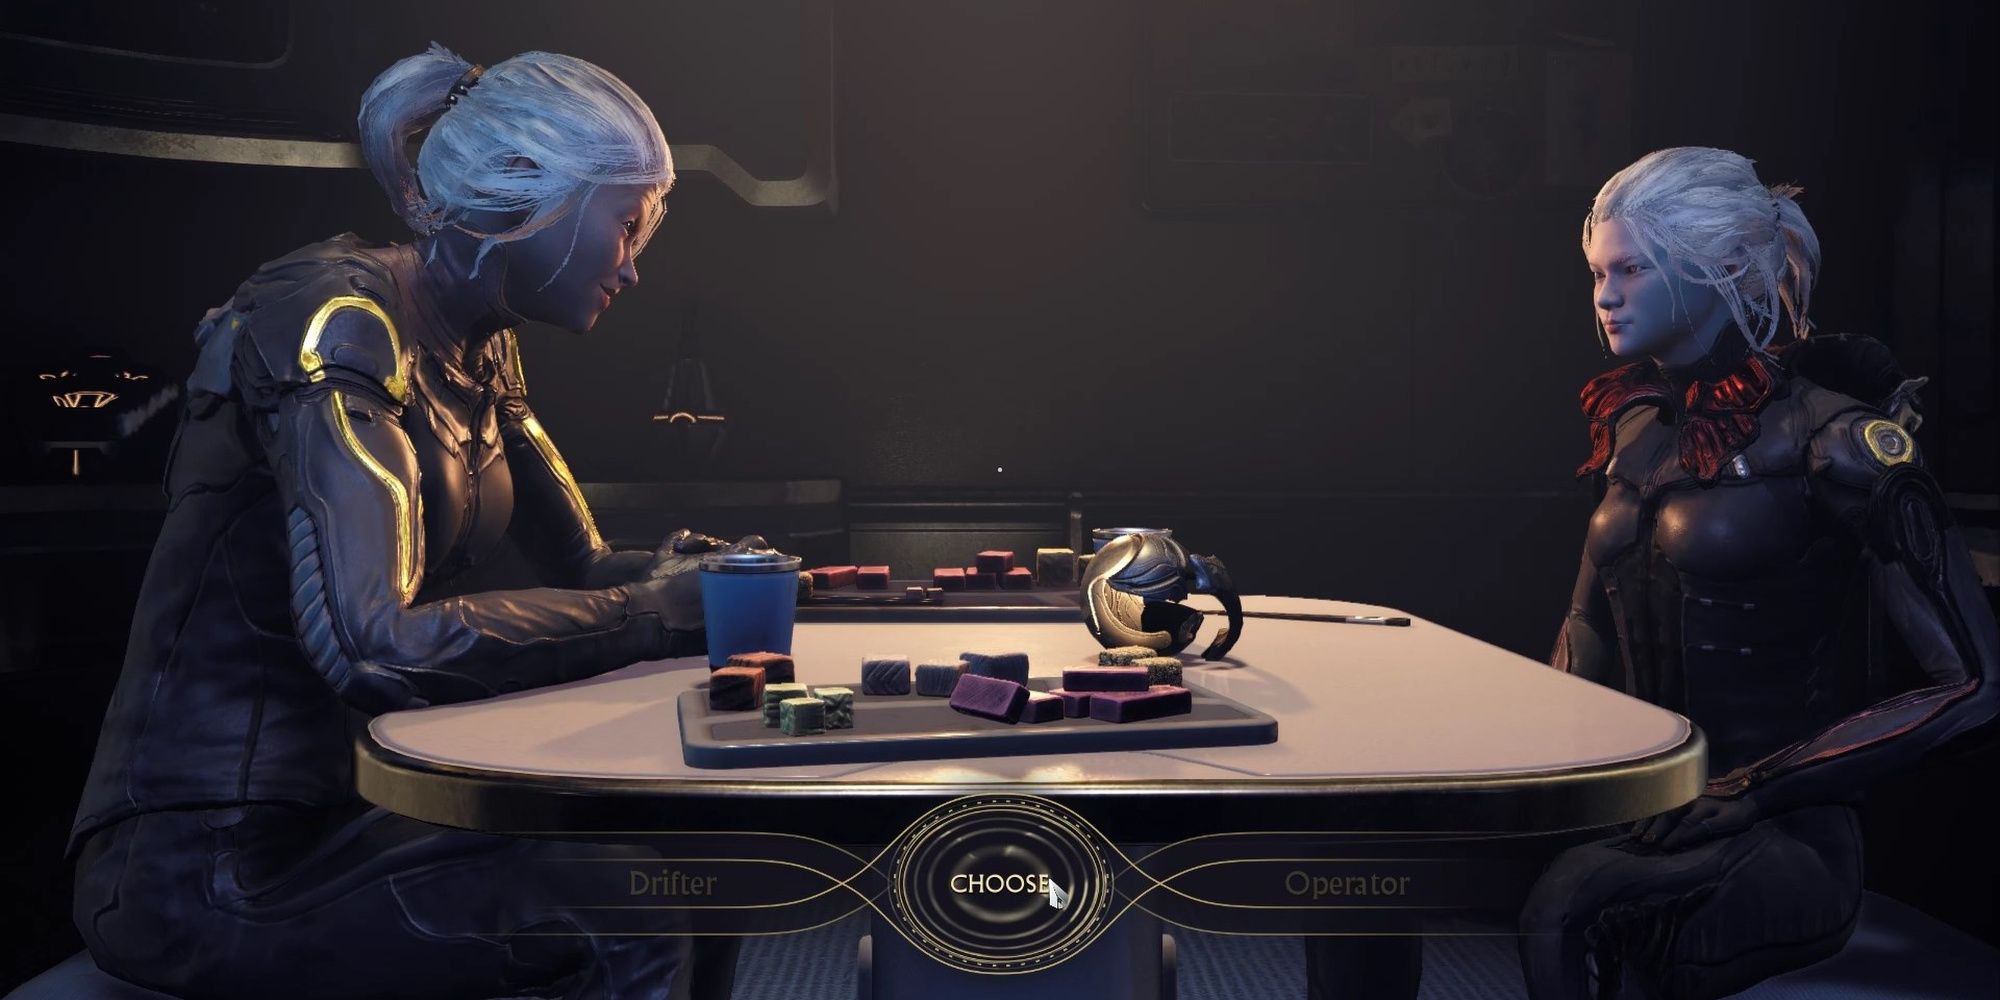
The Operator and the Drifter meet each other aboard the Zariman Ten Zero.
This choice is mostly cosmetic.
The Drifter’s tech-related gadgets are lost if you decide to play as them.
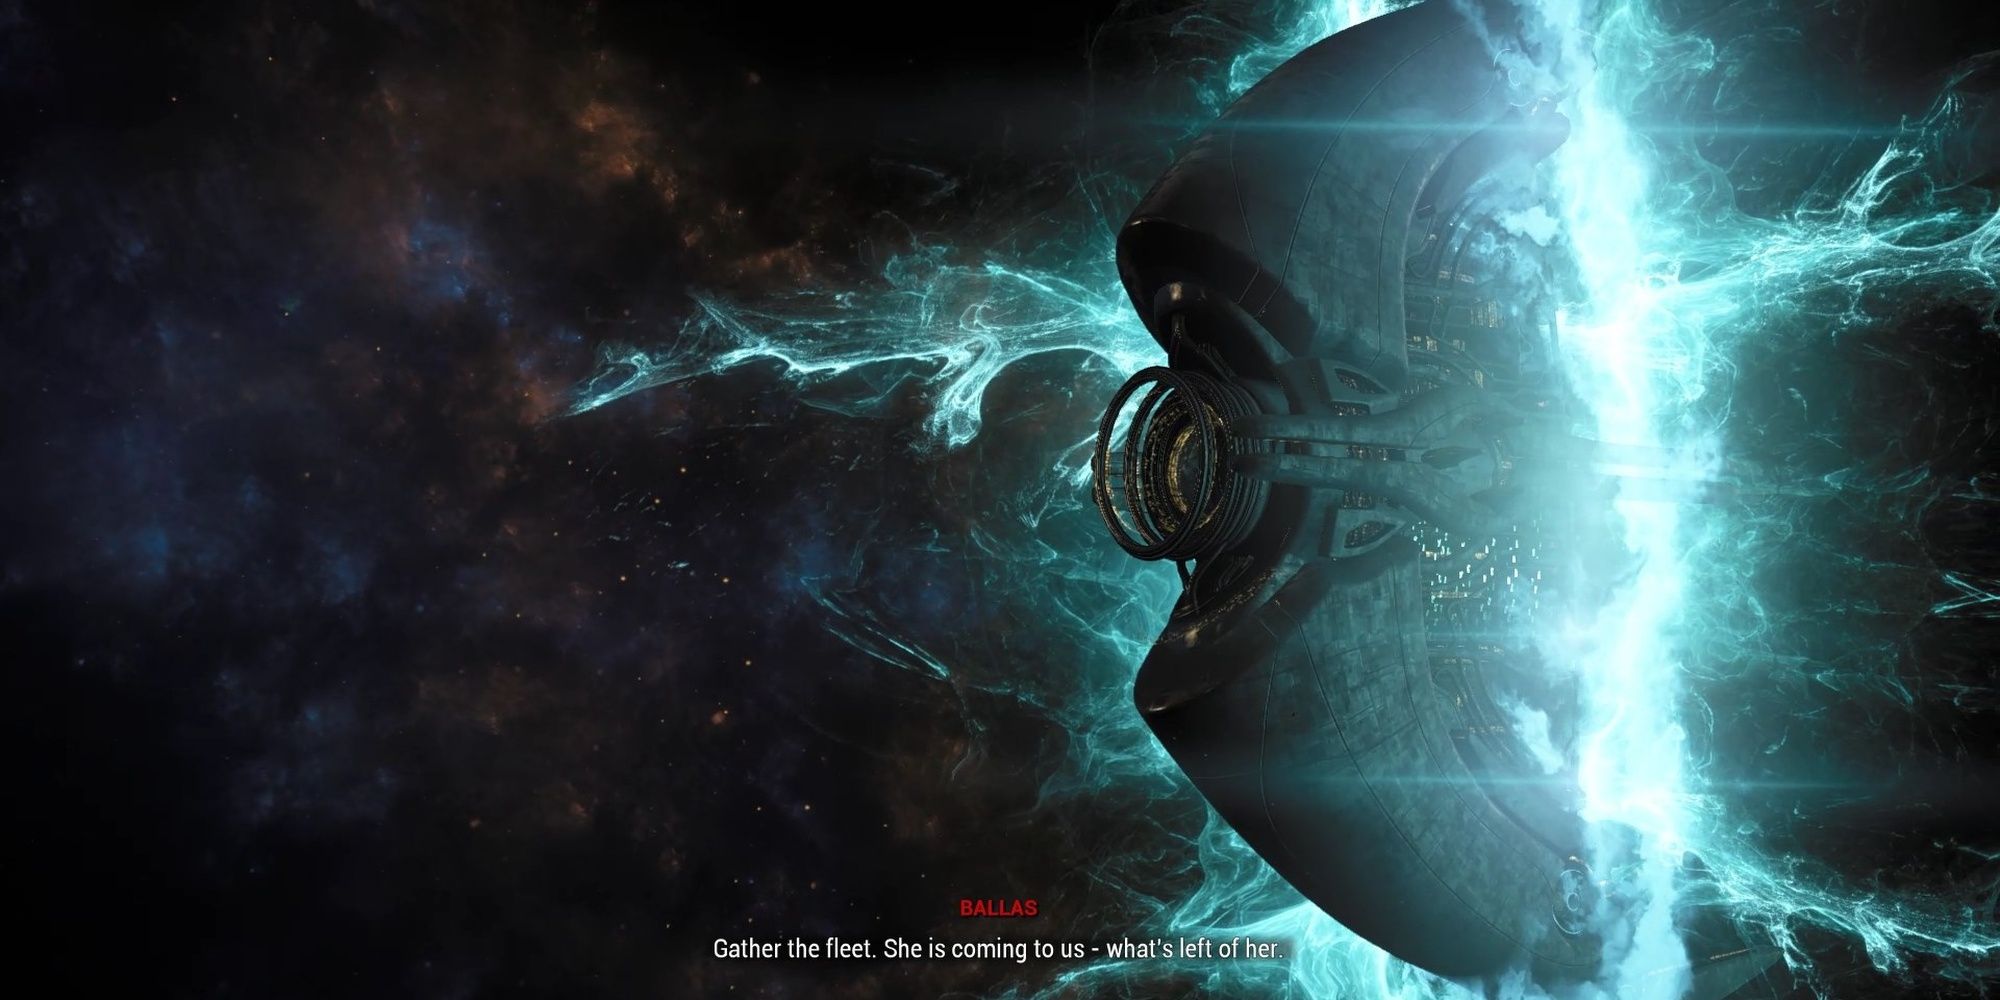
It looks like the Lotus is heading straight for the Sentient fleet stationed at Cetus.
Time to give her a visit.
Your Warframe will be deployed right outside of Quill Onkko’s cave.
Switch to your Operator or Drifter to enter the city.
The Ostrons have all been affected by the Veil equipment.
you’re free to remove the unit from each Ostron by Void Dashing through them.
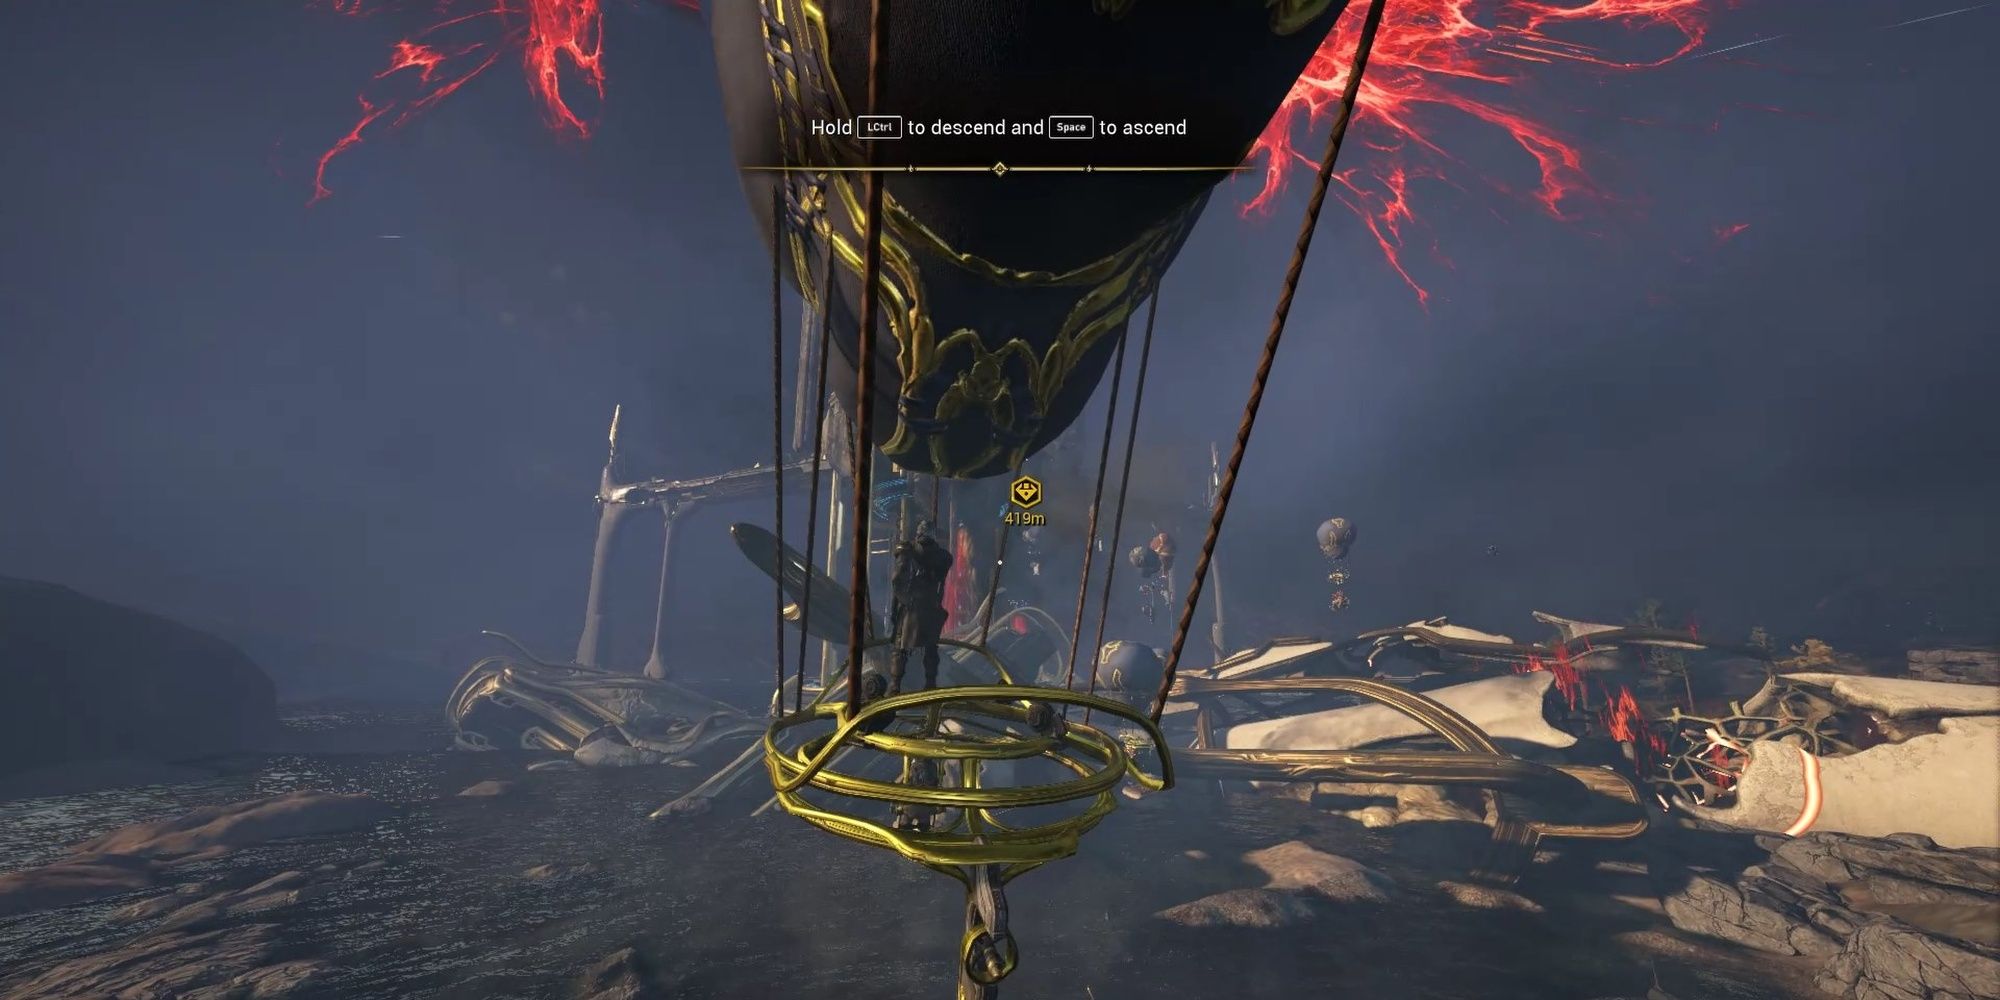
The town will give you one of the Ostron’s hot-air balloons they use to reach the Unum tower.
Ascend to the air dock aboard the tower, then fight your way to the top.
Ostron NPCs can be found on each floor, indoctrinated by the Veil equipment.
Void Dash through them to remove the equipment.
The Unum will open a way forward for your Warframe.
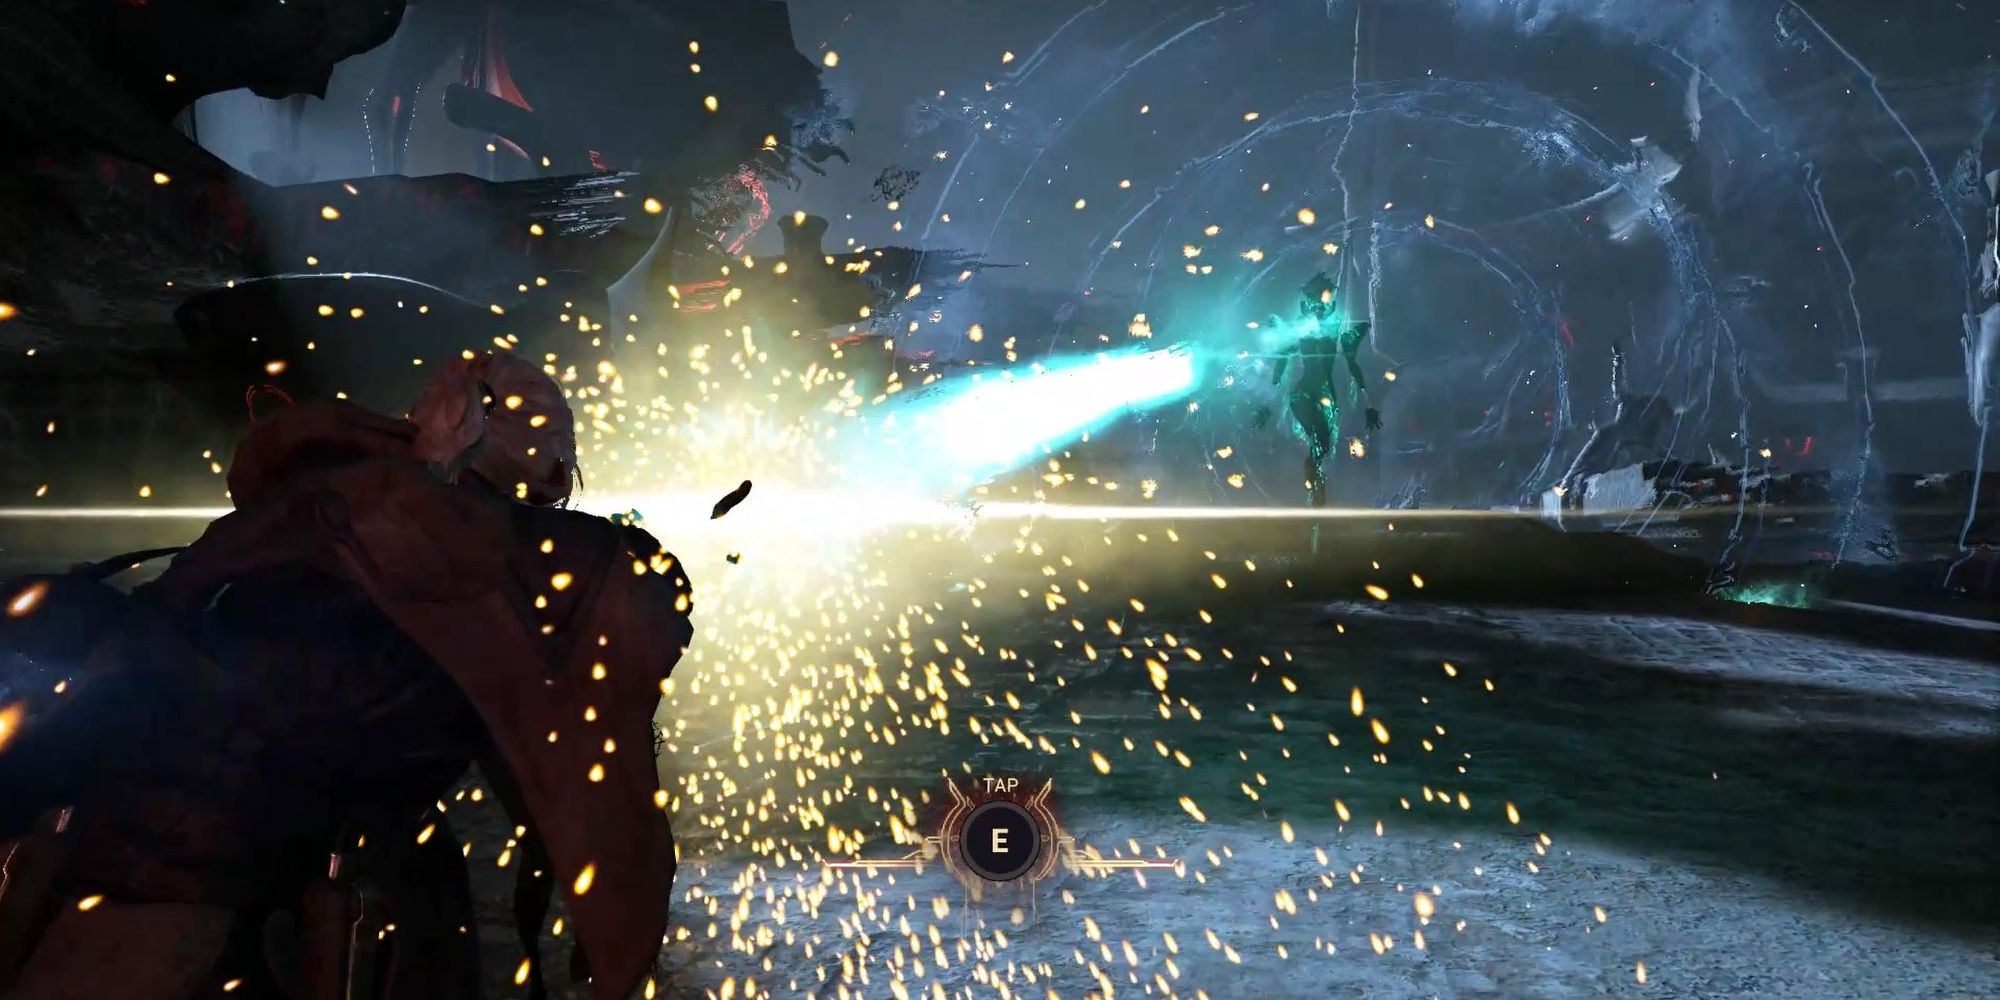
Get inside the Sentient ship.
Tap the interact key to beat the QTE section.
Cephalon Cy will send the Railjack to your location to help you reach the fleet.
Carve through the Sentient fighters to reach the fleet.
Note:Crewmates will not appear during this section.
You’ll have to control the Railjack by yourself.
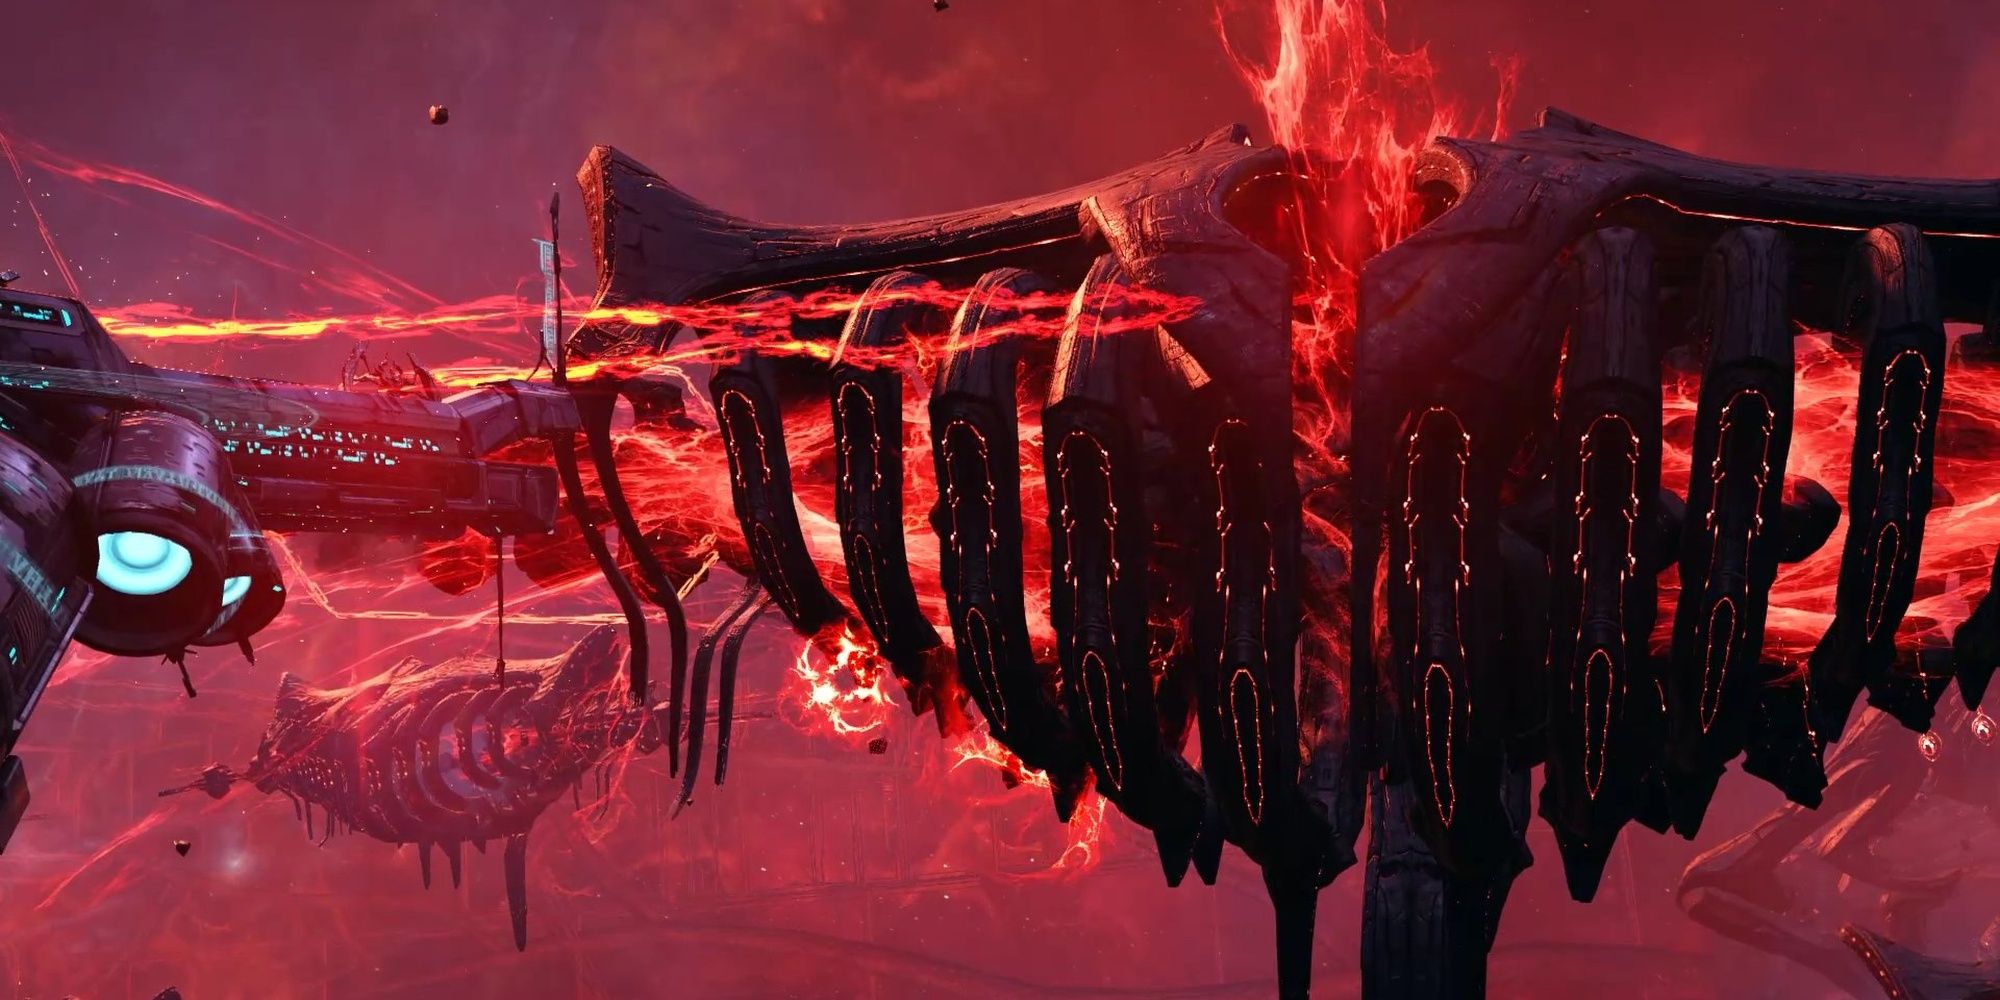
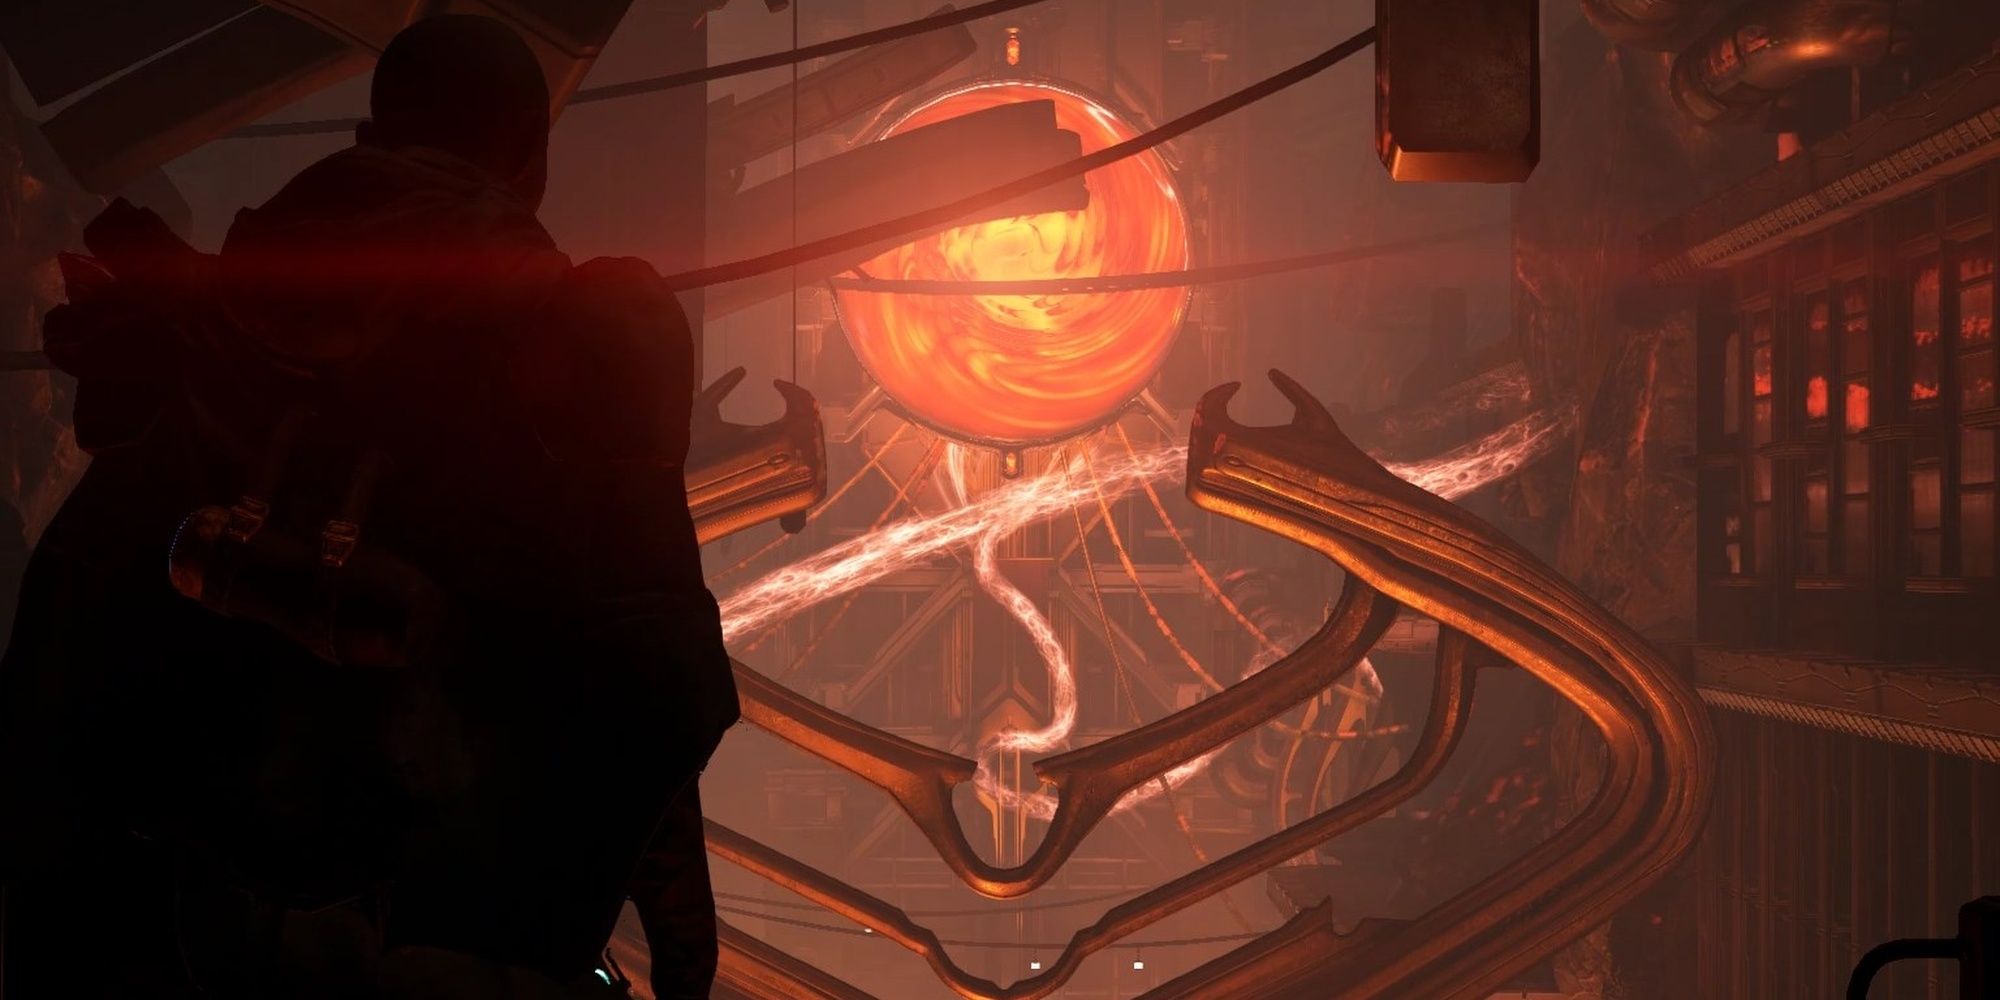
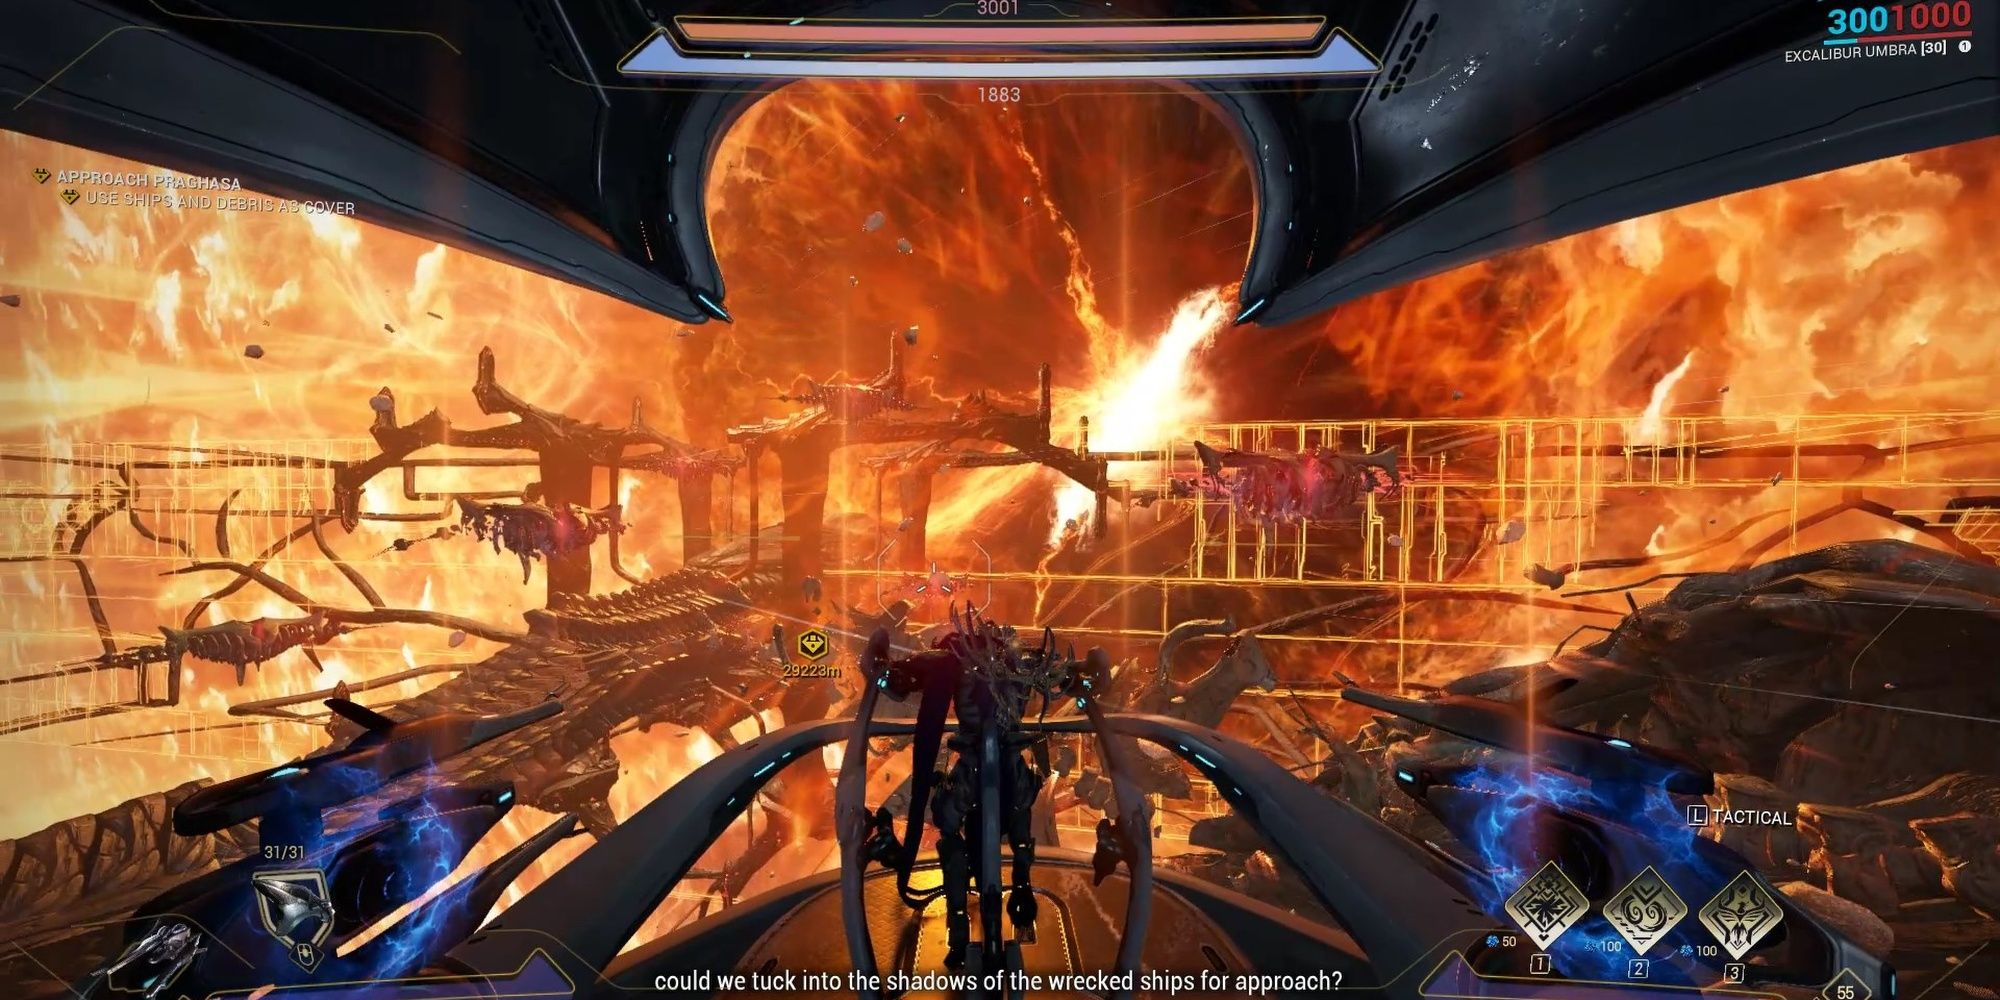
Praghasa is where Ballas is located, a Sentient structure docked right next to the sun.
Inch your way towards the Sentient structure, avoiding the solar flares whenever possible.
Enter the slingshot when you’re ready.
Using your Necramech, you’ll need to follow Erra through the Praghasa ship.
If not, feel free to use your Necramech’s fourth ability to equip your Exalted weapon.
This will make short work of any Sentients that get in your way.
Use your Operator or the Drifter to eliminate the Sentients and Orphix generators they’re protecting.
Eliminating the generator will spawn the third Archon you didn’t kill during the halfway point of the quest.
Thankfully, you have your Warframe and the Paracesis this time.
Grab the Archon’s crystal and proceed deeper into the ship.
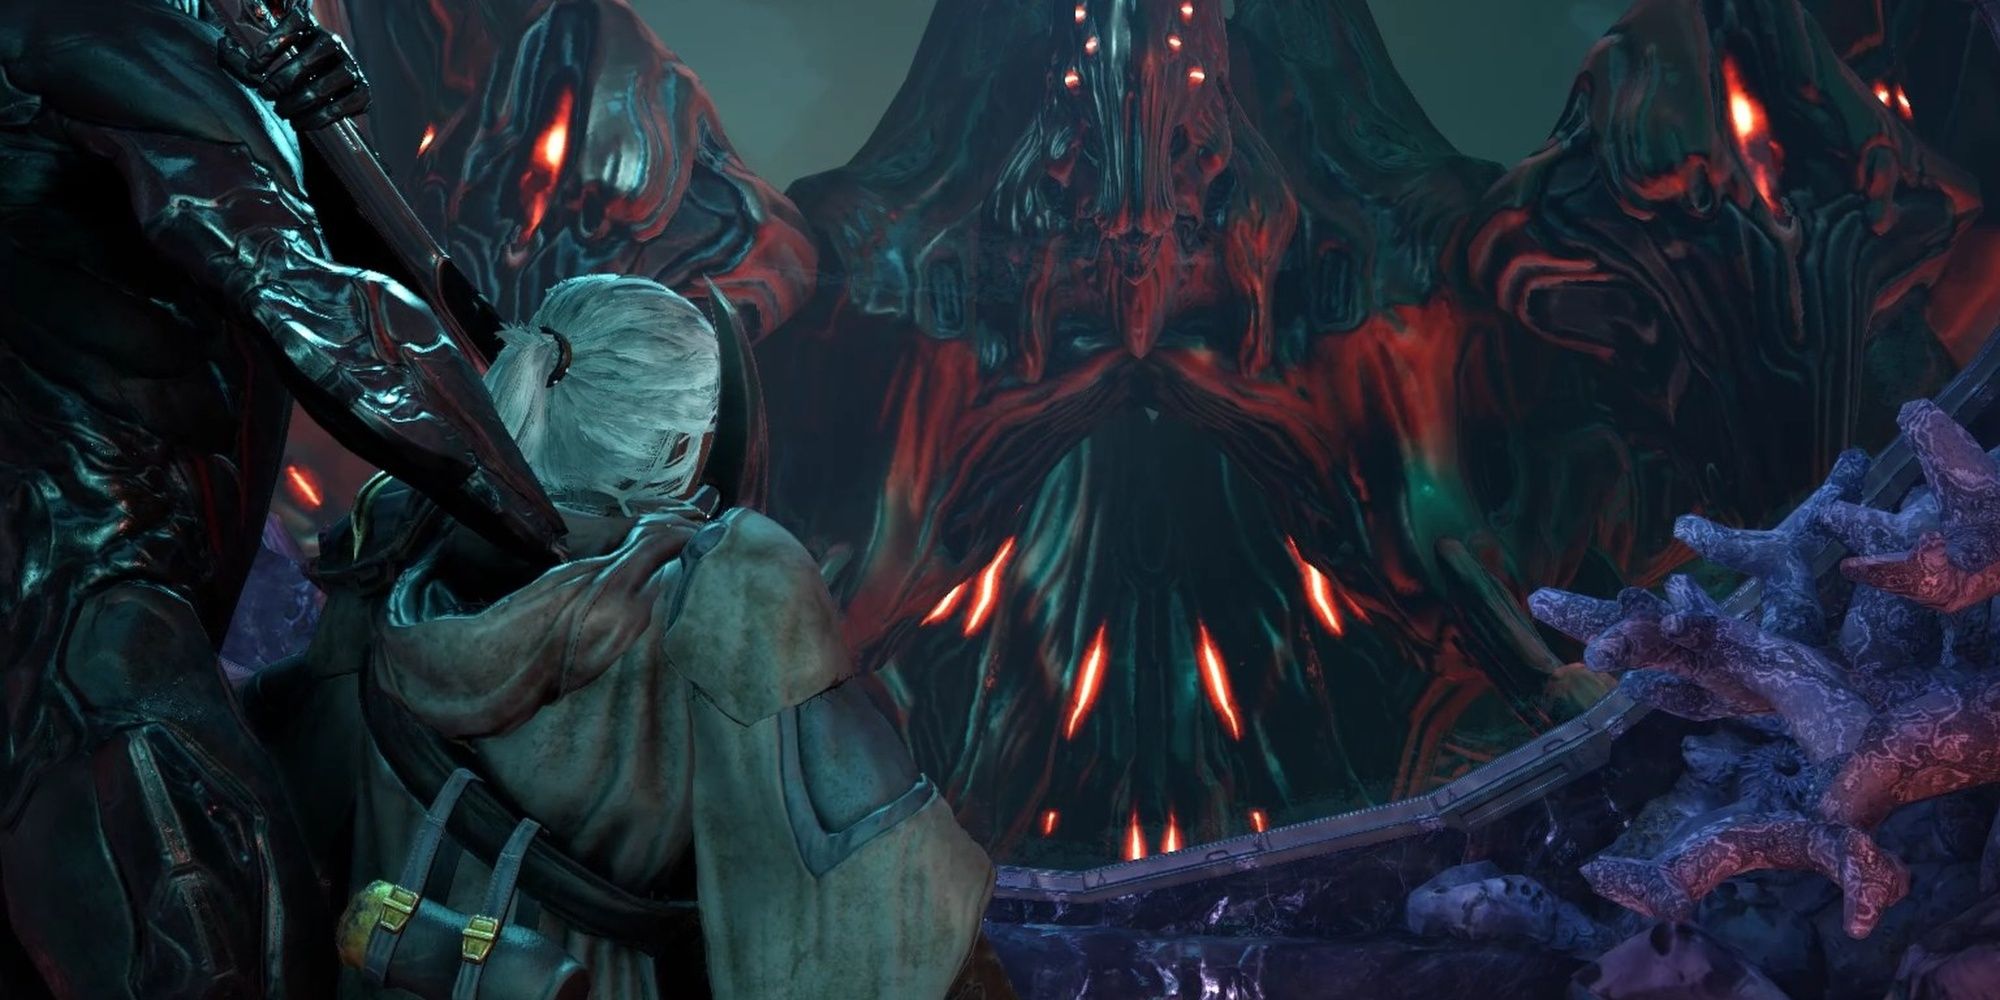
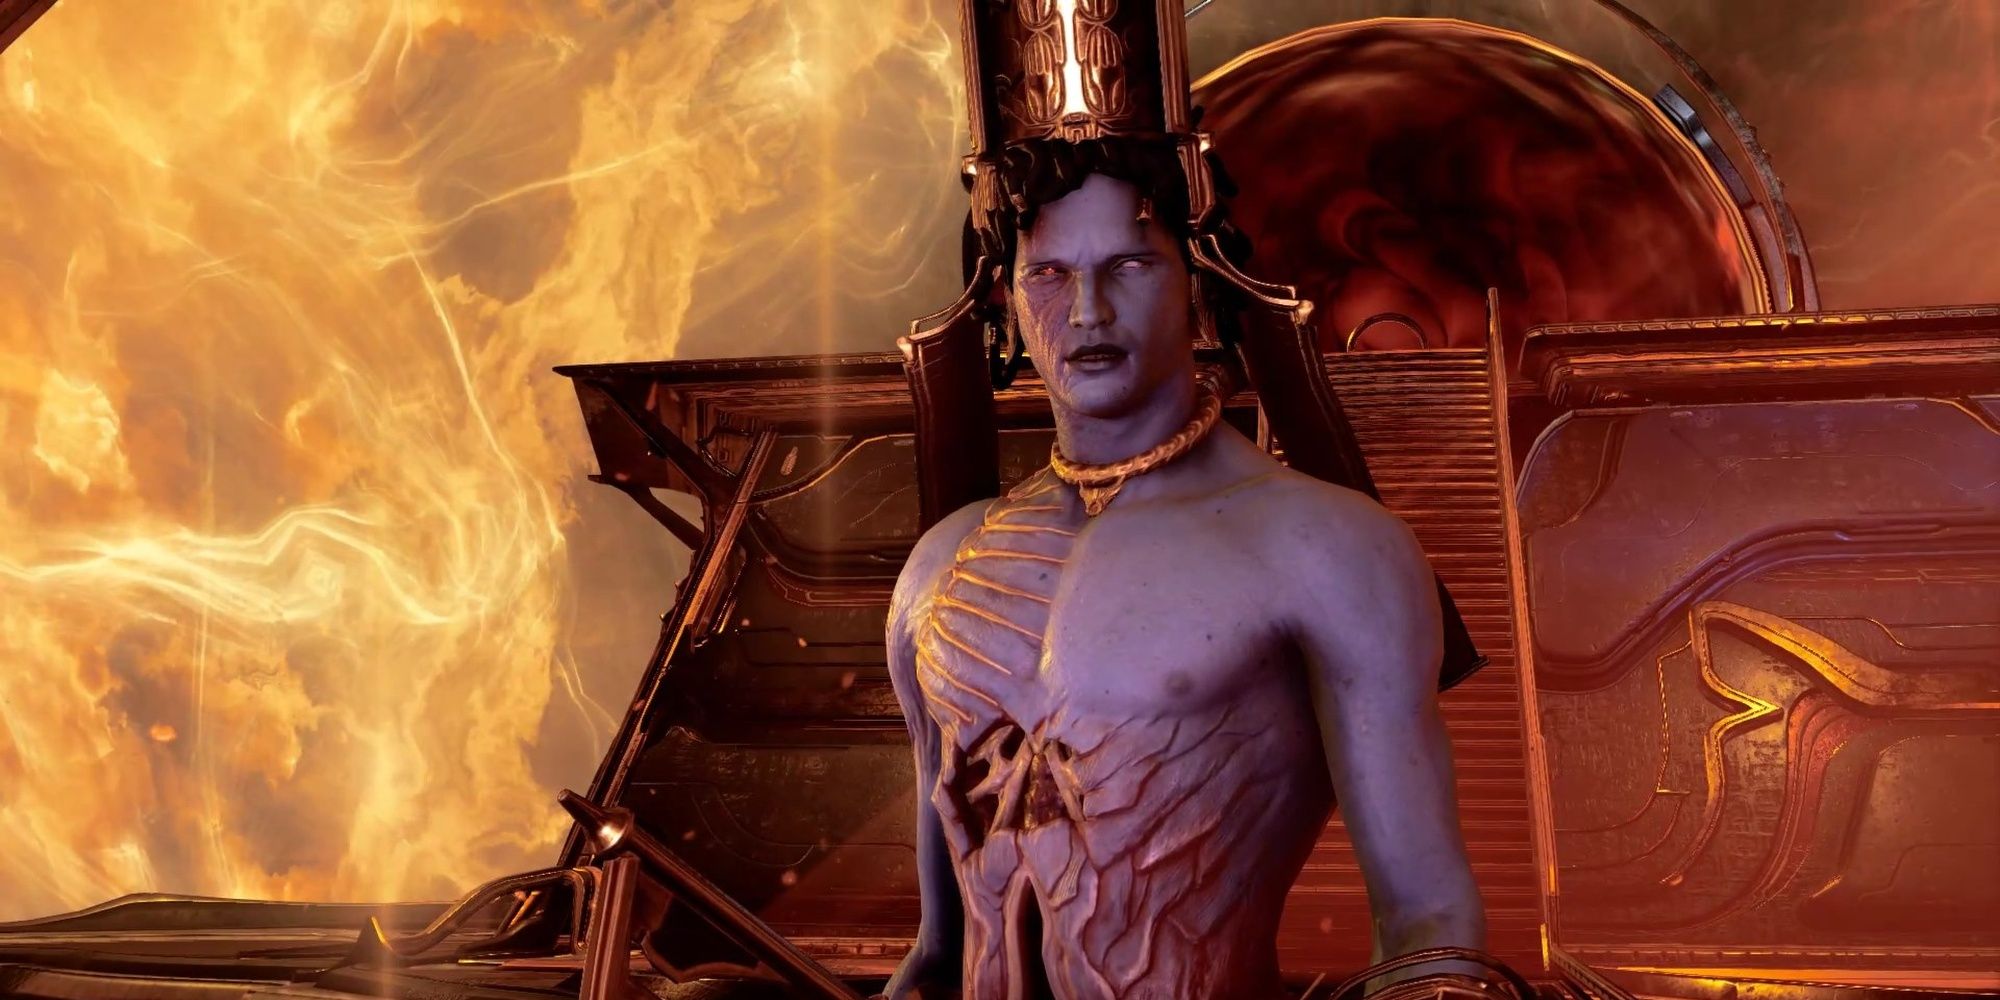
Ballas' narcissistic tendencies have fully revealed themselves.
The Lotus is ordered to kill you.
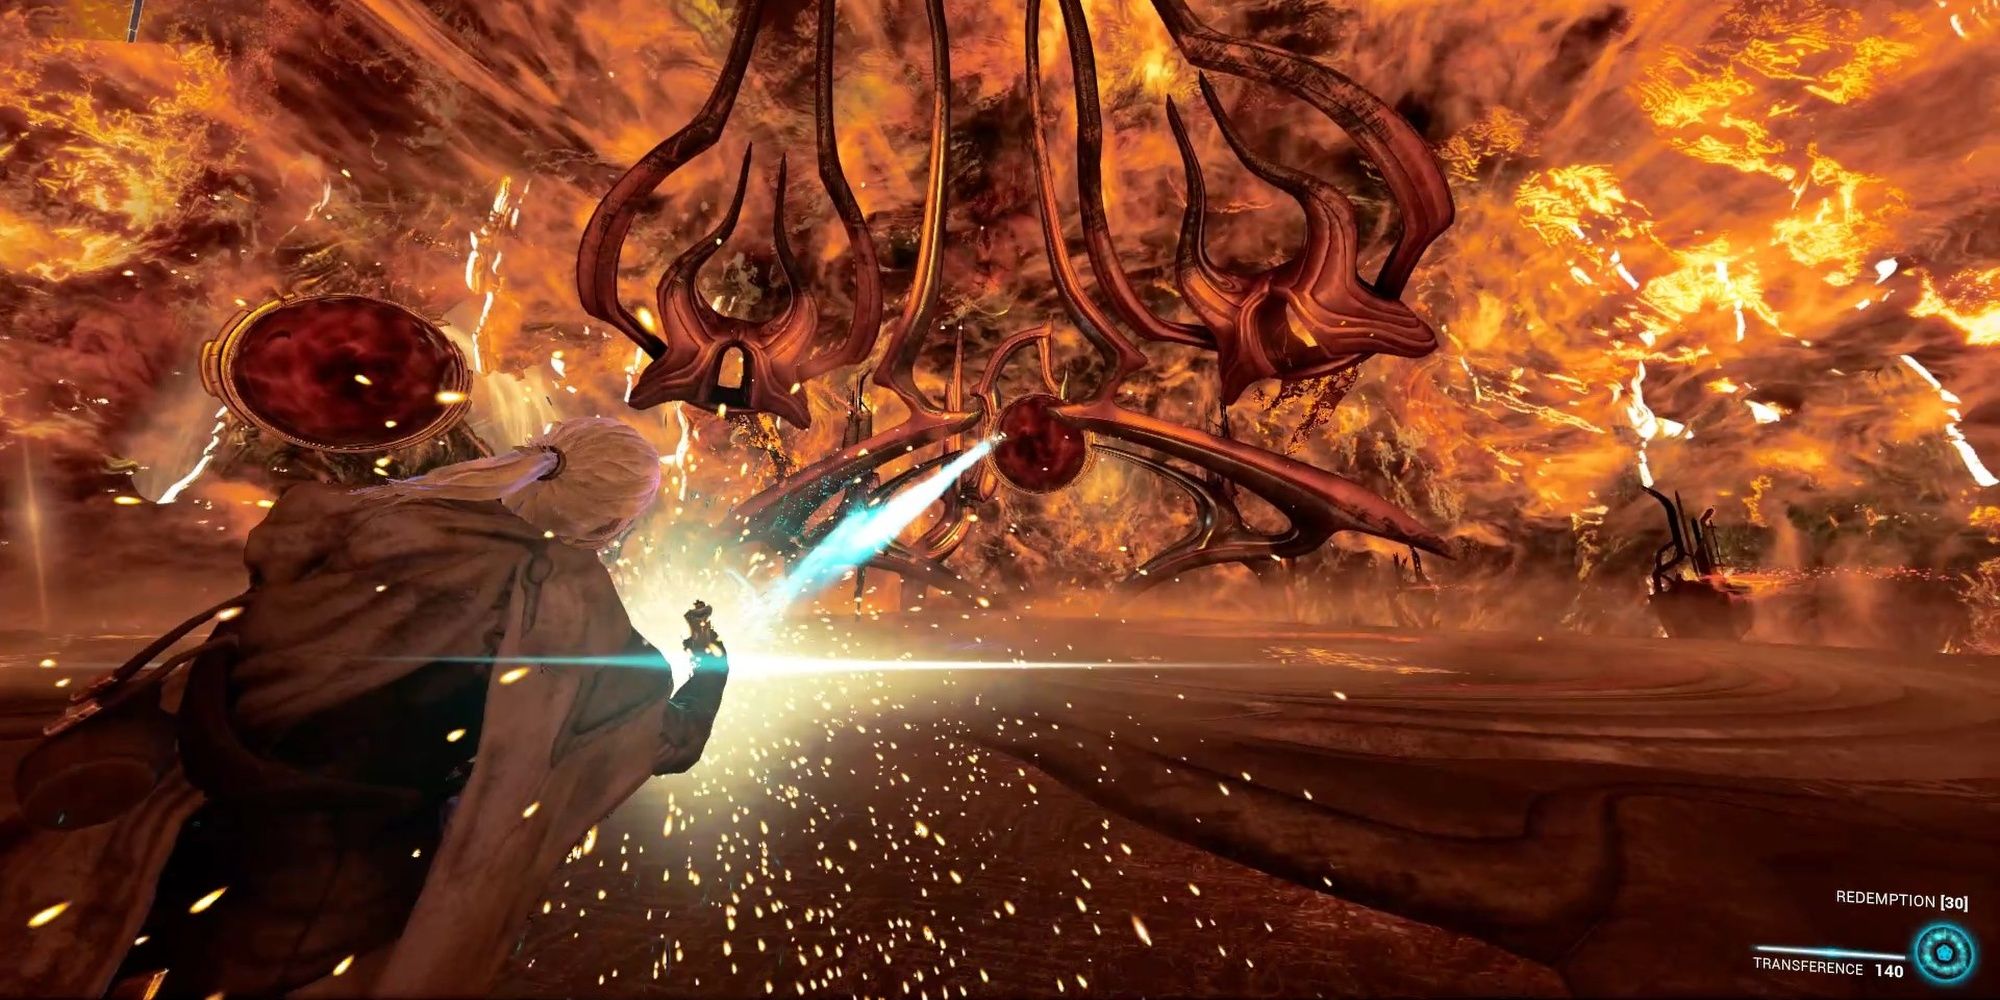
This fight is entirely mechanics-driven, not driven by how much damage your Warframe can do.
Repeat this process until every mirror is broken.
BUG:Breaking every mirror sometimes won’t trigger the next cutscene.
If this happens to you, restart the game.
You’ll now be able to use your Operator/Drifter’s Amp to damage Ballas.
Repeat this process a total of four times to finish the fight.
It’s gone full circle.
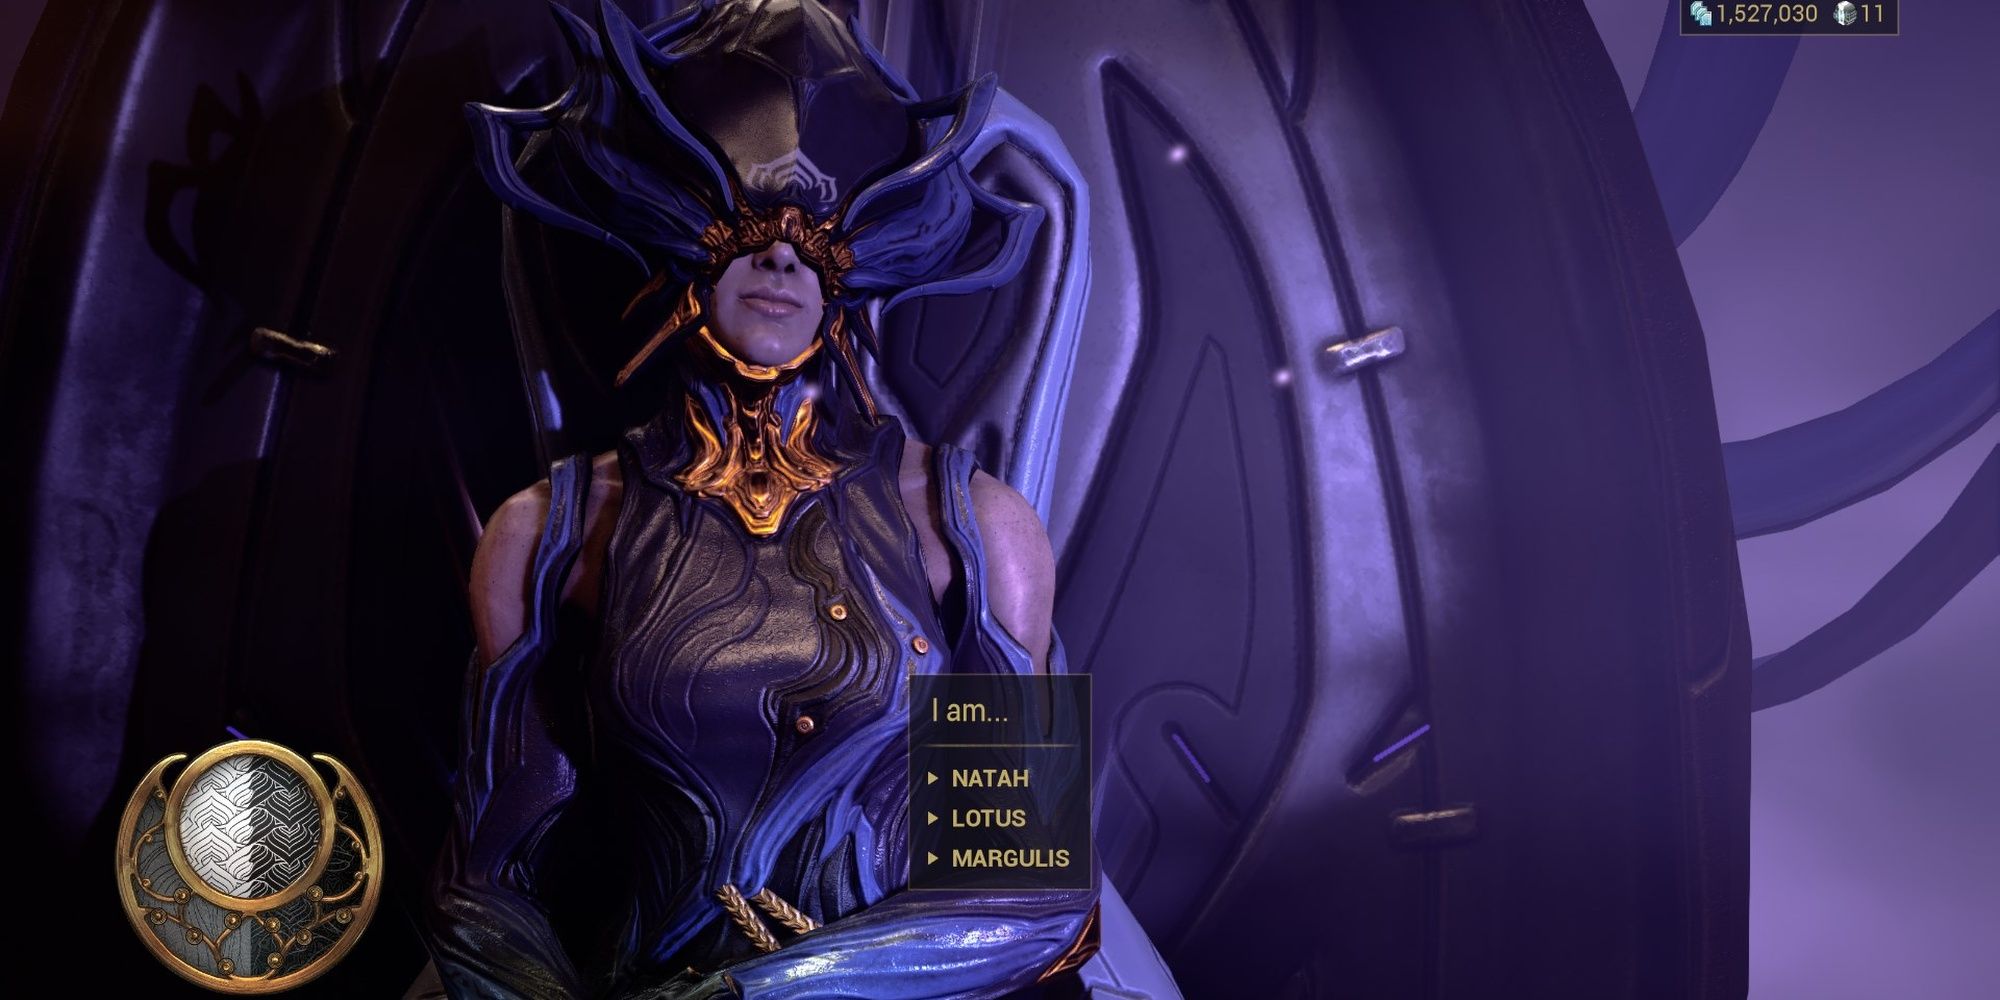
You’ll be given three choices during this part:
I Am…
The dialogue the Lotus gives doesn’t seem to change with any choice you make here.
Next:Everything you gotta Know About Warframe In 2021
