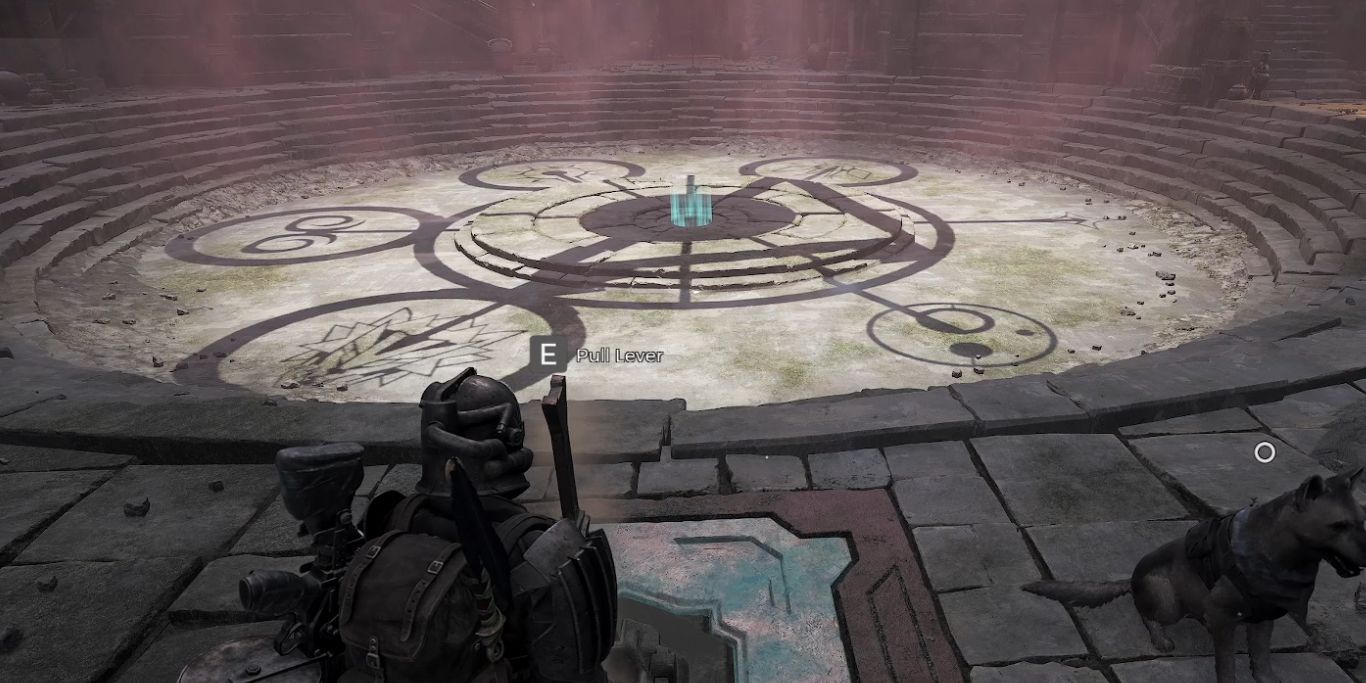
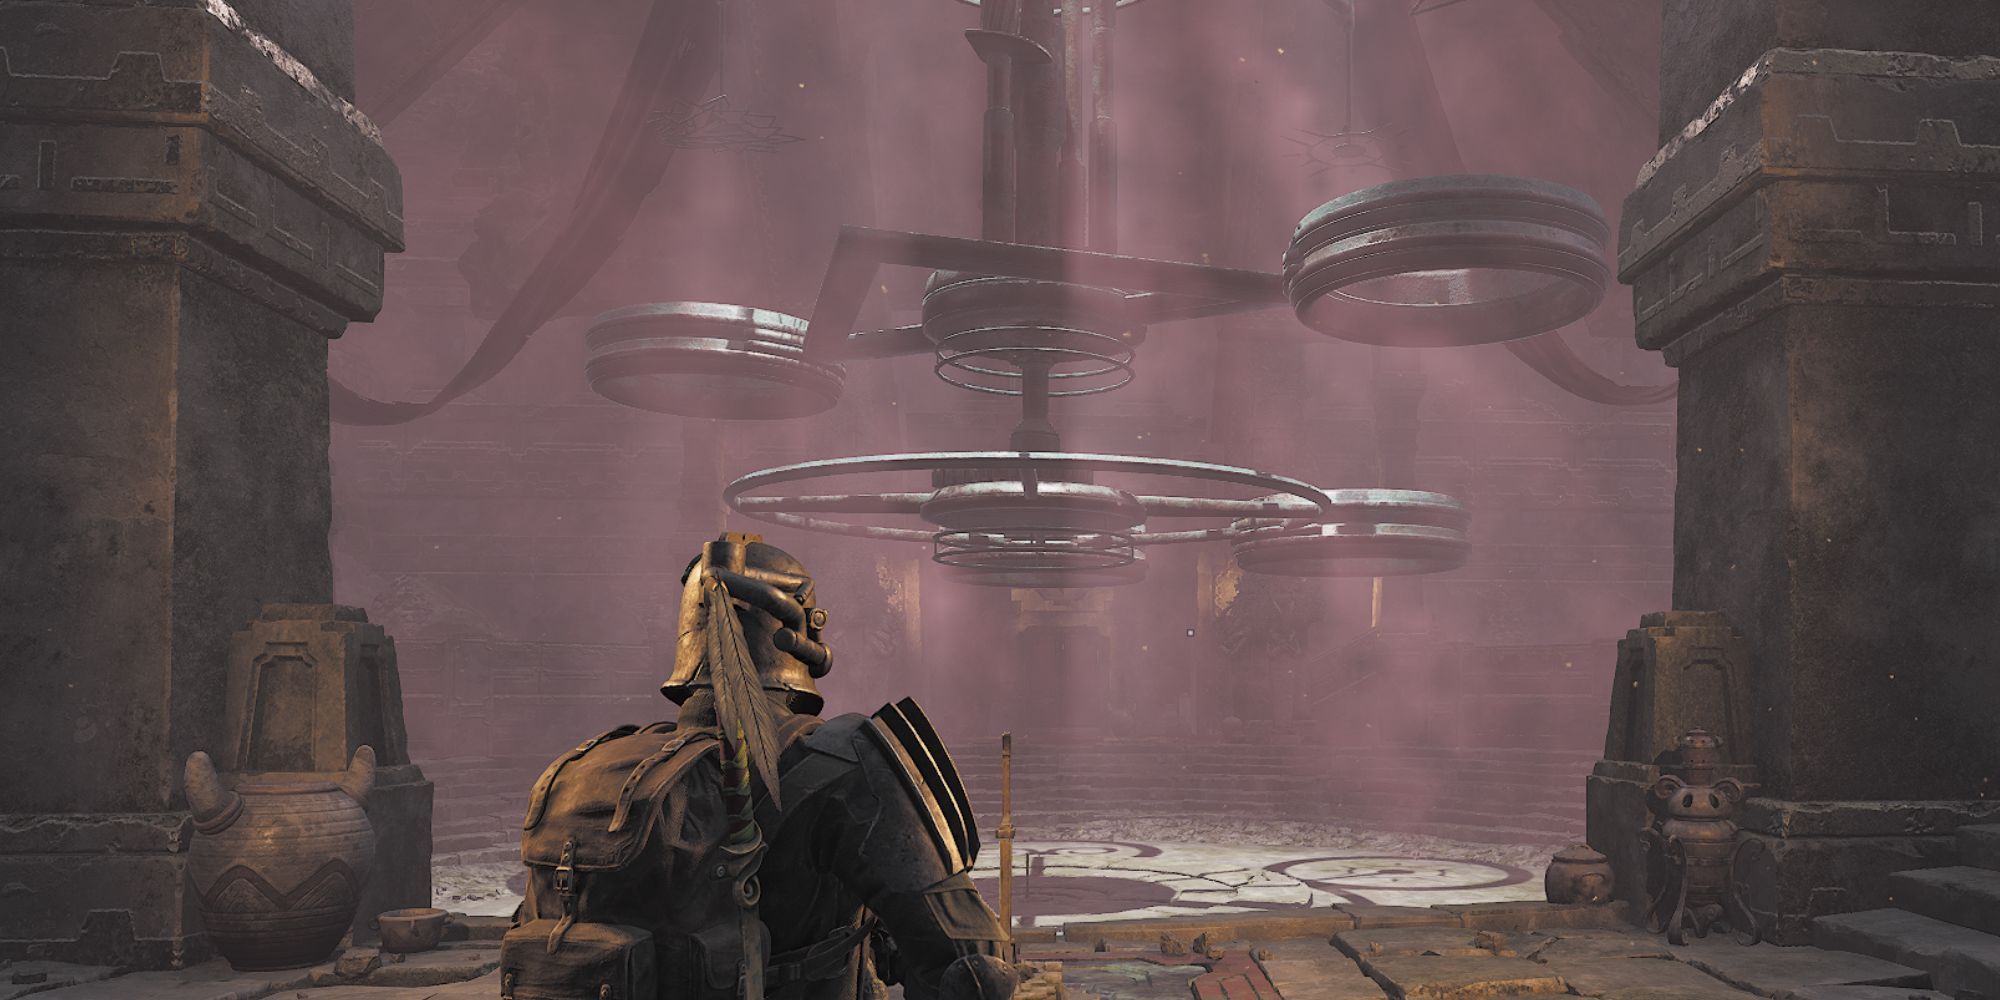
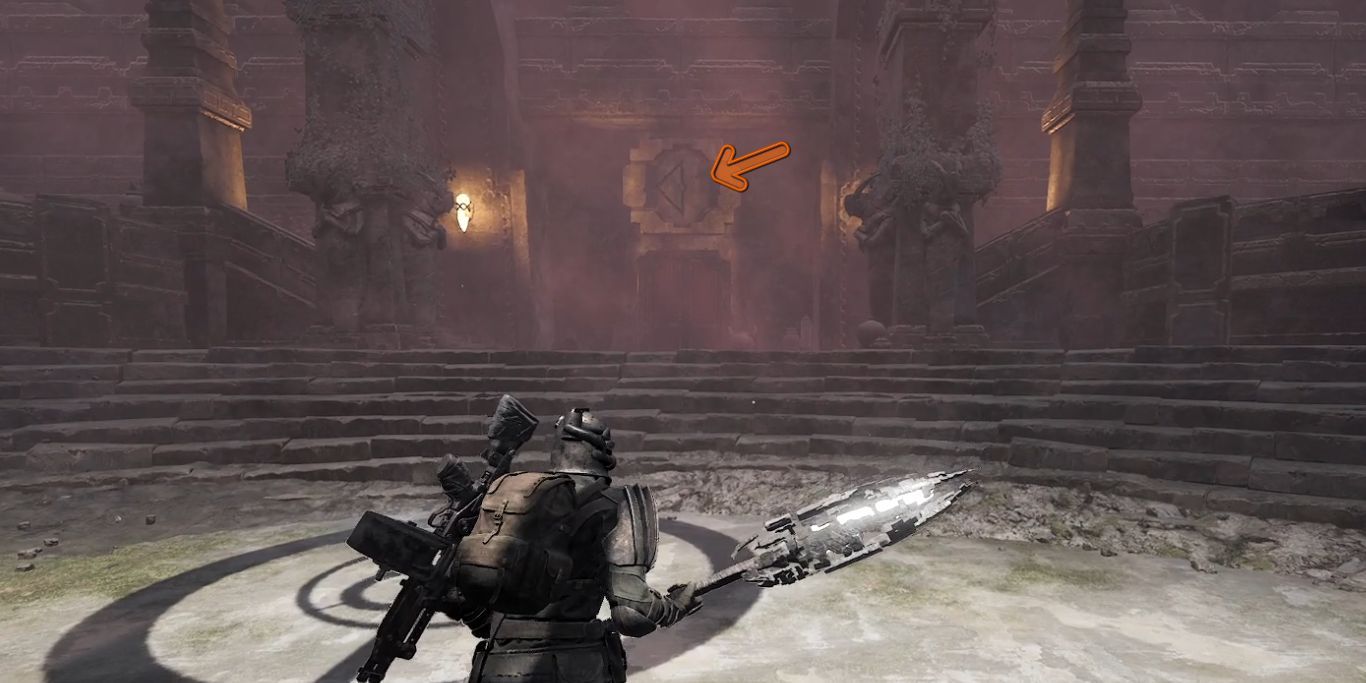
You’ll see a giant mechanism when you enter the main hall in the area.
You’ll also find two locked doors with interesting symbols above them.
Here’s everything you should probably do to get these items.
As soon as you enter the area, you’ll see three levers.
There’ll be a triangular symbol below the heading which will match the symbol on top of this door.
Moreover, the page will talk about the Sun, Moon, and Life.
It’s recommended to take screenshots of the pages of this book.
This has a triangle facing to the left side.
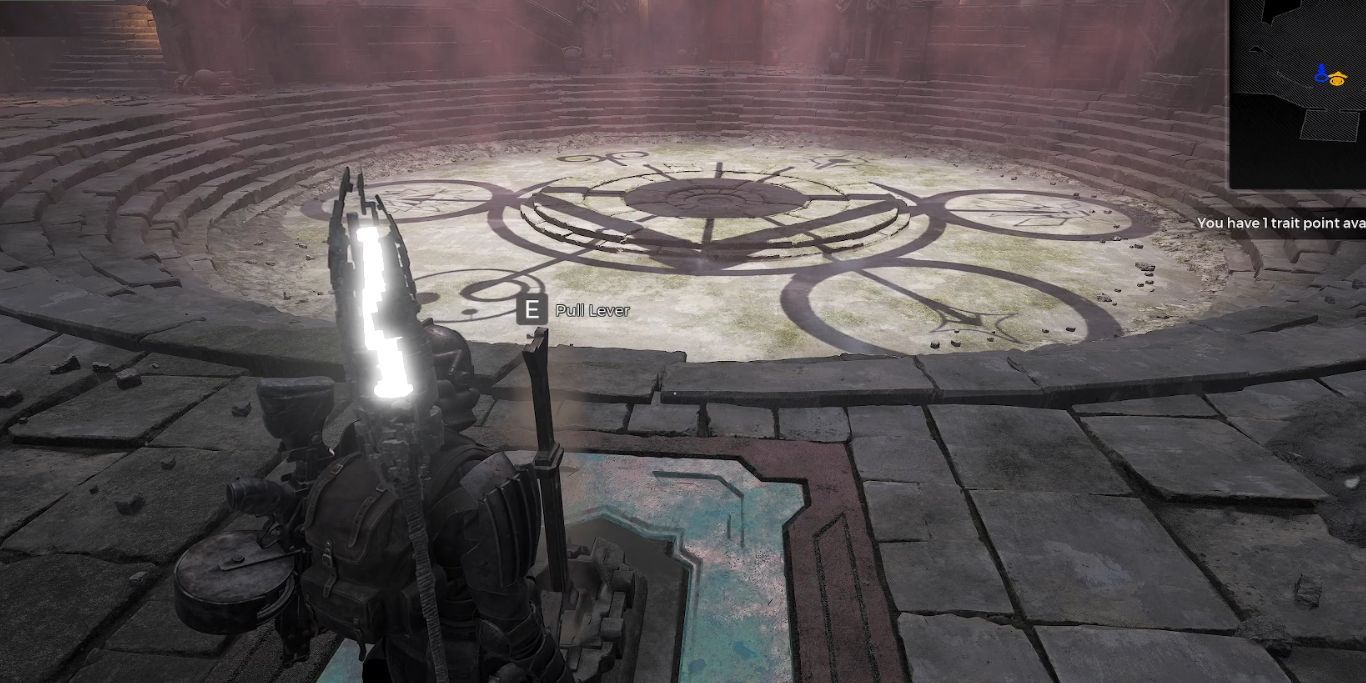
This first puzzle is simpler since thefront direction is the one you’re facing as you enter the area.
Head to the lever near the entrance and keep interacting with it until the triangle faces the left side.
Now, consult the screenshots from the book and you’ll see that the symbol belongs to The Calamity.
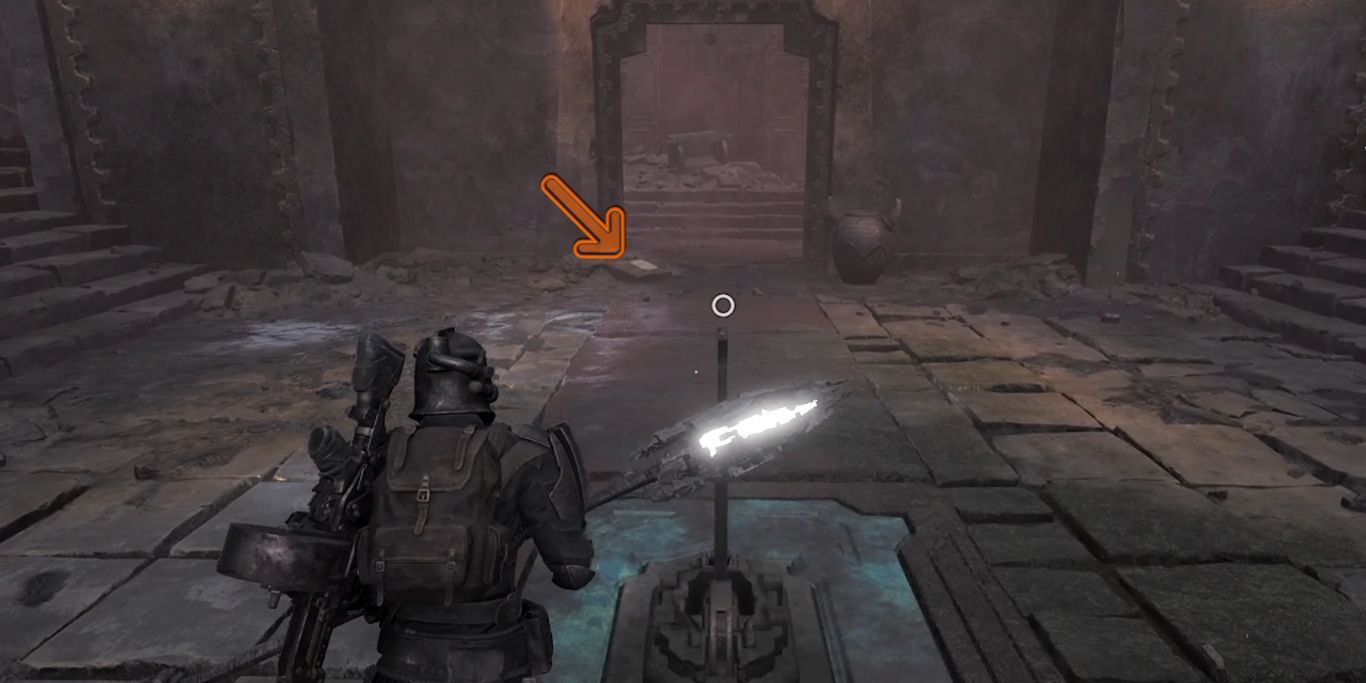
This will pop launch the front door and you’re free to claim your prize.
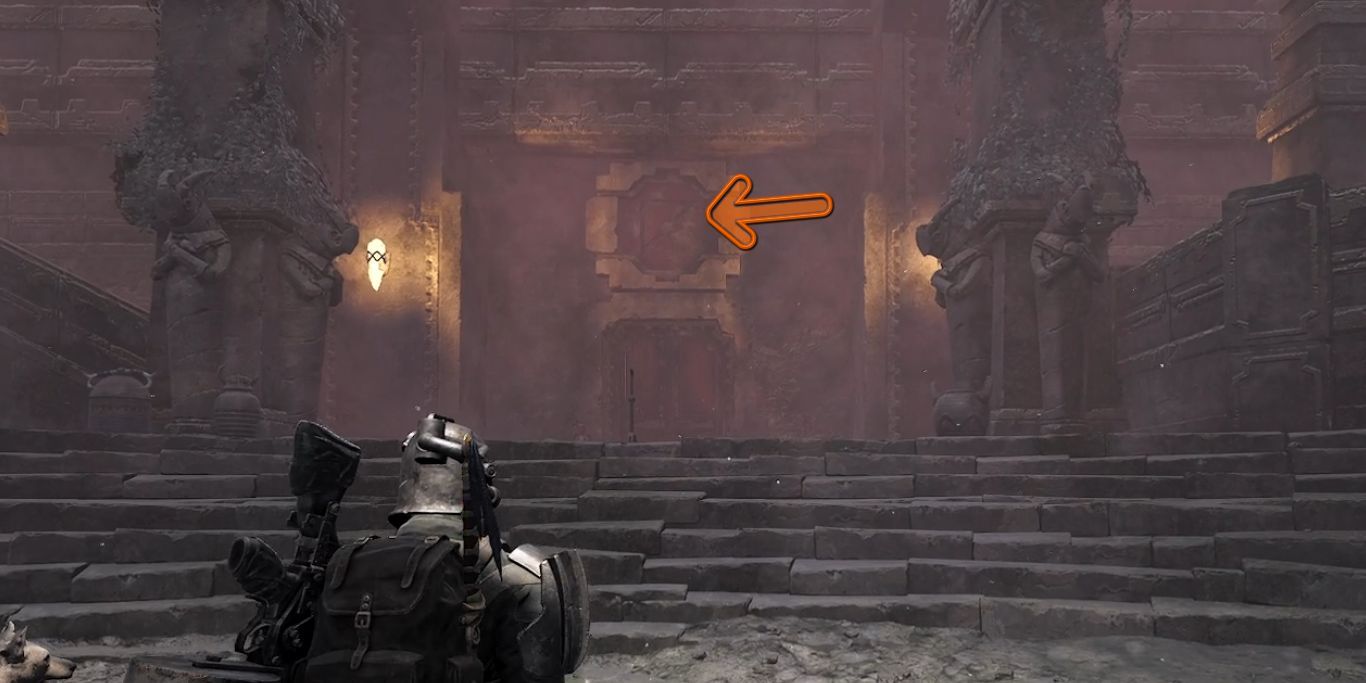
As mentioned above, the front direction of the puzzle changes according to the door.
Thetop left side for this puzzle would be the top right side from the entrance lever.
Rotate the triangle until it faces this direction and then refer to the book again.
This triangle shape belongs to The Blood Moon and talks about Moon, Sun, and The Ravager.
This will bring The Ravager’s symbol below the triangle.
Now, simply rotate the two adjacent circles until they’re on The Ravager and Moon.
To solve this, use the entrance lever until the triangle is pointing to the bottom left side.
The triangle refers to The Hope this time and the book talks about four names instead of three.
You’ll also see the “below” word near Life and Sun.
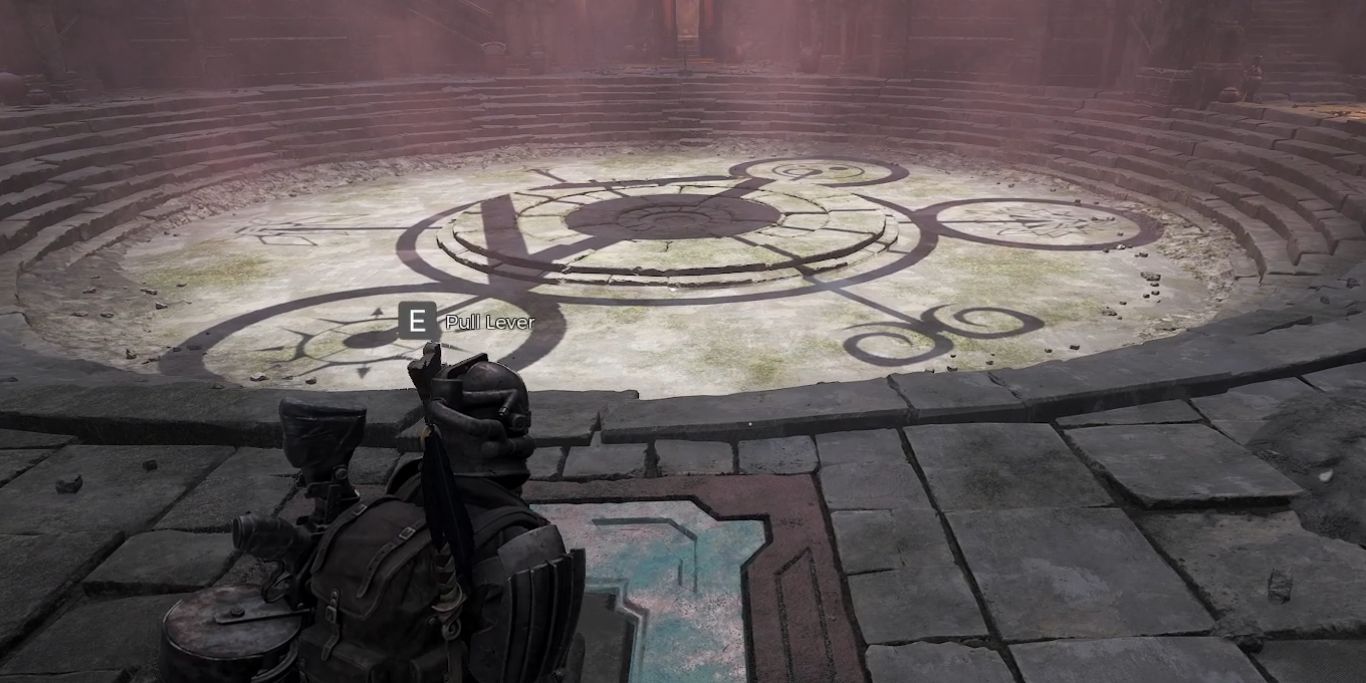
This will make the Sun and Life go below the triangle.
Now, rotate the two adjacent circles until they fall on Life and Sun at the same time.
NEXT:Remnant 2: The Corrupted Ravager World Boss Guide