you might either use shop and facility blueprints, edit blueprint shells, or build completely from scratch.
The choice is yours.
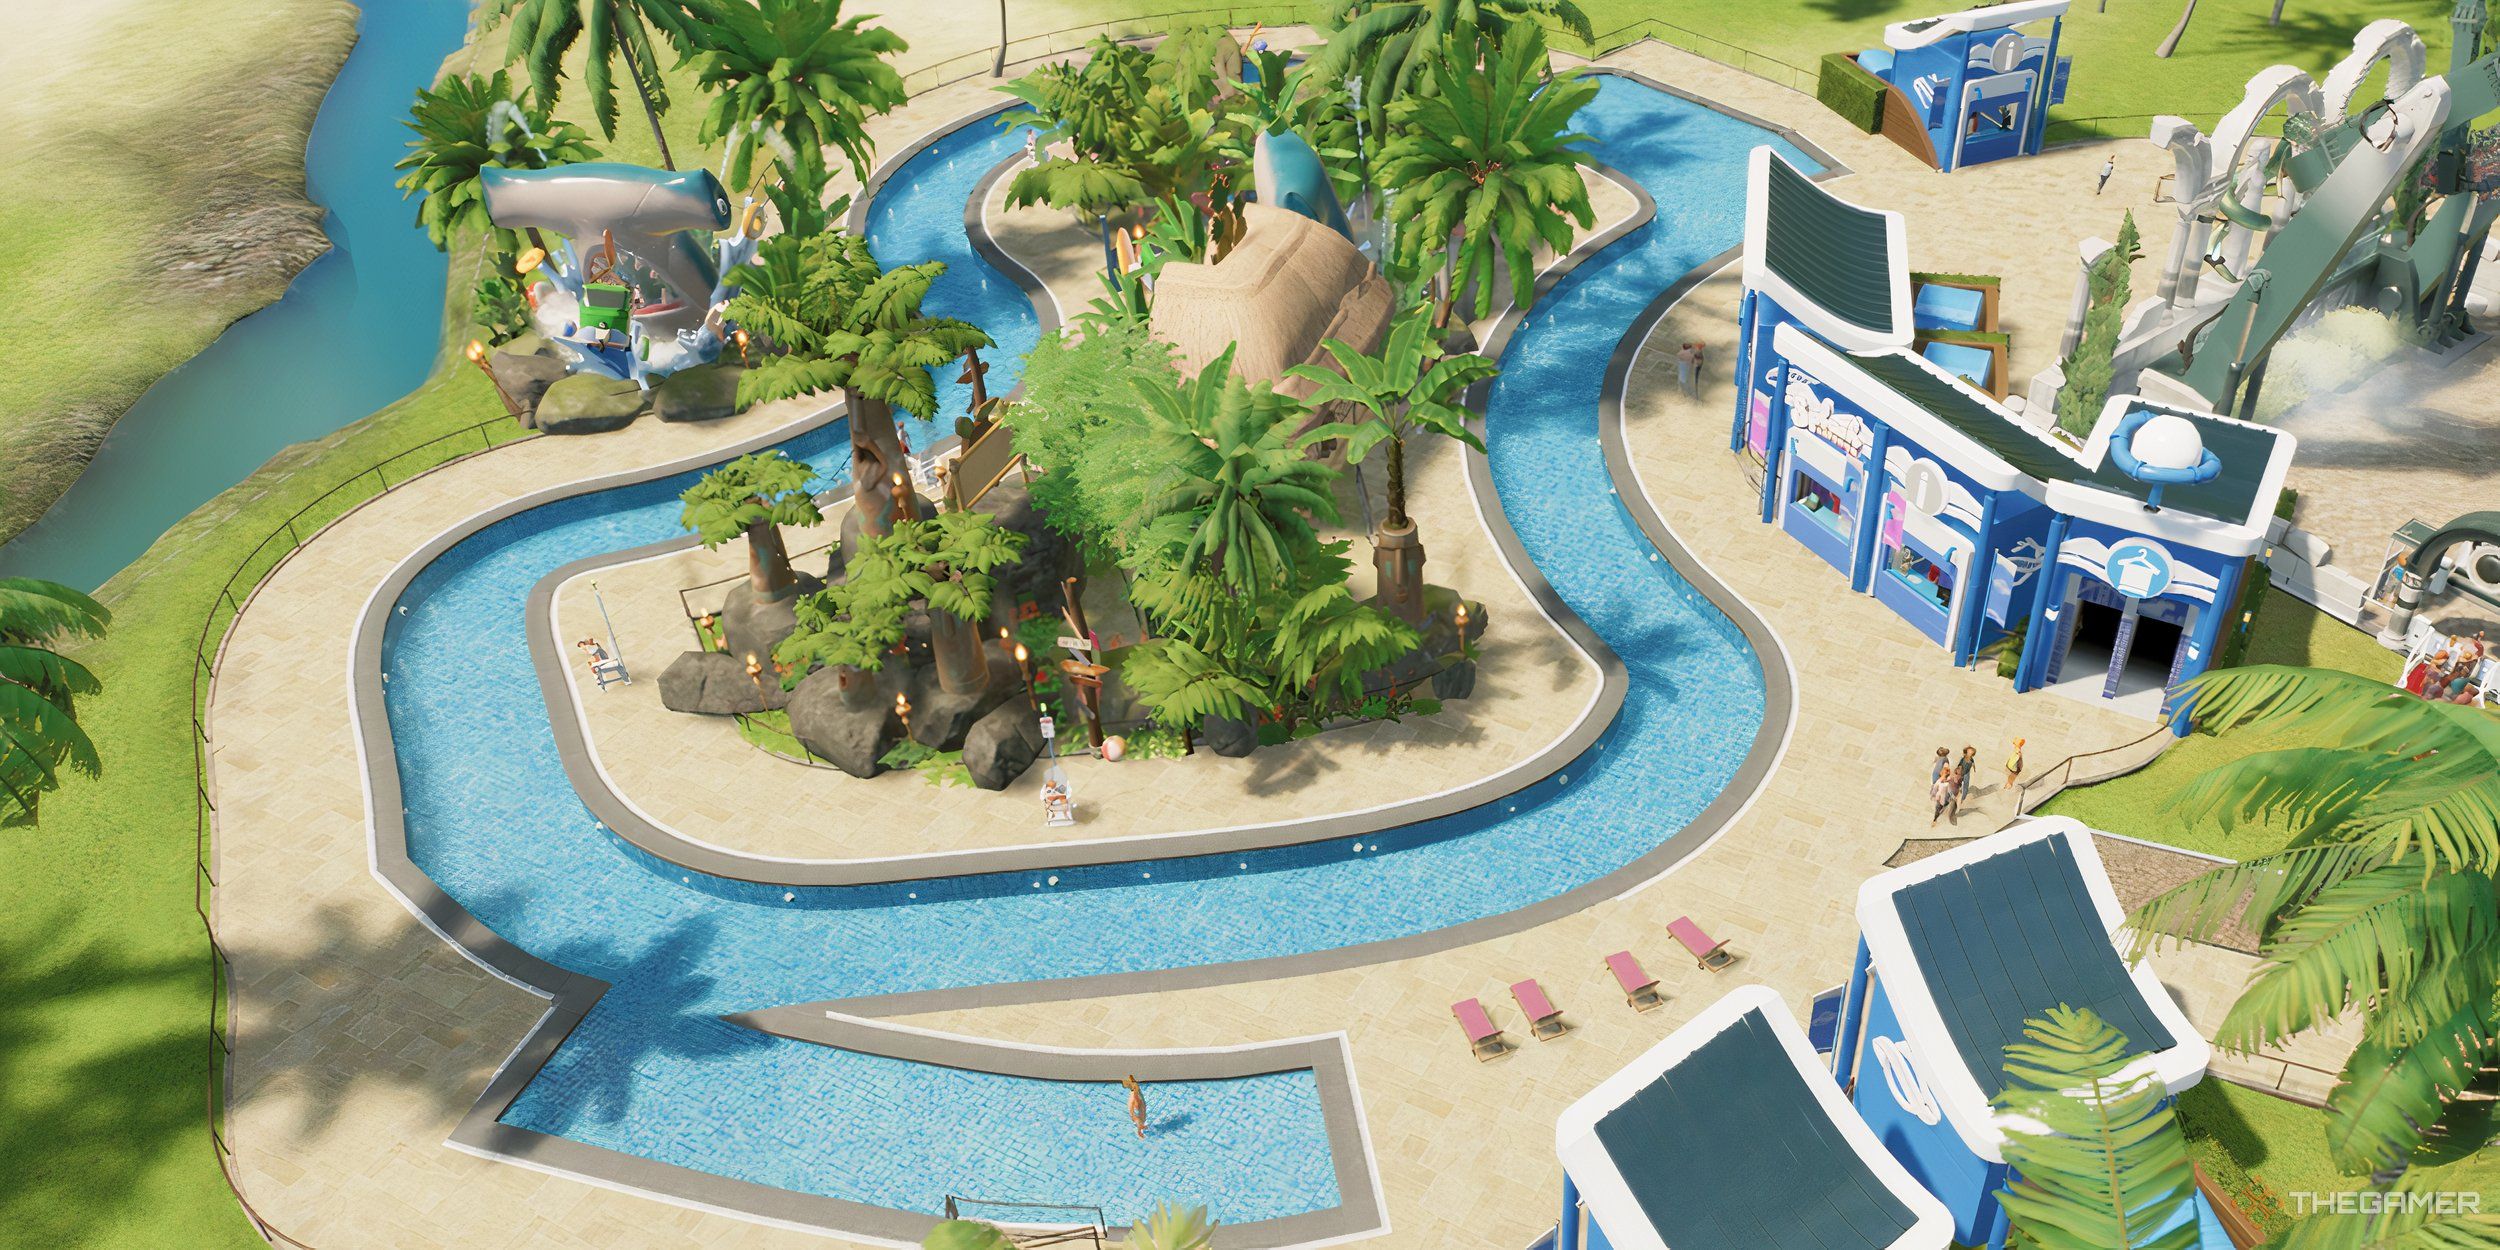
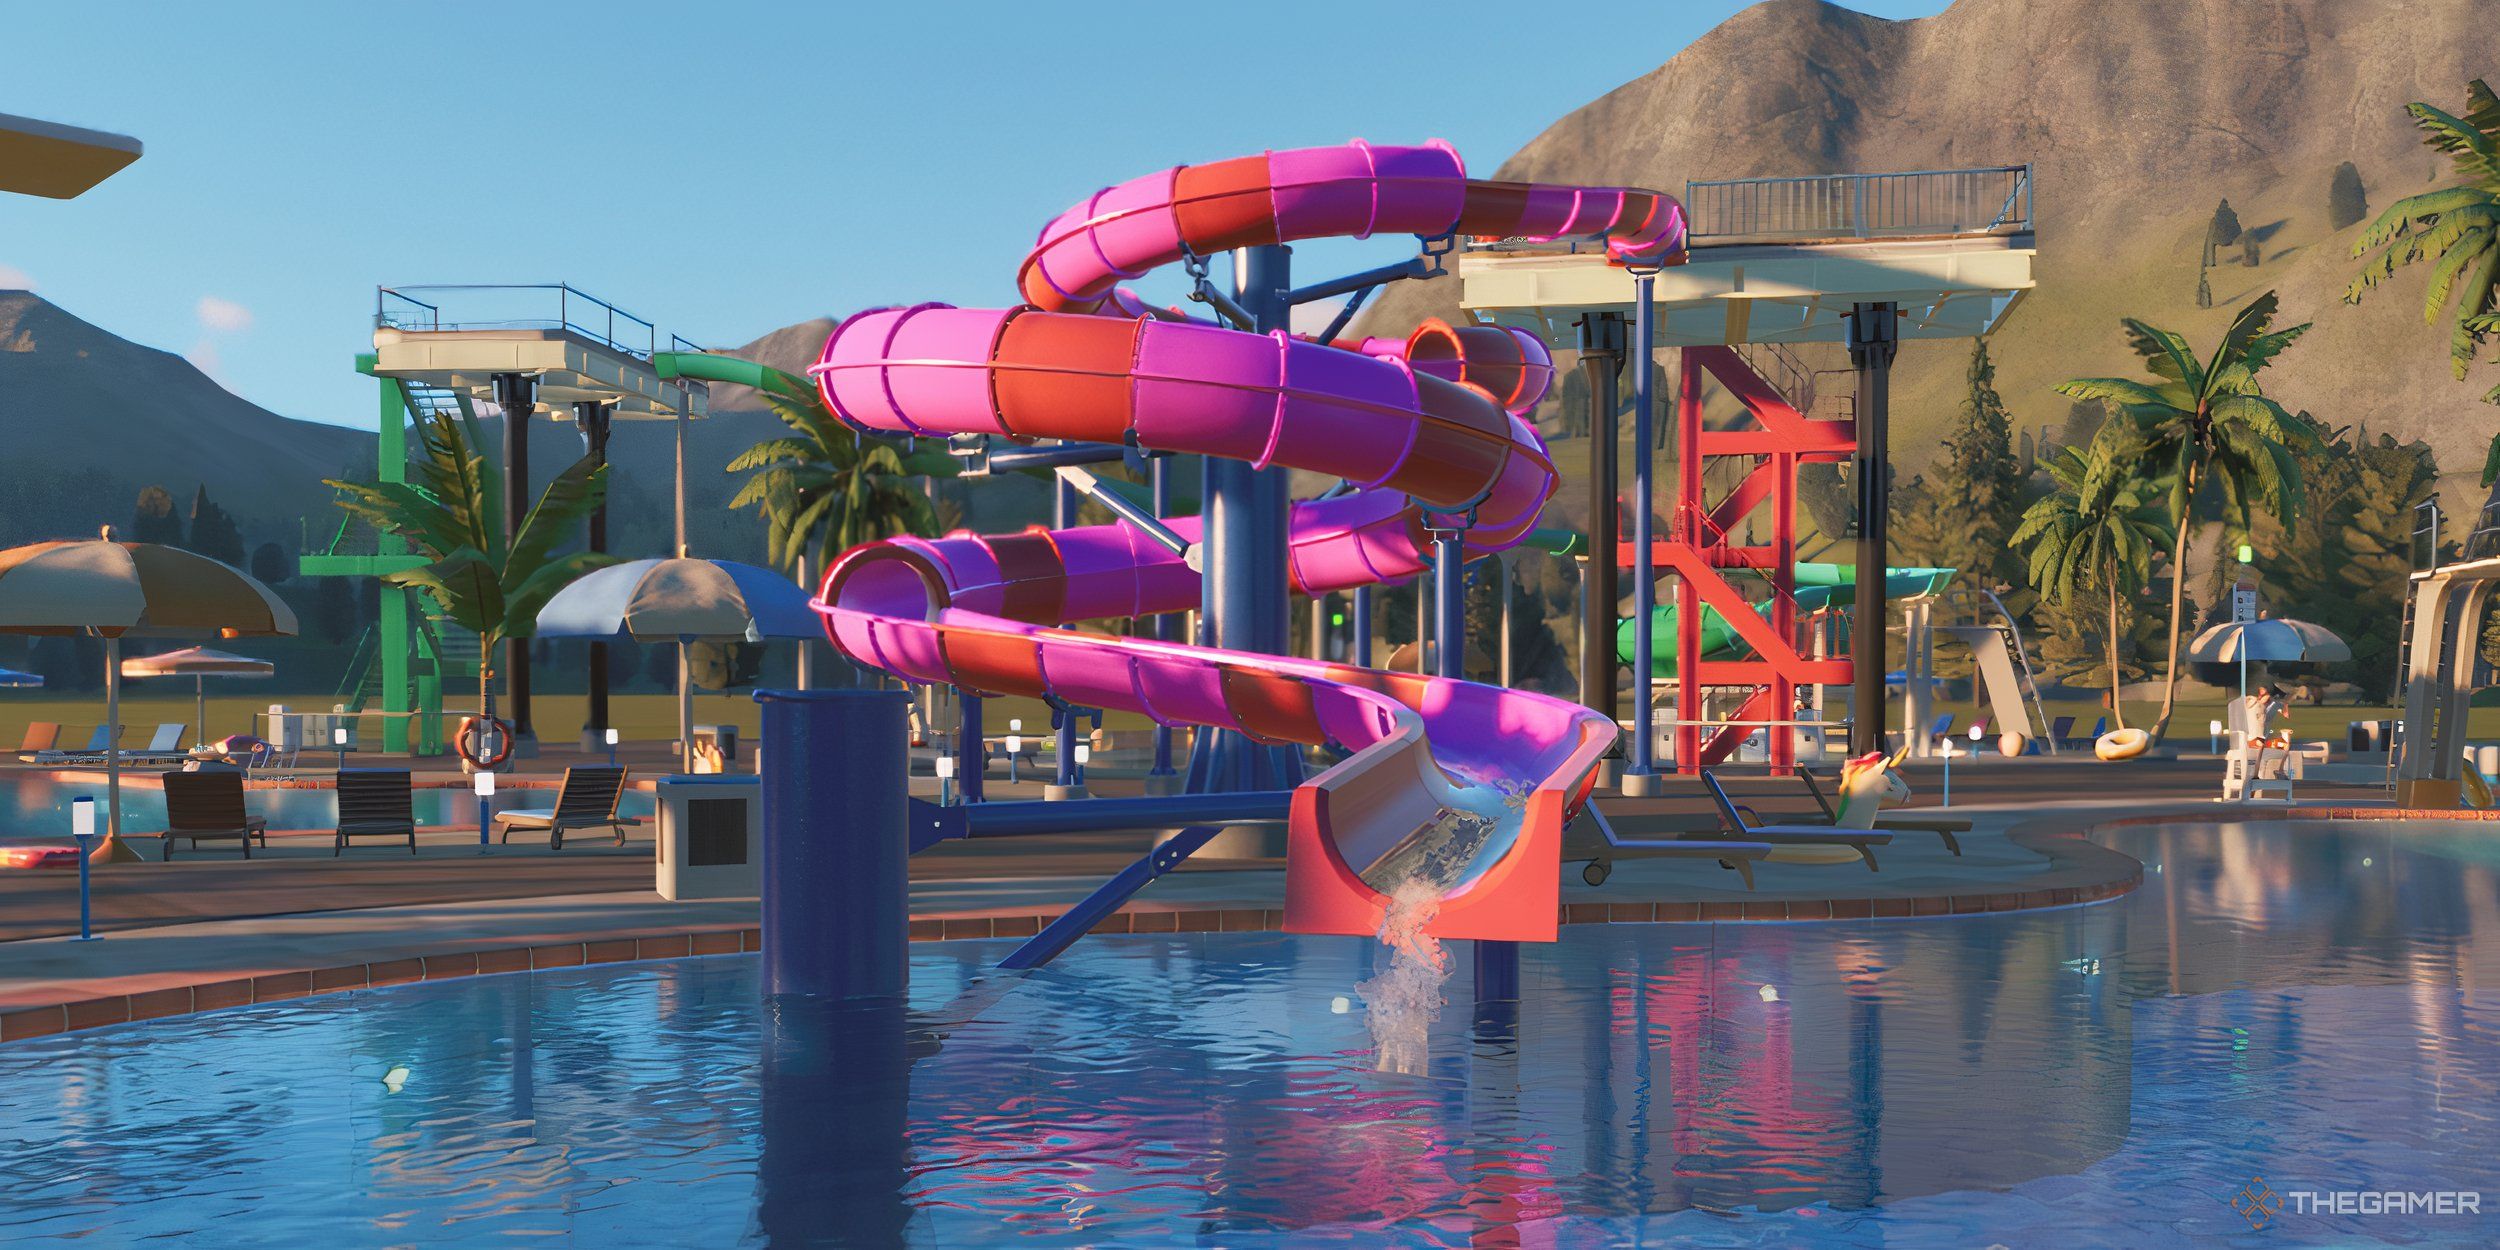
Nothing’s better than relaxing in a lazy river.
Here’s how to make your buildings unique.
What Are Blueprints?
The blueprint system allows you tochoose from a wide range of pre-built shellsfor shops and facilities.
Where Can I Find Blueprints For Shops And Shells?
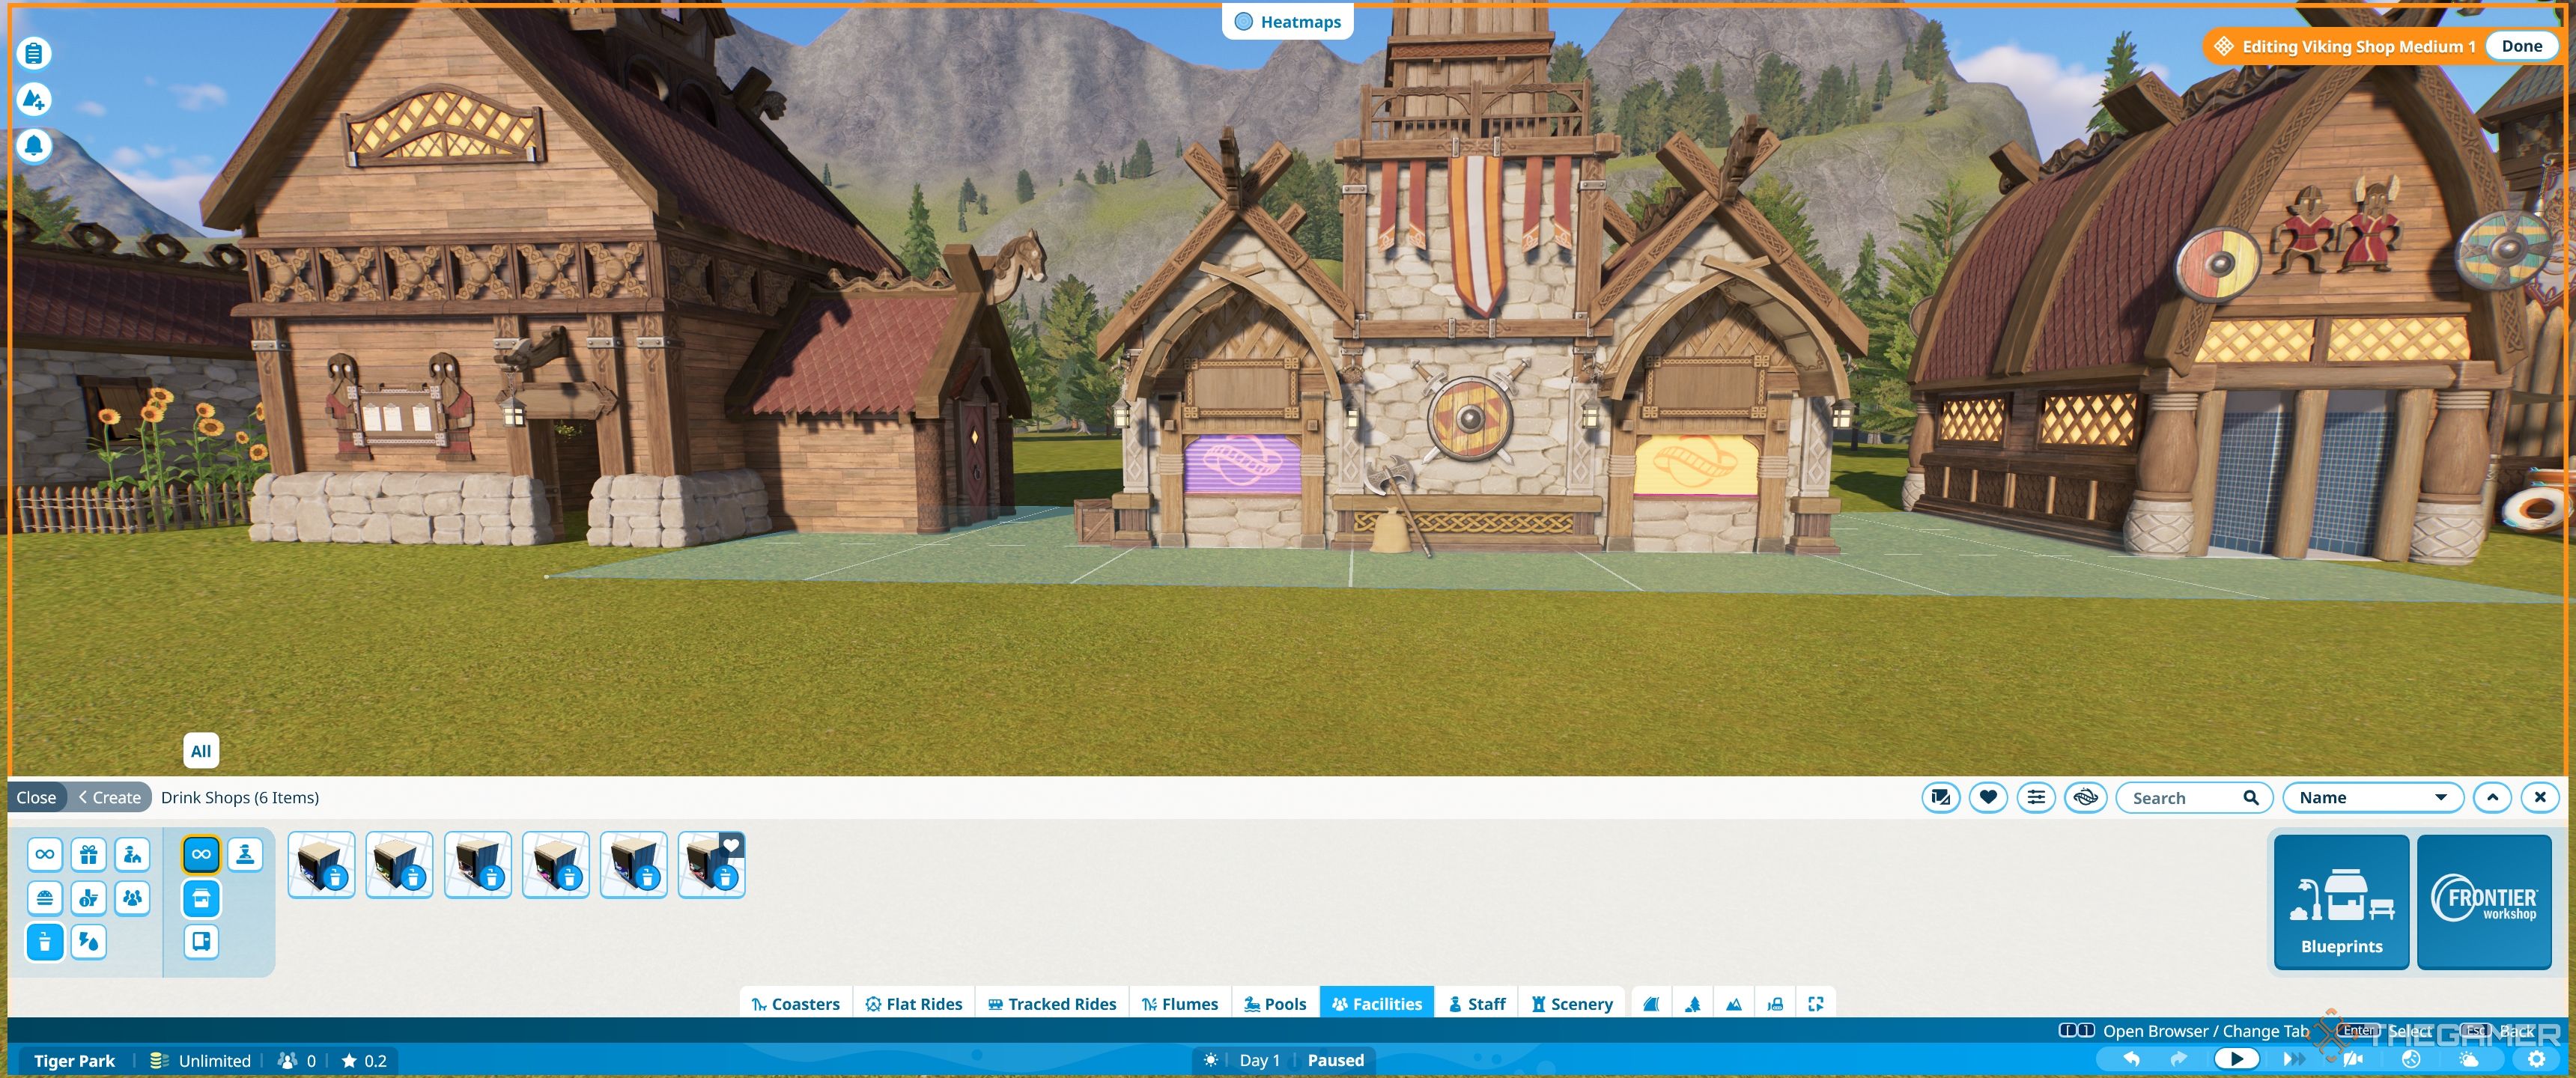
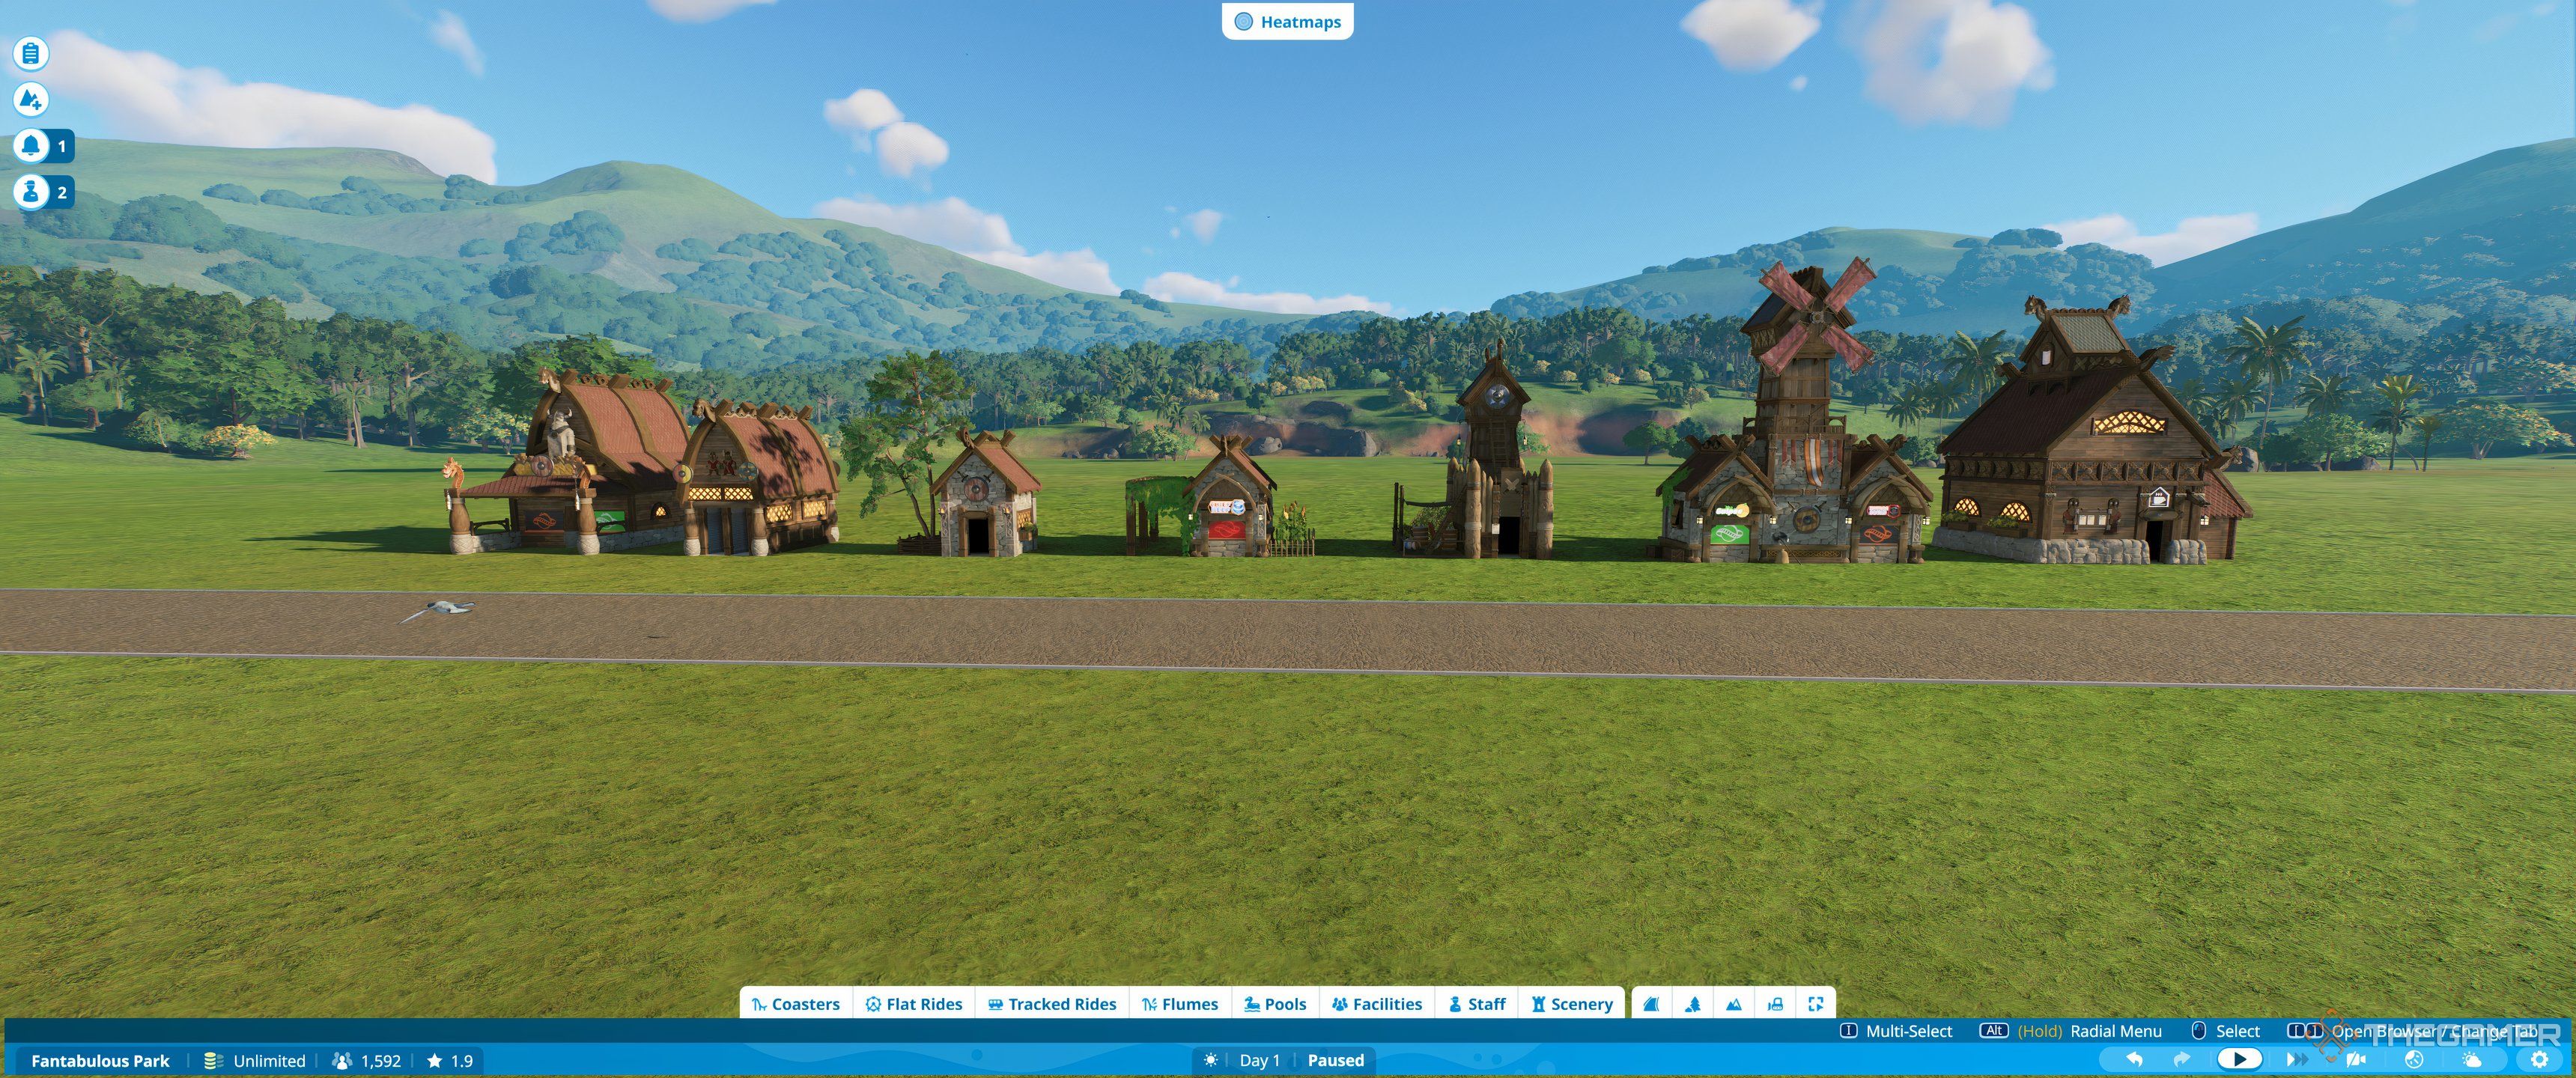
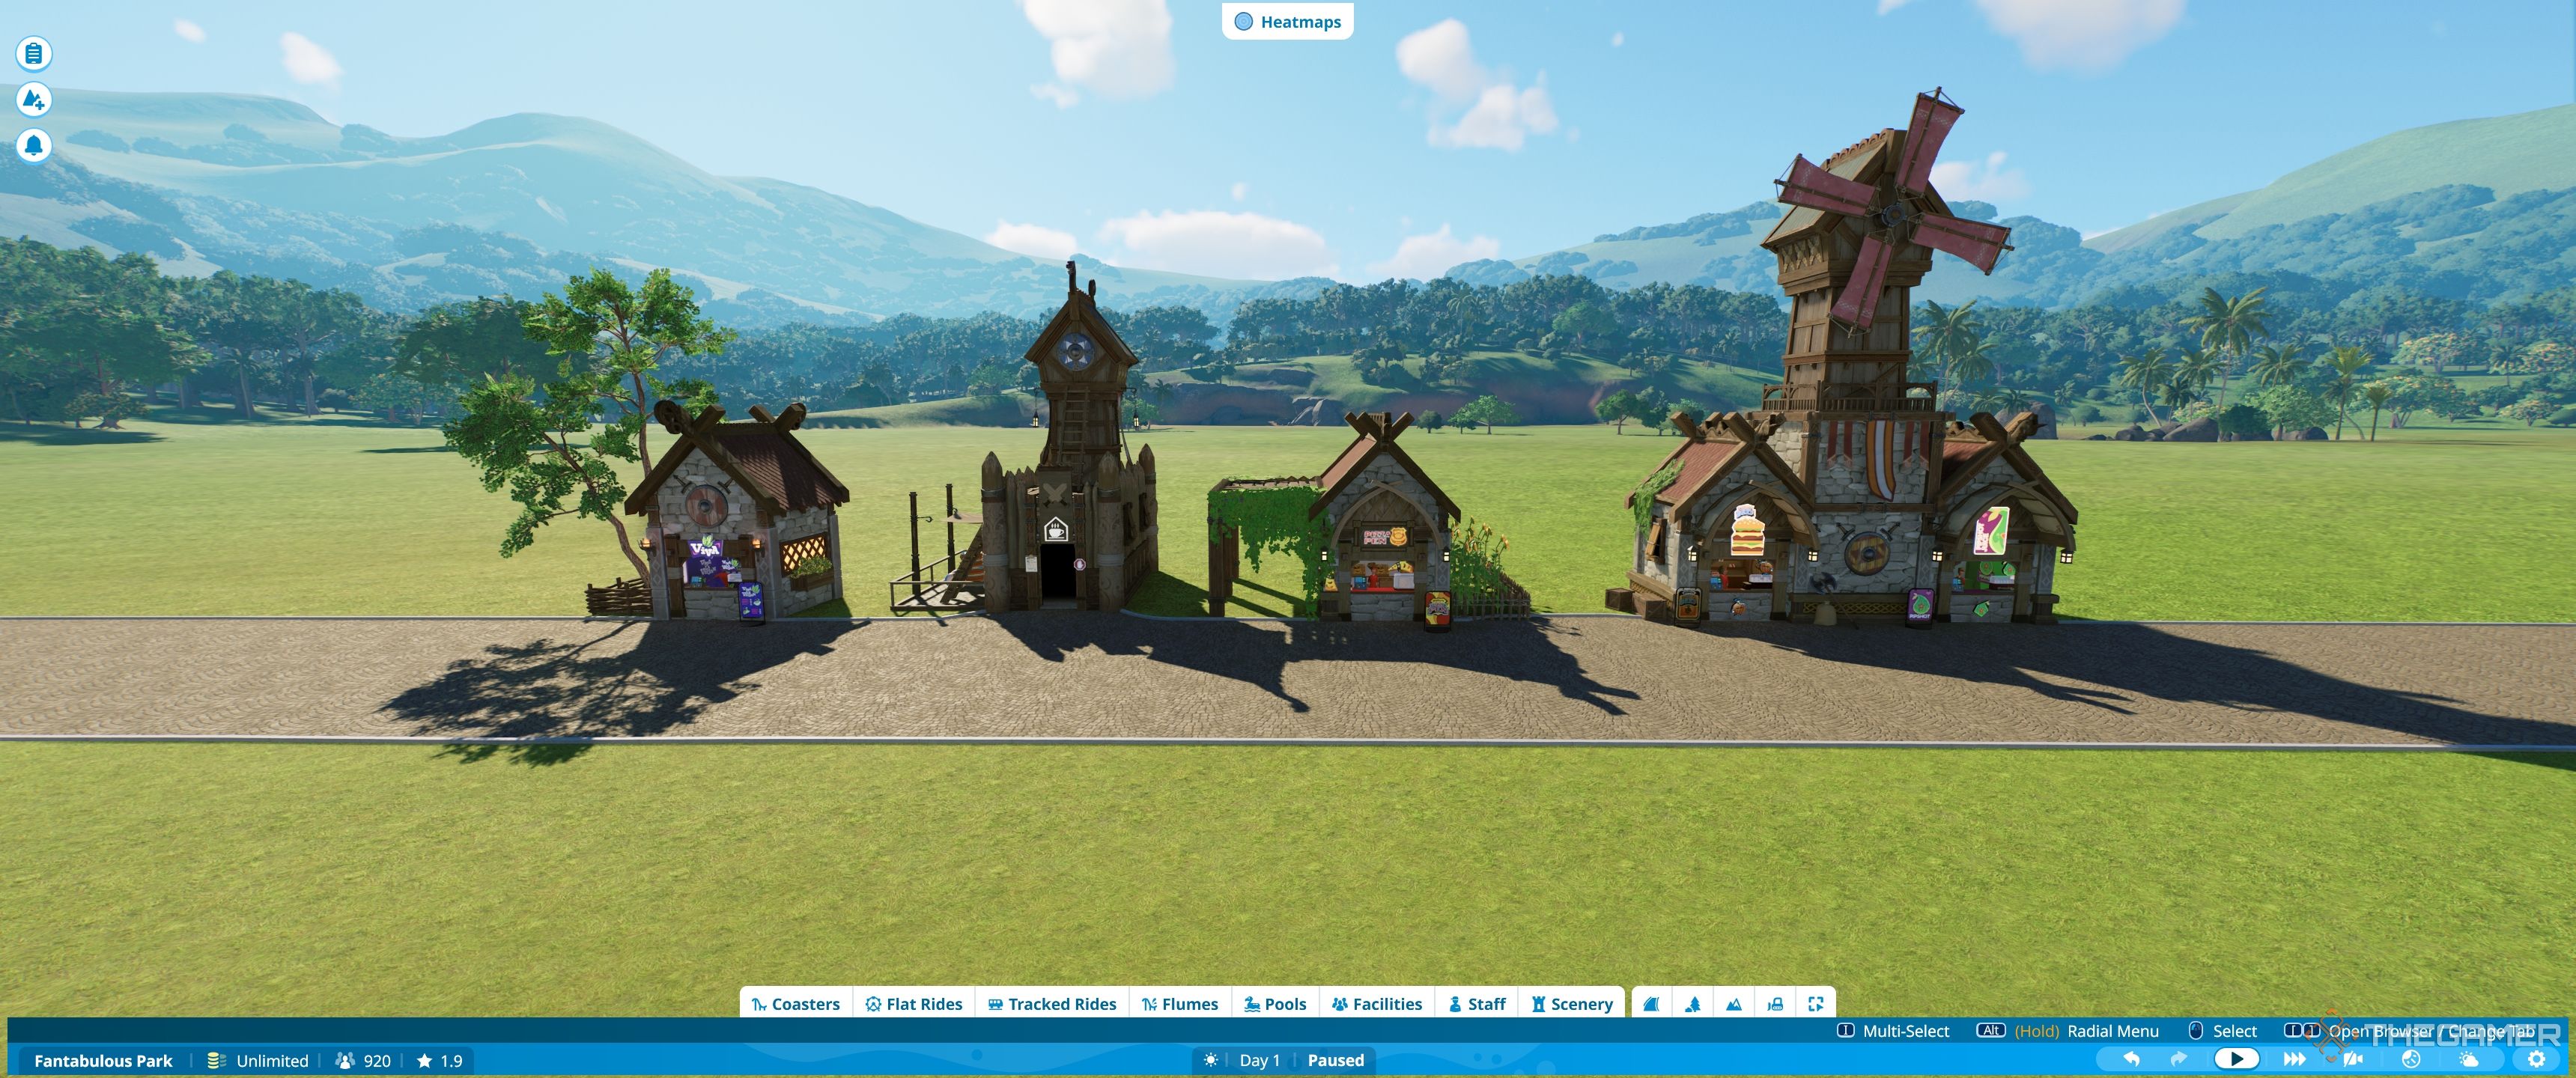
Thefacilities tabshows you all thepre-built Planet Coaster-themed buildingsand some of theViking shells.
However, to access thefull rangeof blueprints go to thescenery tab.
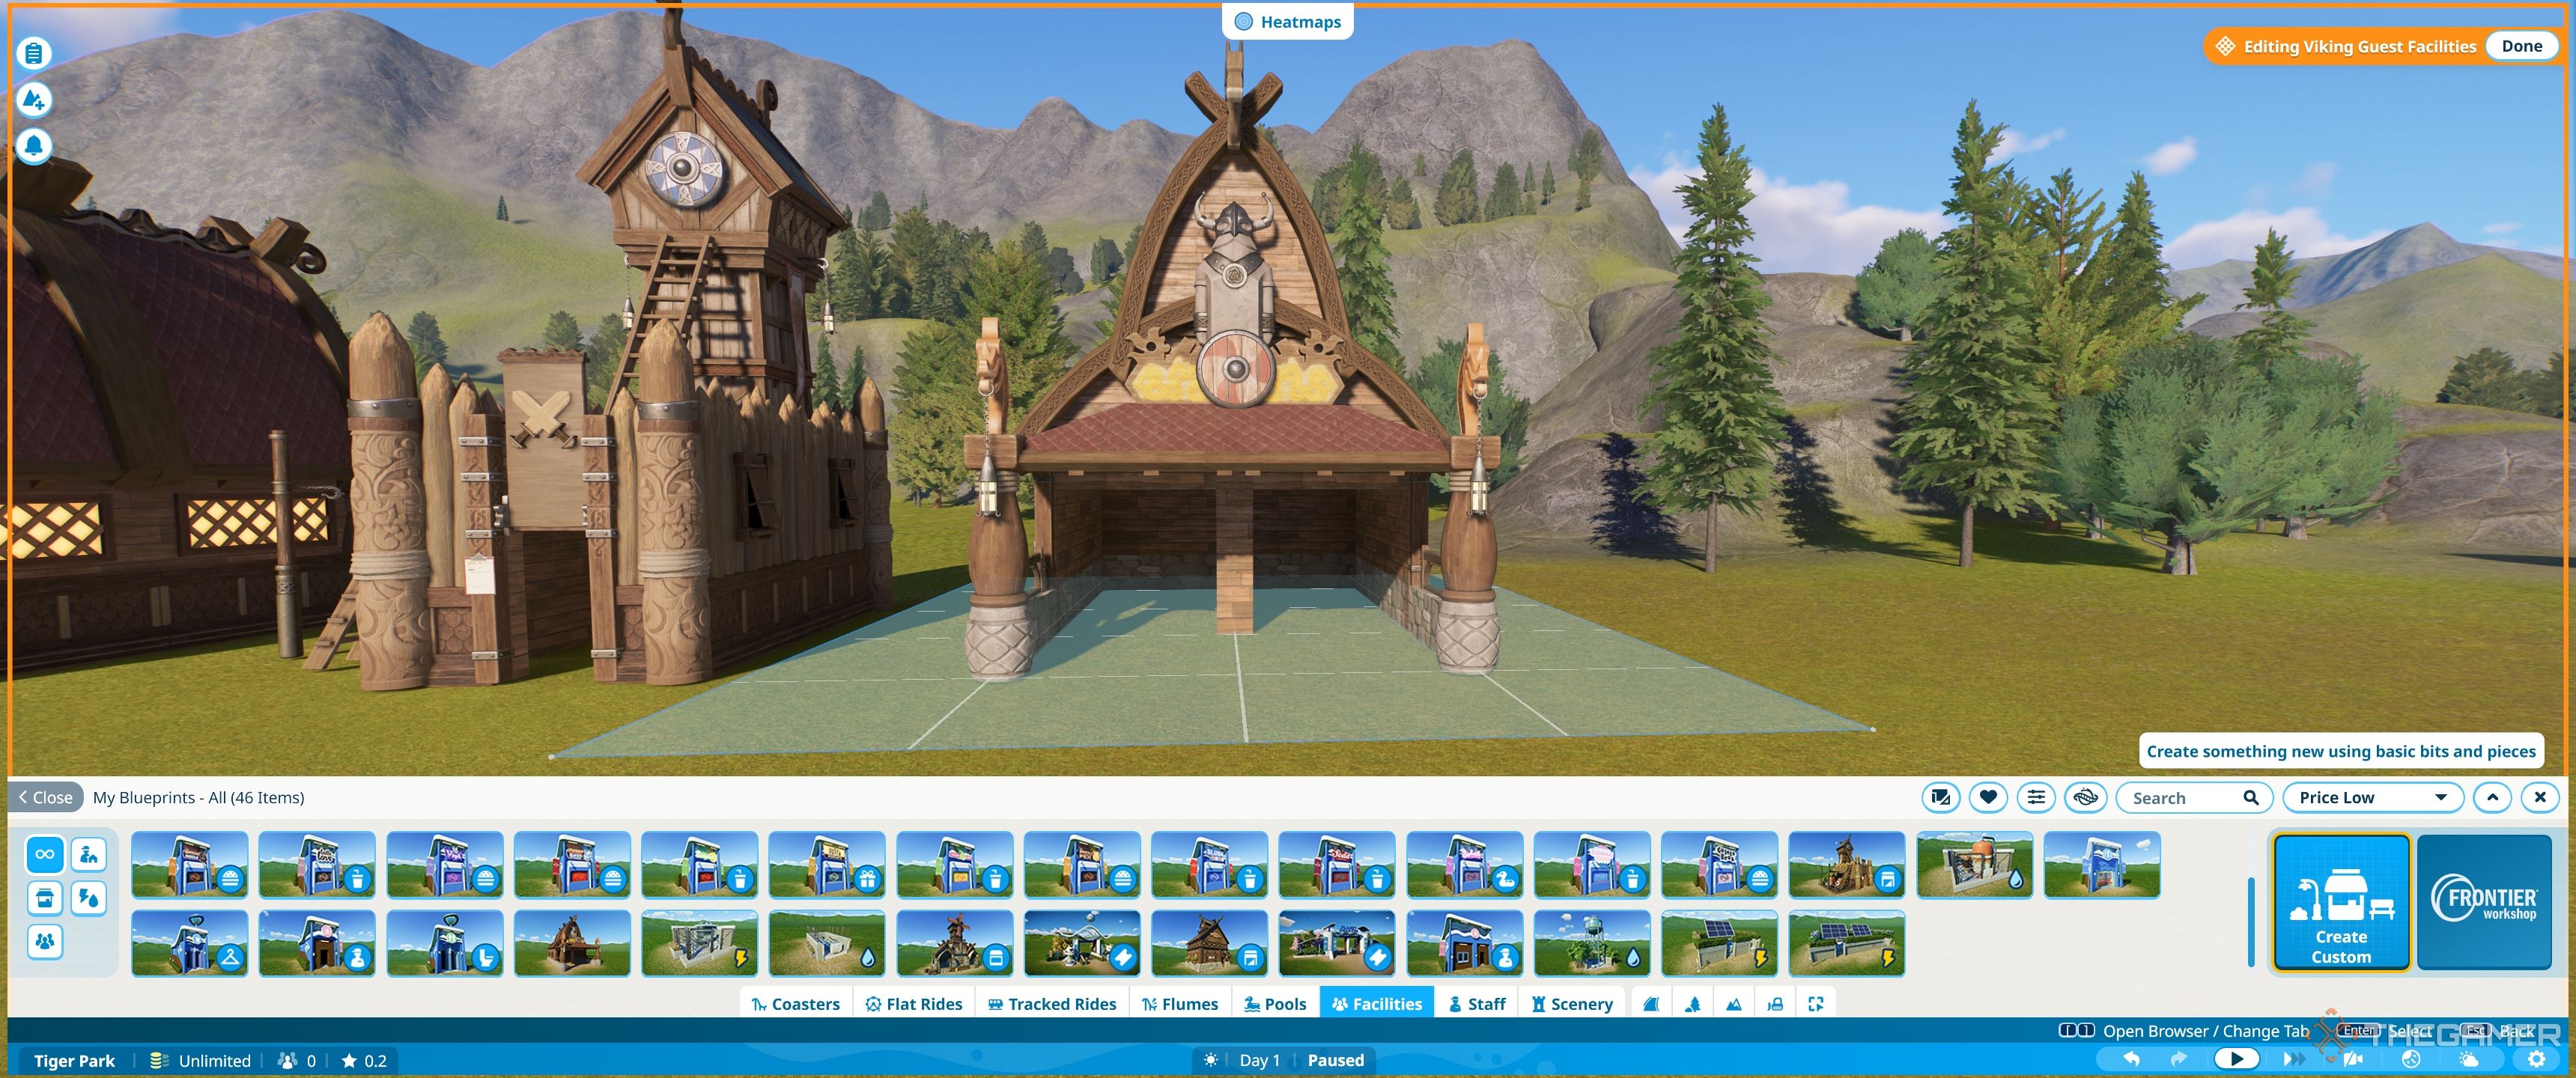
As such, you’ll want to click thecastle iconin the bottom left to showjust the buildings.
As a result,it can get confusing to work out what is whatwithout opening everything up.
Luckily, there is anicon system to help.
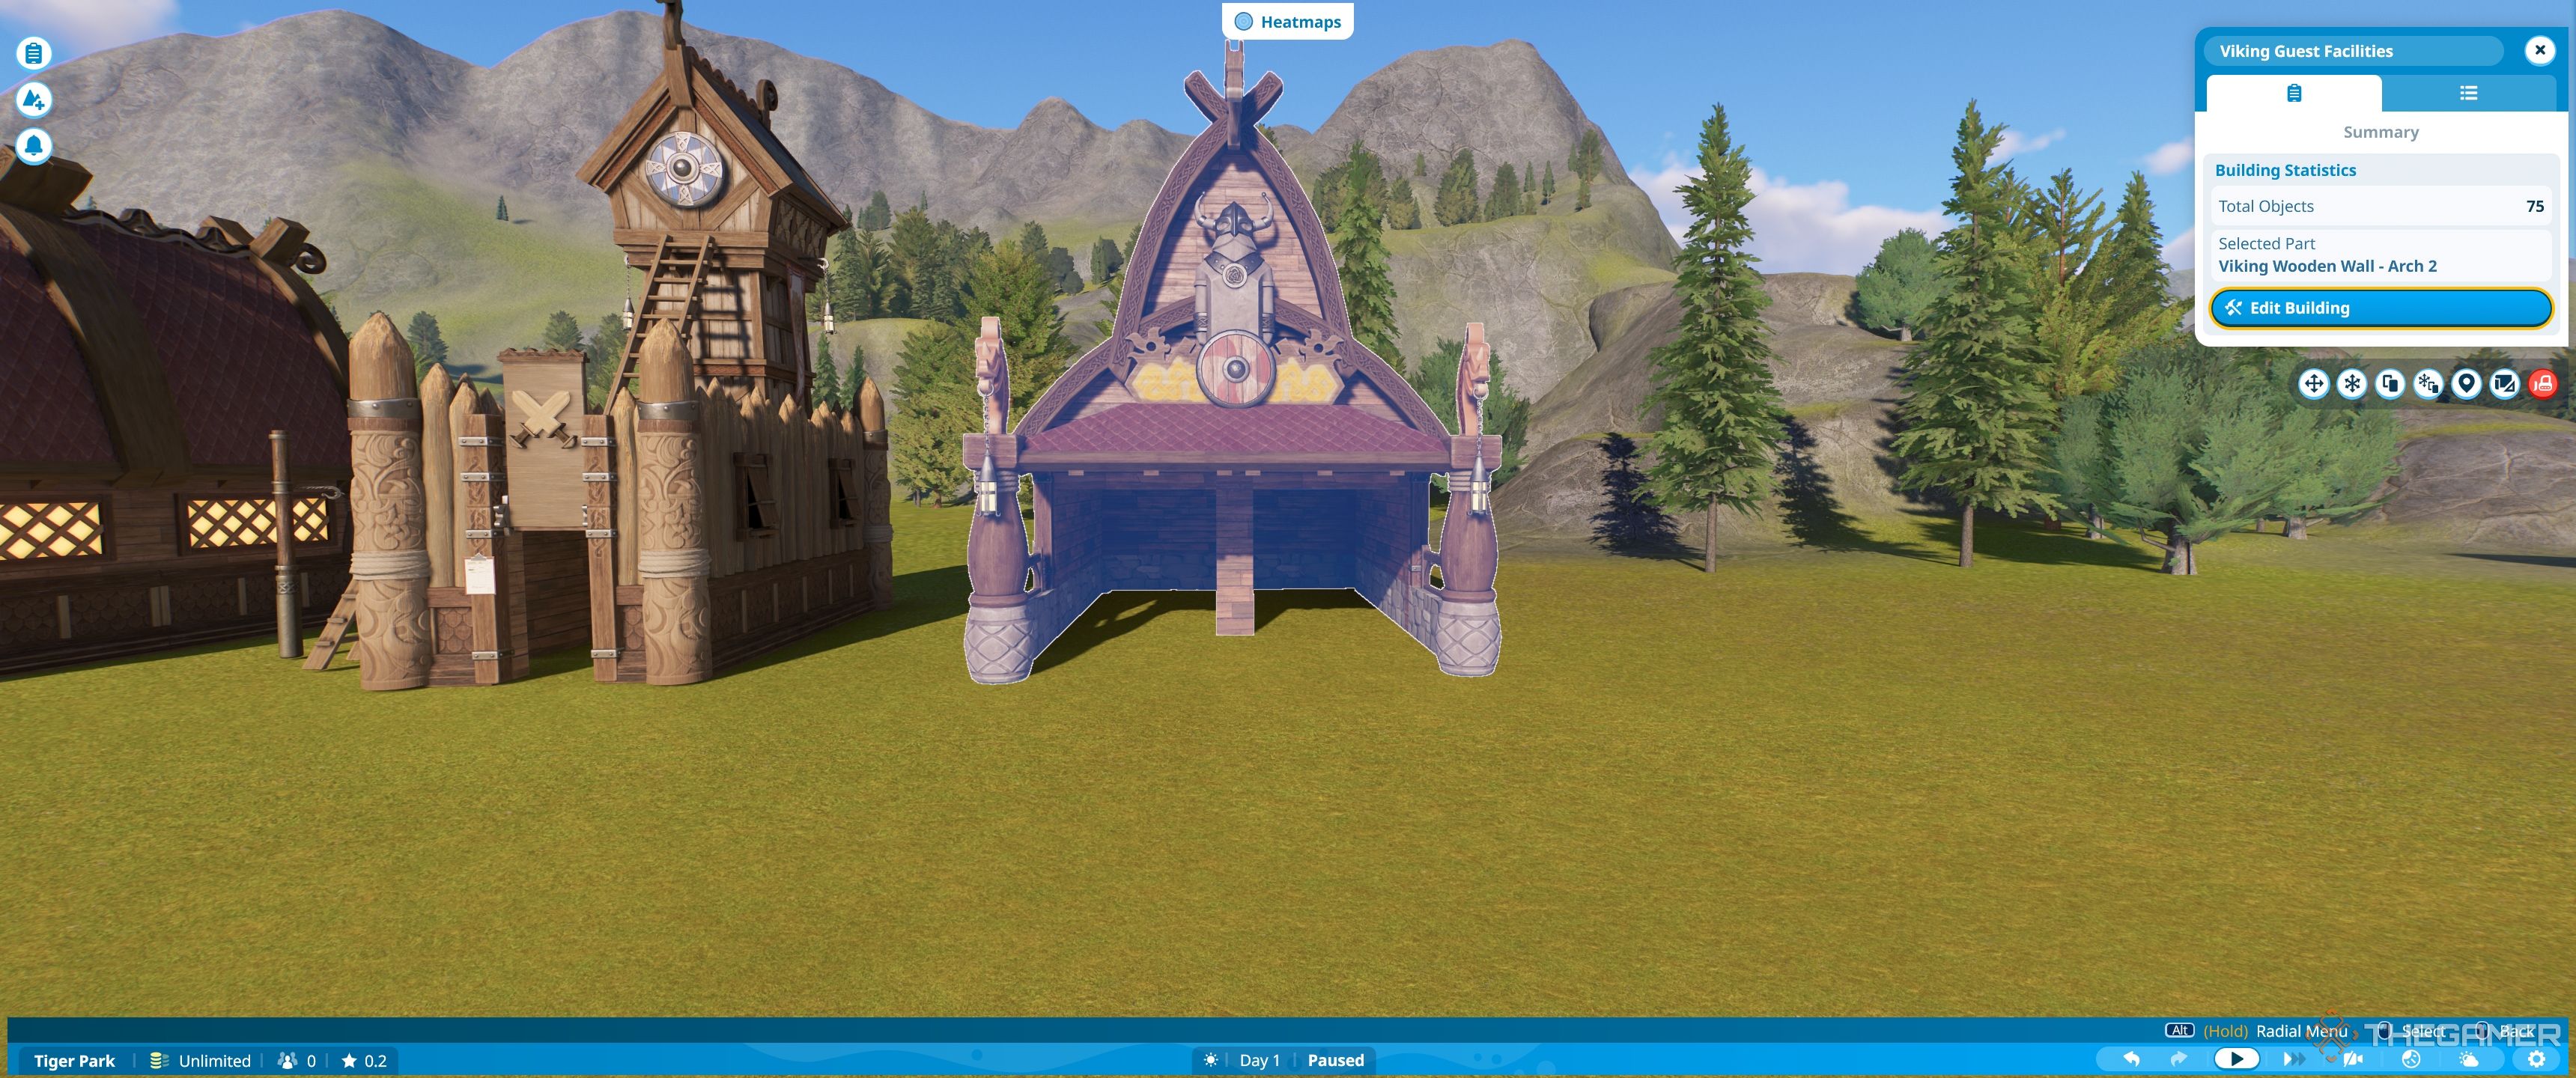
To find the correct pieces, you’ll first need to choose the shell andselect the existing front.
you’re free to use thename of the pieceto work outwhich theme setit is from.
Mostly you’ll useshop signs and facility signs, to find the signs for your buildings.
You may also useshop decorationsfor the awnings and fascias.
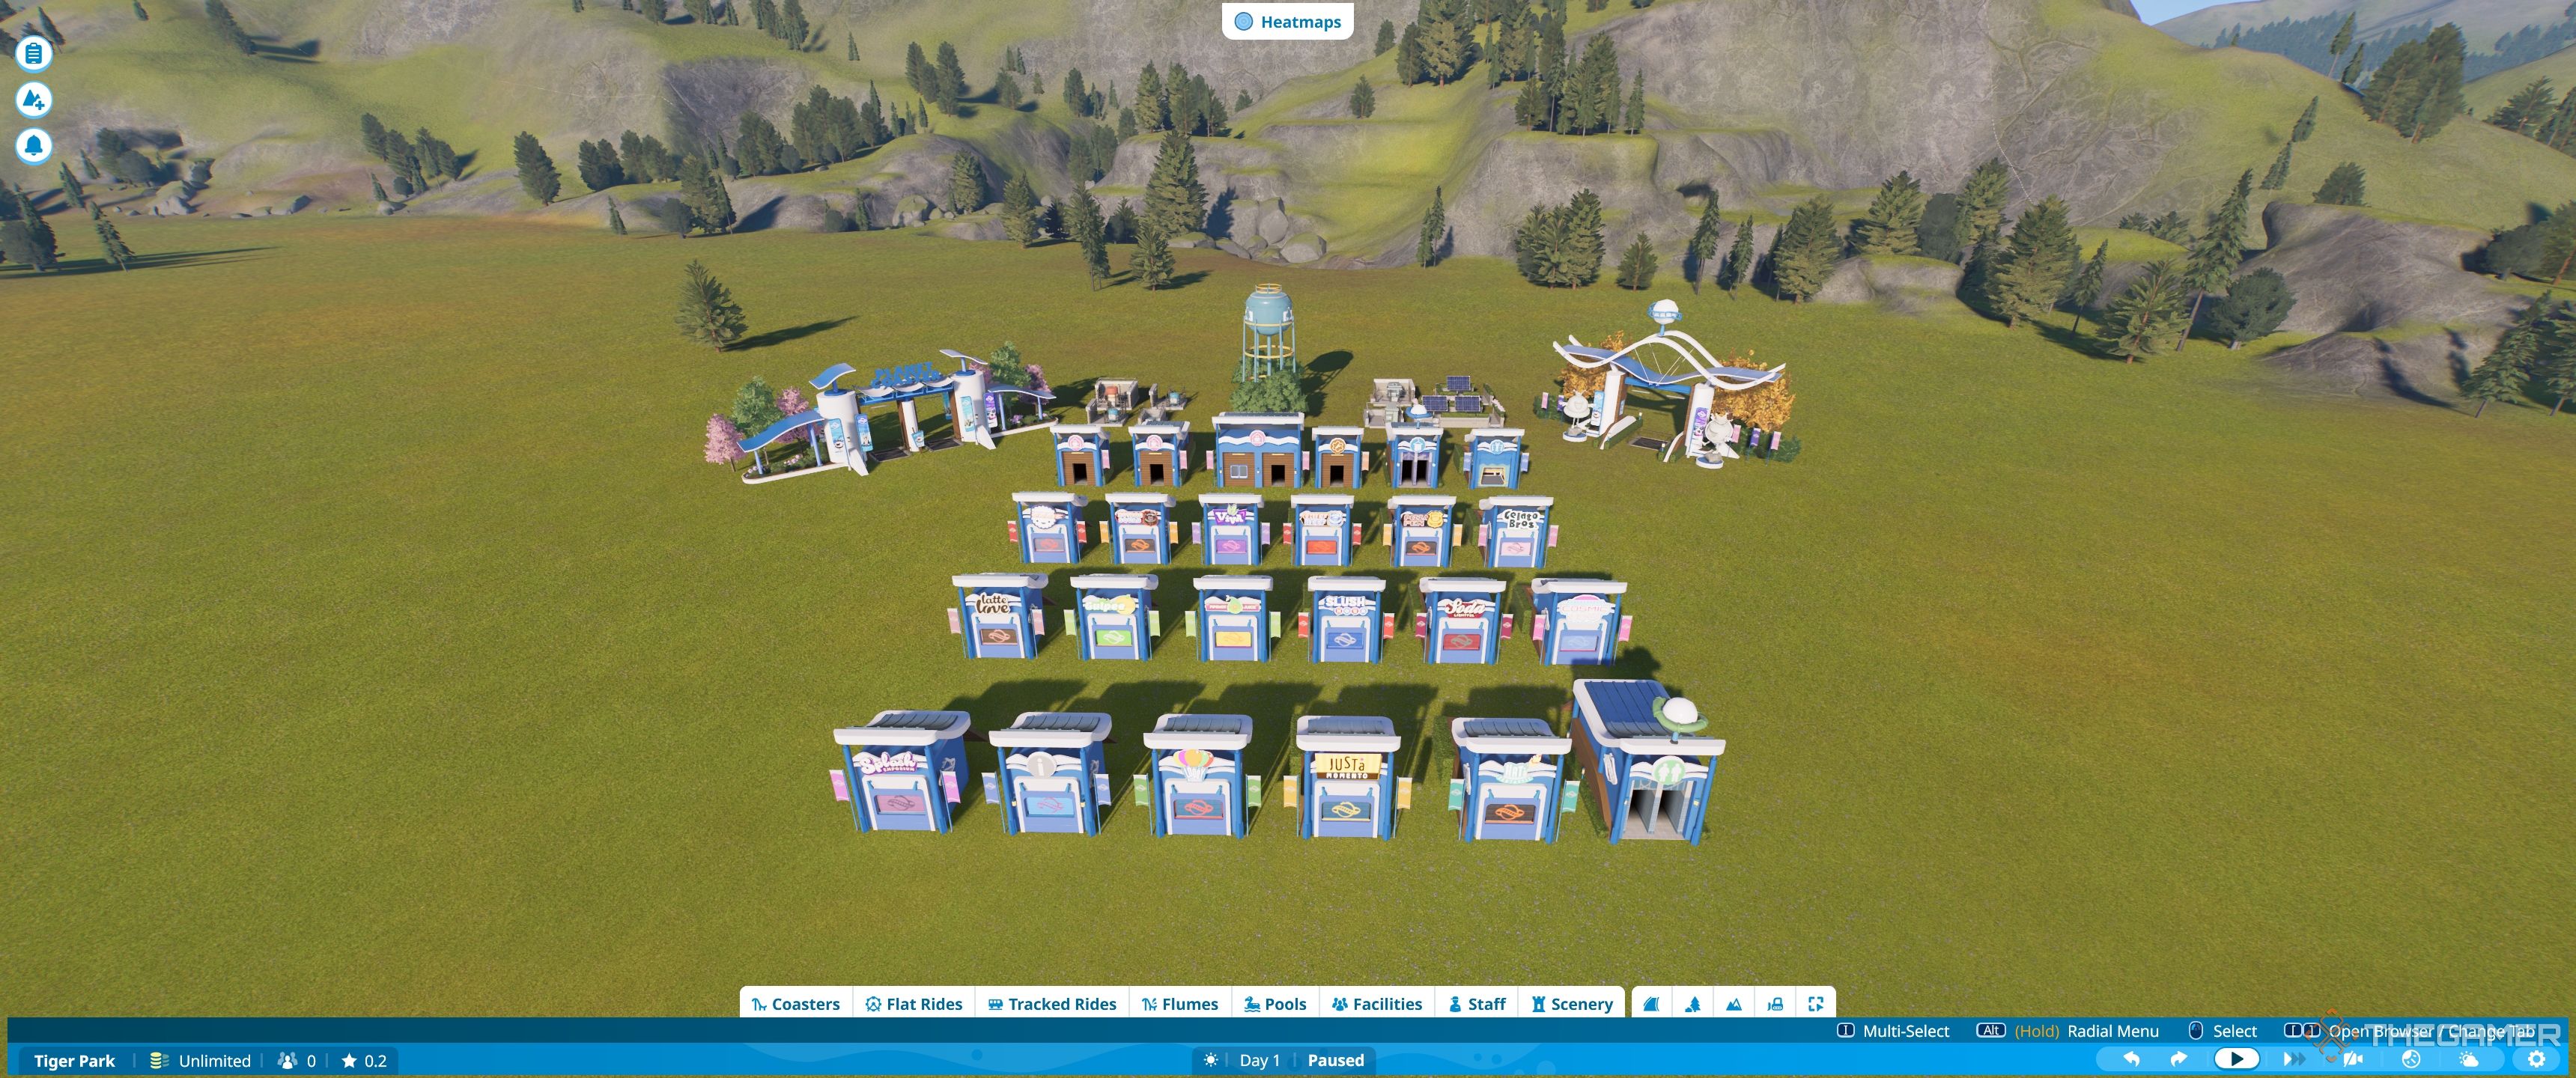
How To Change The Frontage
We suggestfinding the pieces to build each key in of frontage.
Place them all downby your building.
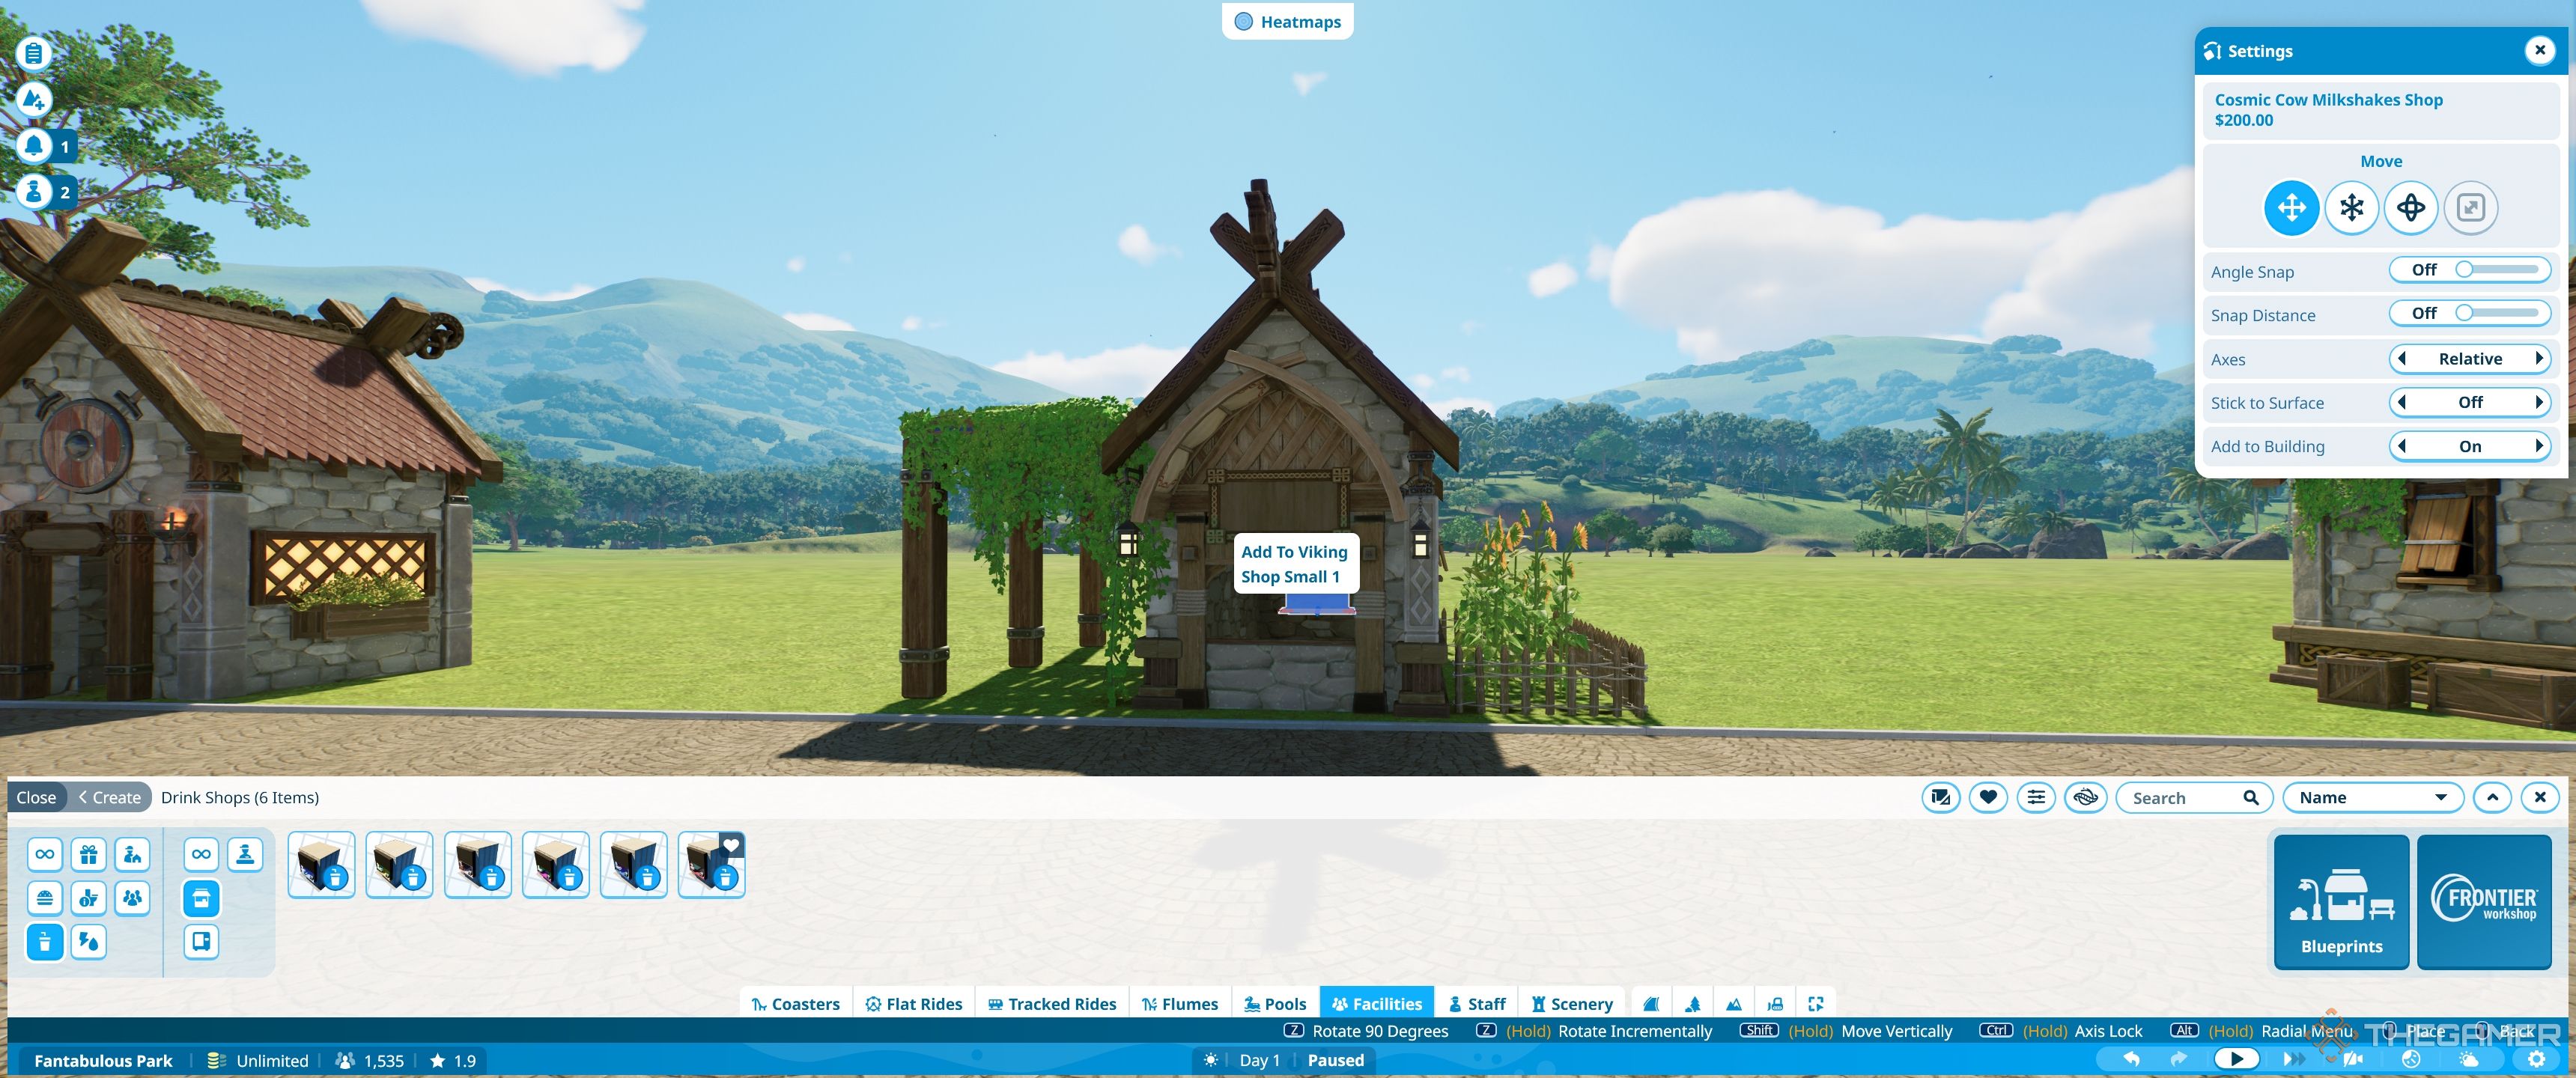
If your shell has no front, you canplace one of these straight inside.
If it does, you candelete the front piece and replace itwith another.
Just by doing this, you’ve got the option to make any shell fit almost any building.
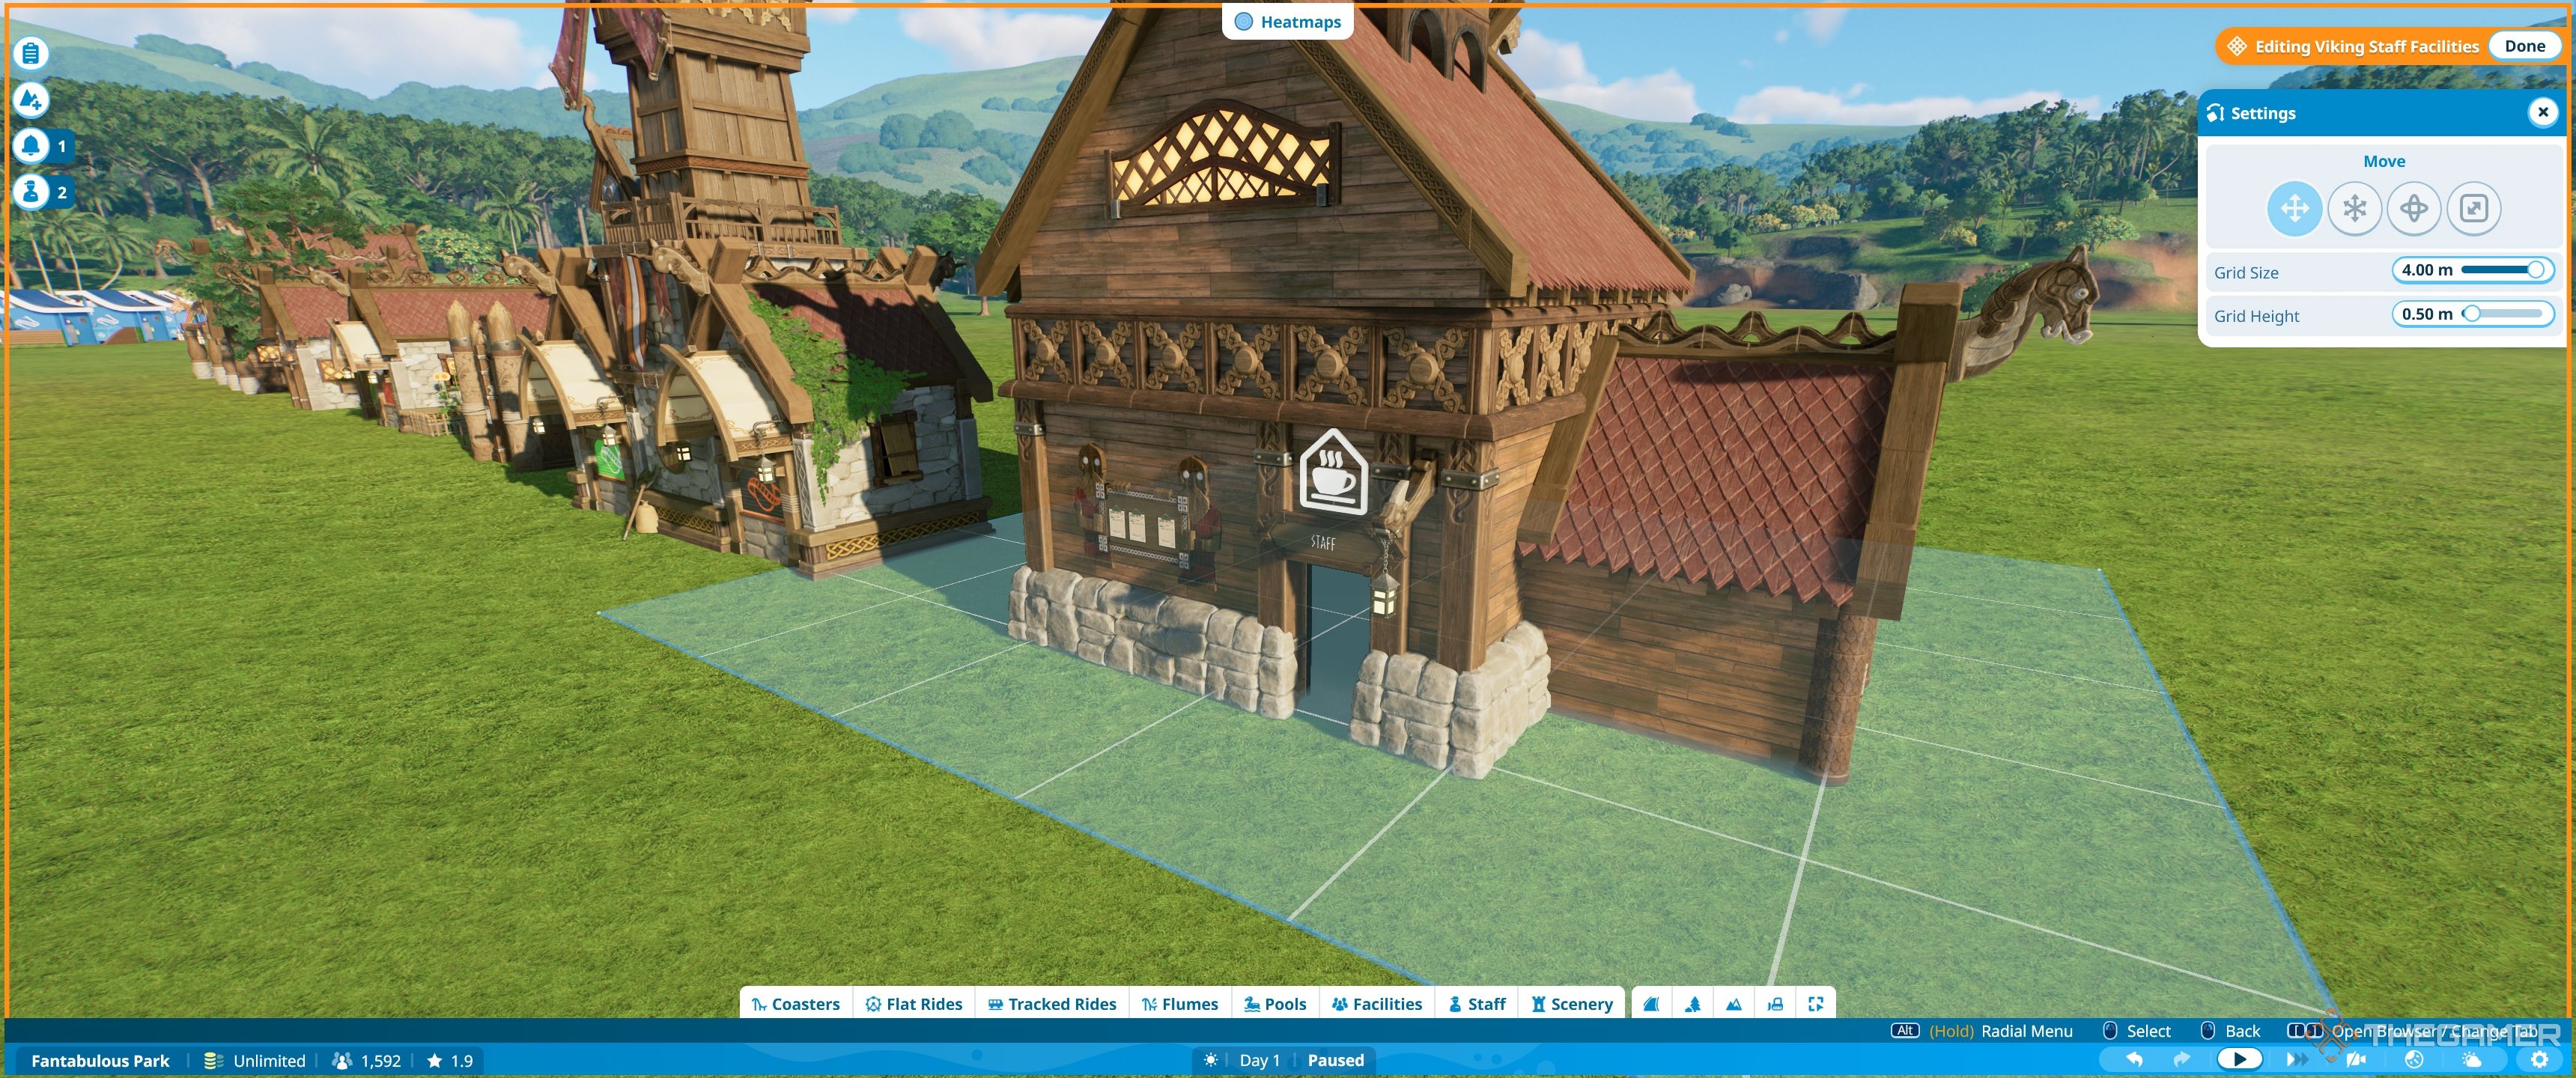
When placing pieces, the default parameters will allow them tosnap into place using the gridas a guide.
This works for any building and enables you toquickly swap out the pieces.
You don’t have to be a people person to make your guests happy.
While this is visible,smack the buildingand the shop willbecome one unitwith the shell.
Once the shop or building is in place, this is the bare basics.
The rest is decor.
Here, we’llgo through the basic stepsone by one.
Adding Walls
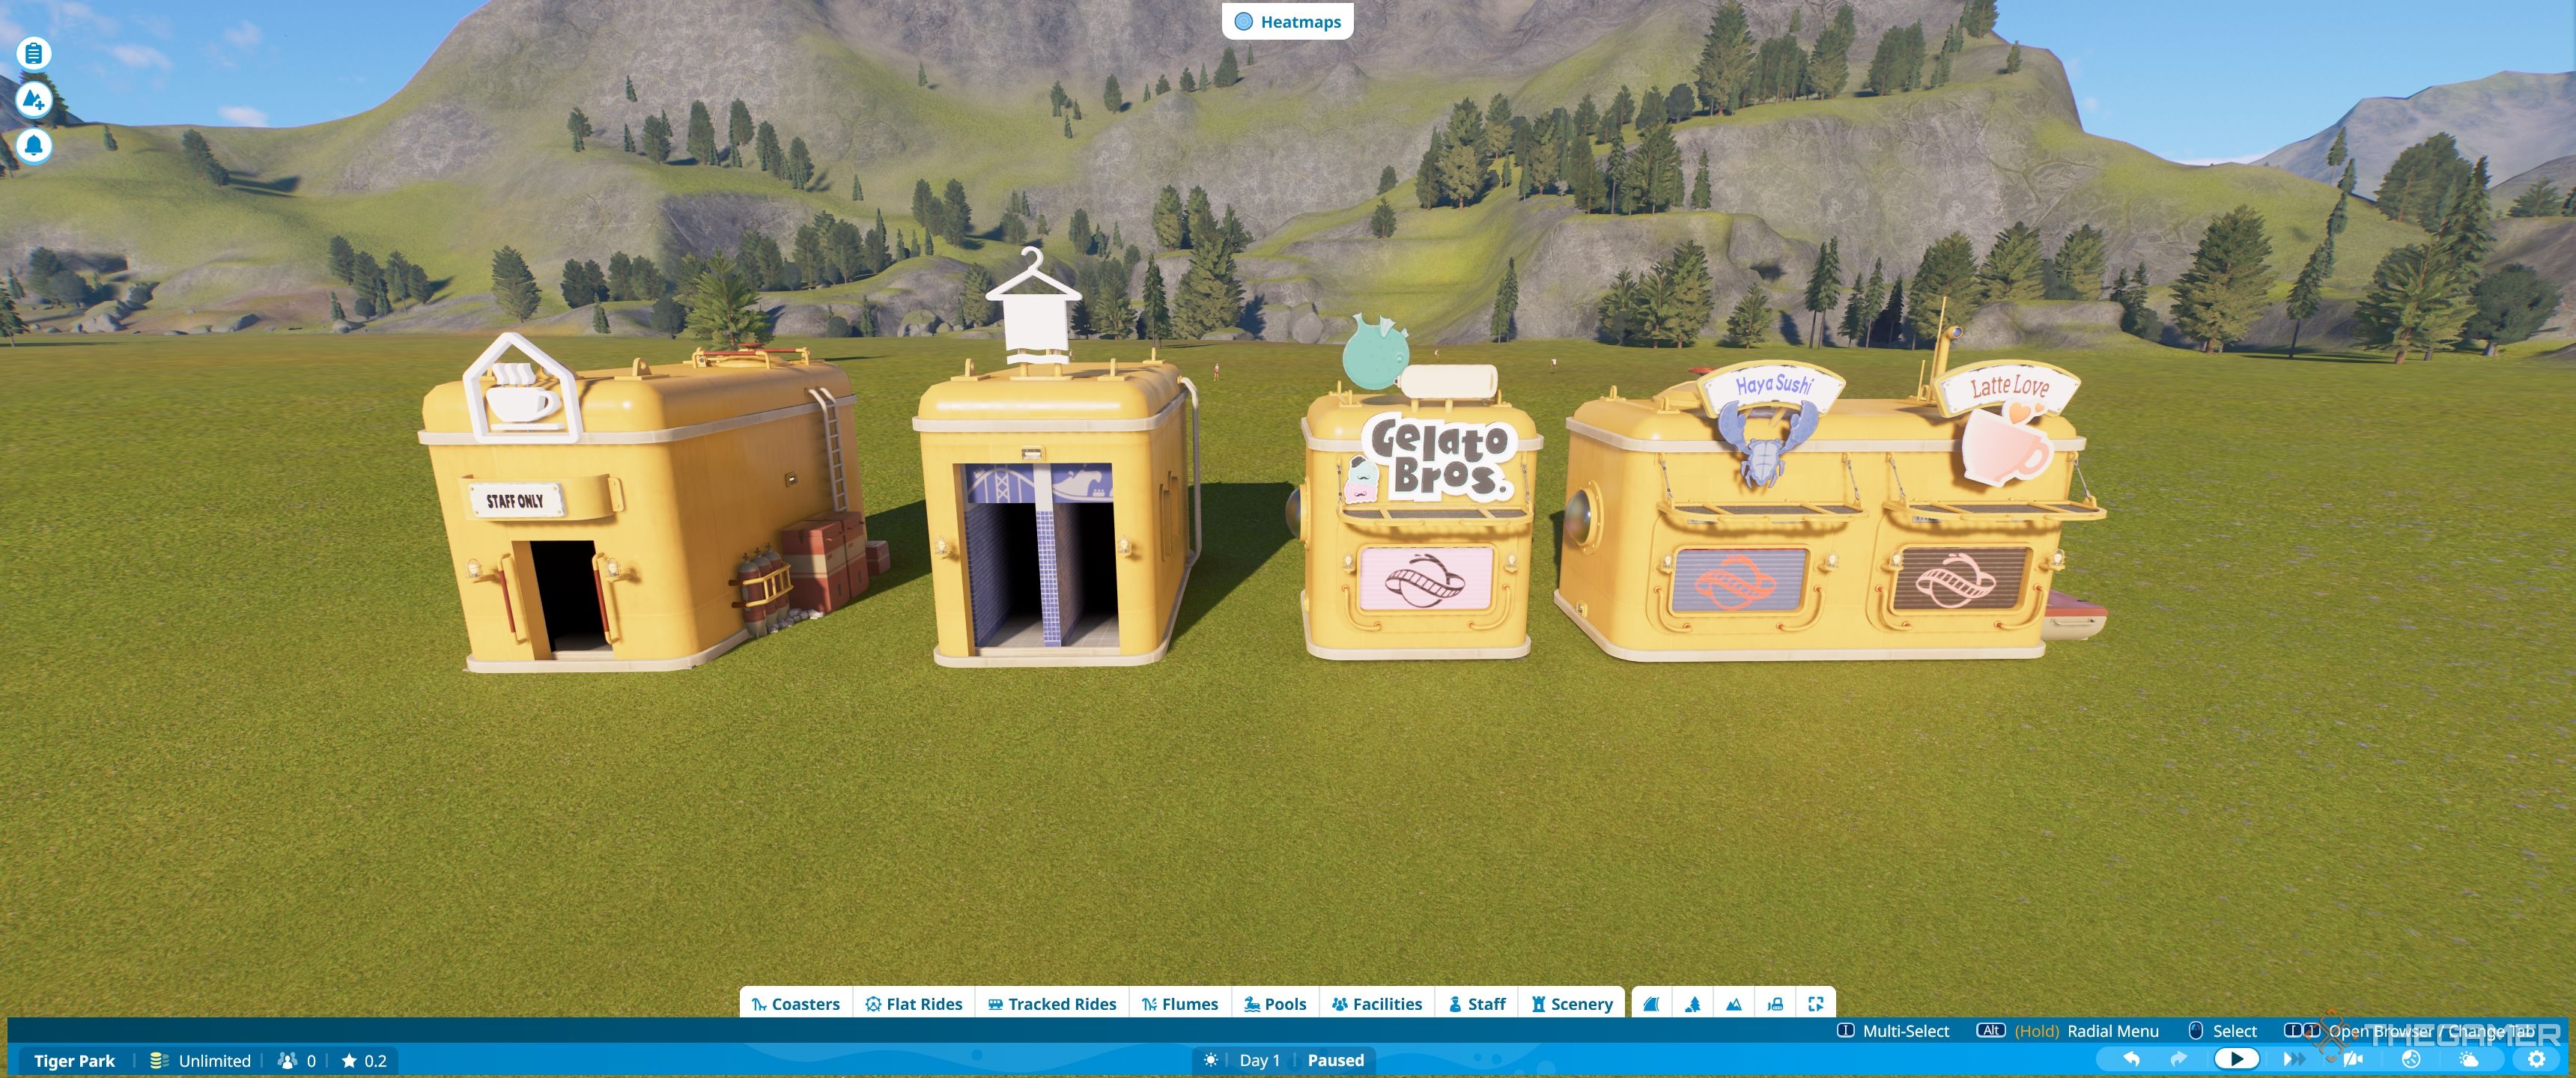
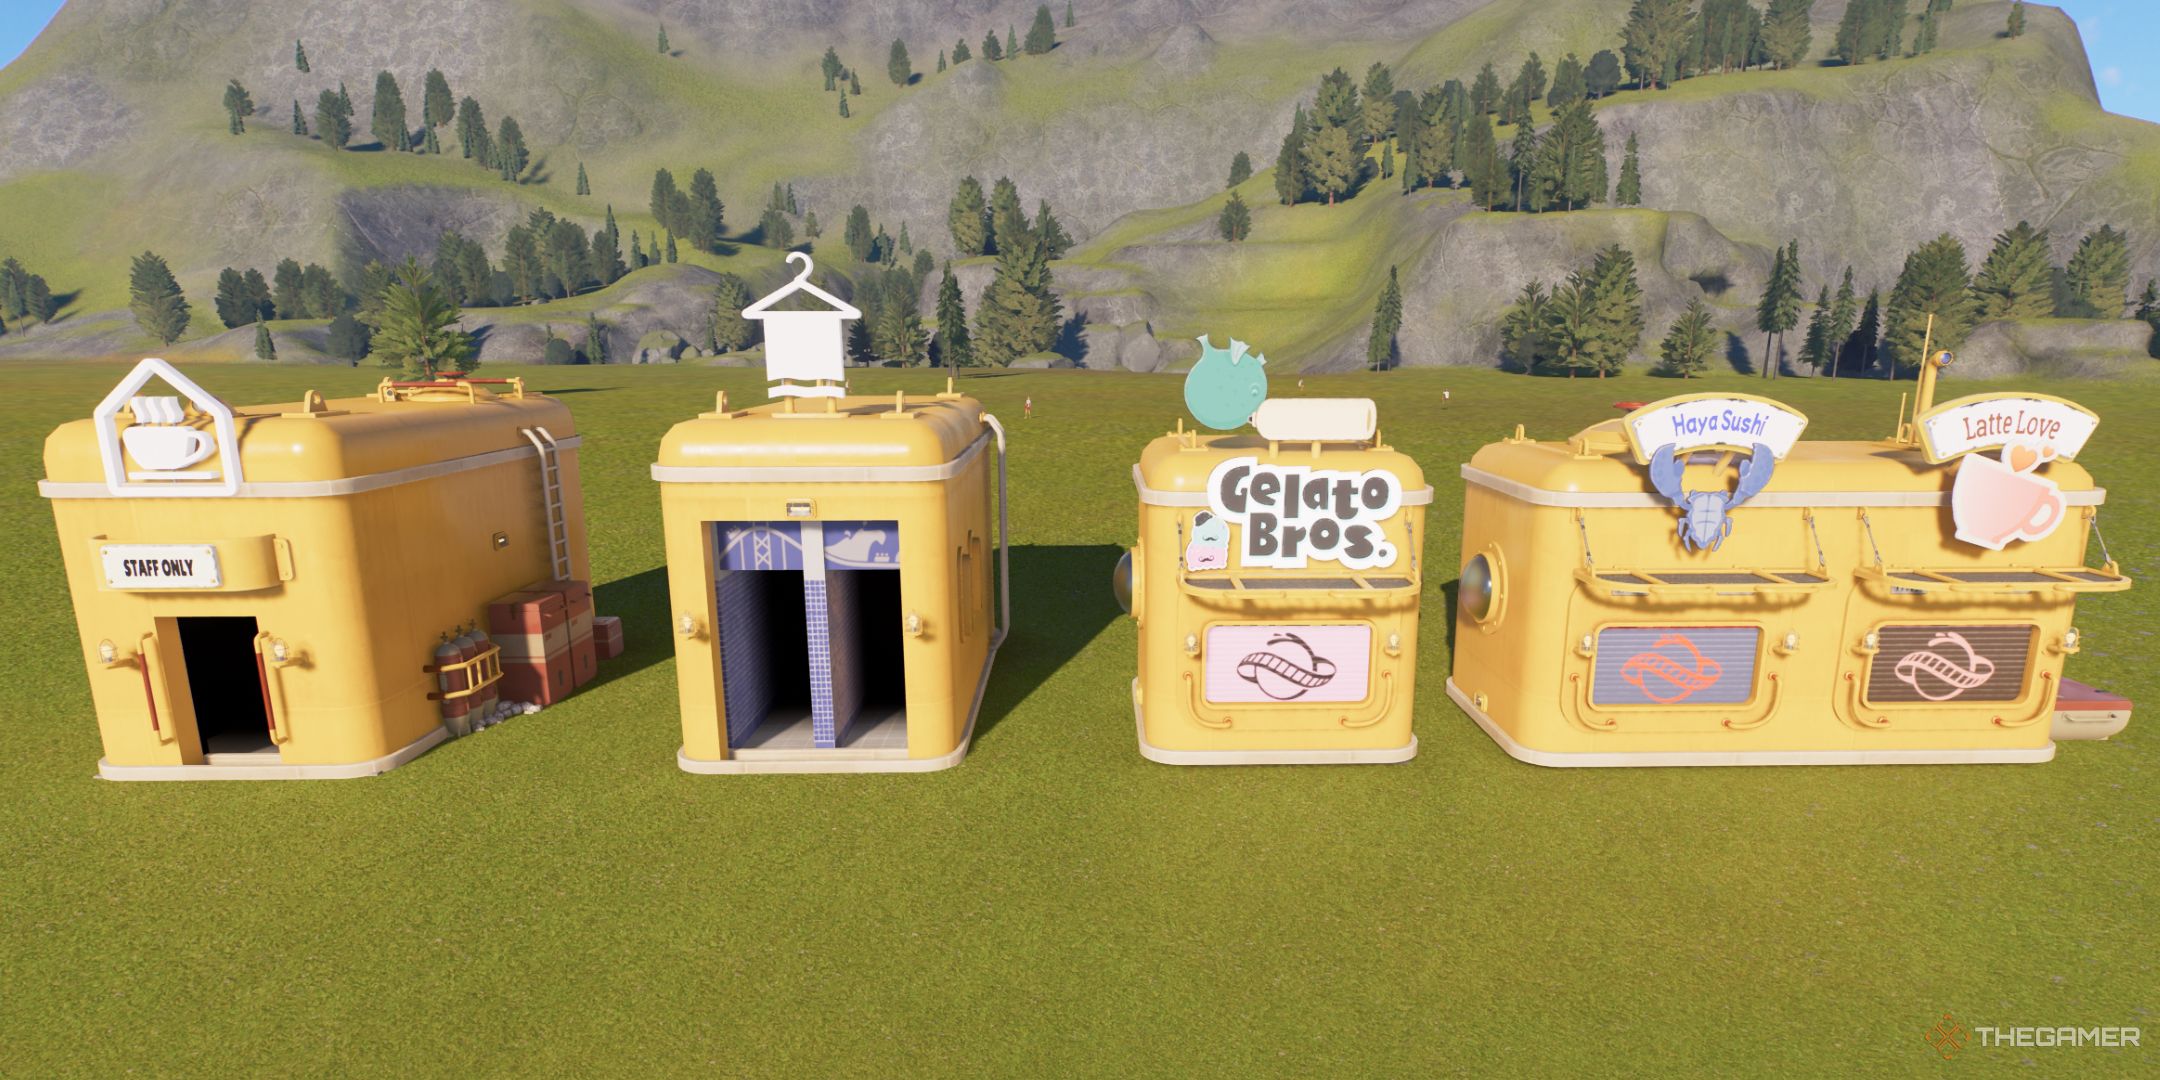
First, you’ll want tofind the facility or shop you want.
The first step is toadd three walls to the sides and backof the building.
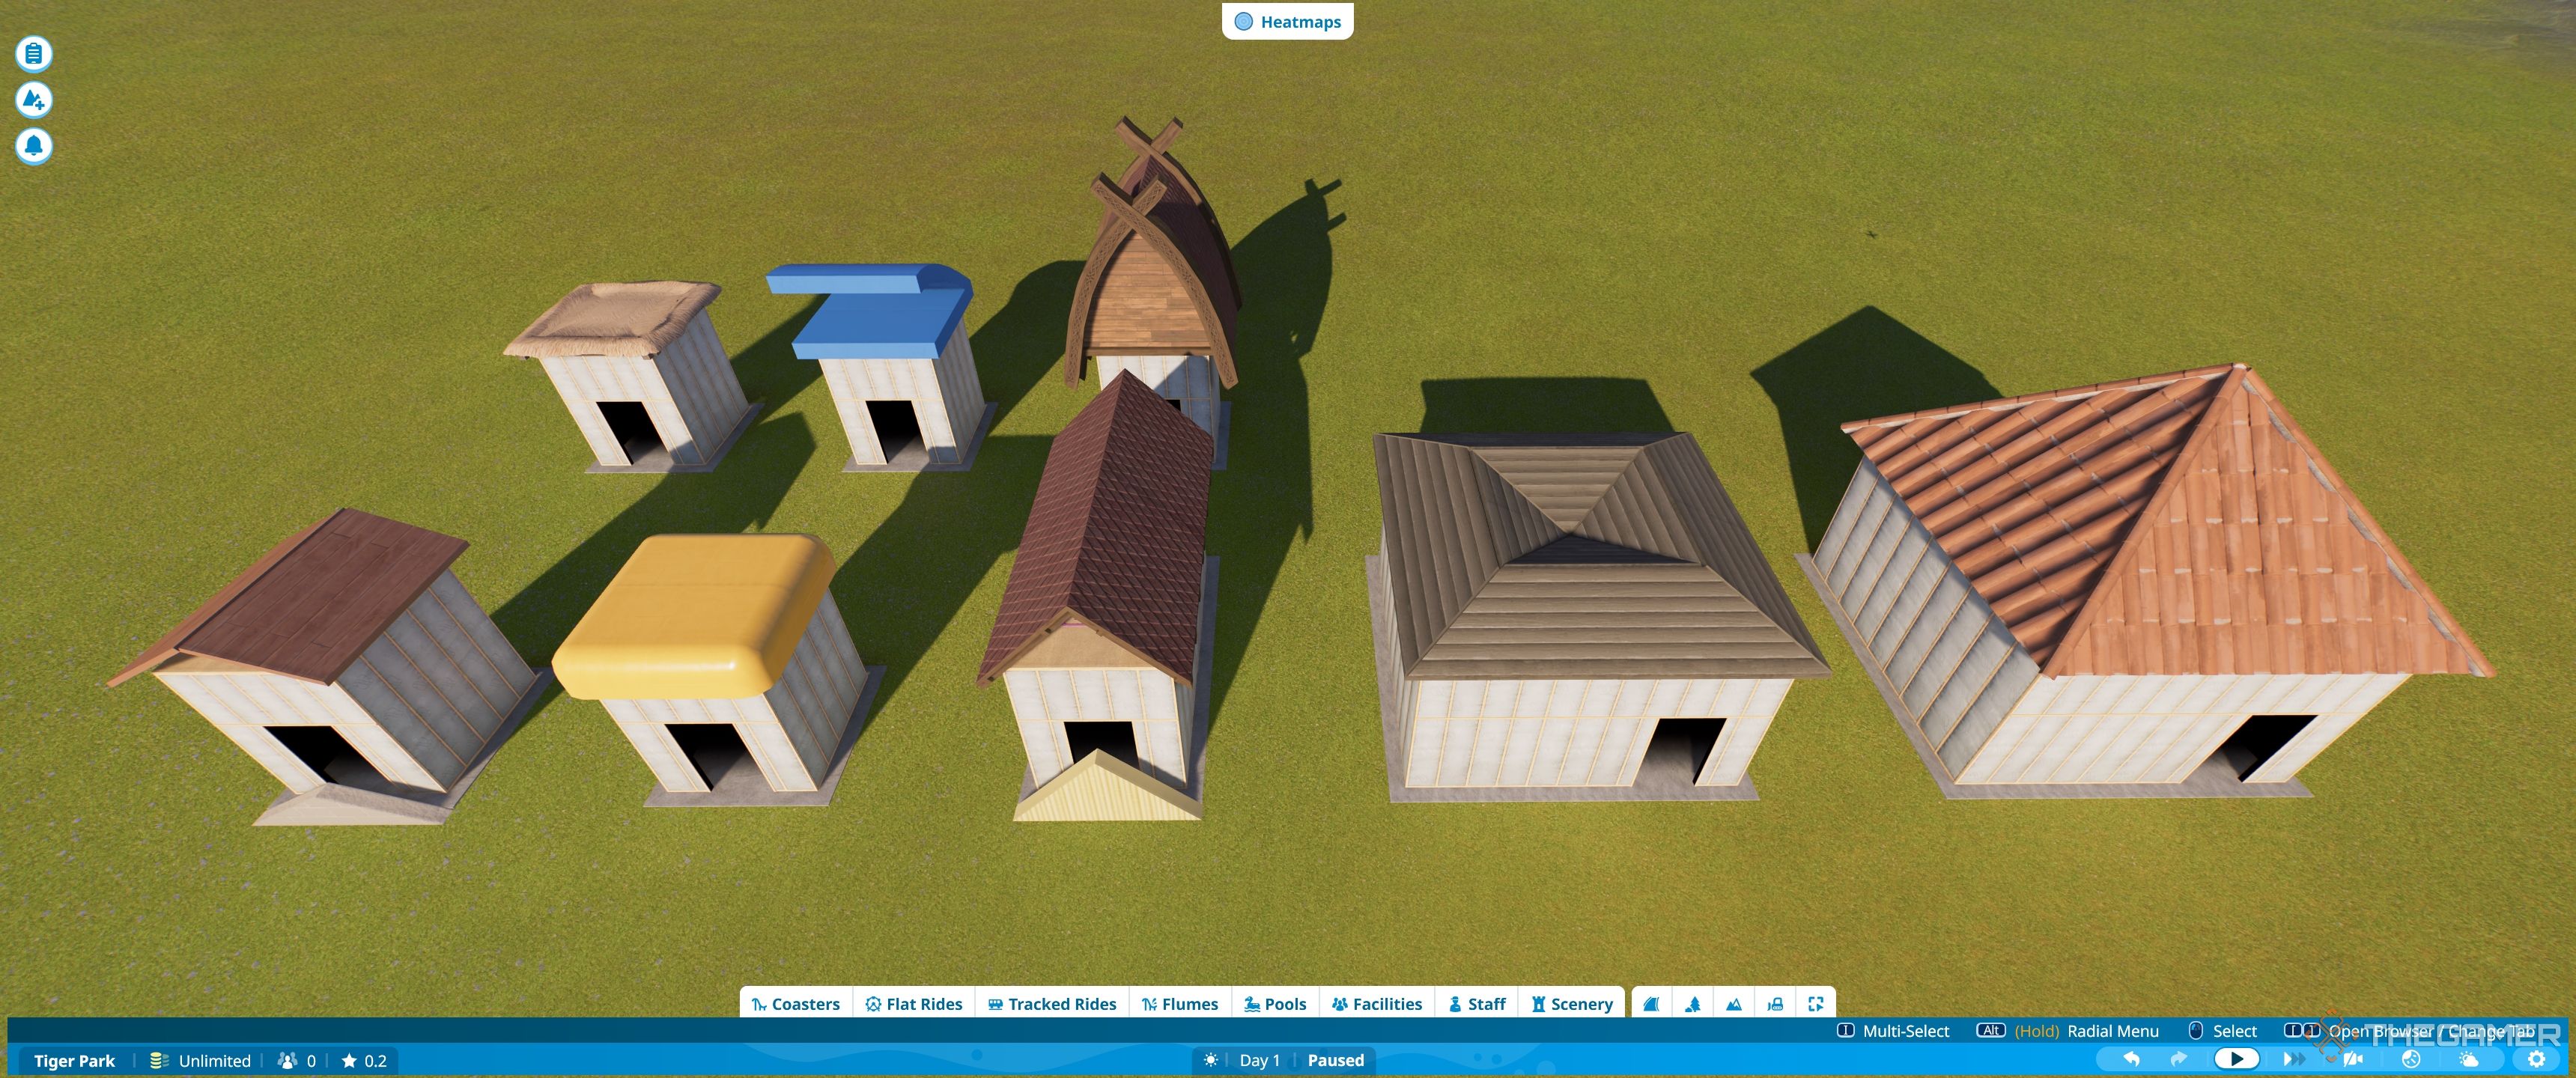
The front shows the1m pitchedroof, the aquaticbevelled metalroof,2m pitchedroof,pitched corner, andcornerroof.
The other roofs arefour pieces eachwhich just need to berotated so they match up.
A lot of this will be experimentation.
We recommendpulling apart pre-built shellsto see how they fit together and thenlearning how to use a few key tools.
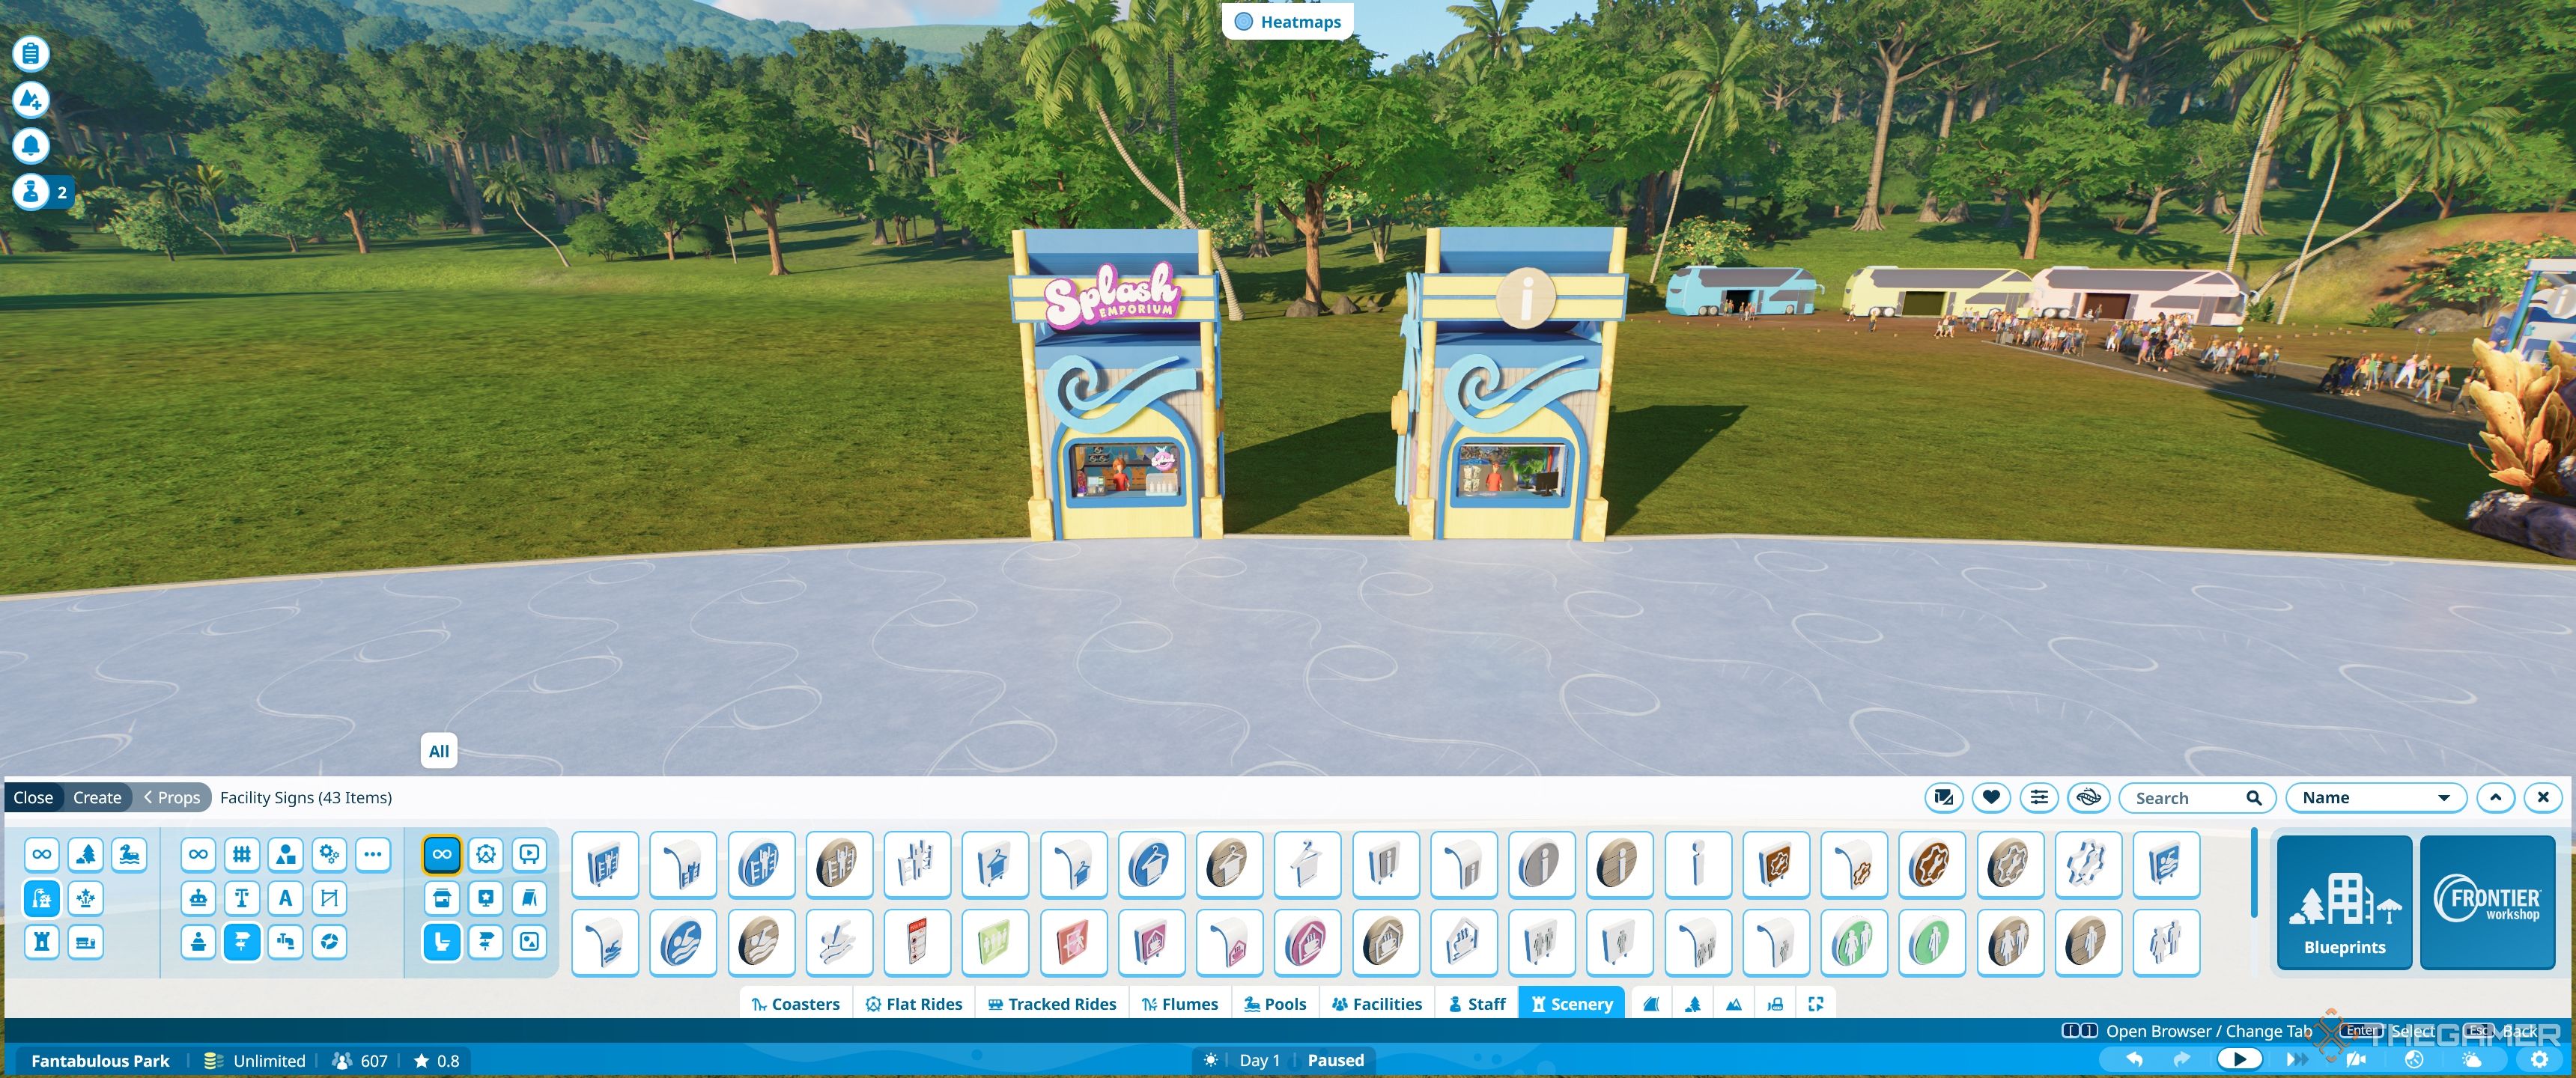
Theeasiest addition is signs, and for this you’ll use thescaling toolas well as theadvanced move tool.
The most common way is simply toadd the appropriate shop signfrom the signs and advertising section.
These just affect how the signs are placed initially.
Youclick and dragthem and the sign will move in the direction of the arrow.
If you mess anything up just hit escape and the last movement will reset.
Advanced rotateis the next option along, and shows youthree circles.Theserotate on three different axisby turning them around.
This allows you toangle signs, or double-check they are exactly straight.
How To Use Advanced Scale
Advanced scaleallows you toresize all those huge signsso they properly fit.
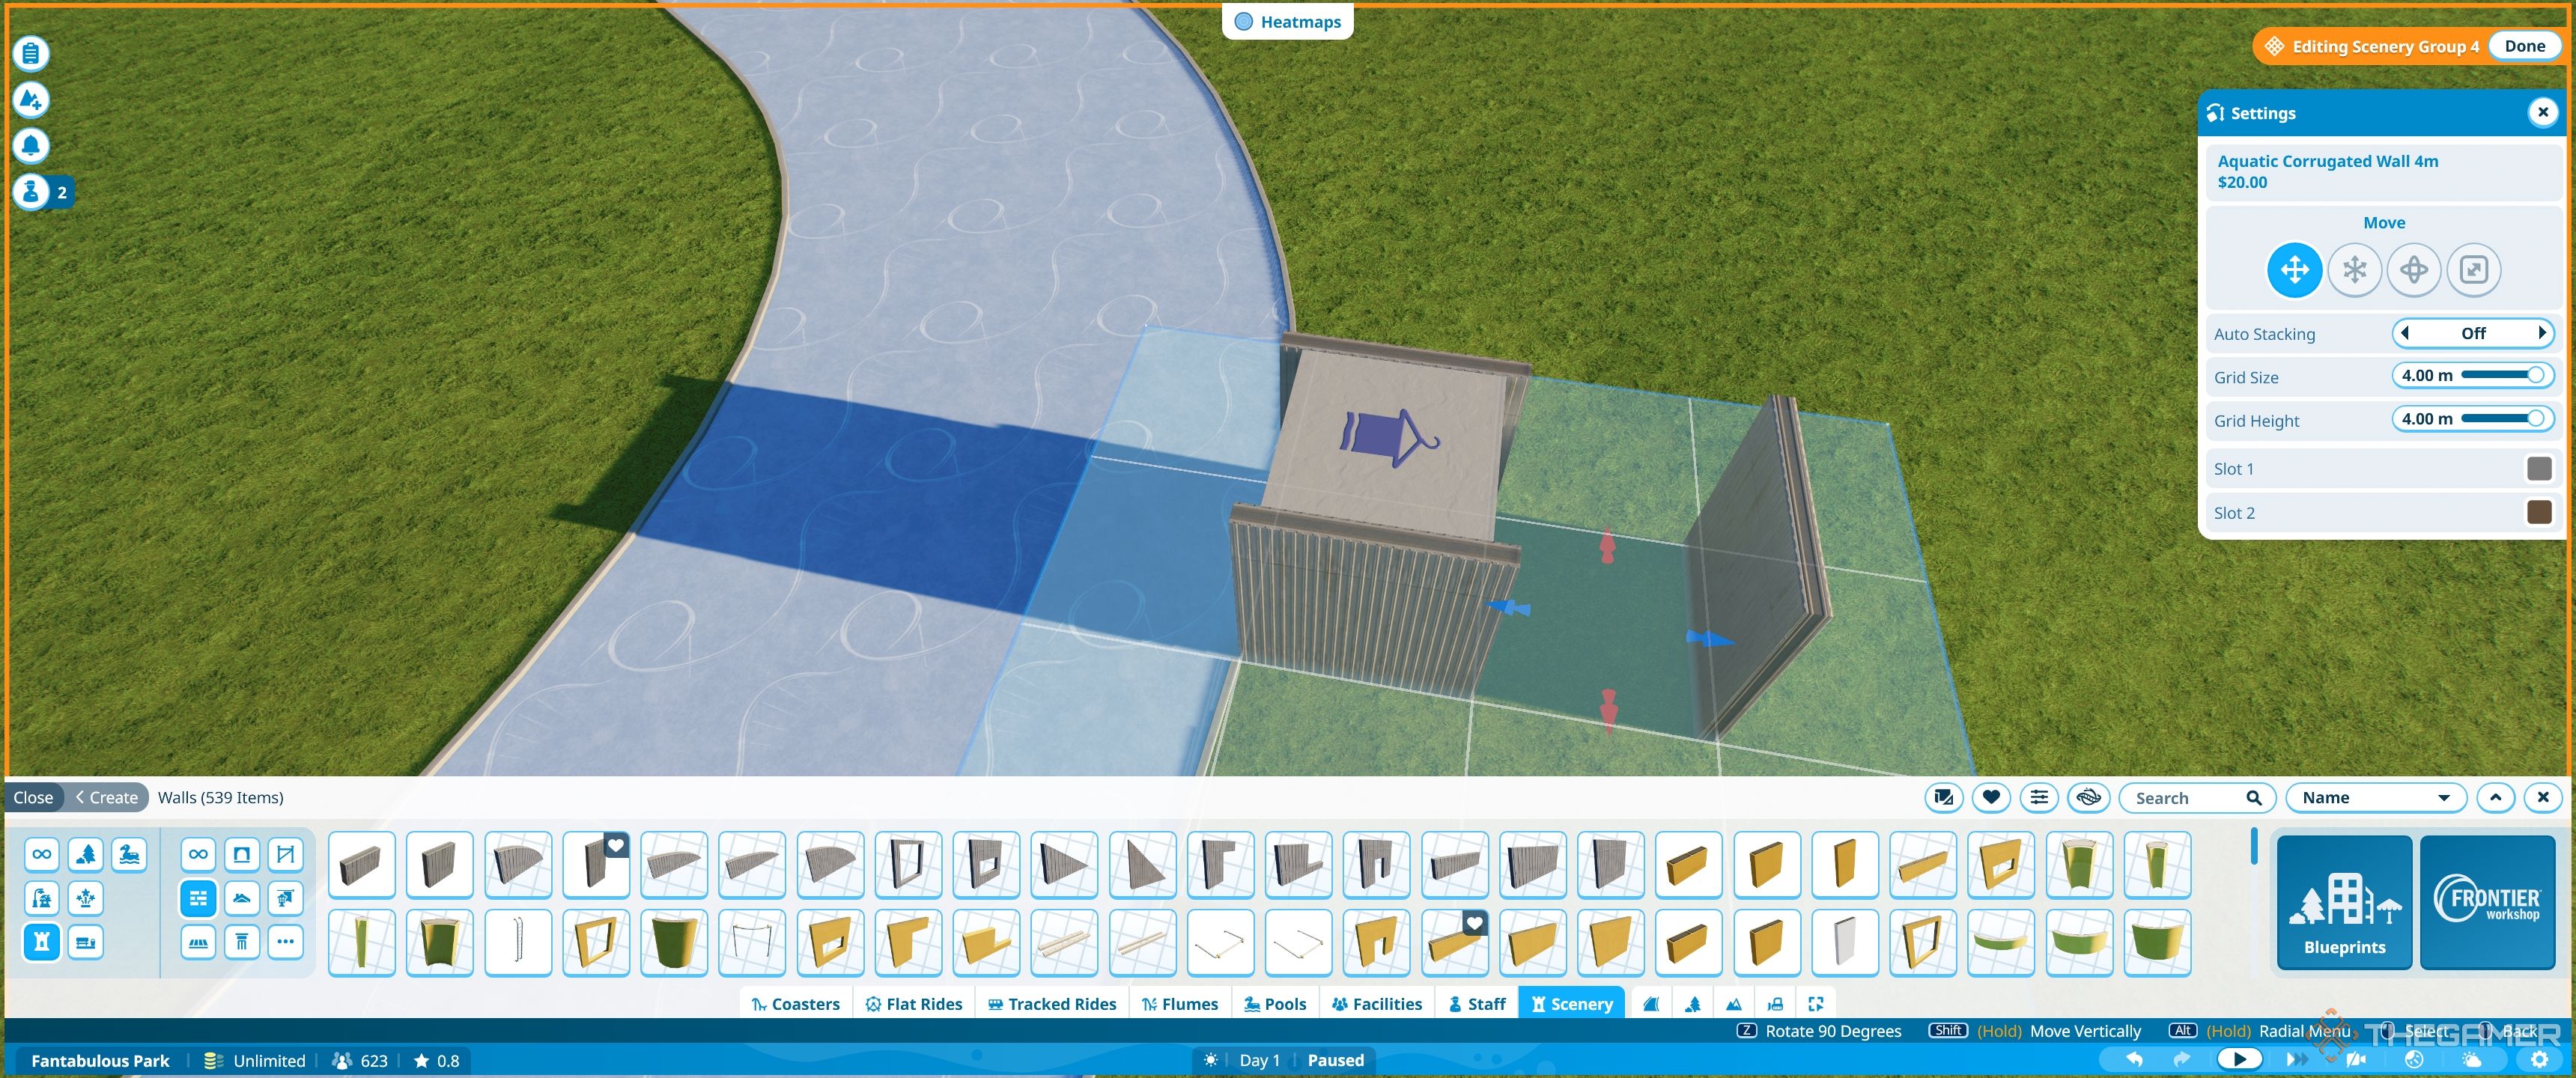
To use it, simplyclick the blue circle and then rotate.
To edit theseclick the signand apop-up menu will appear.
In this menu, you canadd the text you want on the sign.
The best way to learn is simply by jumping into sandbox mode and trying it out.
If a job’s worth doing, it’s worth doing right.