Quick Links
InInfinity Nikki, there are countless creatures and scenes to take breathtaking photos of.
With Nikki and Momo, there’s always an adventure to be had.
Winning style battles in Stonewoods is the key to unlocking the Searching for Dreams outfit in Infinity Nikki.
He needs helptaking photos of esselings, and Nikki is the perfect stylist to lend a hand.
Nikki doesn’t need to be present in the photos for them to count!
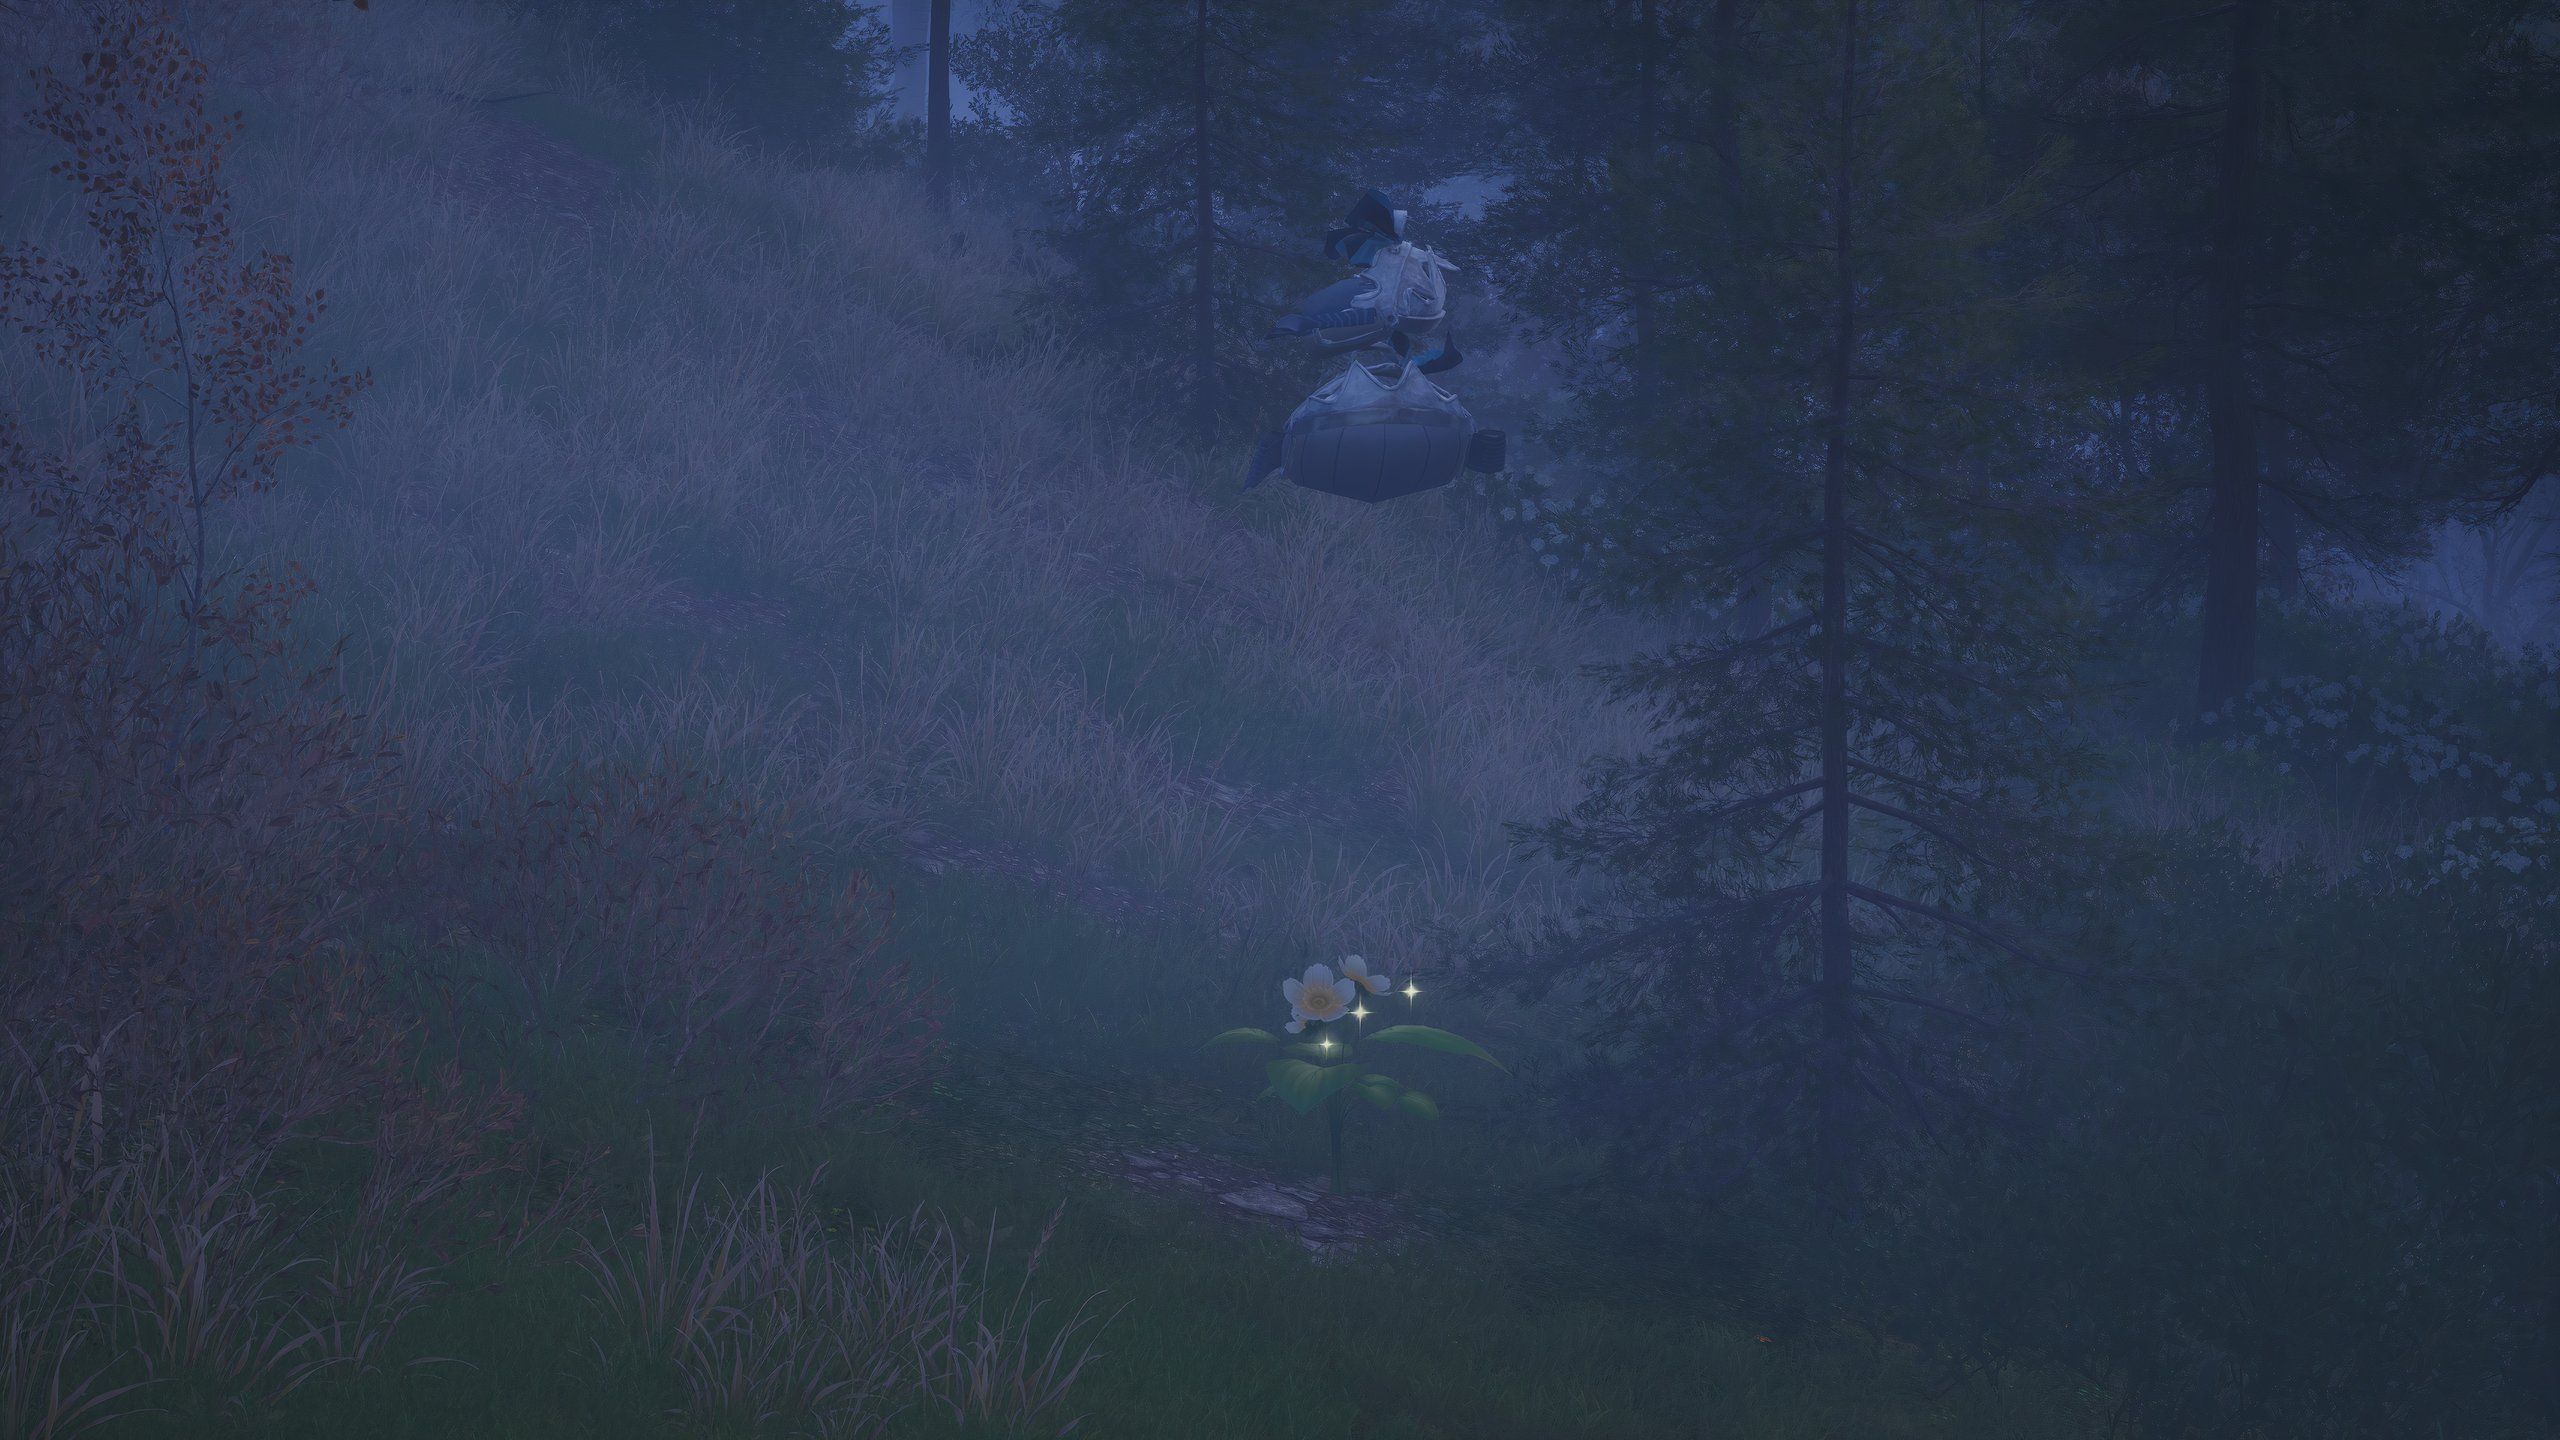
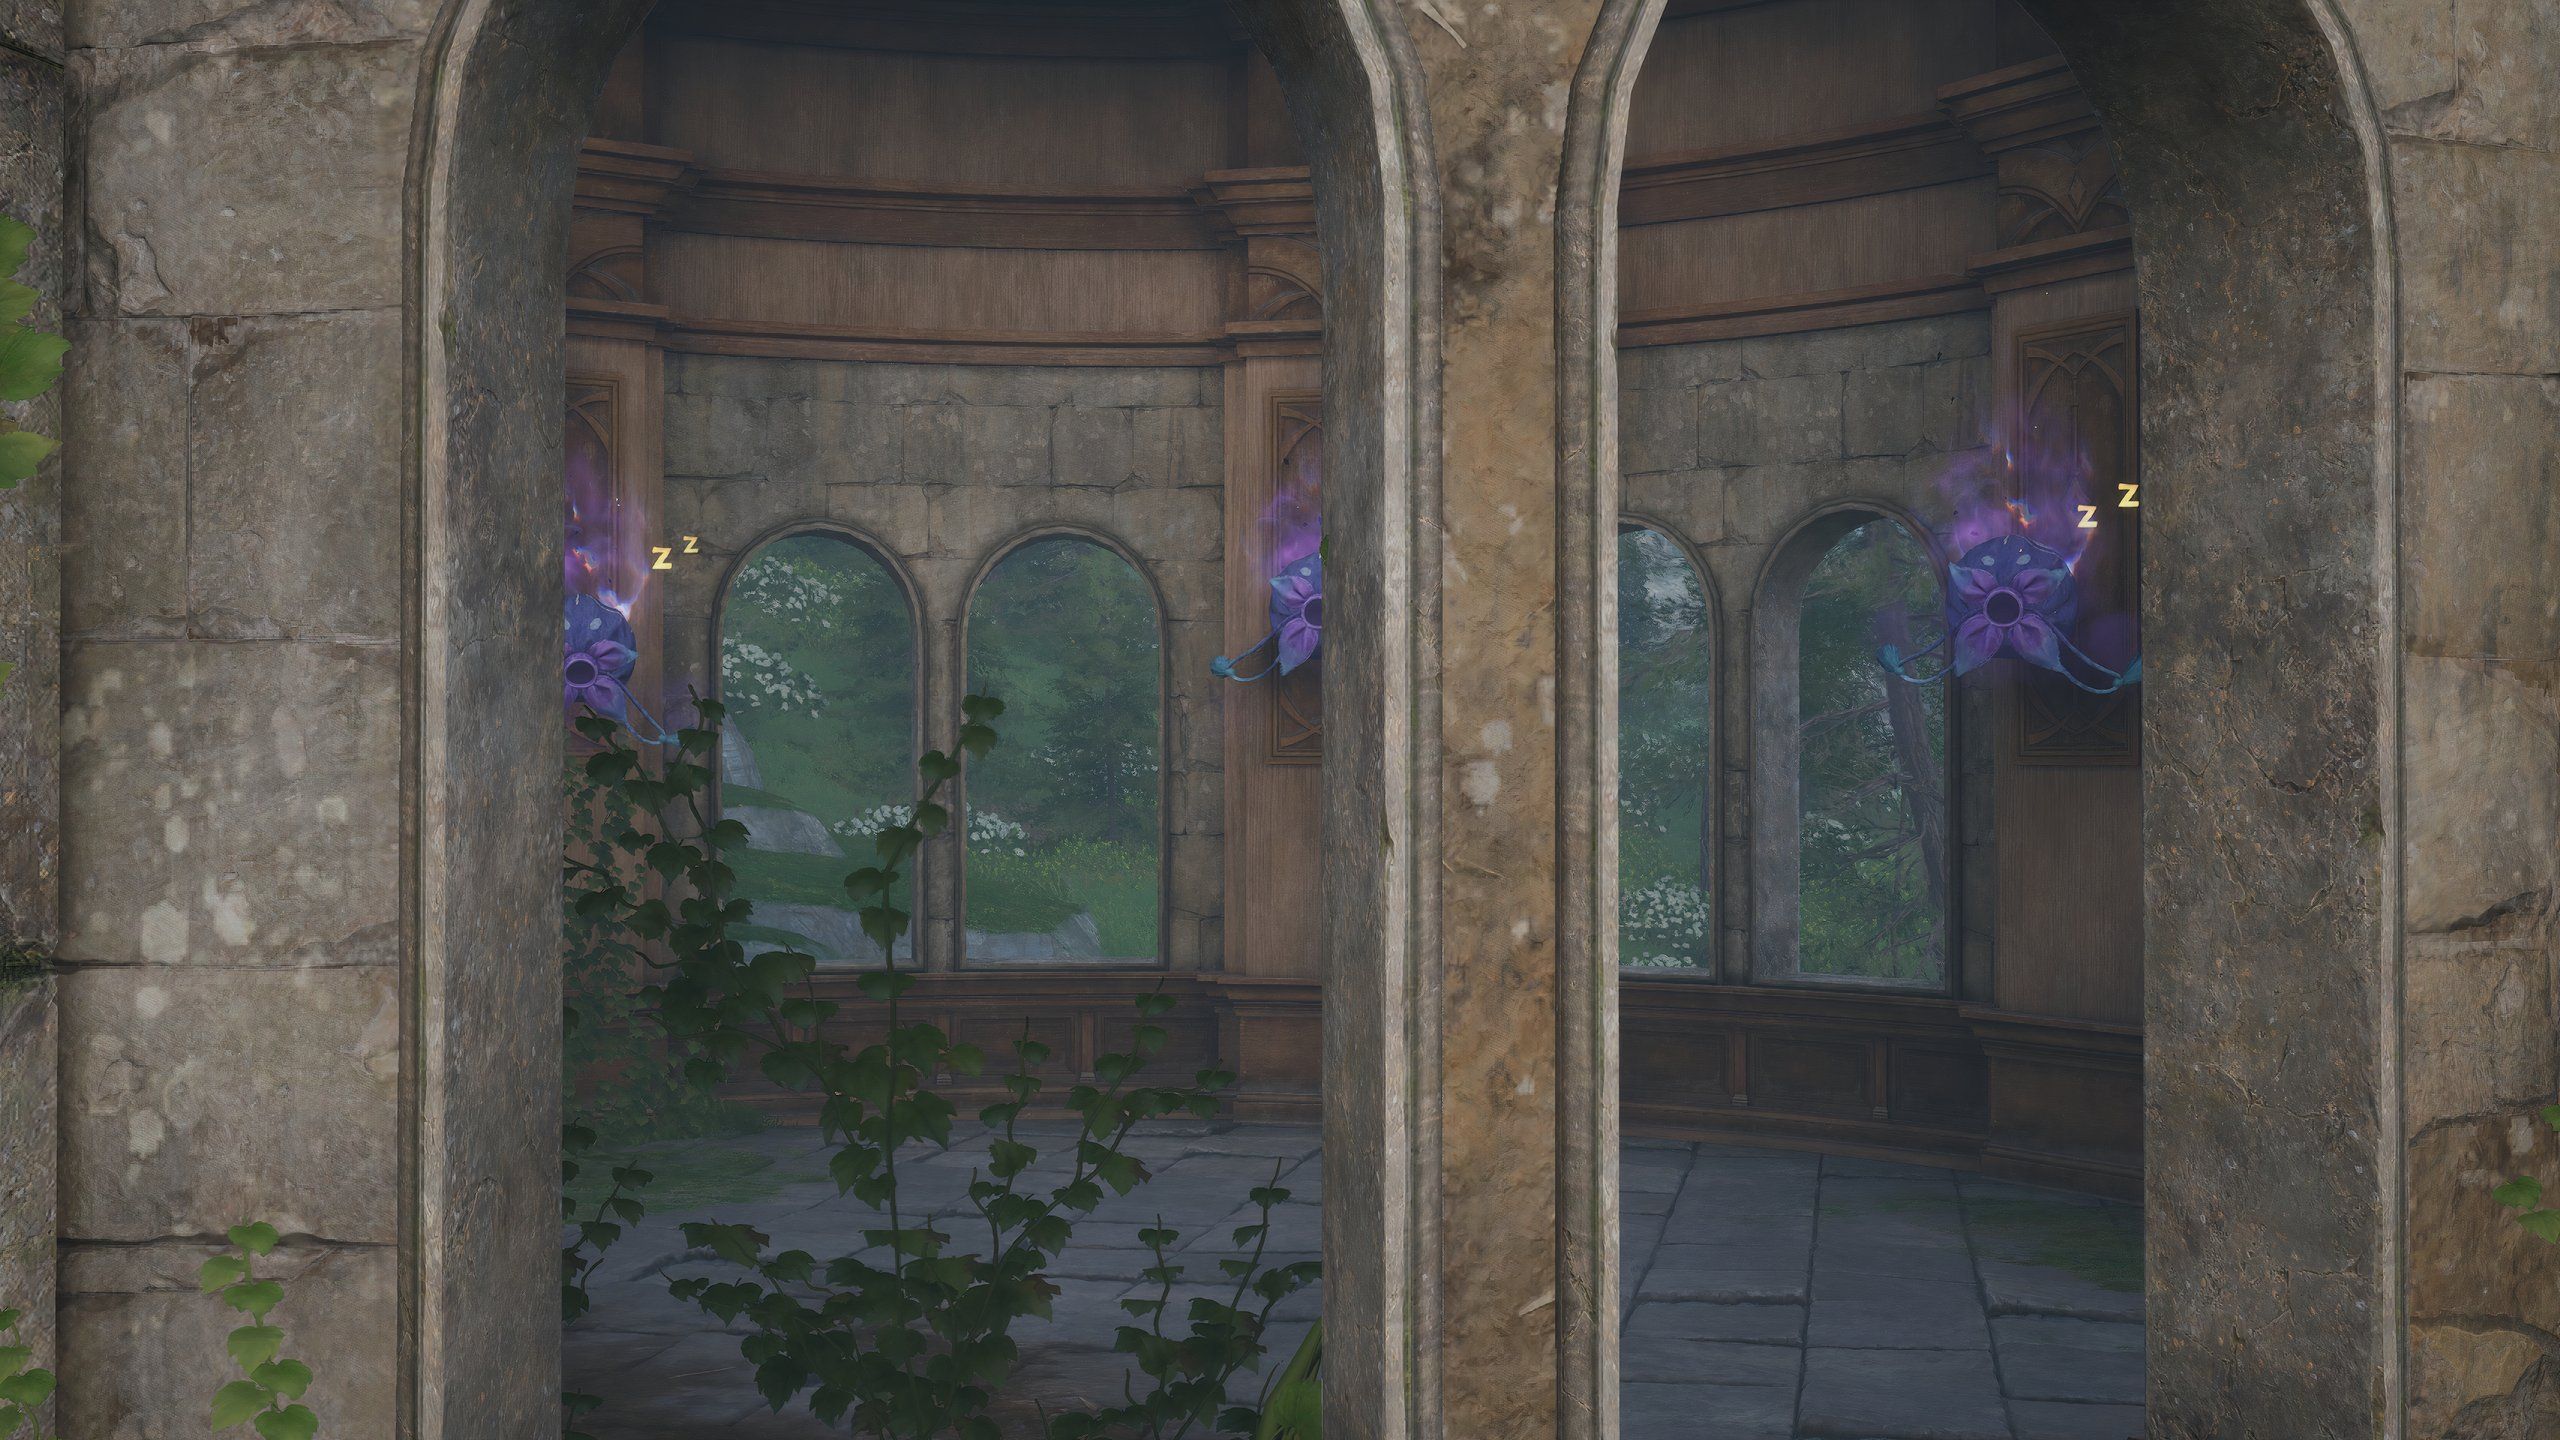
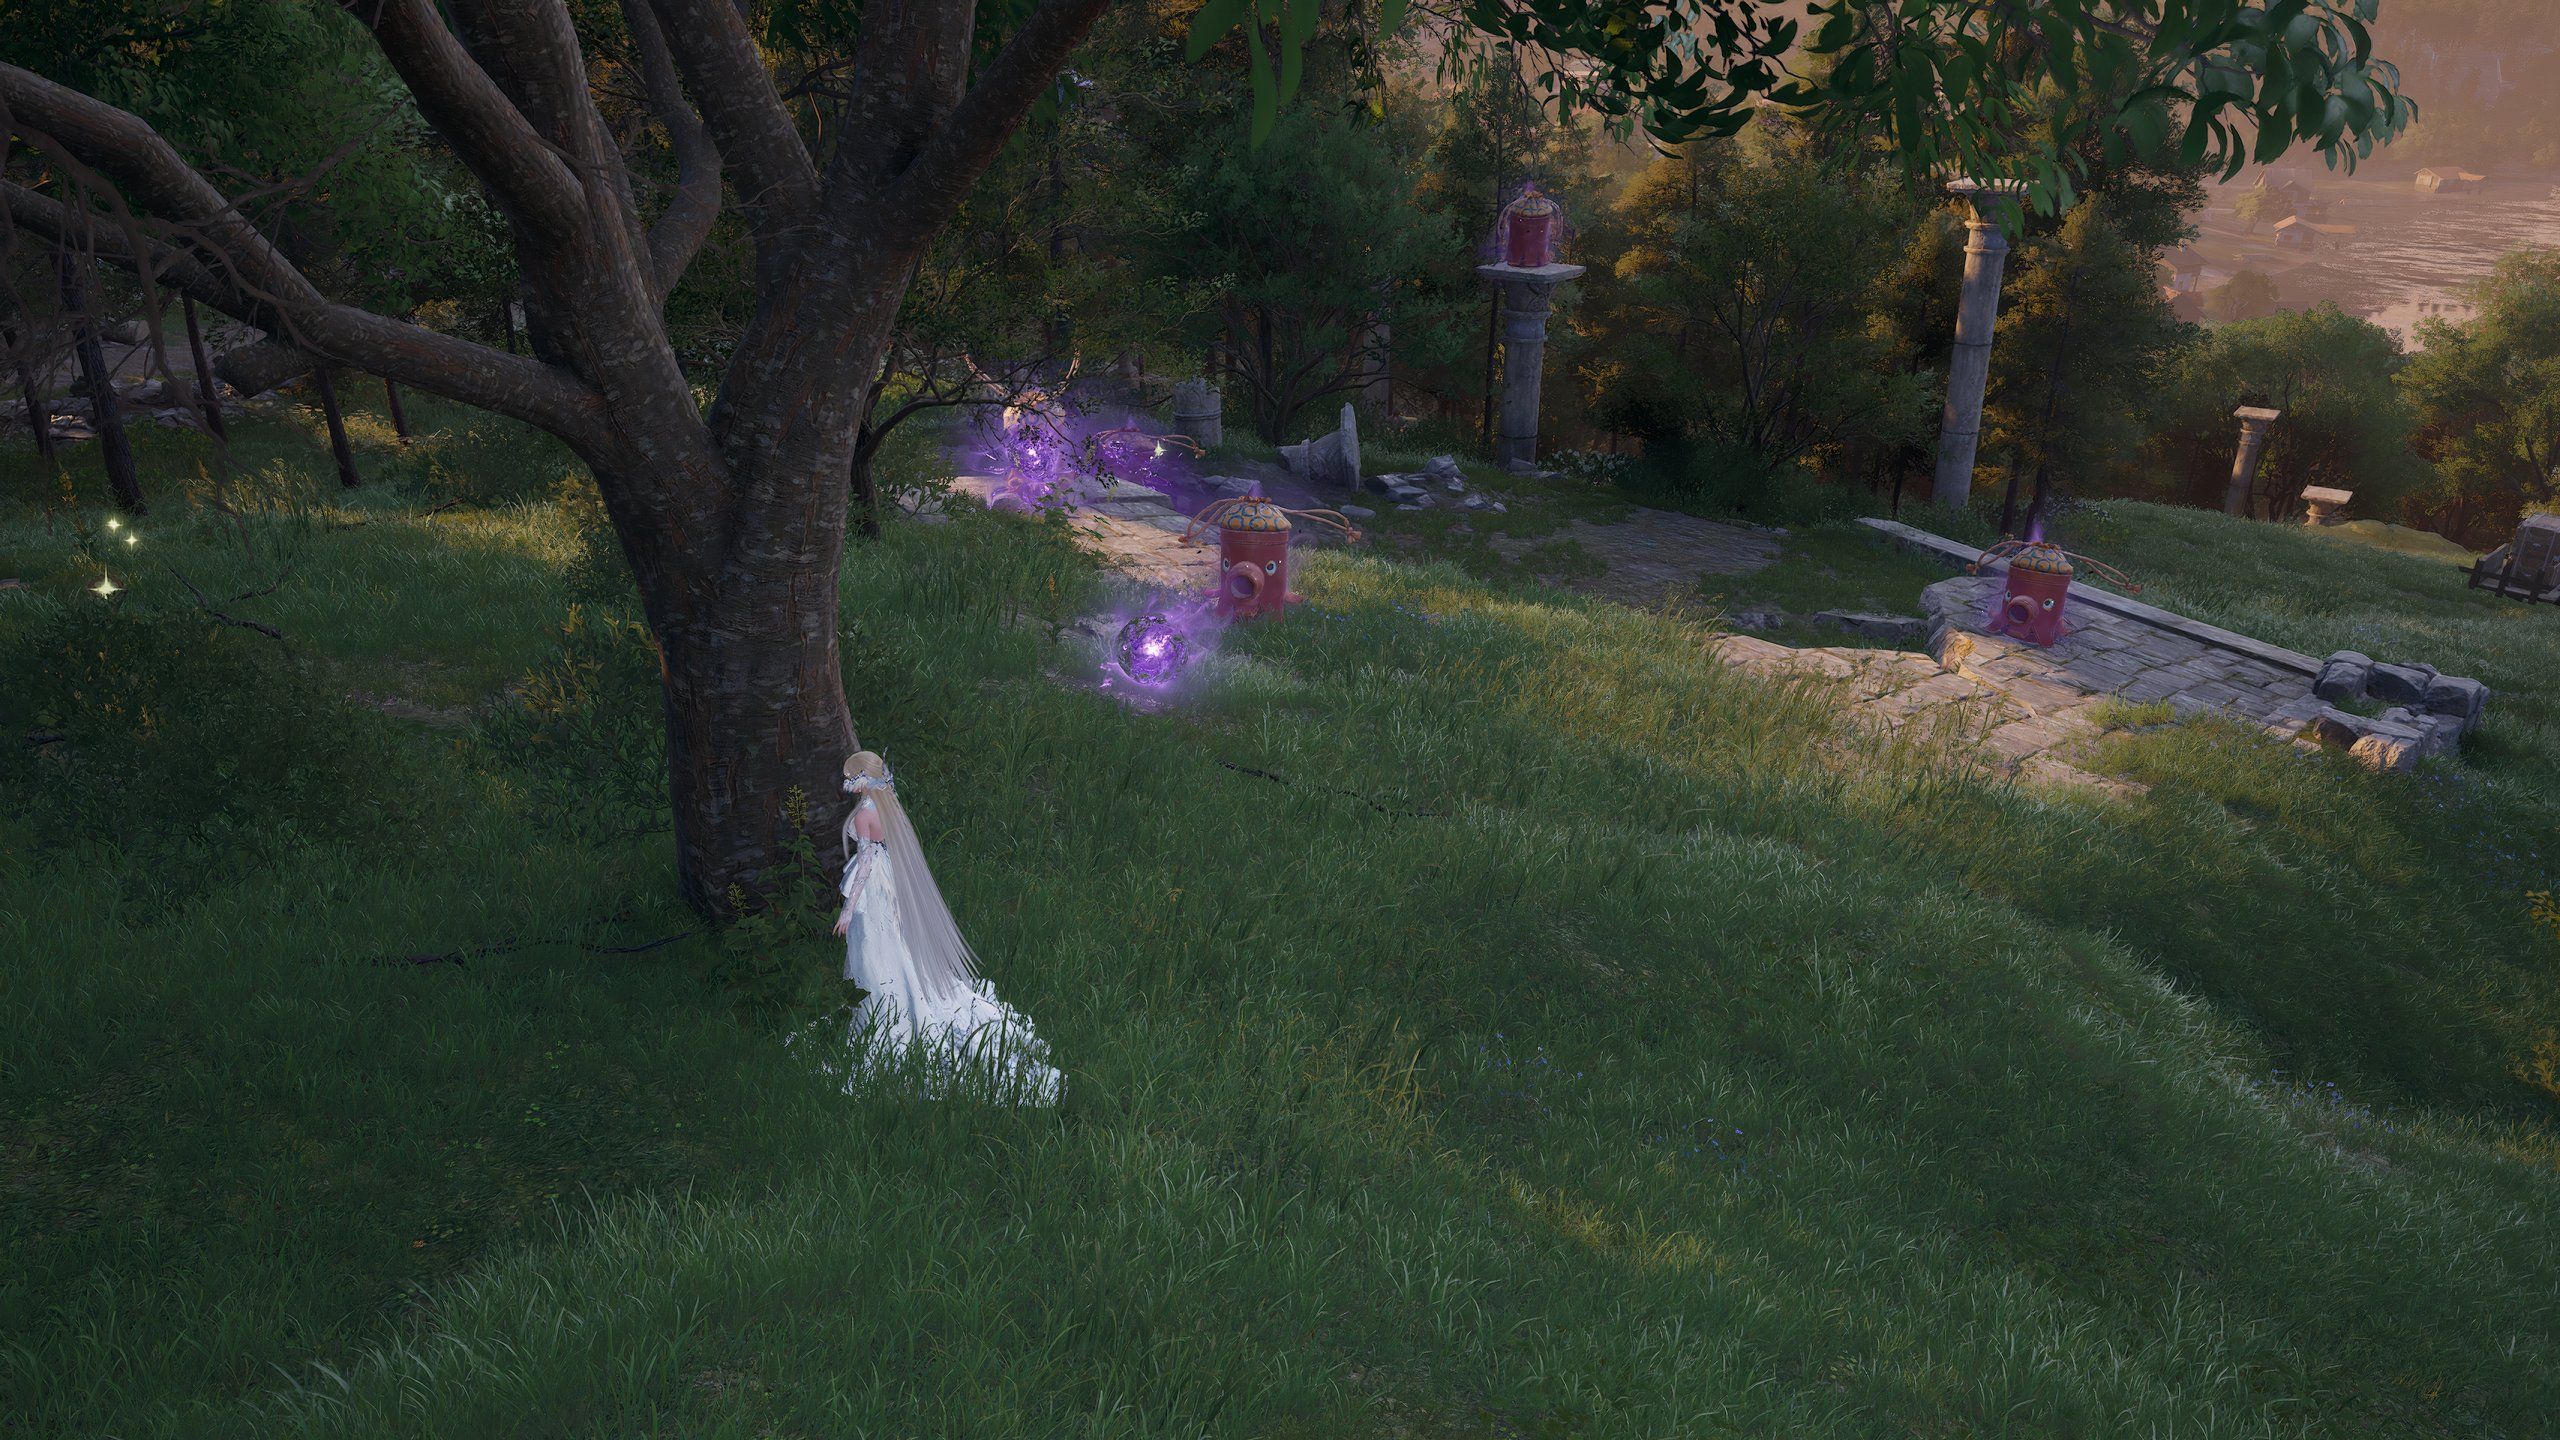
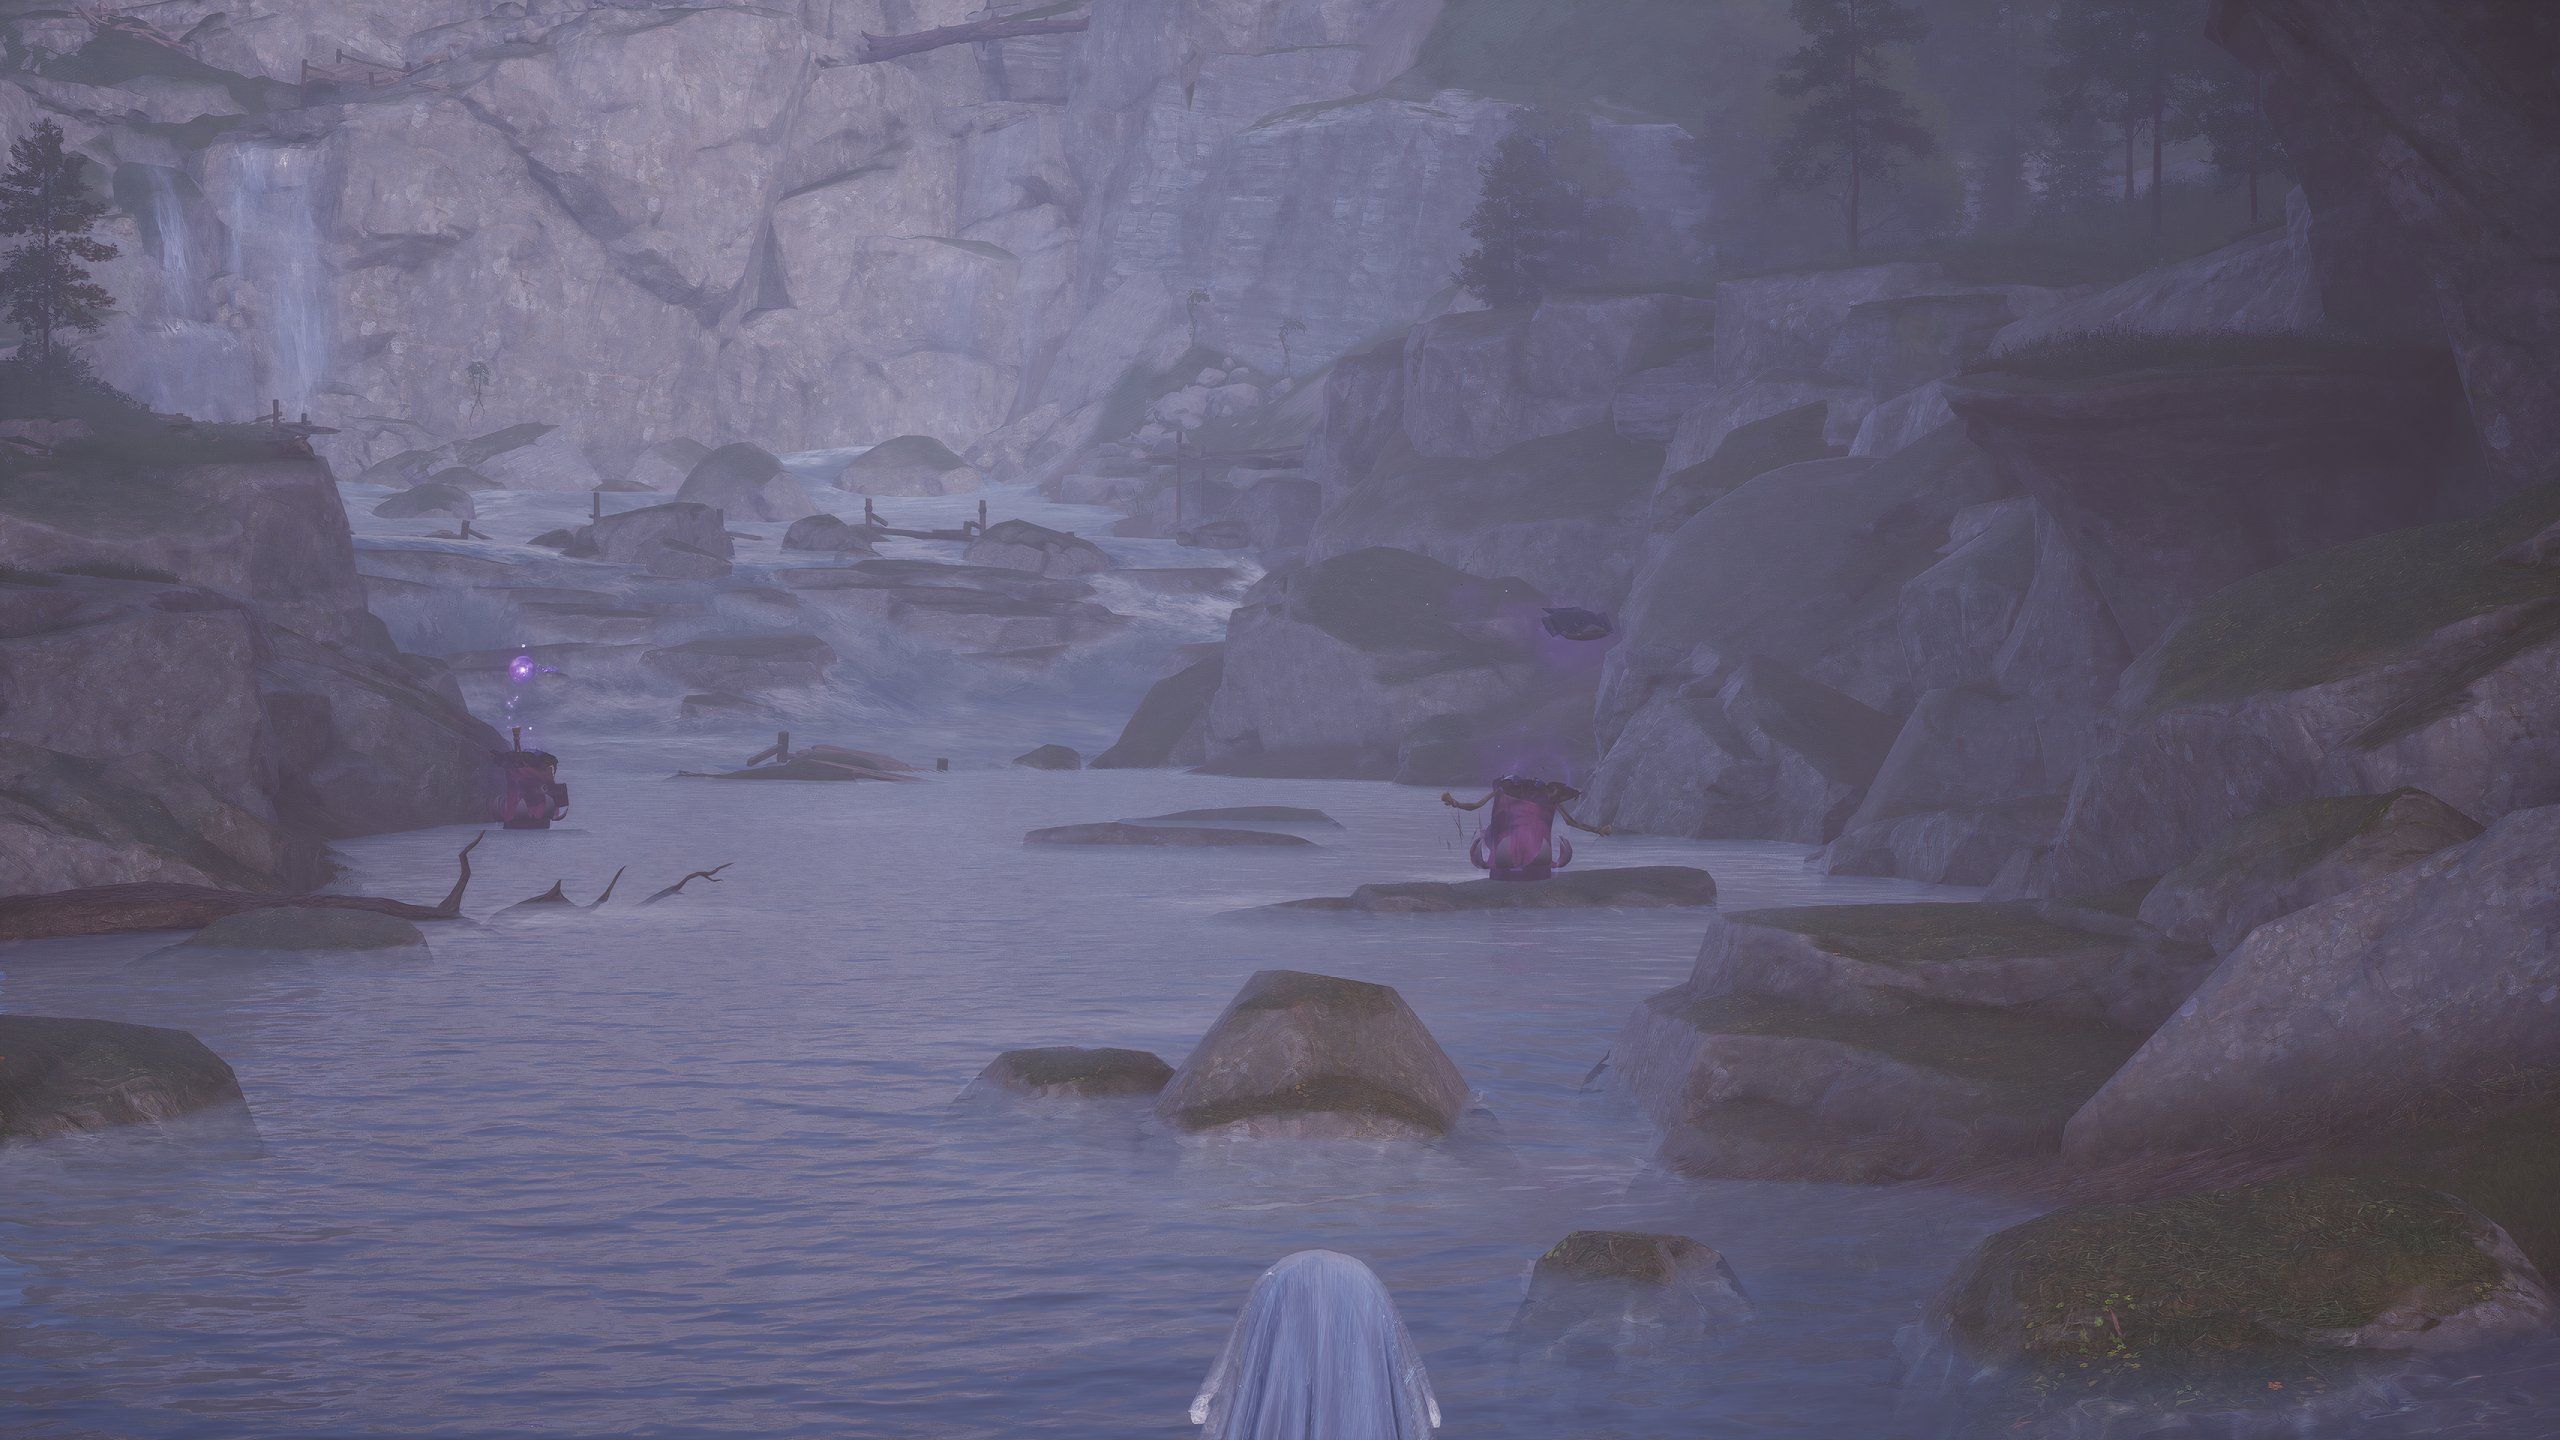
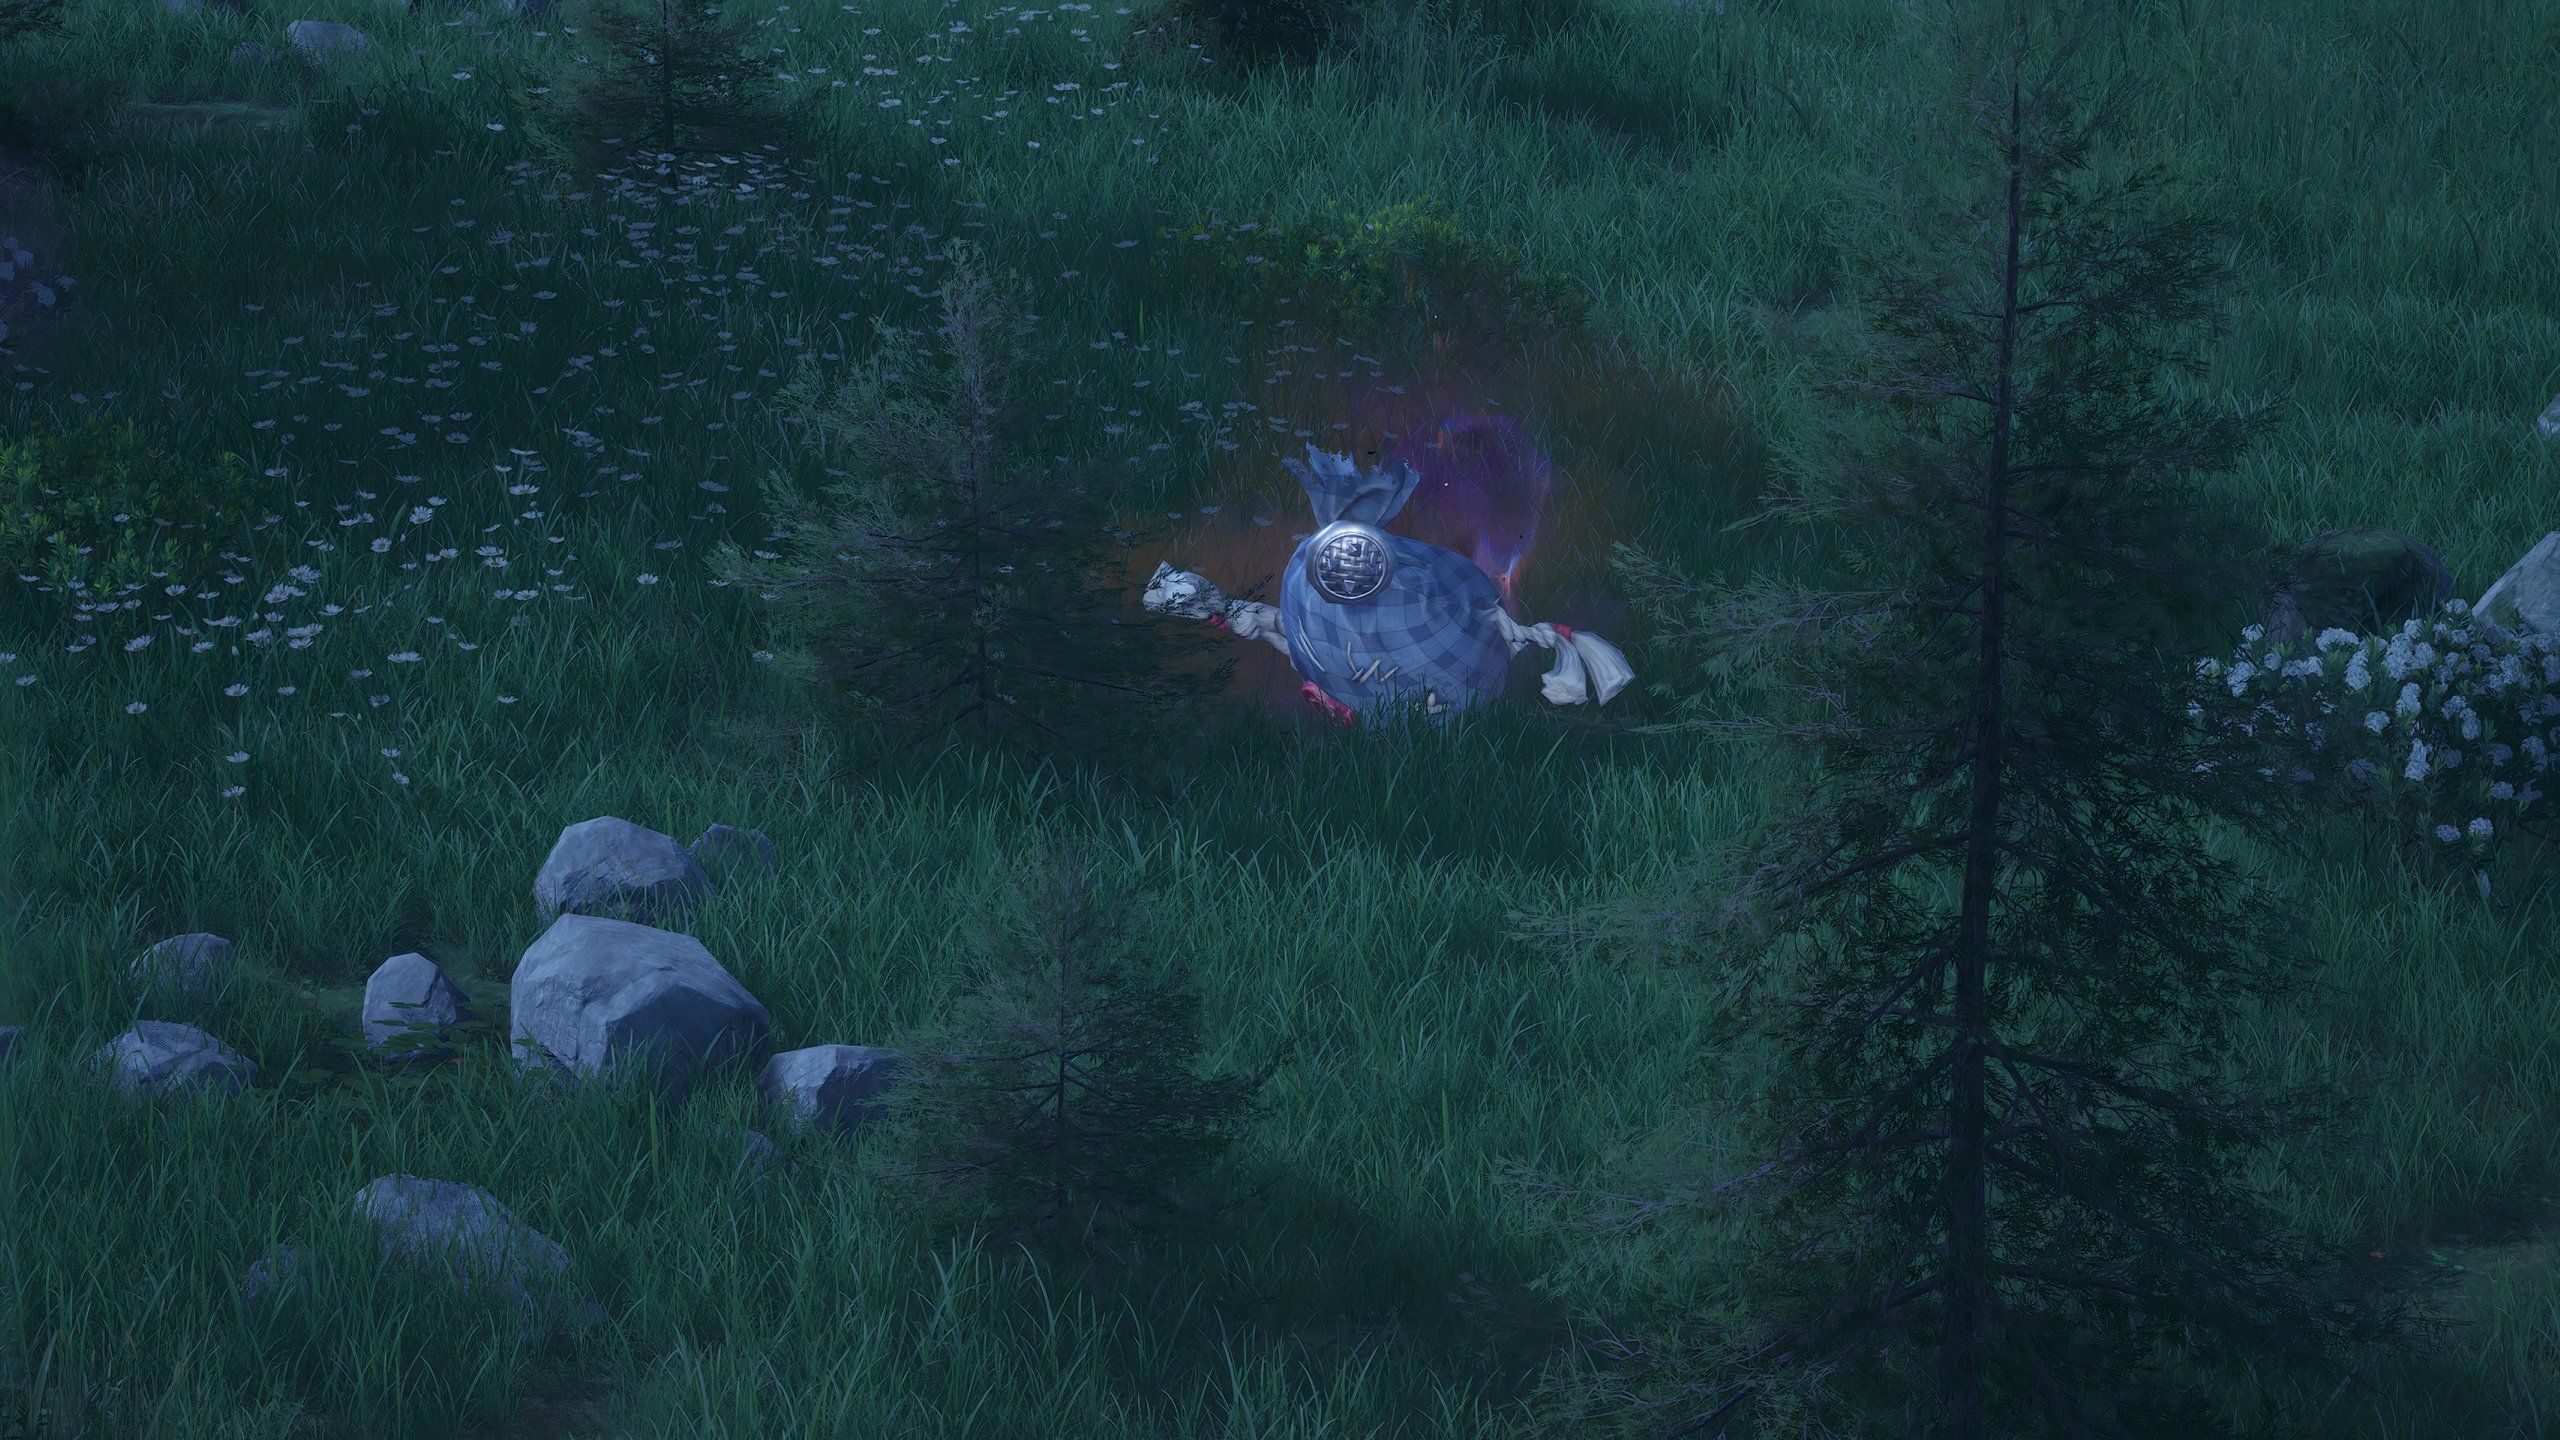
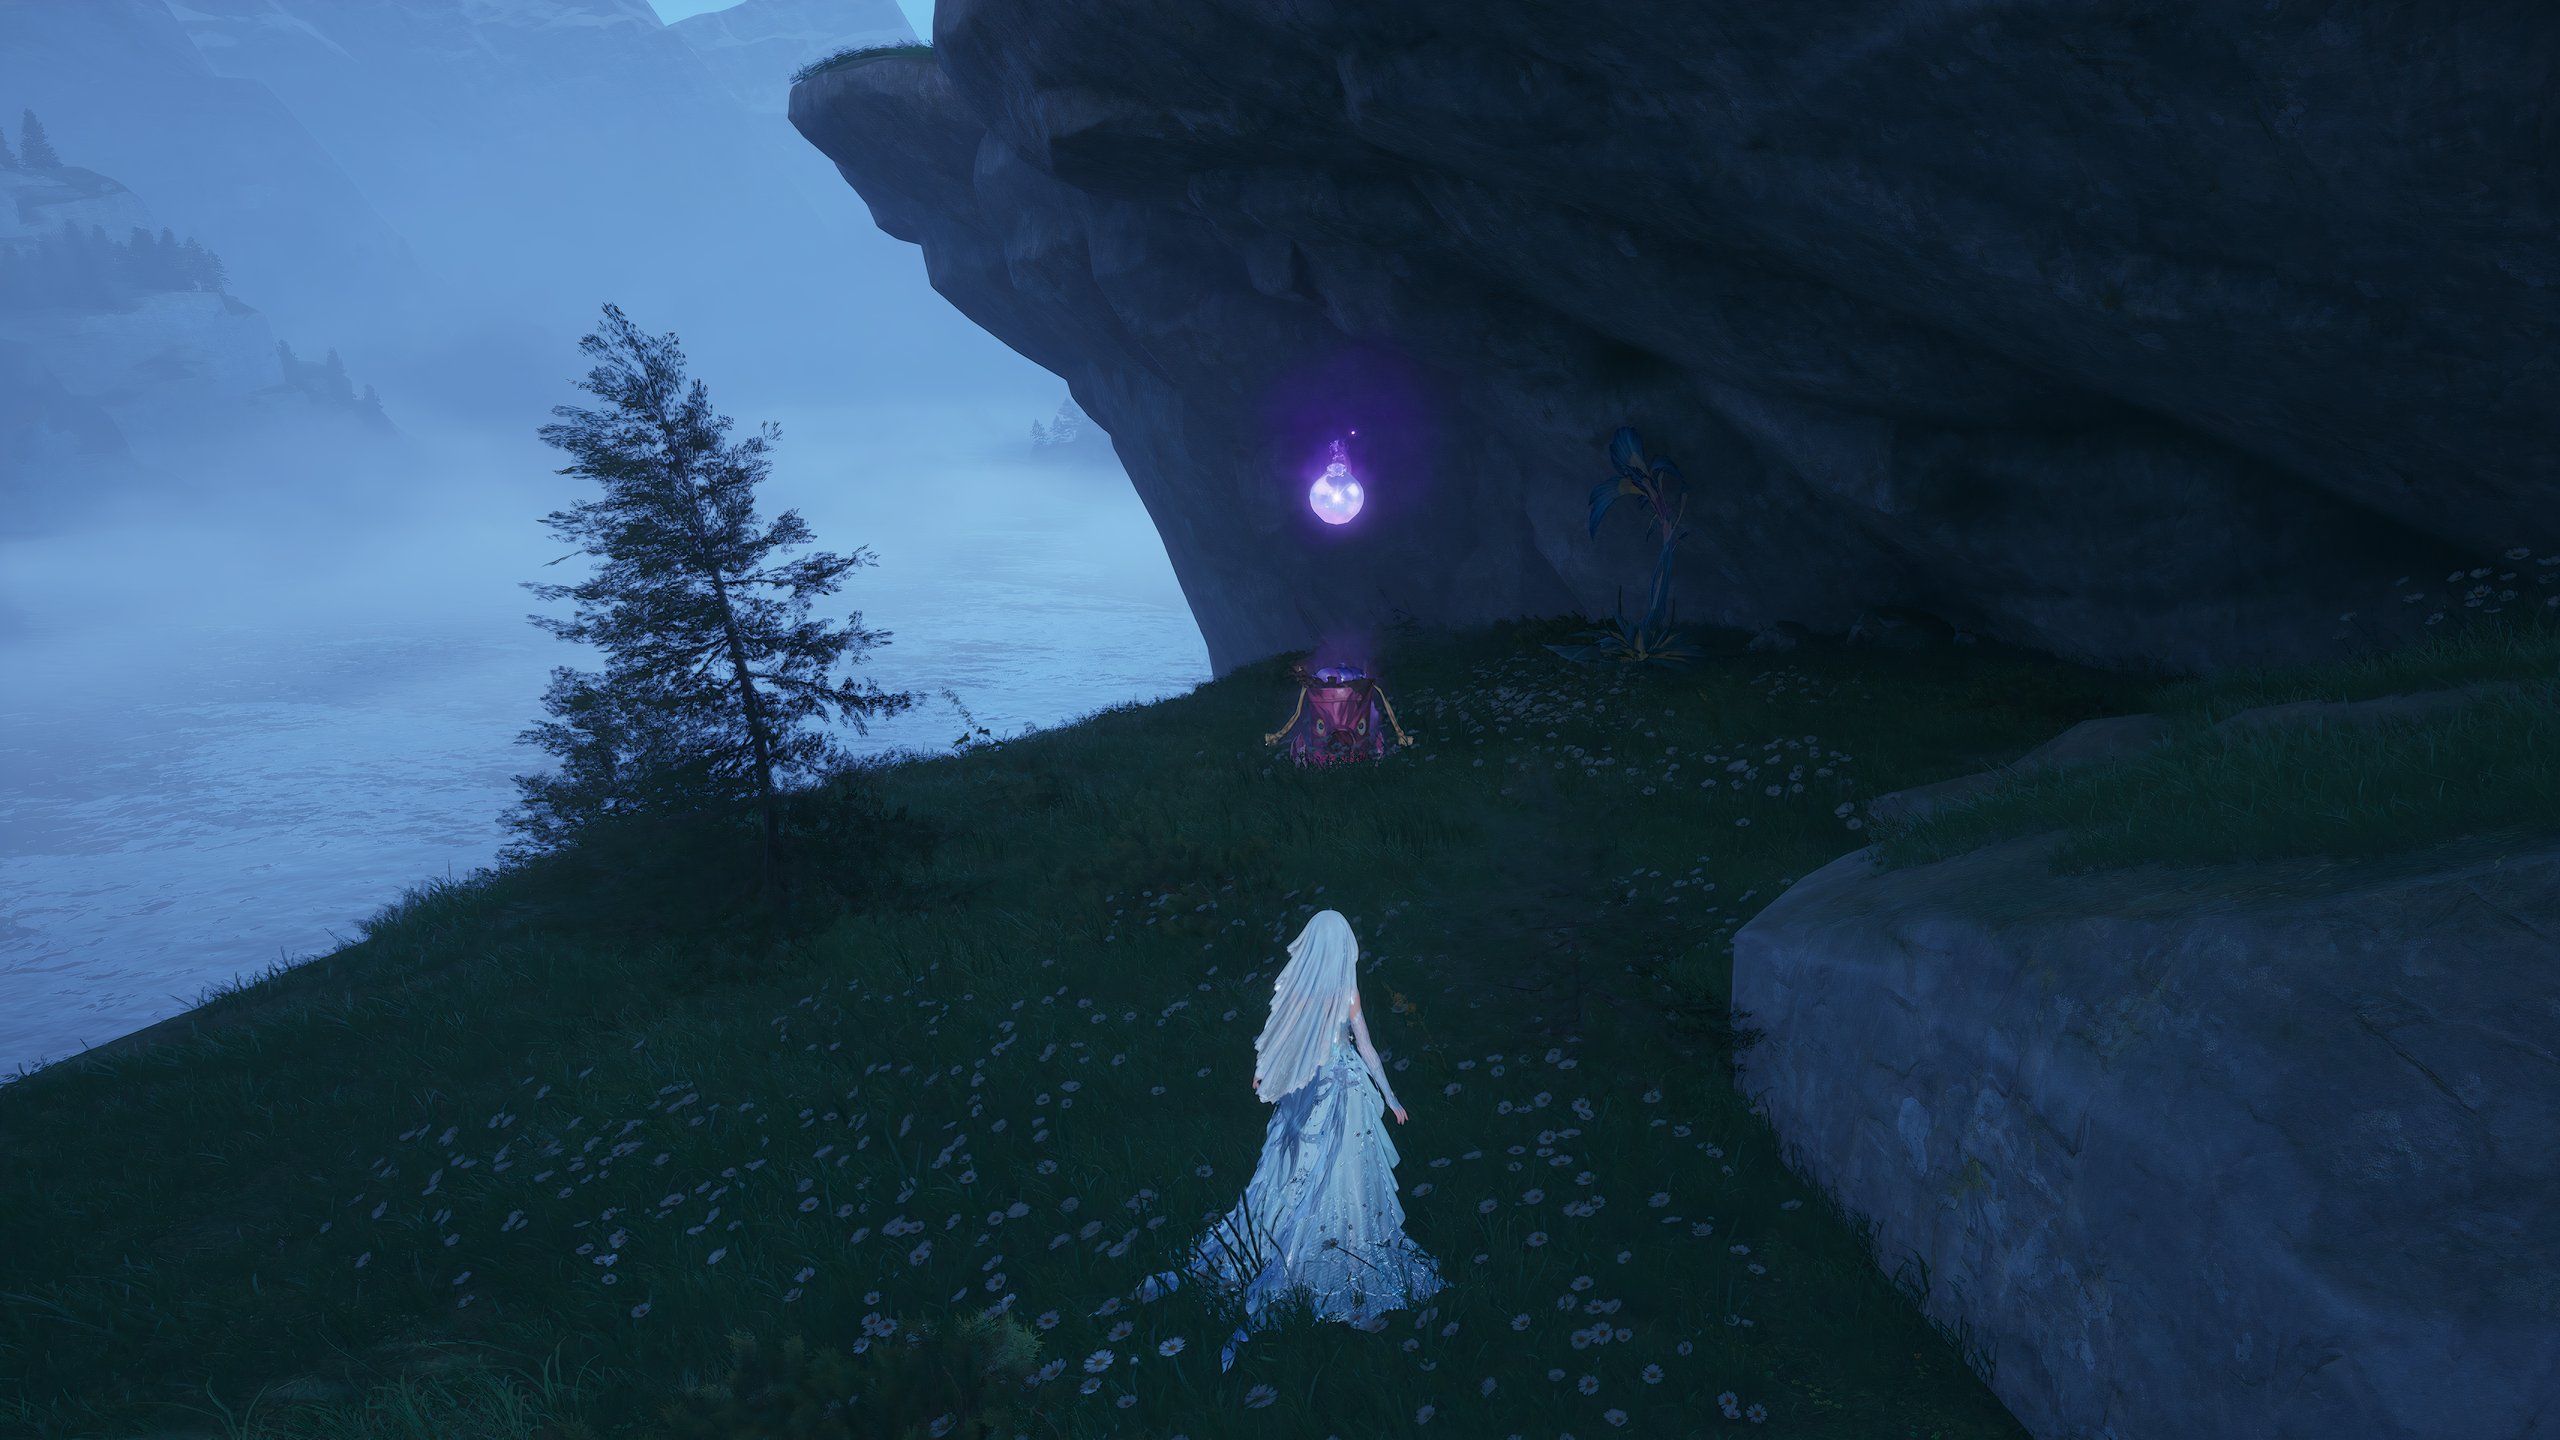
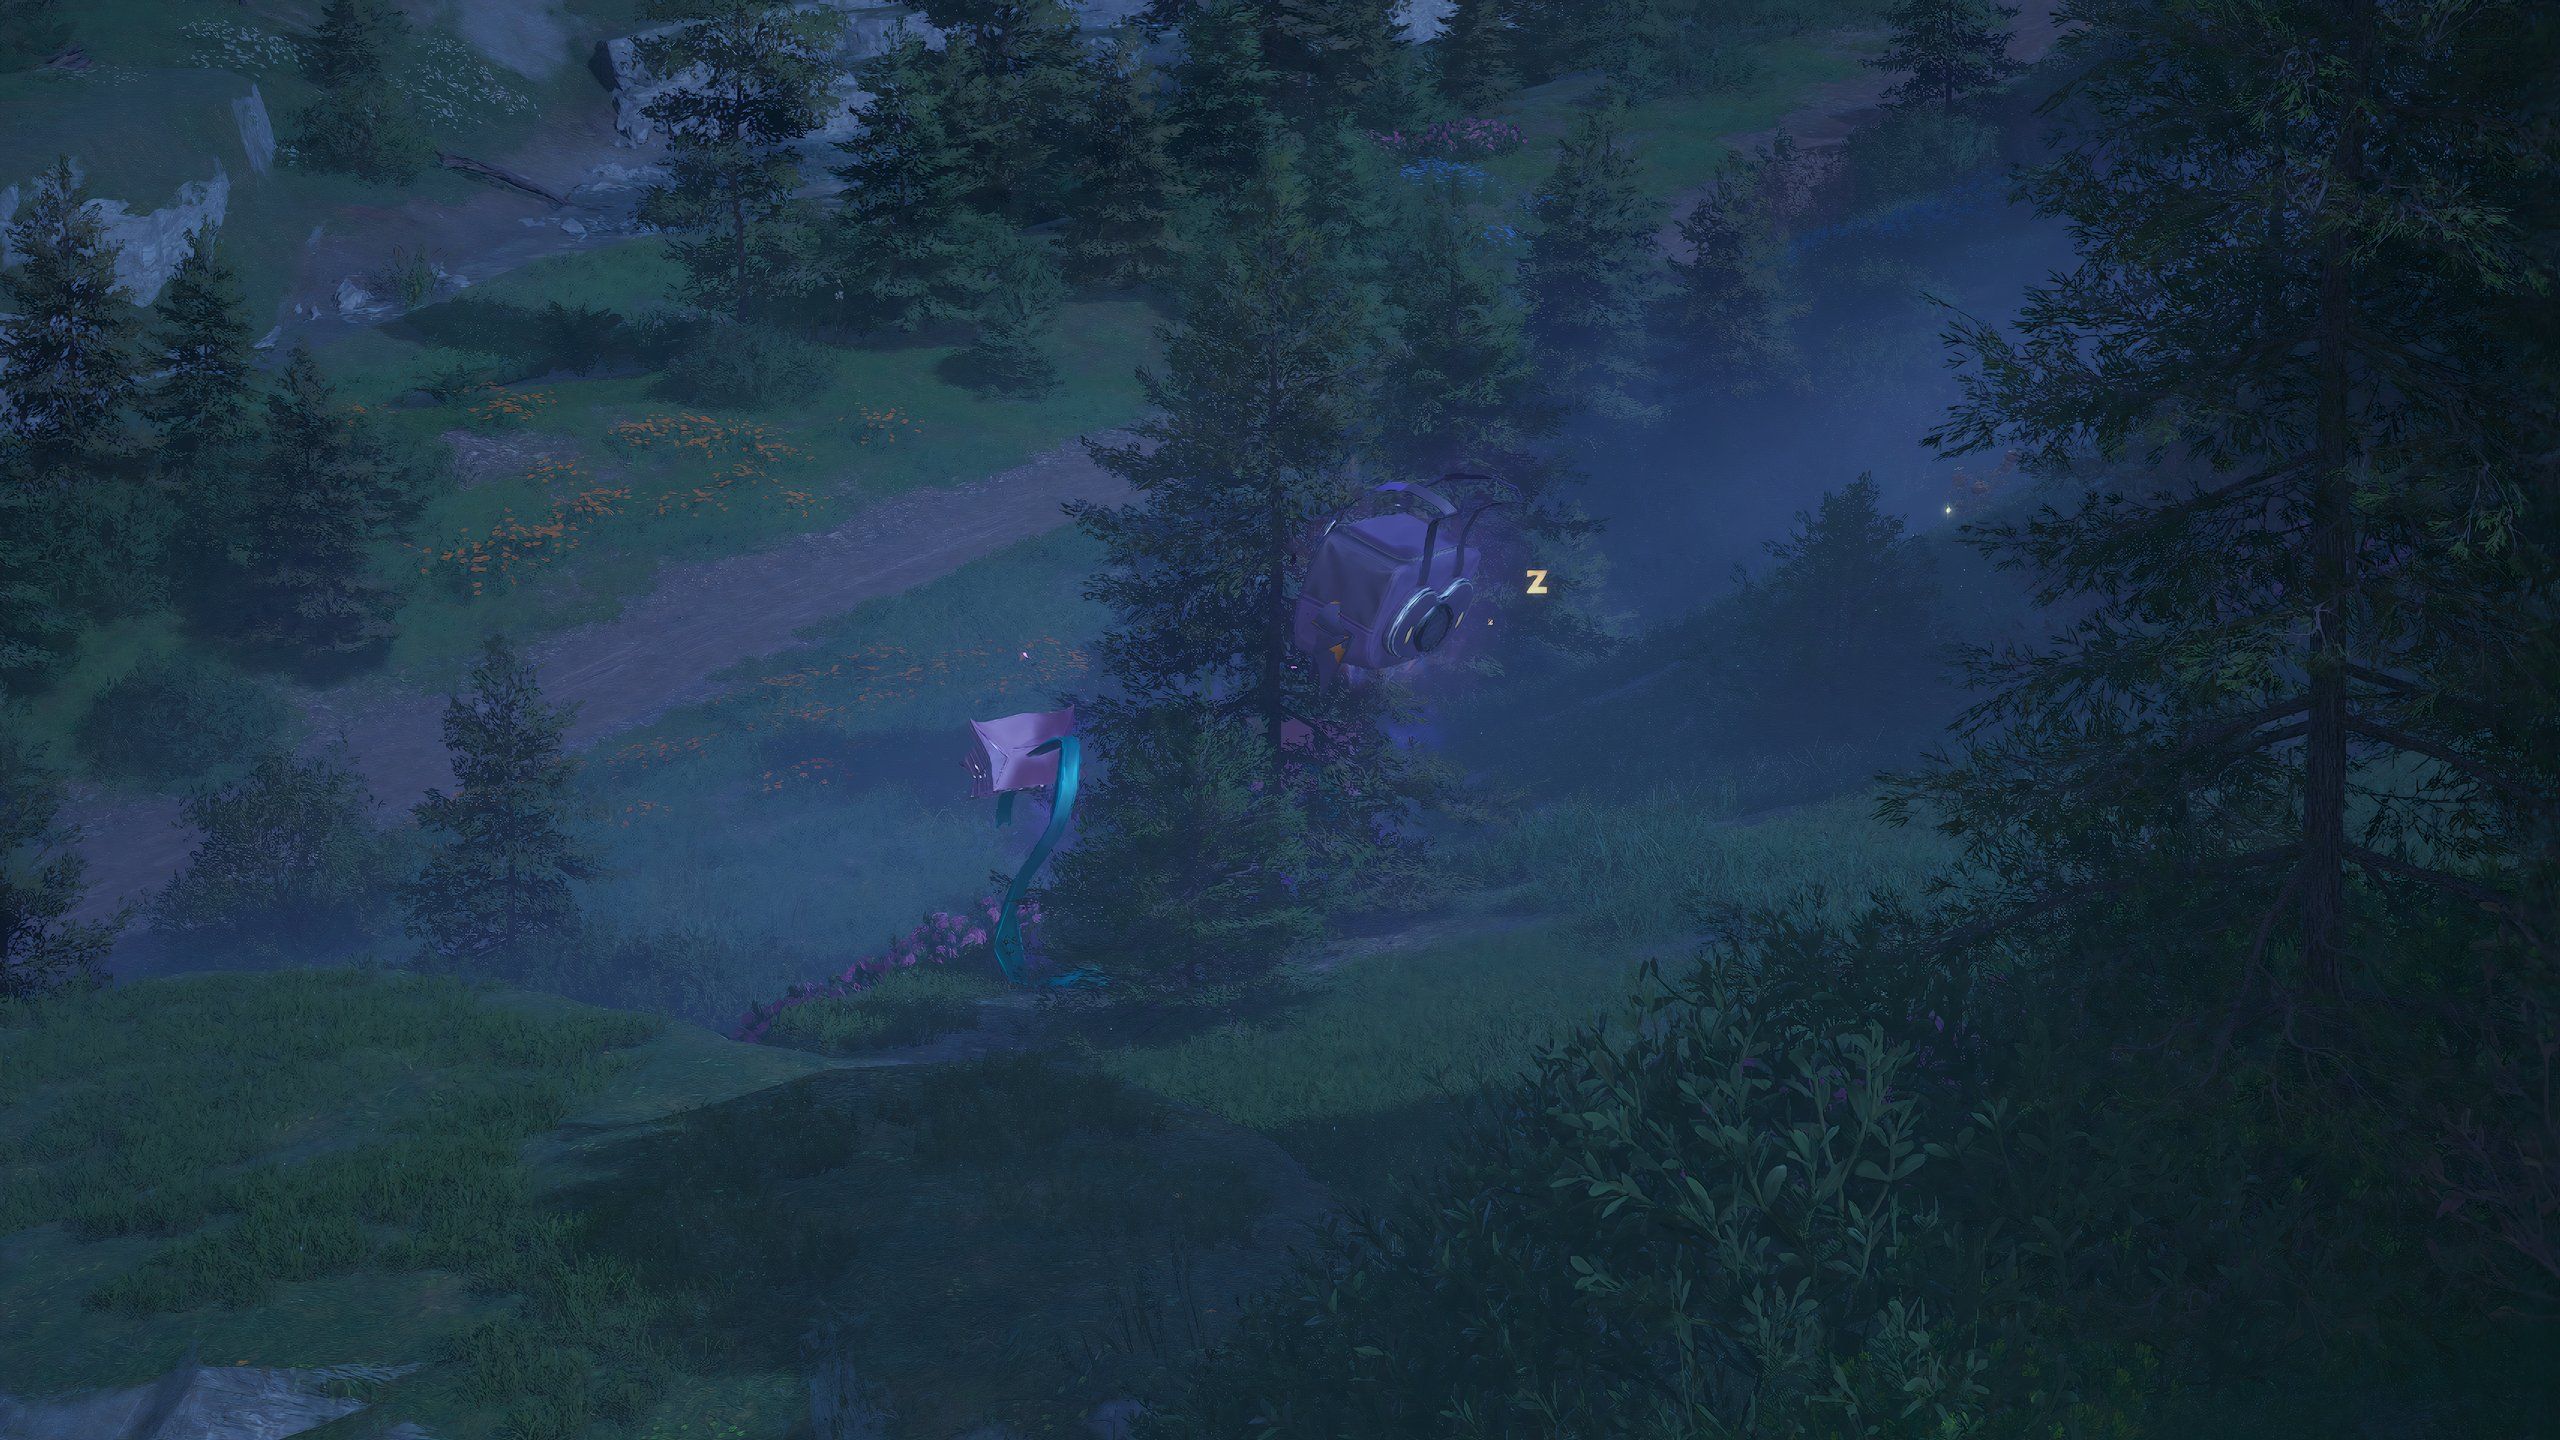
Here, there’sa Sad Sack sleepingin the shadows.

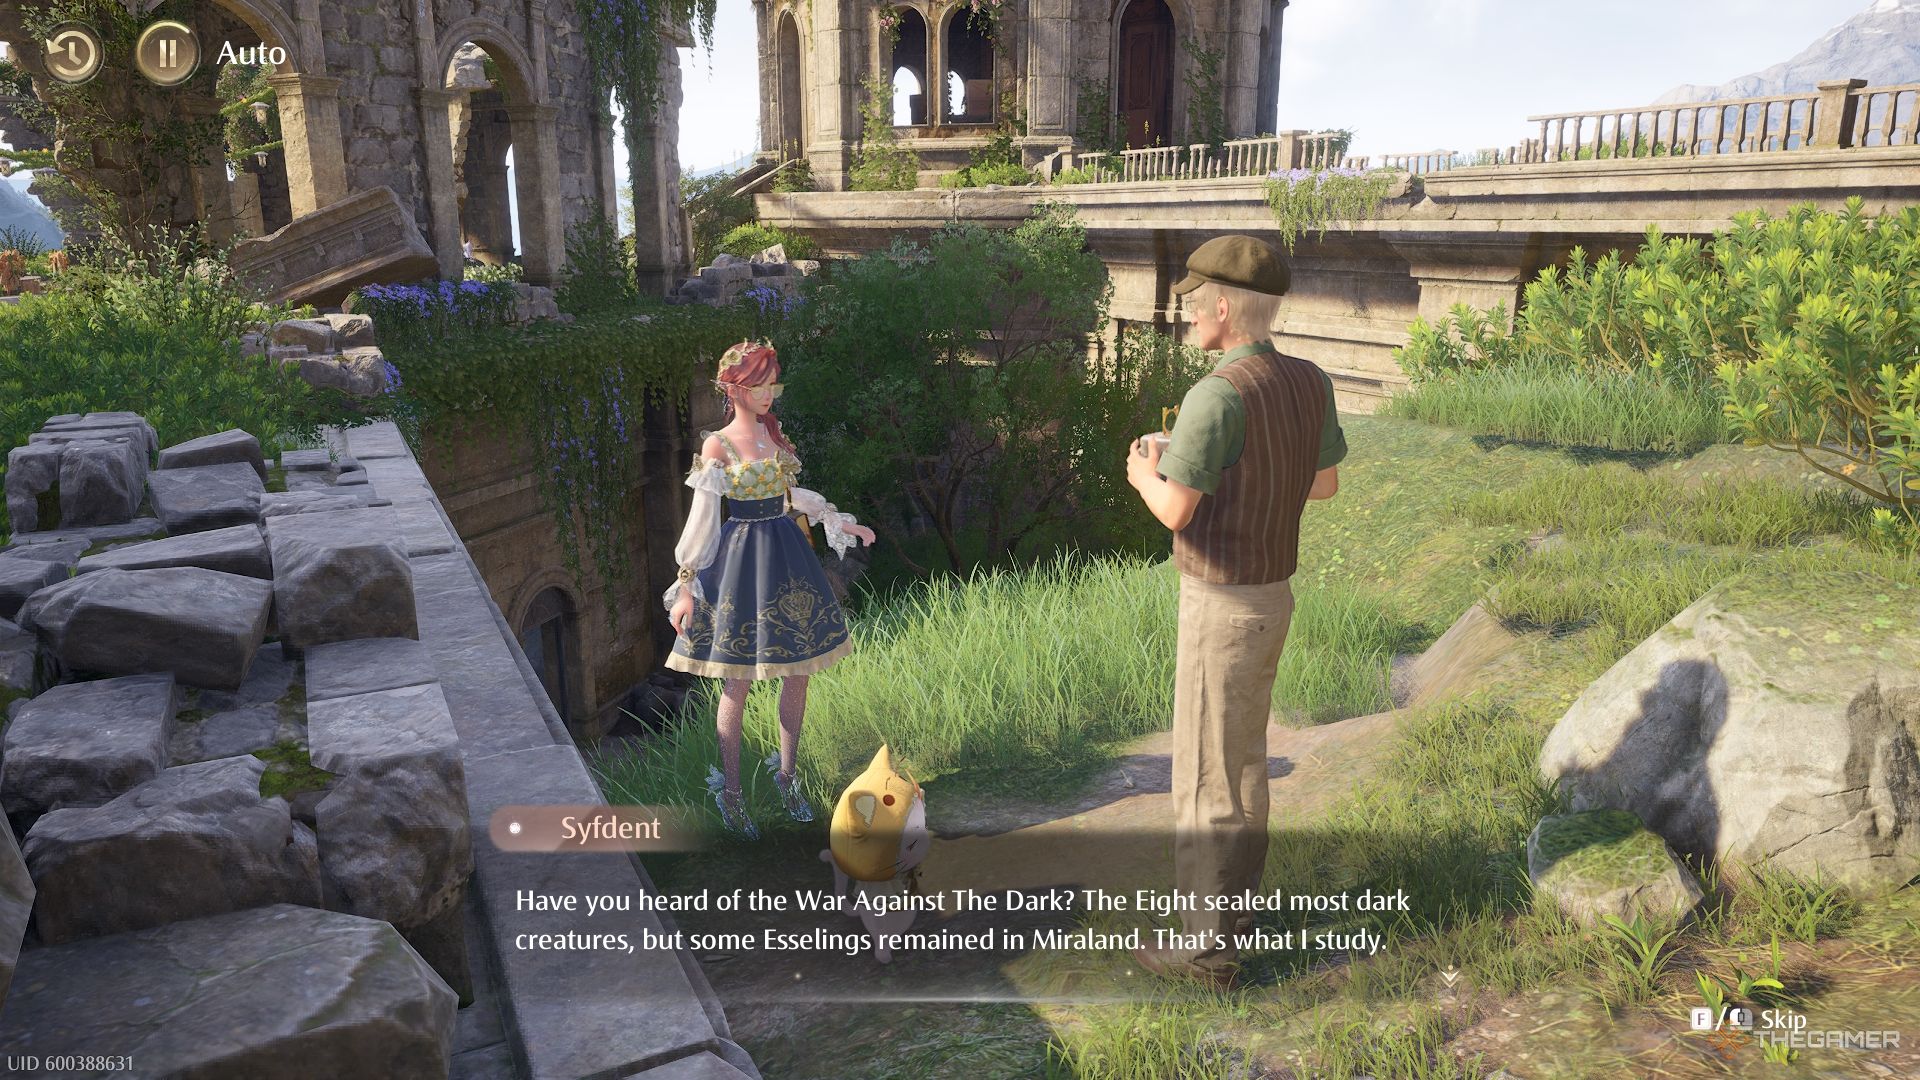
When youspeak to Syfdentup above, he asks you tocapture a close upof the esseling.
Carefully hop down andopen your camera, then snap a photo of the esseling.
Risky Photography: Greedy Pouch Quest
Afterwards,meet Syfdent on the bridgejust before crossing into Stoneville.
On this small bridge, Syfdent will talk to you aboutcatching a Greedy Pouchwhile running away.
You’ll have to be quick, as theGreedy Pouch moves fast.
Get close enough to startle the esseling, then snap the picture as it runs away.

So long as thecamera recognizes that the Greedy Pouch is in the picture, it will count!
Return to Syfdentwith the picture to collect your rewards.
Here, he asks you to take aphoto of three Jelly Pouchesin the crumbling tower nearby.
ensure that there arethree golden boxes in-framebefore snapping a picture, then show it to Syfdent!
You’re likely totake damage while trying to get this shot, so you’ll want to move quickly.
Use your camera toget the photo, then get outof there!
This time, he wants aphoto of a Sankious in midair, leaping towards you.
This is tricky, as the camera takes a moment to load in and this esseling can move fast.
Or you might always purify the esseling, so long as you got the picture.
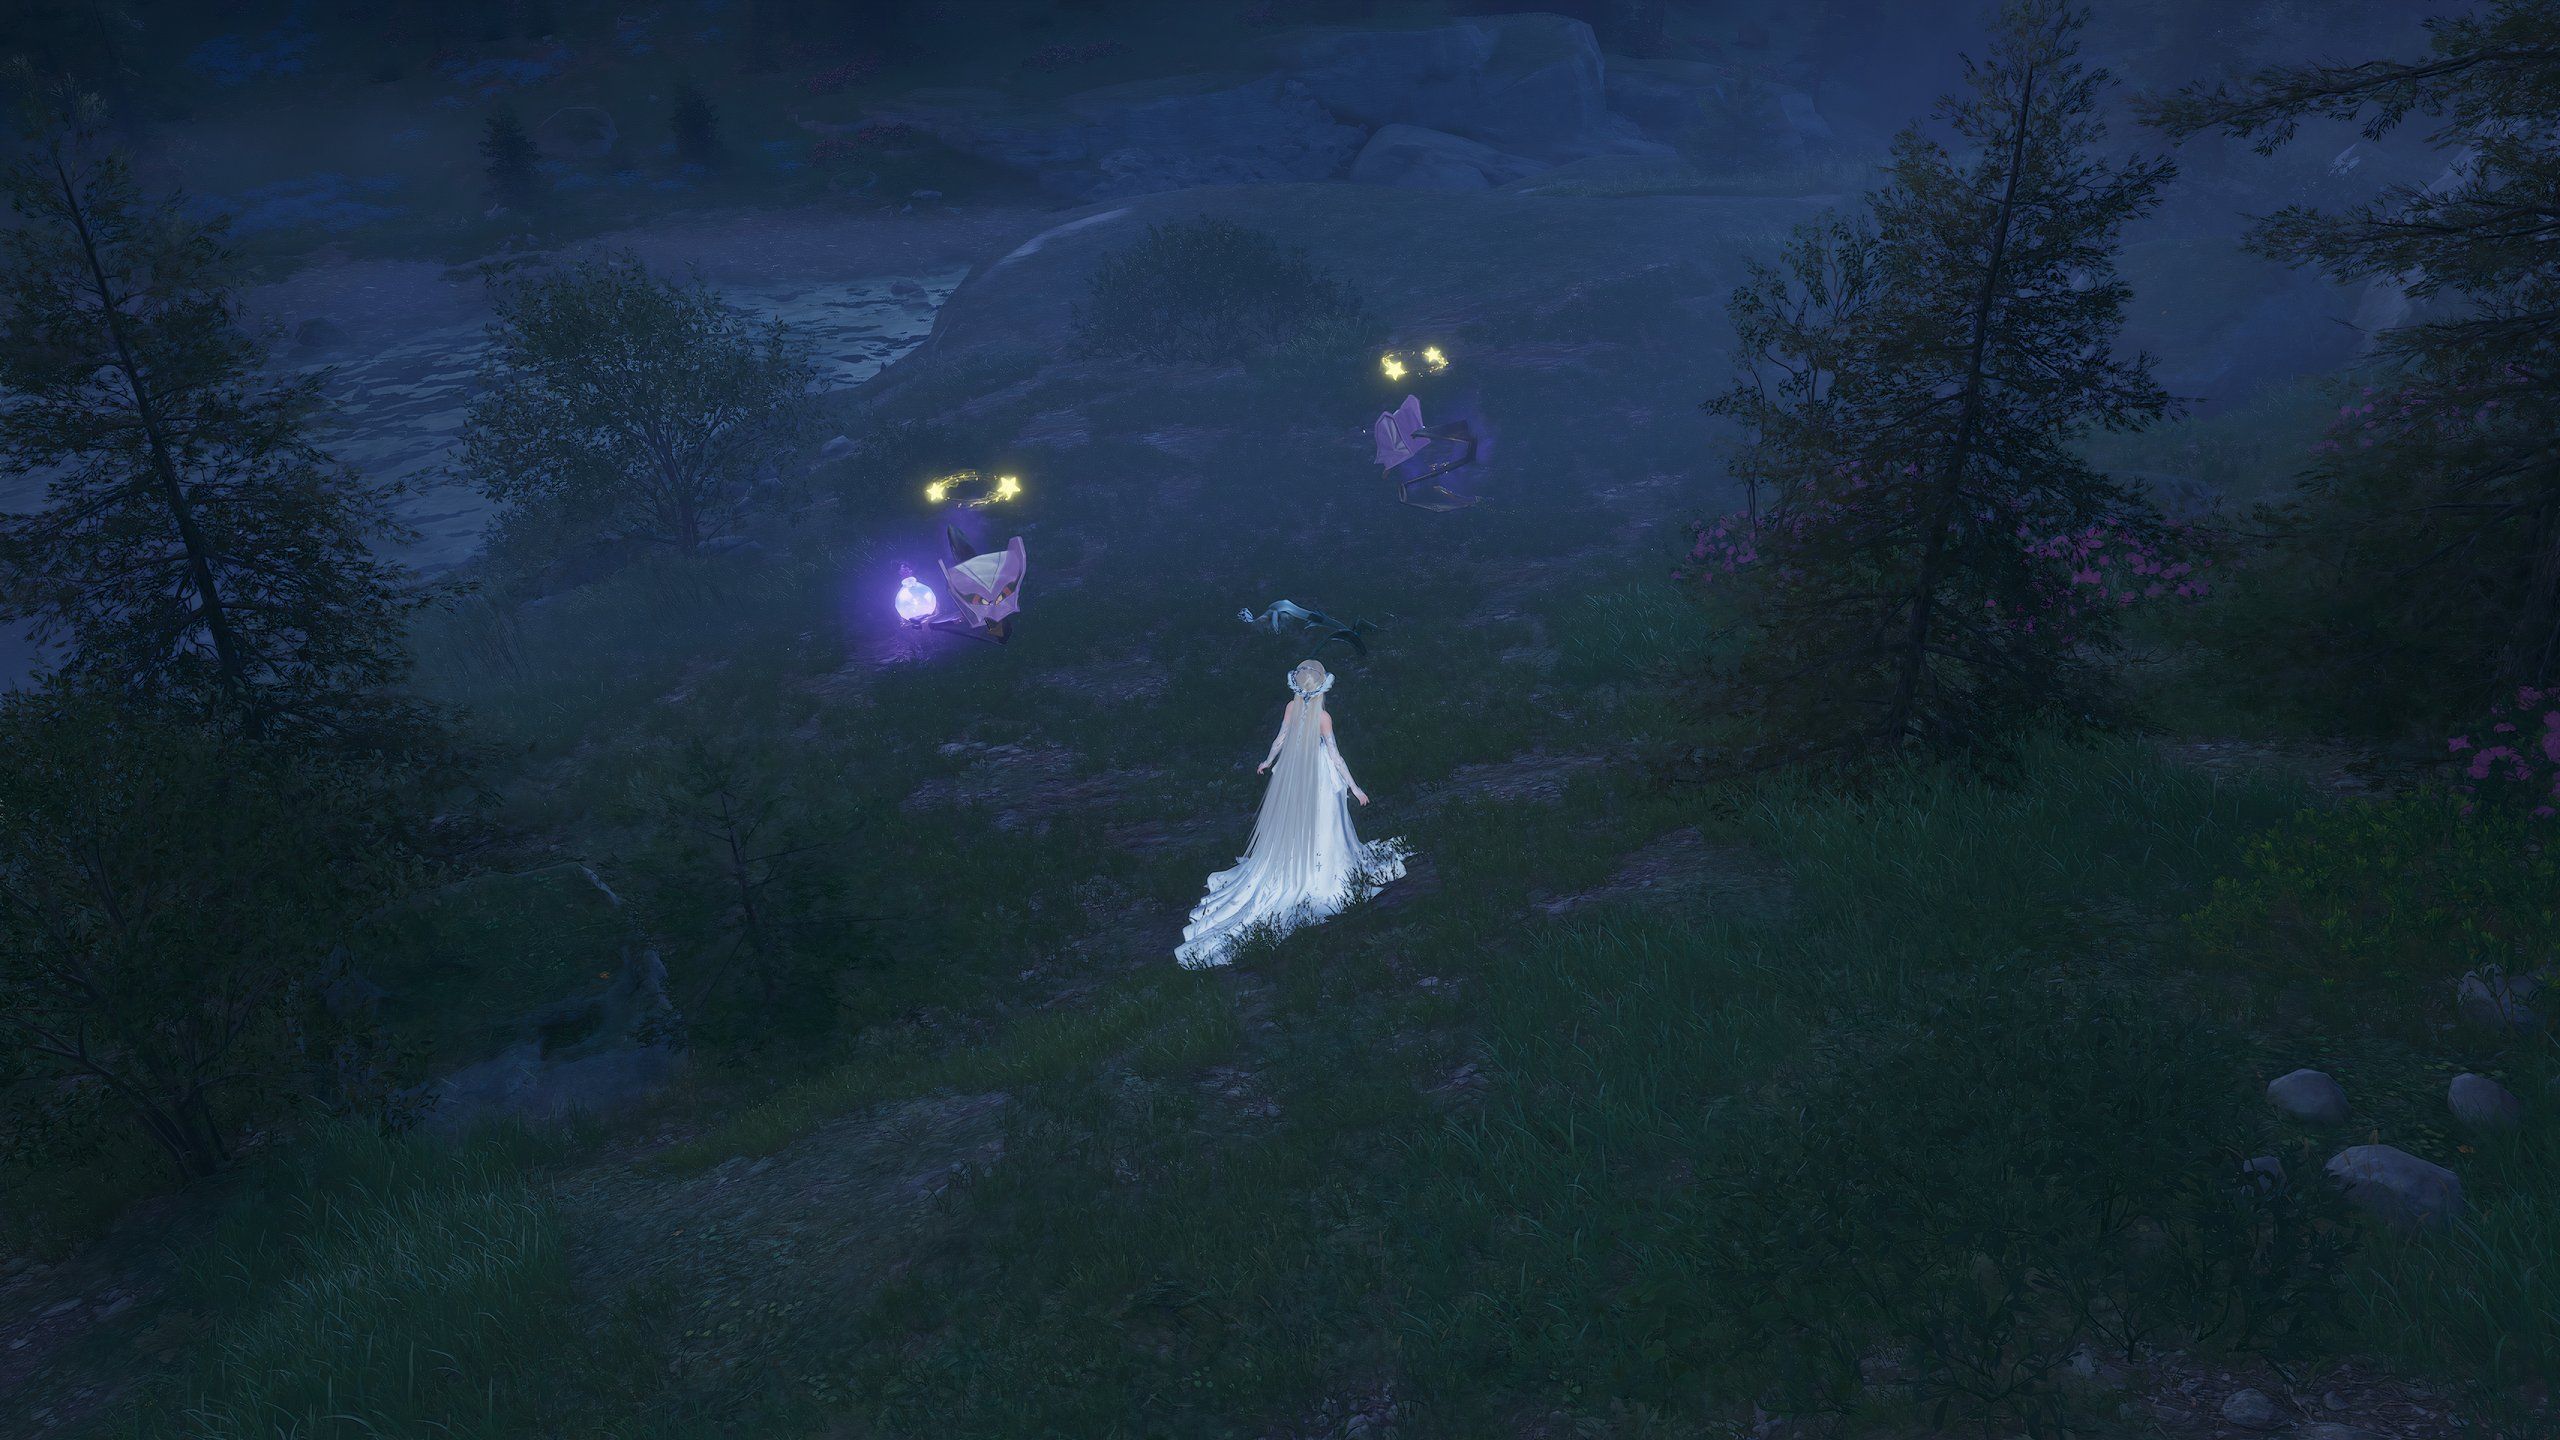
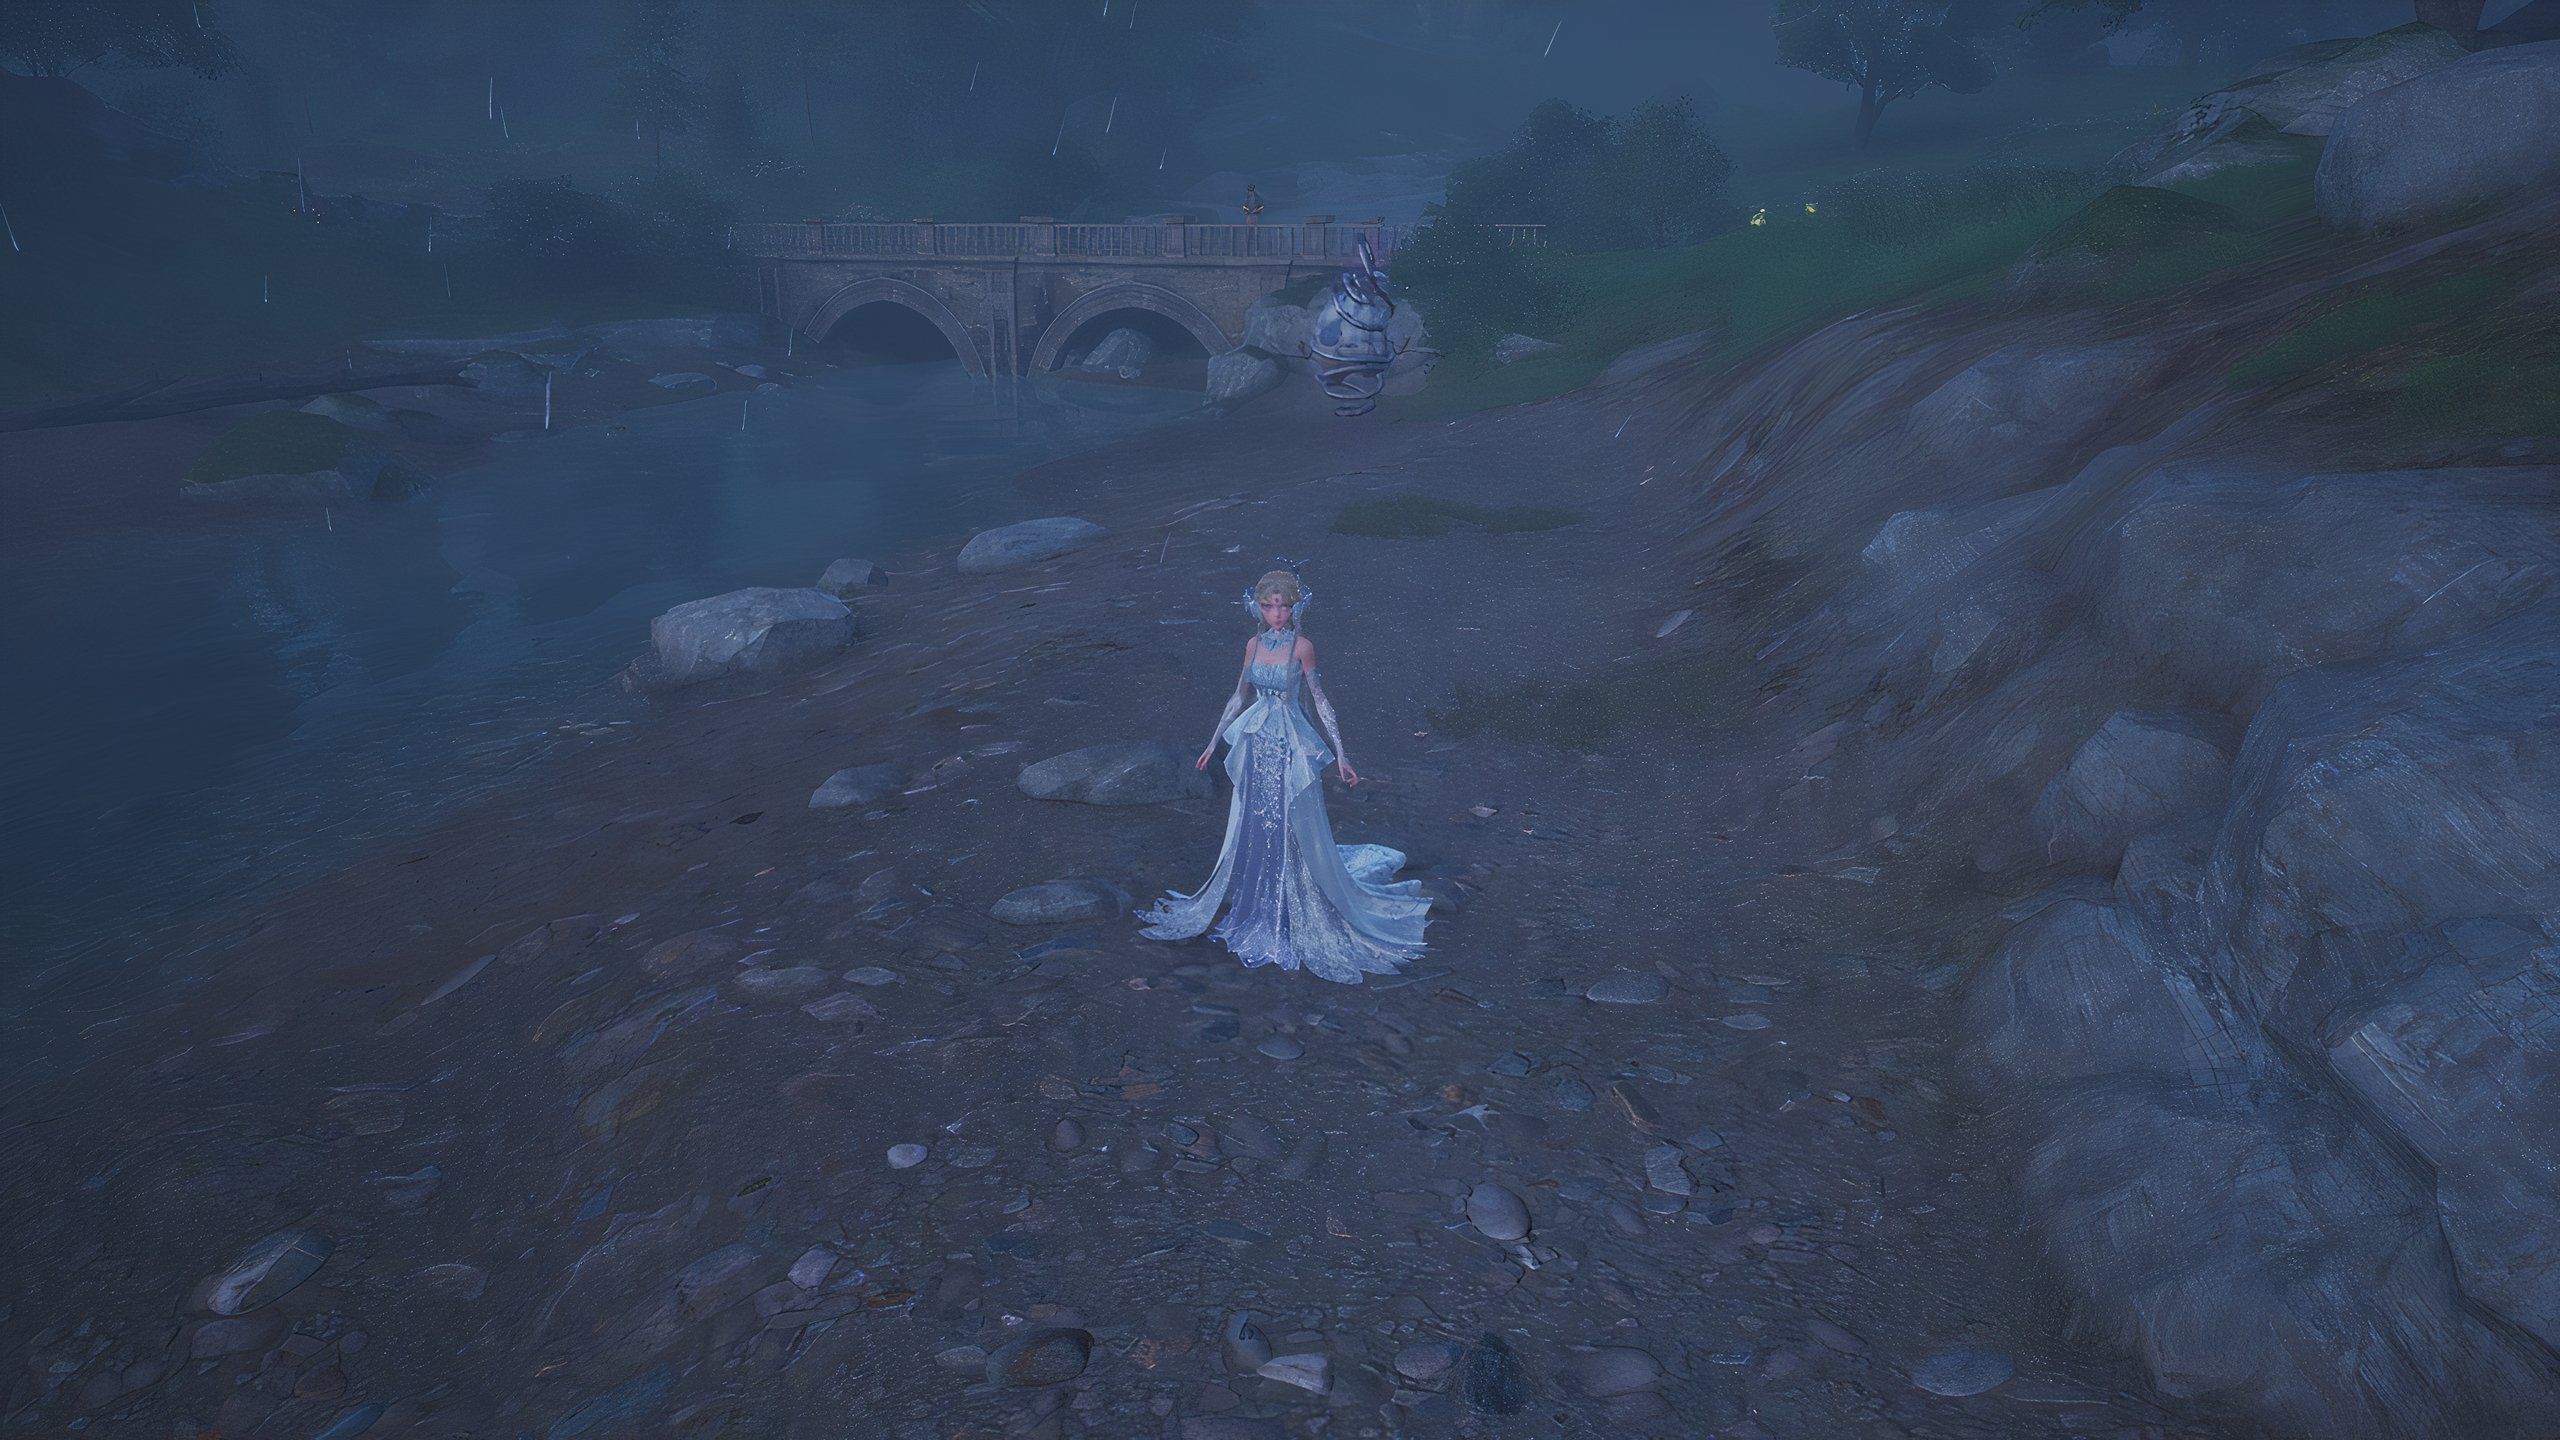
He wants apicture of a Sssack losing its target at night.
You canchange the time of dayusing the Run Pear-Pal, Run!
Take that photoback to Syfdentfor your rewards.
While Syfdent mentionsgetting a shot of Bouldyslamming his fists down, you only need a close up of Bouldy.
This is perhaps one of the trickiest pictures you’ll take.
While the Bitey Bags are nearby, you need towait until it rains.
Once the rain starts,take out the cameraand snap a quick picture of the esselings.
Risky Photography: Hard Sack Quest
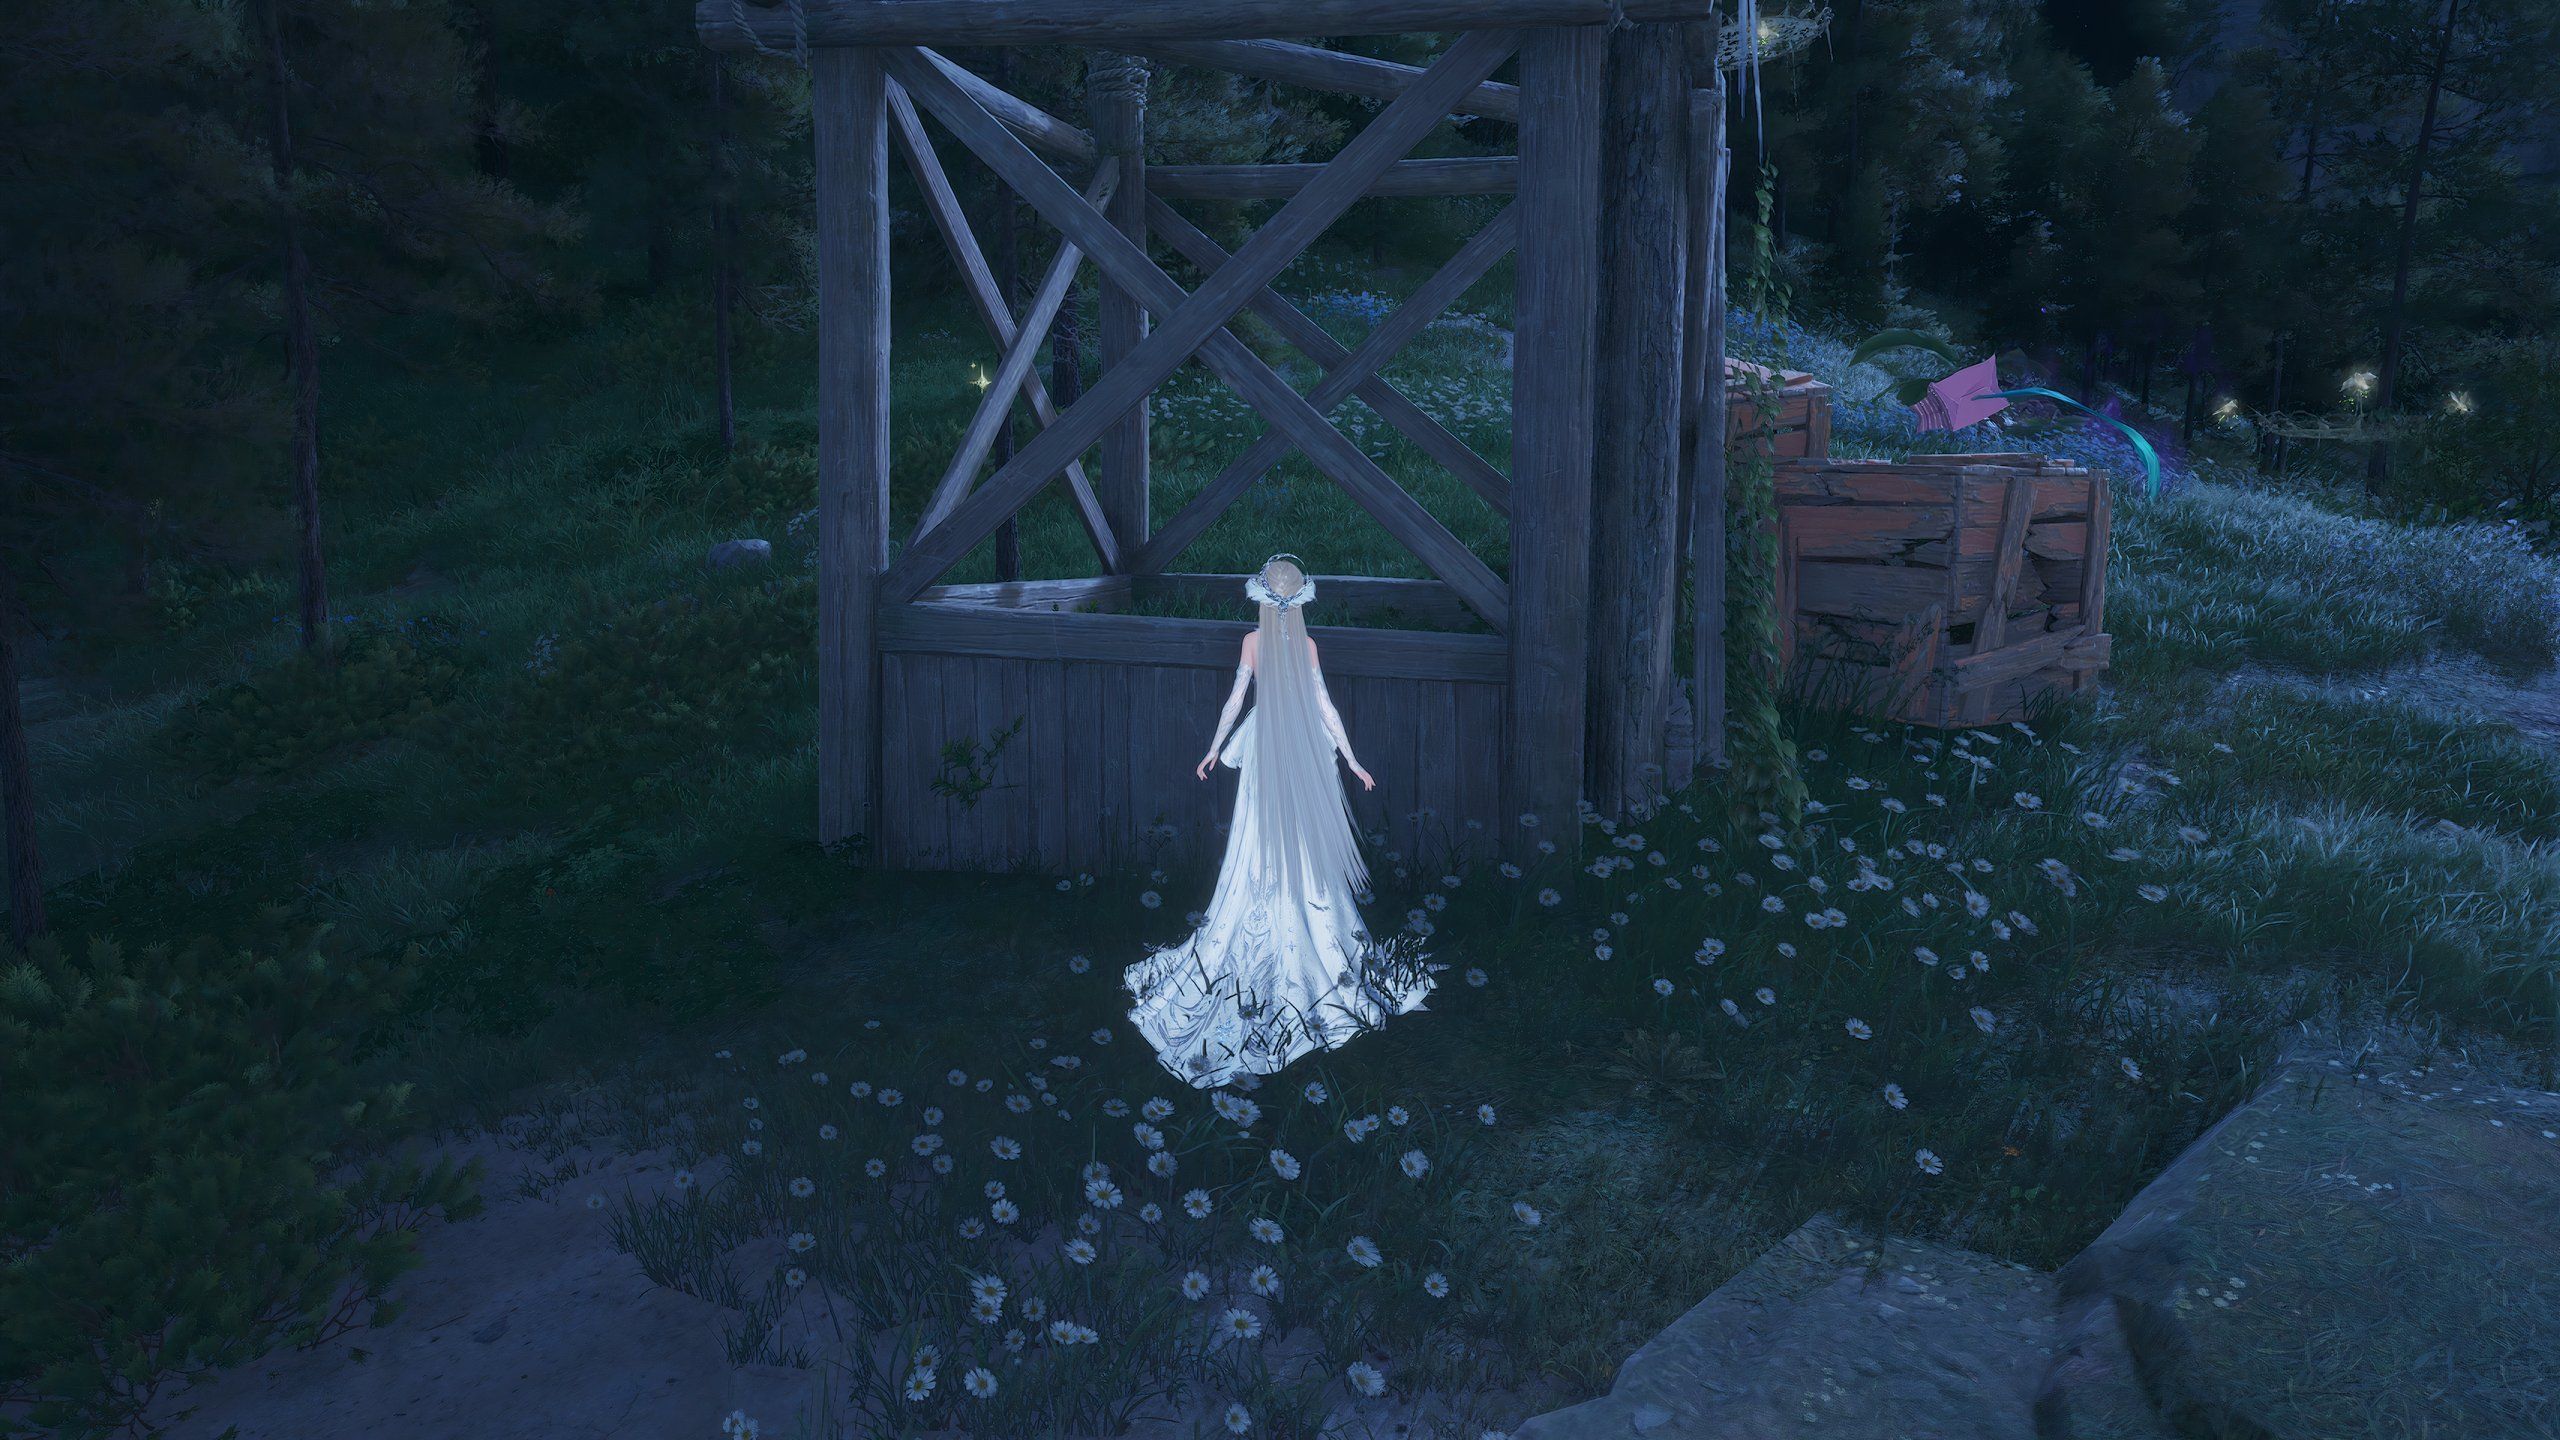
Next,climb along the stone steele northwestfrom the Dye Workshop.
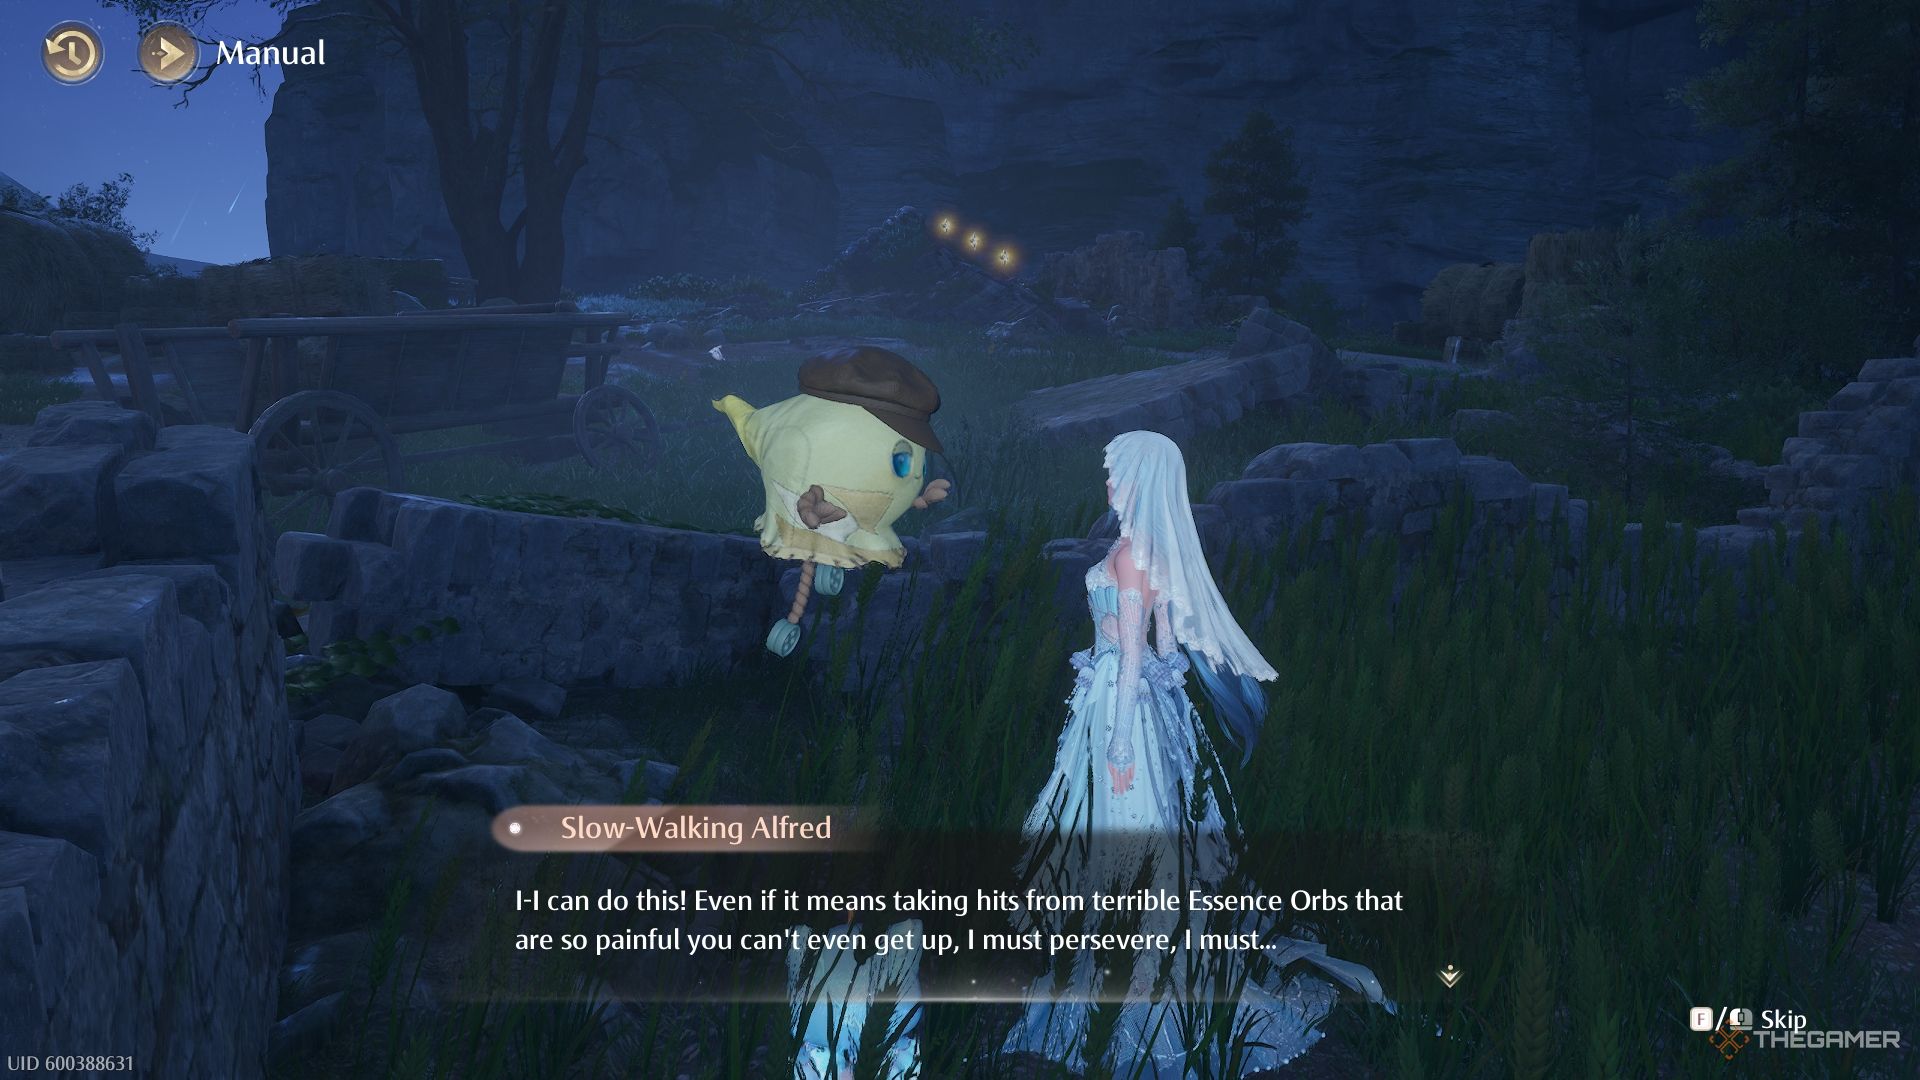
High up, Alfred has another request to make.

This time, he wants apicture of a Hard Sack looking directly at Nikki.
Simplywait for the esseling to turnyour way, then snap the picture.
you’re able to get closer if you wish, but you risk taking damage.
when you’ve got the photo,give it to Slow-Walking Alfredfor your reward!
You’ll need to get its attention andsnap a picture when it attacksNikki.
This is tricky, as taking damage will put the camera away.
Eitherfind cover or dart out of the waybefore taking the photo, then show it to Alfred.
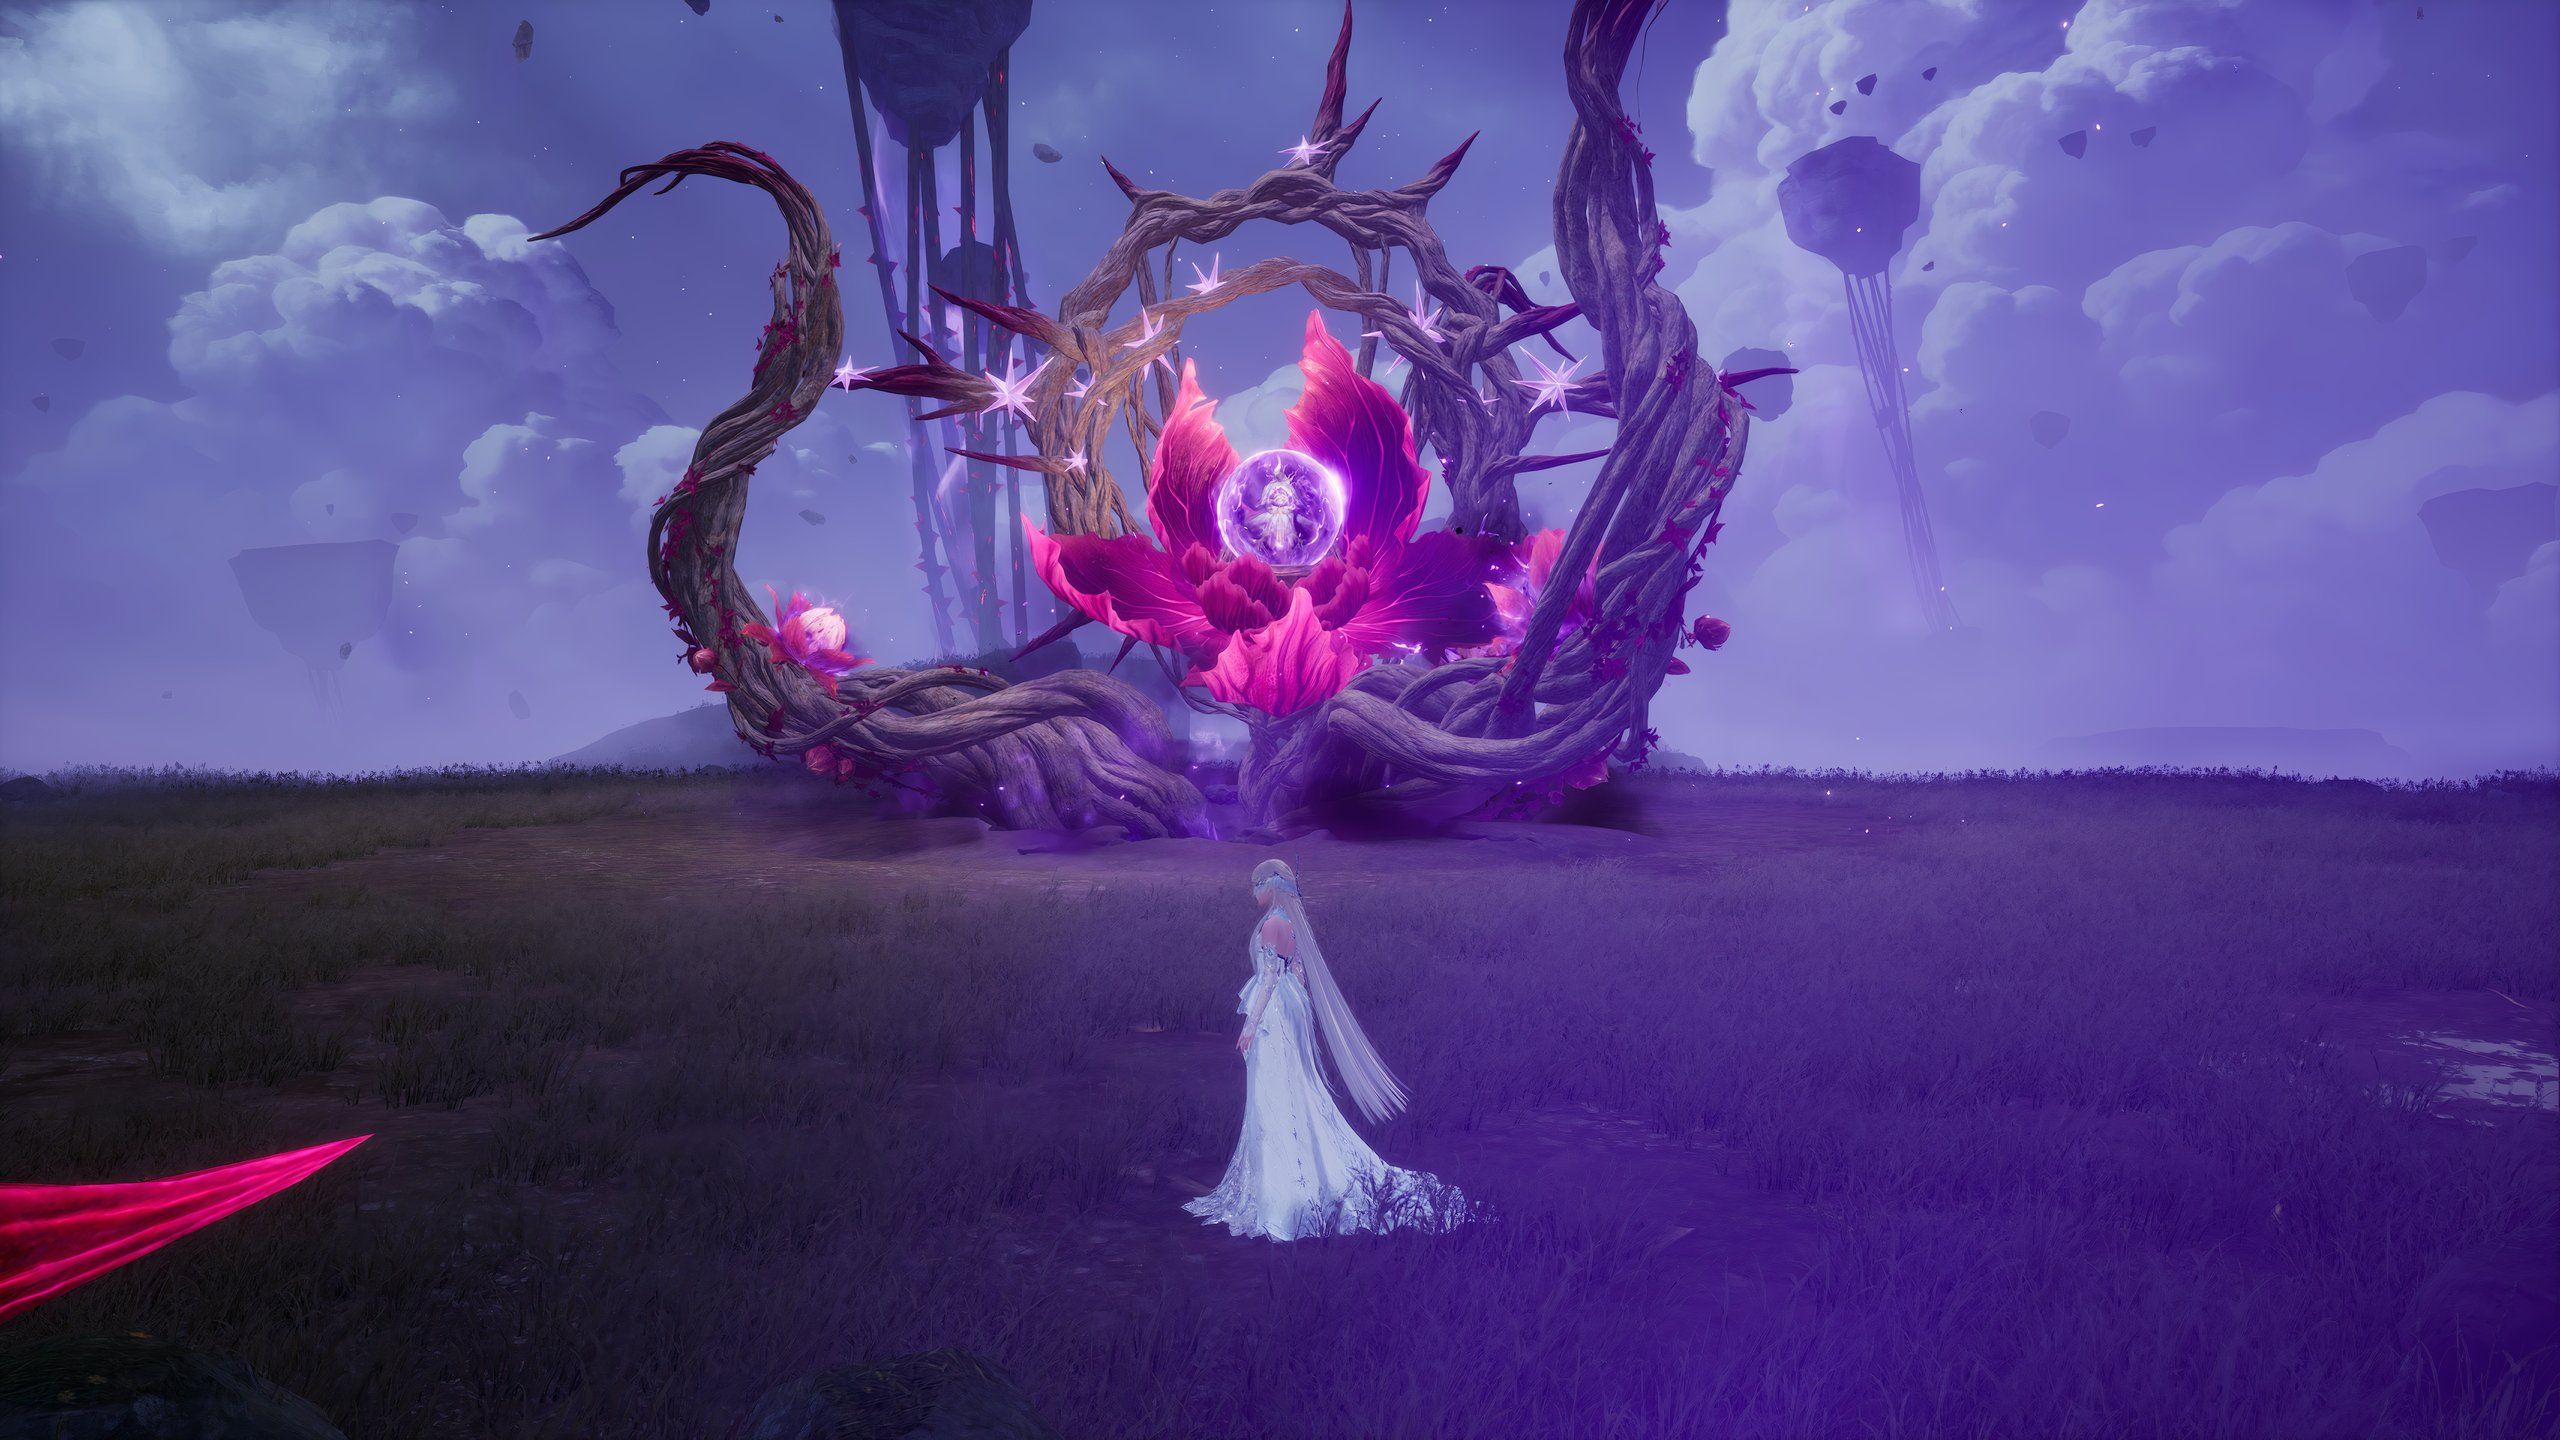
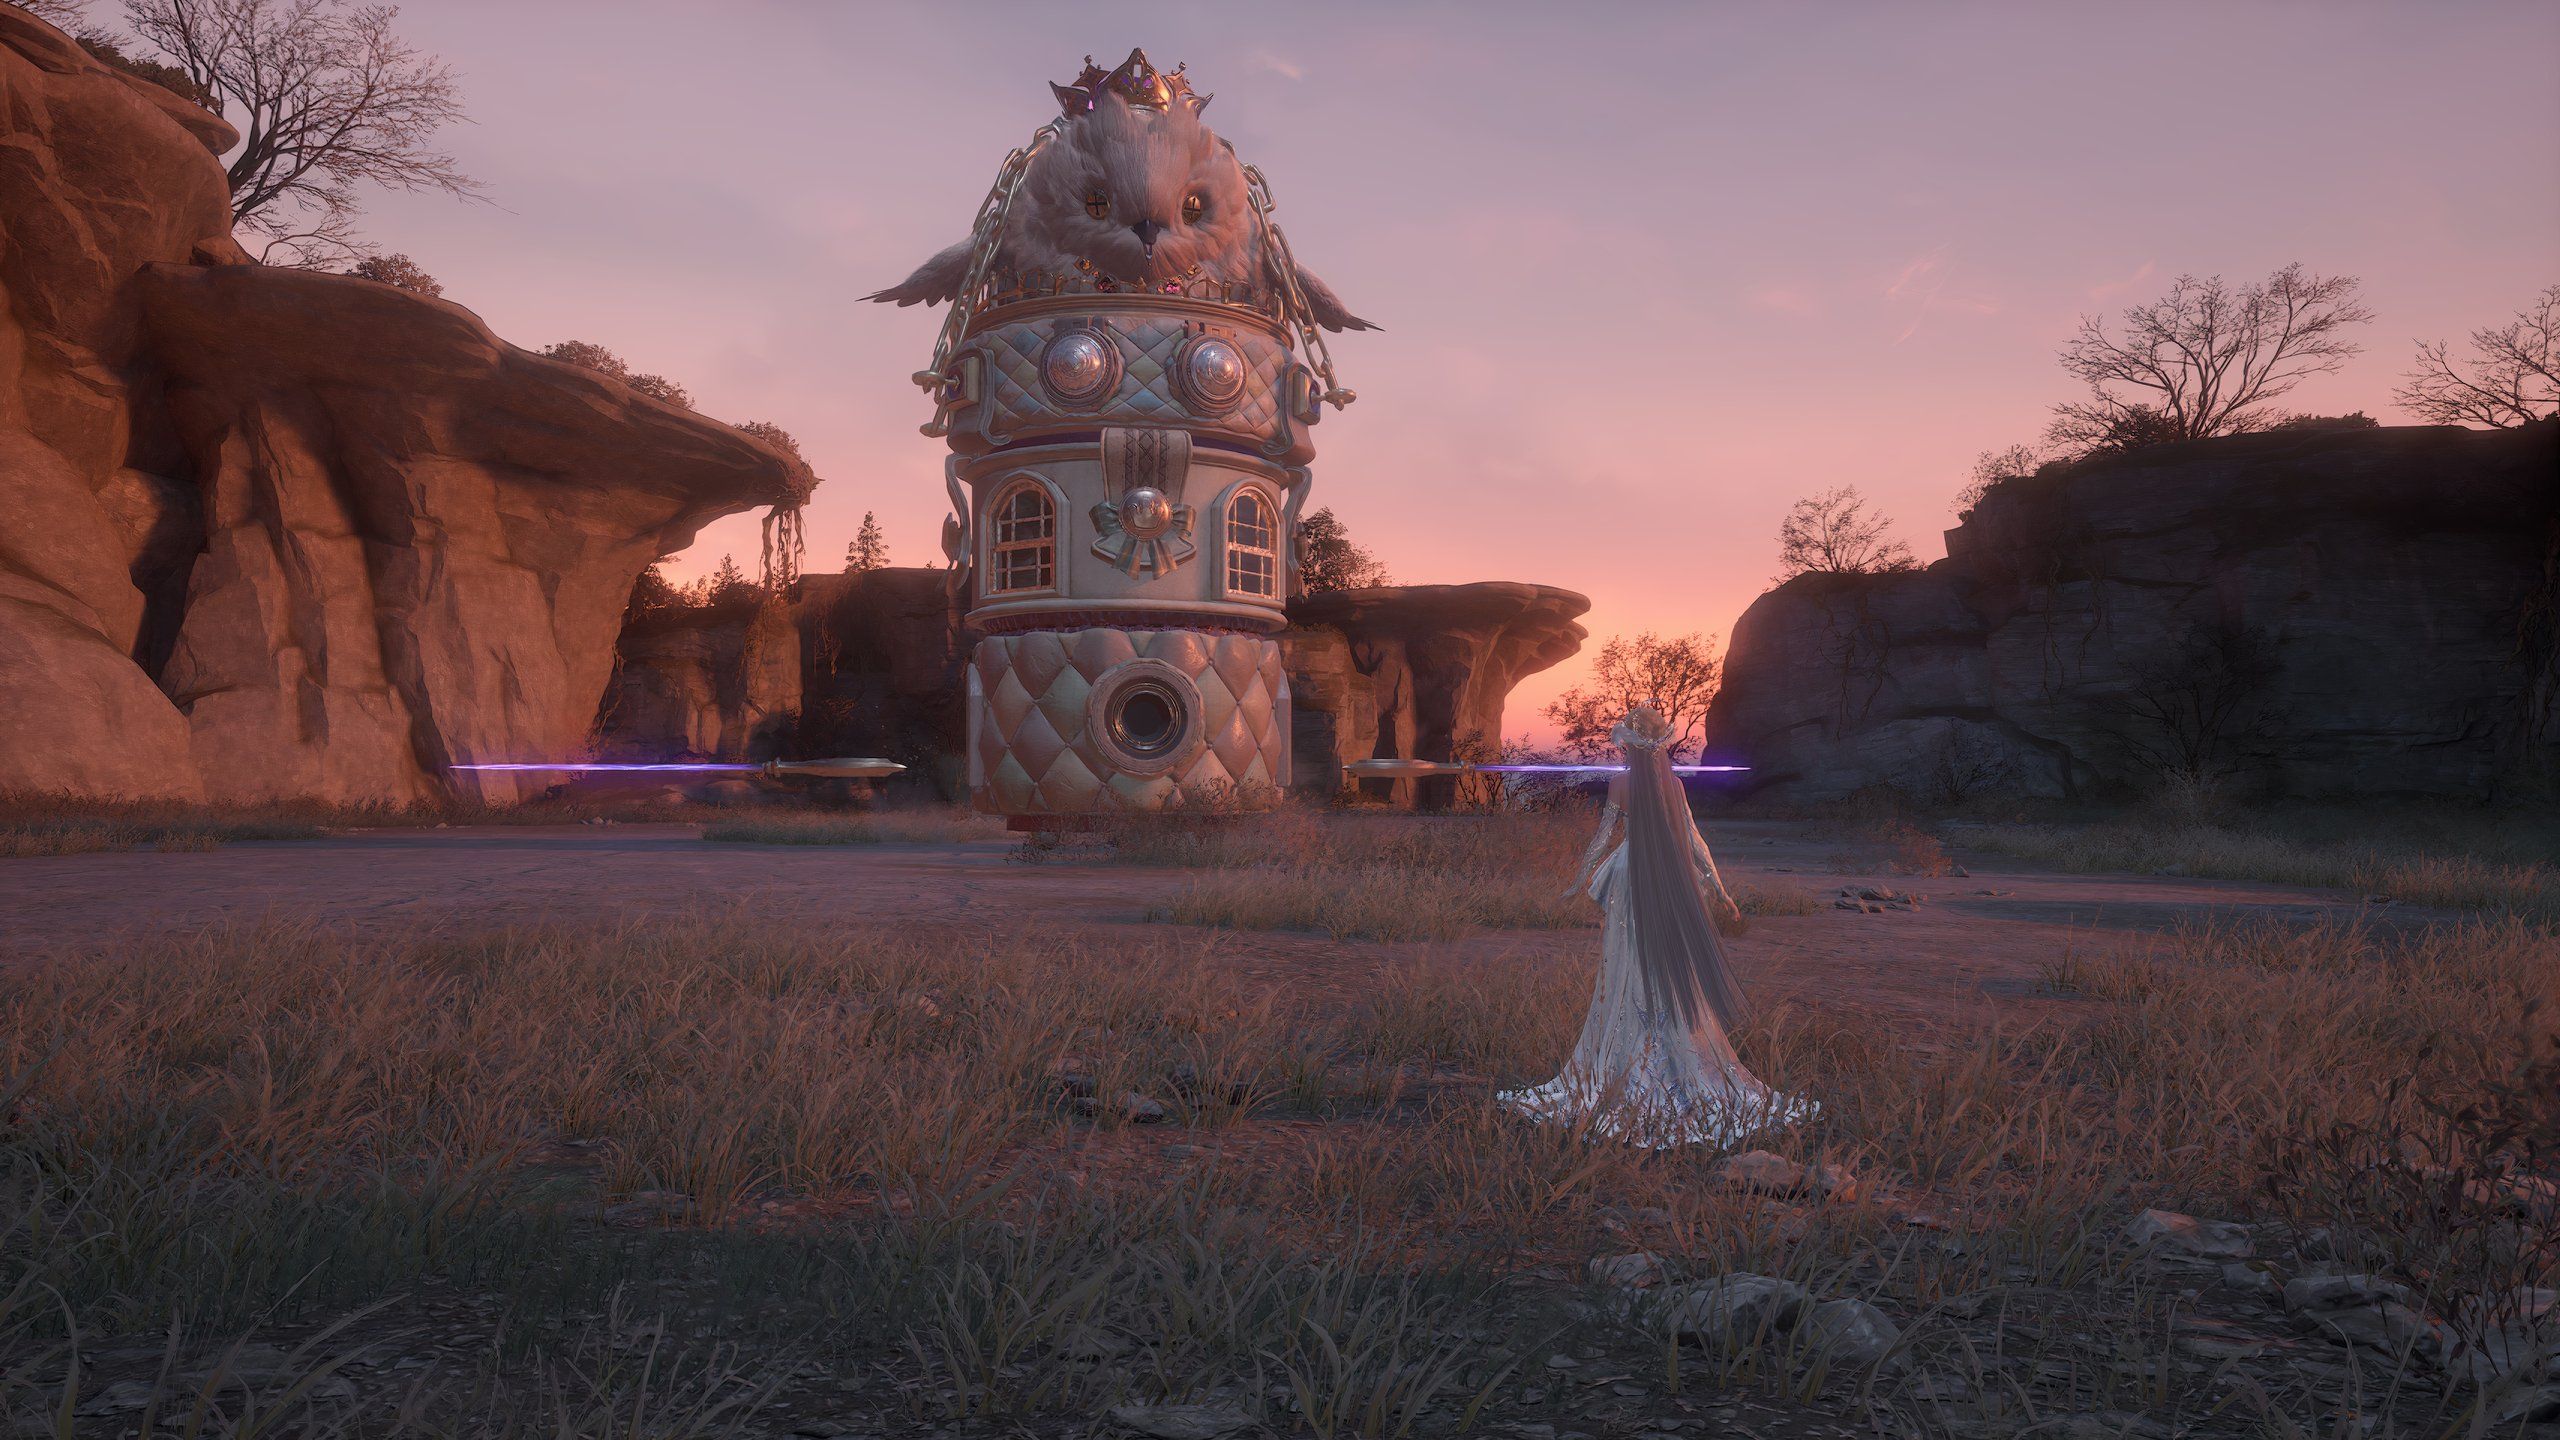
He wants a picture of theCaged Greed bossspinning rapidly while chasing Nikki.
To get this photo, head up the slope to the peak, then attack Caged Greed twice.
They need Nikki’s assistance totake photos of esselingsaround the region so they can study them.
Below are all the quests Mamoda has for you, as well as how to complete them!
Each quest will reward you withten diamonds and three upgrade packswhen completed!
You’llfind Mamoda near the farmby Timis’s Beauty Lab, and the desired esseling not far from there.
once you nail the photo,take it to Mamodato show them!
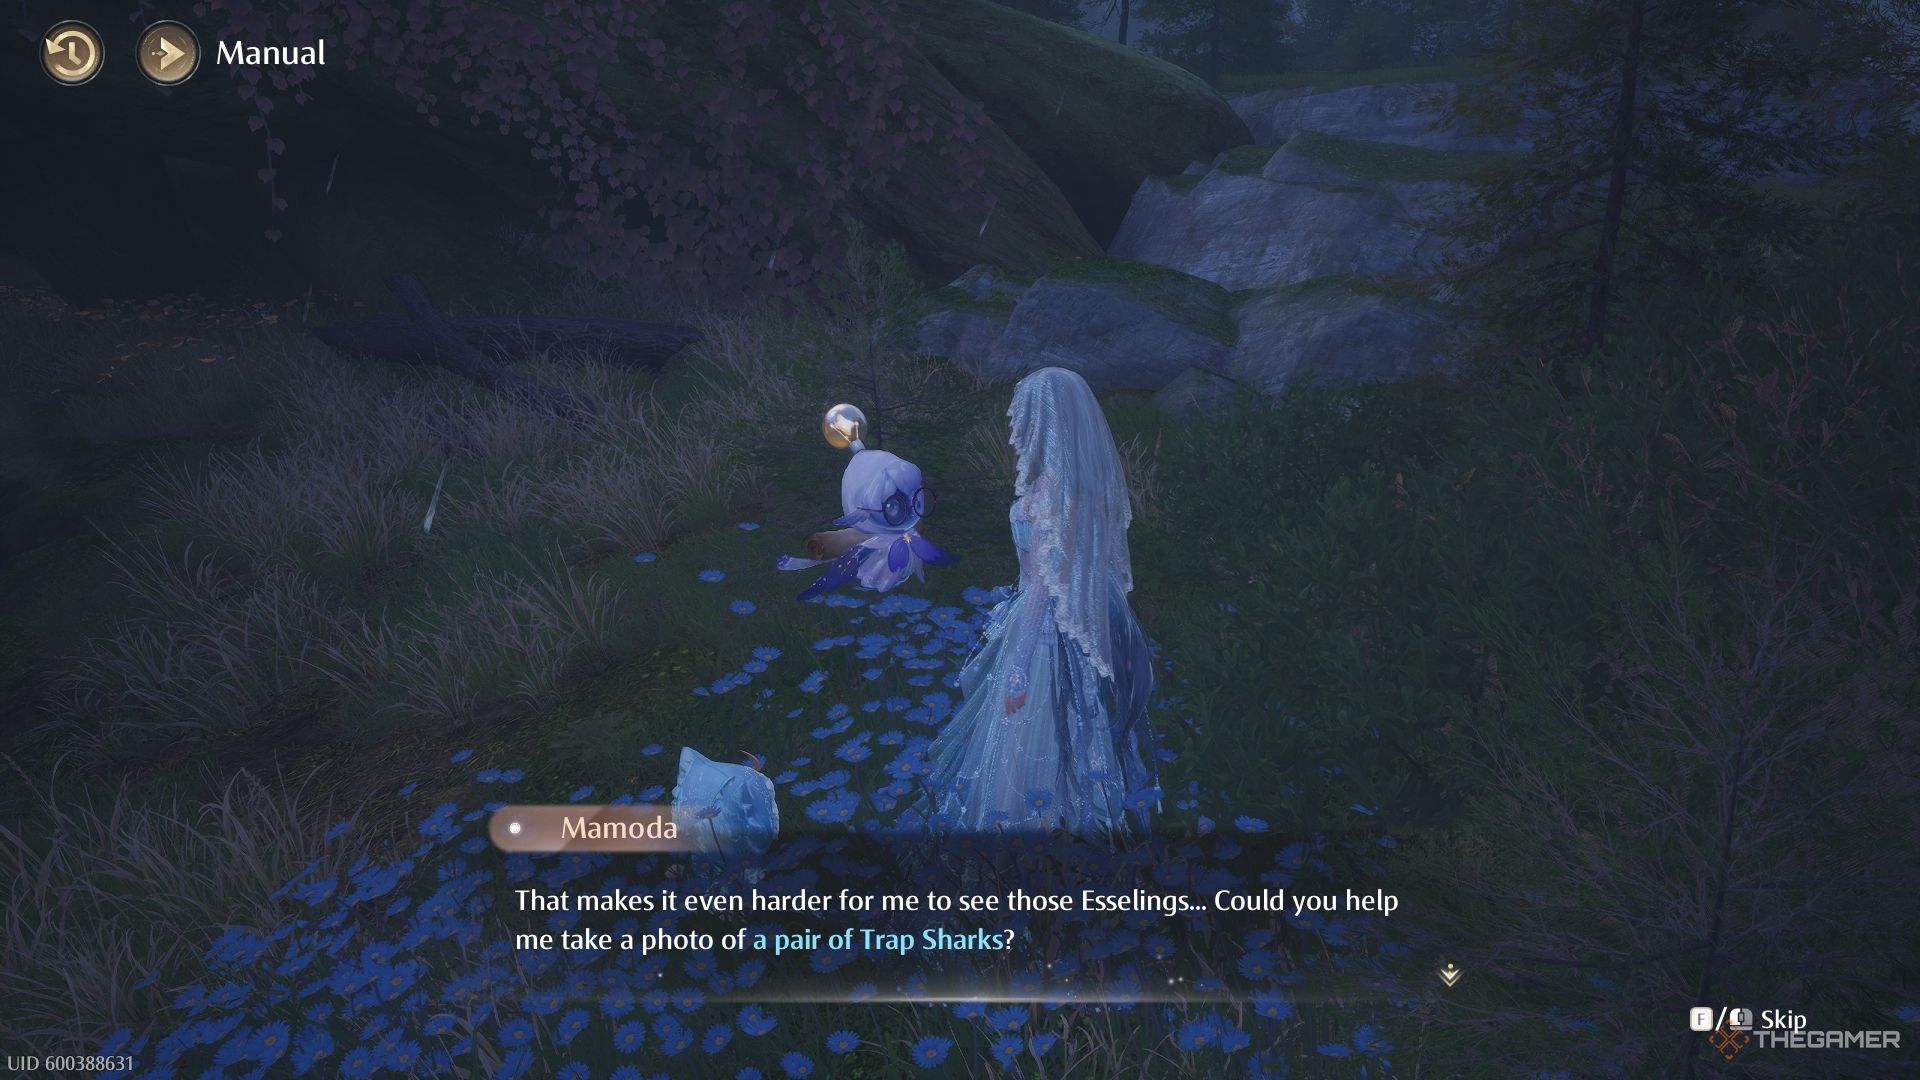
Risky Photography: Paired Trap Sharks Quest
Next, meet Mamoda overby the Desperation Orb Warehouse.
This time, they want a picture of two Trap Sharks next to each other.
Thankfully, there are a couple in the woods nearby.
The Harsh Sssackswon’t remain in a daze for long, so act quickly!
The final risky photo involvesgetting a picture of Wishmaster Chigdain his corrupted form.
Once you get the photo, you caneither finish the fight or leave.
After you’re outside,return to Mamodato show them the picture and complete the quest.
Look at those color swatches!