However, getting all the rewards in these can be difficult.
UPDATE: 2025/03/30 13:29 EST BY SANYAM JAIN
New stages have been added!
We’ve added the third and fourth stages for both Saurian Treasure Seeker and Bloomflower Trials.
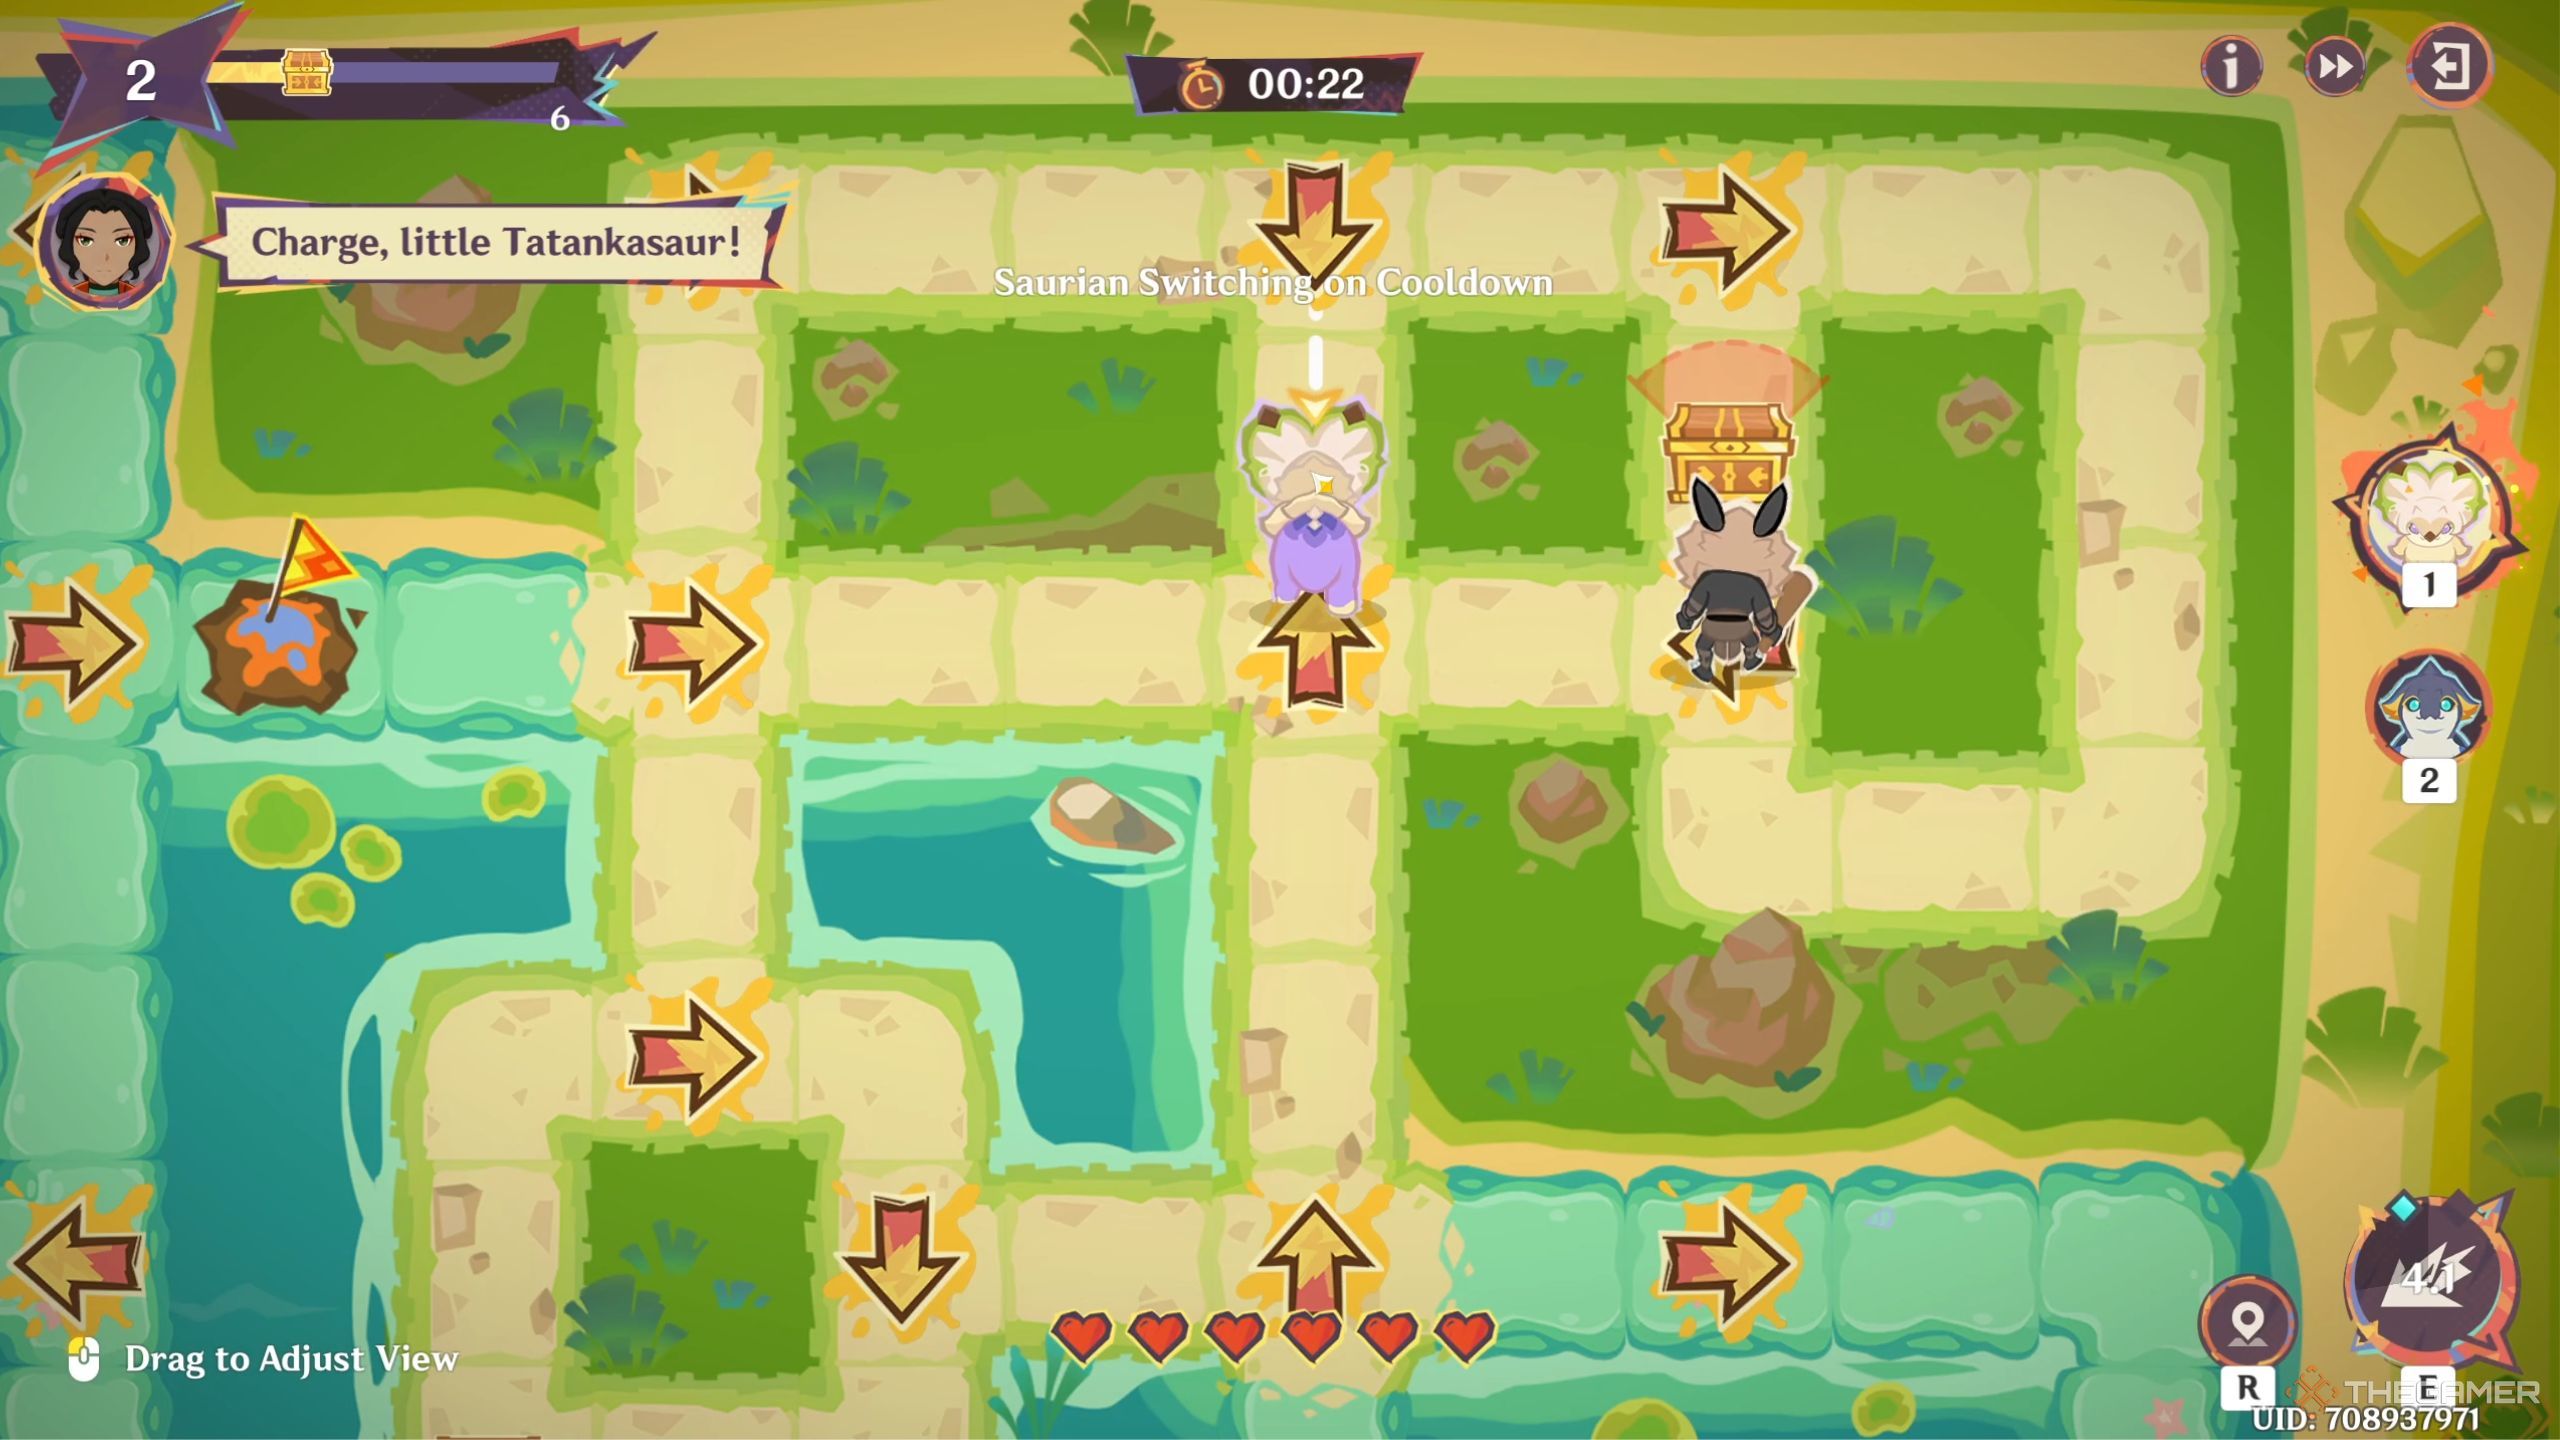
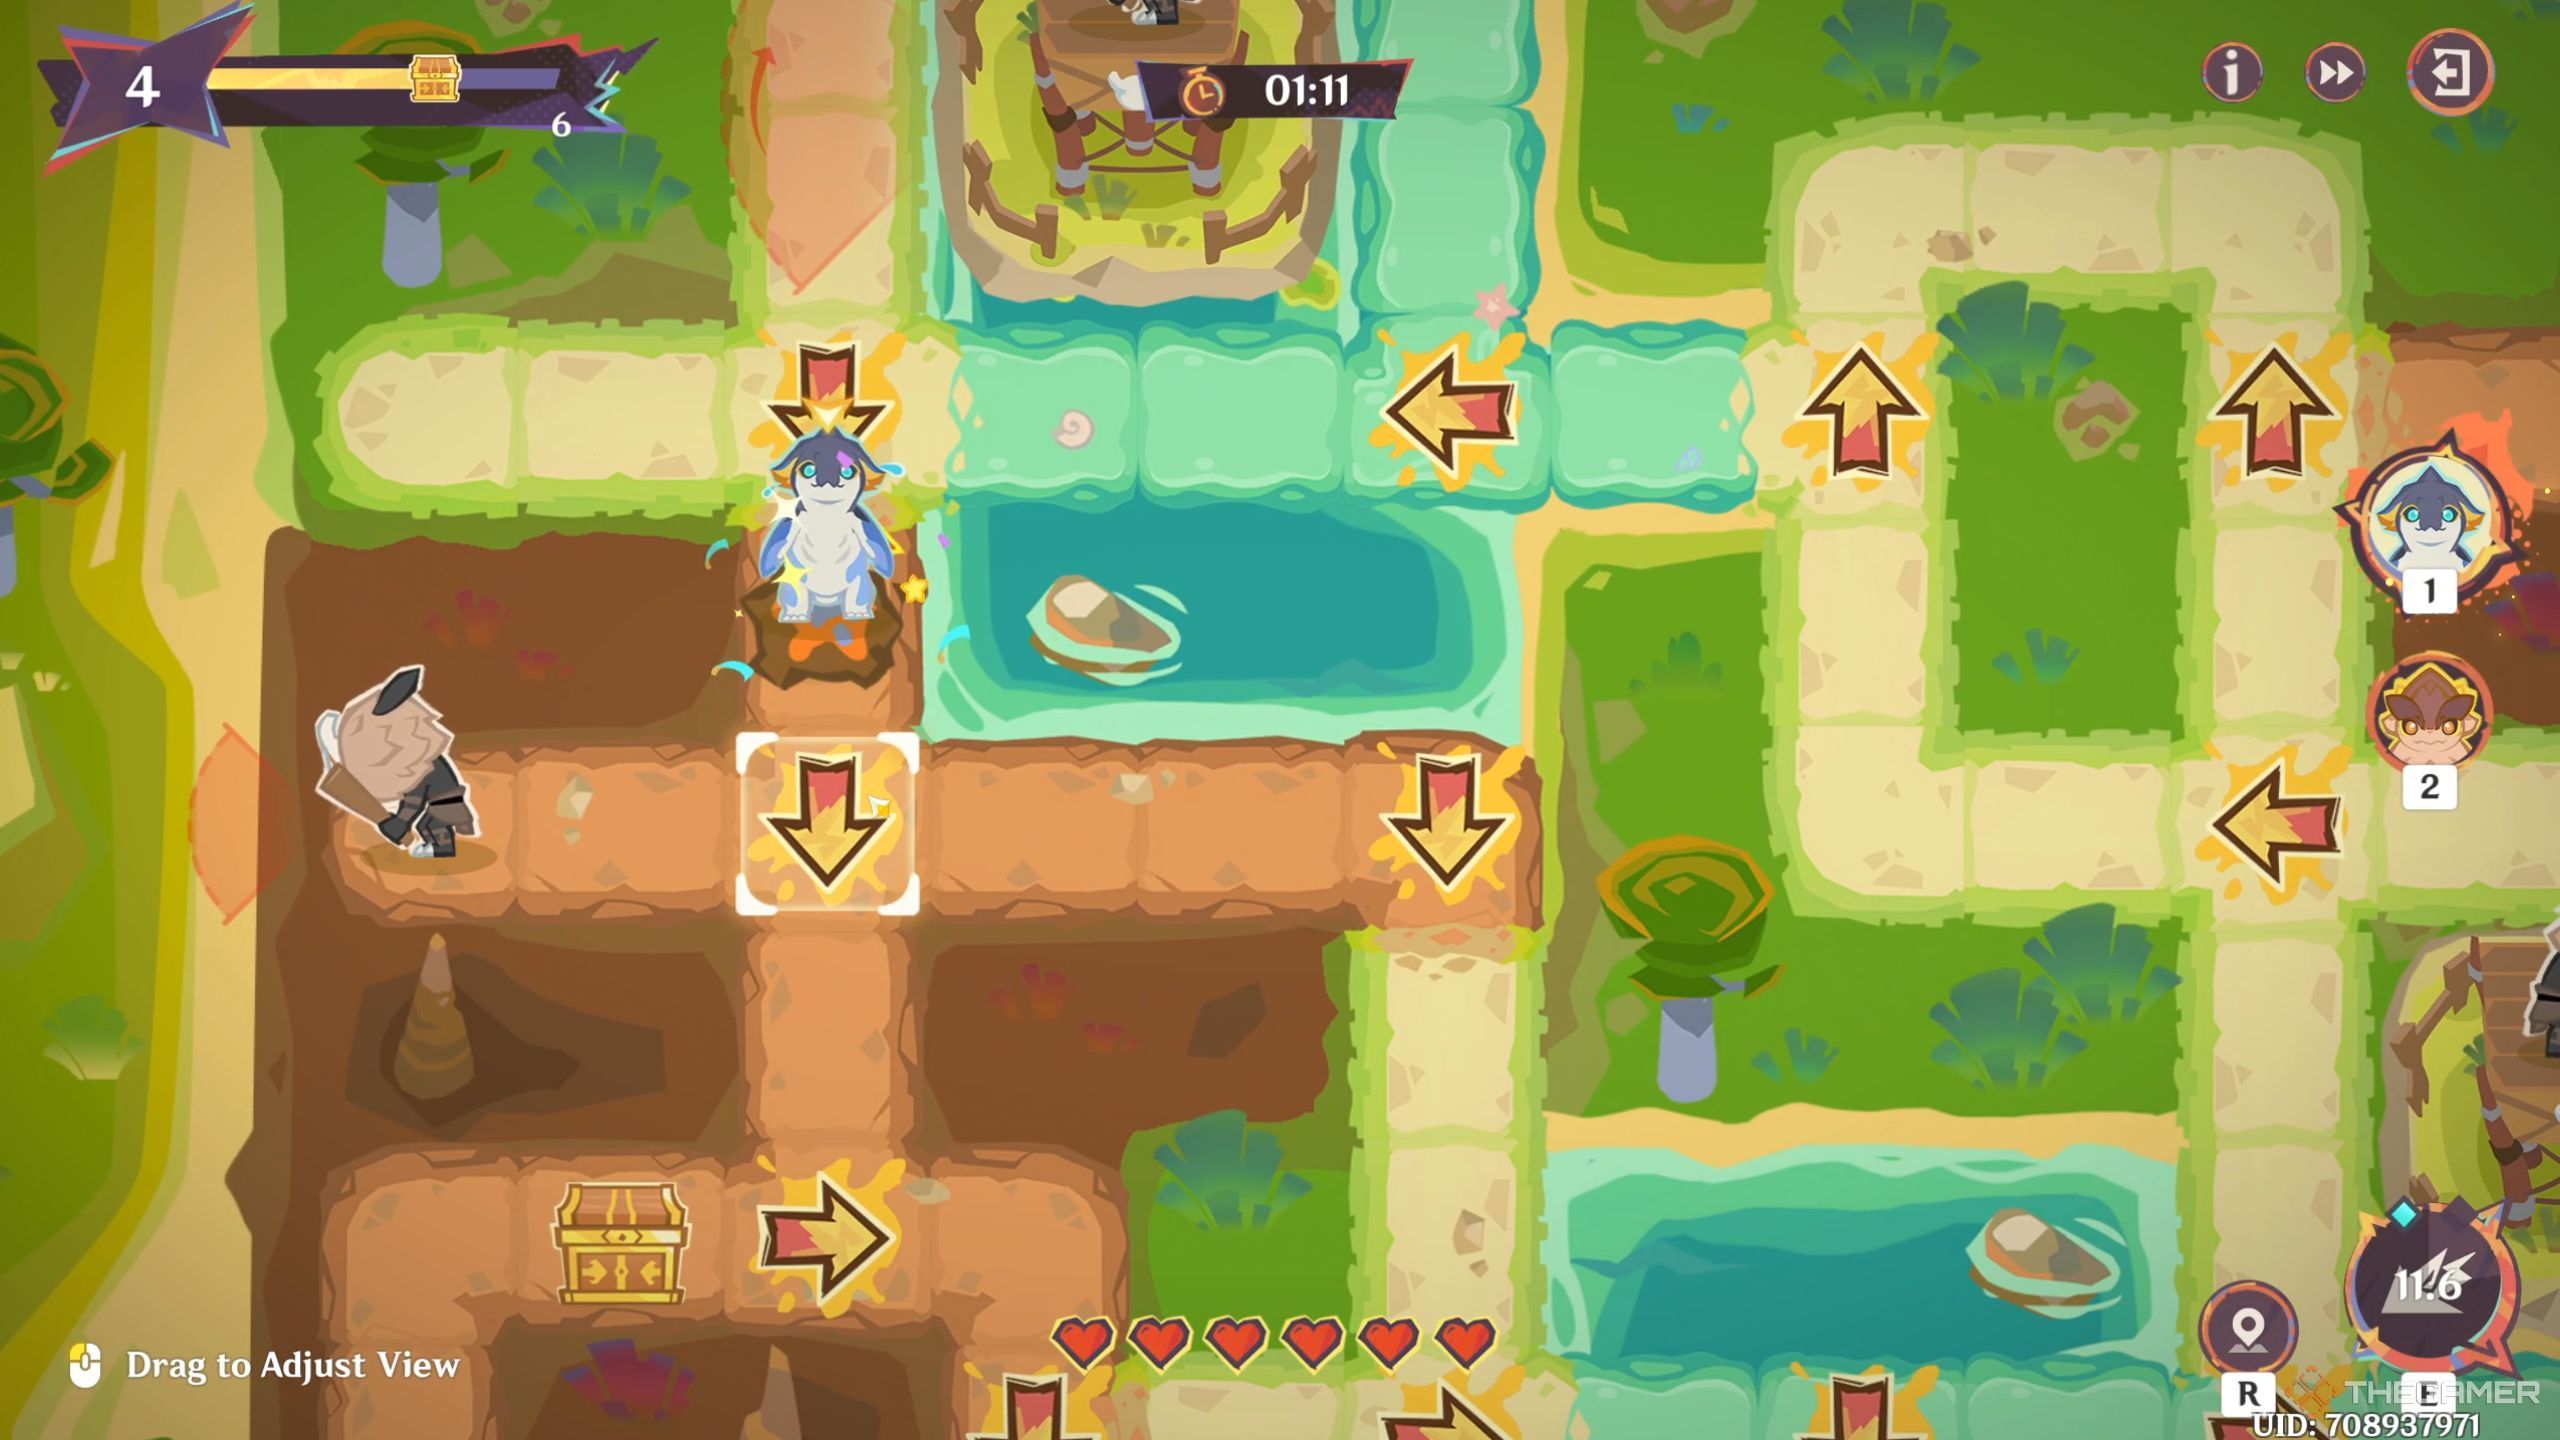
The fruit collection game mode has a time limit and asks you to collect a certain amount of fruits.
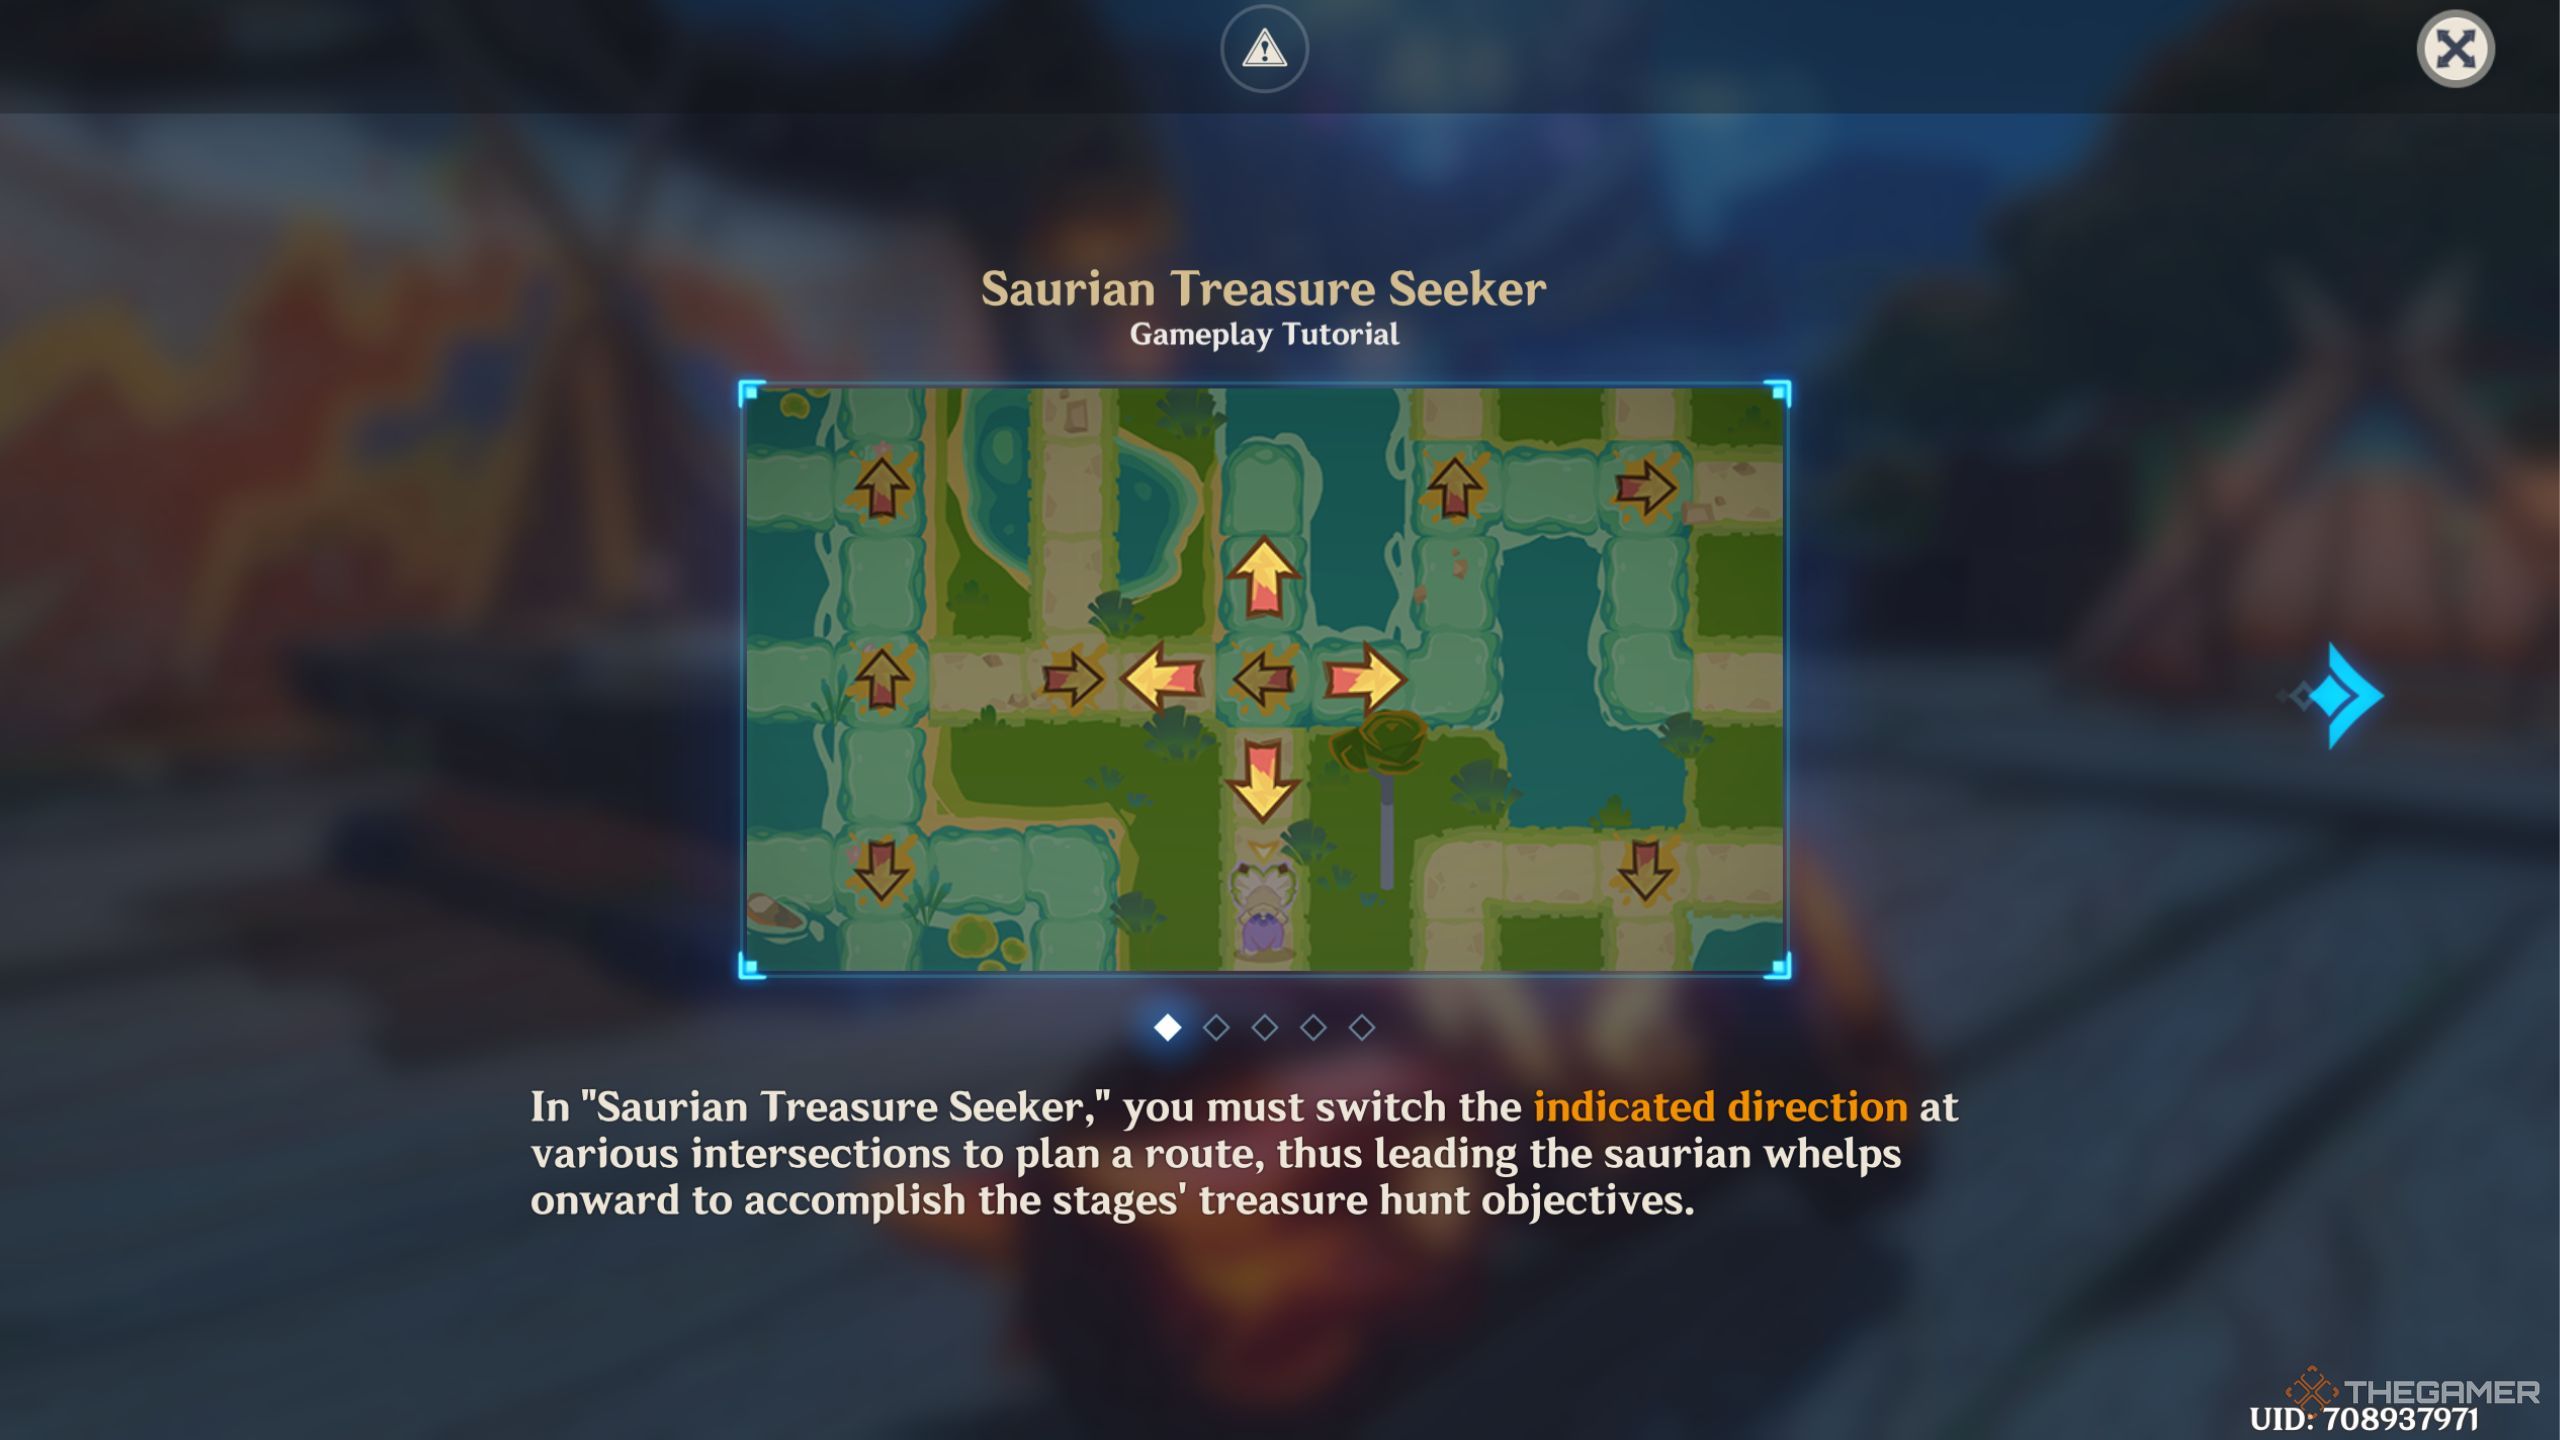
While doing these stages, you canswitch between Saurians depending on the terrain below.
The main obstacle you encounter while collecting fruits in this is the dropping magma.
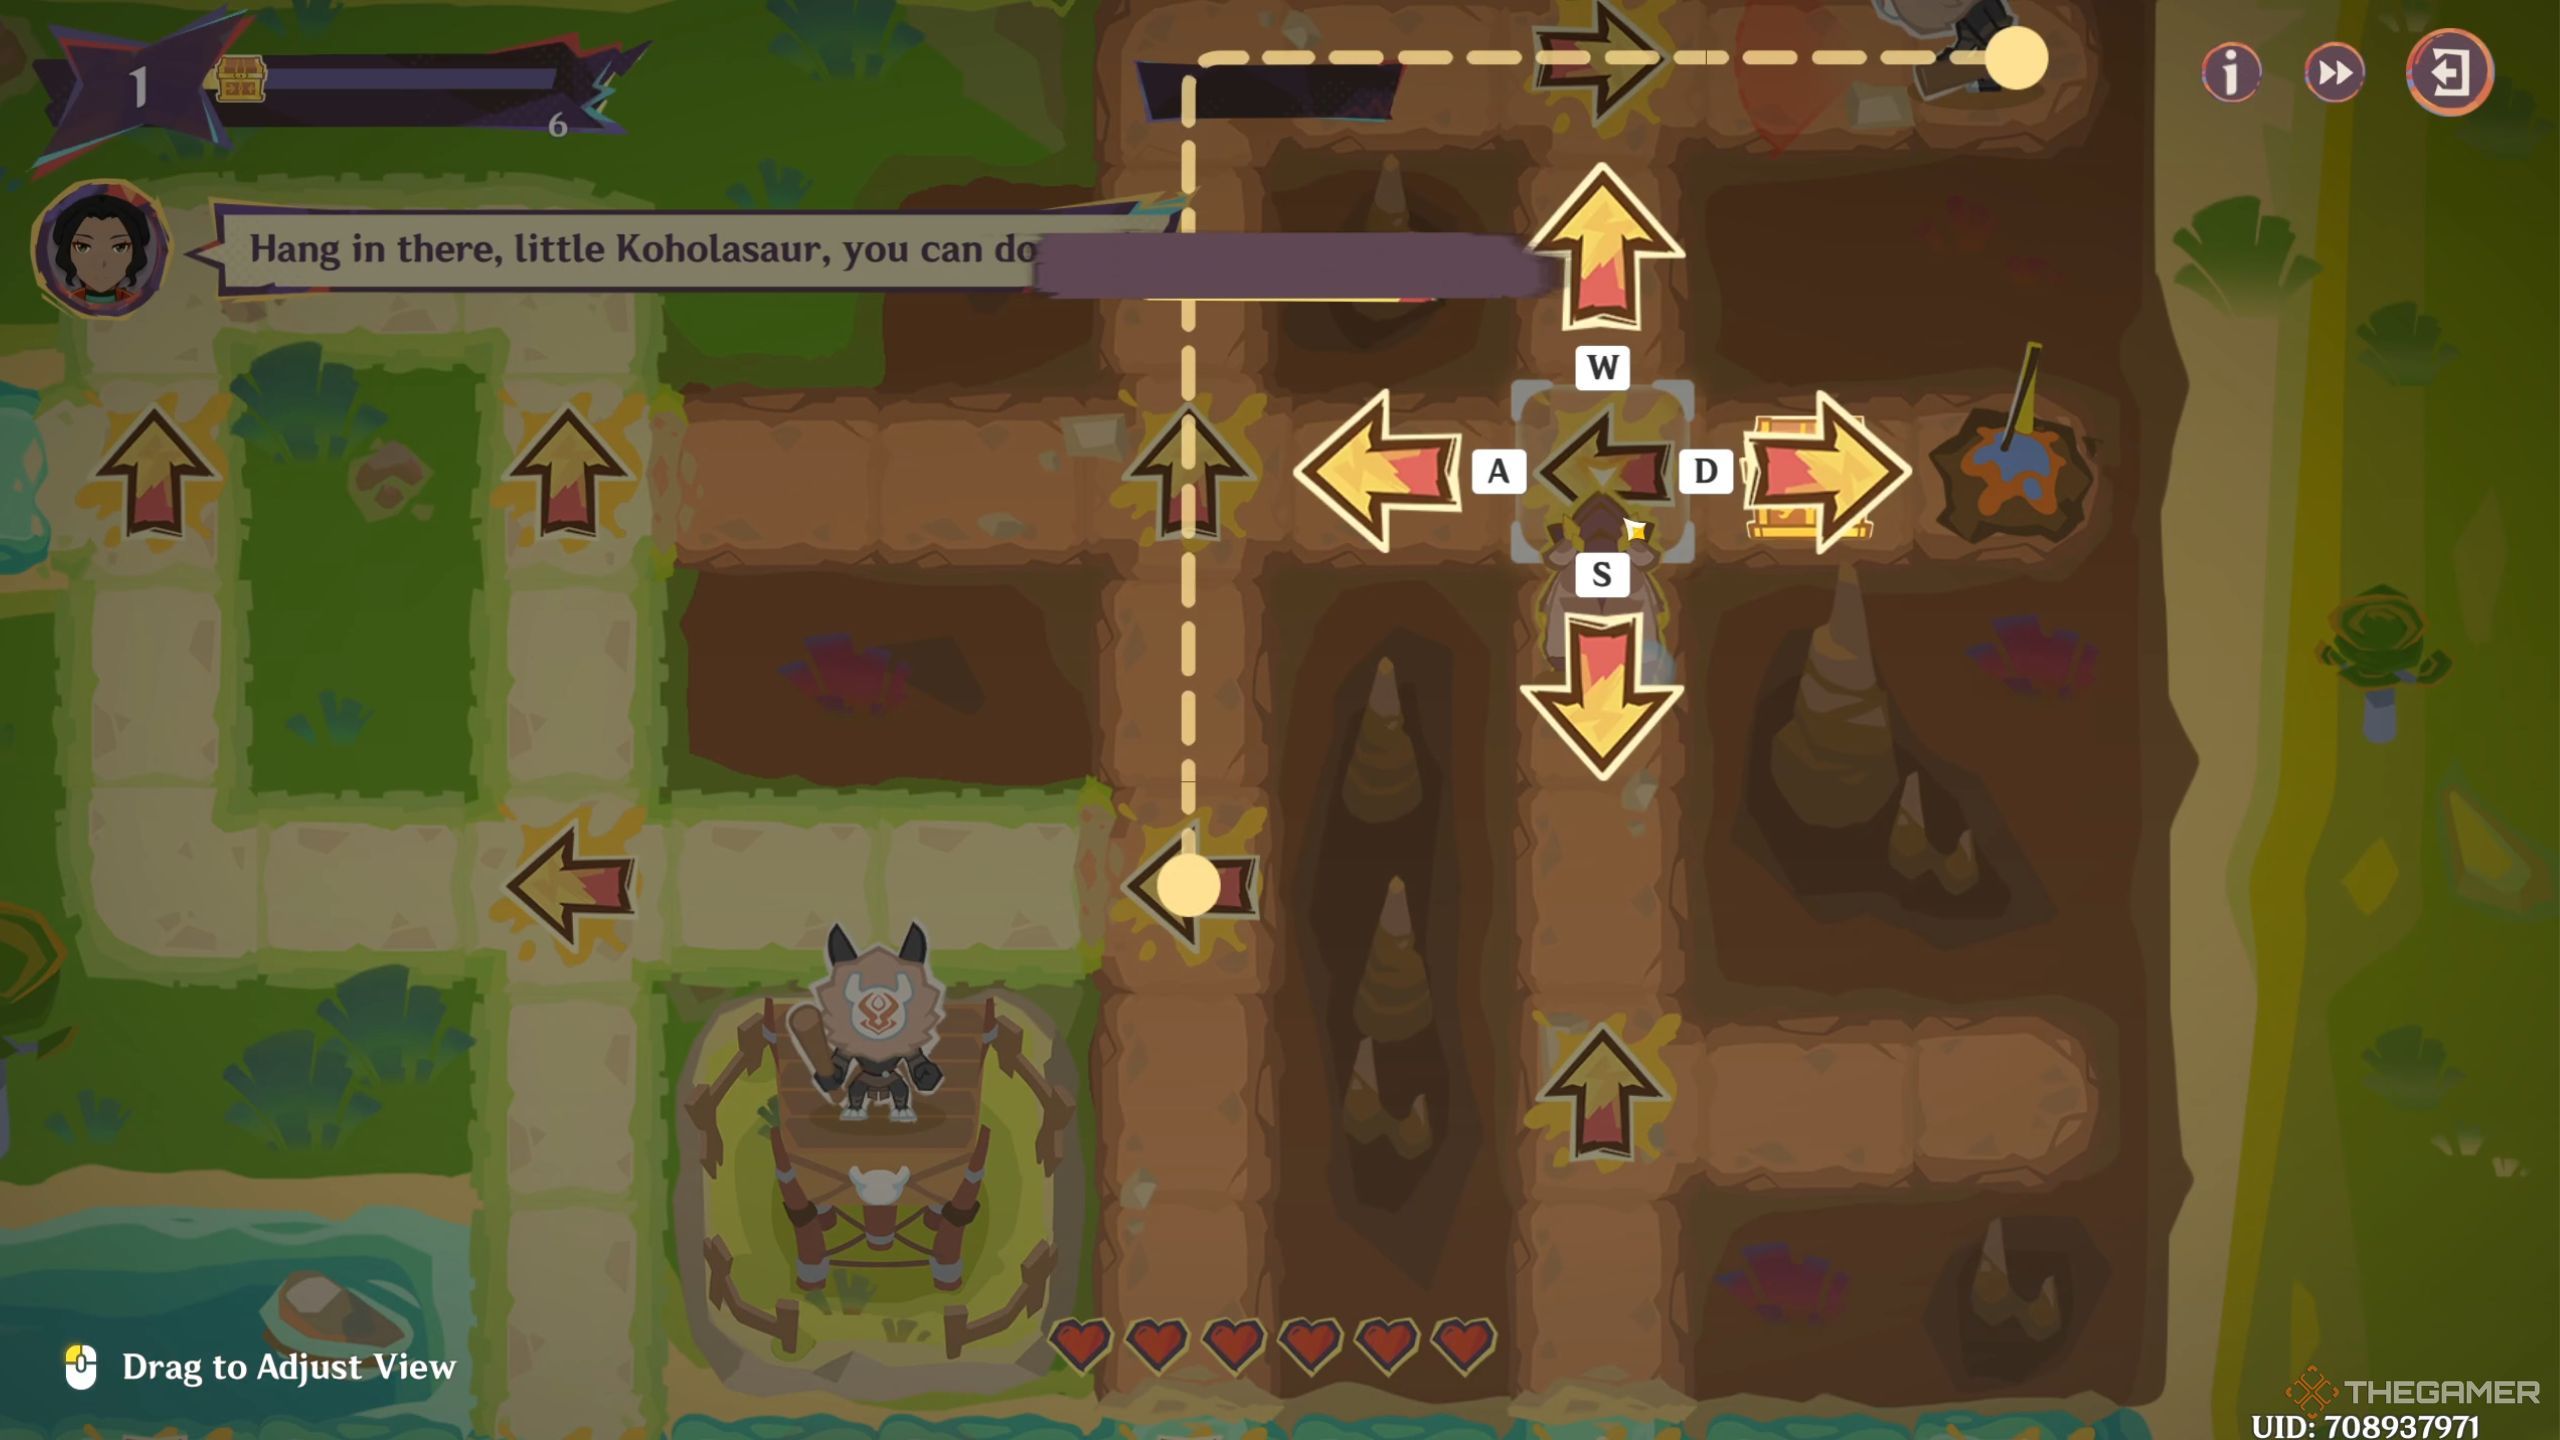
Leave the next two arrows as they are so that the Koholasaur can go through the top left side.
As the Tatankasaur moves to the right, turn the next arrow up.
Change back to Koholasaur and let it go to the right, down, and then left.
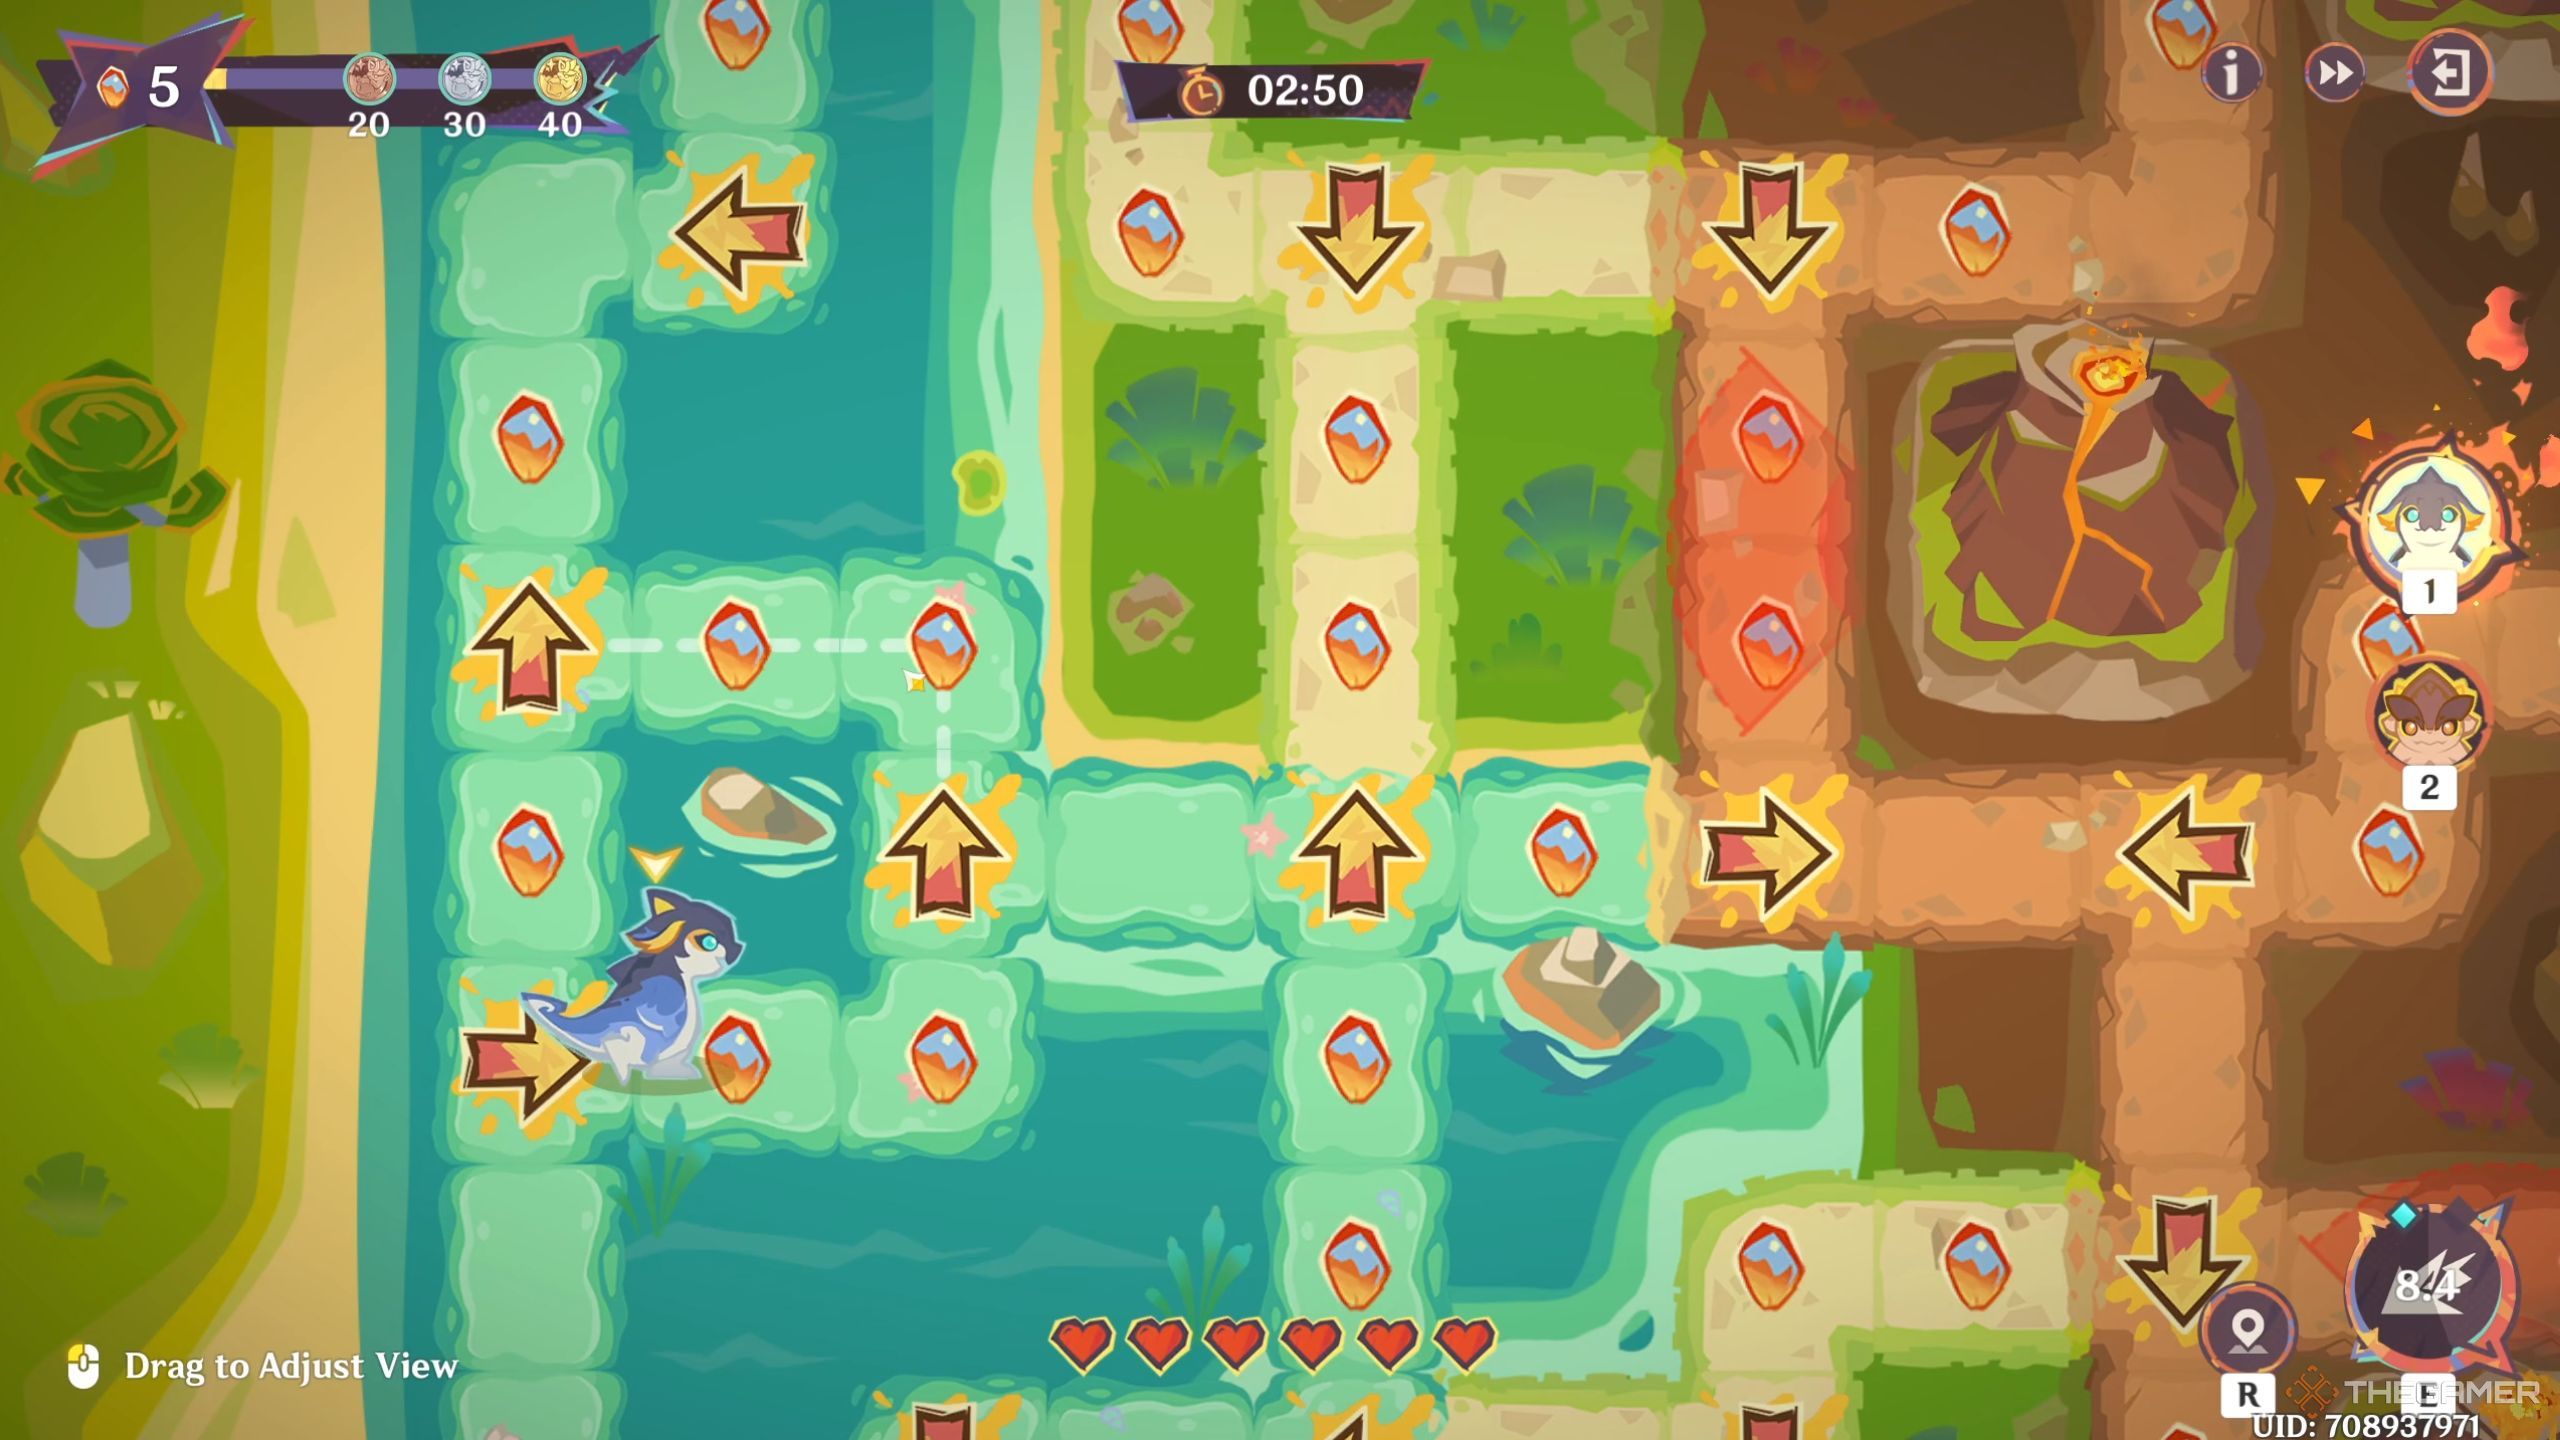
Turn the next arrow down and go through a couple of water tiles before going back up.
From there, keep going down until you reach the bottom left edge and automatically turn left.
Thestage will automatically end when you gather 40 of them.
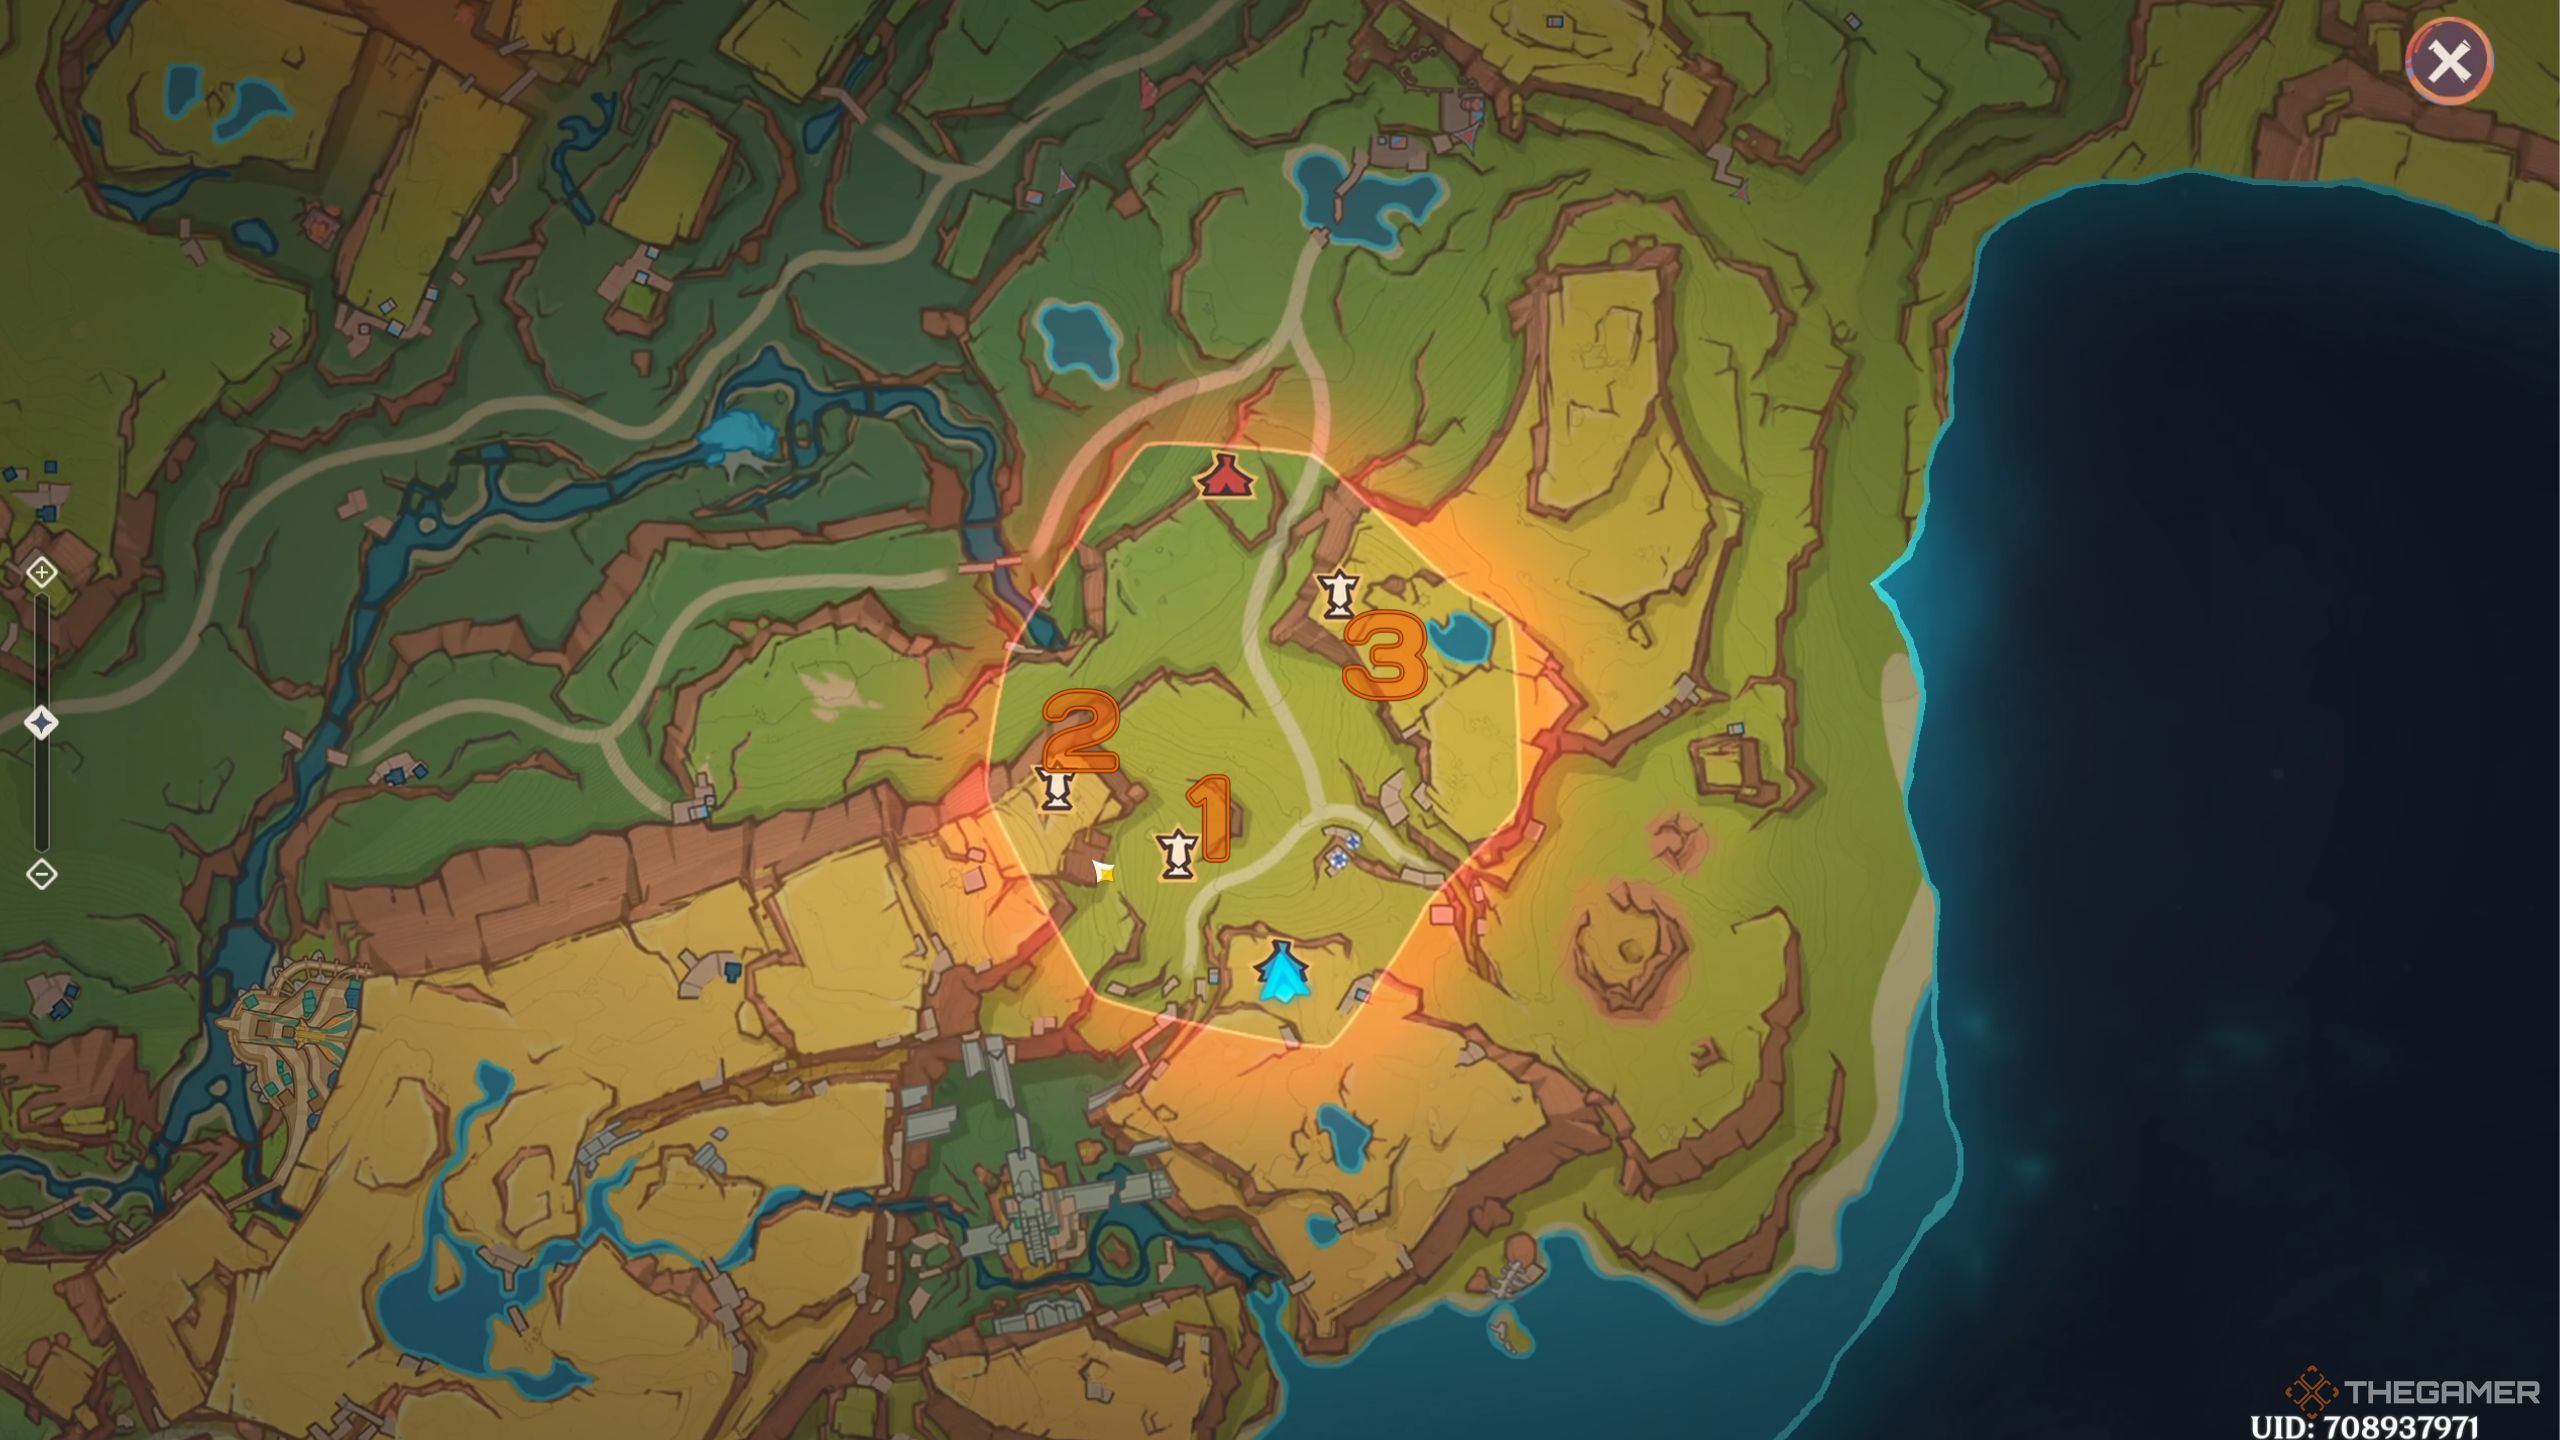
These Hilichurls will be patrolling various locations andyou can see their detection radius in front of them.
The Saurians you’ll have in this trial are the same as the one above.
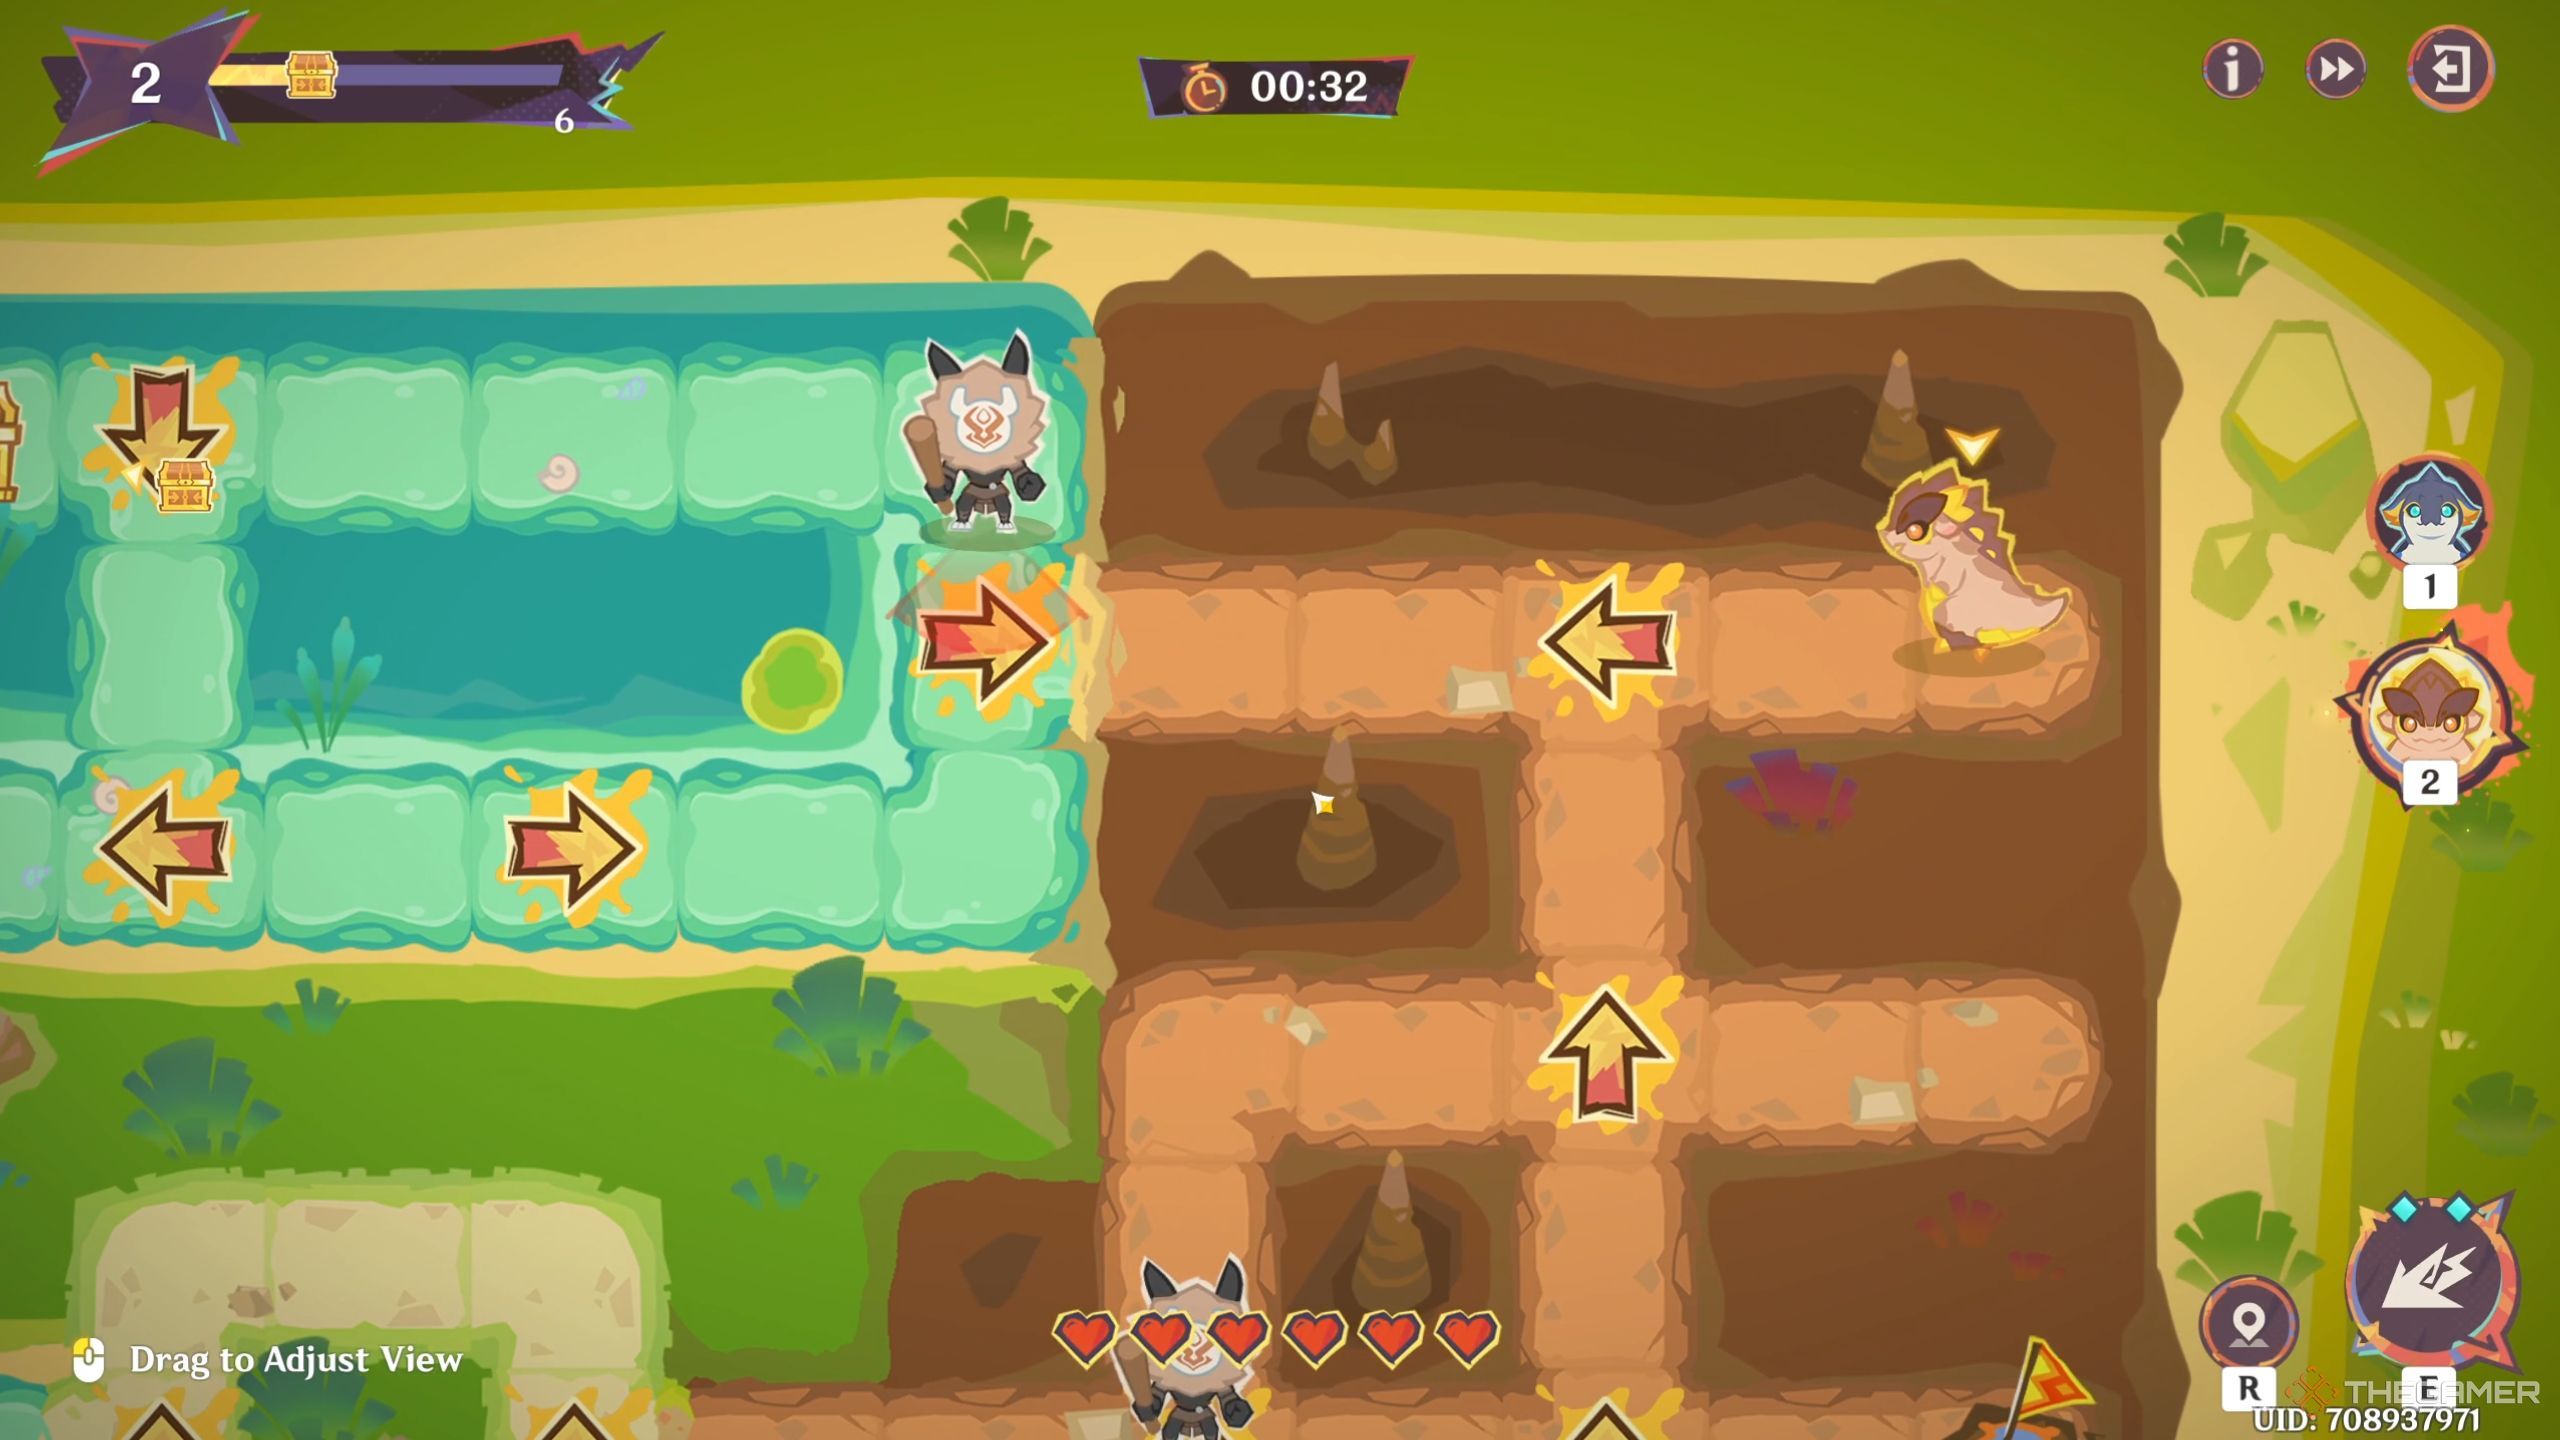
This will already take you to the first chest.
Keep going right from hereuntil you enter the water tiles and move the arrow up.
After the checkpoint,turn the next arrow to the right and the one after that upward.
After getting the chest, turn the next two arrows left and down respectively.
You’ll thenreach a middle area with another chest on the left.
Get this chest and go right on the next arrow.
Keep going down to the bottom and then left to get your last chest.
It introduces anew mechanic called the volcano and a Tepetlisaur as the Saurian.
This one moves faster on red-colored volcano tiles.
Point the next arrow up andleave the two after that pointing up as well.
You cantrigger your acceleration here to make your saurian move fast.
Keep moving right with the next two arrows andthen go up to get the last four fruits.
Eyes Of Ire, Aye?
When you get back to the arrow, turn it up and reach the top of the map.
Then, turn it back to the left and enter the water area.
it’s possible for you to also get your second checkpoint here.
You’ll find the next chest on your left.
Finally, you’re able to get the chest at the bottom of the normal area.
However,wait for the Hilichurl to go up before you go downto get it.

The more flags you have and activities you finish, the more points you’re free to get.
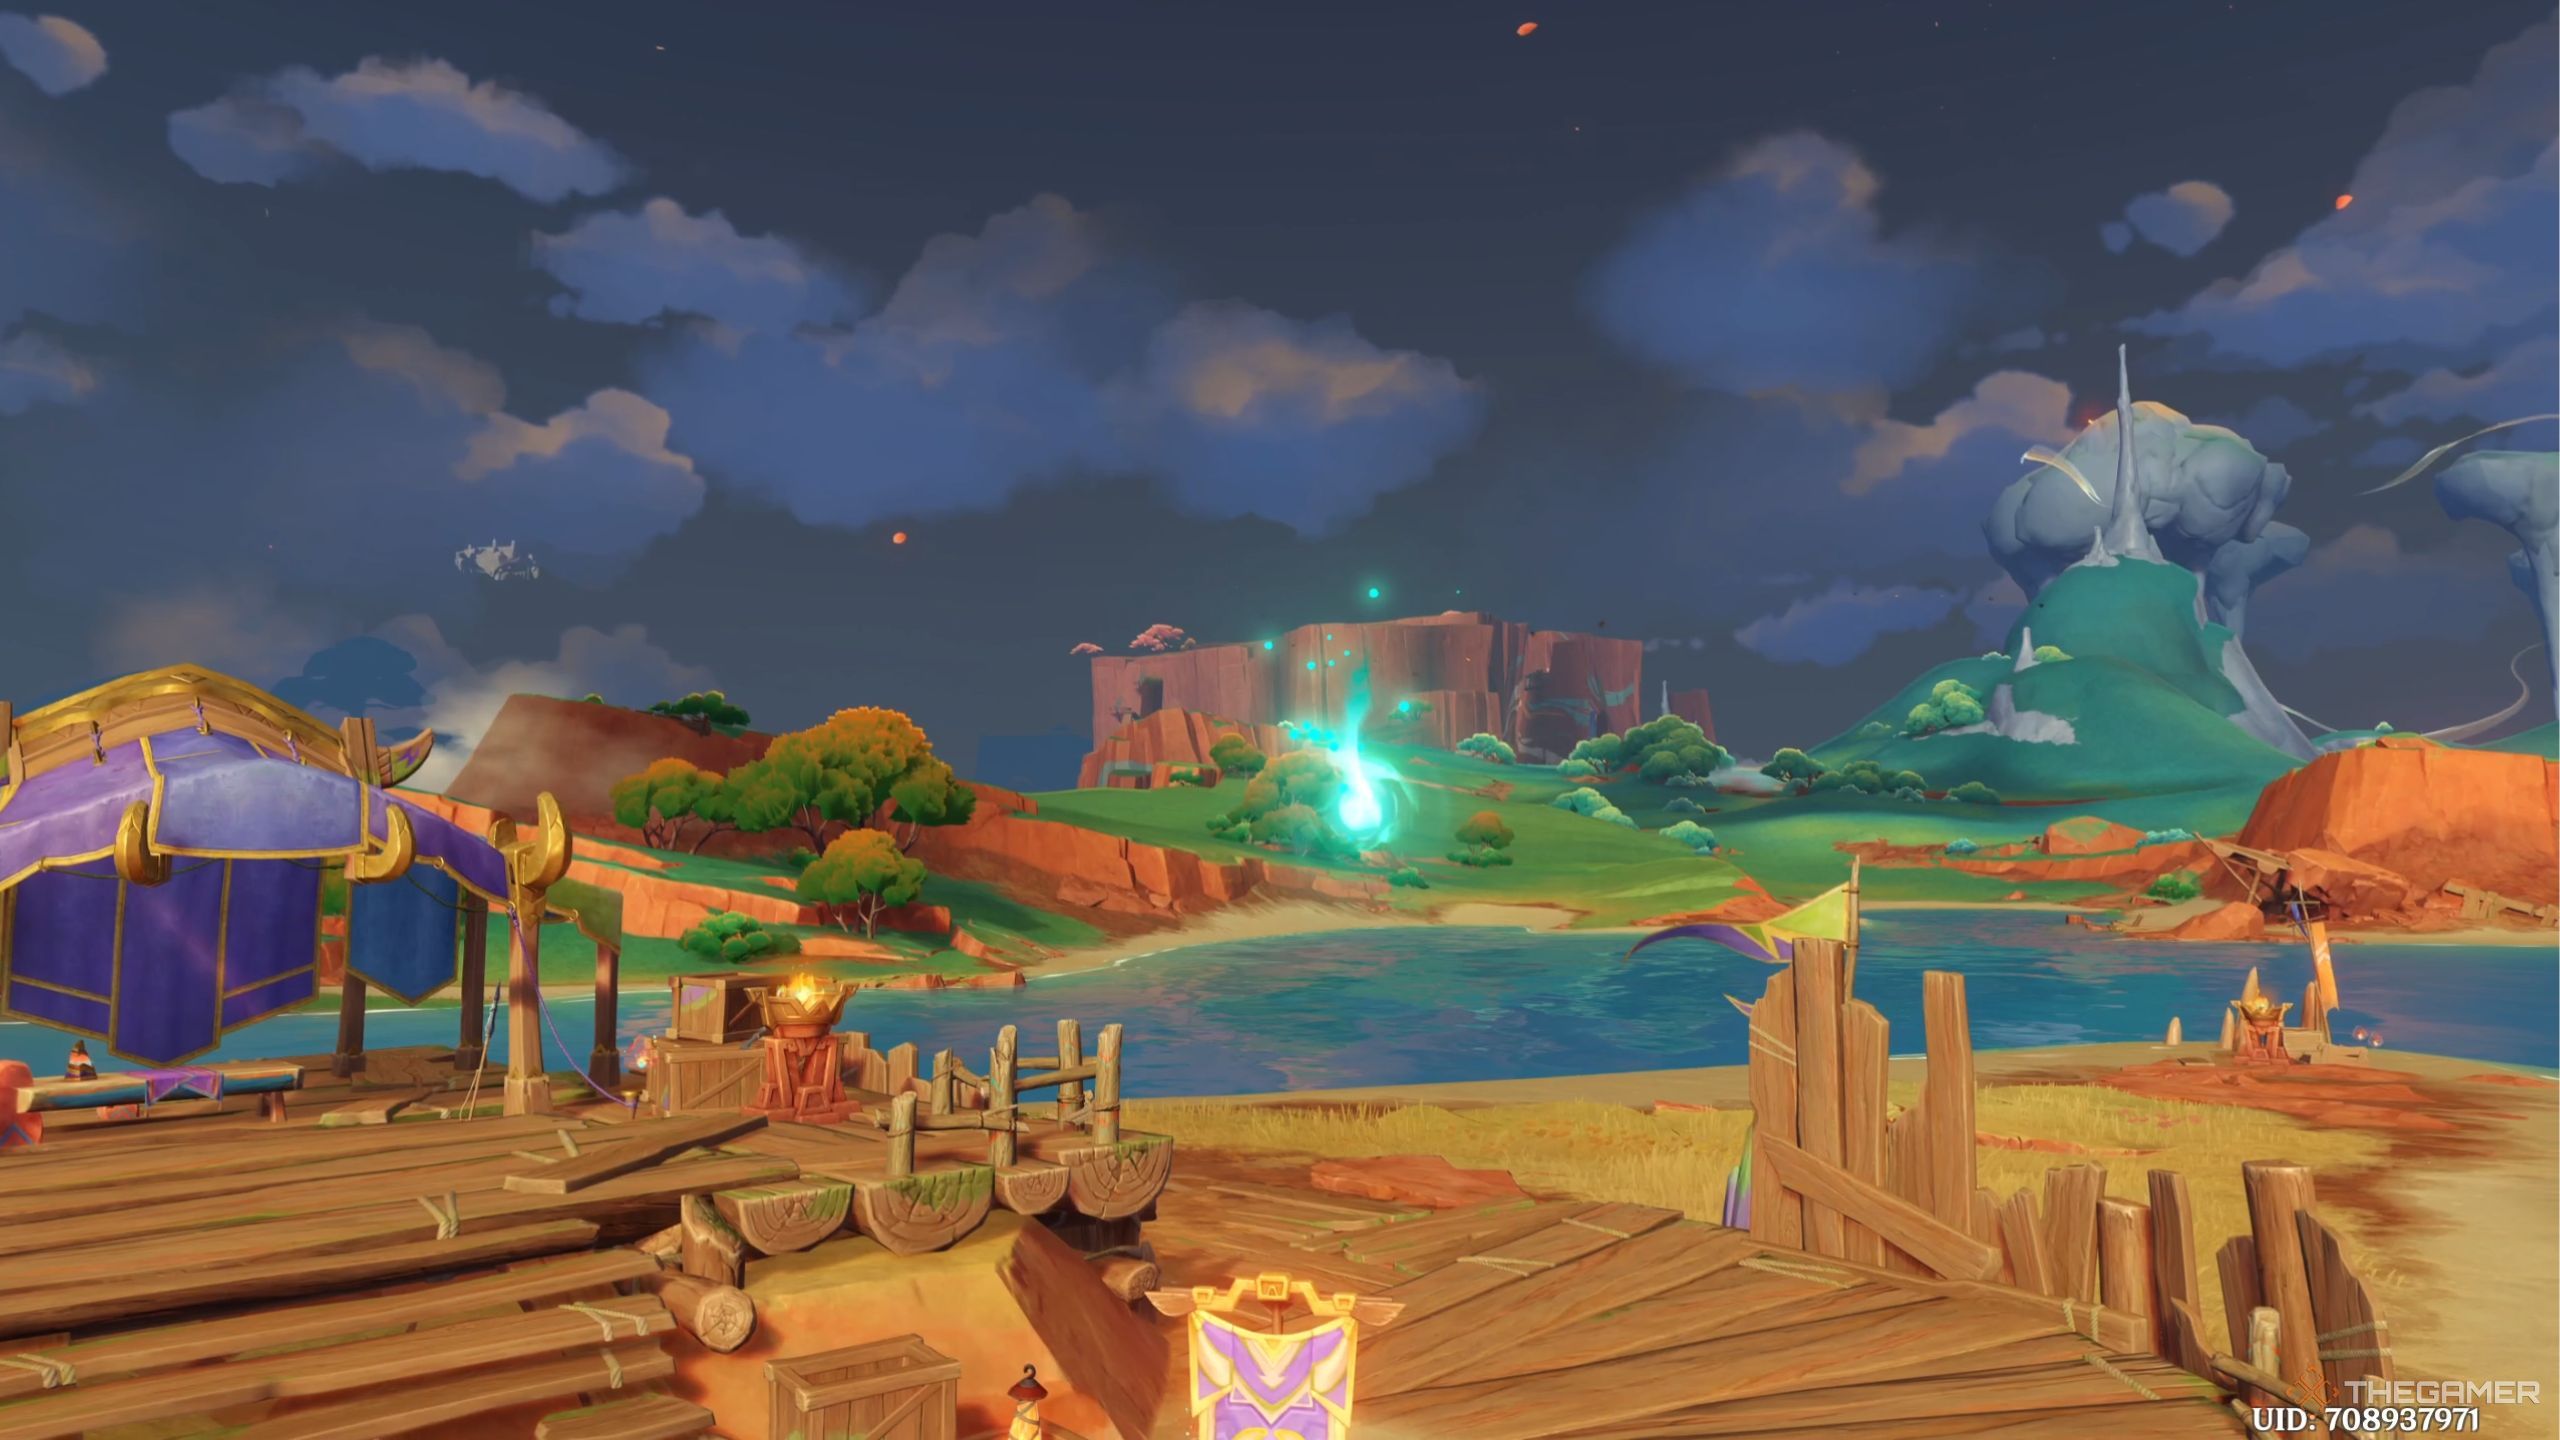
On the other hand, the Defensive Mode iscompletely focused on your combat abilities.
In this one, you’ll have multiple flags to defend.

you’re able to see the spawn point for enemies.
it’s possible for you to also get buffs at the start of each wave switch.
These buffs are different for each floor.

Other than the basics above, we havea detailed guide to beat each stage below.
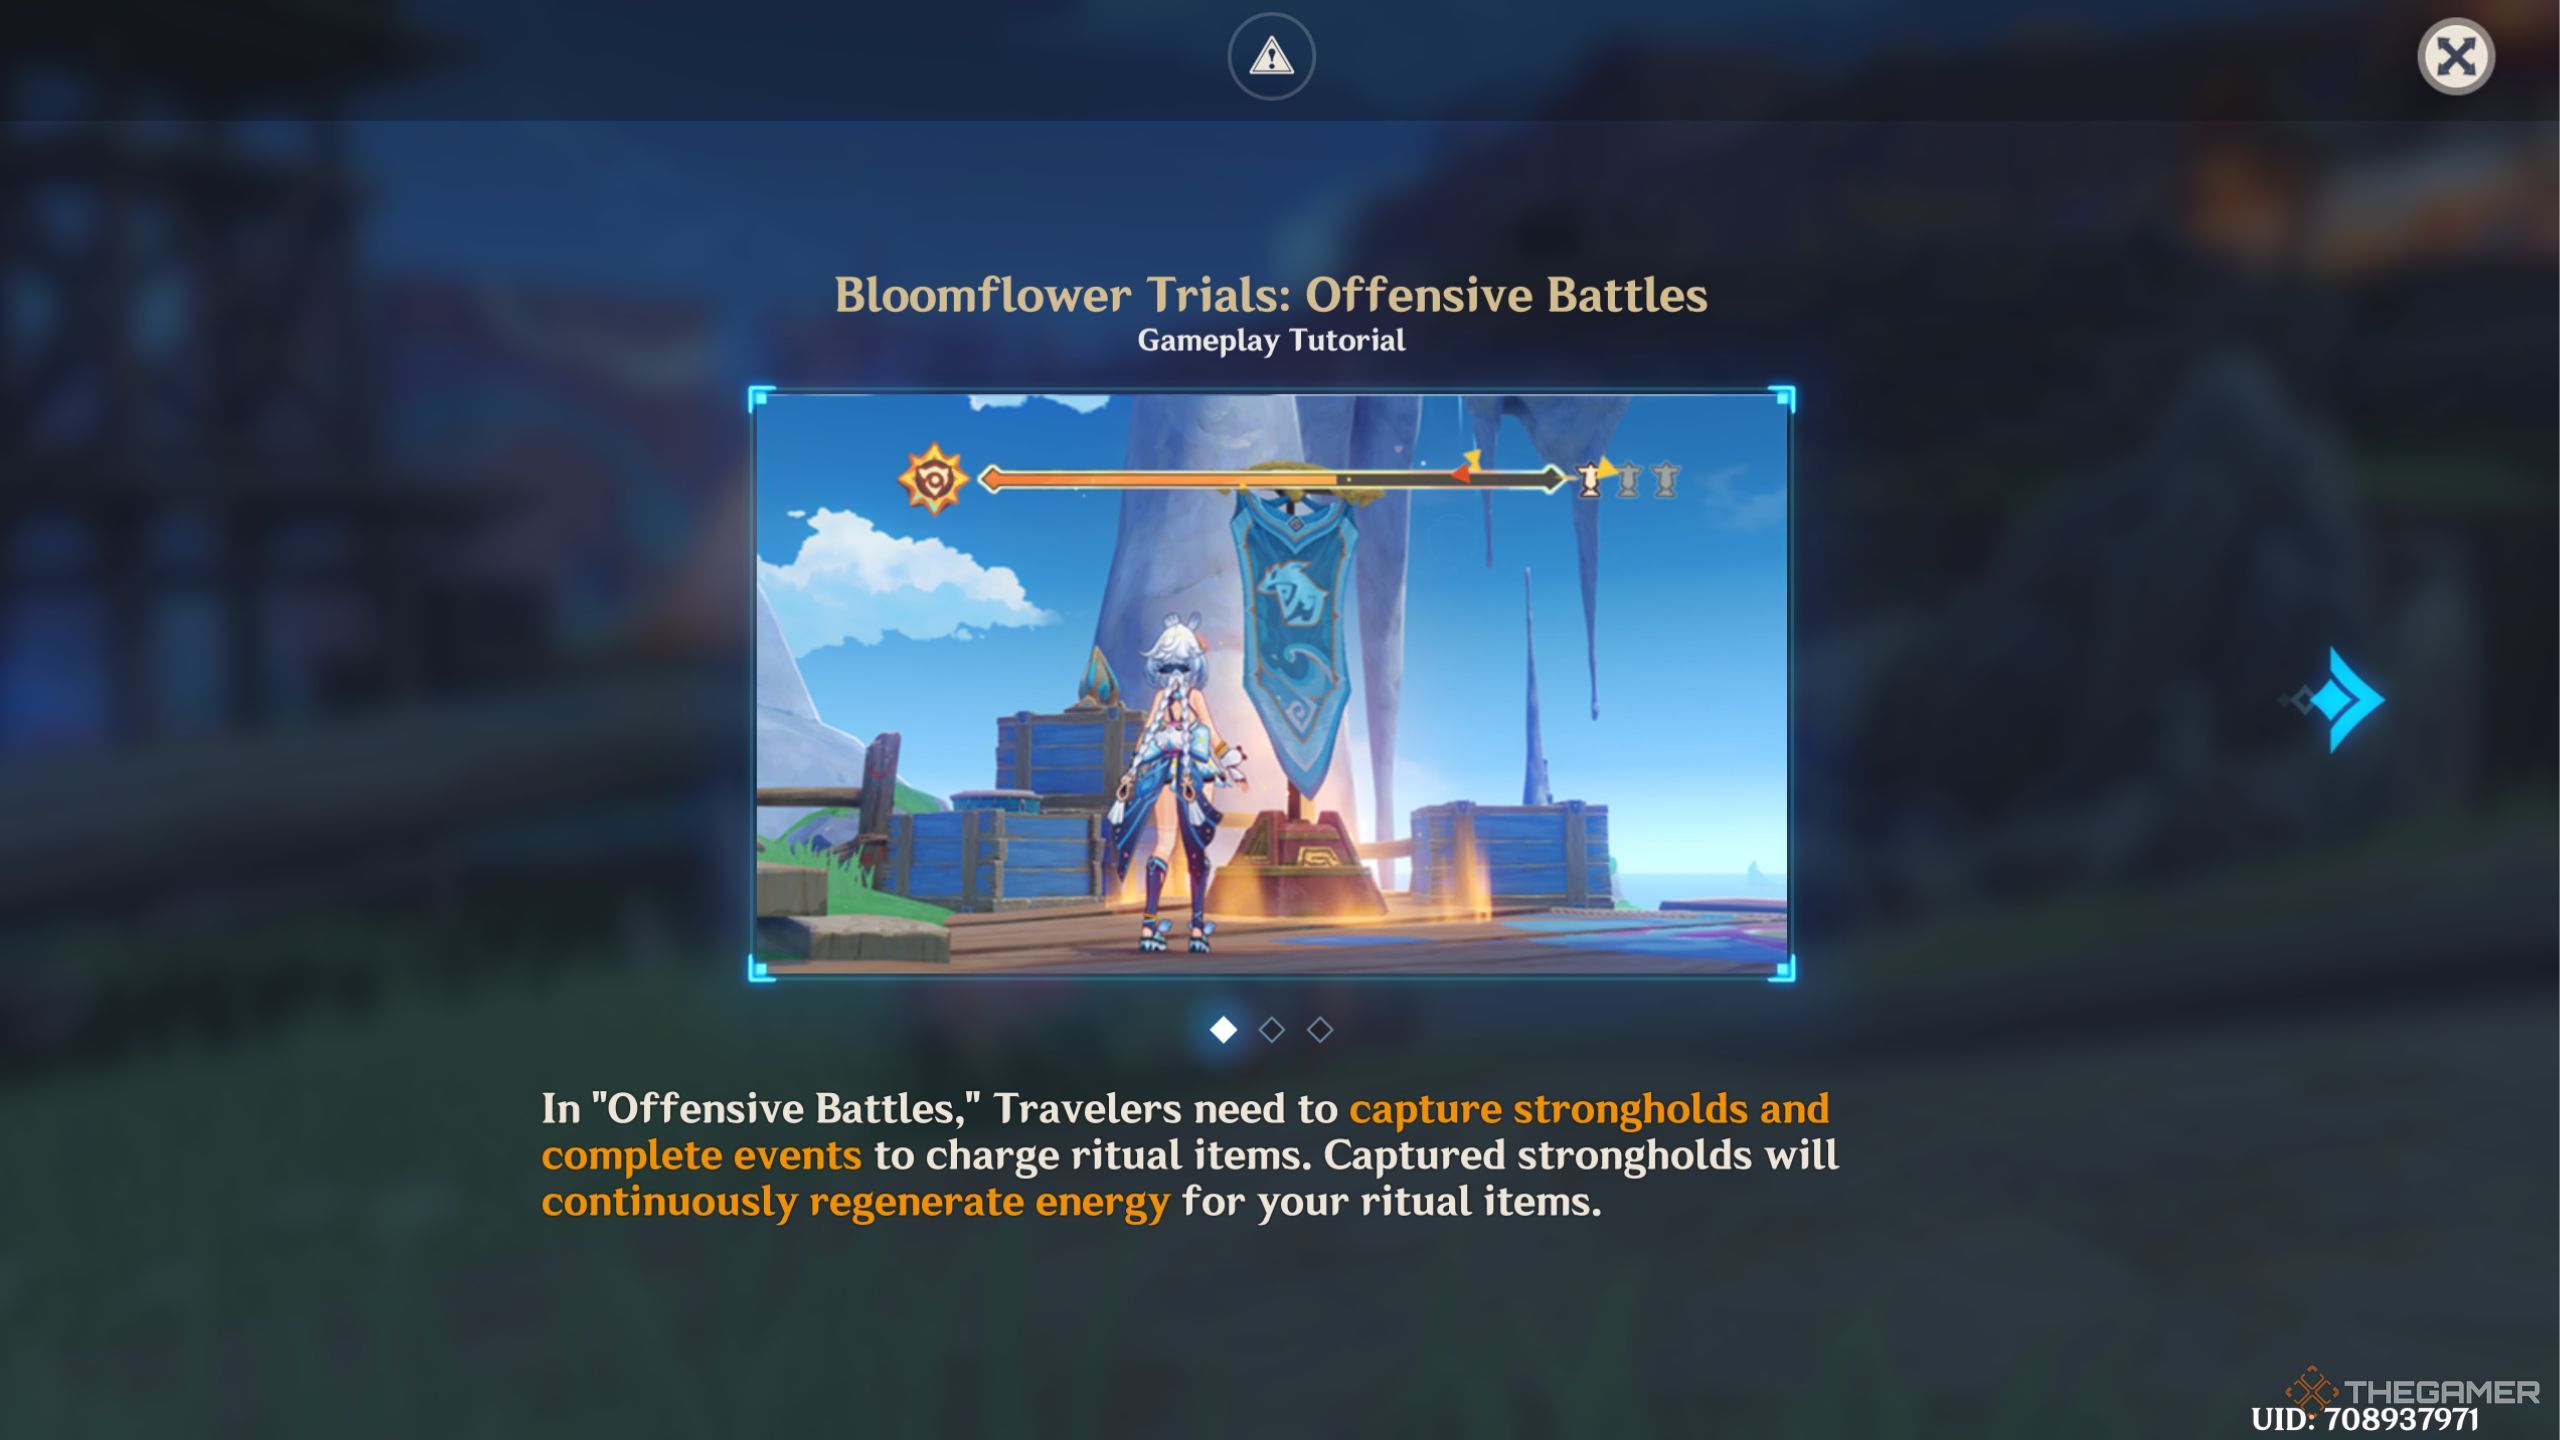
you’re free to get various buffs whenever you capture one of the flags in the offensive mode.
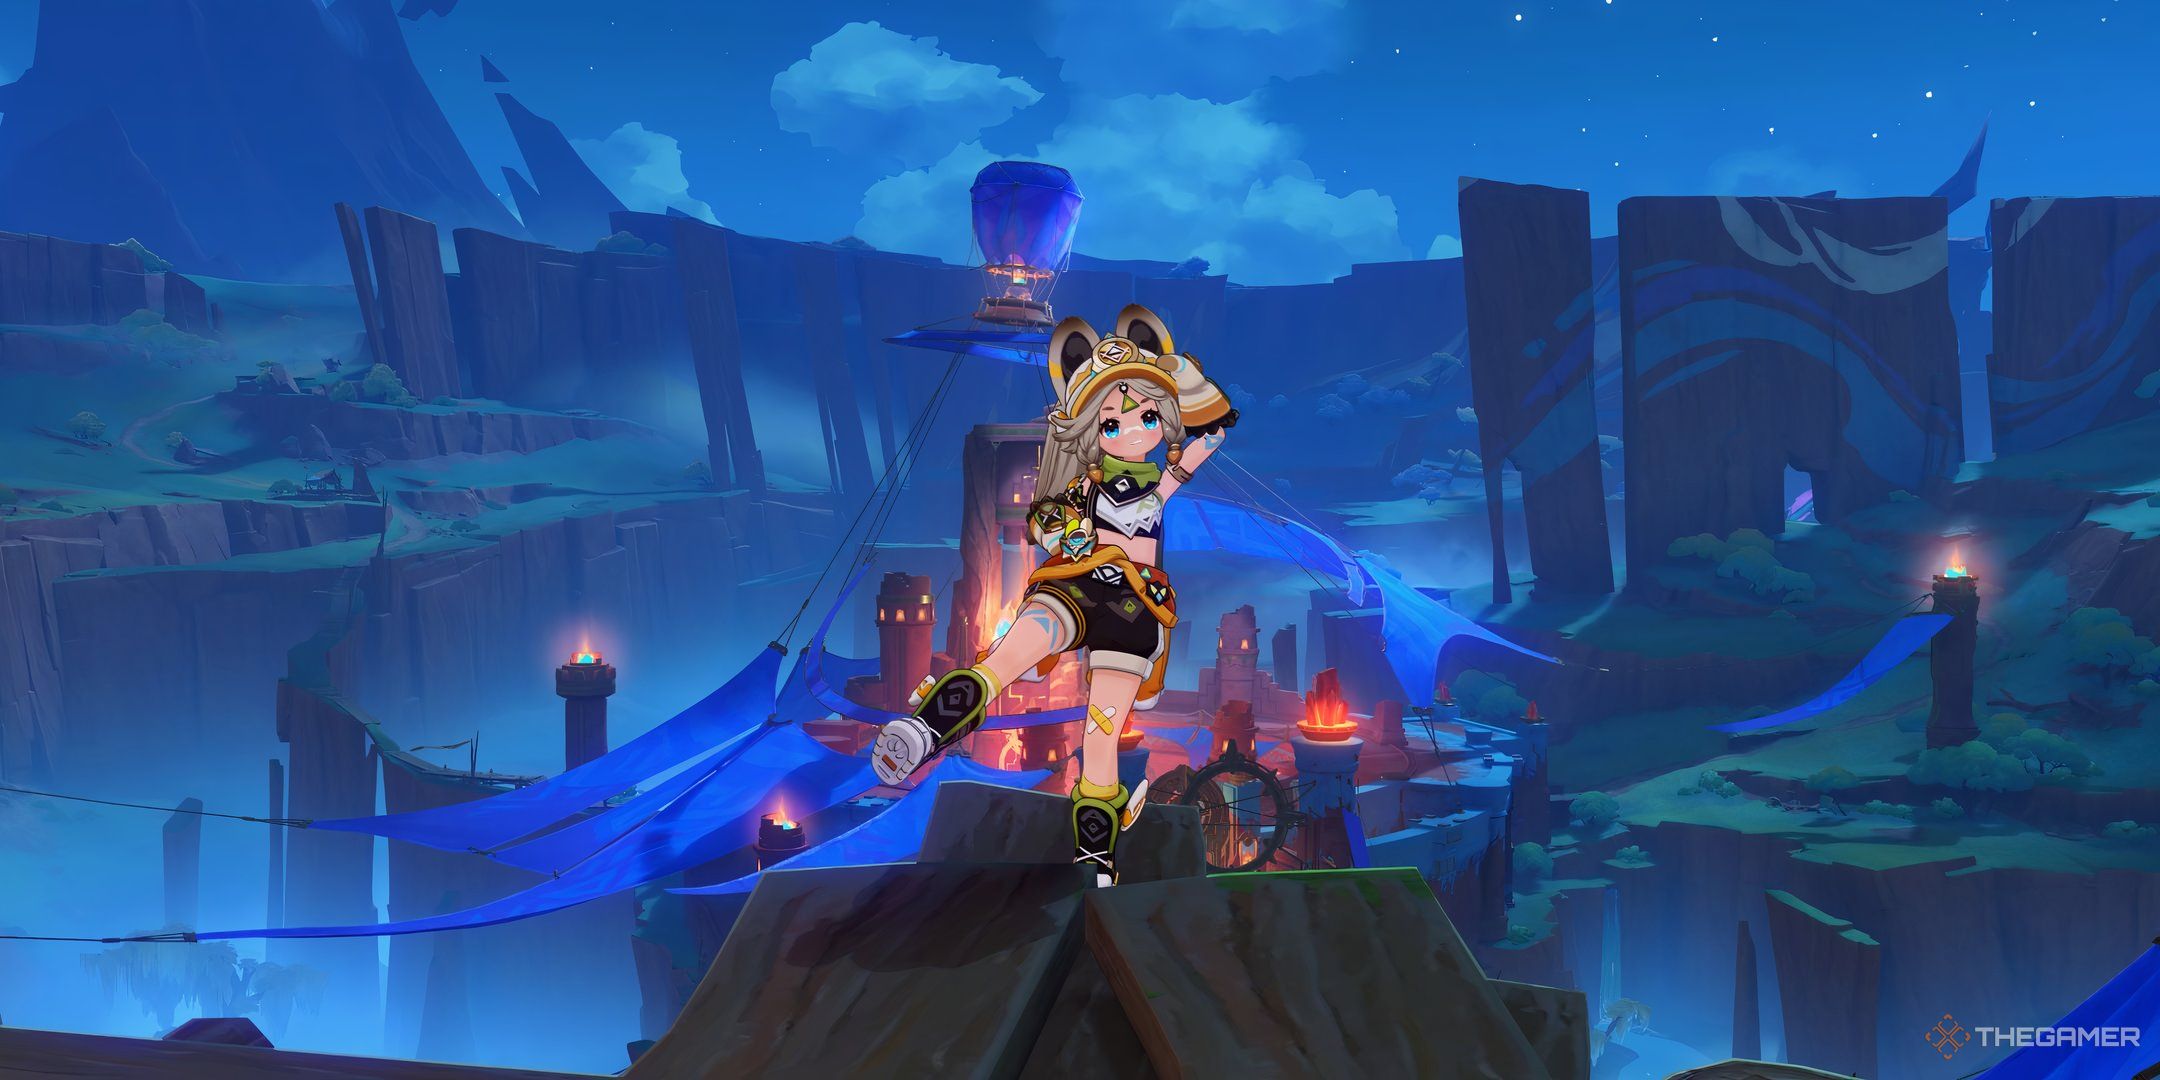
The former will essentially let you surf with Mualani for an infinite amount of time.

Every time you capture a flag, you’ll see some events pop up around you.
It’s important to finish this event to get more supplies.
These events can include battle,collecting various particles, or getting a supply chest.
Trigger it to break one stack of the stronghold shield.
Do this thrice and you’ll be able to challenge the final enemy.
The final boss in this trial is a level 95 Fluid Avatar of Laval.

This storm pulls in all the enemies.
Of course, the more Natlan characters you have, the better it is for the buff.
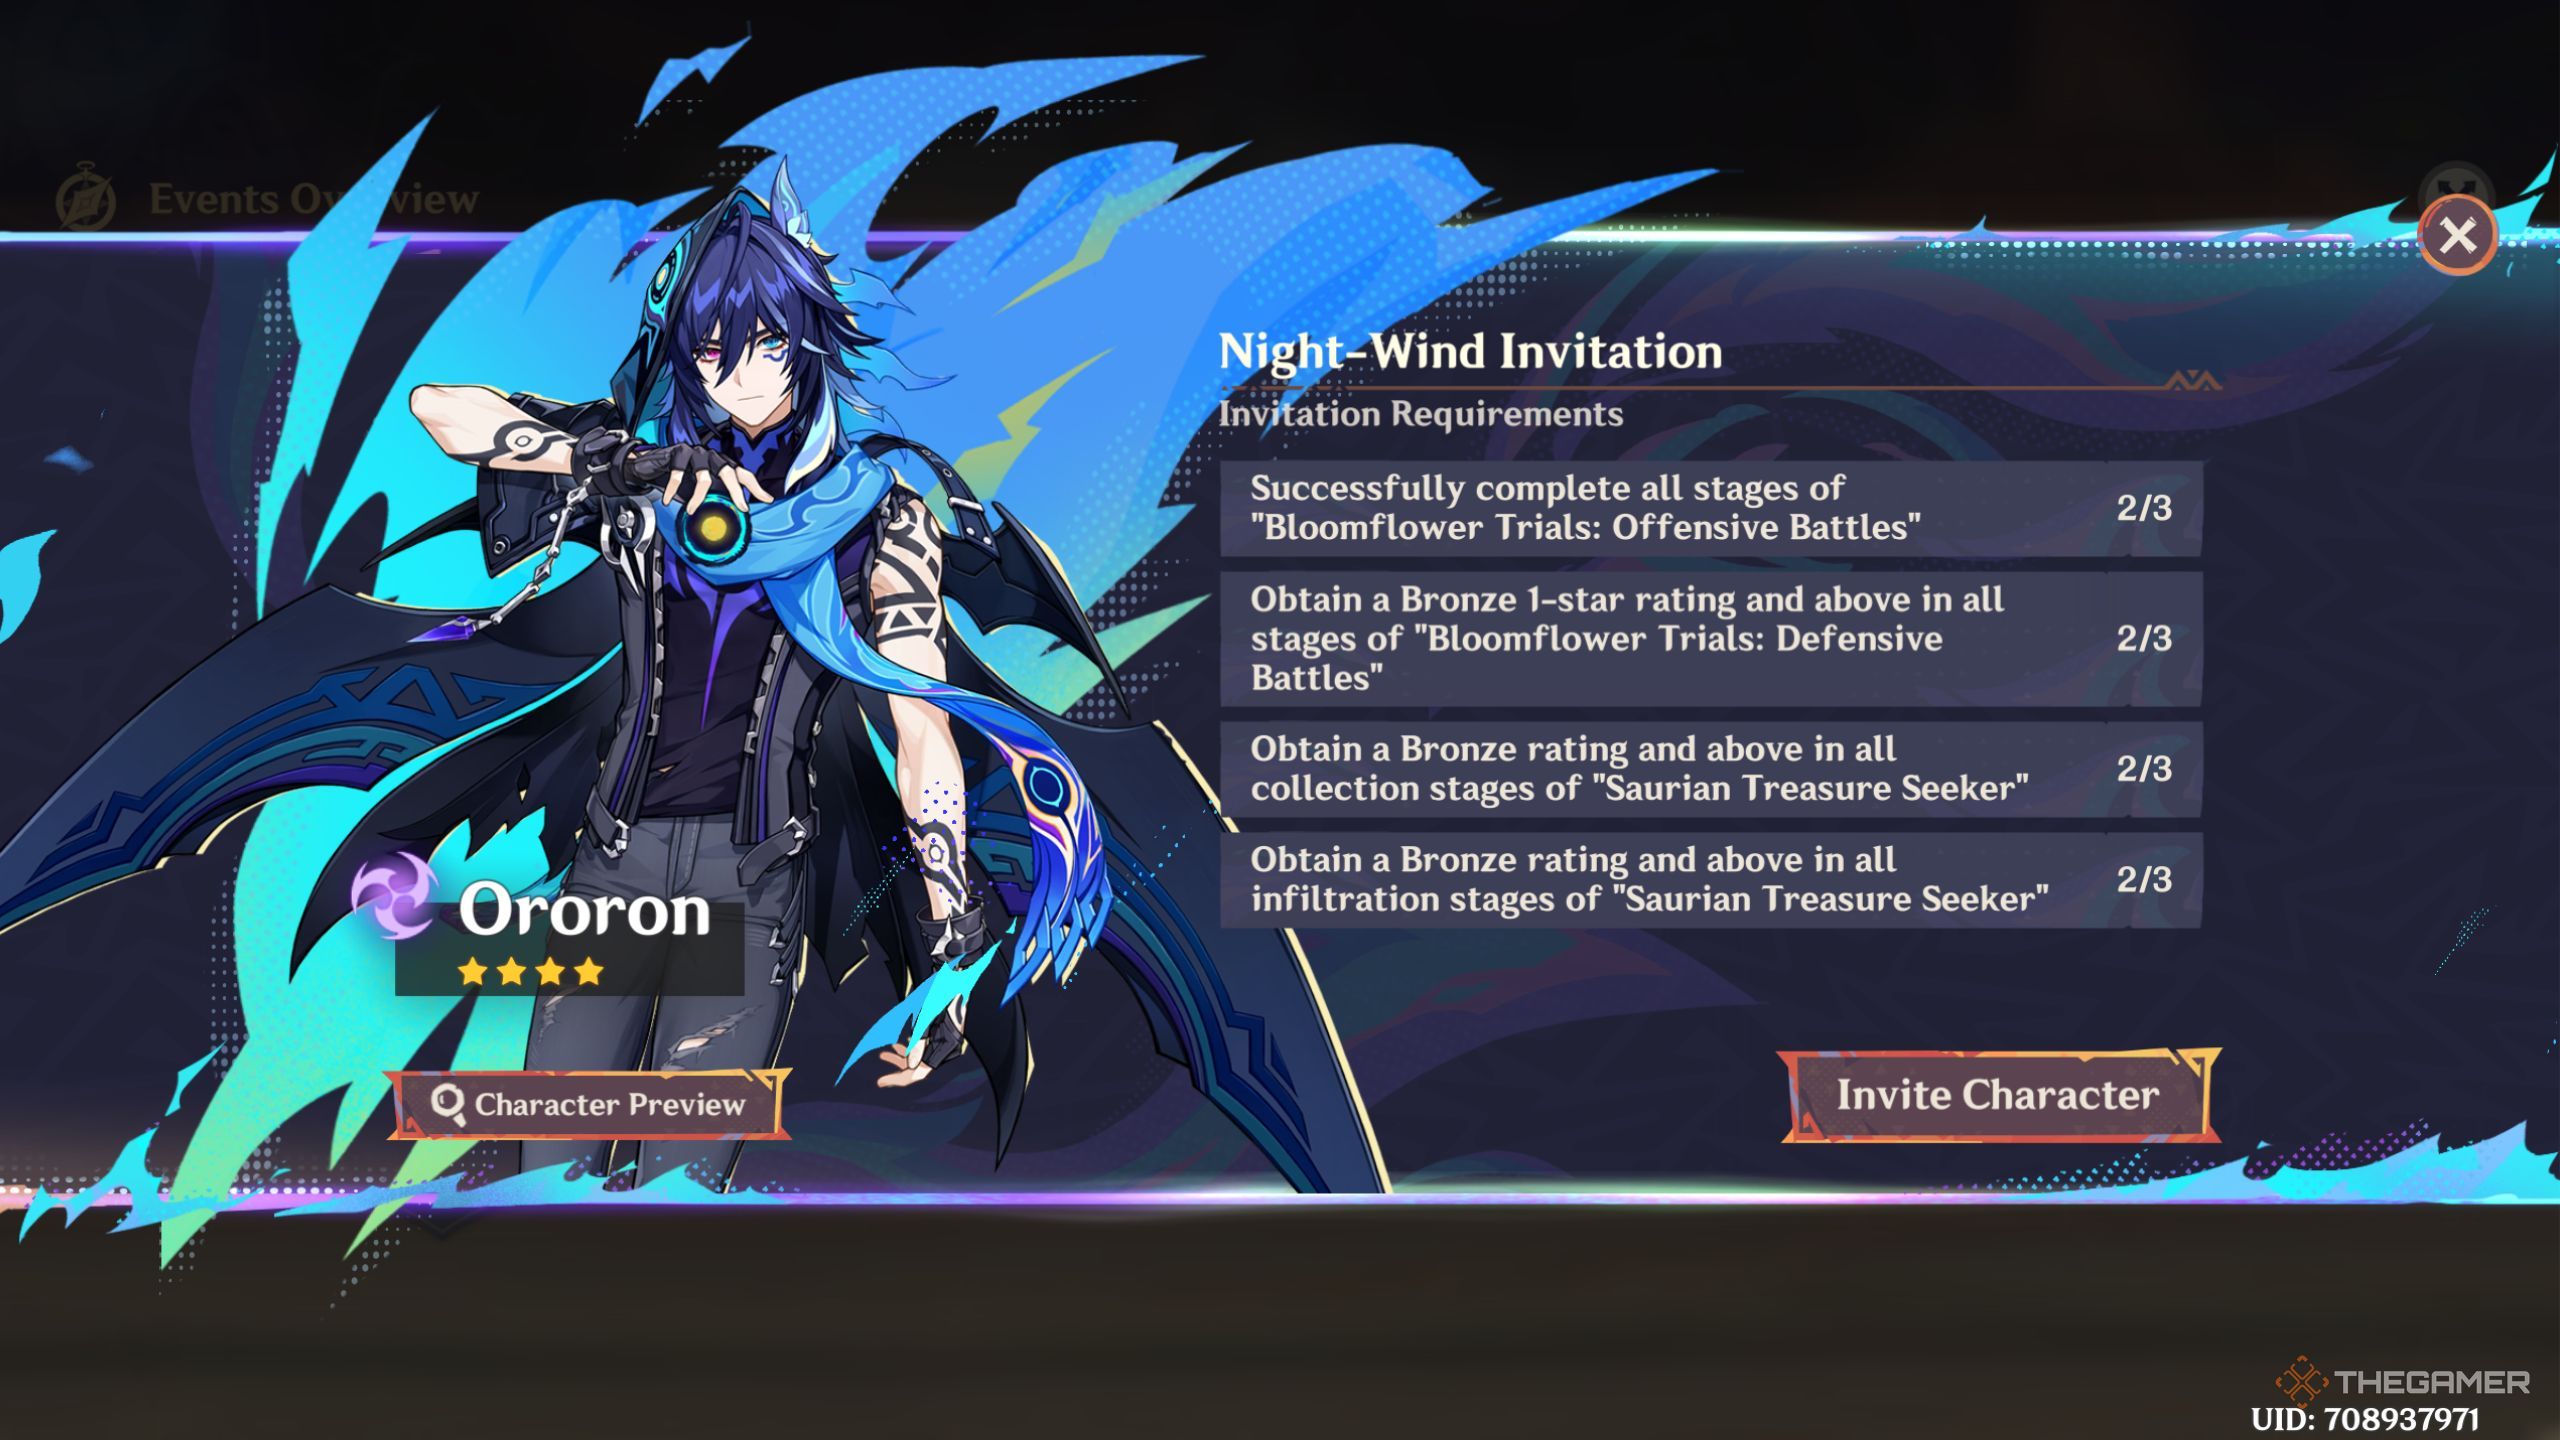
If you have him already, this copy will increase his constellations.

If you have Ororon at maximum constellations, this copy will give you five Masterless Starglitter.
After that, you might head to the Night-Wind Invitation section of the event page and claim your character.
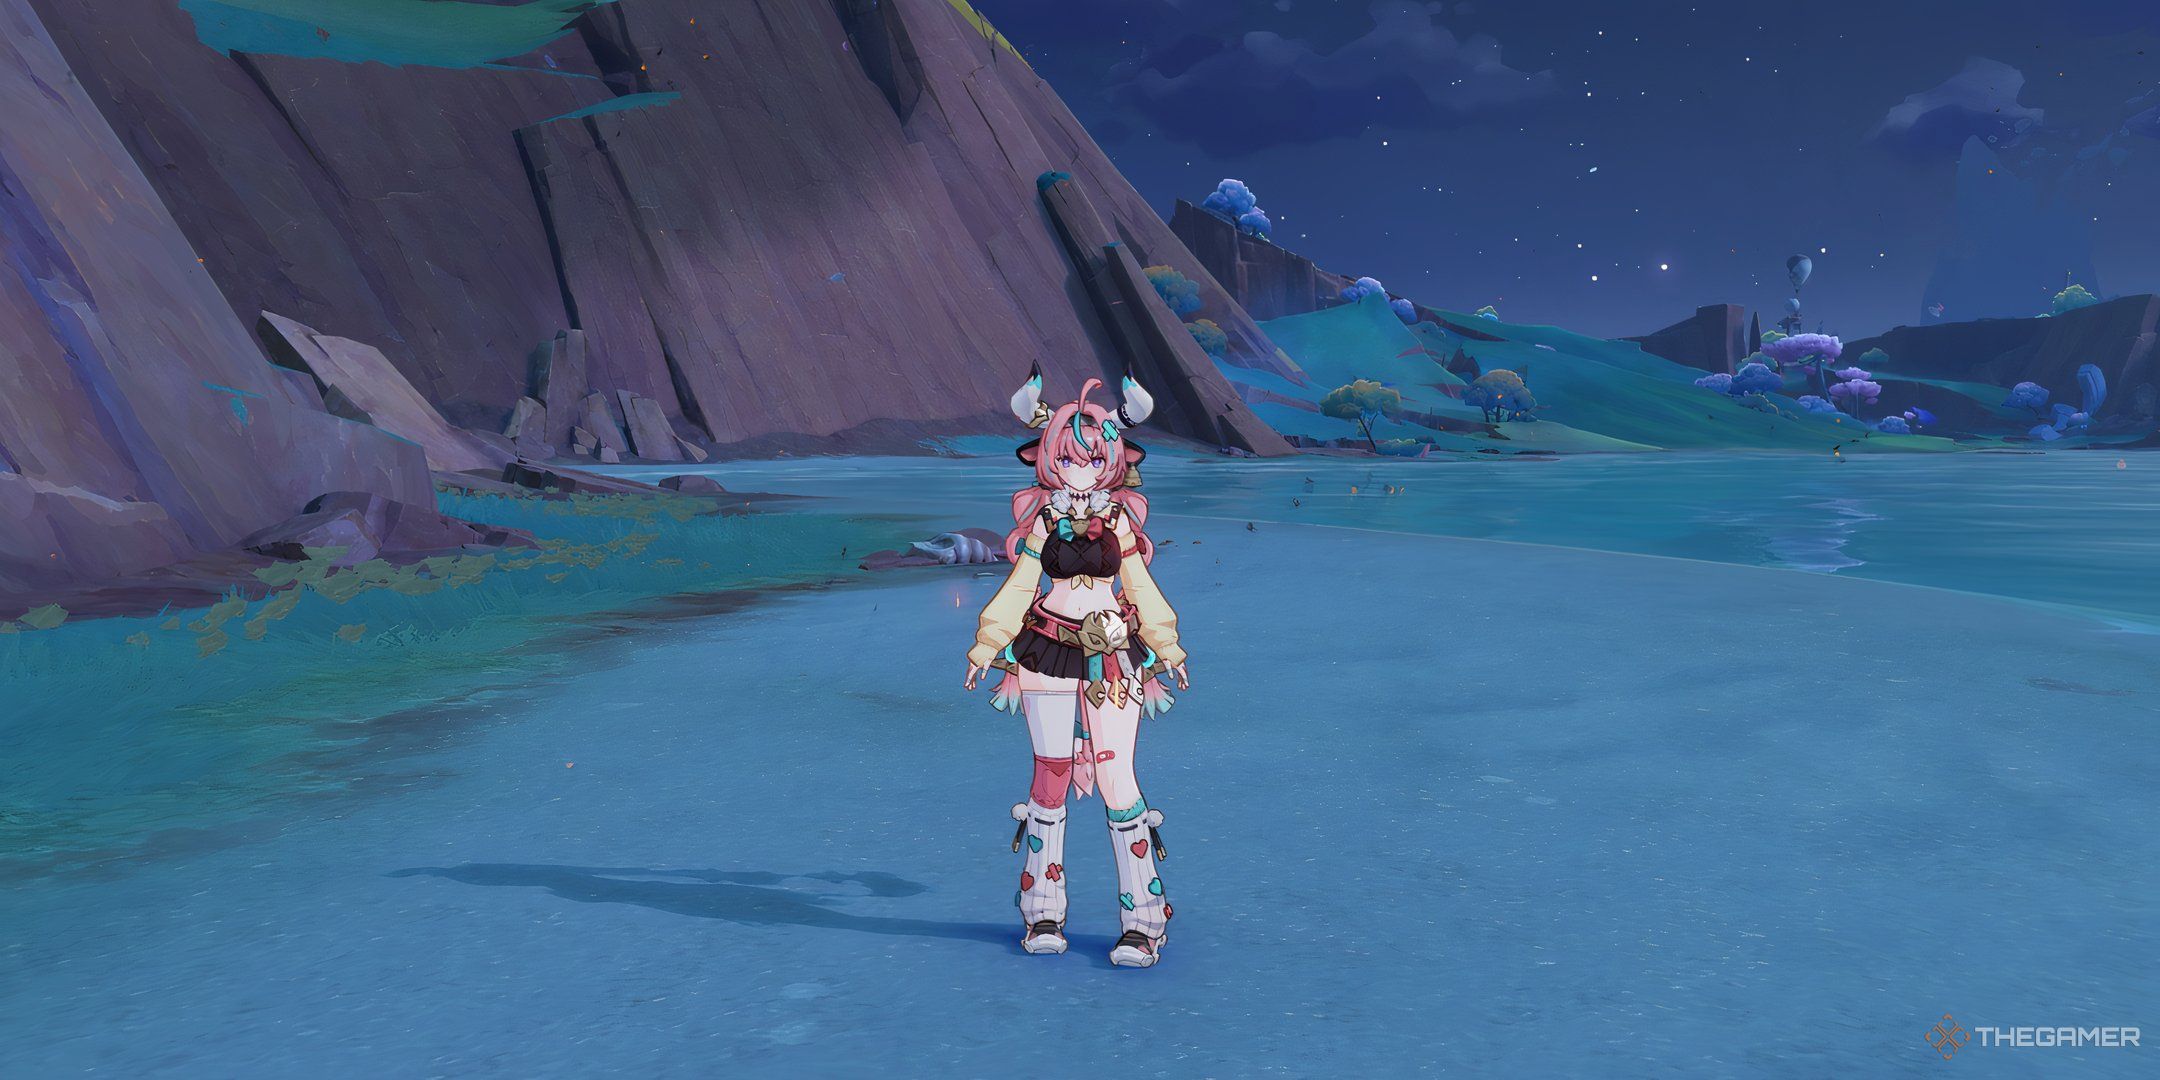
Is this Electro Catalyst worth the primogems?