Each new area offers a story that builds upon previous lore, and Natlan is no exception.
You’ll get some nice rewards, including some primogems, which are always useful.
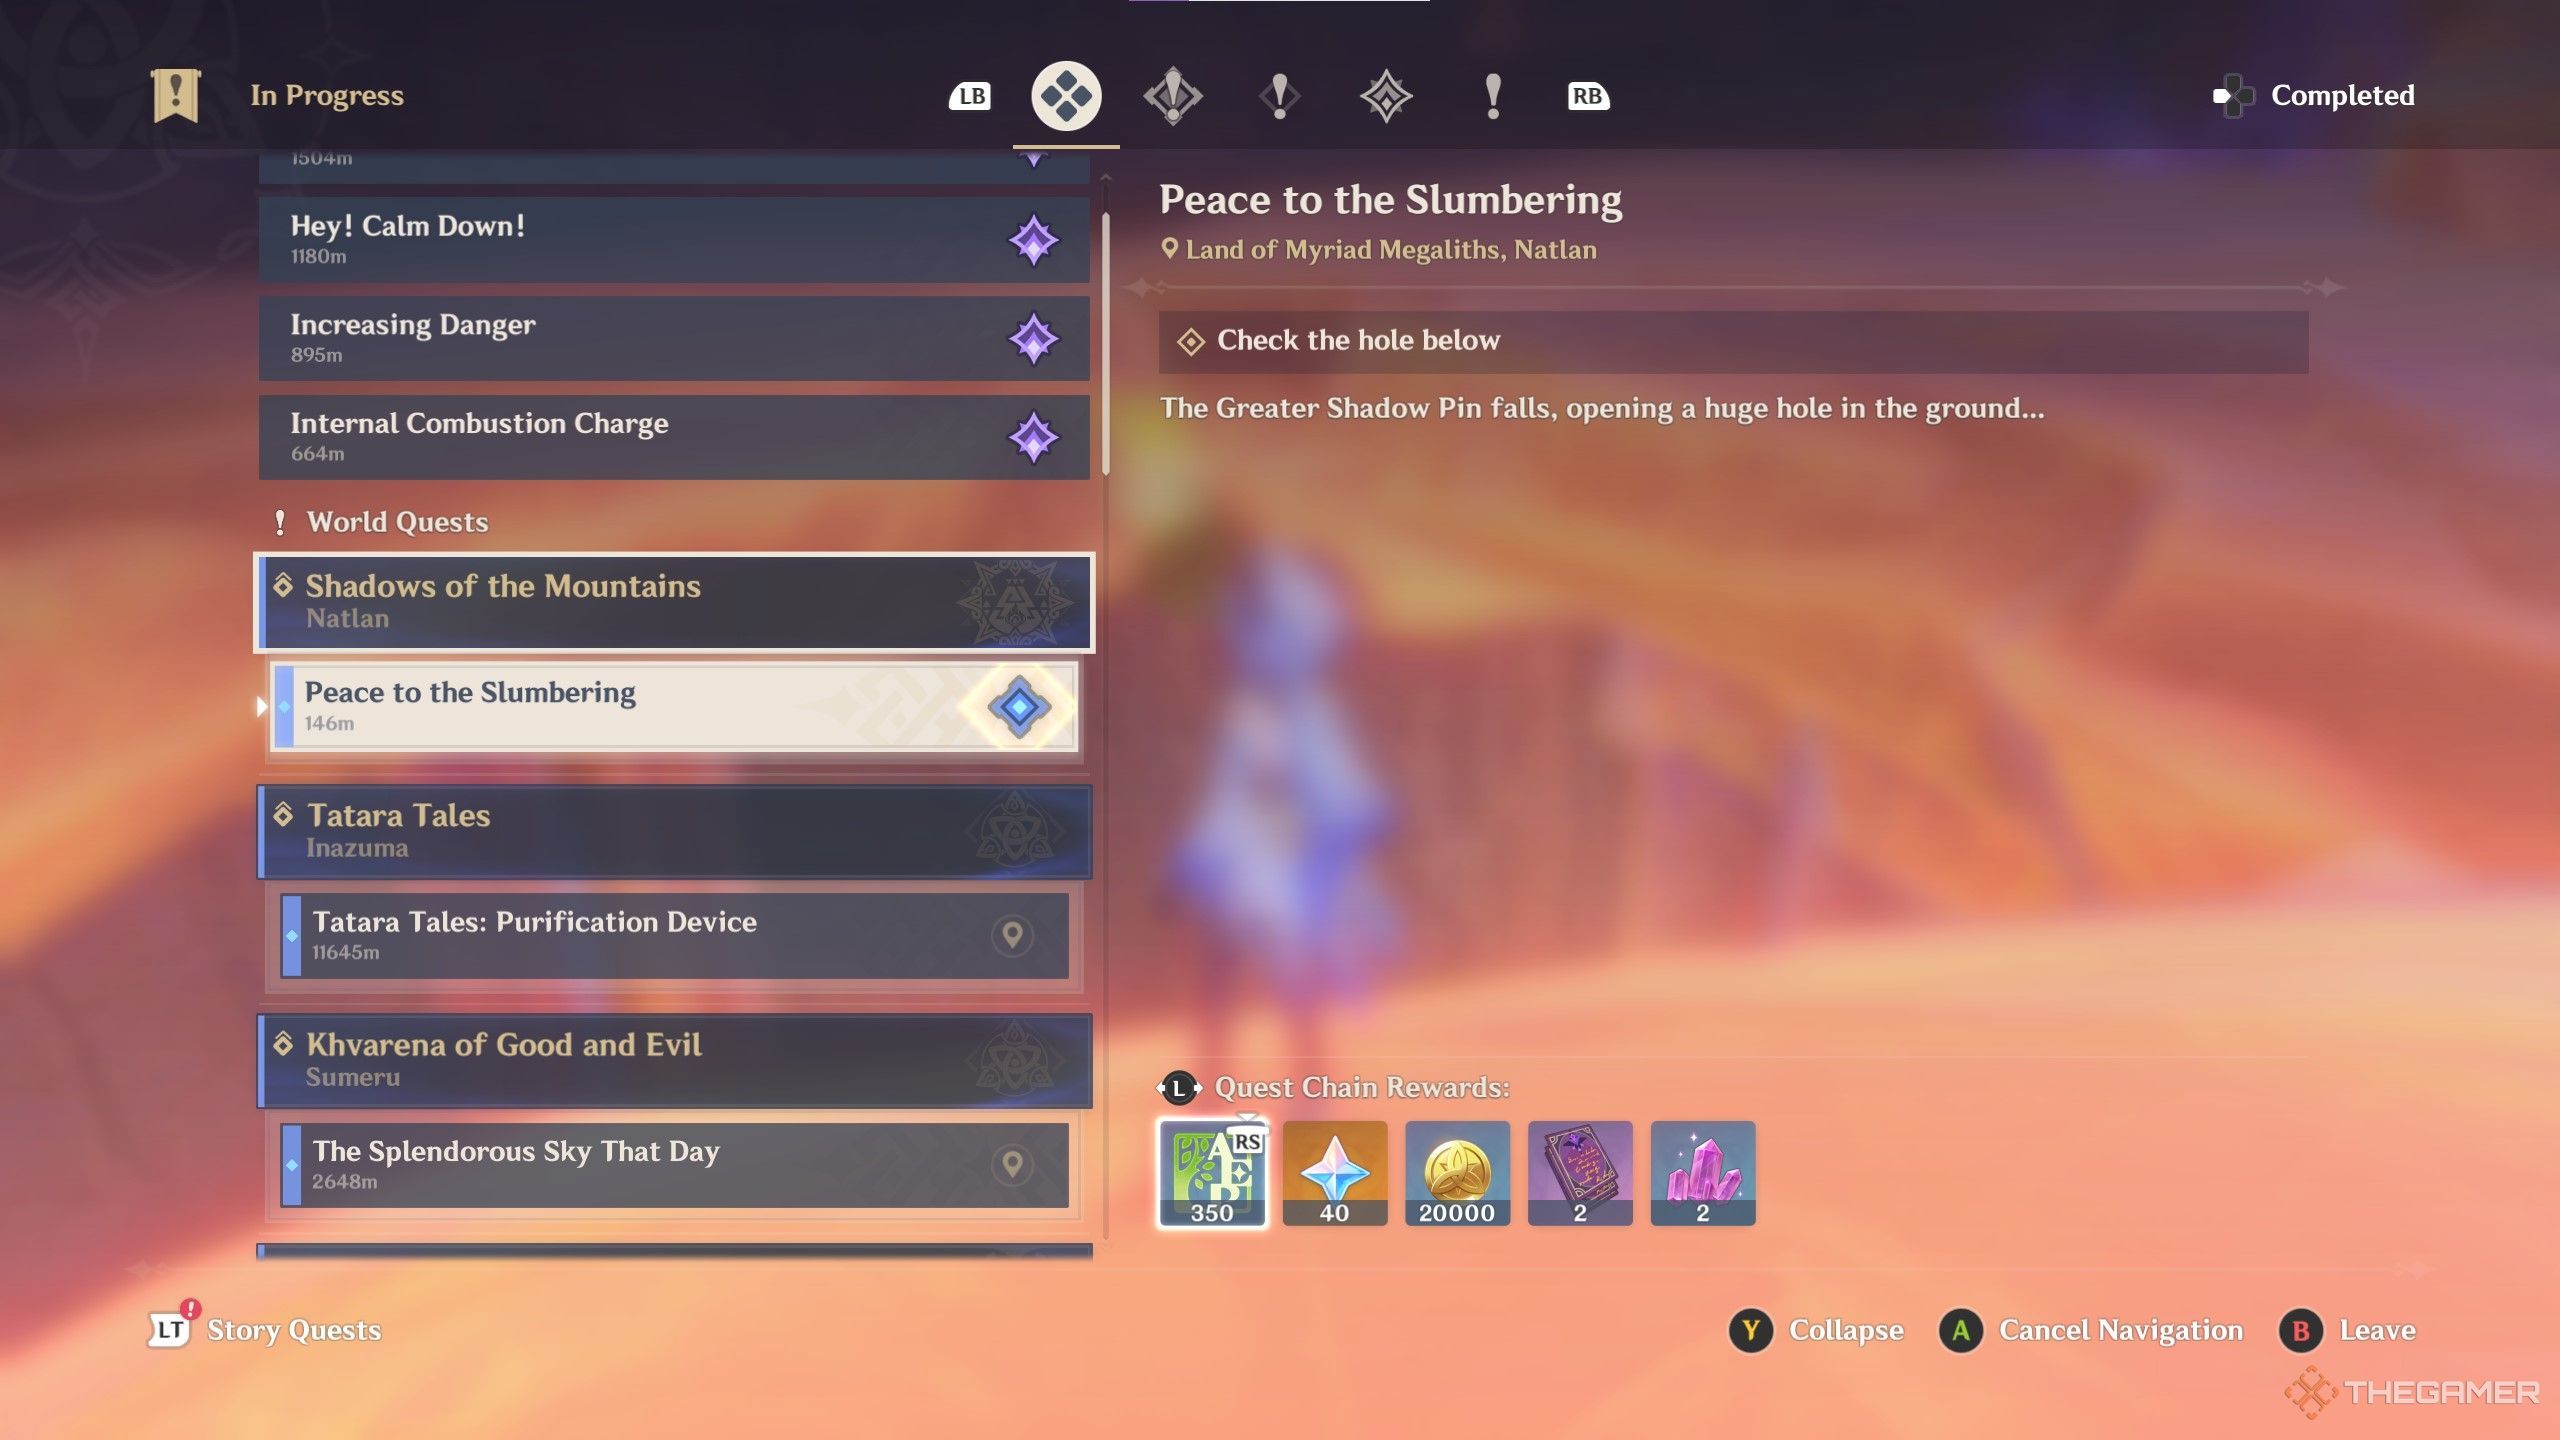
How To Get The Shadows Of The Mountain World Quest
Finding this world quest can be challenging.
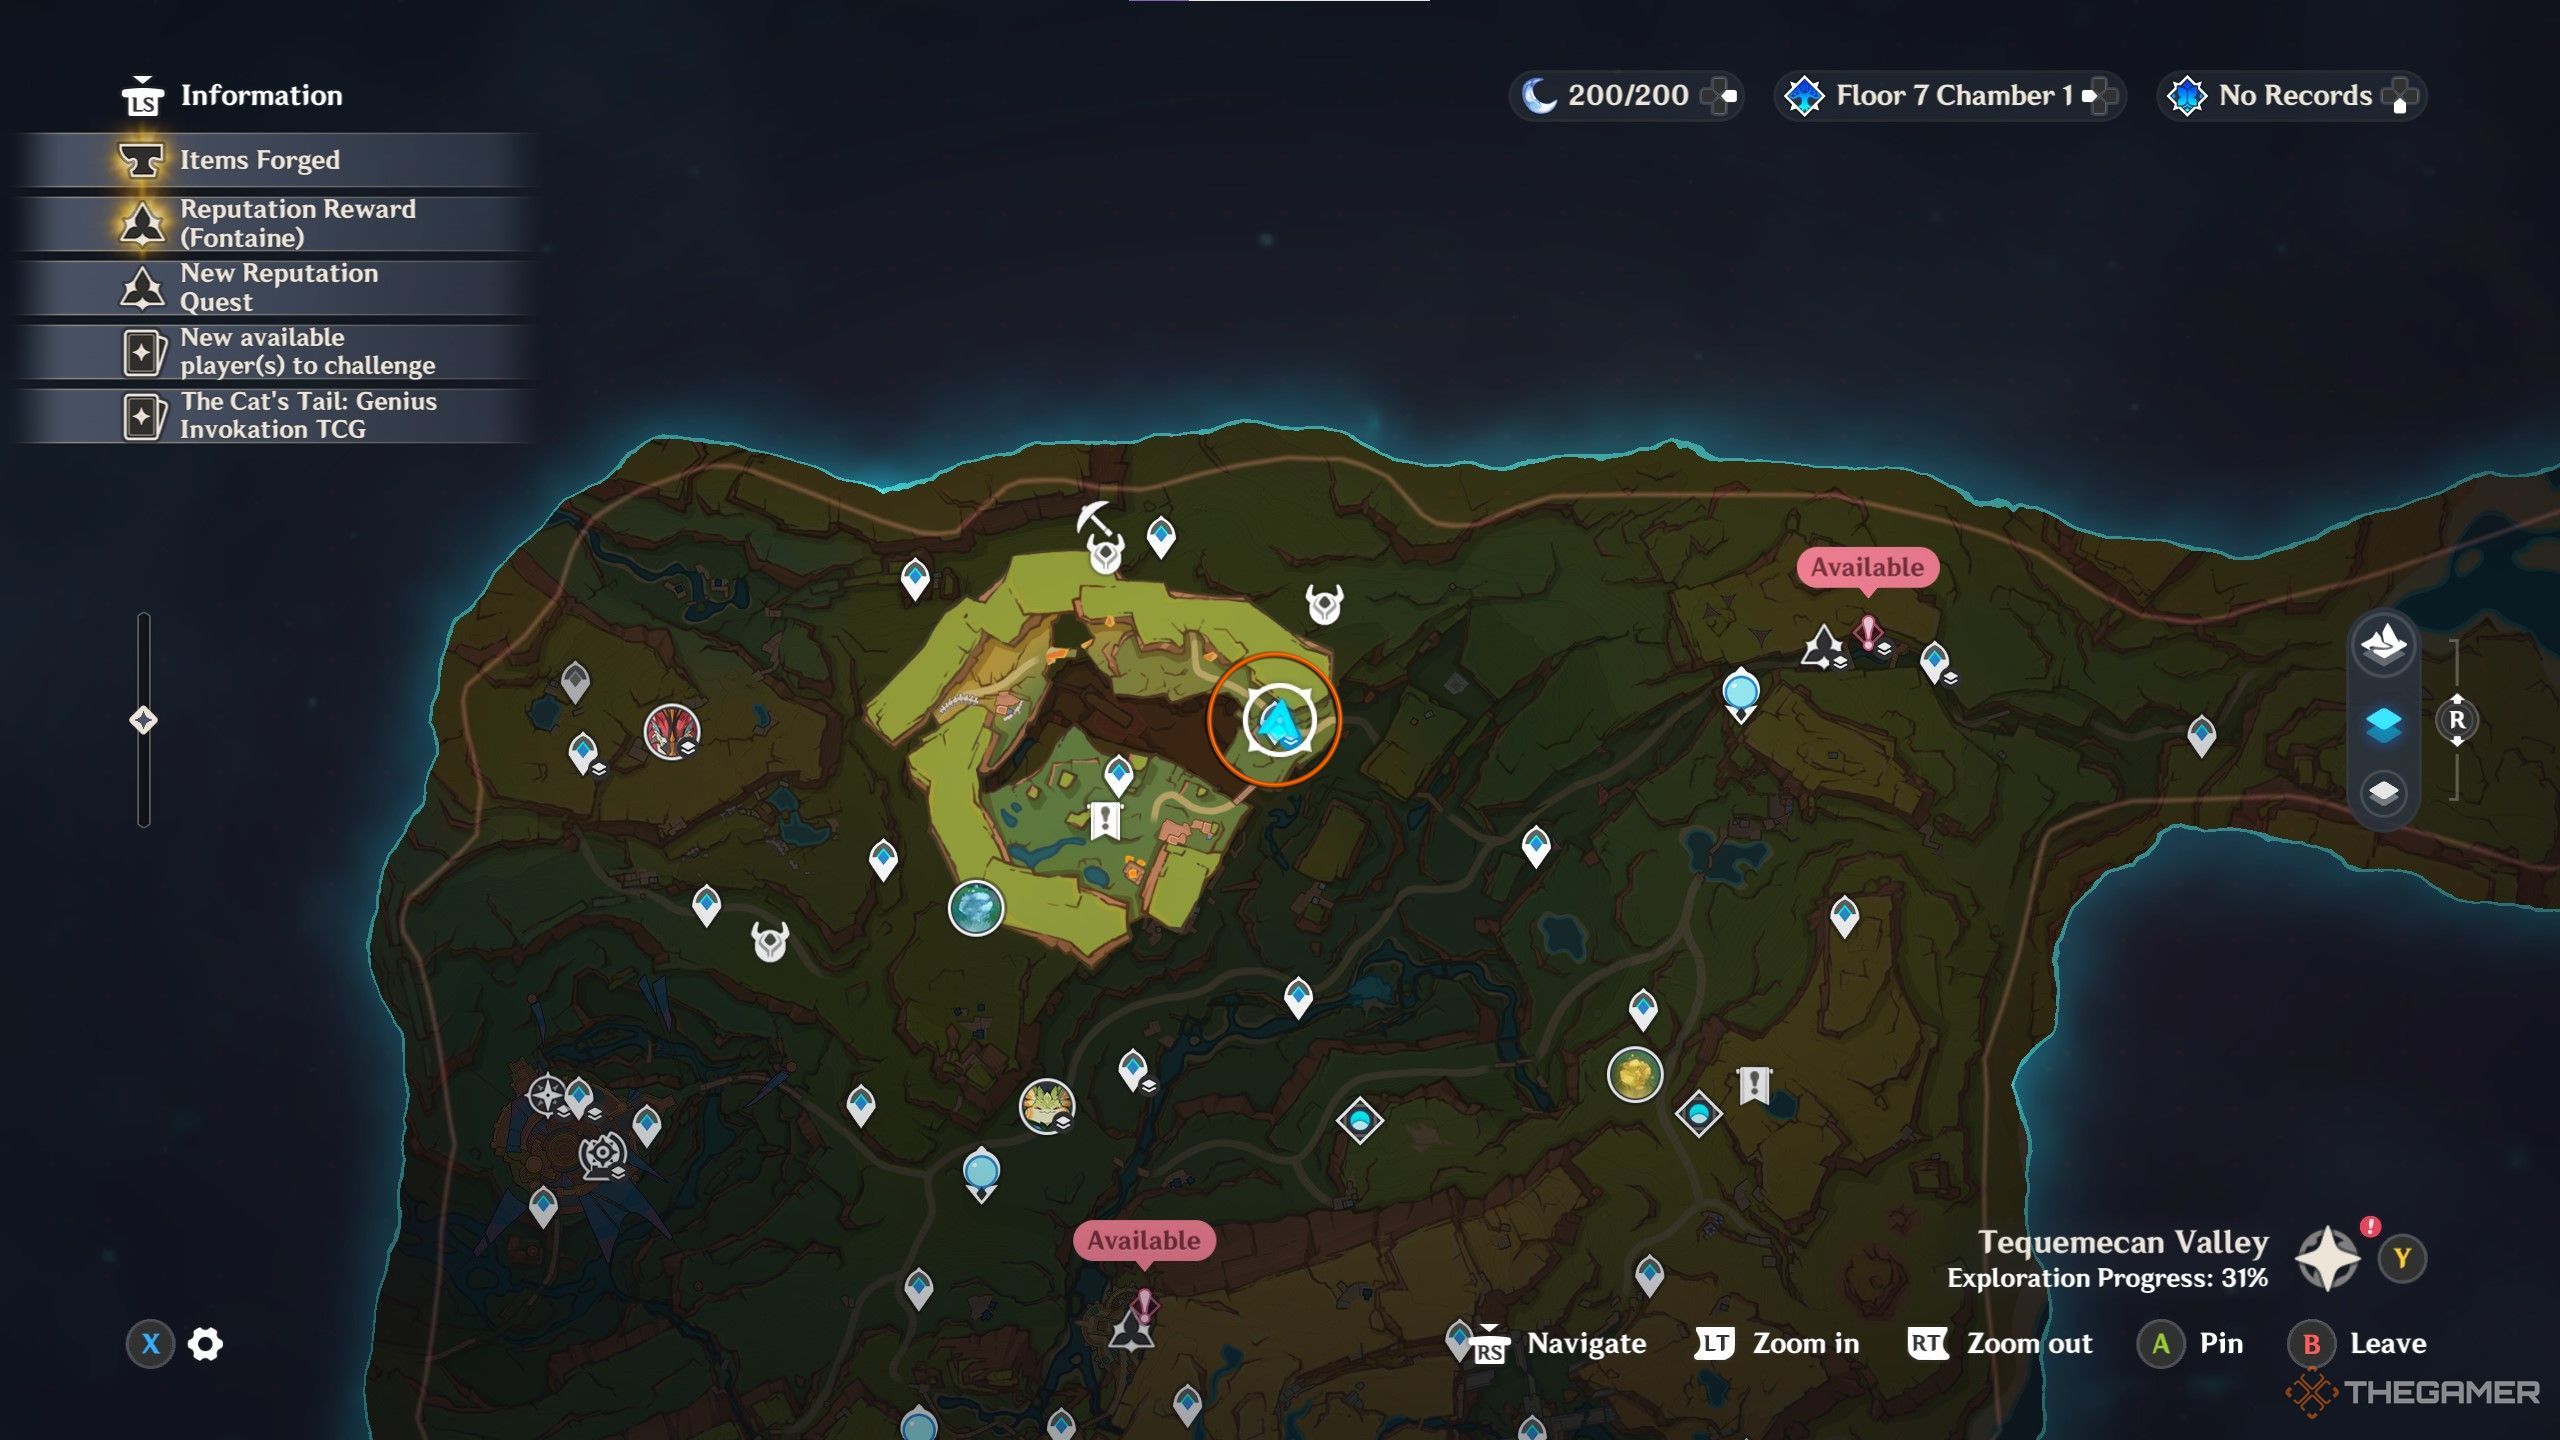
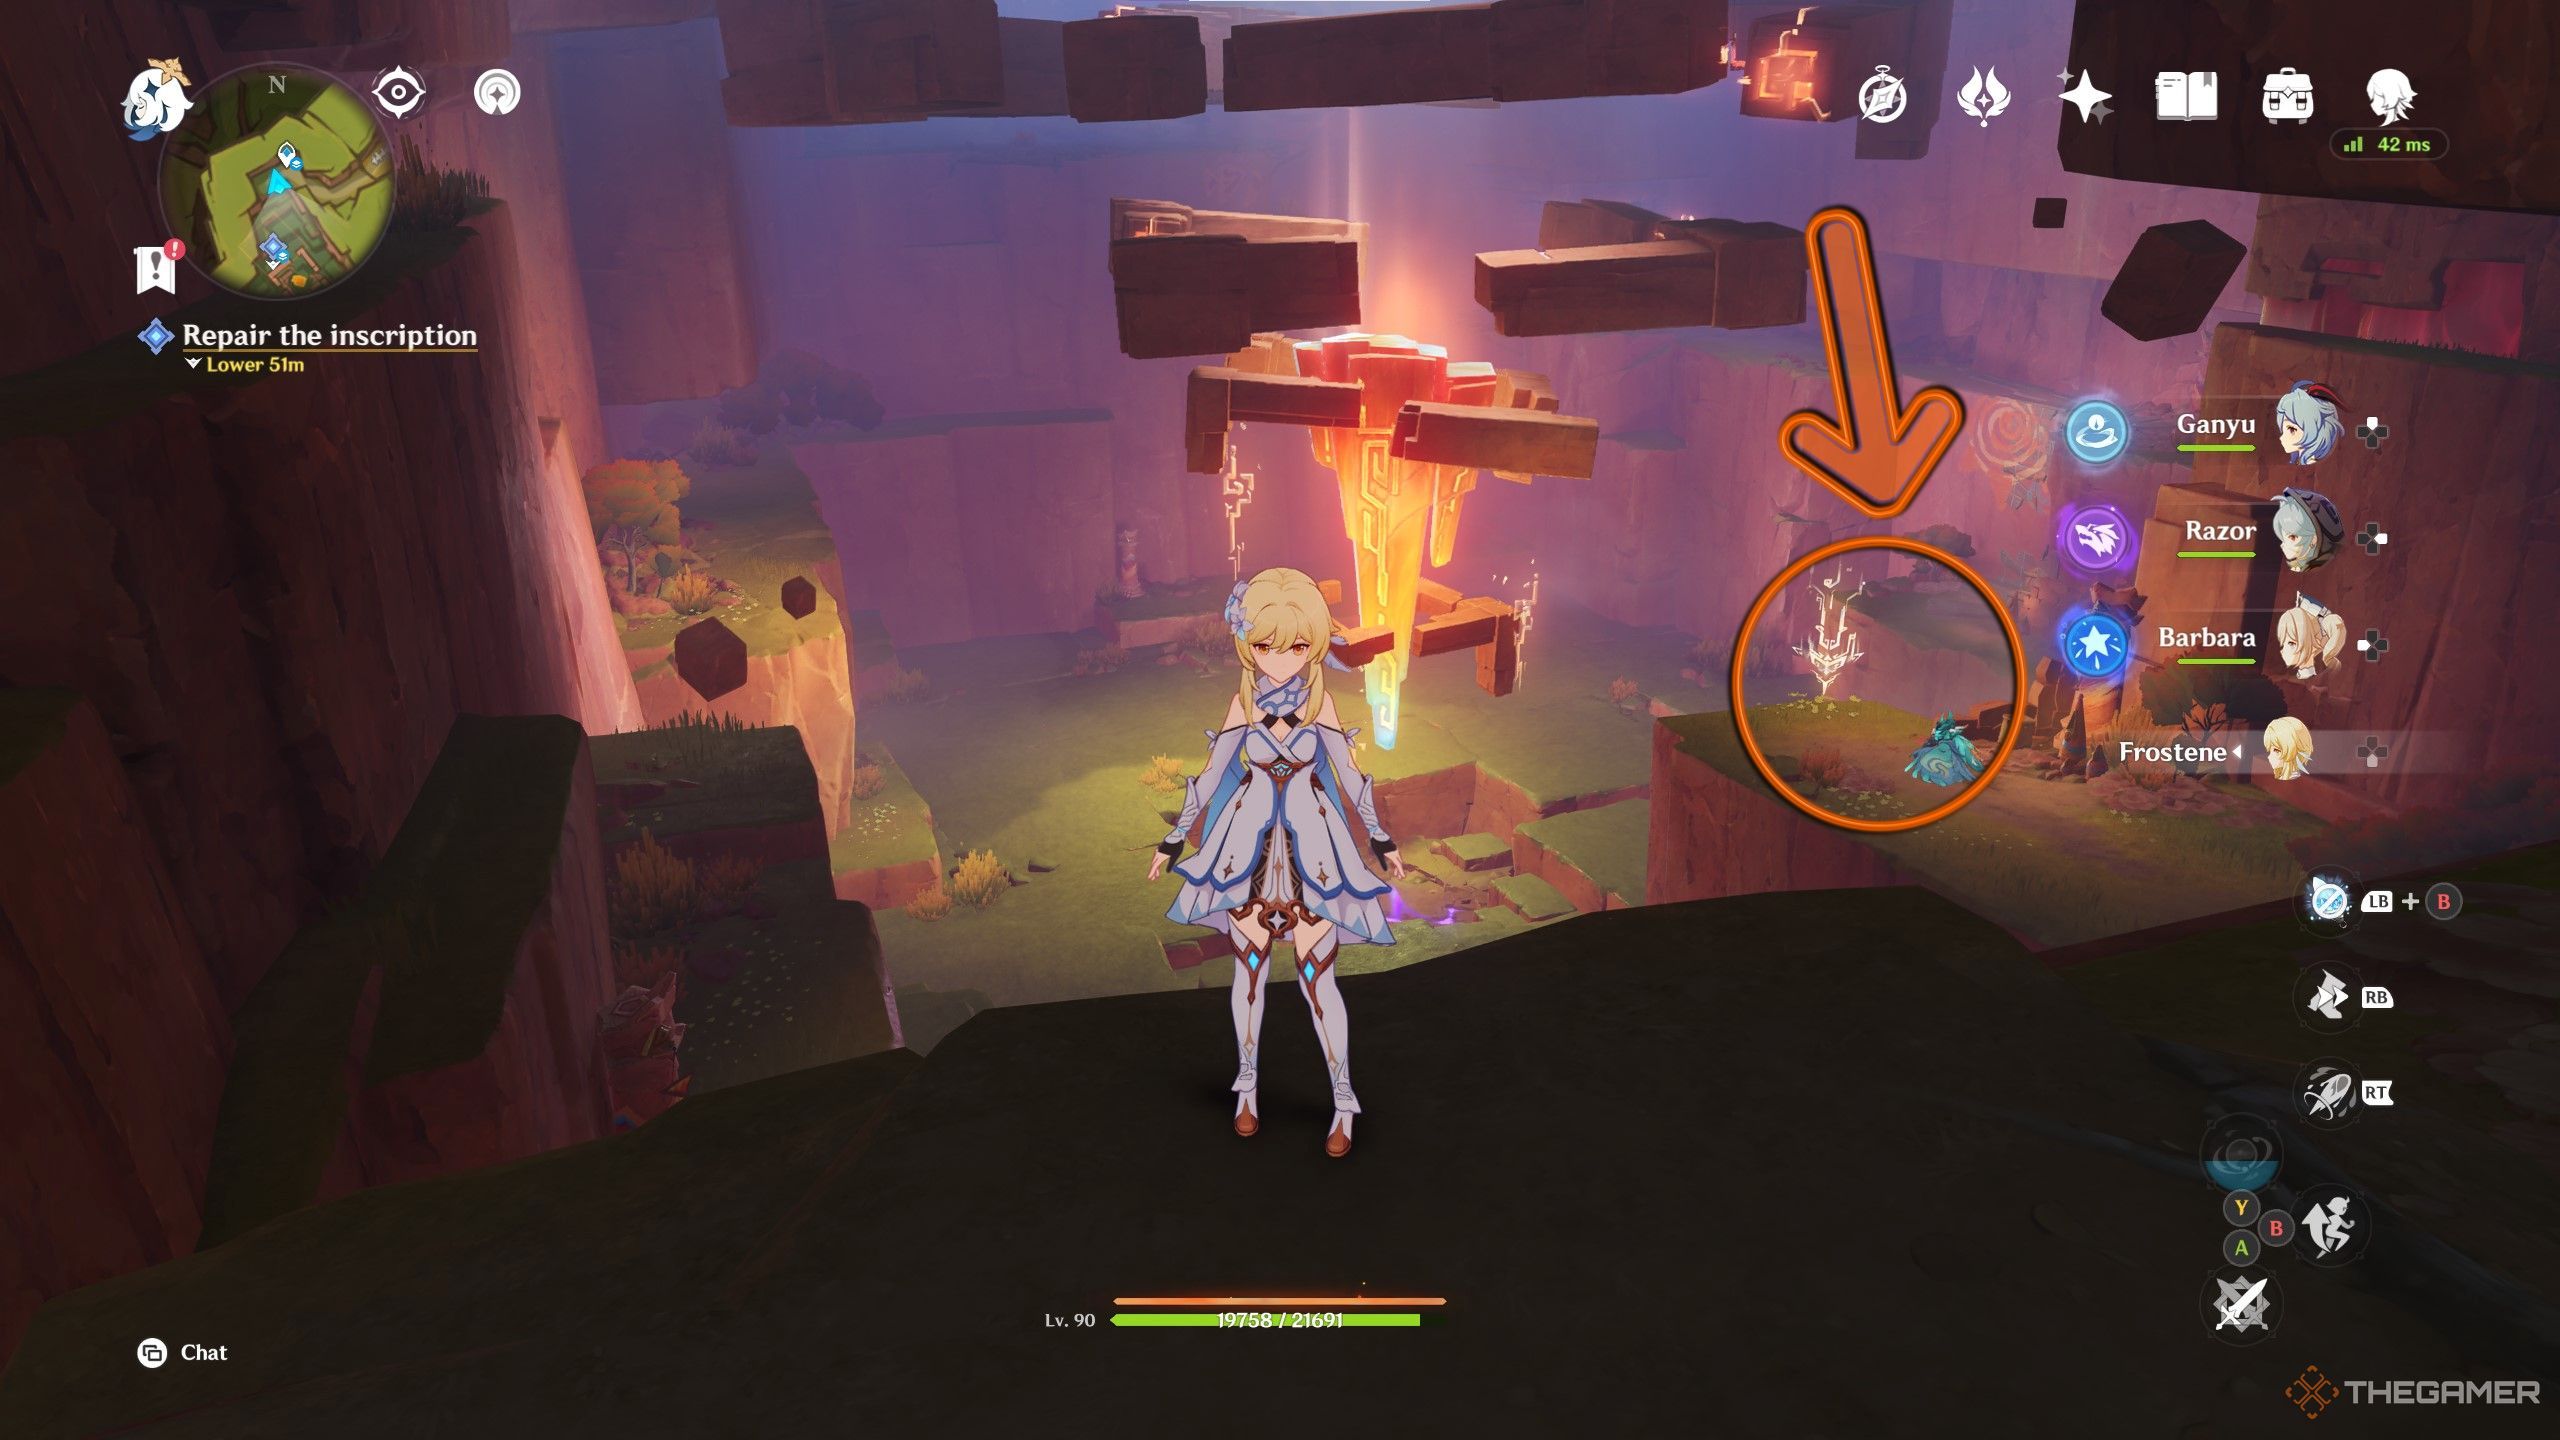
If you have one of theSulfurous Veins waypointsactivated, they can get you fairly close to your target area.
This particular quest isat the circled location on this map, underneath a large stone outcropping.
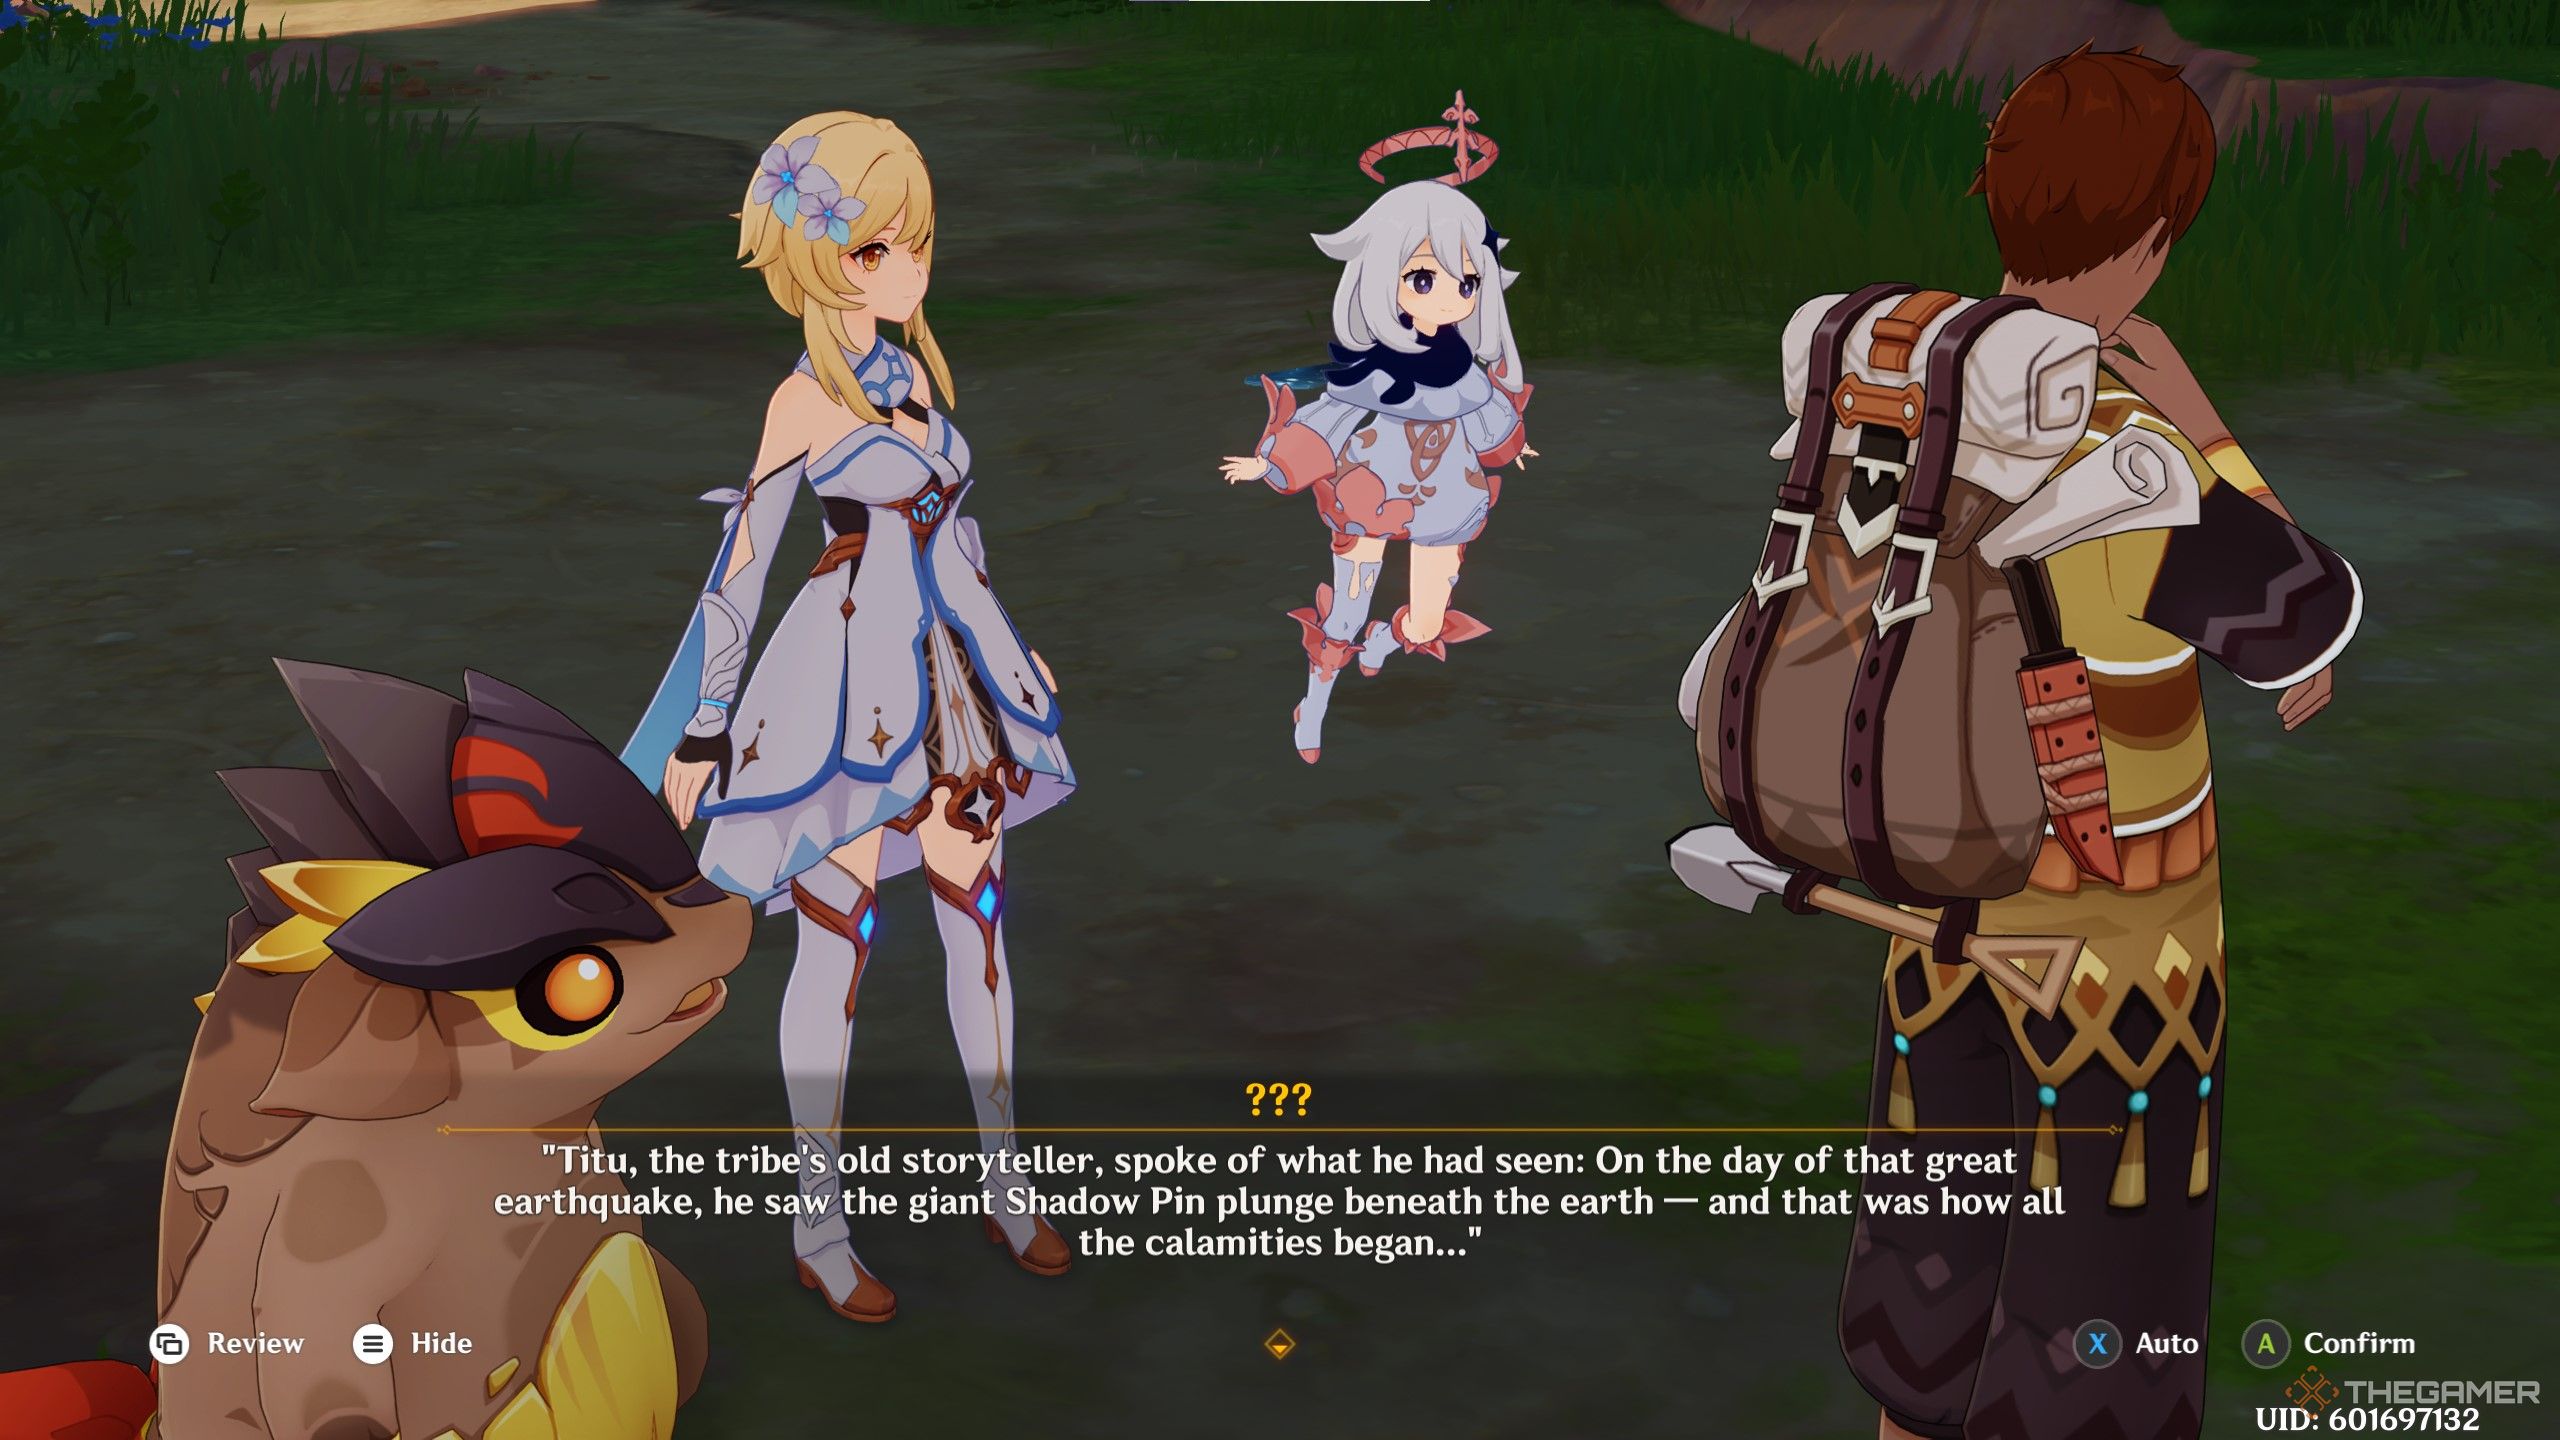
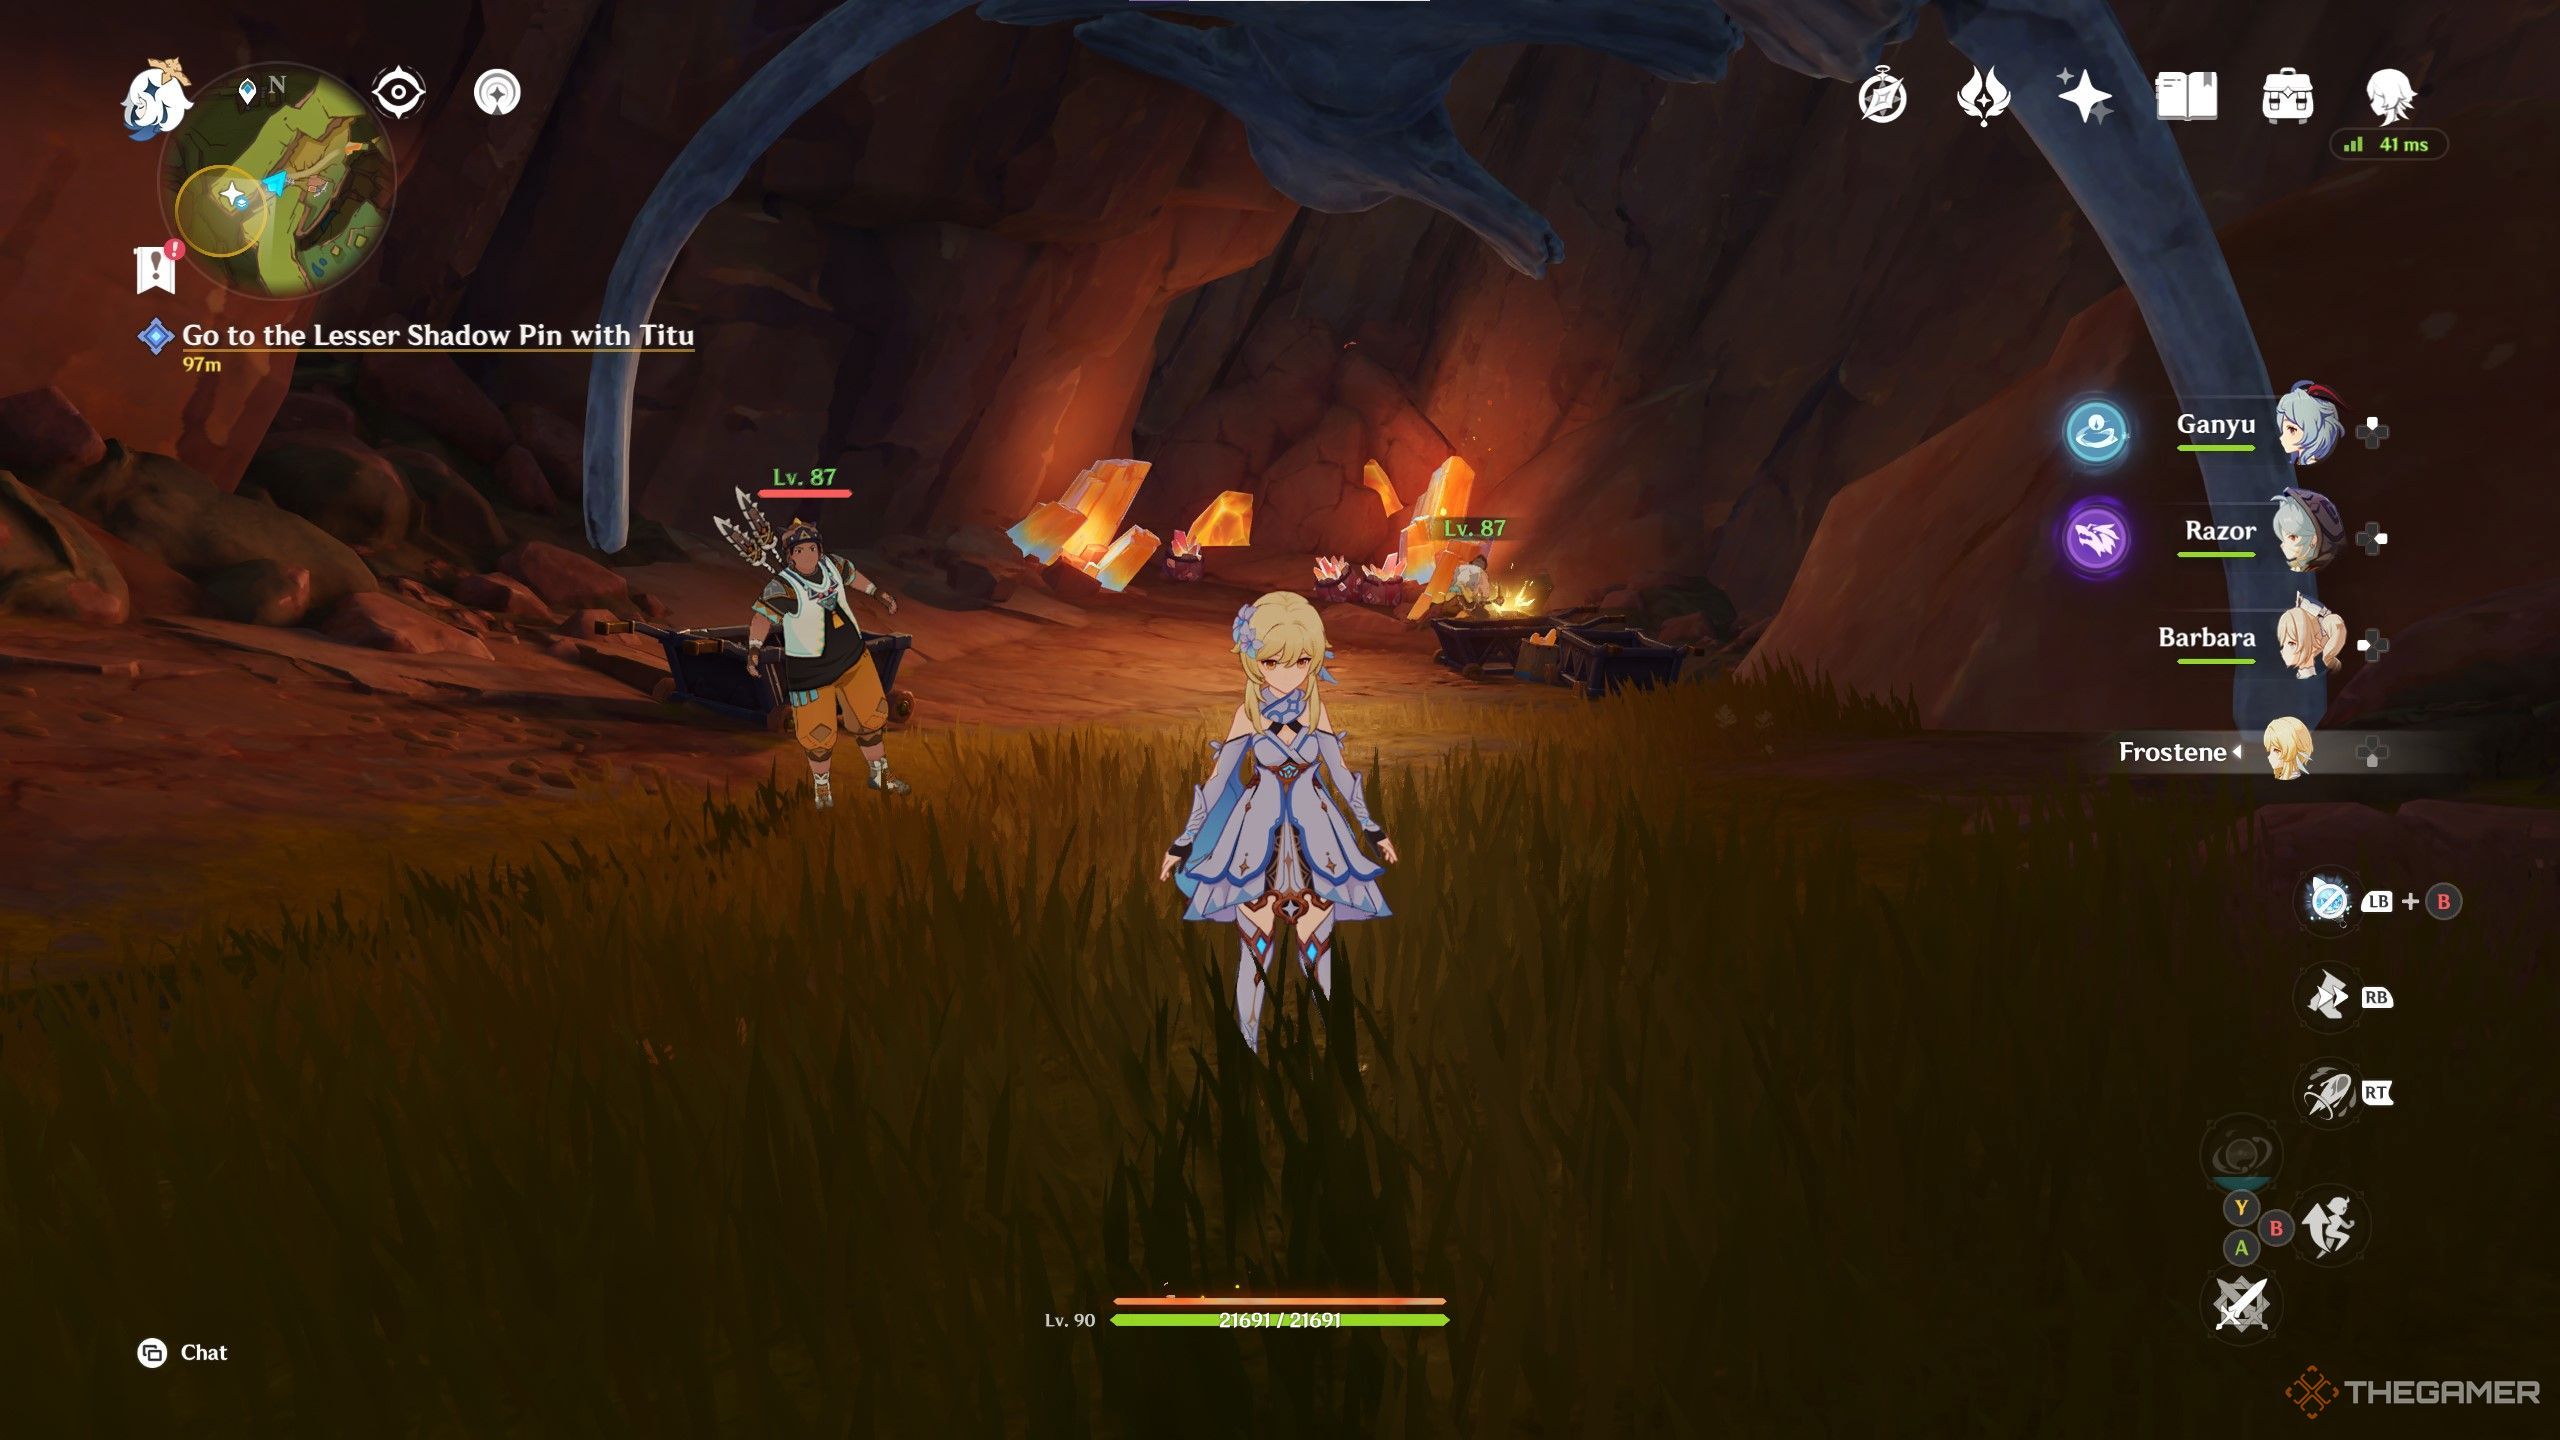
You’llsee an npc with “???

“in place of their name.
Talk to the npc and offer your helpto accept the quest.
There’s awaypoint nearby, so be sure to interactwith it if you haven’t already.
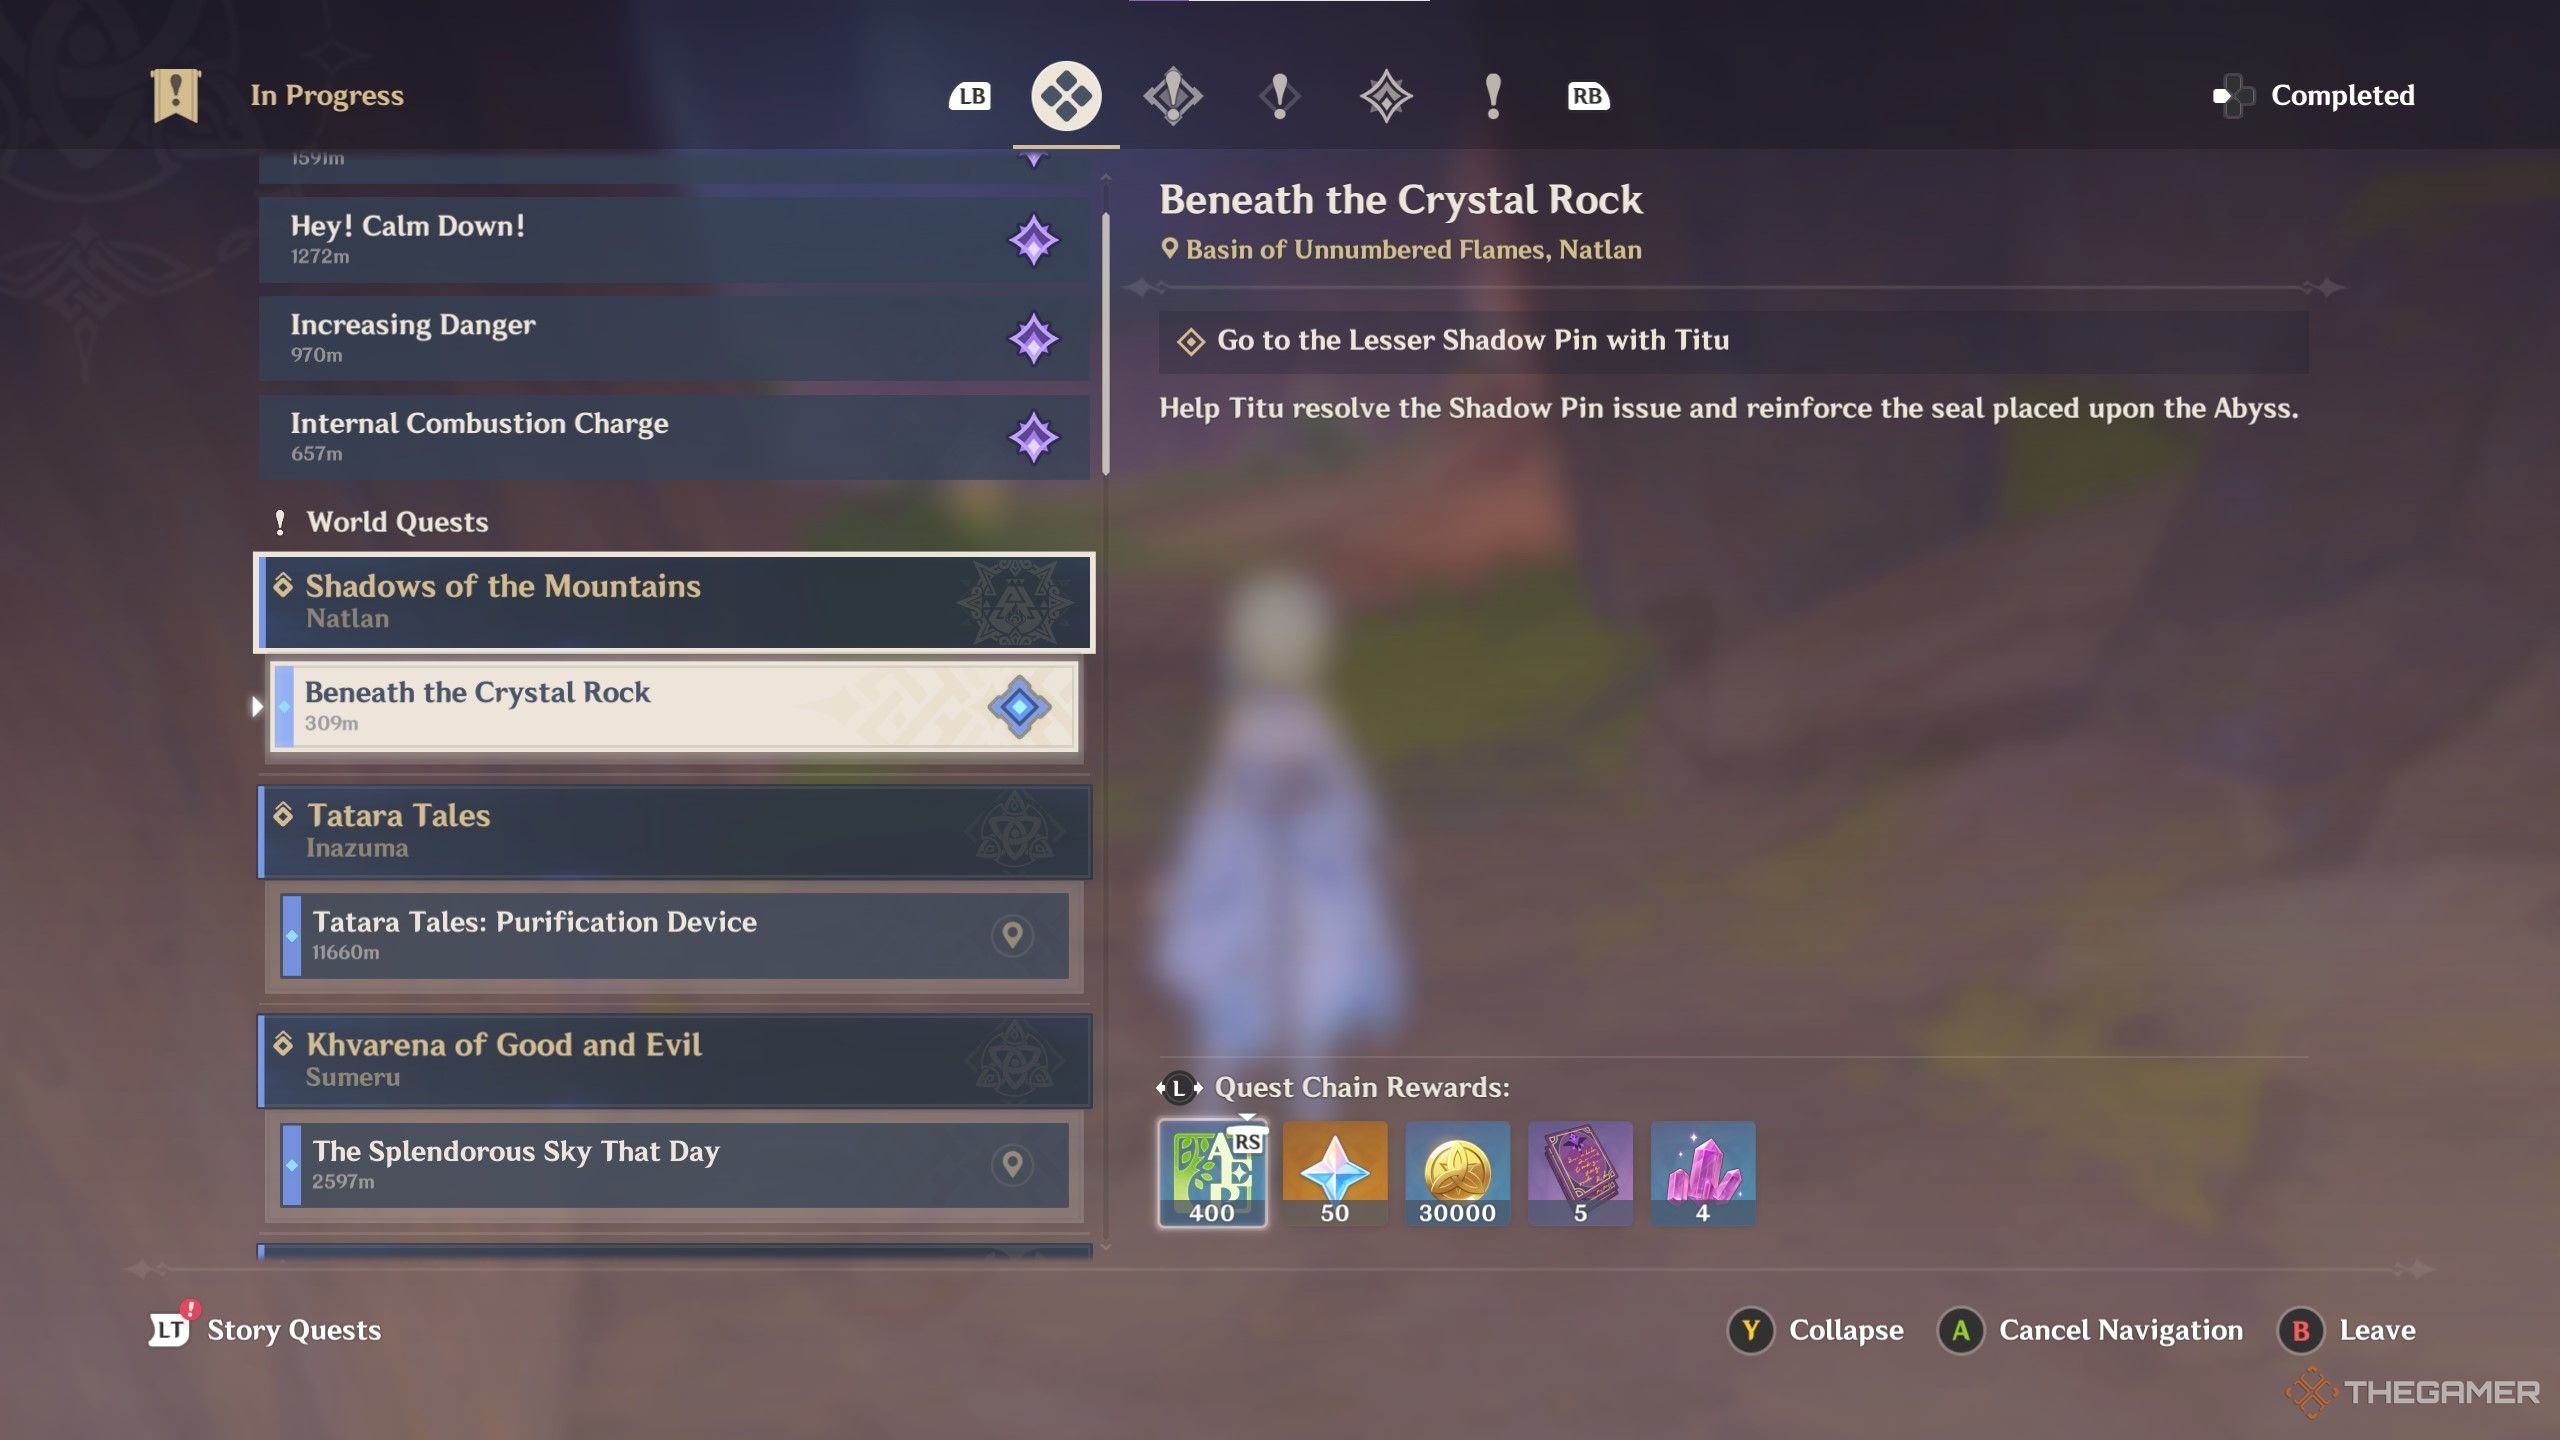
Thequest has two phases.
The first phase is titled"Beneath The Crystal Rock”.
You’ll get rewards for each completed phase of the questline.
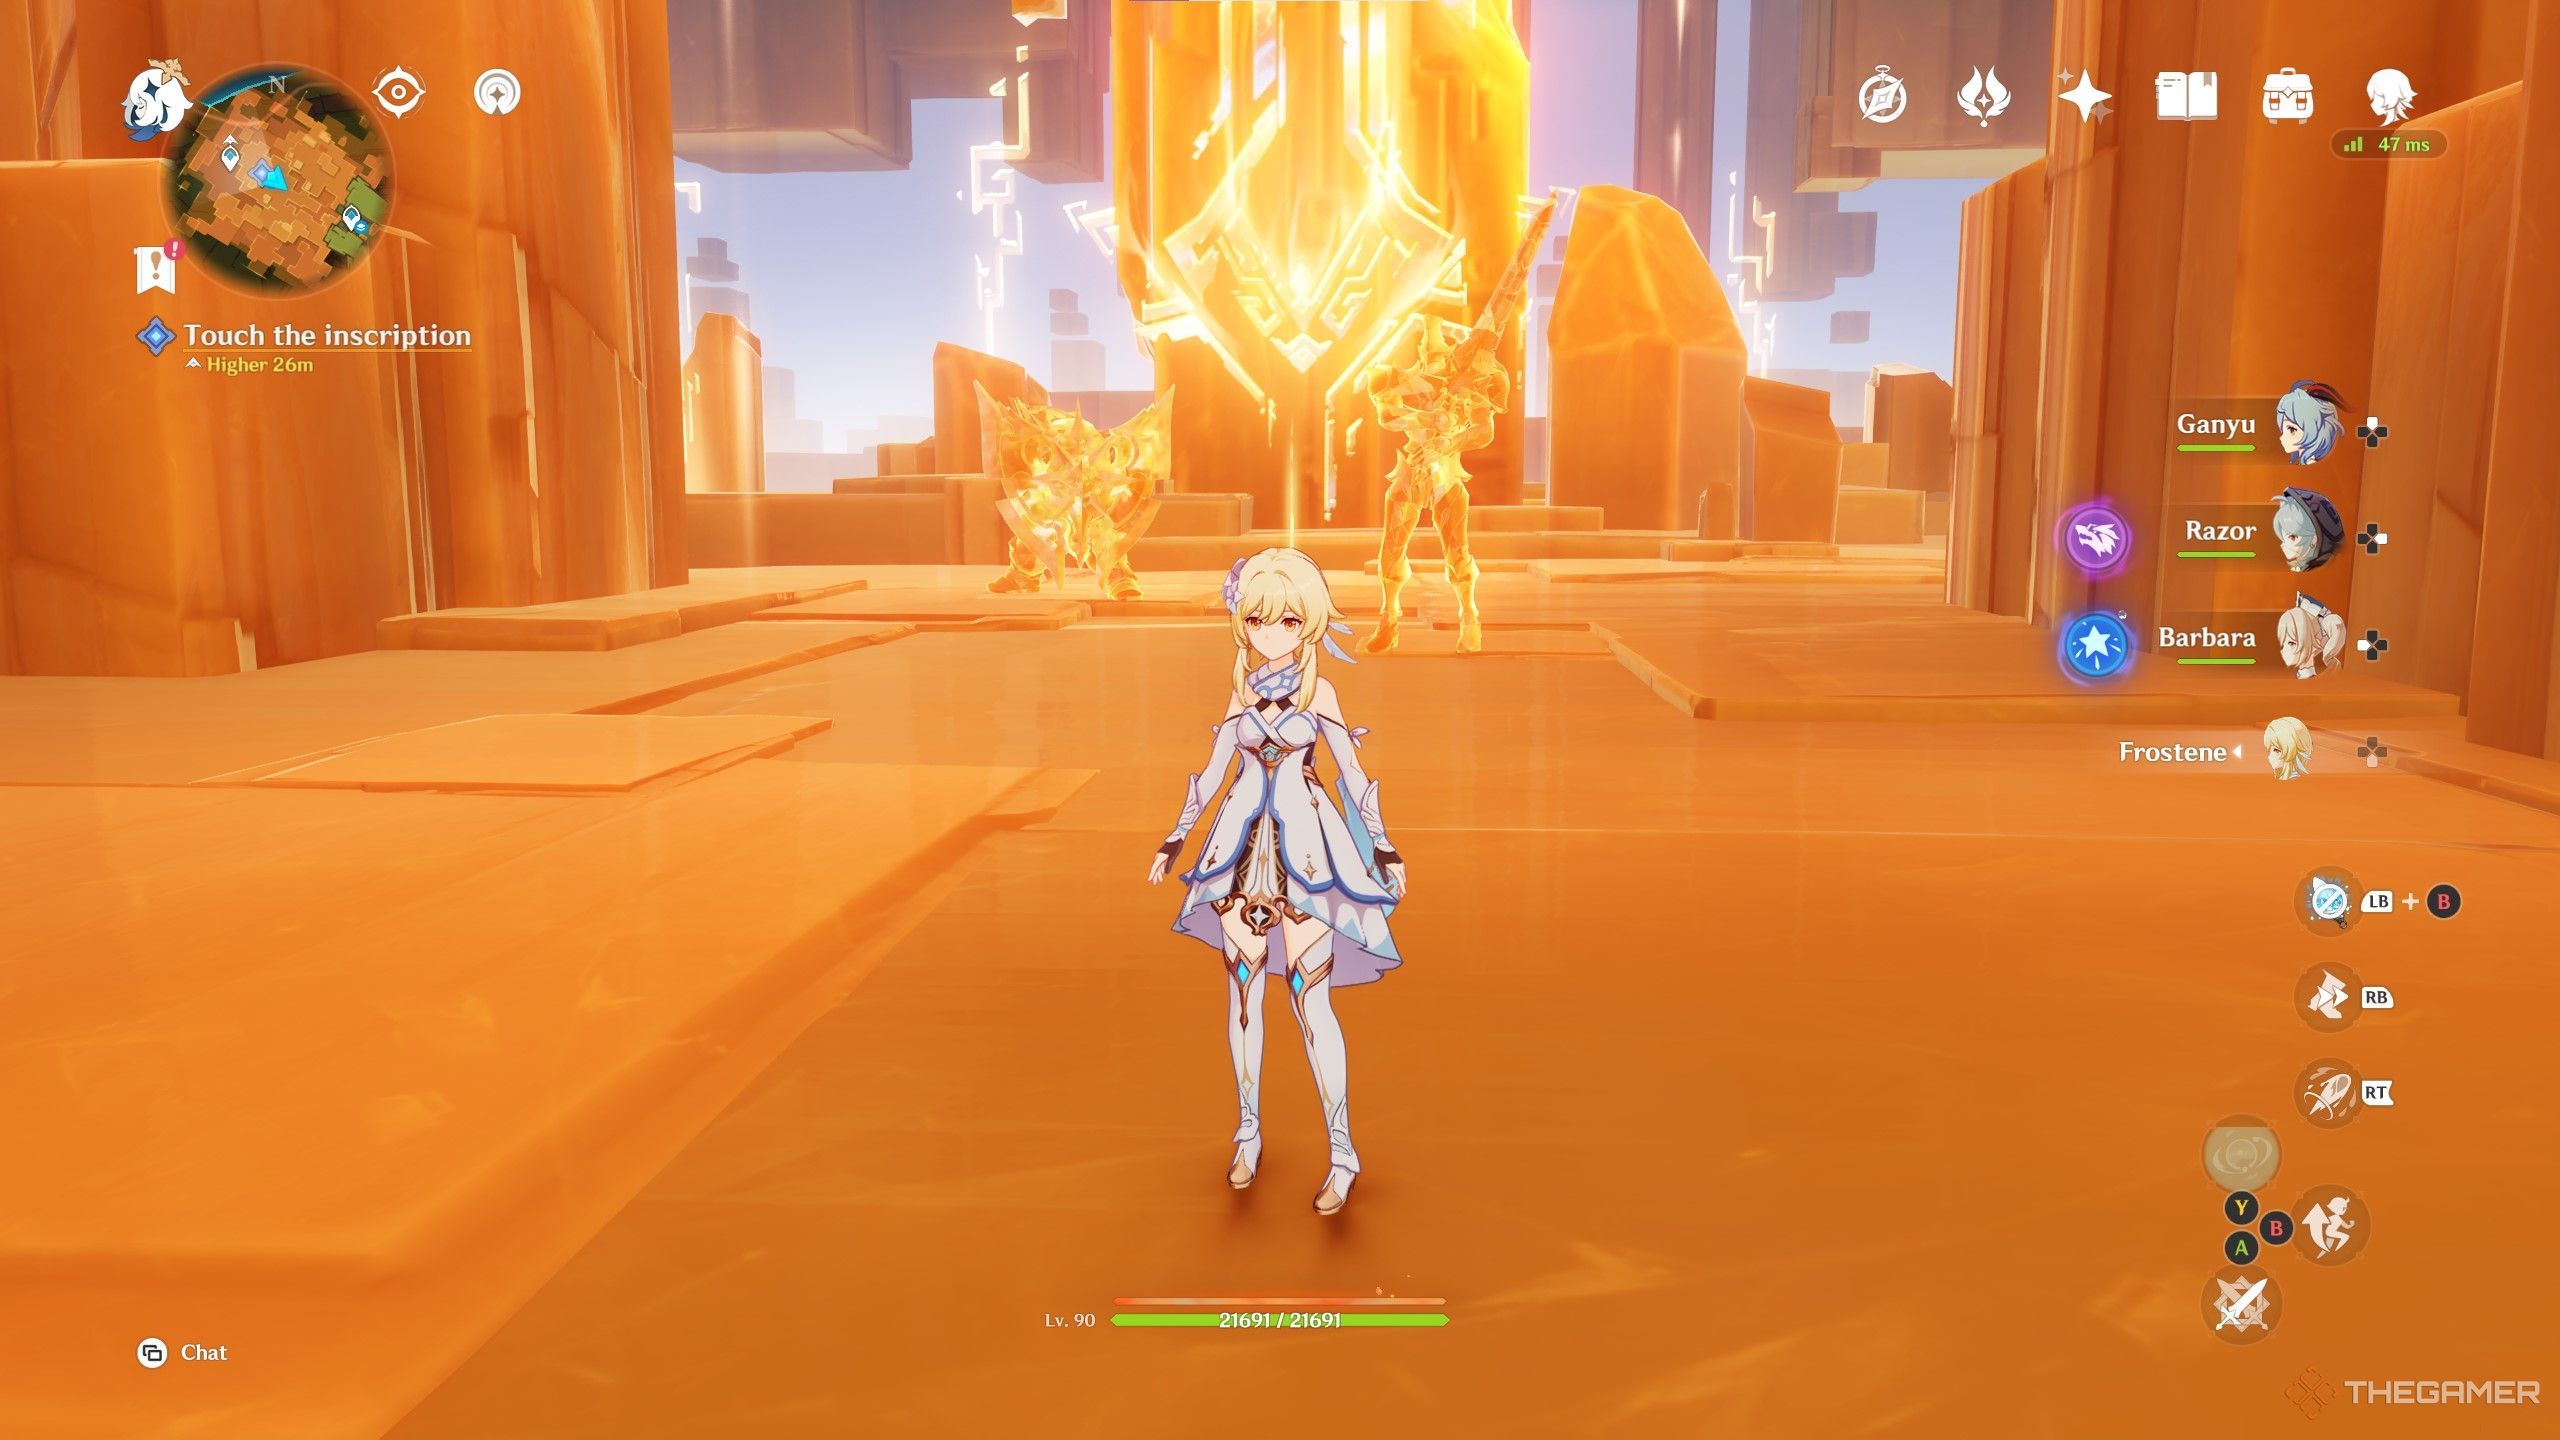
Once you interact with the golden inscription,you will not be able to change your teammembers.
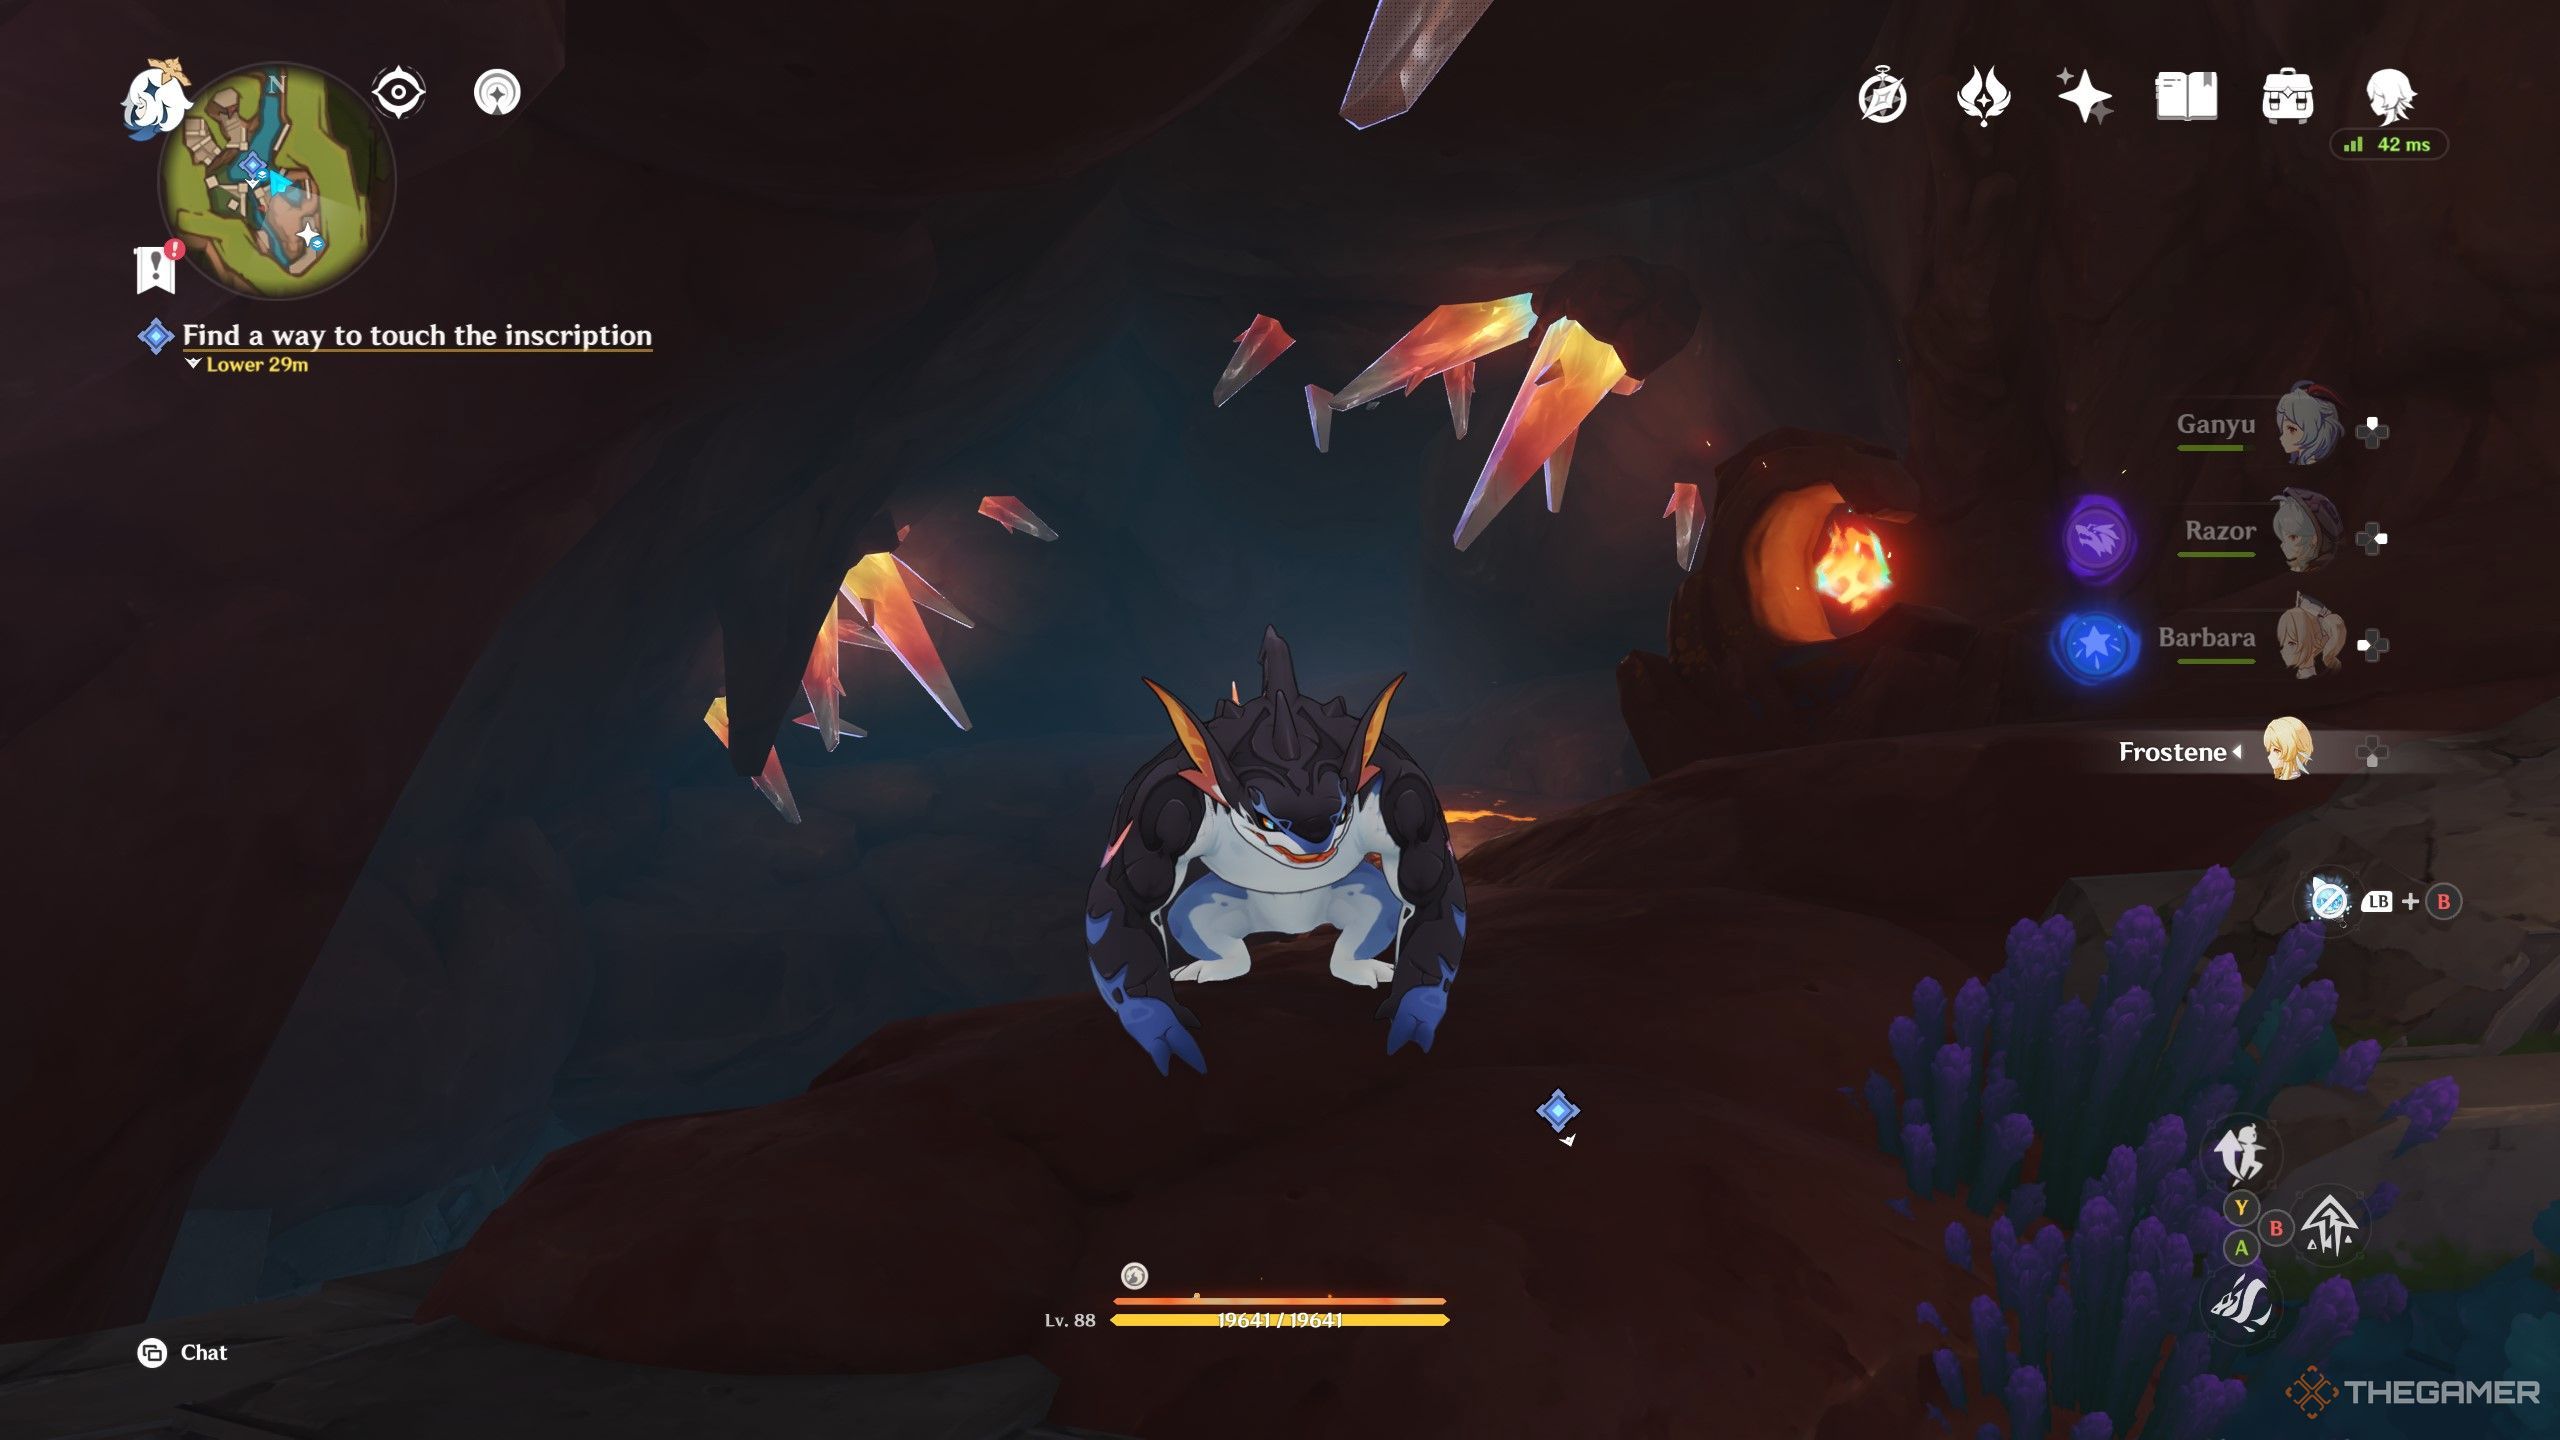
Your specialTepetlisaurus buddywill be sitting next to the chest.
Keep an eye out for Pyroculiif you haven’t been to some of these areas previously.
The path is pretty intuitive and easy to follow.
You canuse the Tepetlisaurus indwelling icon to make travel faster, but the path can also be traversed normally.
Expect the usual Natlan foes along the way.
You’ll come to adead endwith a couple of enemies guarding the blocked path.
Defeat the enemies andremove the rock blockade.
Continue on the pathuntil you reach the second Lesser Shadow Pin.
Use the Molten Fissureto search for scattered inscriptions.
You’ll encounter someminor enemies and a treasure chestto loot.
You’ll want tohead to the lowest section in the marked search zone and dig.

If you’ve done enough digging and vanquished your foes,you should have a couple areas to investigate.
They should be close to one another, and pretty noticeable.
You shouldfind a small cavern to your right with a lever inside, and a few minor enemies.
Show those enemies who’s boss anduse the lever to lower the water.
Once the water level lowers, you’llfind a new small cavern.
Enter the cavern anddestroy the crystals embedded in the groundto set off a chain reaction.
This will further lower the water level.
you could thendrop down and follow the watery pathto a broken wall.
Climb over the wall and continue along the path.
There will be another blocked area, with crystals embedded in the cavern wall.
you’ve got the option to hit those to cause an explosion that willremove the rubbleblocking your way.
Collect the treasurefrom the treasure chest directly in your path, andindwell a Koholasaurus.
There should be an icon to interact with nearby.
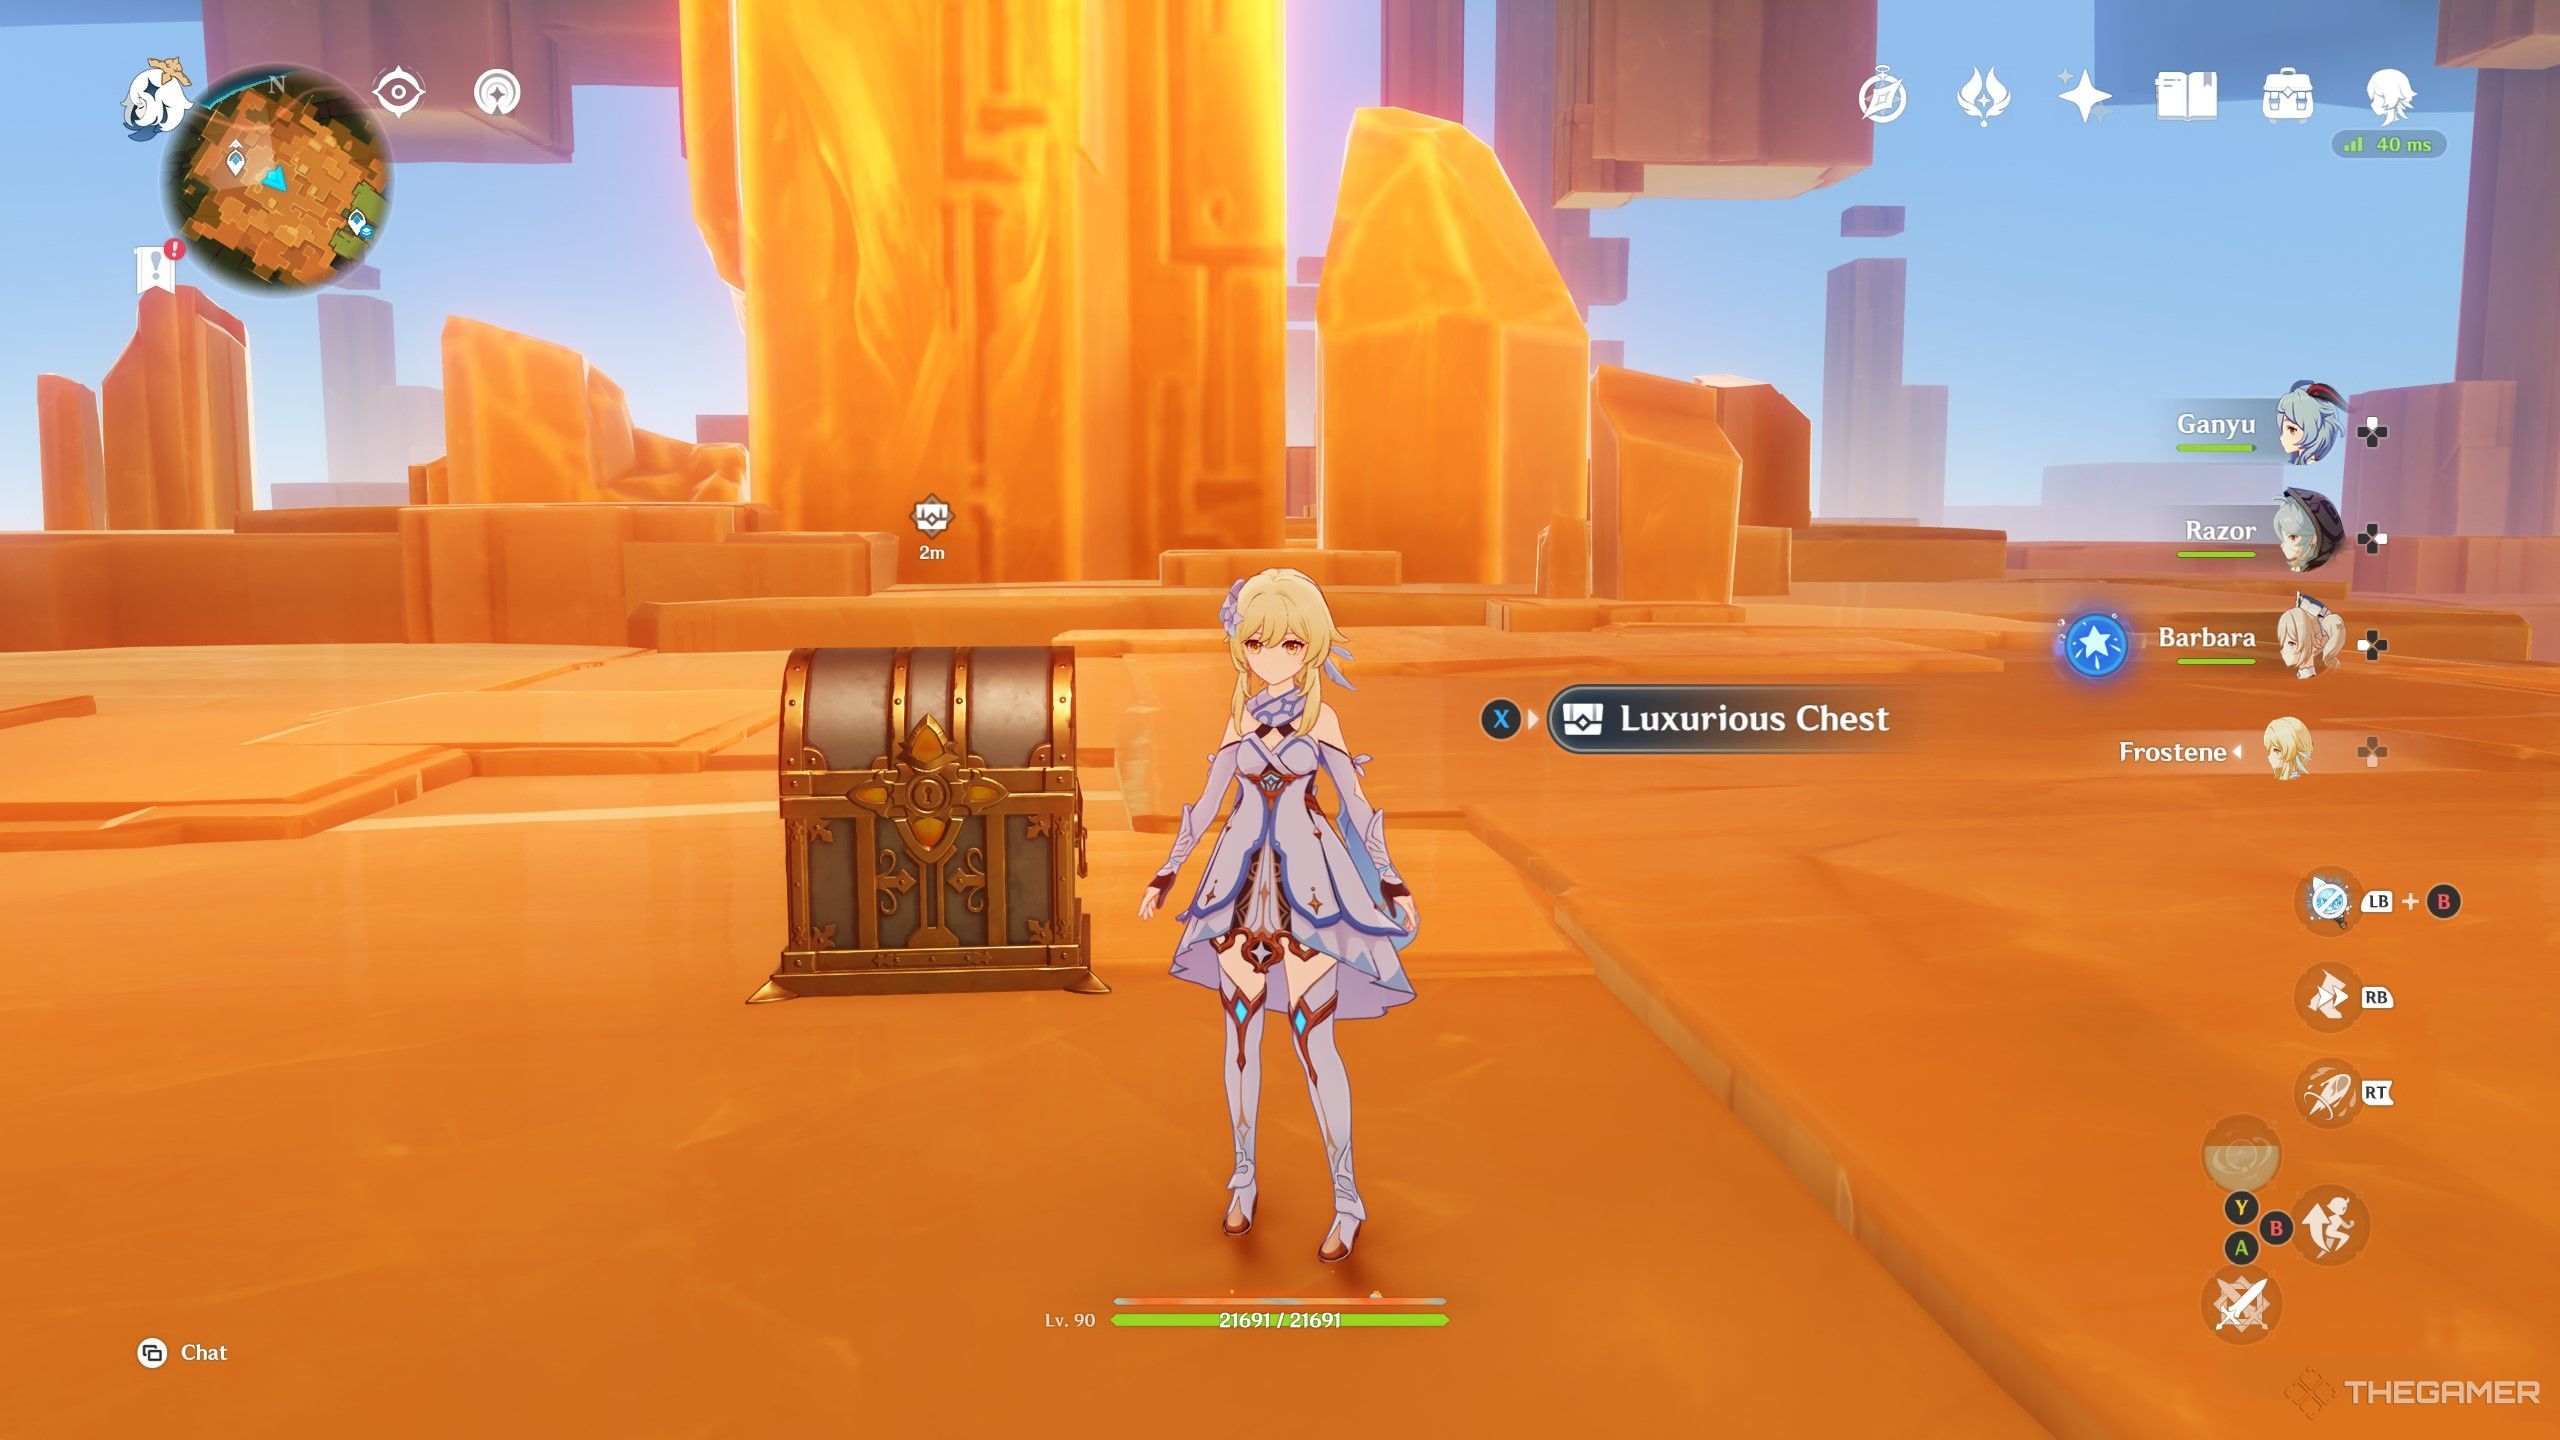
There’ll be another treasure chest at the destination, along with a marked spot to investigate.
Investigate the marked spot to collect a key.
This can be used later tounlock a special treasure roomduring further exploration of the area.
Yes, you end up right where you started; you’re not imagining things.
Interact with the Lesser Shadow Pinagain.
After some dialogue, you’ll be able todrop down to the lower level.
Defeat any enemies if they appear.
In the second phase of this questline, your first order of business is tocheck the newly-discovered crater.
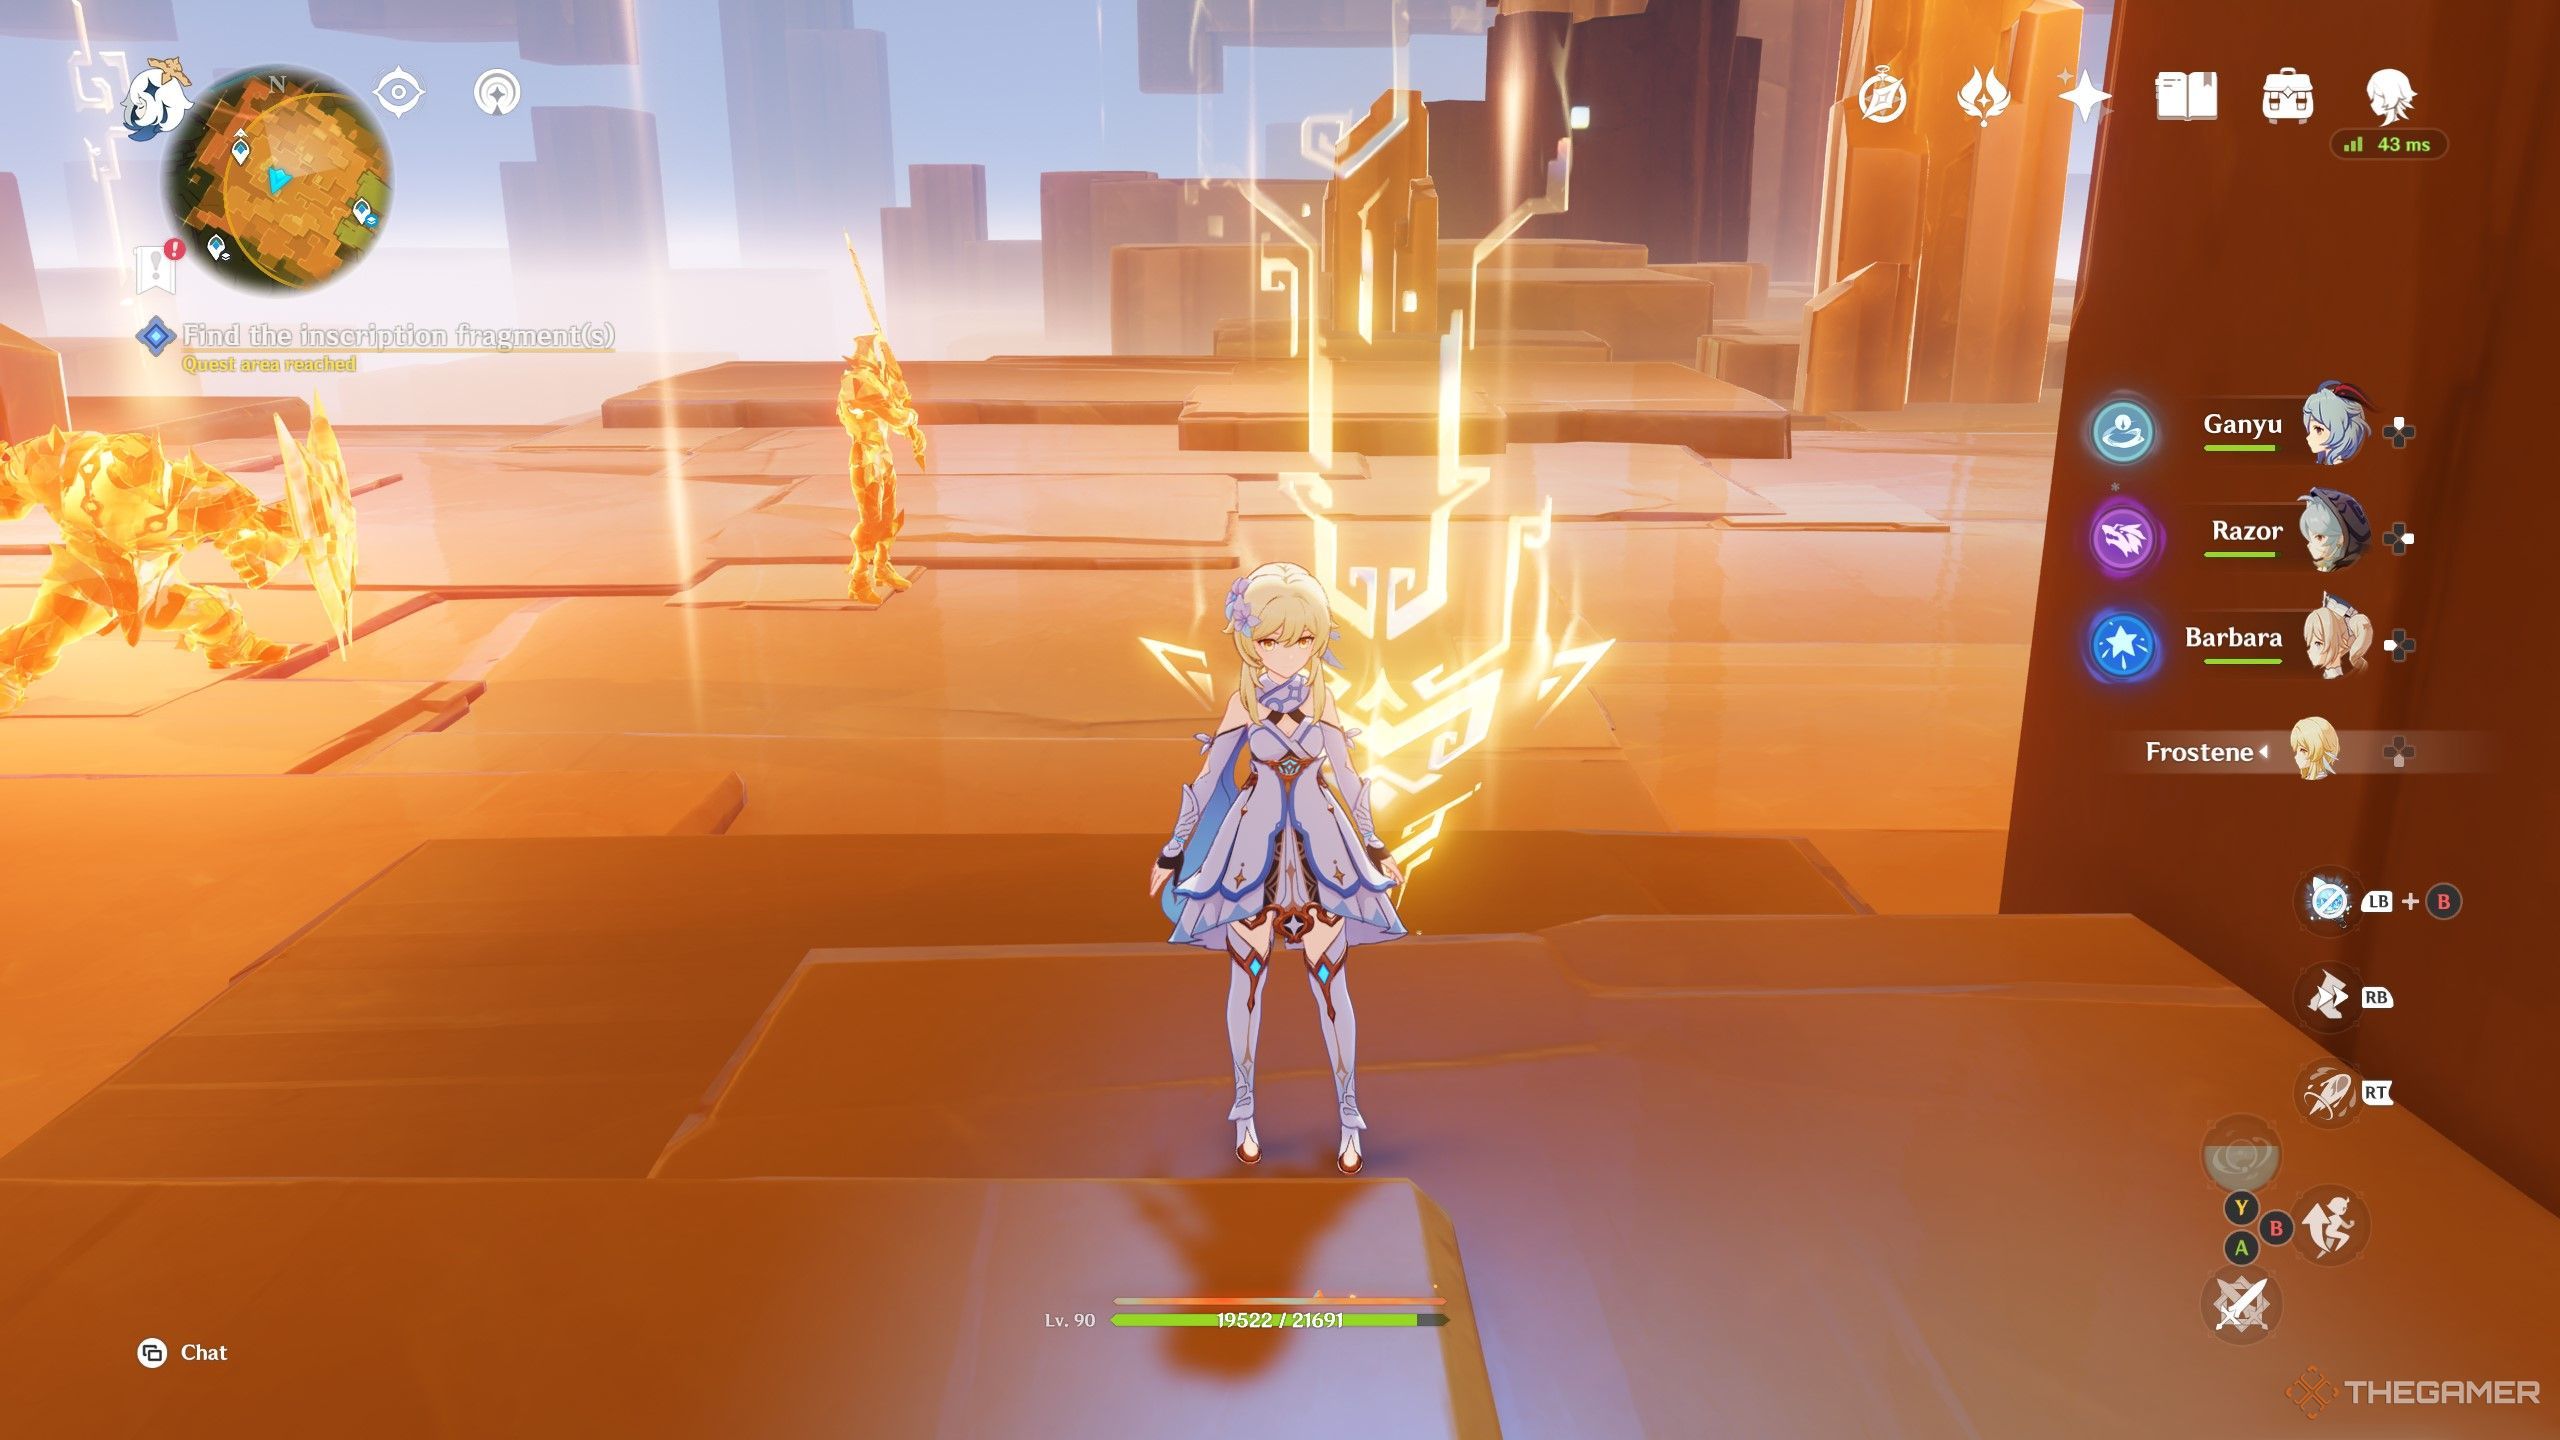
Once you reach the bottom,interact with the inscription piece and follow itto the stone tablet objective.
Continue to followthe golden inscription rune.
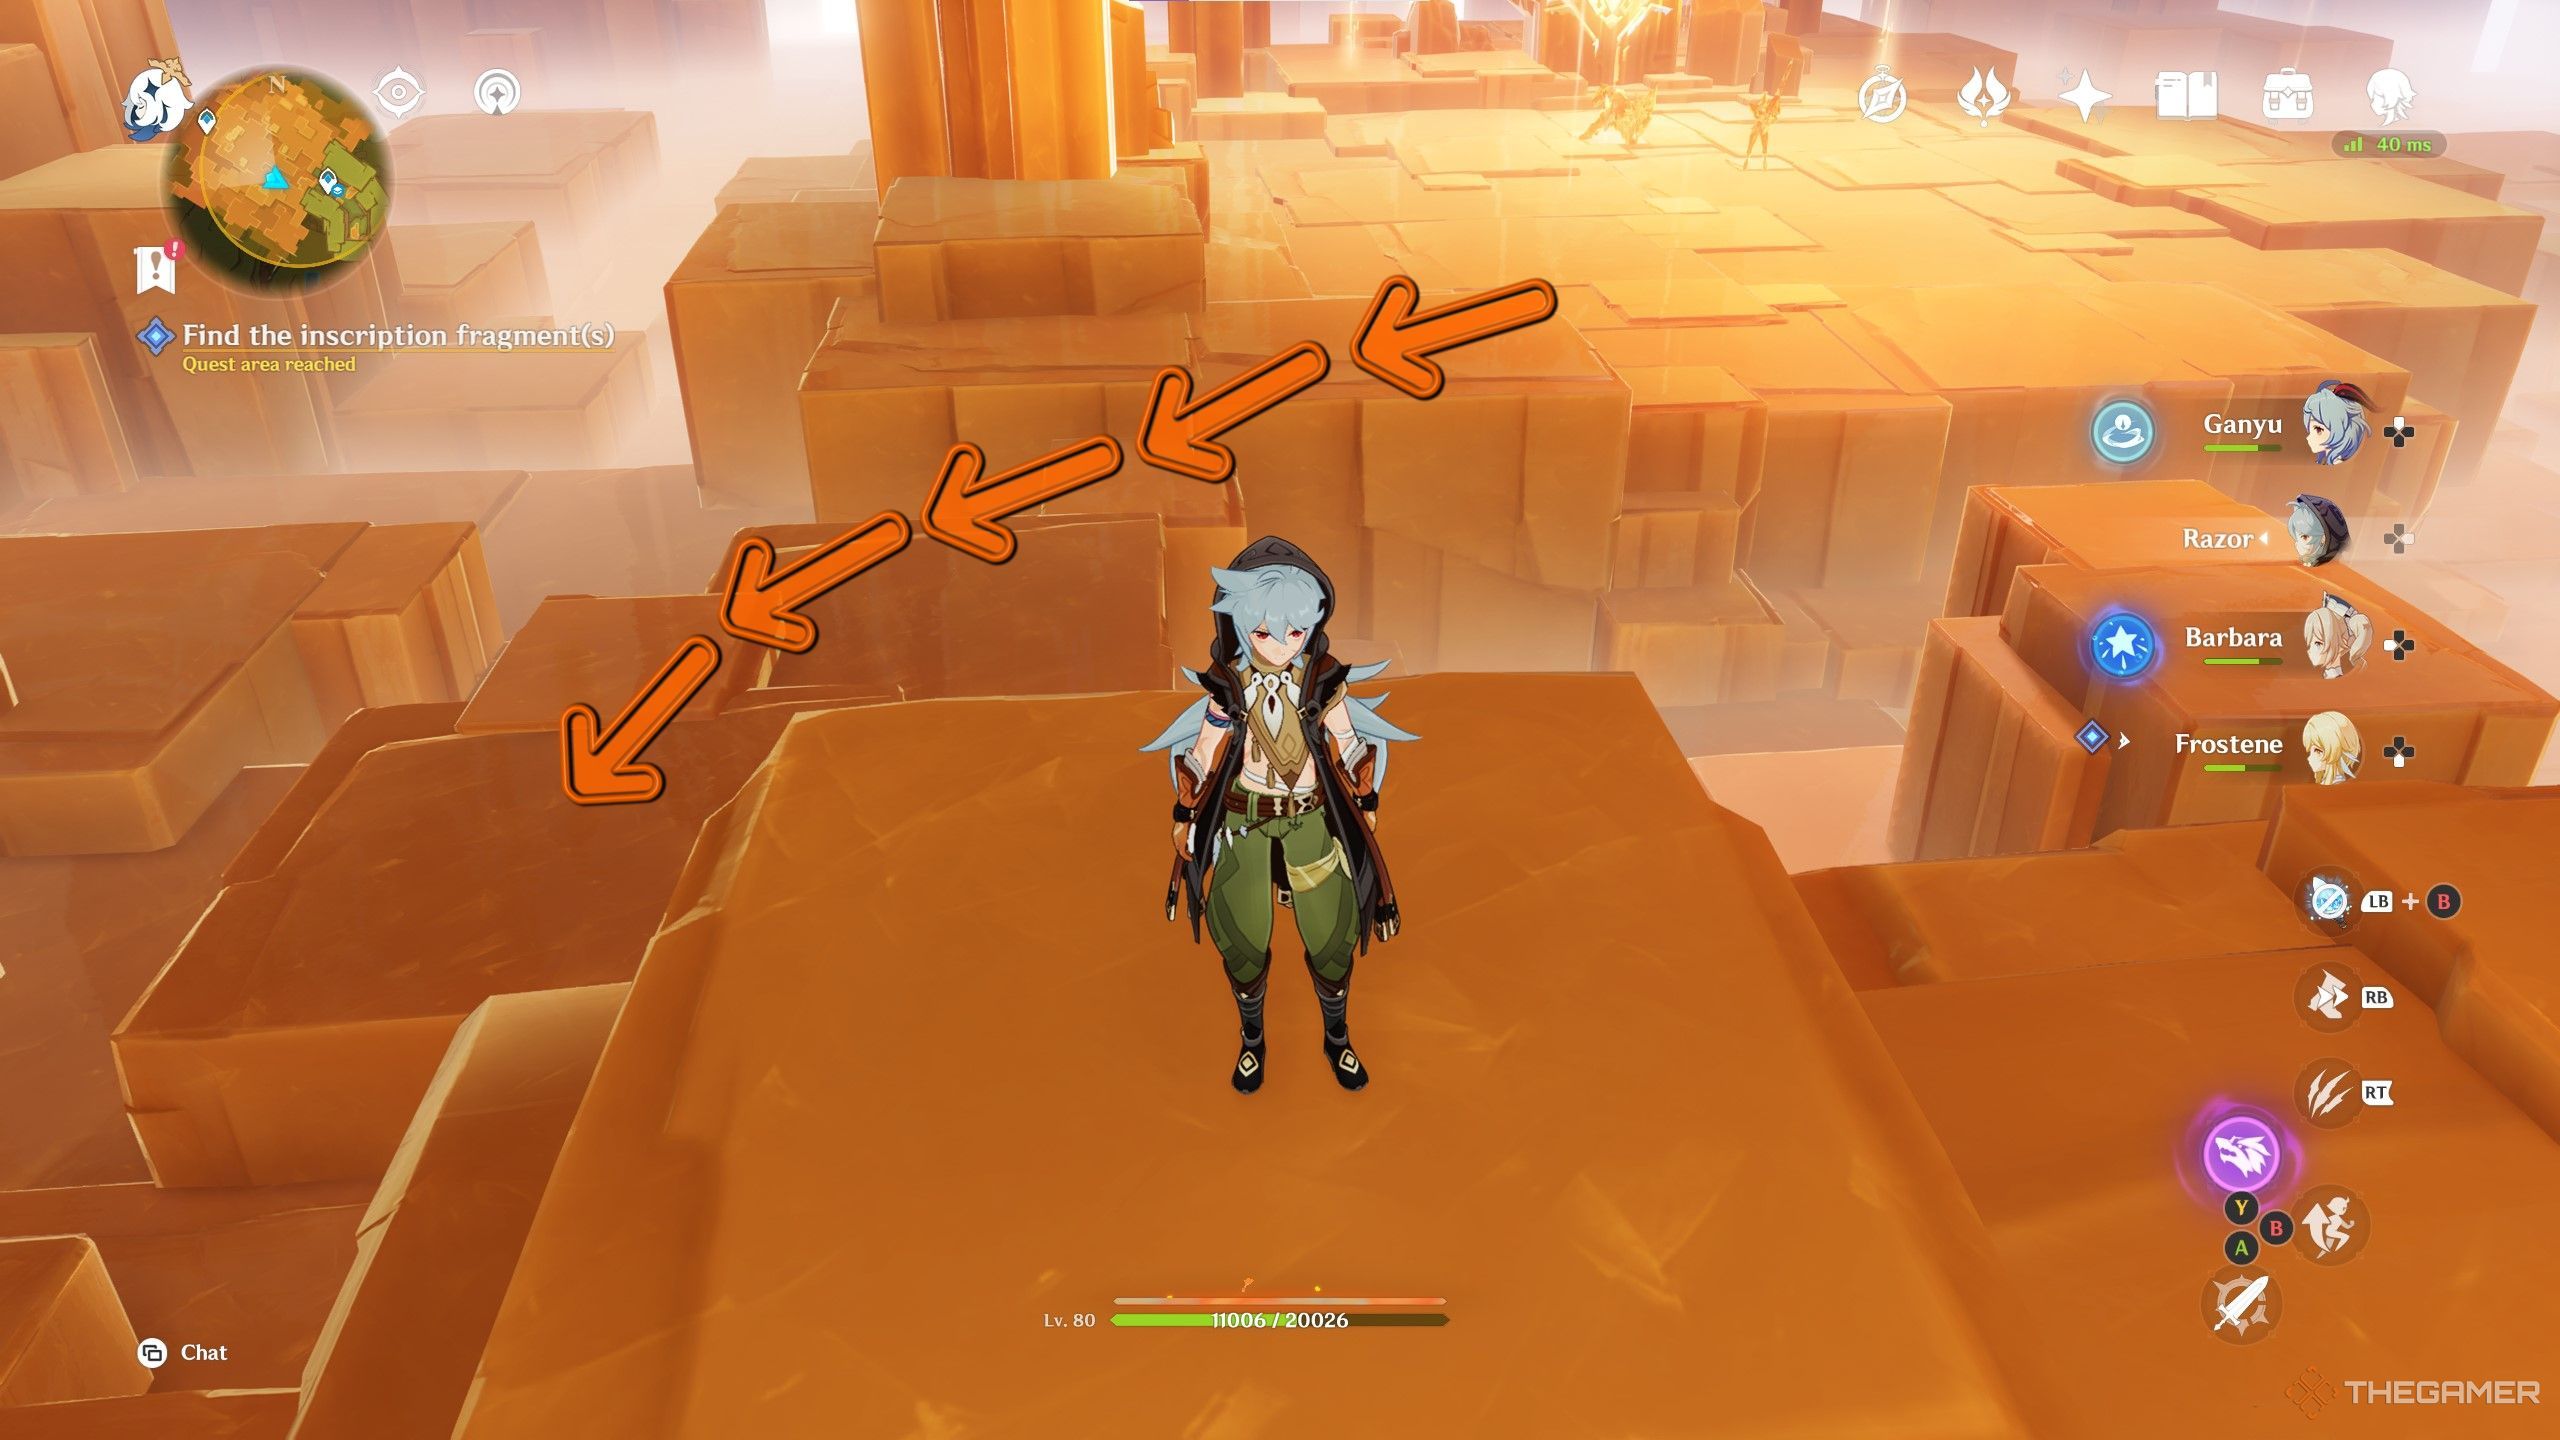
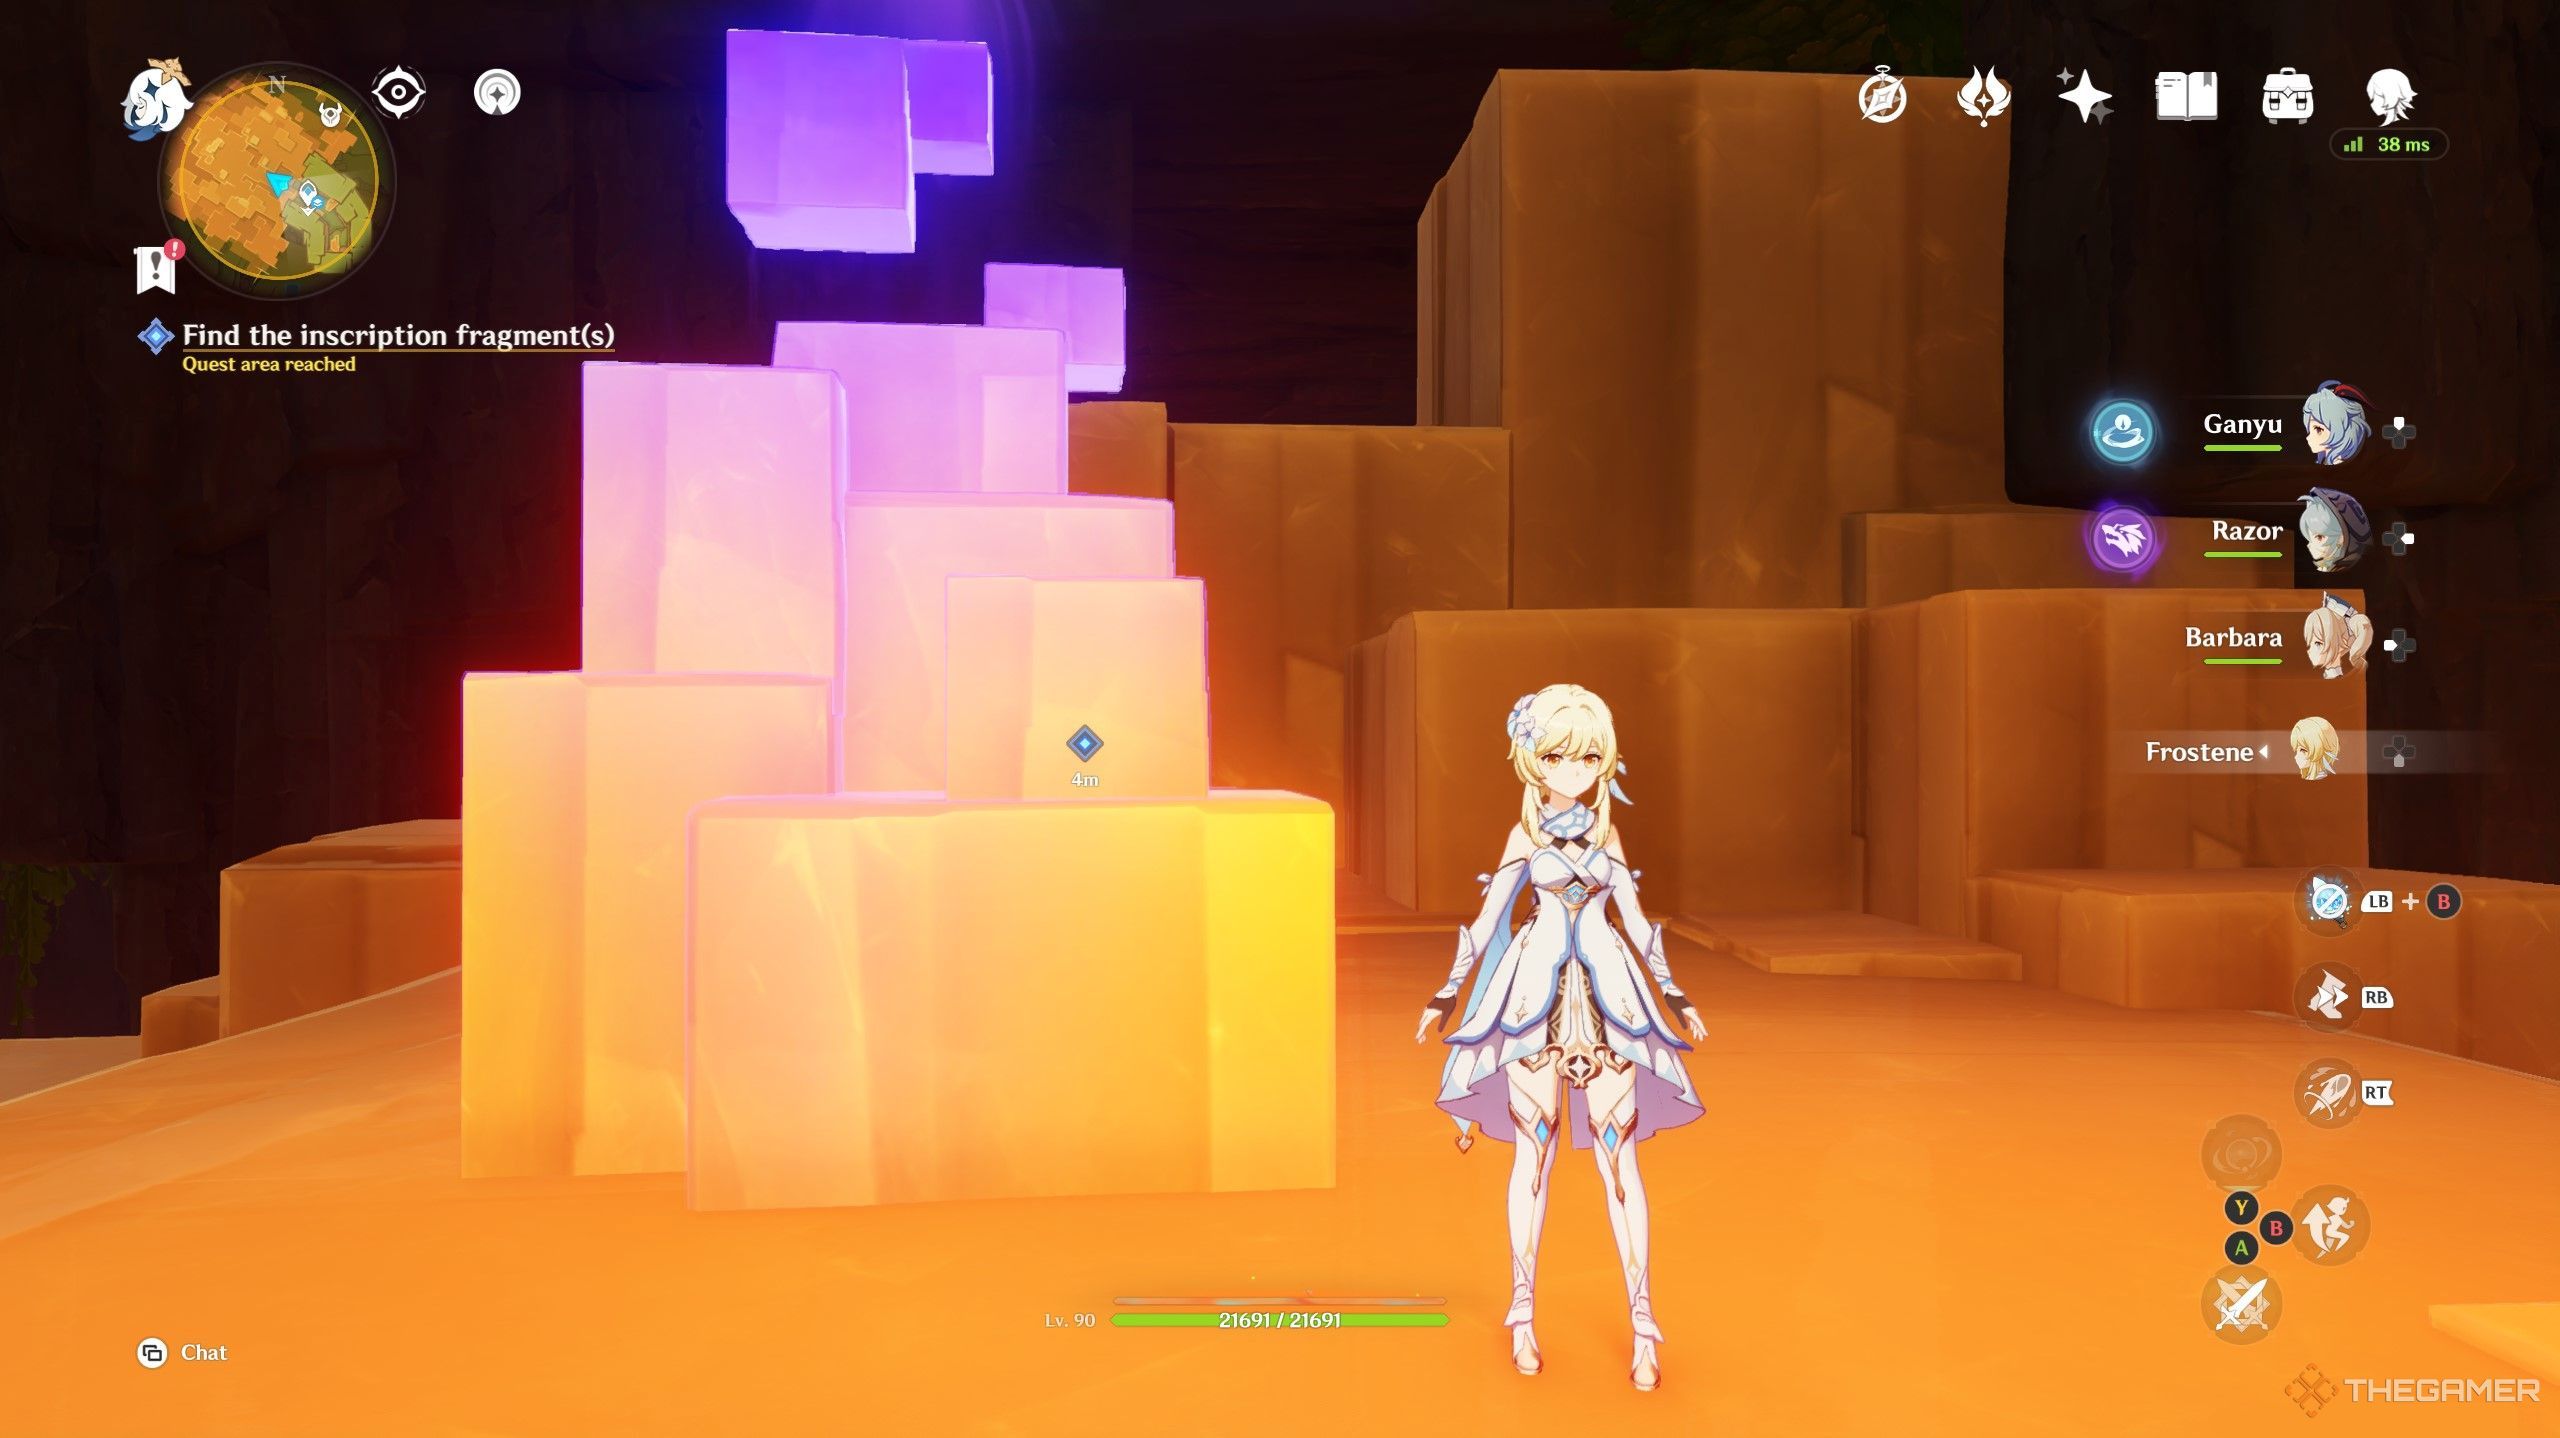
You’ll need toinvestigate an odd set of crystal blocksthat are tainted with a purple abyssal energy.
Defeat any enemies, and break the set of blocks.
You’ll reveal an inscription rune.Interact with the rune, and pay attention to the direction the camera pans.
It will help reveal the best path in this area.
Once you investigate the set of crystal blocks,you won’t have the opportunity to change your team.
see to it you have your preferred team active before interacting with the blocks.
it’s possible for you to expect to fight moreThundercraven Rifthound Whelps(electro) during this encounter.

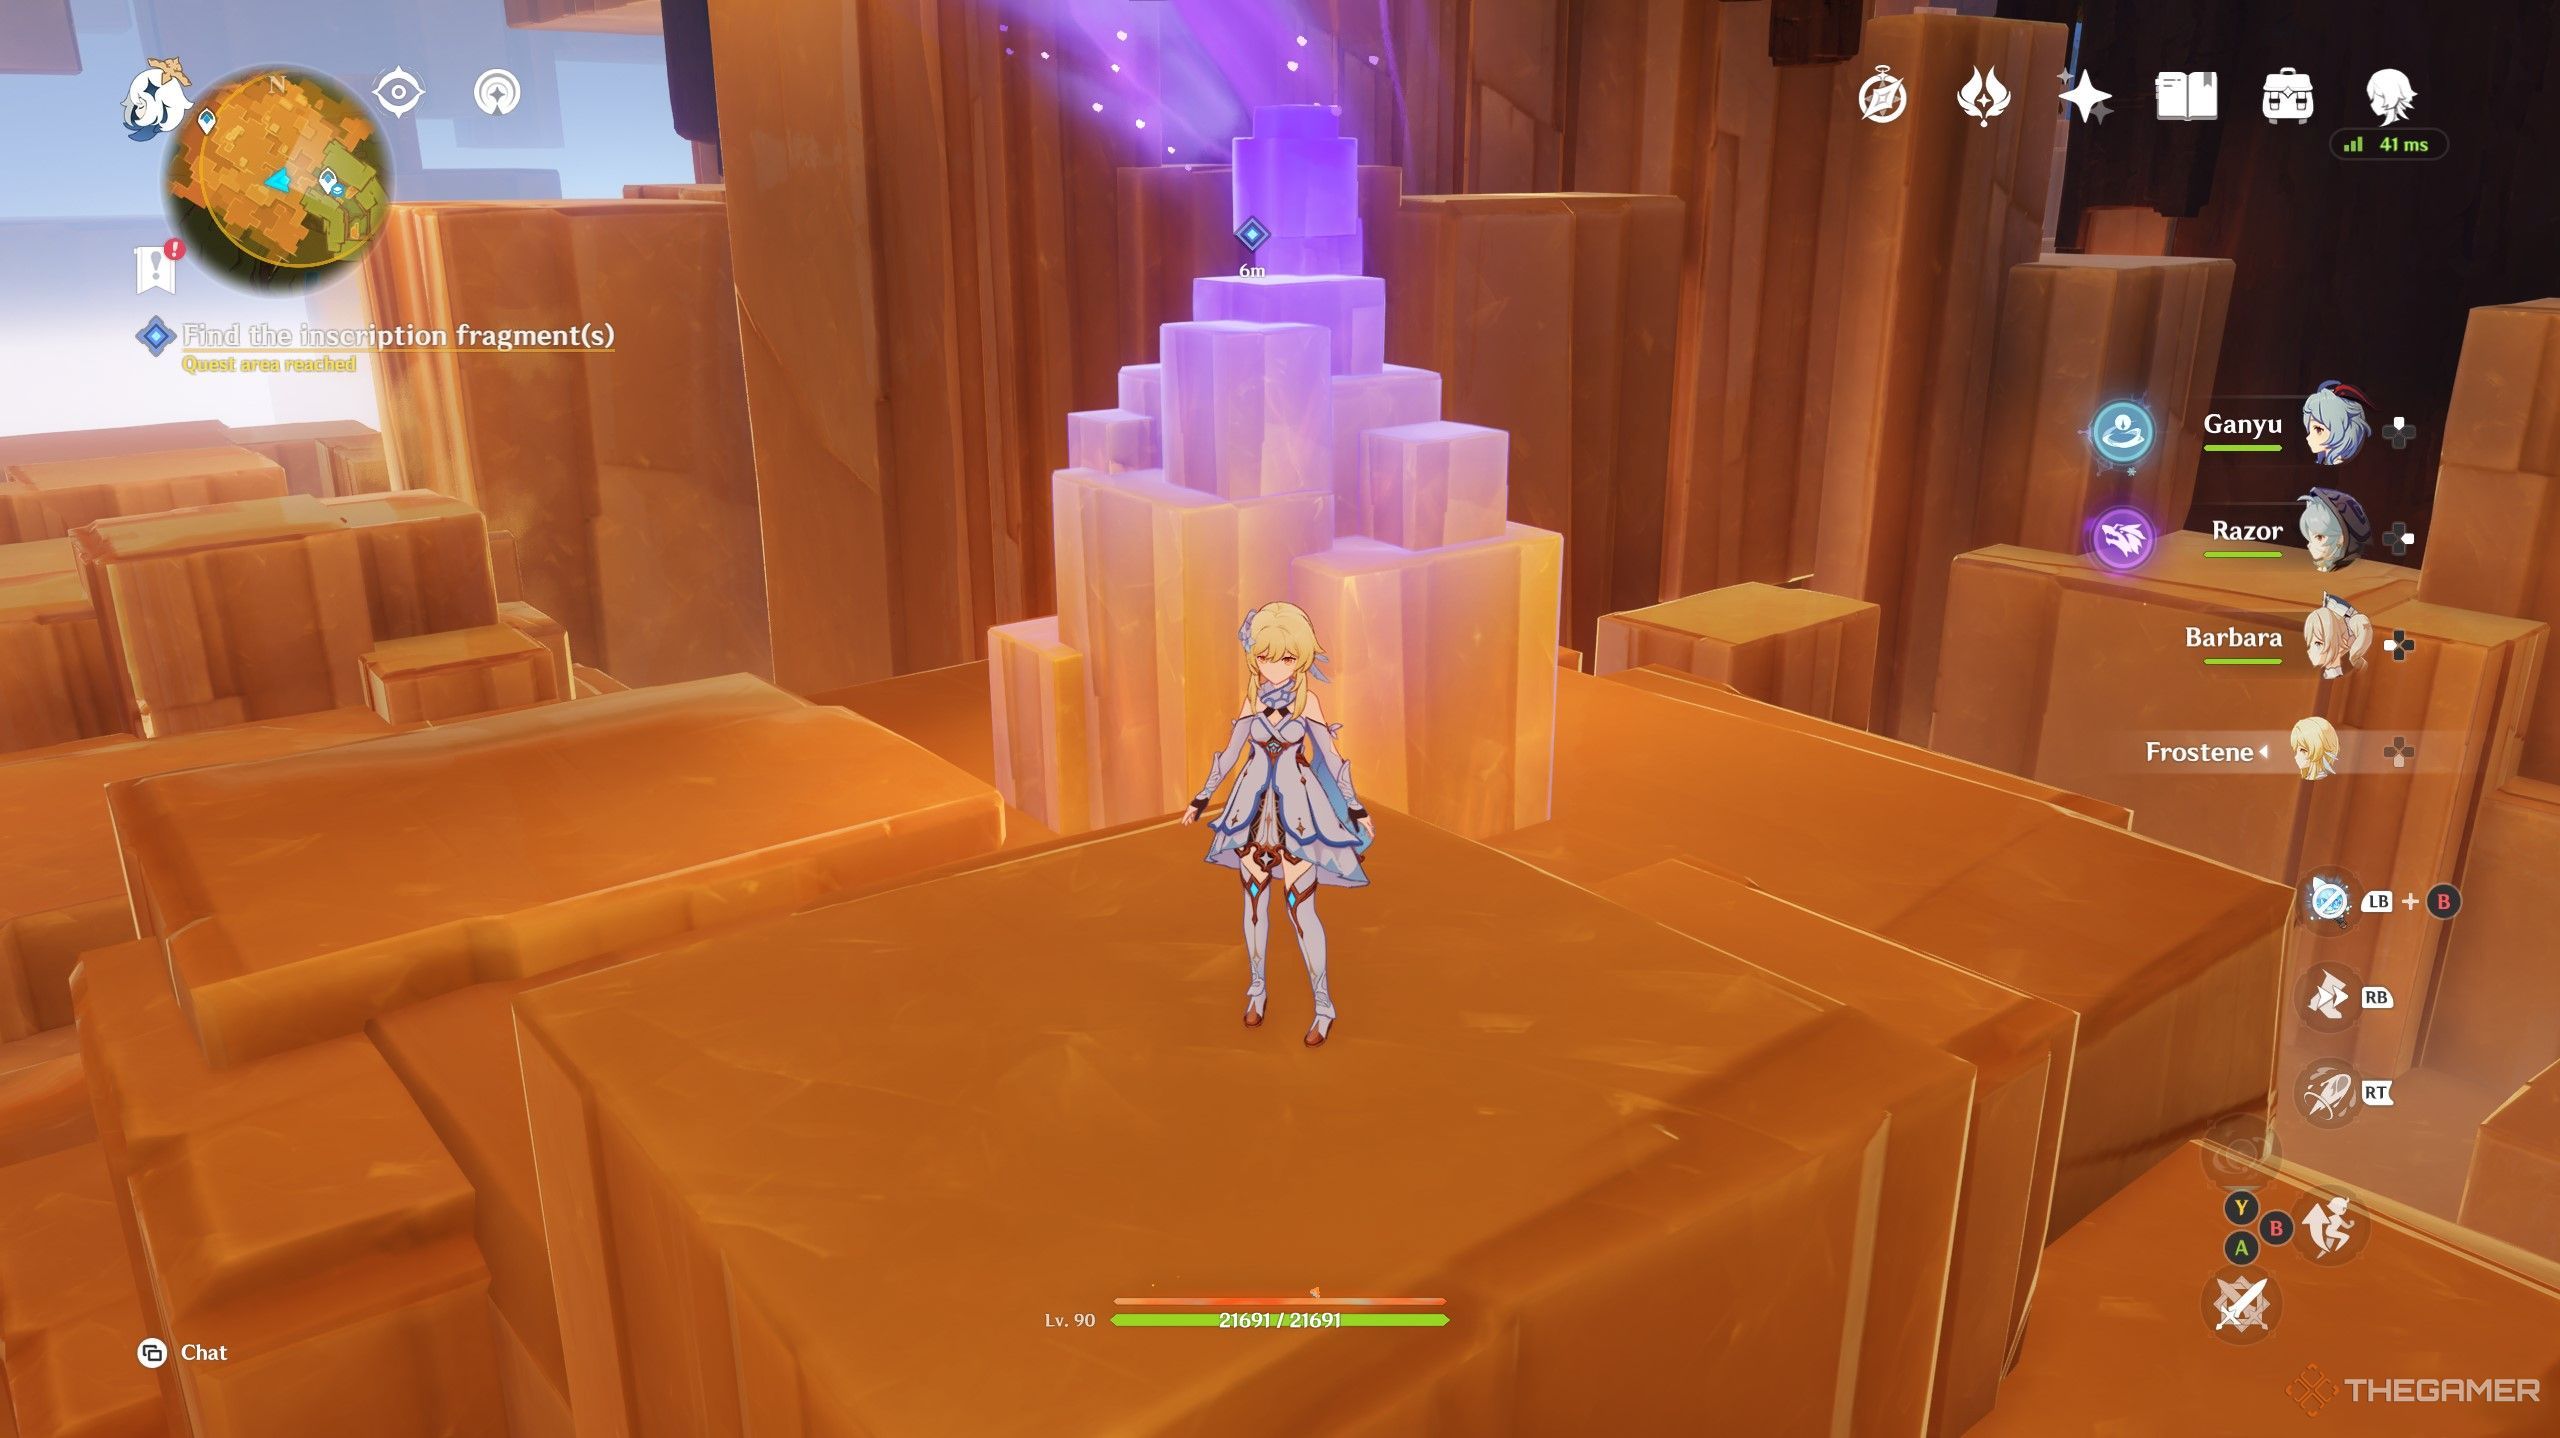
Once you reach them,simply break themandinteract with the golden inscriptionrune.
There won’t be any enemies to worry about with this set of blocks.
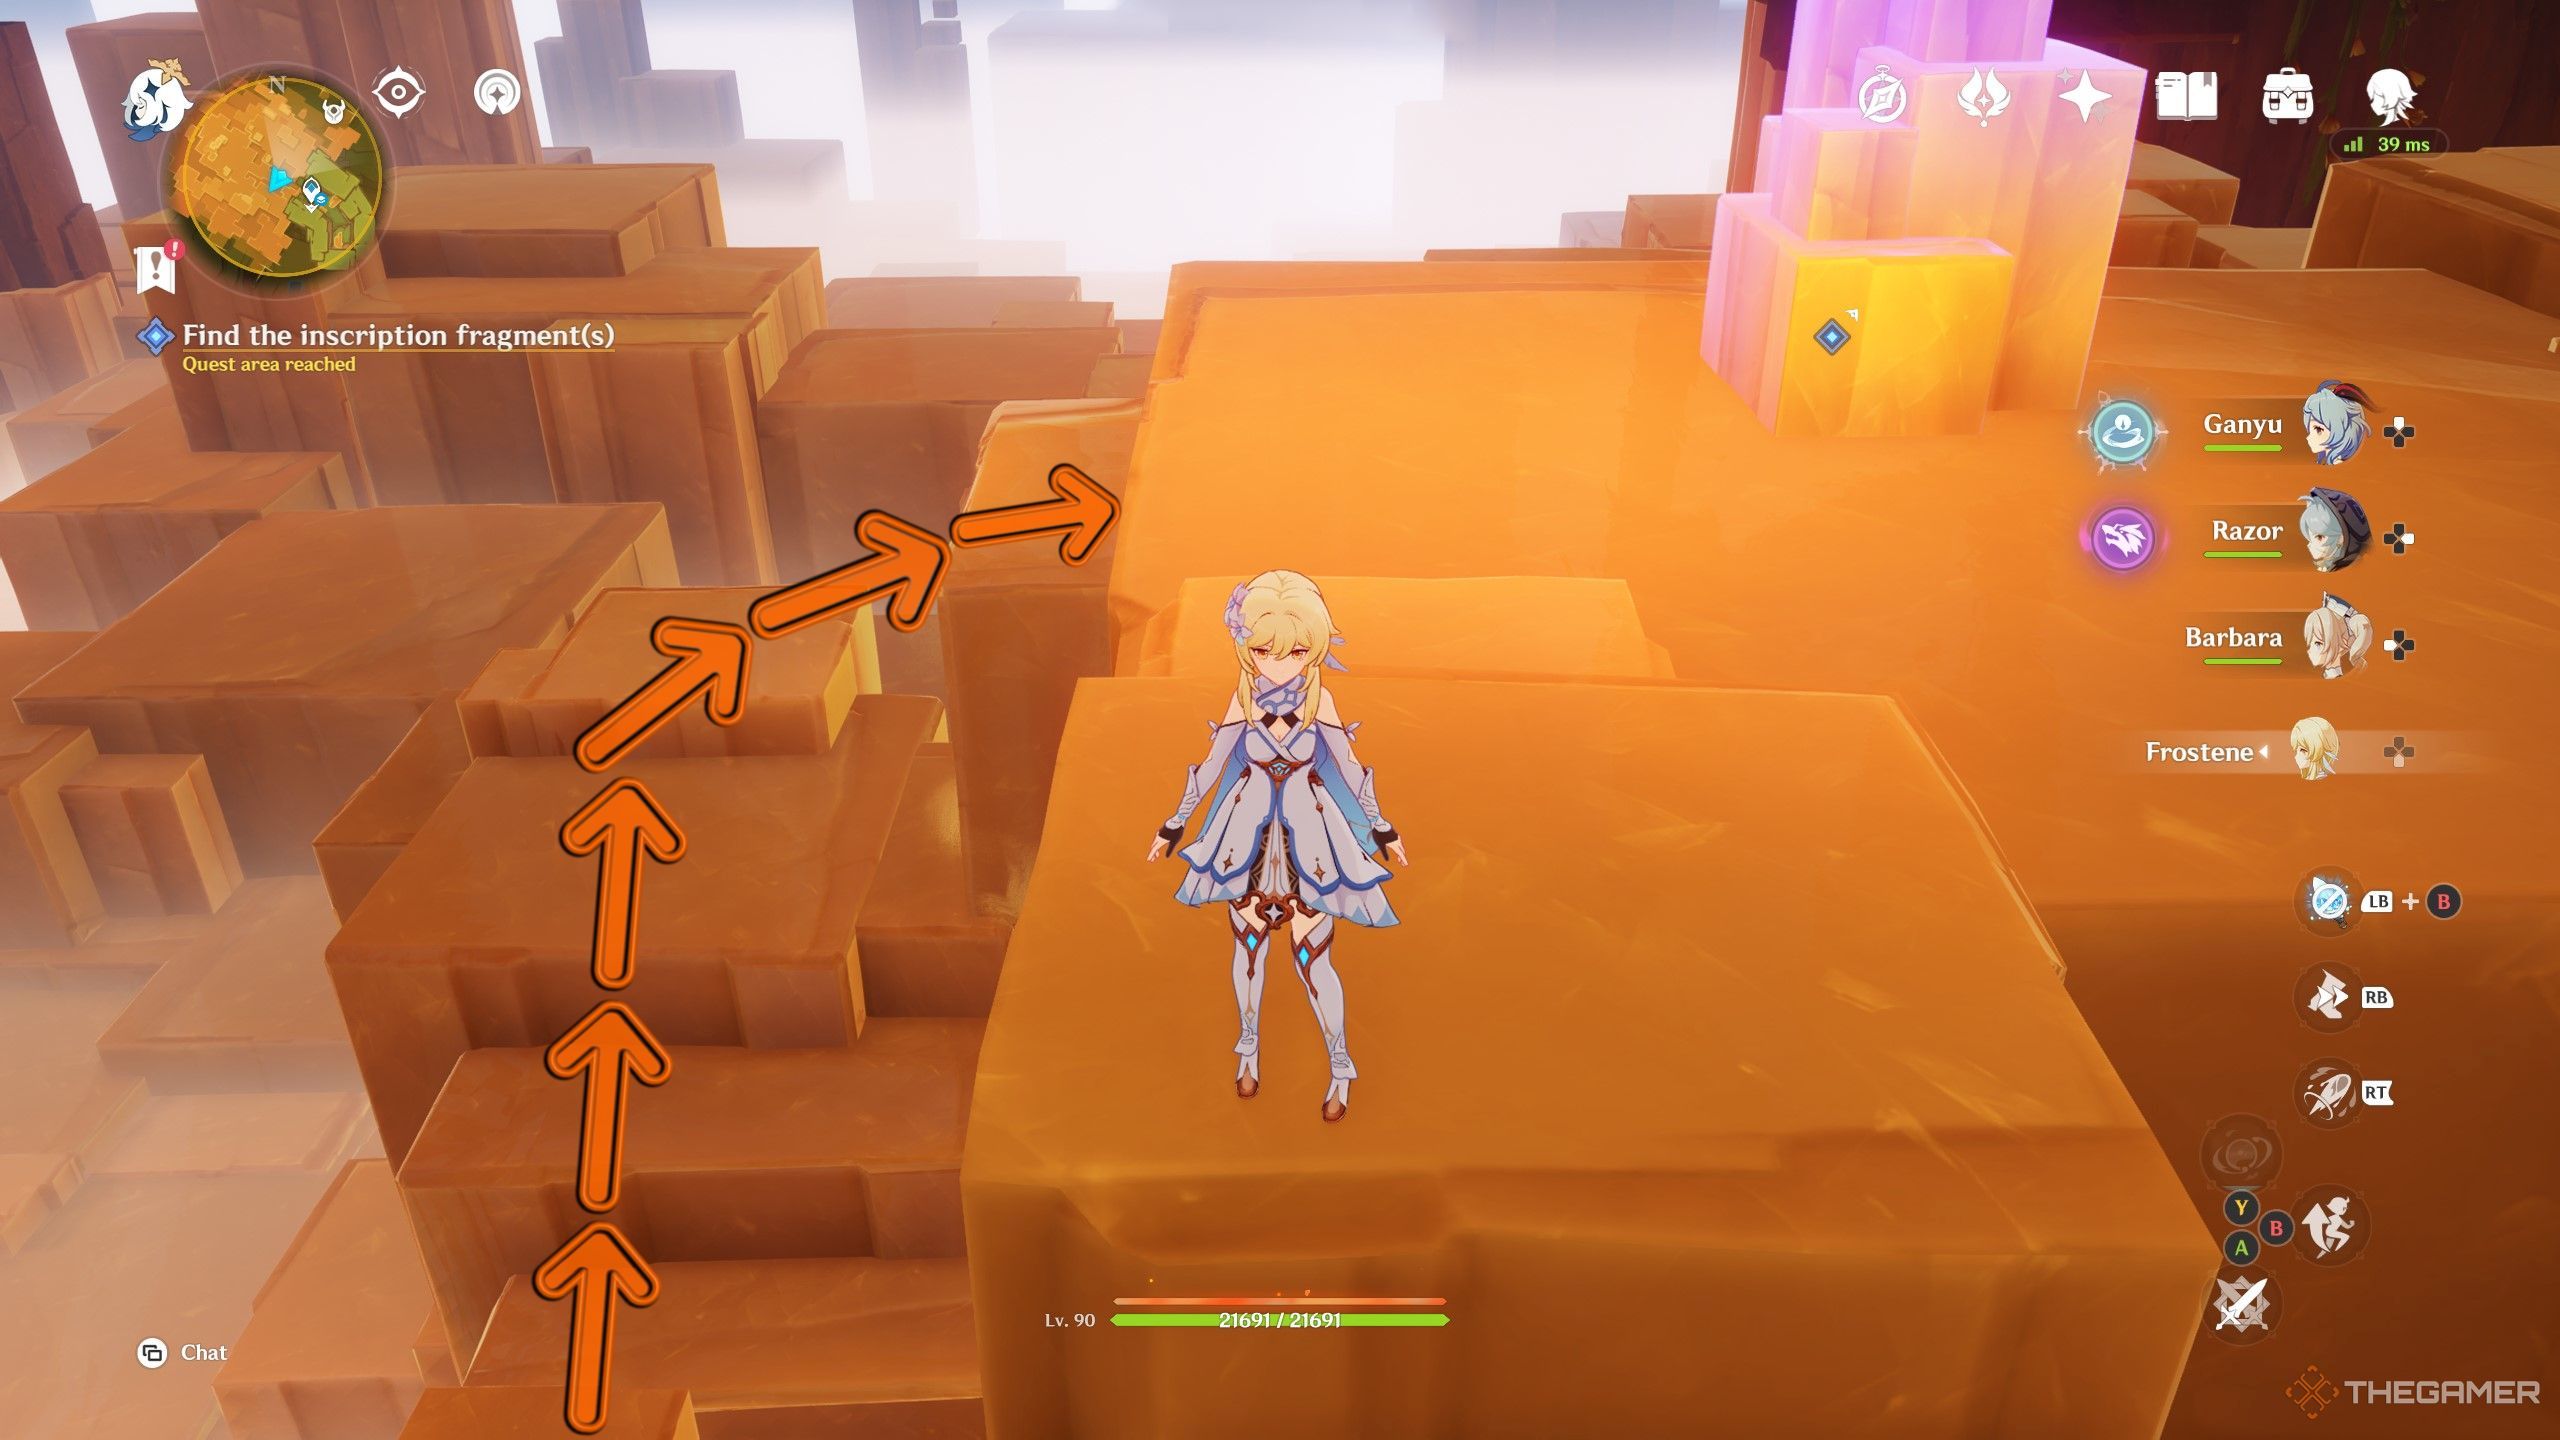
It’ll get you high enough to climb onto the proper level to reach the third block set.

Once you reach the middle of the room,you won’t have time to adjust your party.
Ensure you have your preferred party active before leaving the third block location.
You should expect manyThundercraven Rifthound Whelps(electro) and a largerRockfond Rifthound(geo).

You won’t want to fall off.
Interact with the golden inscription and followit.
You’ll end up right back in the middle of the room where the Greater Shadow Pin is located.
You’ll go through some dialogue scenes, and you shouldchoose to rewrite the storyfor the heroes.
When you’re ready, you canspeak with Titu to tell him that you are readyto battle.
Defeat all enemies, talk to the mysterious entity, then talk to Tituagain.
You’ll get a small scene when you reach the target location.
The enemies you encounter will be more formidable than those you’ve encountered before during this quest.
ExpectAnemo and Geo aligned enemies.
Congratulations, you’ve finally completed the entire world quest of Shadows of the Mountains!
This alsocounts toward your reputation progressin Natlan.
This is where you’re free to use the key.
You’ll want to climb up the wall with a graffiti sun on it.
If you followed the guide and picked up the key, youget the three treasure chestsfound inside.
