Here you’ll find our Trial walkthroughs for FFXIV.
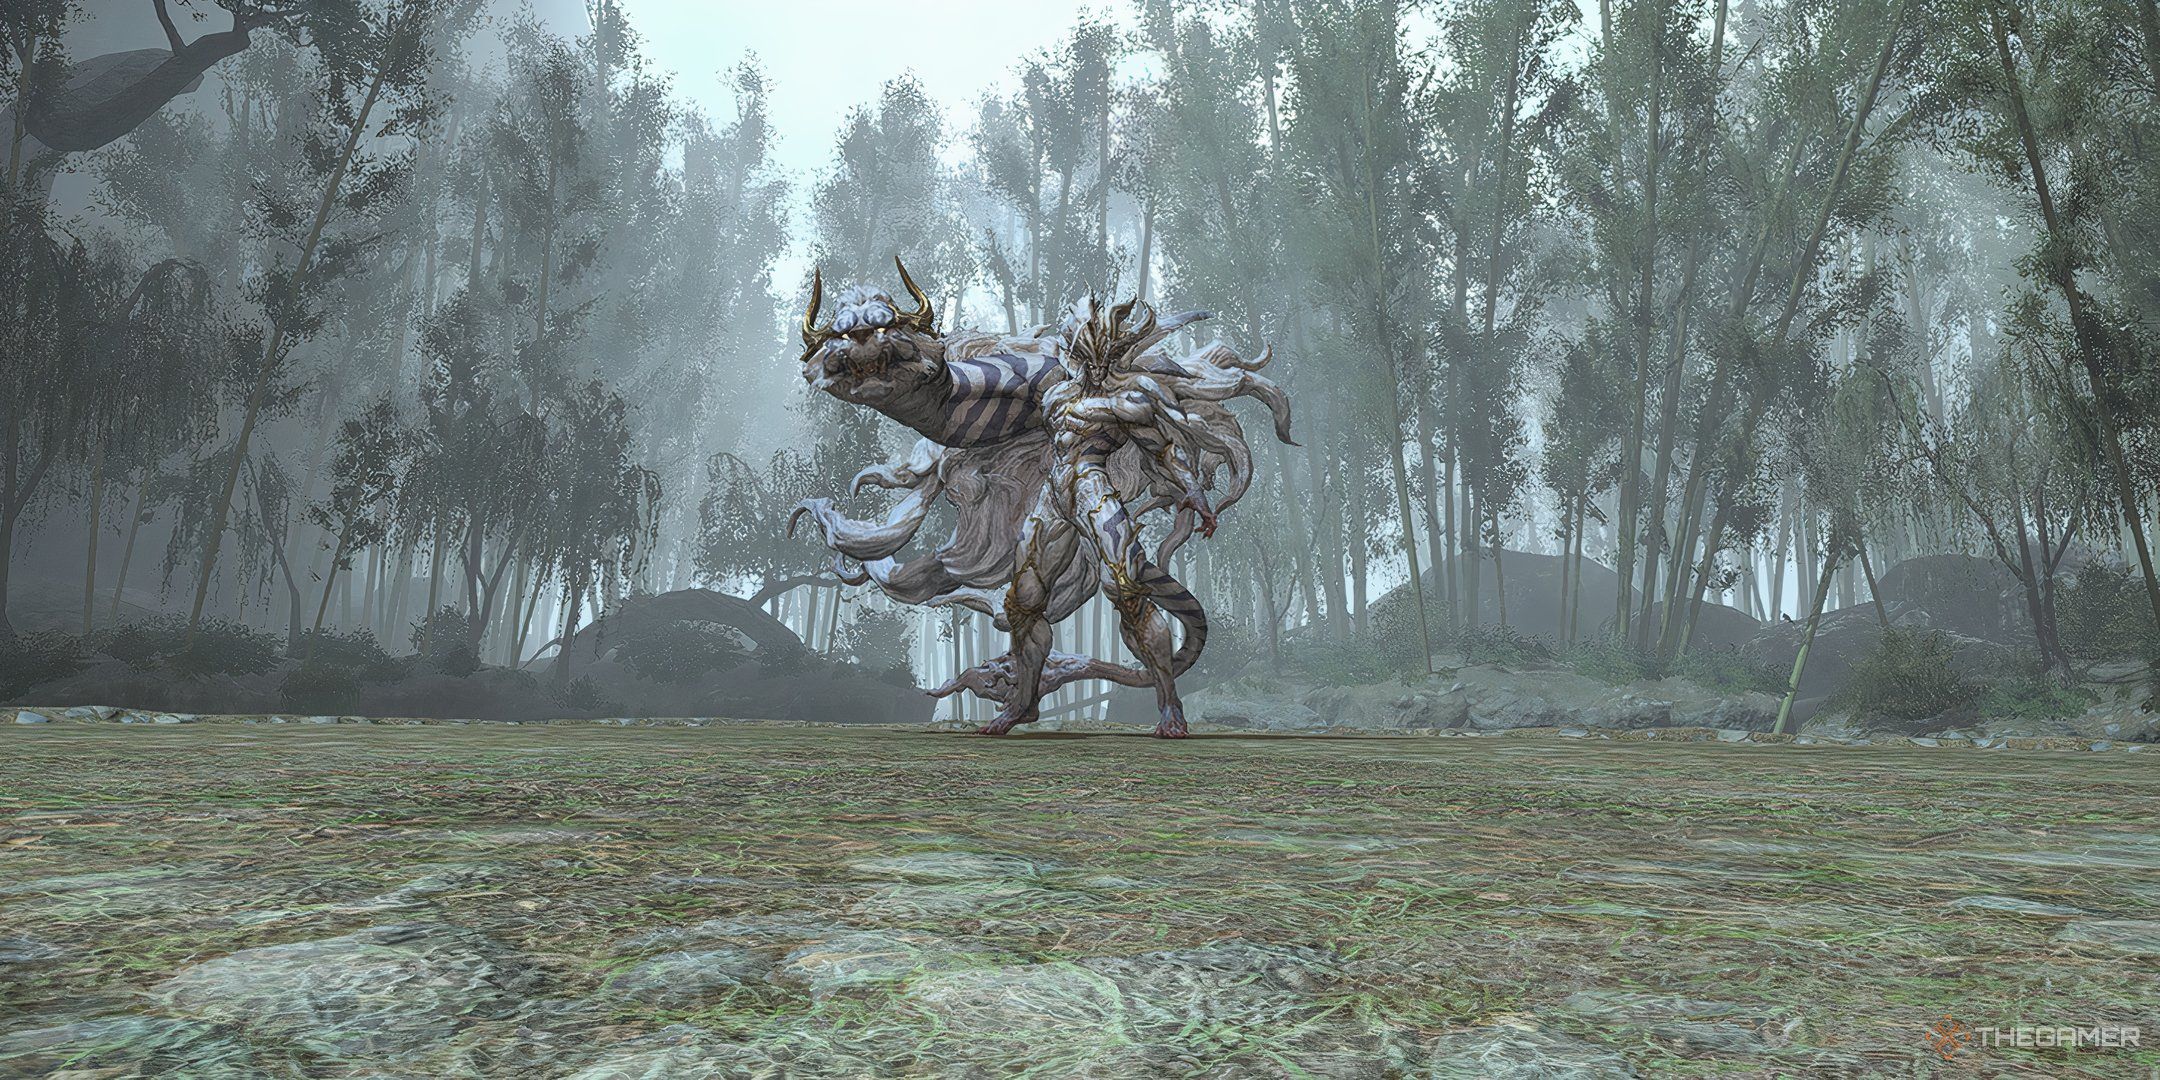
In this enhanced fight, Byakko has some new tricks under his paws.
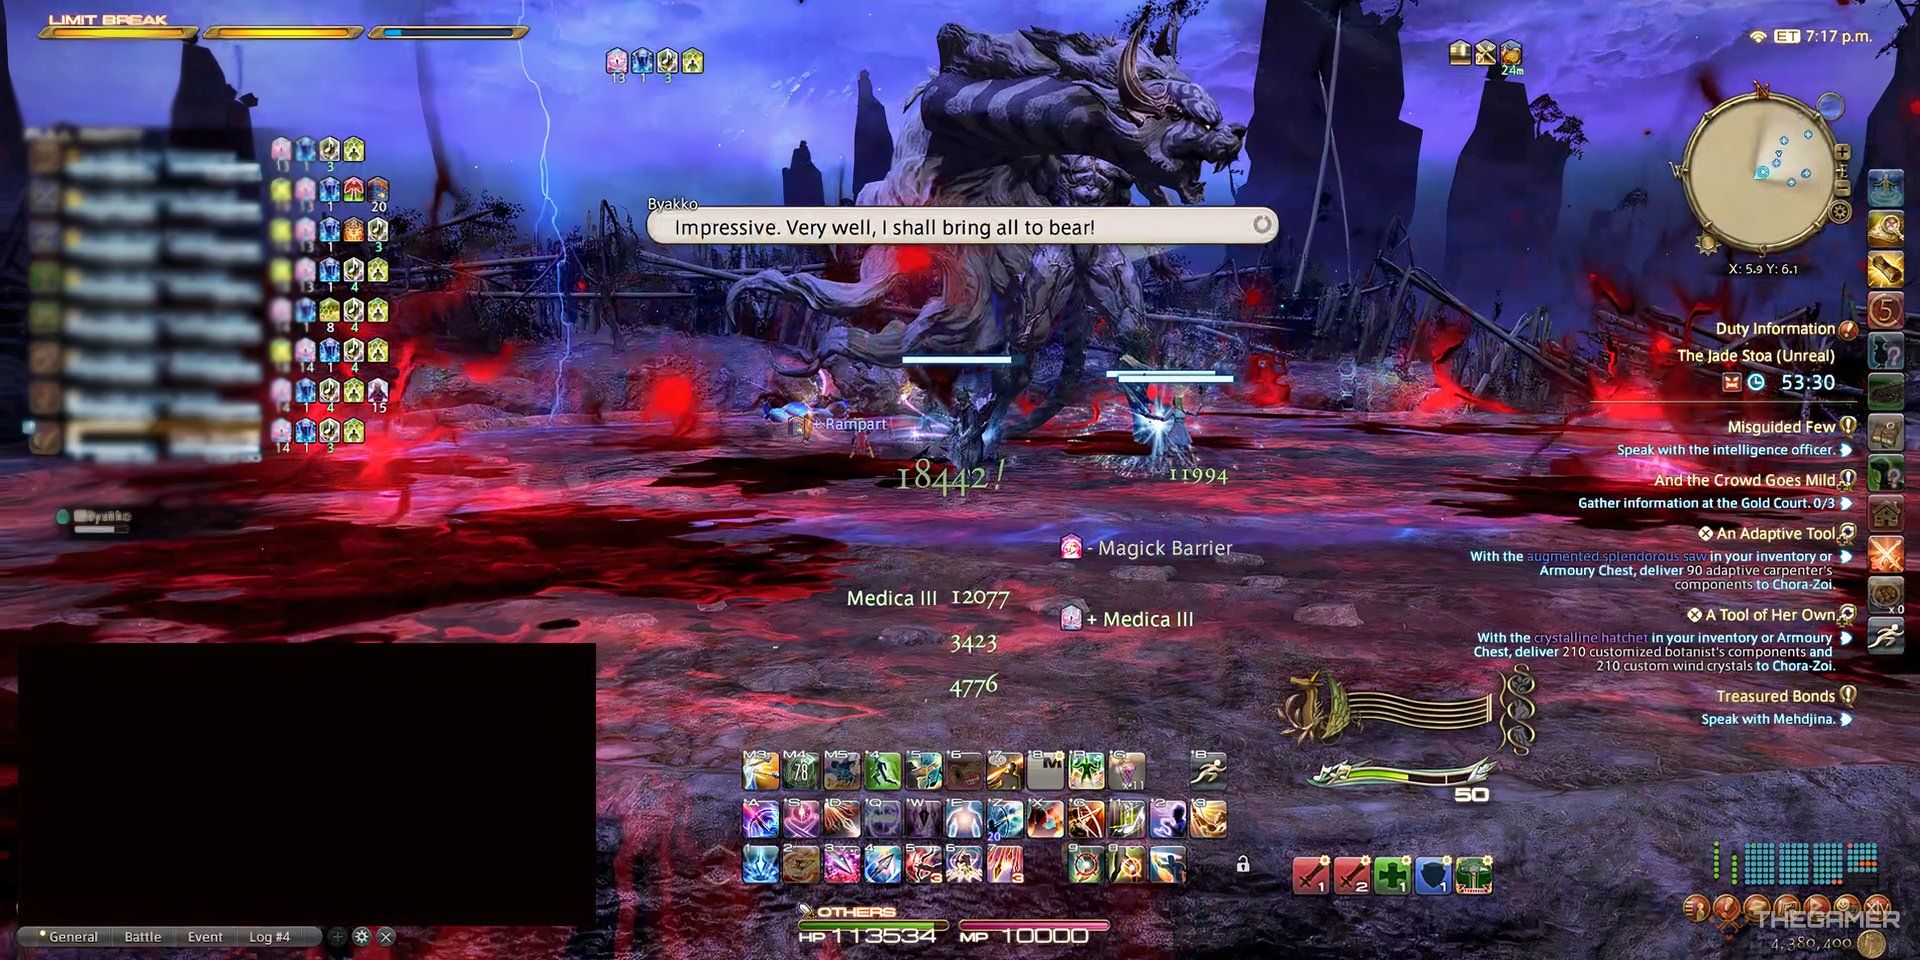
Don’t blink, or the storm will take you.
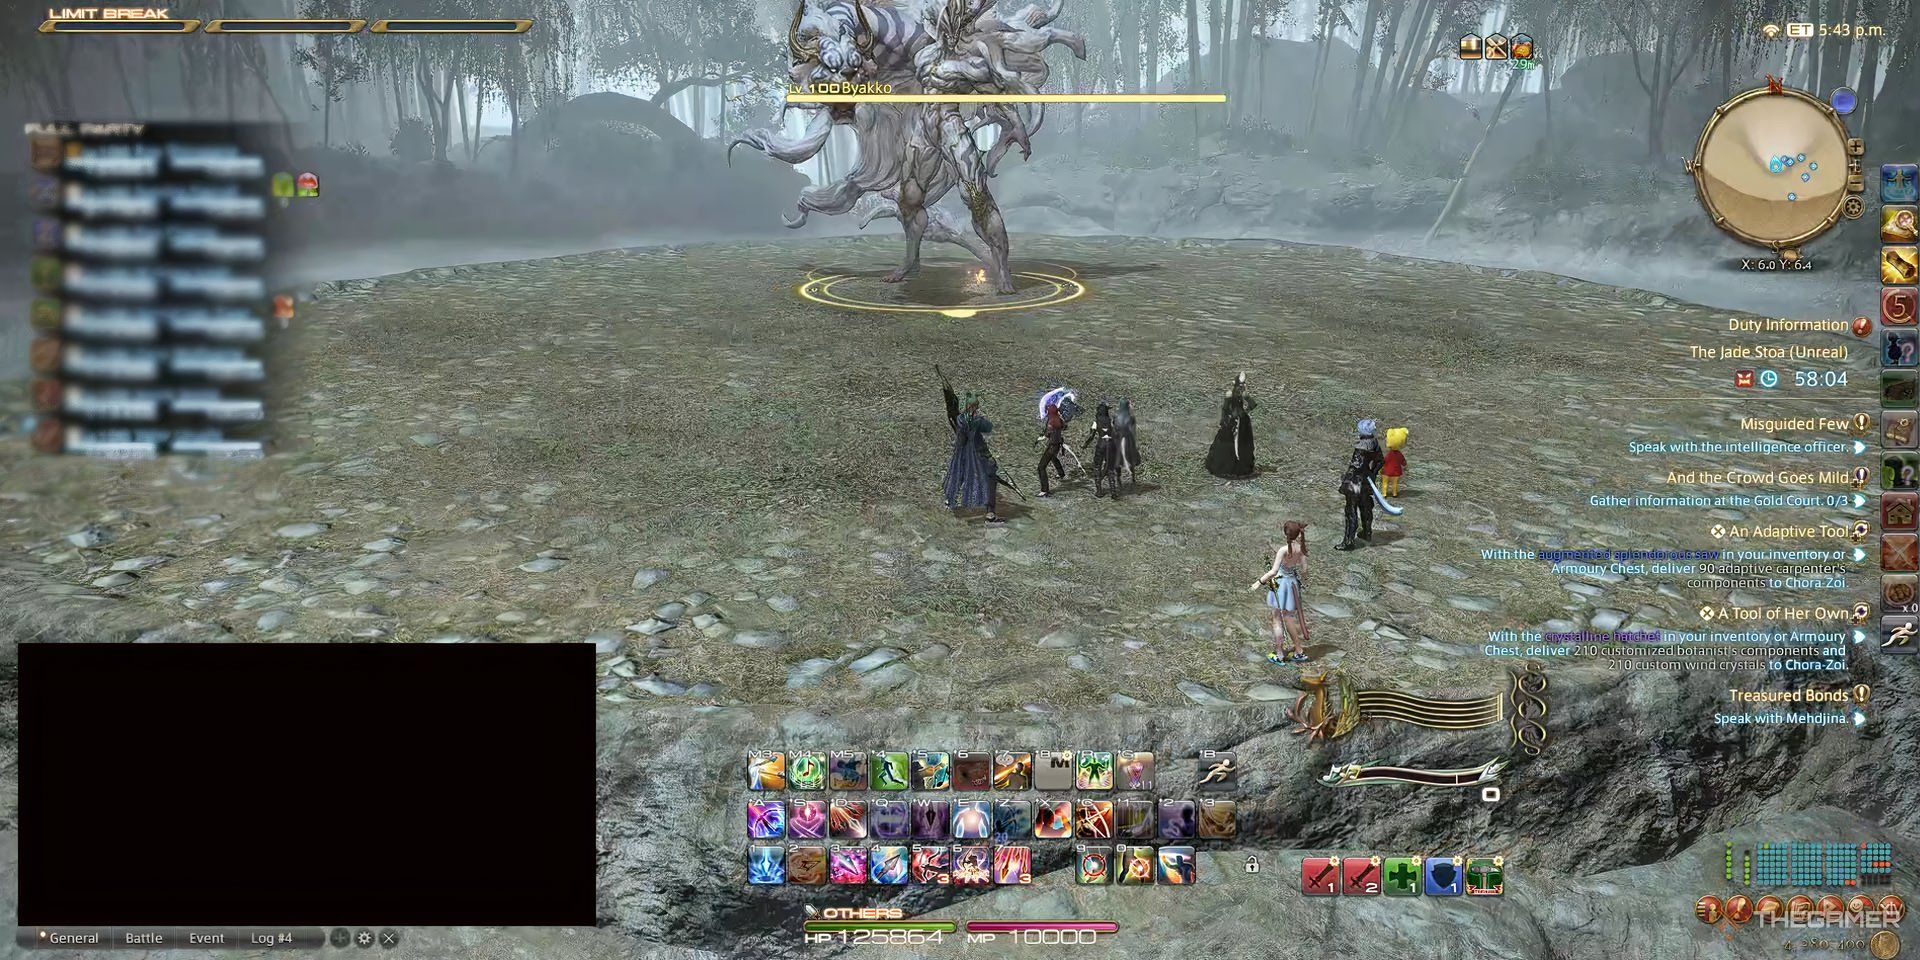
The Trial is meant for Level 70 characters and has a minimum Item Level of 340.
The fight is identical but synced up to the current Level cap.
Set upLight Parties (two groups of four players)once you enter.
Being hit by unavoidable attacks will give you aVulnerability Up debuff that lasts two minutes.
These increase the damage you take from each attack, so be careful.
1st Phase
Attack
key in
Description
Storm Pulse
AoE
Raidwide damage that hits two times.

Repeated throughout the encounter.
Heavenly Strike
Single-target Tankbuster
Big hit on the main target.
Players must join the stack to save the grabbed person.
Repeats the attack twice.
A player cannot stack twice or they’ll instantly die.
Tanks can use their invulnerability here to avoid stacks.
Unrelenting Anguish
Special
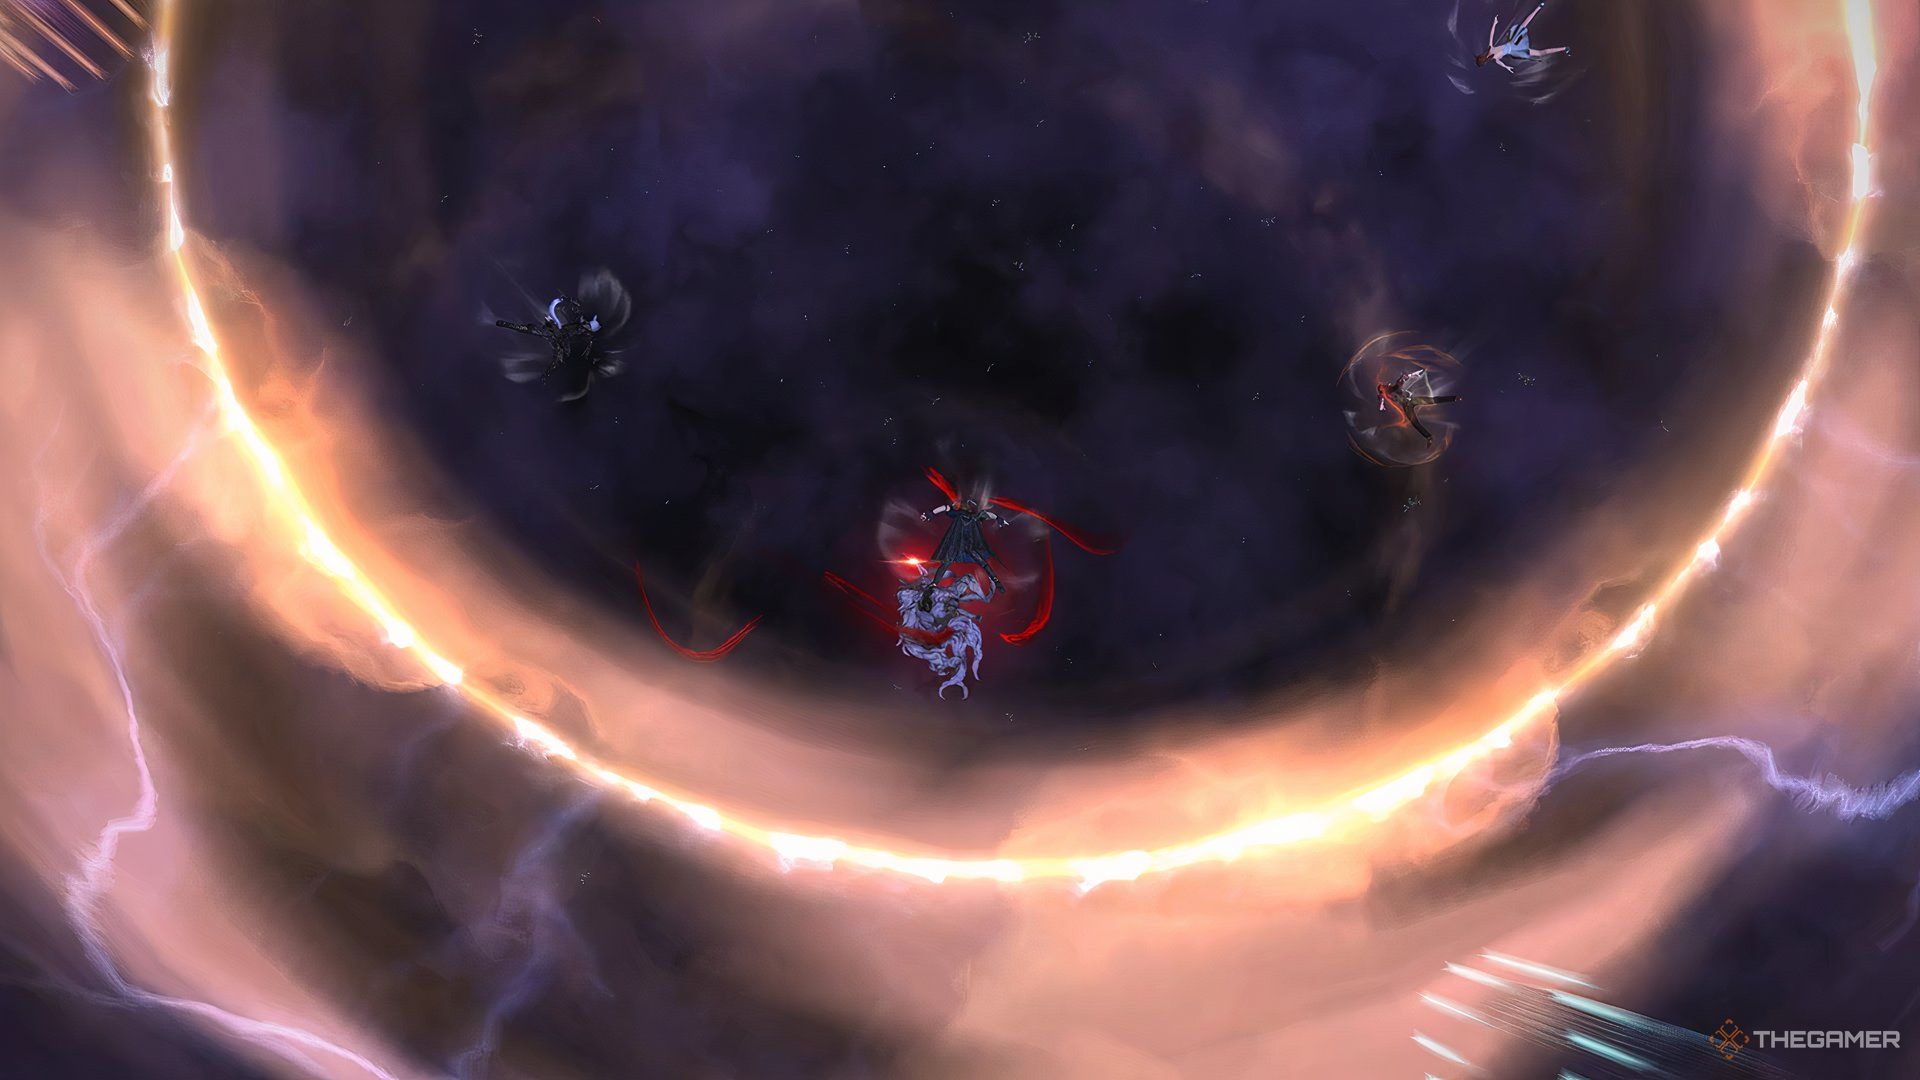
Byakko jumps to the arena’s center and starts shooting various rotating energy orbs around him.
Players must rotate alongside him avoiding these orbs.
At the same time, Byakko marks three players with an orb (Ominous Wind) around them.
They’ll be knocked up into the sky if they are near each other once the debuff timer ends.
Fire & Lightning
Line AoE
While still casting Unrelenting Anguish, Byakko attacks a corner of the arena.
Dodge away from the line.

Summon Hakutei
After the orbs are gone, Byakko summons the tiger Hakutei to battle.
The main Tank keeps Byakko north while the other Tank grabs Hakutei and keeps it south.
Aramata
Baits
Byakko marks a healer and a DPS to drop three puddles beneath them after a few seconds.

The Tank must be as far as possible from the rest of the party until it explodes.
Additionally, there are various orbs trying to reach Hakutei.
If they reach it, they’ll increase Roar of Thunder’s damage.

Orbs
Orbs float around the air, so dodge them accordingly.
Byakko - Circle
Same as Distant Clap.
Head center next to Byakko to dodge it.

Hakutei - Line
Same as Fire & Lightning.
Dodge the line and you’re good.
If you had no issues with them before, it shouldn’t be much harder.
Hundredfold Havoc
Continuous-firing AoE
Byakko screams “Lightning, sear!”
and summons four arrow AoEs from the arena center, with four more appearing to cover the other directions.
Stand on the second set, then wait for the first set to fire twice.
Immediately dodge to where the first set was and you should be safe.
However, it now happens alongside Hundredfold Havoc.
Sweep the Leg
Byakko hits the whole arena in front of him.
Dodge immediately behind him to be safe.
These puddles expand and cannot touch each other.
You also cannot touch the area left by them or you’ll take damage.
Drop these on the markers you set at the beginning.
If you’re a DPS, be around A when it starts, and so on.
Same thing as before.
Always repeat it twice from now on.
Same thing as before, including the Aramata puddles that follow.
Byakko now remains in the arena while Hakutei is charging Roar of Thunder.
The same move from before the intermission.
If it isn’t available for any reason, just hit Hakutei as usual.
Remember to grab the orbs to avoid tragedies.
Players will be stunned after the roar, assuming they survive.
He immediately follows up with another Fire & Lightning, so be quick to react.
Same as before, but now happens alongside the same baits from Unrelenting Anguish.
Happens immediately after Hundredfold Havoc, complete with another Sweep The Leg afterward.
The full reward list is the following:
Reward
Always Drops?
If you’re fighting the Unreal version of the Trial,the rewards are vastly different.
The items above are only available for the regular Extreme Trial.
