Here’s what you gotta do.
Below, we’ll take a look at everything you should probably know about this fight.
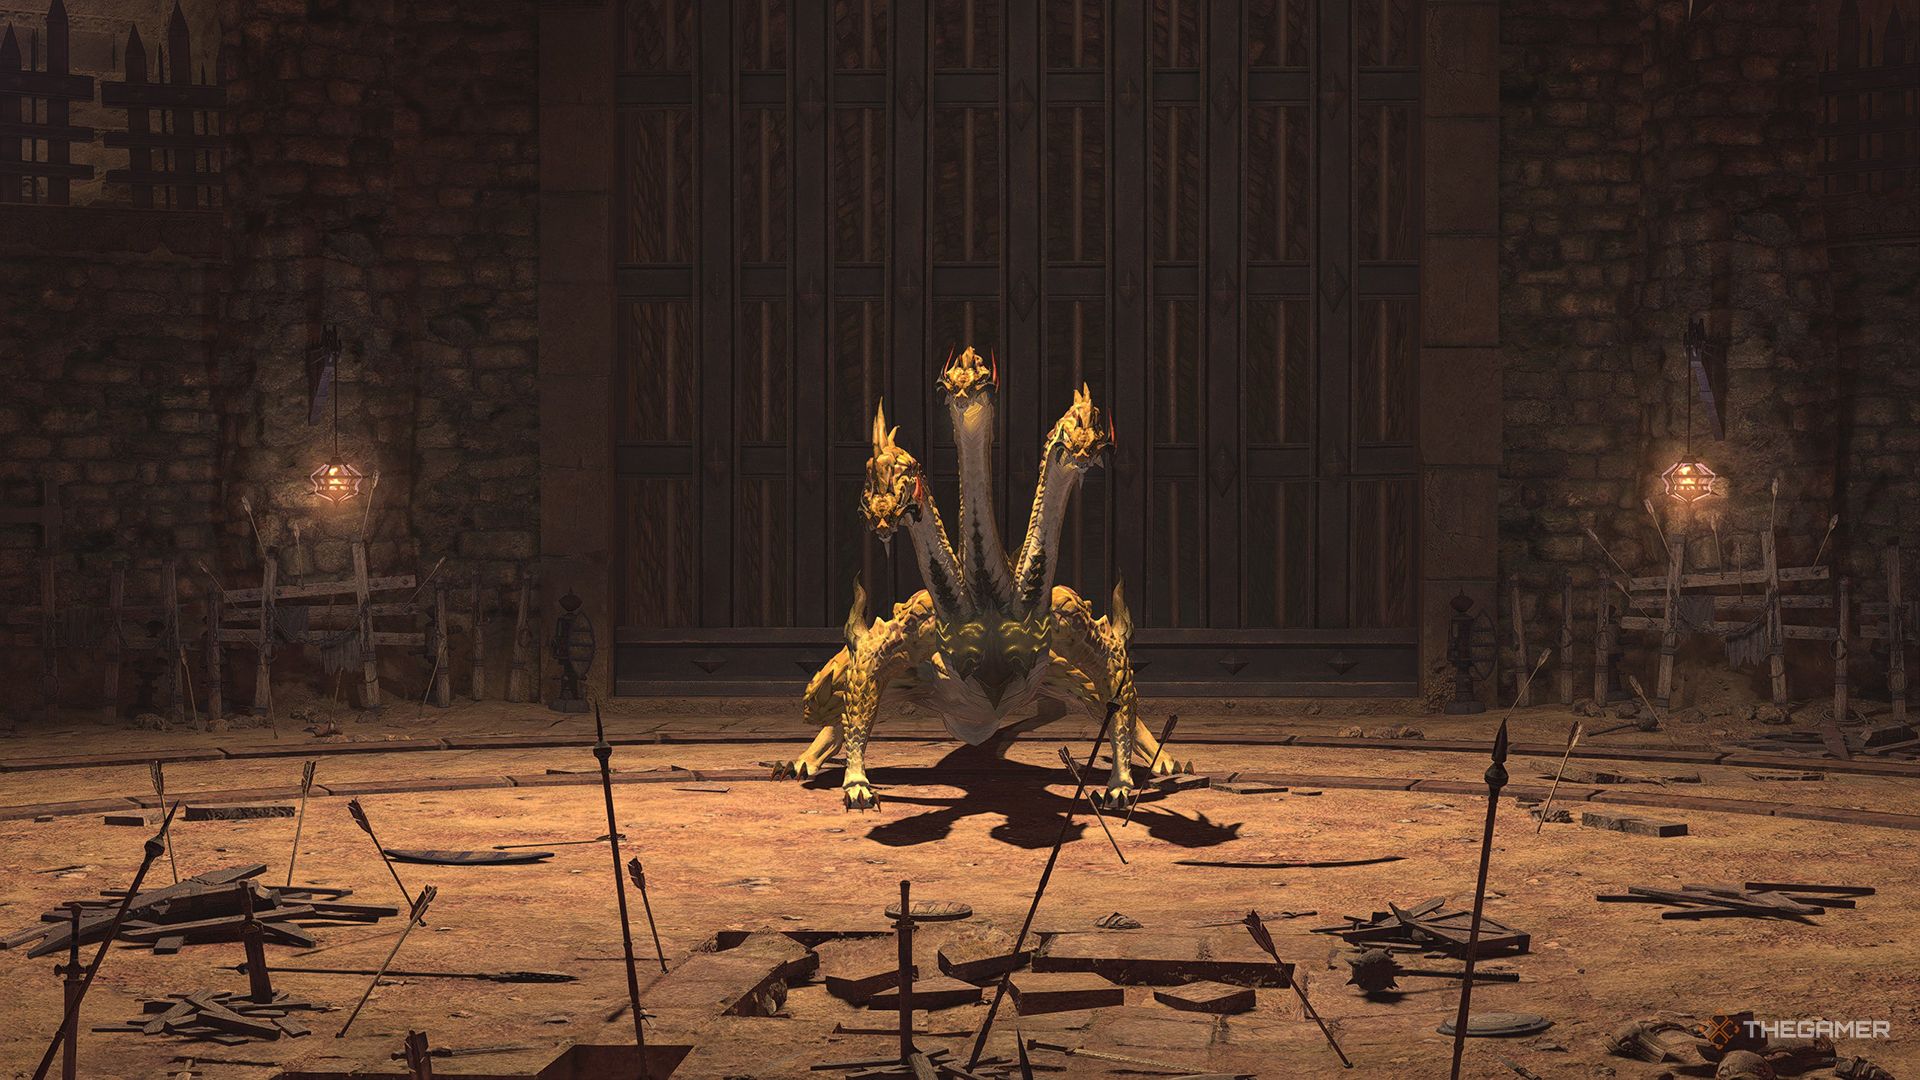
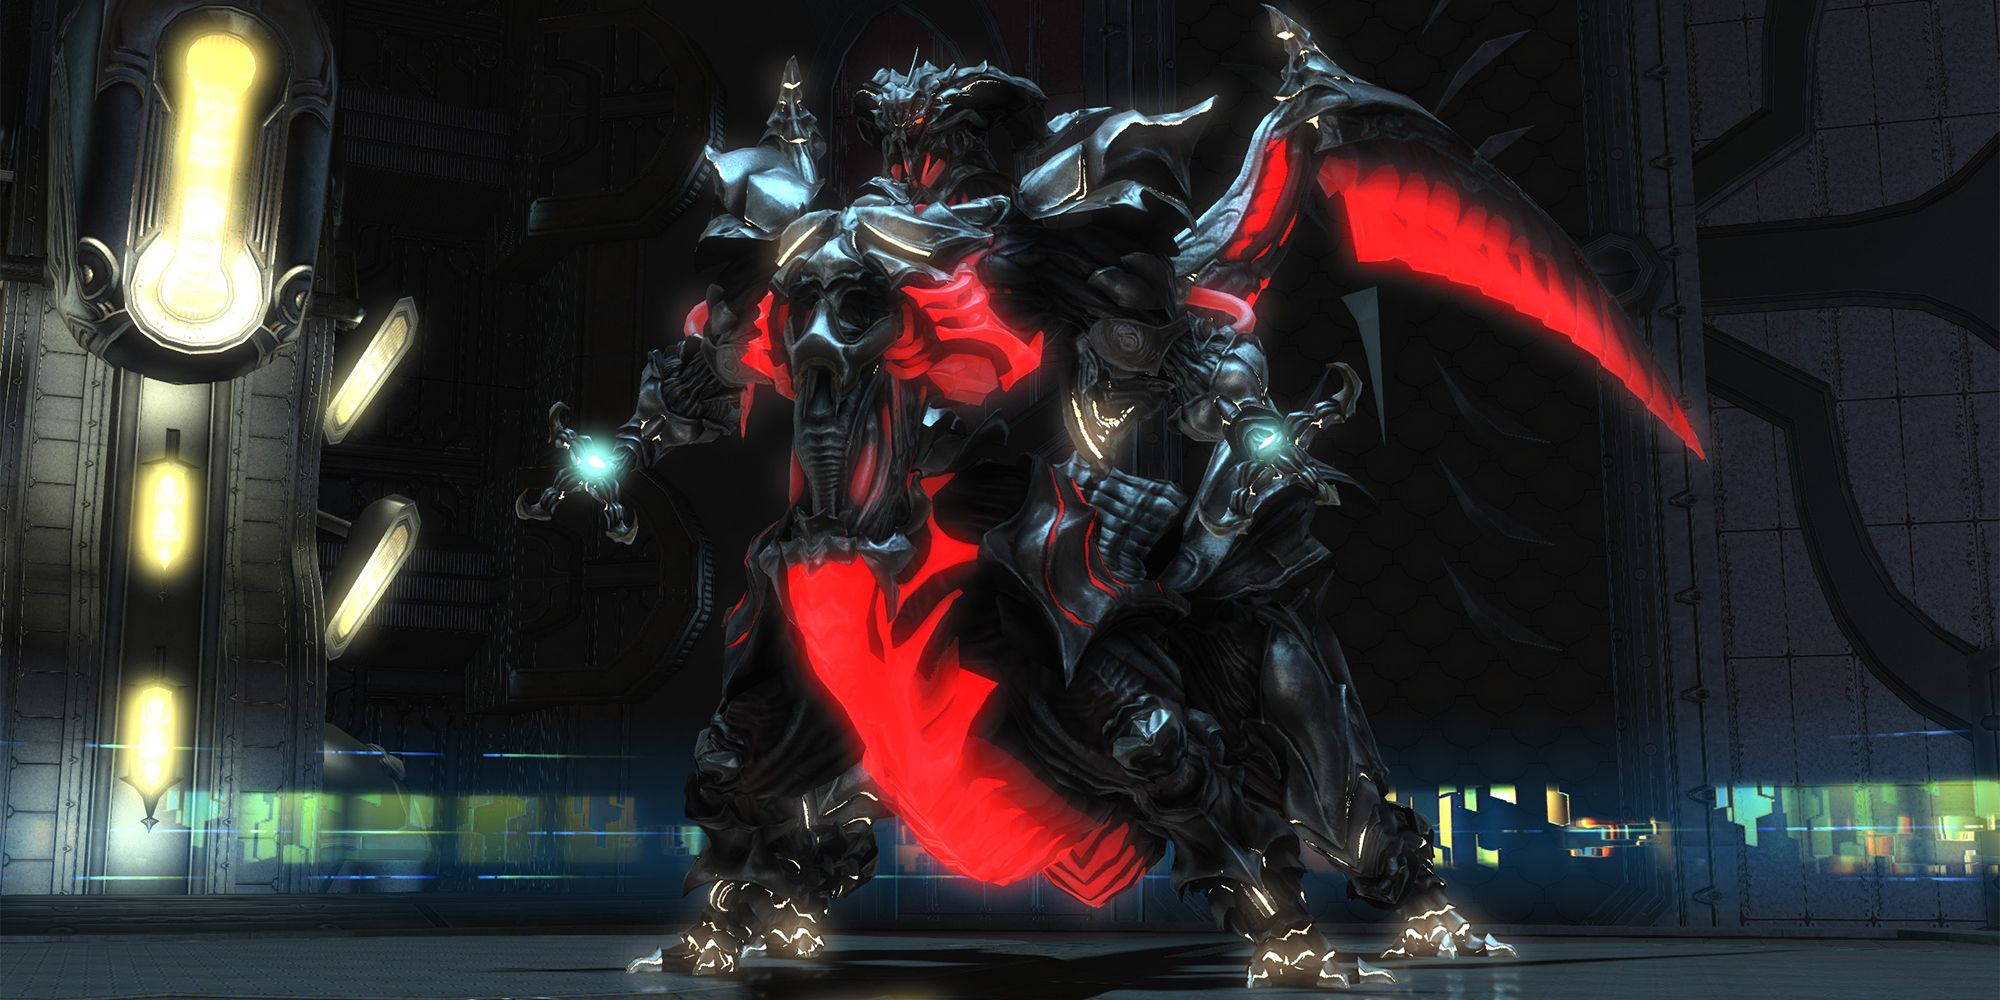
Hydra Fight Walkthrough
The attacks and mechanics that the Hydra uses are detailed below.
Attack Name
bang out
Details
Triumvirate
Conal AoE
Deals untelegraphed damageto the front of the boss.
This damage issplit between up to three playersthat are standing in the AoE.
The off-Tank can stand near the main Tank tosplit the damage of this attack.
Mean Thrash
Deals telegraphed damageto the back of the boss, triggered by players standing behind the boss.
Melee players should be prepared to dodge this attack throughout the fight.
White Breath
Deals telegraphed damageto the front of the bossthat inflictsInfirmity, reducing the healing received.
Radiant Breath
Roomwide AoE
Deals damage toall party membersthat inflictsInfirmity.
Recover with AoE healing.
Ball of Ice
AoE/Puddle
Deals damage in a circular AoE thatleaves behind a puddle of icethat inflictsHeavy.
This puddlepersists for a long time, so avoid stepping into it as you avoid other mechanics.
Ball of Fire
Deals damage in a circular AoE thatleaves behind a fire puddlethat inflictsBurns, dealingdamage over time.
Similar to Ball of Ice, this puddle will persist for some time.
To avoid this attack,stand just inside of the Hydra’s hitbox.
Wyvern
Add
Wyvern adds will appear at certain intervals throughout the fight.
This enemy willinflict Poison with its normal attack, and occasionally give the Hydra a damage-up buff.

Focus on killing the Wyverns as soon as they appear to prevent these effects.
This fight is fairly straightforward, but you will definitely need to watch out forFear Itself.
Use this as your queue toget near the boss to avoid the AoE of Fear Itself.

Here’s where to get every Trial Orchestrion Roll in Final Fantasy XIV.
