If you think that your White Mage is only a healer, you should think again.
Learn all about its damage-dealing skills for PVP in FF14.
Its kit is very straightforward but also versatile.
These can be used to put yourself in a better position to dish out your strongest spells.
Some of its skills can stun enemies, increase damage taken, and even shield/heal your whole team.
Cannot be used while Subtractive Palette is active.
Aero in Green
Attack with a potency of 6,000 to a single target.
Water in Blue
Attack with a potency of 7,000 to a single target.
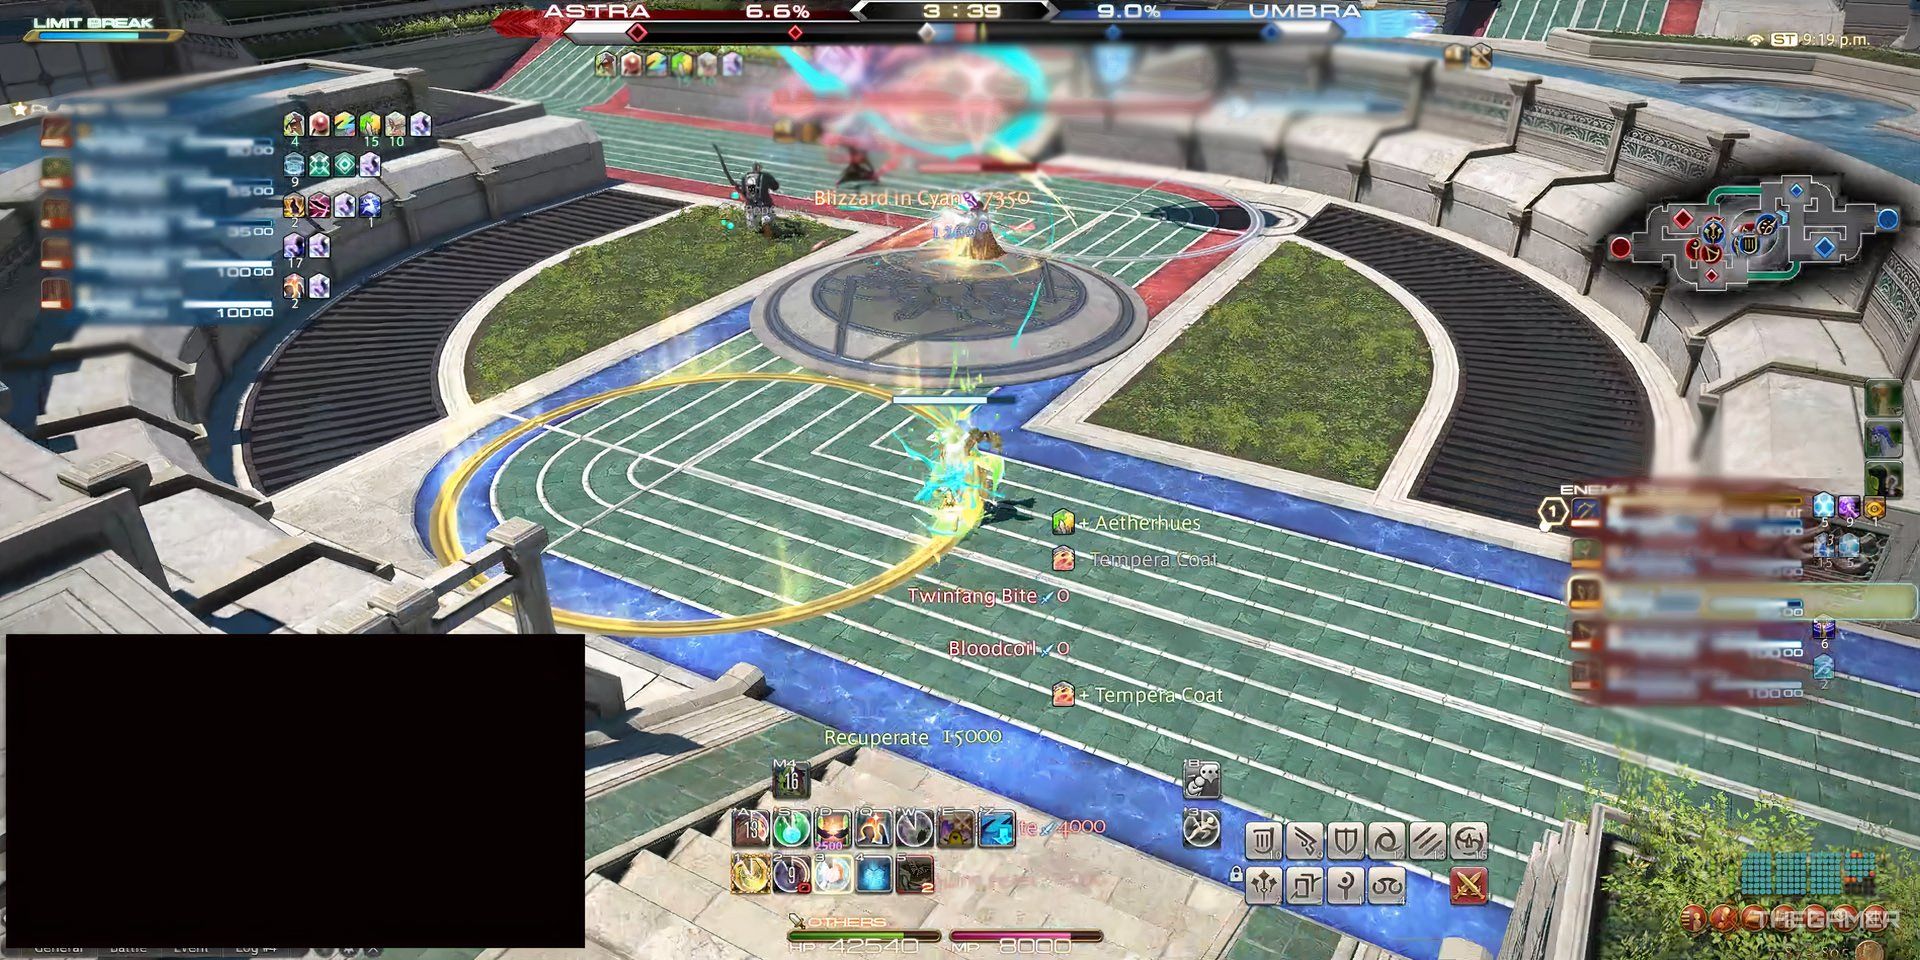
Blizzard in Cyan
1.44s
Can only be used under Subtractive Palette.
Stone in Yellow
Attack with a potency of 8,000 to a single target.
Thunder in Magenta
Attack with a potency of 9,000 to a single target.
Holy in White
16s
Attack with a potency of 8,000 to the target and all enemies nearby it.
Restores 12,000 of the caster’s HP.
Comet in Black
Attack with a potency of 12,000 to the target and all enemies nearby it.
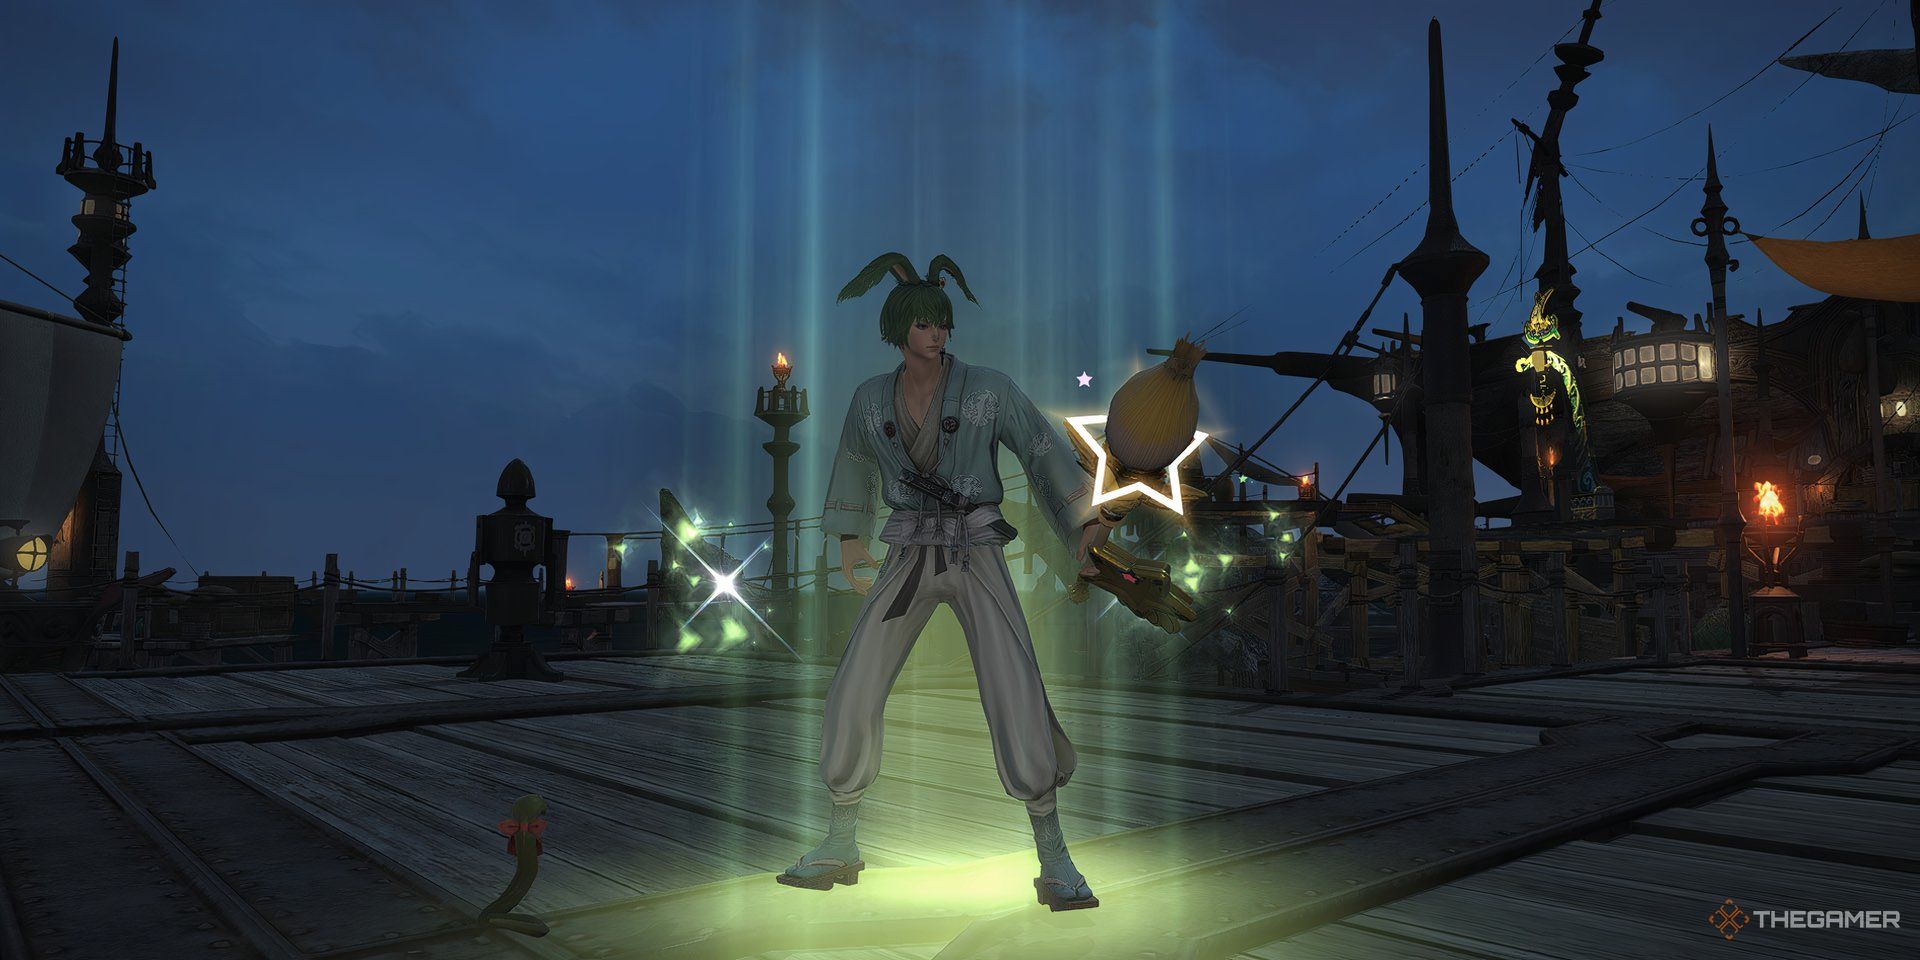
Creature Motif
2s
3s
Paints a Motif, changing your Living Muse Action according to the painted Motif.
Changes to a different Motif after you use your current Muse.
Starts as Pom Motif.
Pom Motif
Paints a Pom Motif.
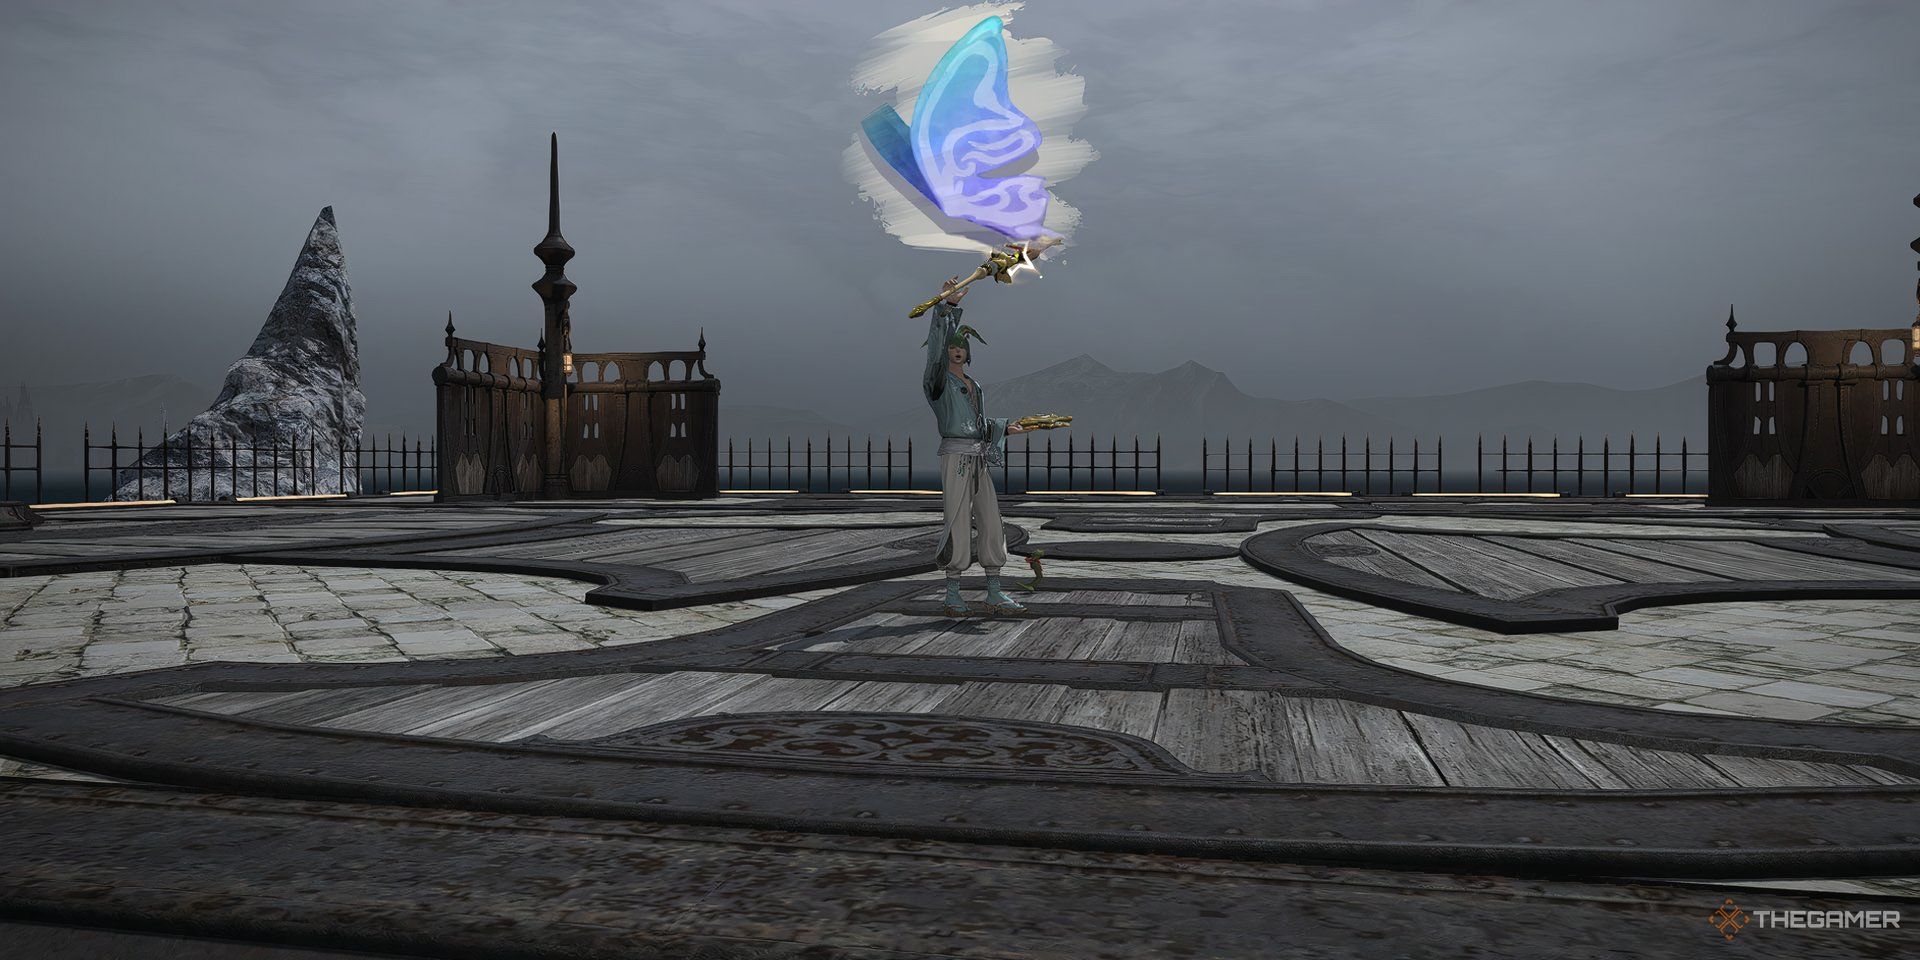
Wing Motif
Paints a Wing Motif
Claw Motif
Paints a Claw Motif
Maw Motif
Paints a Maw Motif.
Living Muse
Consumes your current sketch to use a Muse ability.
Using a sketch allows you to paint a different sketch with Creature Motif.
Pom Muse
Attack with a potency of 8,000 to the target and all enemies nearby it.
Winged Muse
Attack with a potency of 8,000 to the target and all enemies nearby it.
Can only be used after painting a Wing Motif and after casting Pom Muse.
Clawed Muse
Attack with a potency of 8,000 to the target and all enemies nearby it.
Can only be used after painting a Claw Motif and after casting Winged Muse.
Fanged Muse
Attack with a potency of 8,000 to the target and all enemies nearby it.
Also applies a 4,000 potency Damage Over Time for 12 seconds.
Can only be used after painting a Maw Motif and after casting Clawed Muse.
Mog of the Ages
Attack with a potency of 12,000 to all enemies in a straight line.
Also silences enemies for 2 seconds.
Can only be cast after using Pom Muse and Winged Muse.
Retribution of the Madeen
Attack with a potency of 12,000 to all enemies in a straight line.
Also stuns enemies for 2 seconds.
Can only be cast after using Mog of the Ages, Clawed Muse and Fanged Muse.
Smudge
Dashes 15 yalms forward.
Also increases your movement speed by 25% for 4 seconds.
Tempera Coat
20s
Grants a shield of 12,000 potency to yourself, lasting for 10 seconds.
Reduces cooldown by 5 seconds when the barrier is consumed.

Allows you to cast Tempera Grassa.
Reduces cooldown by 5 seconds when the barrier is consumed.
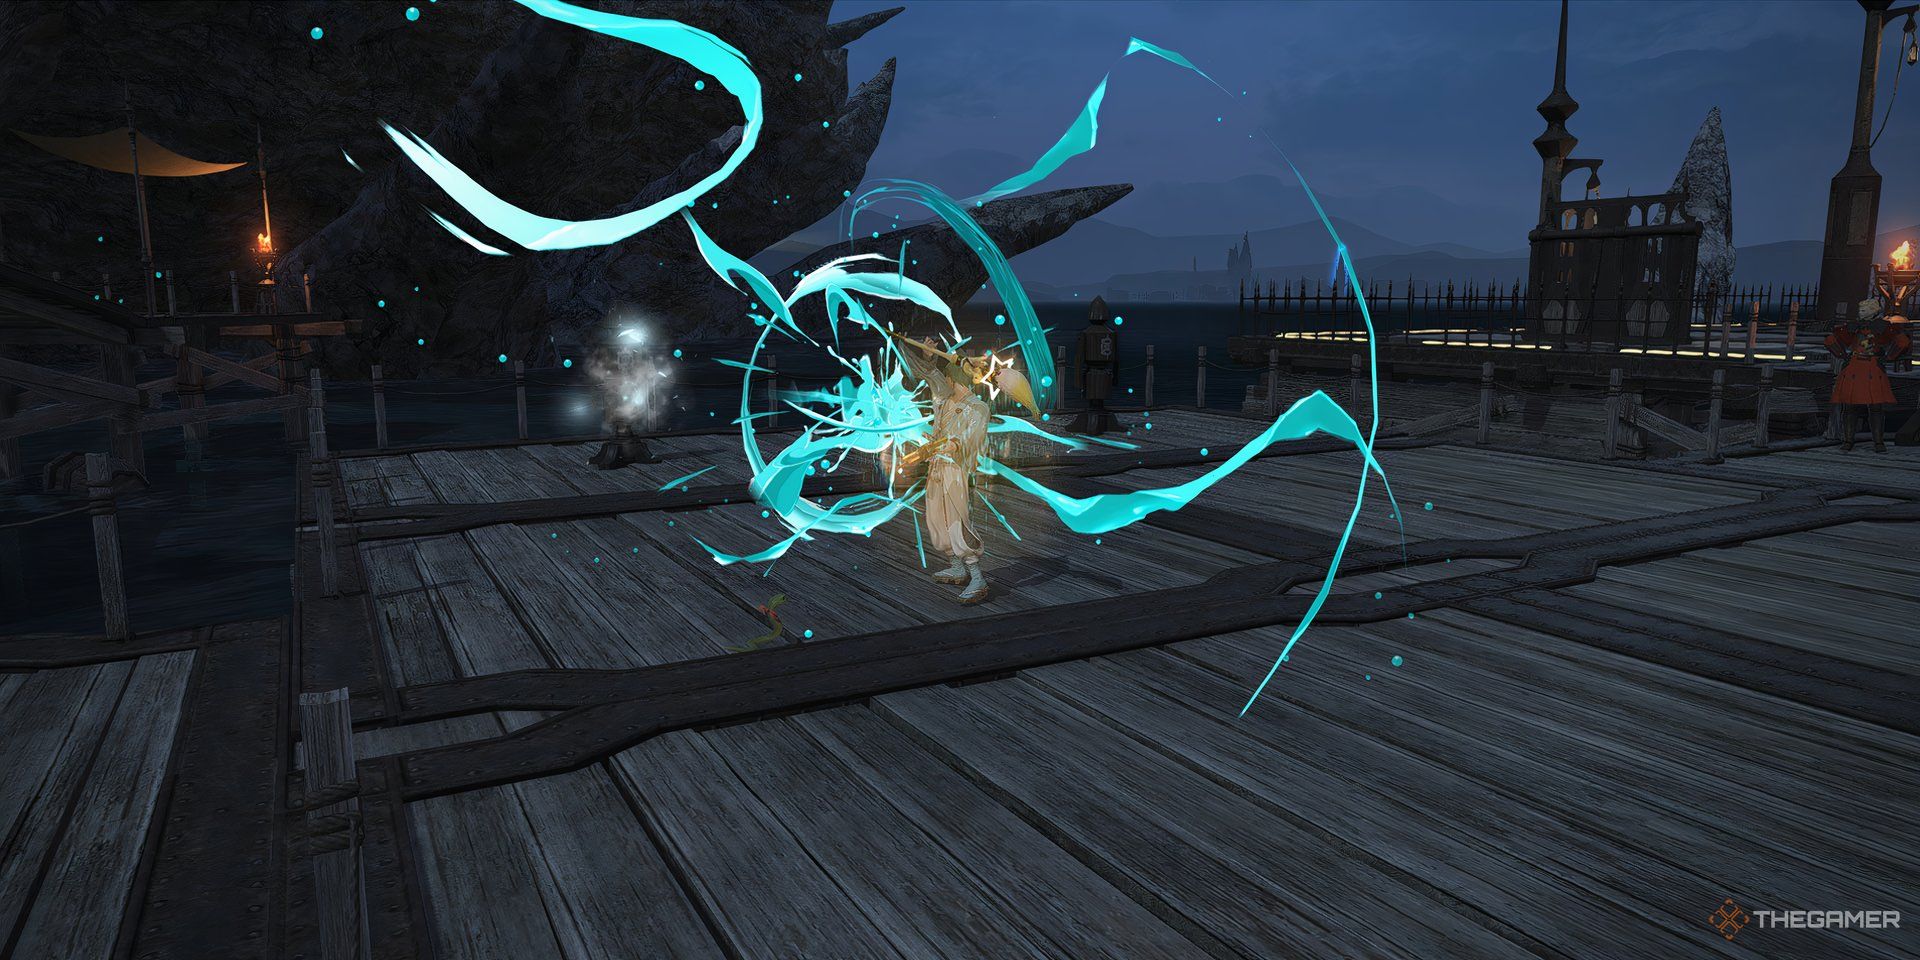
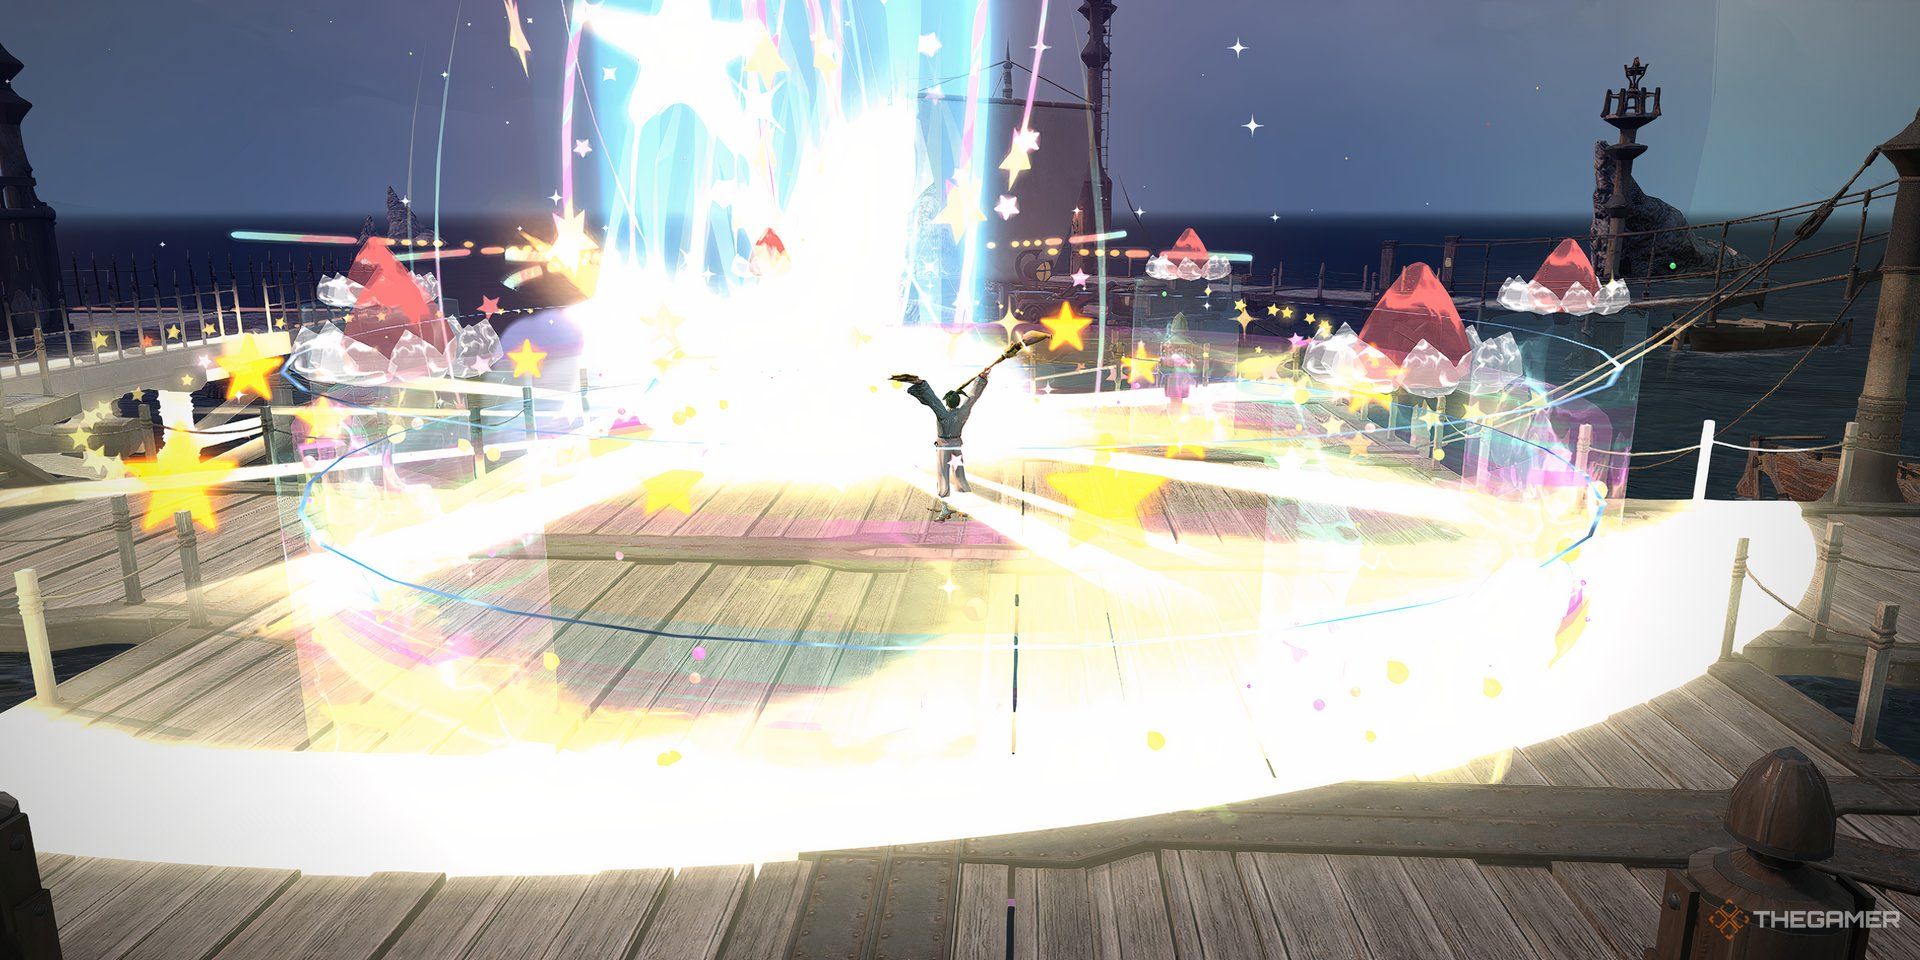
Star Prism
Attack with a potency of 16,000 to the target and all enemies nearby it.

Can only be cast after using Advent of Chocobastion.
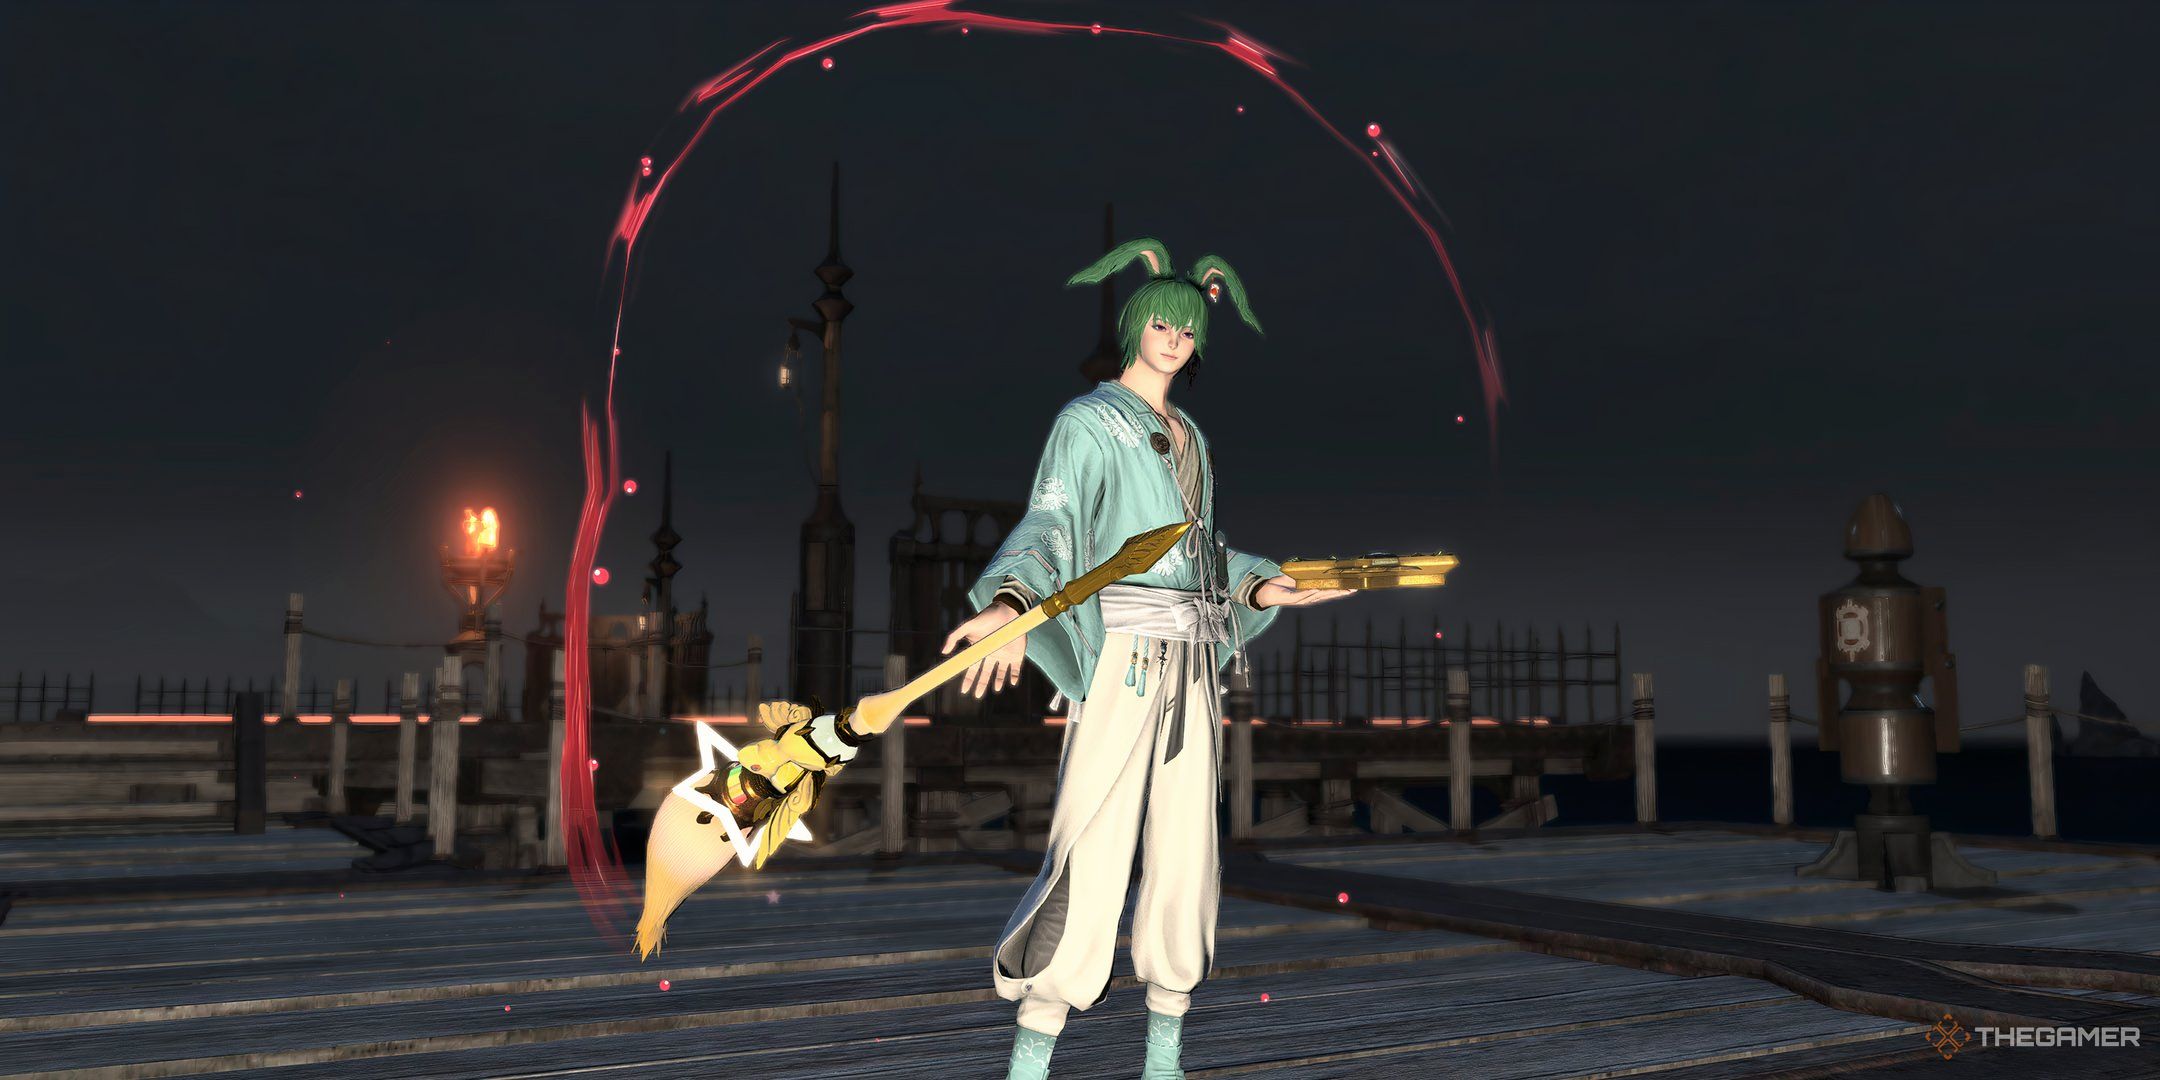
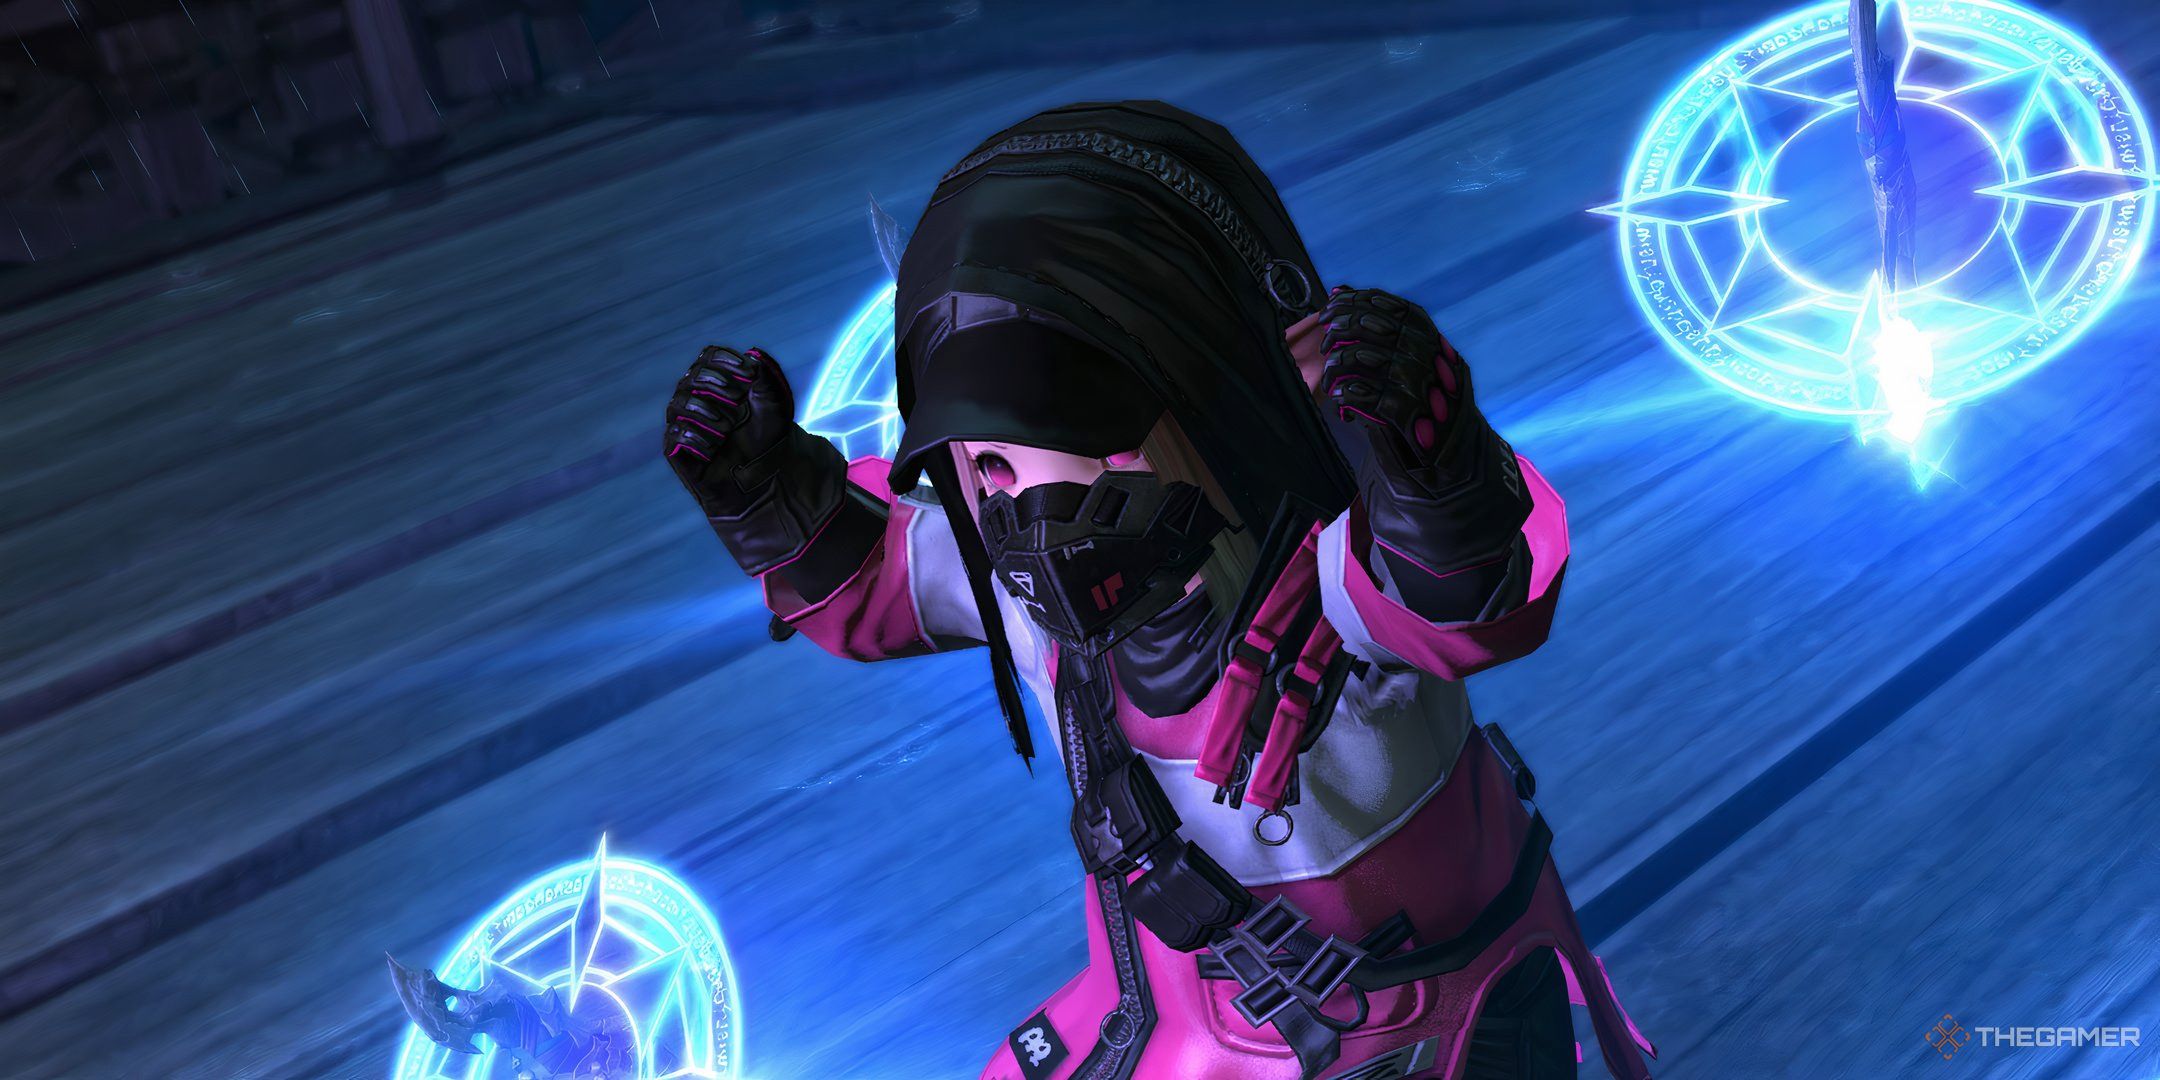
If you played enough Pictomancer in PvE,you’ll quickly realize how similarly most of the skills work.
Deactivating it returns the skills to normal and won’t break your combos.
Holy in White is weaker than Comet in Black, but also offers some healing.
You should have Subtractive Palette active 90 percent of the time.
Casts are quick enough for you to feel its downsides rarely.
This should be your main method of painting, as it saves you from being vulnerable.
Motifs are powerful, and unlock two of your best spells after you use them.
All Motifs (and their resulting spells) are also AoEs, so they’re perfect for grouped enemies.
This also helps keep the cooldown running on your Muse charges.
Tempera Coat (your shield) alsoworks very similarly to its PvE counterpart, so use it as needed.
The party shield is weaker than the individual version, so choose carefully which one you want to use.
Pictomancer’s a good example of that, butits Limit Break shouldn’t be overlooked by any means.
All at a low cooldown of 105 seconds.
Also grants you Starstruck, letting you cast Star Prism.
Pictomancer’s already a huge threat, andits Limit Break makes it even stronger.
Combine it with your consistent shields andyou’ll be practically unkillable.
Mog or Madeen also works.
Common Actions Breakdown
Sprint
1.50s
Increases your Movement Speed by 50%.
Ends after using any other Action.
Guard
30s
Protects yourself with abarrier that reduces 90% of the damage takenfor 5 seconds.
Also makes you immune to crowd control effects (Silence, Stun, Snare, etc).
You cannot use any other Action while in the barrier.
Can be used under the effect of the mentioned effects.
Recuperate
Immediatelyheals you for 15,000 HP.
Standard-Issue Elixir
4.5s
5s
Restores your HP and MP to maximum.
Taking damage while casting it cancels the ability.
The same abilities every other Job has in PvP.
Using them alongside your regular skills (especially Recuperate) is essential for victory.
This meansnot sitting on your Muse/Comet in Black charges.
This also works forRecuperate.
It only costs MP, which you recover throughout the battle anyway.
If you’re low on MP,consider Smudging away and using your Elixir instead.
You should also do the other steps whenever you respawn or disengage.
When using Smudge to sketch a quick Motif,slide to the sides and never towards your opponent.
Only slide forward if you’rereallyconfident you’ll be safe.Staying alive is always more important than getting a kill.
Star Prism should be used next to your allies so they also get the damage buff.
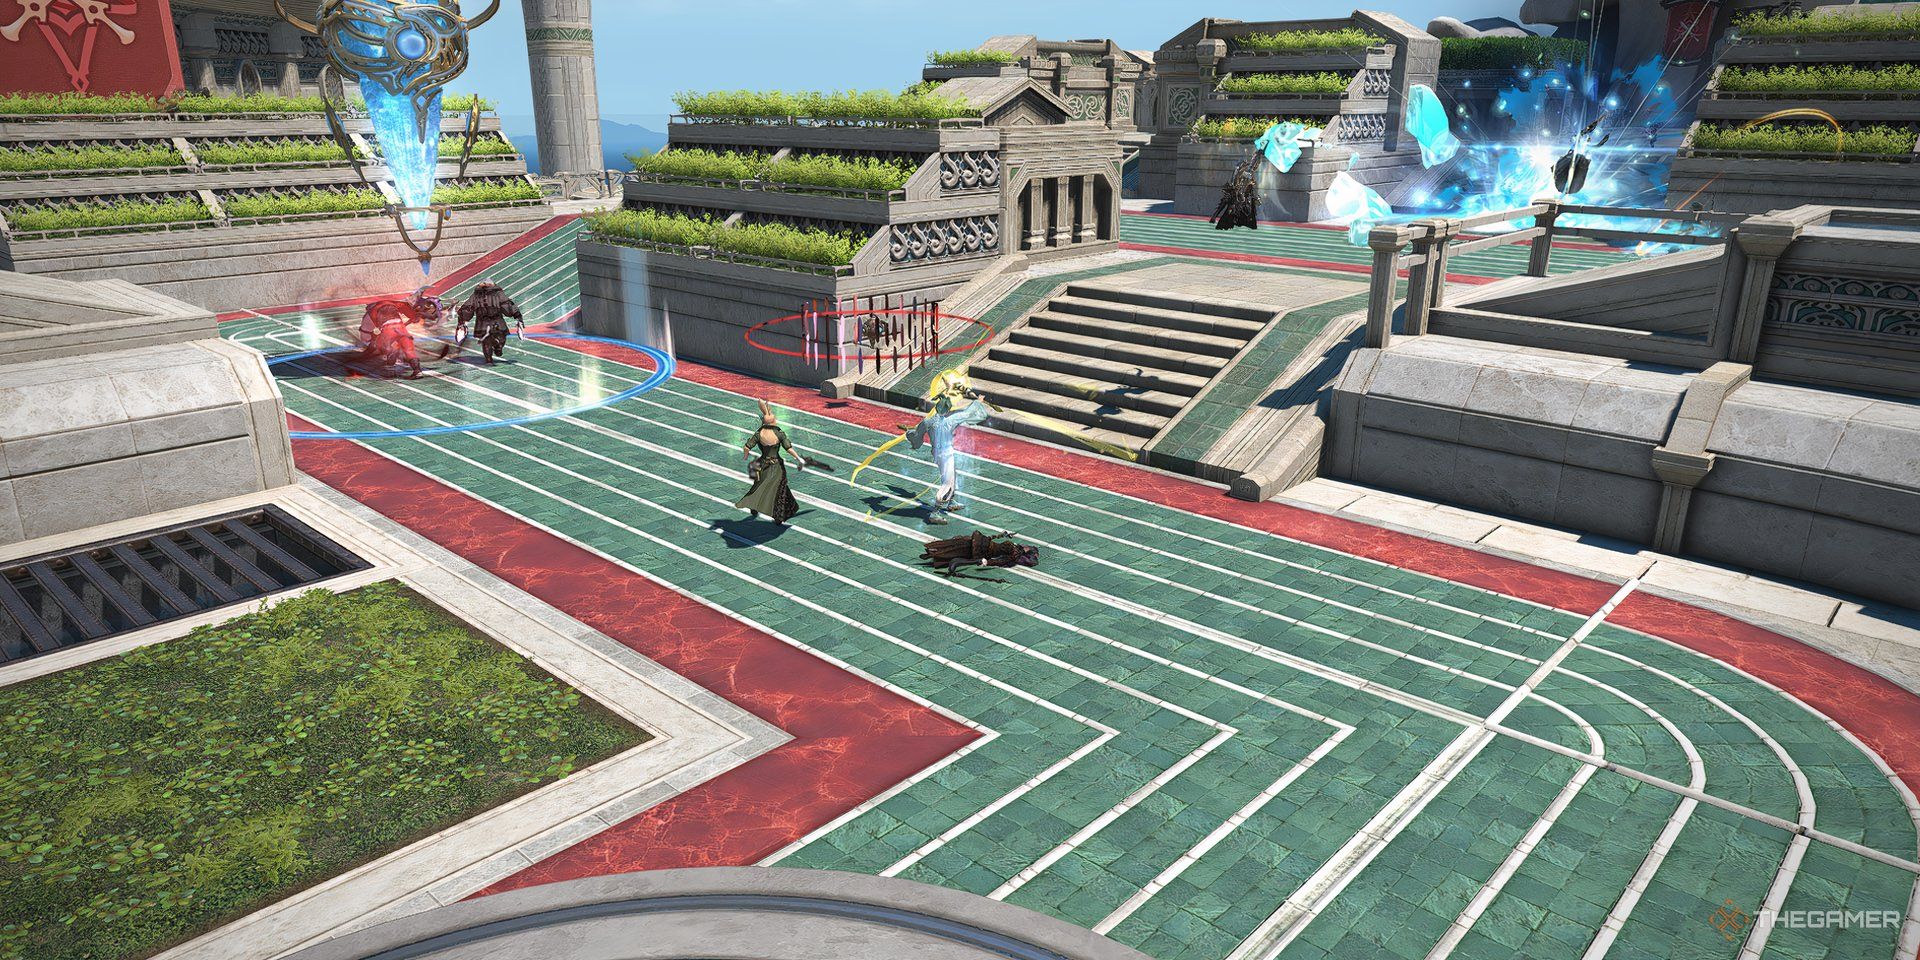
Let the Melee and Tanks take the frontline while you weave your spells from afar.
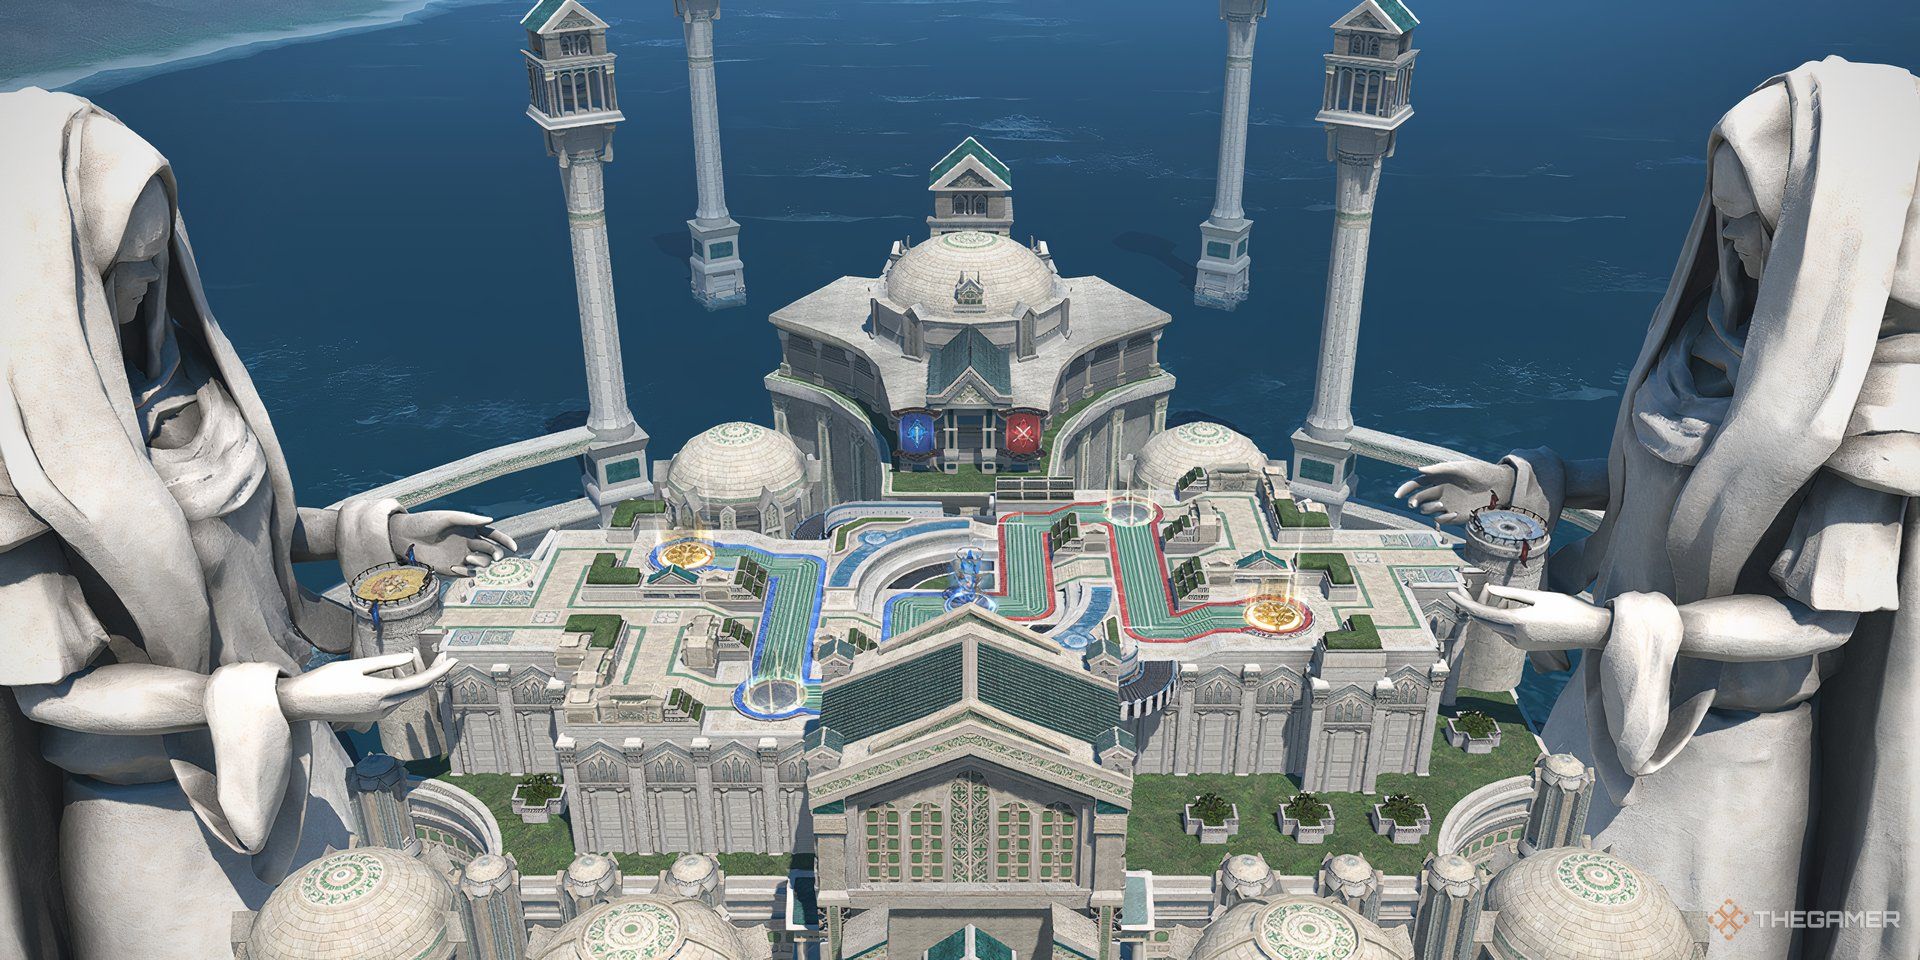
The Palaistra is one of the best maps for that, as there are plenty of covers to take.
Keep dashing away with Smudge whenever someone focuses on you.
Take this chance to paint a Motif and return to battle with full strength.Never waste a Quick Sketch charge.
If your team is being pushed back,immediately deactivate Subtractive Palette and run.
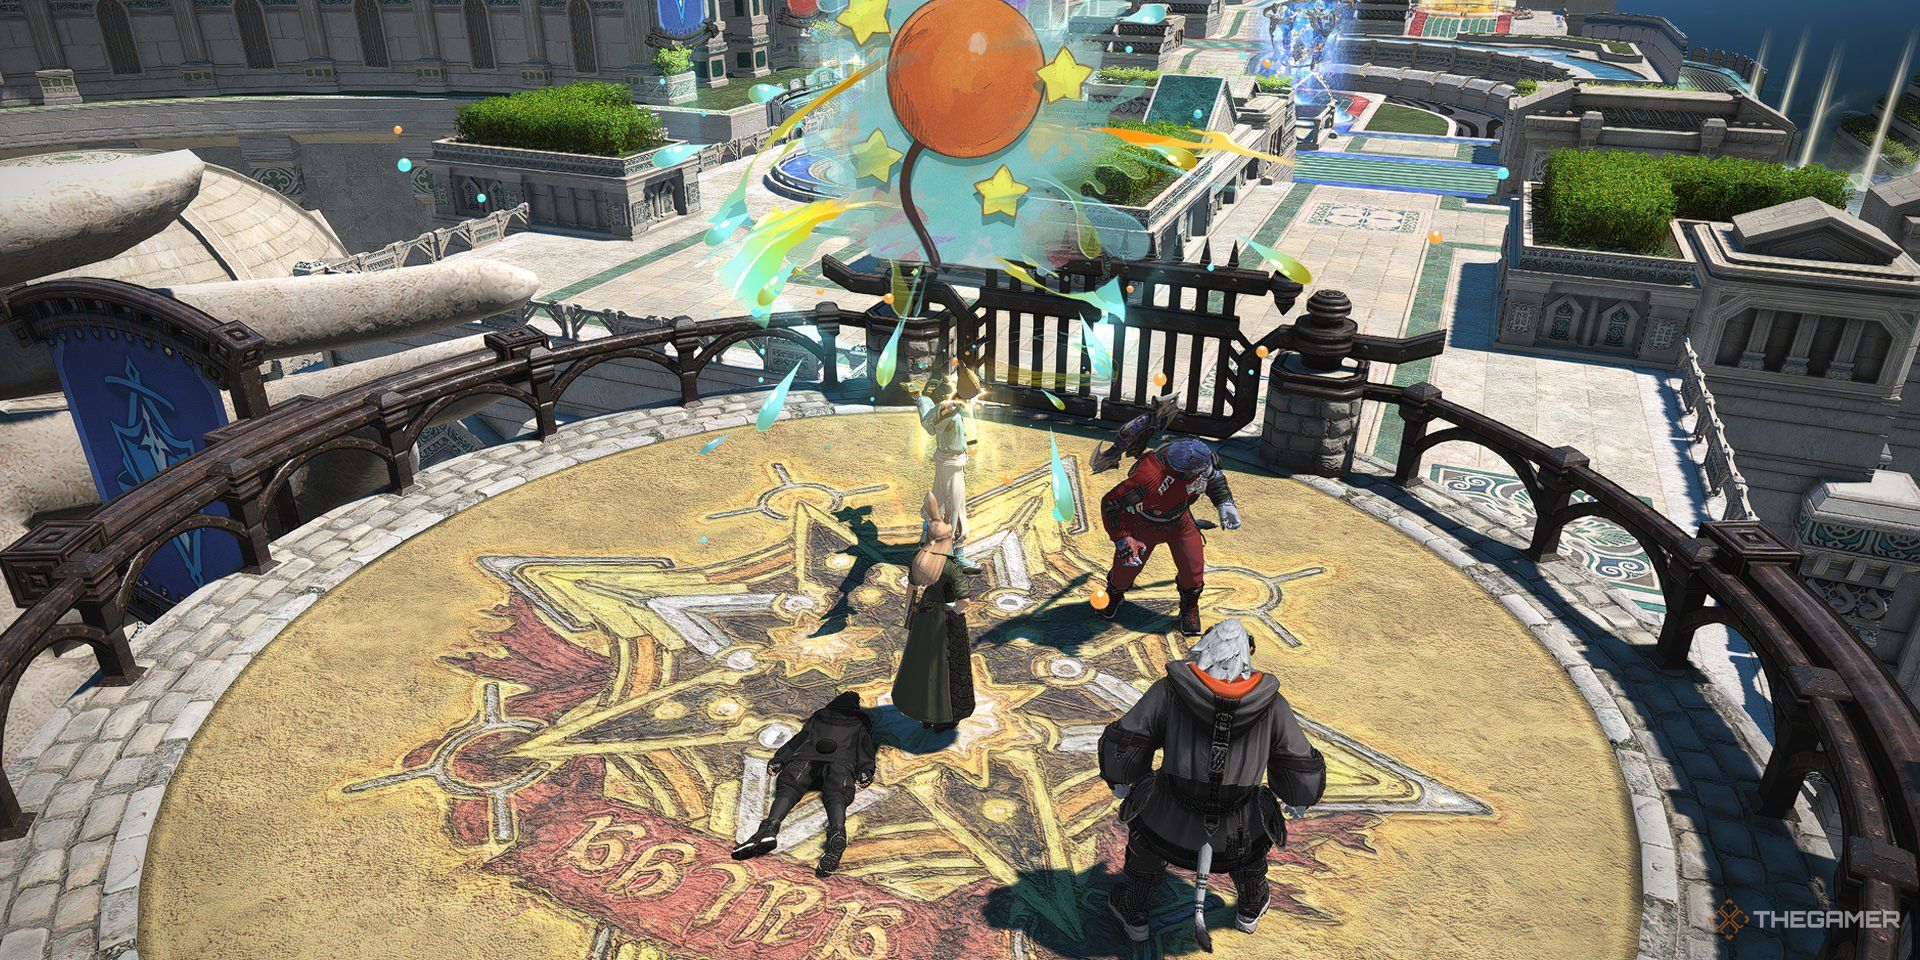
Your Limit Break isbest used when conquering checkpoints.
This also unlocks your strongest spell, and theStar Prism > Muse > Mog/Madeen combo can devastate unprepared targets.
There will be times when you won’t be able to stand in your Bastion area.
This is unfortunate, but acceptable.As long as Star Prism went out, your LB was worth it.
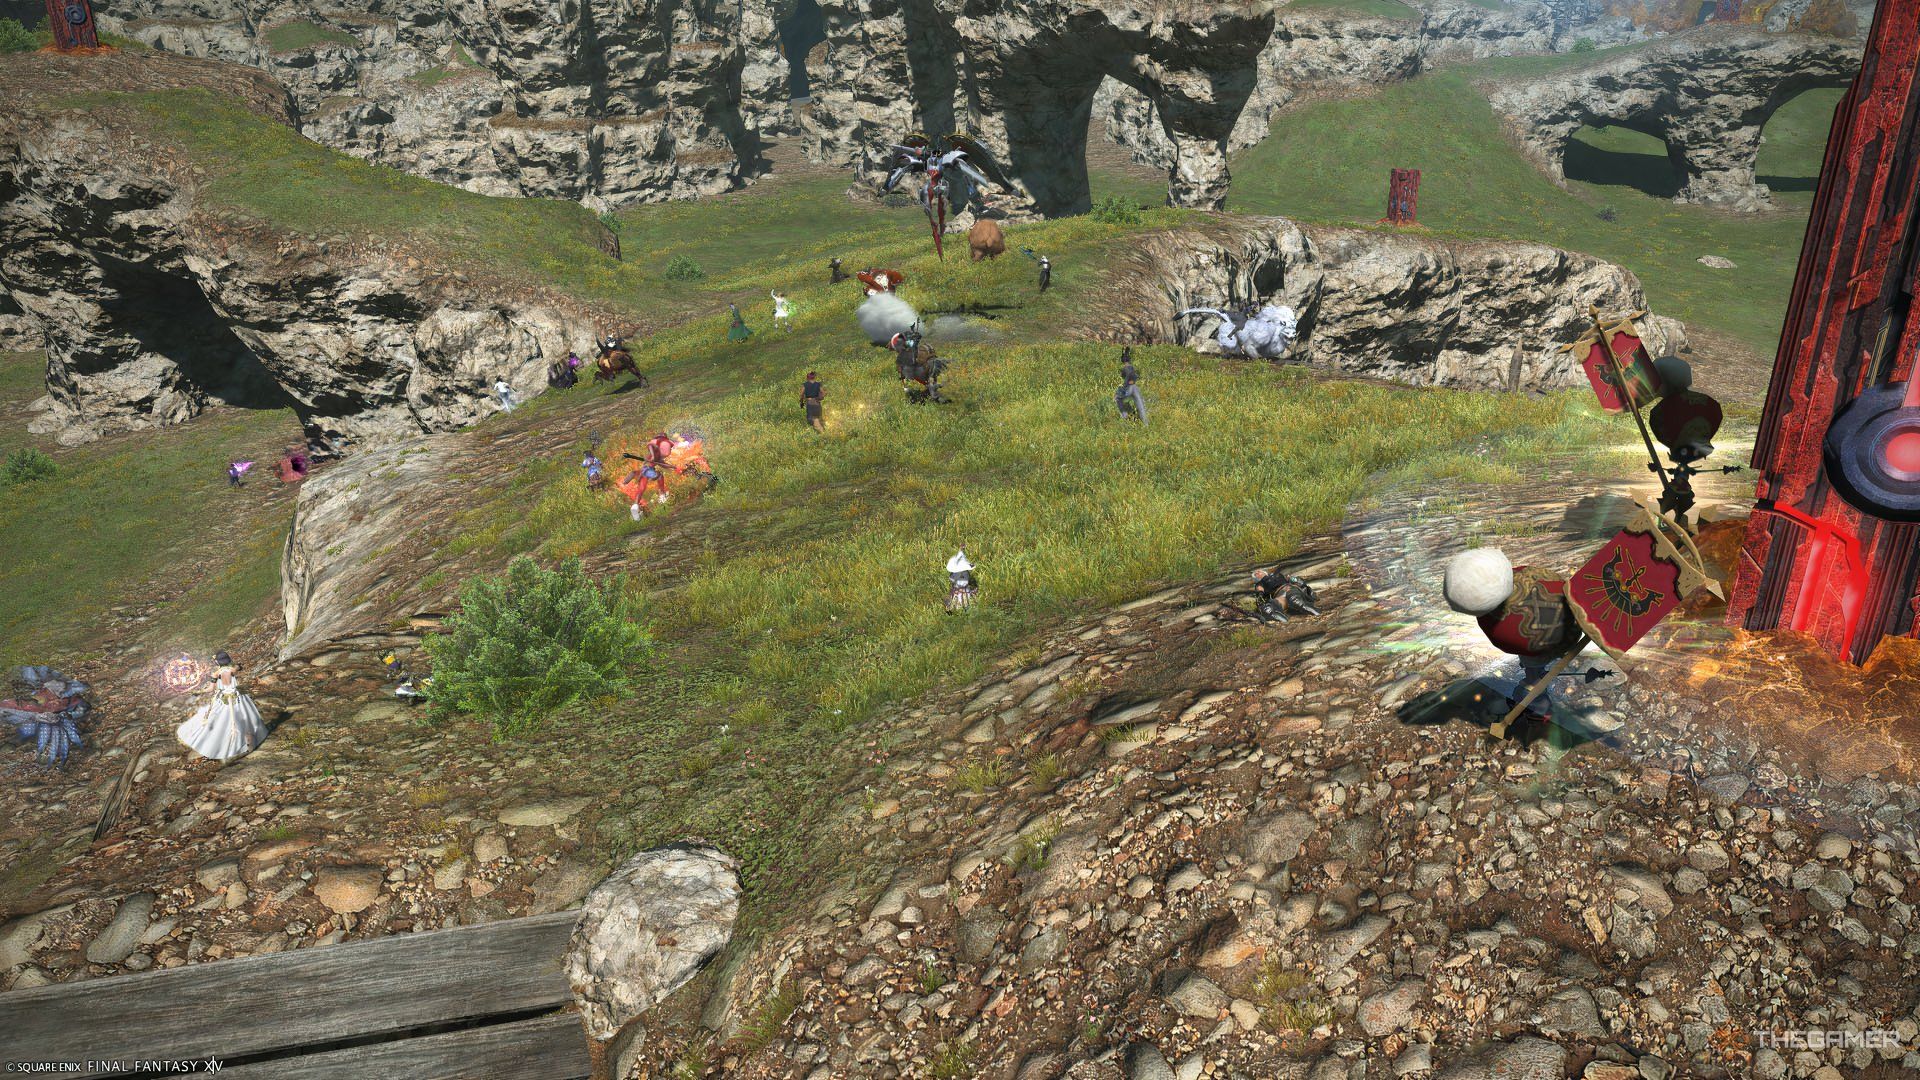
However, there are many more objectives to capture in all Frontline modes.
However, they get even more valuable as enemies are often stacked.
It’ll be back in less than two minutes, anyway.
Subtractive Palette spells are still a priority.
Don’t forget to apply it again when you have the chance.
Snowballing is much more dangerous on Frontlines.
Maintaining your Battle High vastly increases damage and healing done, so staying alive is much more important here.
If you ever see someone isolated,target them immediately.
Your team will likely follow, especially if you manage to Stun/Silence them.
Those easy kills are an easy way to build more Battle High.
Despite being a healer, Sage can be a pretty destructive force in FFXIV’s competitive modes.
