Despite being a healer, Sage can be a pretty destructive force in FFXIV’s competitive modes.
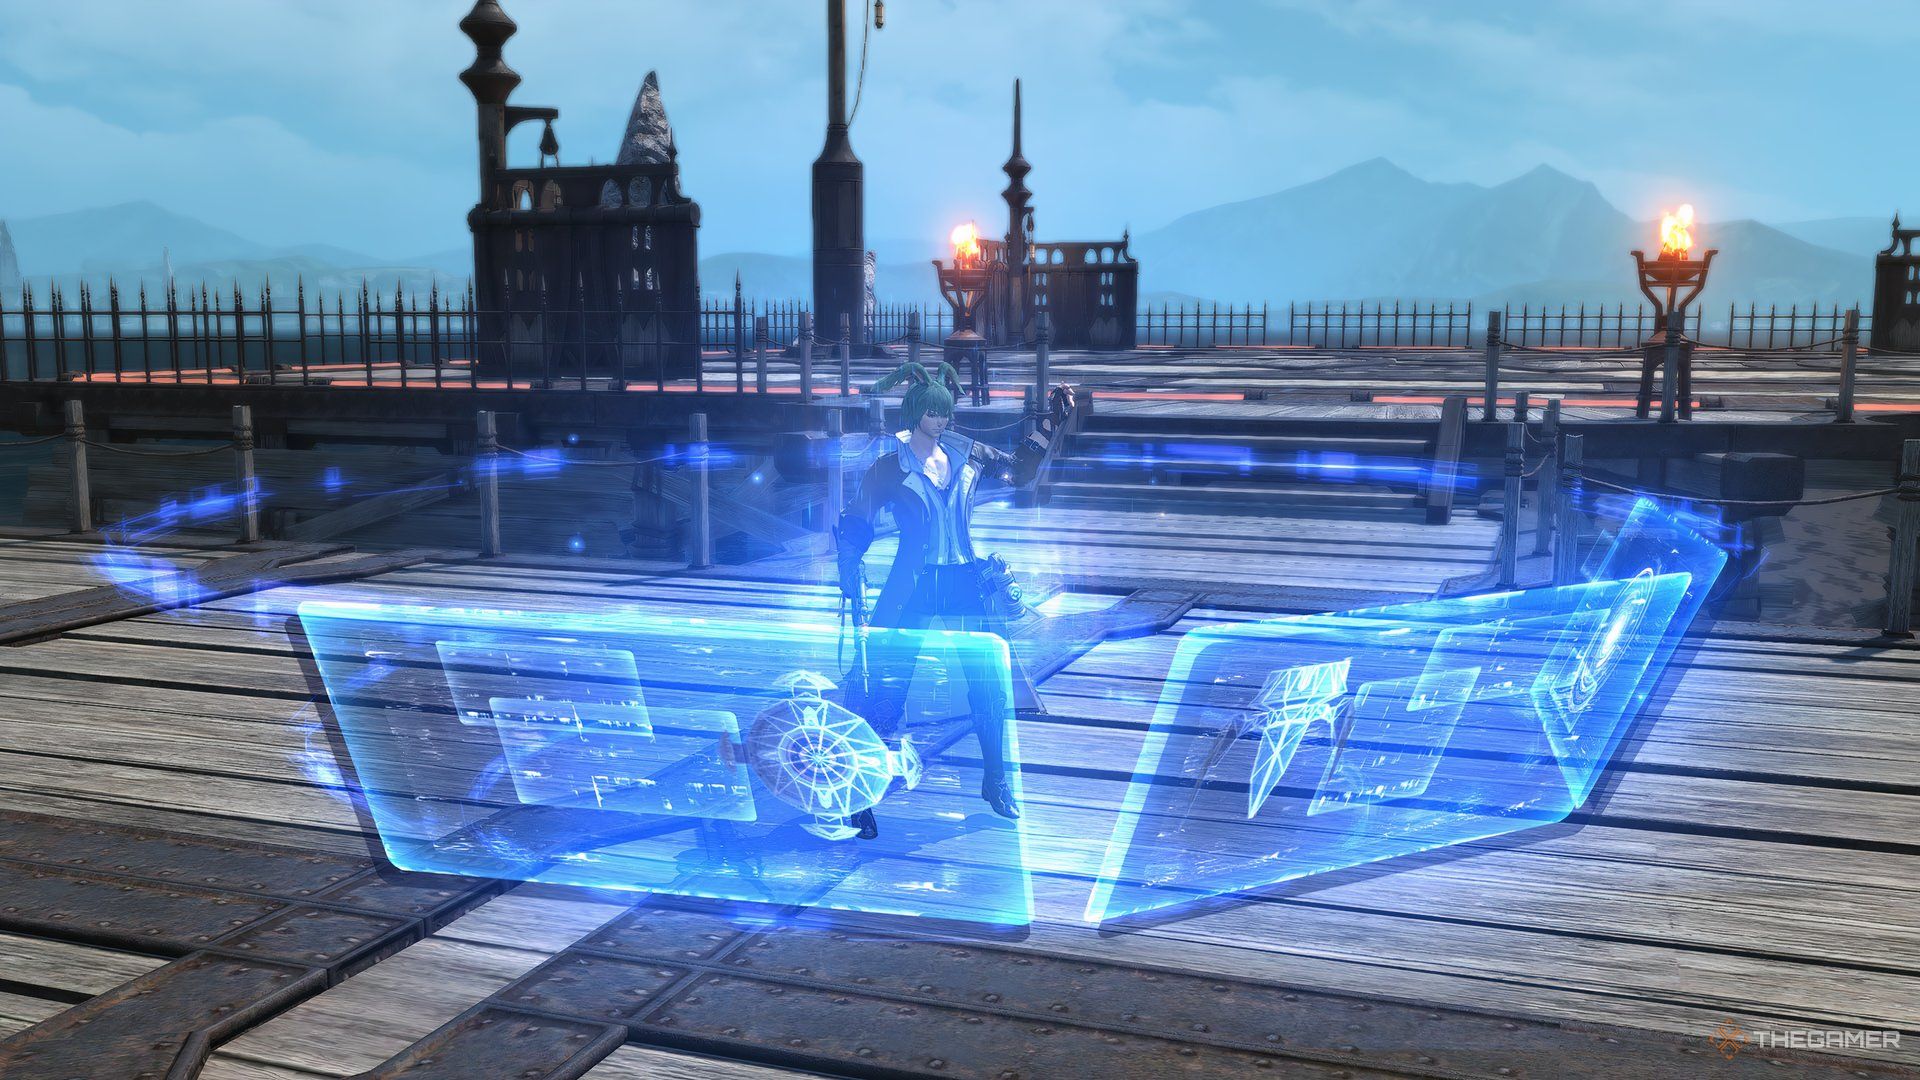
Machinist is a prime example of this.
The trademark tools, such as Drill and Chain Saw, are obviously also here.

Overall,a great Job for anyone looking out to climb some Ranks.
Possible to walk while casting.
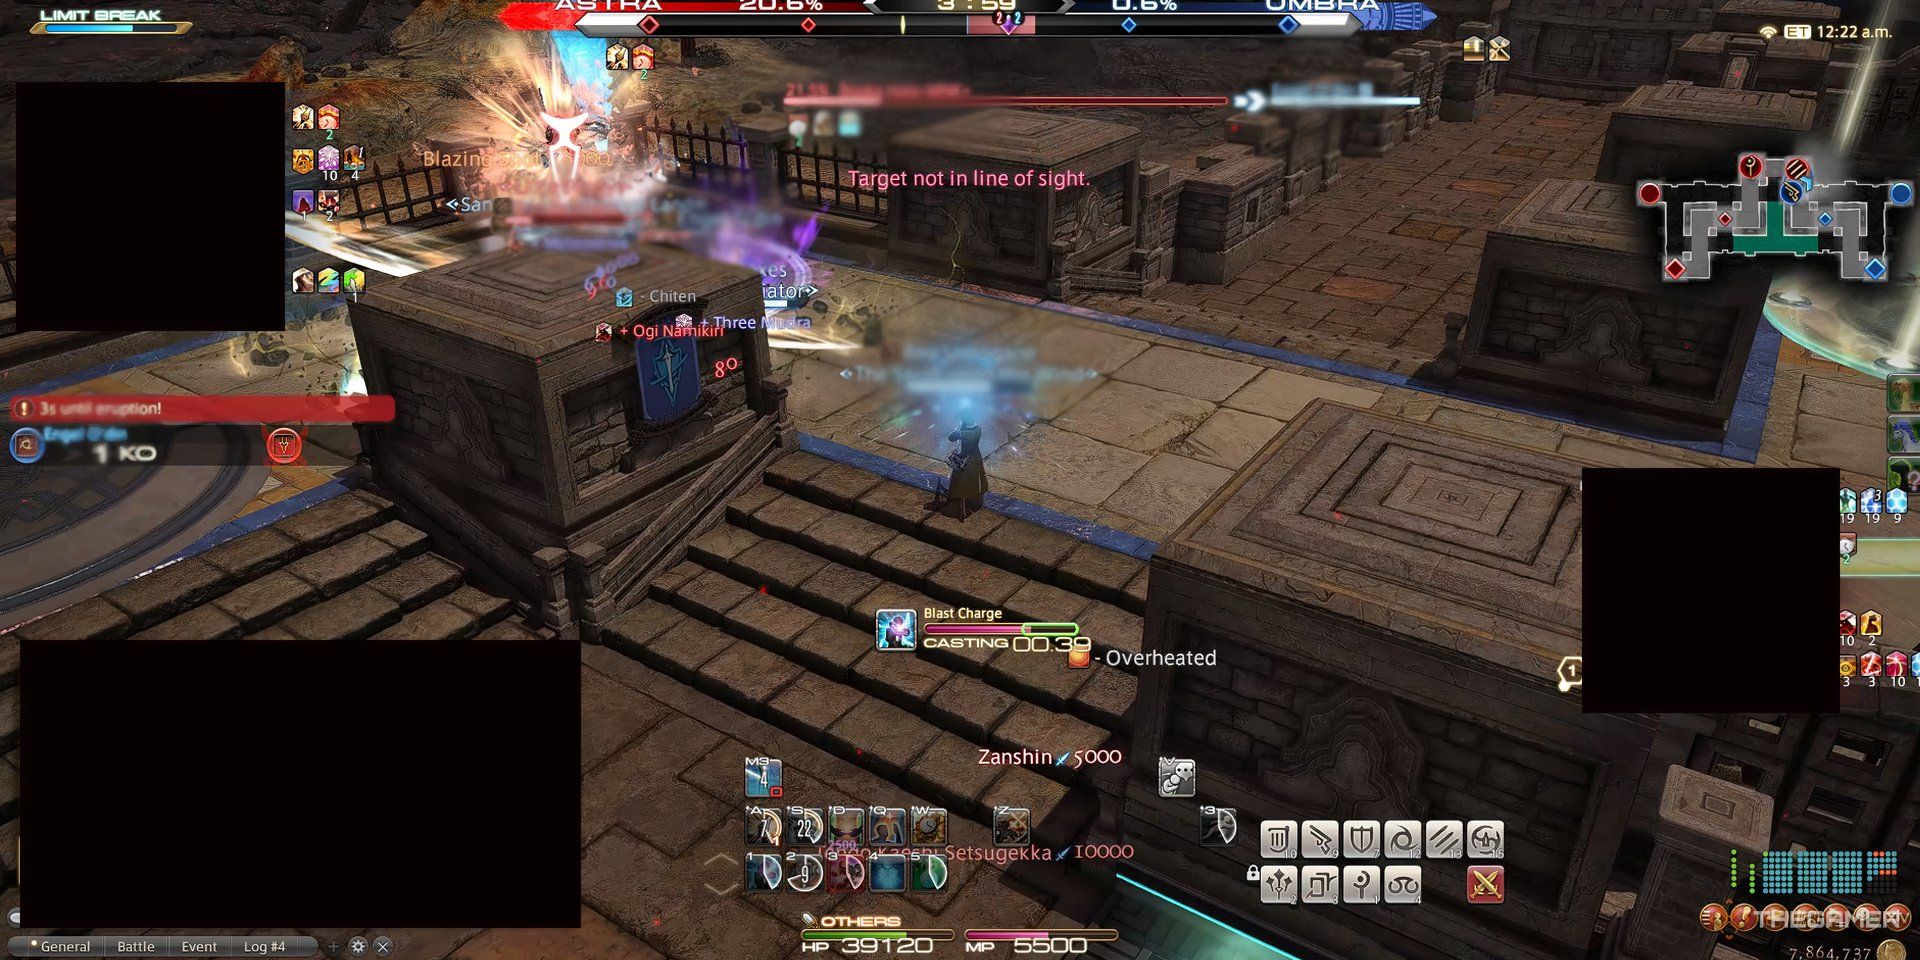
Grants one stack of Heat, lasting for 15s.

New stacks refresh the duration.
Enters theOverheatedstate when you get five stacks.
Overheated grants you 25% Movement Speed, and changes the action toBlazing Shot.

Overheated lasts for 5s.
Blazing Shot
Instant
1.5s
Attack with a potency of 8,000 to a single target.
Can only be used whileOverheated.
Full Metal Field
30s
Attack with a potency of 10,000 to the target and all enemies nearby it.
Hits twice, but the second hit only deals half the damage.
Overheated grants you 25% Movement Speed, and changesBlast ChargetoBlazing Shot.

Wildfire
24s
Ability
Inflicts a ticking bomb on the target that explodes after a while.
Does no damage by itself, but hitting the target with Weaponskills increases the explosion damage by 4,000 potency.
Caps at four hits, for a maximum of 16,000 potency.
Hitting four Weaponskills detonates it immediately.
Can also be activated withDetonator.
Detonator
1s
Explodes the Wildfire bomb on the current target immediately with the current stacks.
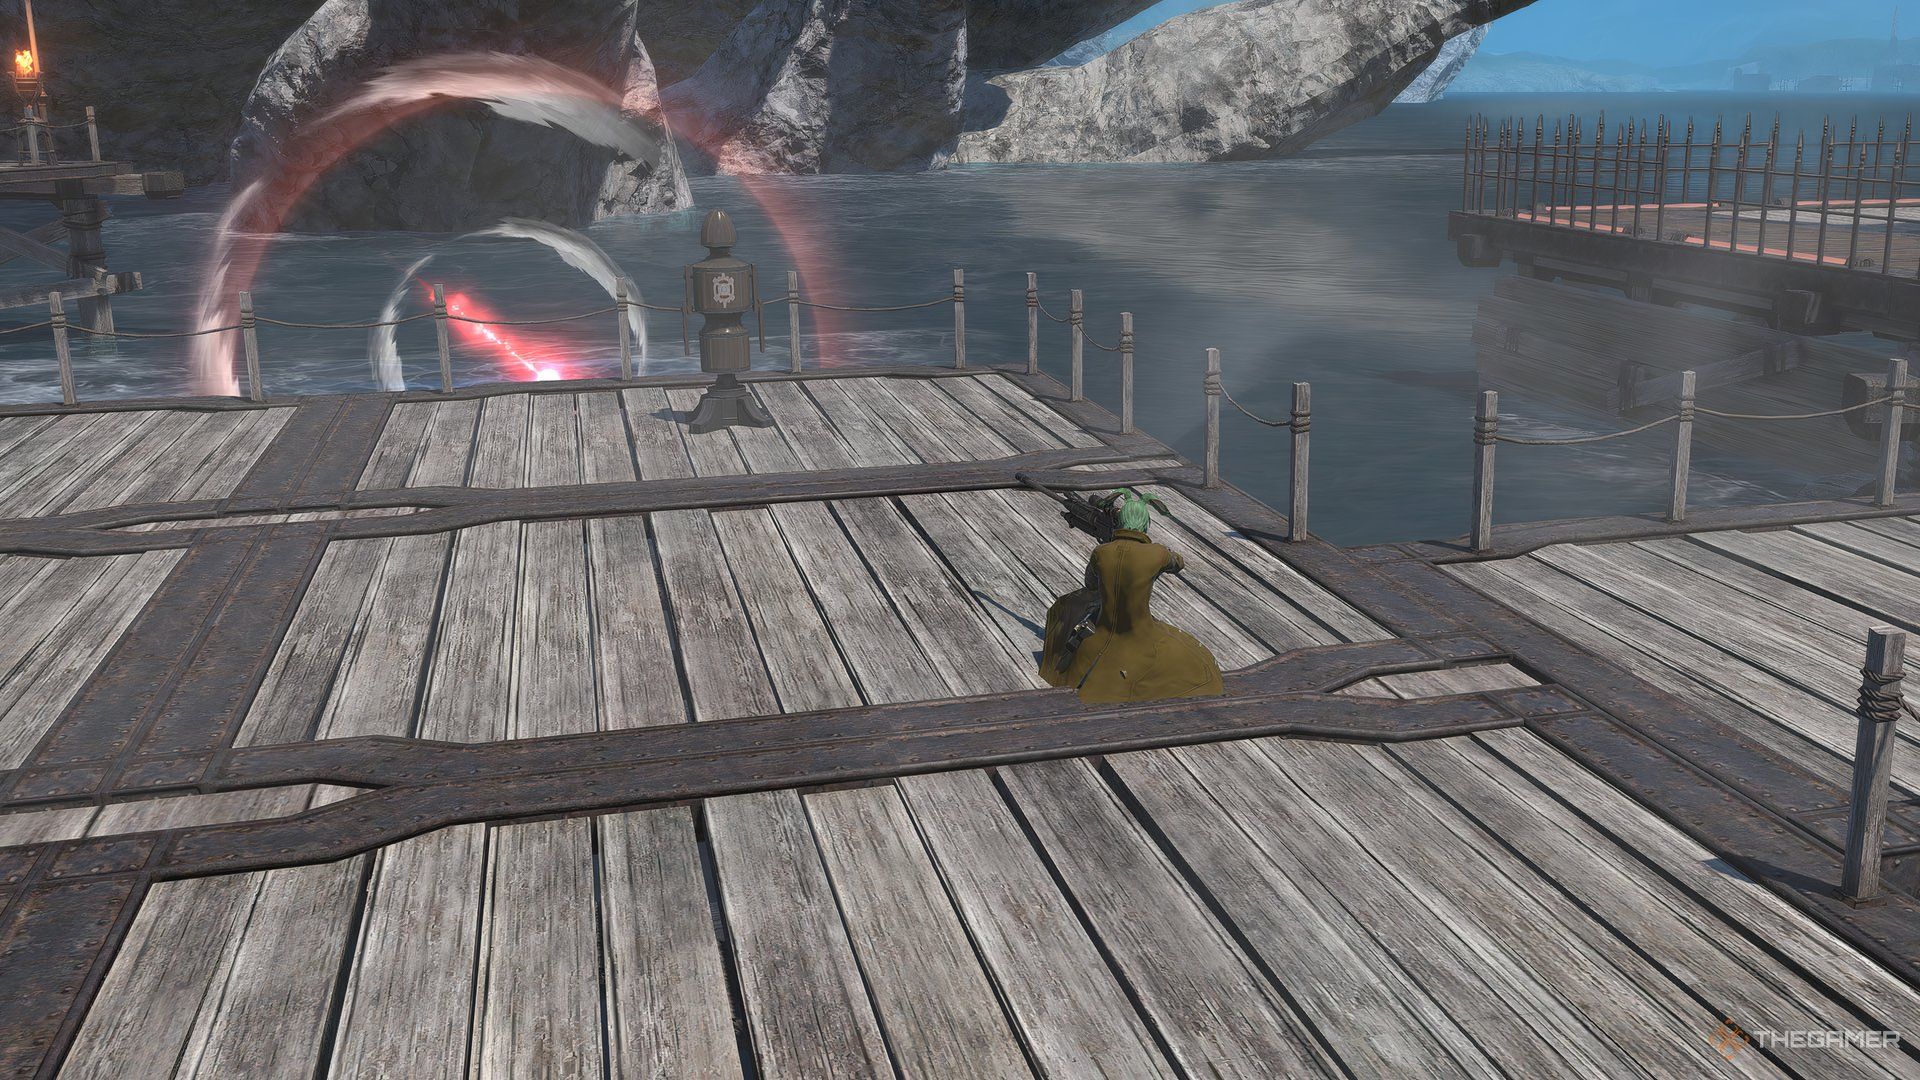
Scattergun
16s
Attack with a potency of 6,000 to all enemies in a cone in front of you.
Hits twice when hitting a single target.
Knocks back enemies by a 10-yalm distance.
Analysis
20s
Grants additional effects toDrill, Bioblaster, Air Anchor, and Chain Saw.
Lasts for 10 seconds.
Drill
10s
Attack with a potency of 9,000 to a single target.
Damage increases to 18,000 while under the effect ofAnalysis.
Ignores Guard’s effects.
Grants Bioblaster Primed, changing action toBioblaster.
Bioblaster
Attack with a potency of 4,000 to all enemies in a cone in front of you.
Also inflicts a 4,000 potency Damage Over Time to all targets.
Damage from the initial hit and DoT increases to 6,000 under the effect ofAnalysis.
Grants Air Anchor Primed, changing action toAir Anchor.
Air Anchor
Attack with a potency of 8,000 to a single target.
Inflicts Bind to the target, lasting for 3 seconds.

Grants Chain Saw Primed, changing action toChain Saw.
Chain Saw
Attack with a potency of 8,000 to all targets in a line in front of you.
Increases damage taken by targets by 20% for 6 seconds while under the effect ofAnalysis.

Grants Drill Primed, changing action toDrill.
Bishop Autoturret
Summons an autoturret on the battlefield that usesAether Mortarevery two seconds.
This ability affects both allies and enemies.

Lasts for 10 seconds.
Aether Mortar
Used automatically by theBishop Autoturret.
Has different effects depending on who’s standing in its area.
It’ll also grant you Overheated, which is your strongest state.
The fast-firing mode only lasts a couple of seconds, but it’s enough to have a lasting impact.
Whenever Wildfire is on cooldown,you should focus on your tools (Drill, Bioblaster, etc).
Each of them has a perfect scenario for use, butnot overcapping your charges nets you more damage overall.
The same goes for Analysis.
Your Blazing Shot/Wildfire combos will fit the cooldown gaps perfectly, so don’t worry.
It alsodeals double damage if hitting a single target, so it also works as a mini-burst.
Bonus points if used to trigger Wildfire.
Be creative with it.
Finally, the Turret has a somewhatinvisible but very powerful utility.
Don’t sleep on it, and always make a run at maximize its utility.
Everyone has died to it at least once.
Description
Marksman’s Spite
90 seconds
Attack with a potency of 36,000 to a single target.
No fancy effects or anything.
Just pure, raw damage.
verify they’ve already used Guard or are distracted enough to use it when you cast it.
Common Actions Breakdown
Sprint
1.50s
Grants you a50% Movement Speedboost.
Lasts indefinitelyuntil you use another Action.
Guard
Lifts a barrier around yourself.
You cannot use any other skills, butdamage received is reduced by 90%.
Lasts for 5 seconds, oruntil you use any other Action.
You’reimmune to any Crowd Control effects, such as Stuns or Silences while protected.
Grants youResilience, making you immune to any effects that can be removed by Purify during 3 seconds.
Recuperate
Heal with a potency of 15,000.
Costs 2,500 MP per use.
Don’t hesitate to use Recuperate, and fall back to use your Elixir when your MP gets low.
The golden rule is tonever cap on Drill and its subsequent actions.
You get one of these every ten seconds, so there’s no reason not to spend them.
Your first Drill in a match should always have an Analysis.
ensure youspend all of your cooldowns before you get going throwing Blast Charges.
Scattergun is harder to use, so it’s ok if you hold to it for a bit longer.
Wildfire exists with Blazing Shot in mind,but you could blow it up only with regular actions too.
Focusing on exposed targets is usually the callfor any PvP mode.
When the chance to pick someone off appears, don’t hesitate in bursting them down.
The Autoturret should always be deployed whenever possible.
Weave it between your attacks, and you might even get someone by surprise with it.
Always take a backside position, and be careful with chasing targets.
Your objectives in each PvP map are more important than kills, so pay attention to them.
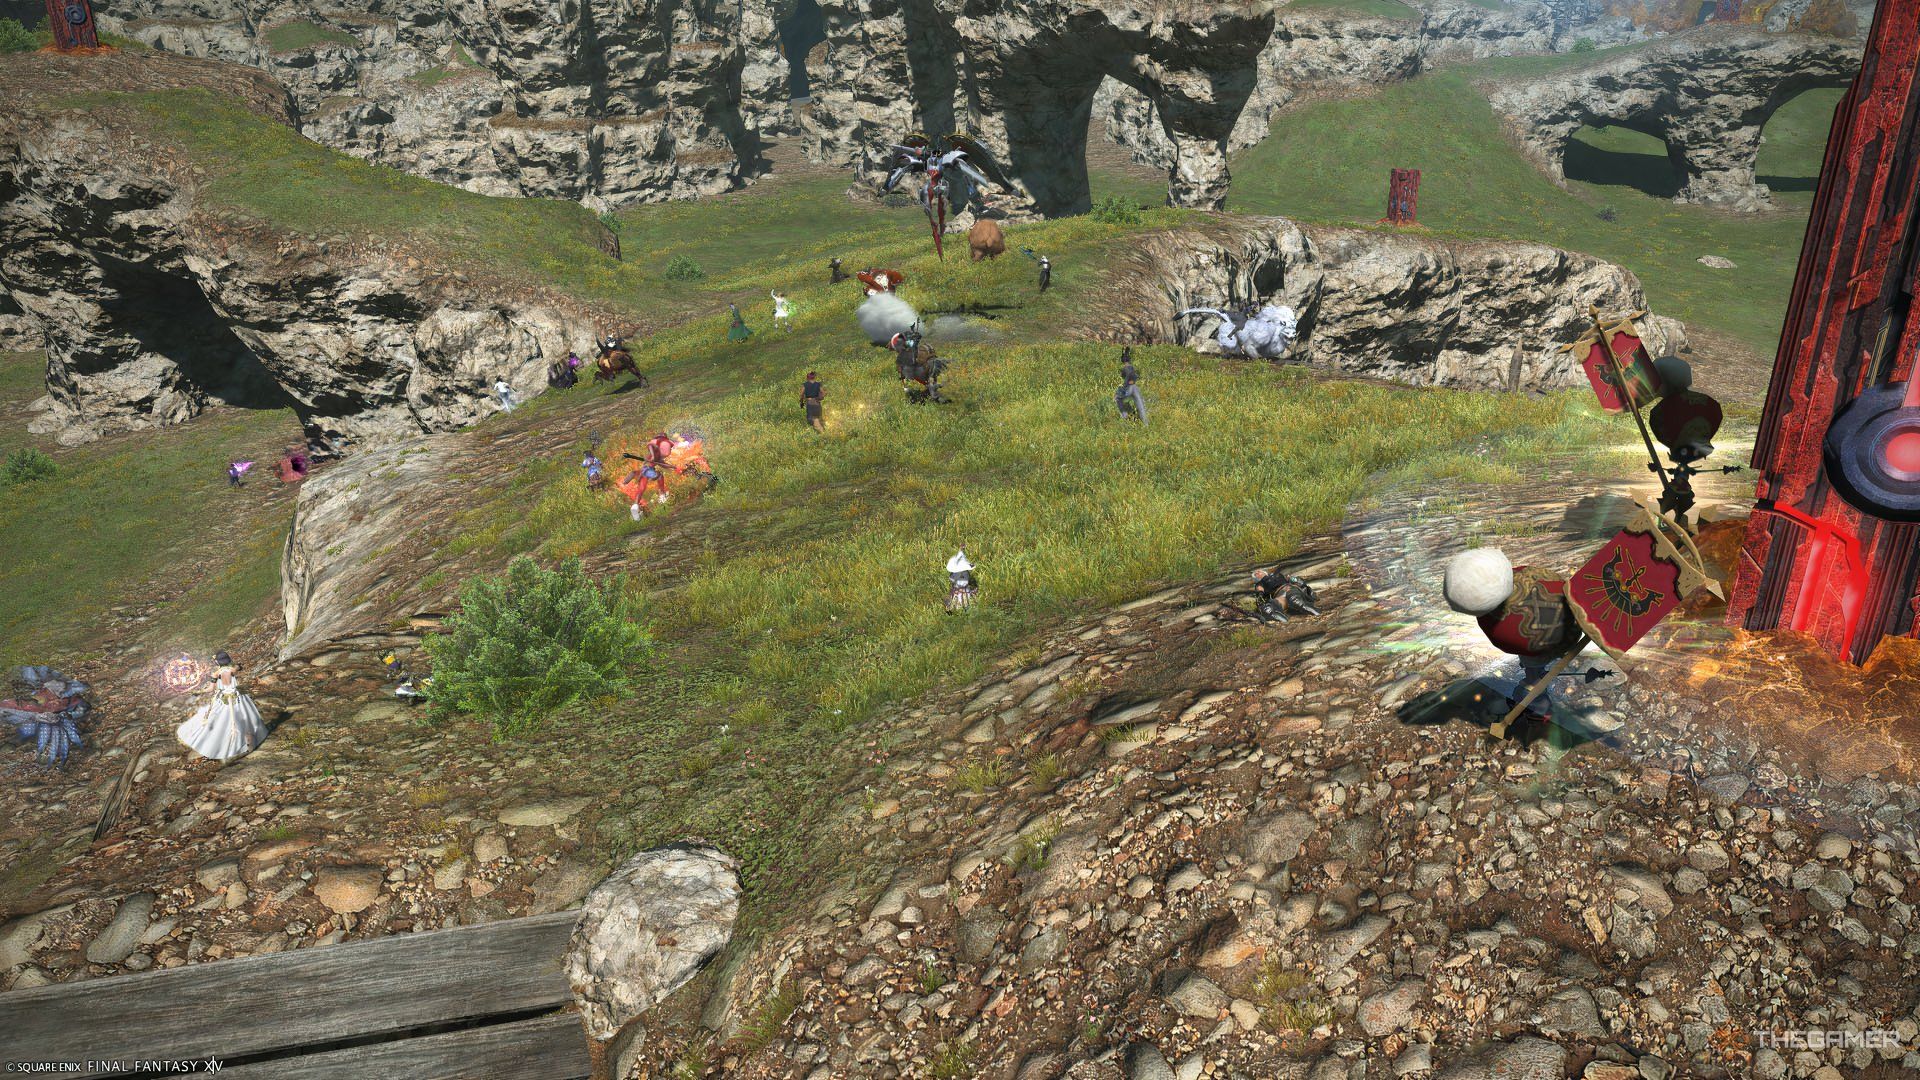
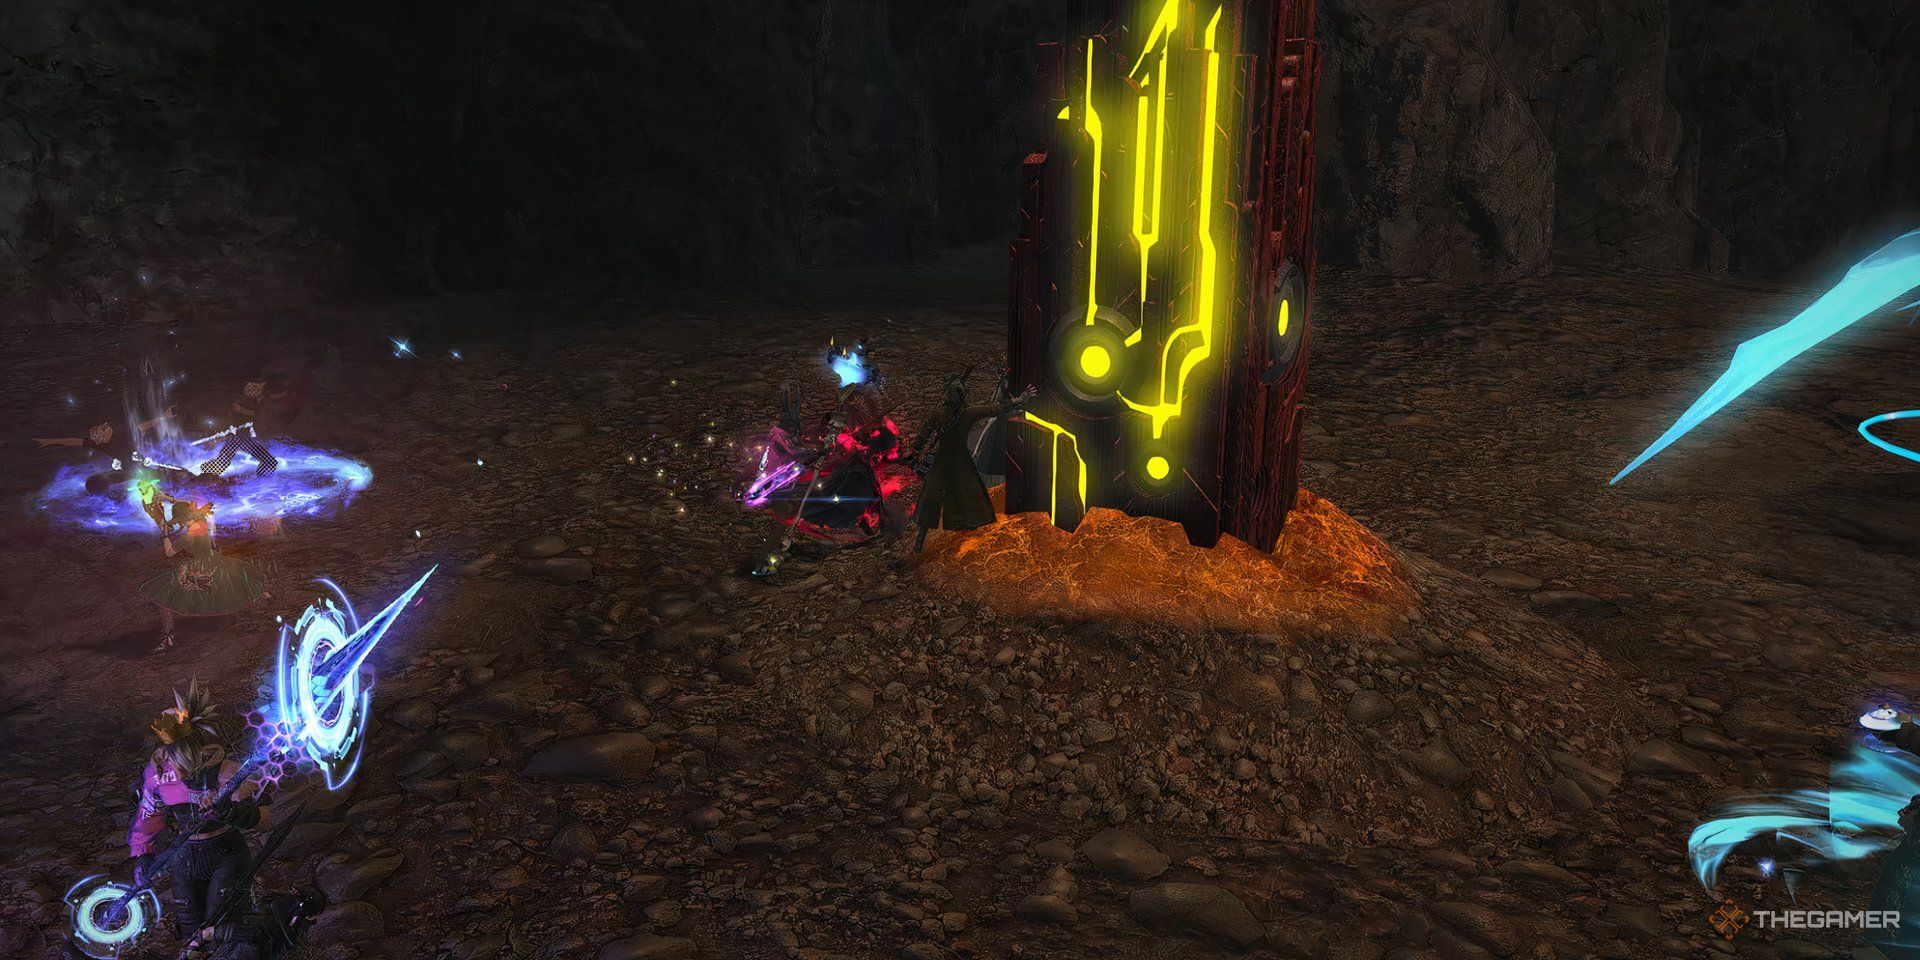
Crystalline Conflict Strategy
Crystalline is thebest mode for being a Machinist.
The 5v5 setting is perfect for ruining a poor target’s day with your actions.
Nothing says “Screw you in particular!”
more than hitting the same person with your LB twice in a row.
Bioblaster is also a good reason for approaching big team fights.
Using it with Analysis can net you some good AoE damage, even if it’s not instant.
Never overcap cooldowns, unless there are no enemies nearby.
stash your Scattergun/Turret for potential flankers.
Just be careful with Shields and other damage reduction actions.
Hitting the backline gets much harder, but it’s still a valid choice.
This makes your Limit Break valuable as ever here.
Scattergun is, once again, quite useful for pushing enemies back from important points.
Always stay close to your group, and follow them to the next big objective.
Use your range to venture to get kills/assistances easily, increasing your Battle High and making you stronger.
Notably,this increases your Limit Break’s potency,making it even more lethal.
Damage-increasing debuffs stack with each other, and Chain Saw can hit multiple targets with it at once.
AoE is preferrable in Frontlines, butpressing a single target is always needed.
Time to get creative!
