Players can feel it from the very first dungeon, with more gimmicky and harder bosses.
And of course, this is also reflected in larger-scale content.
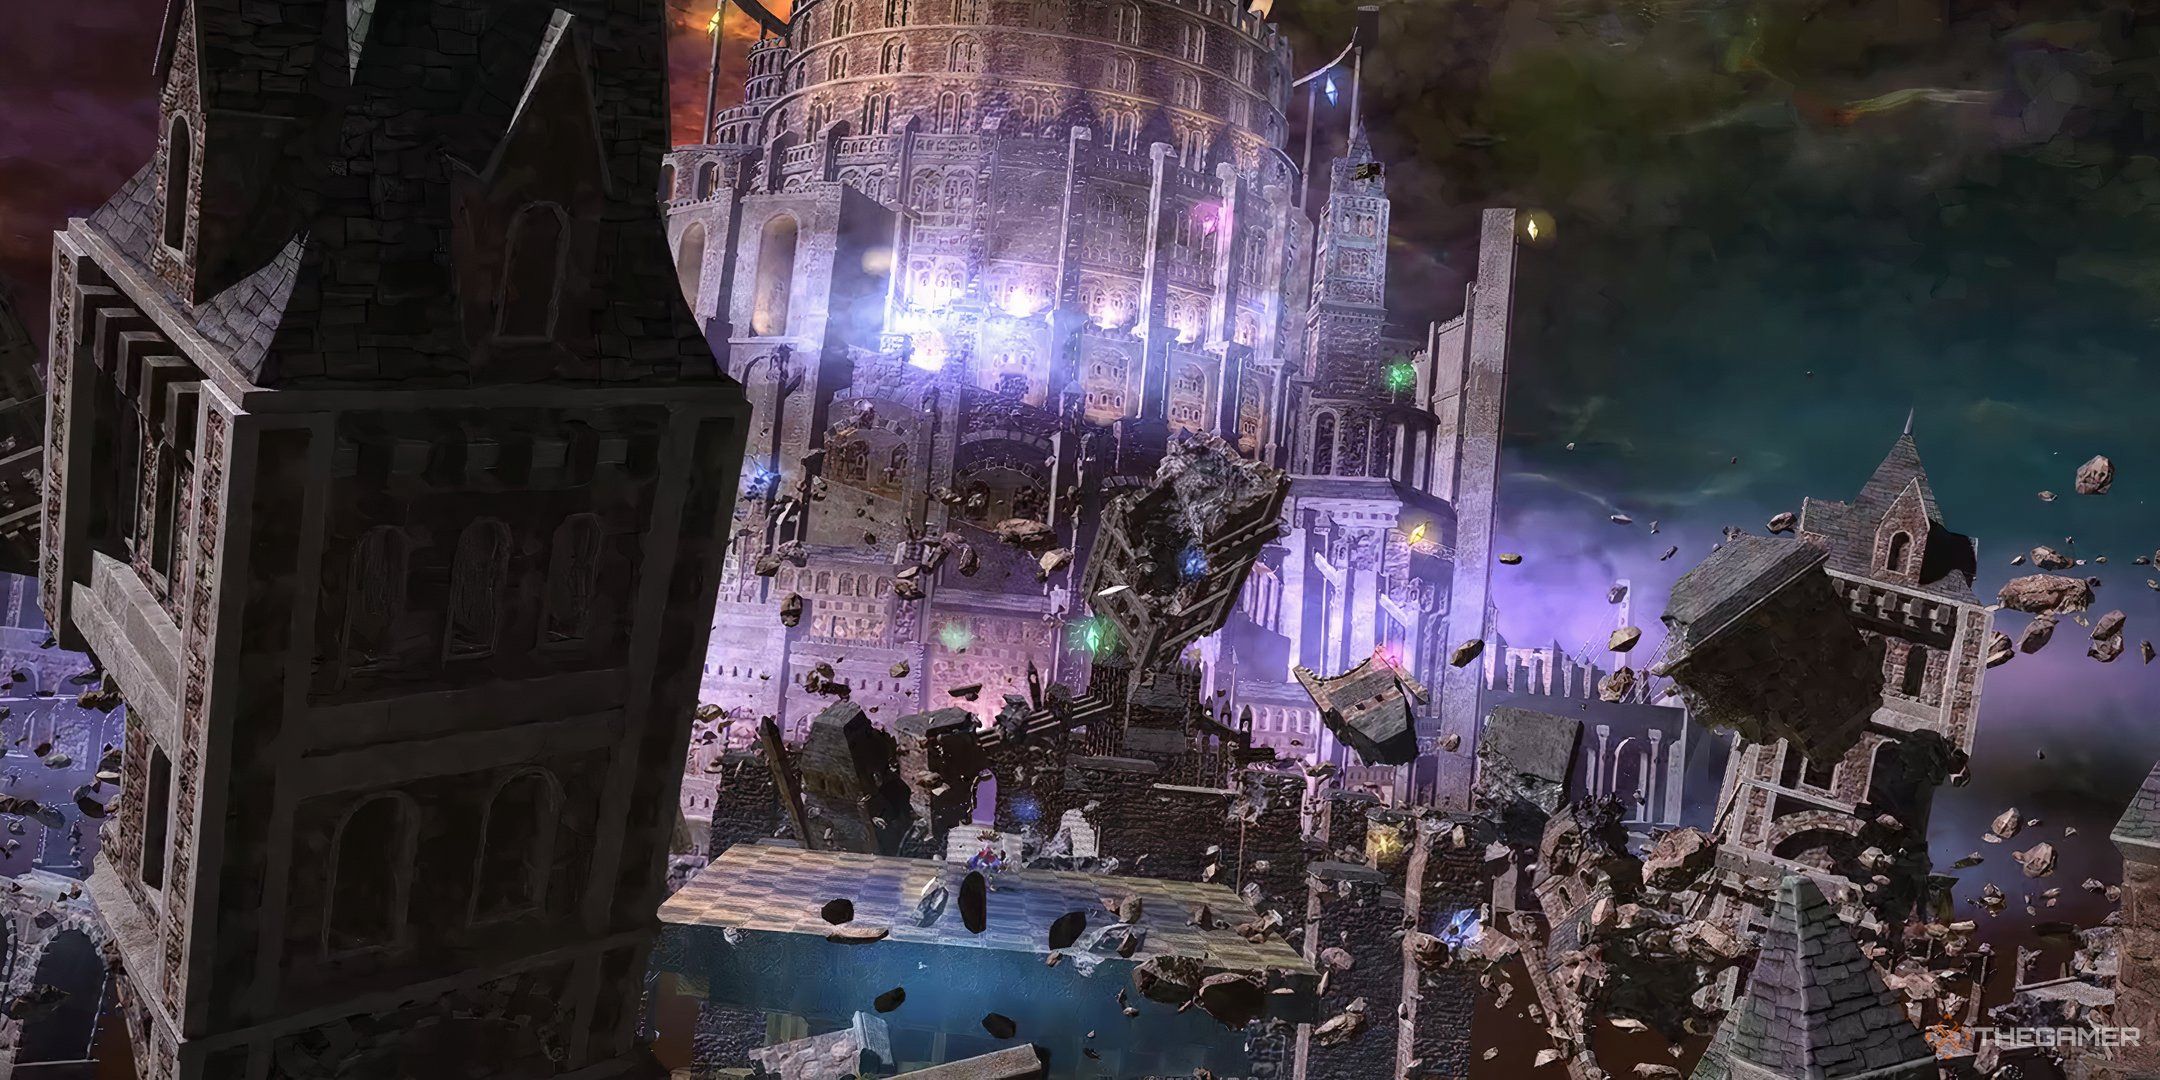
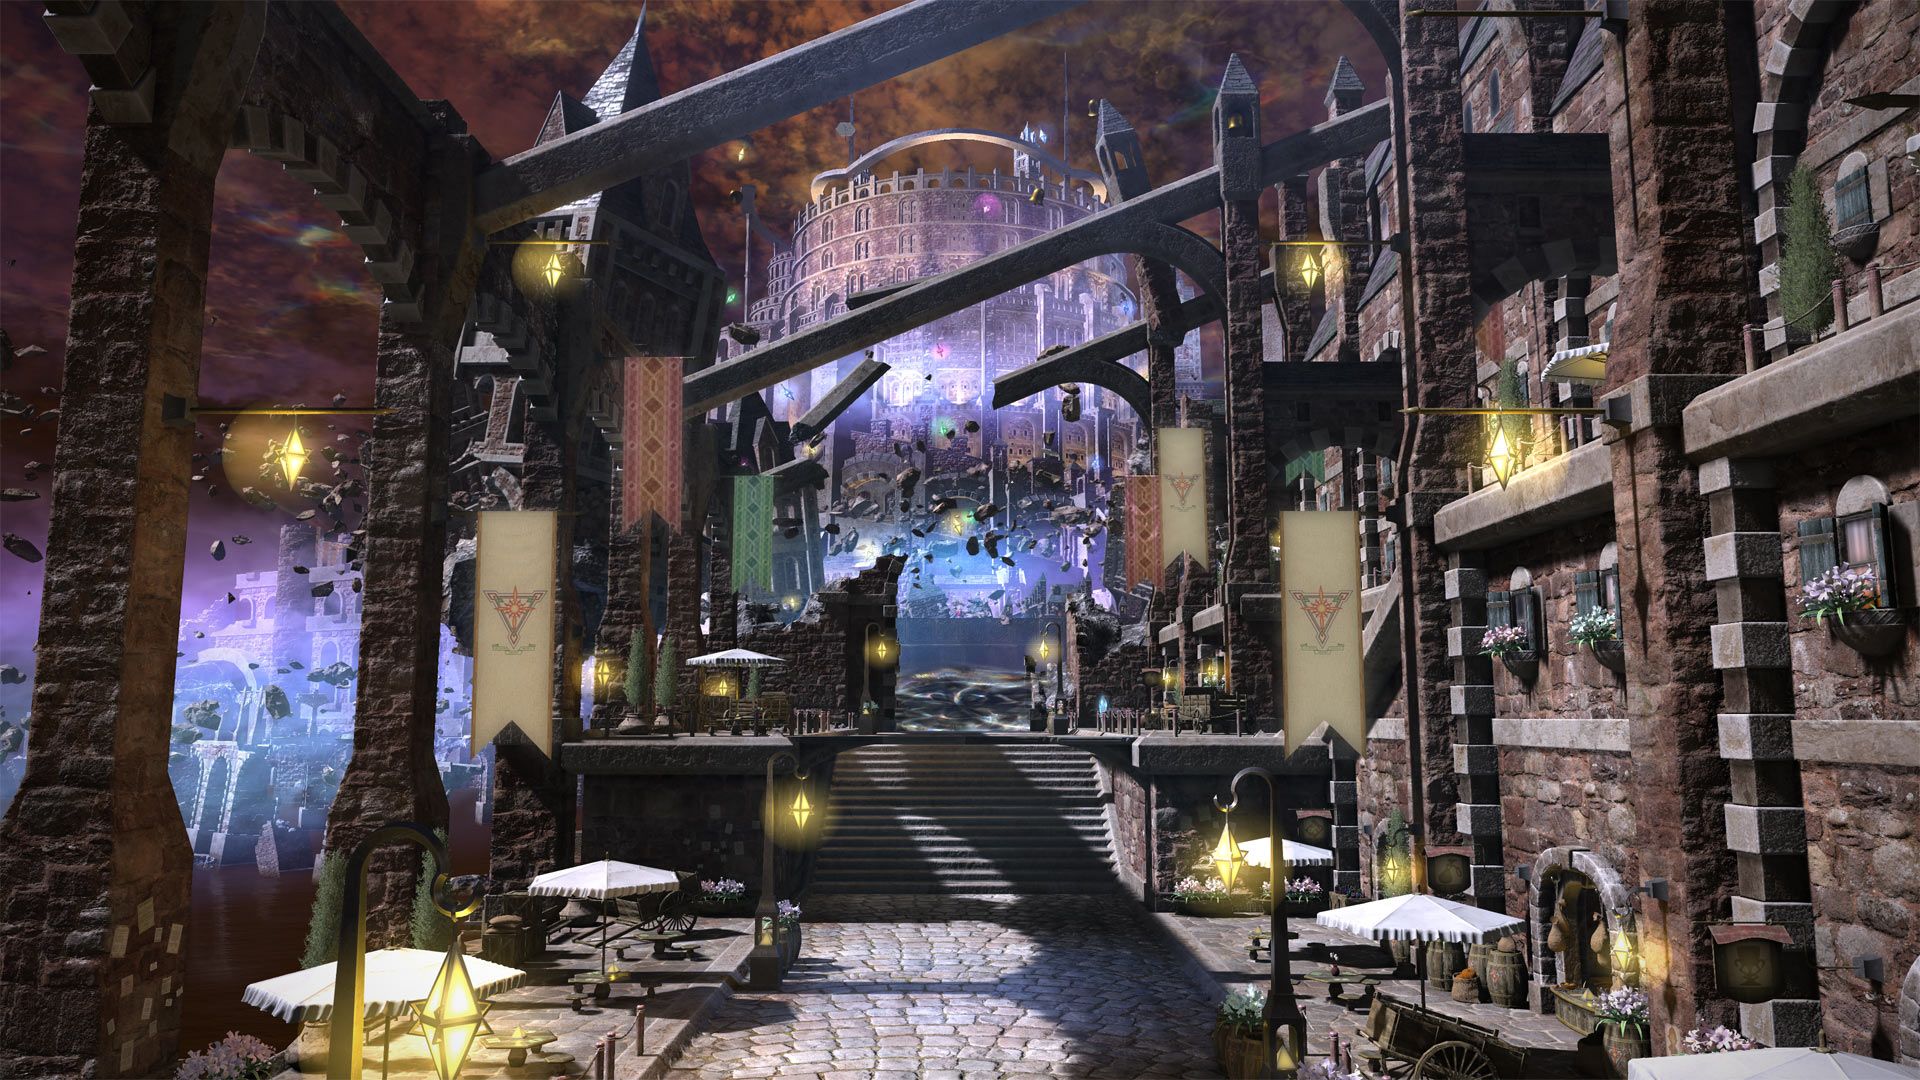
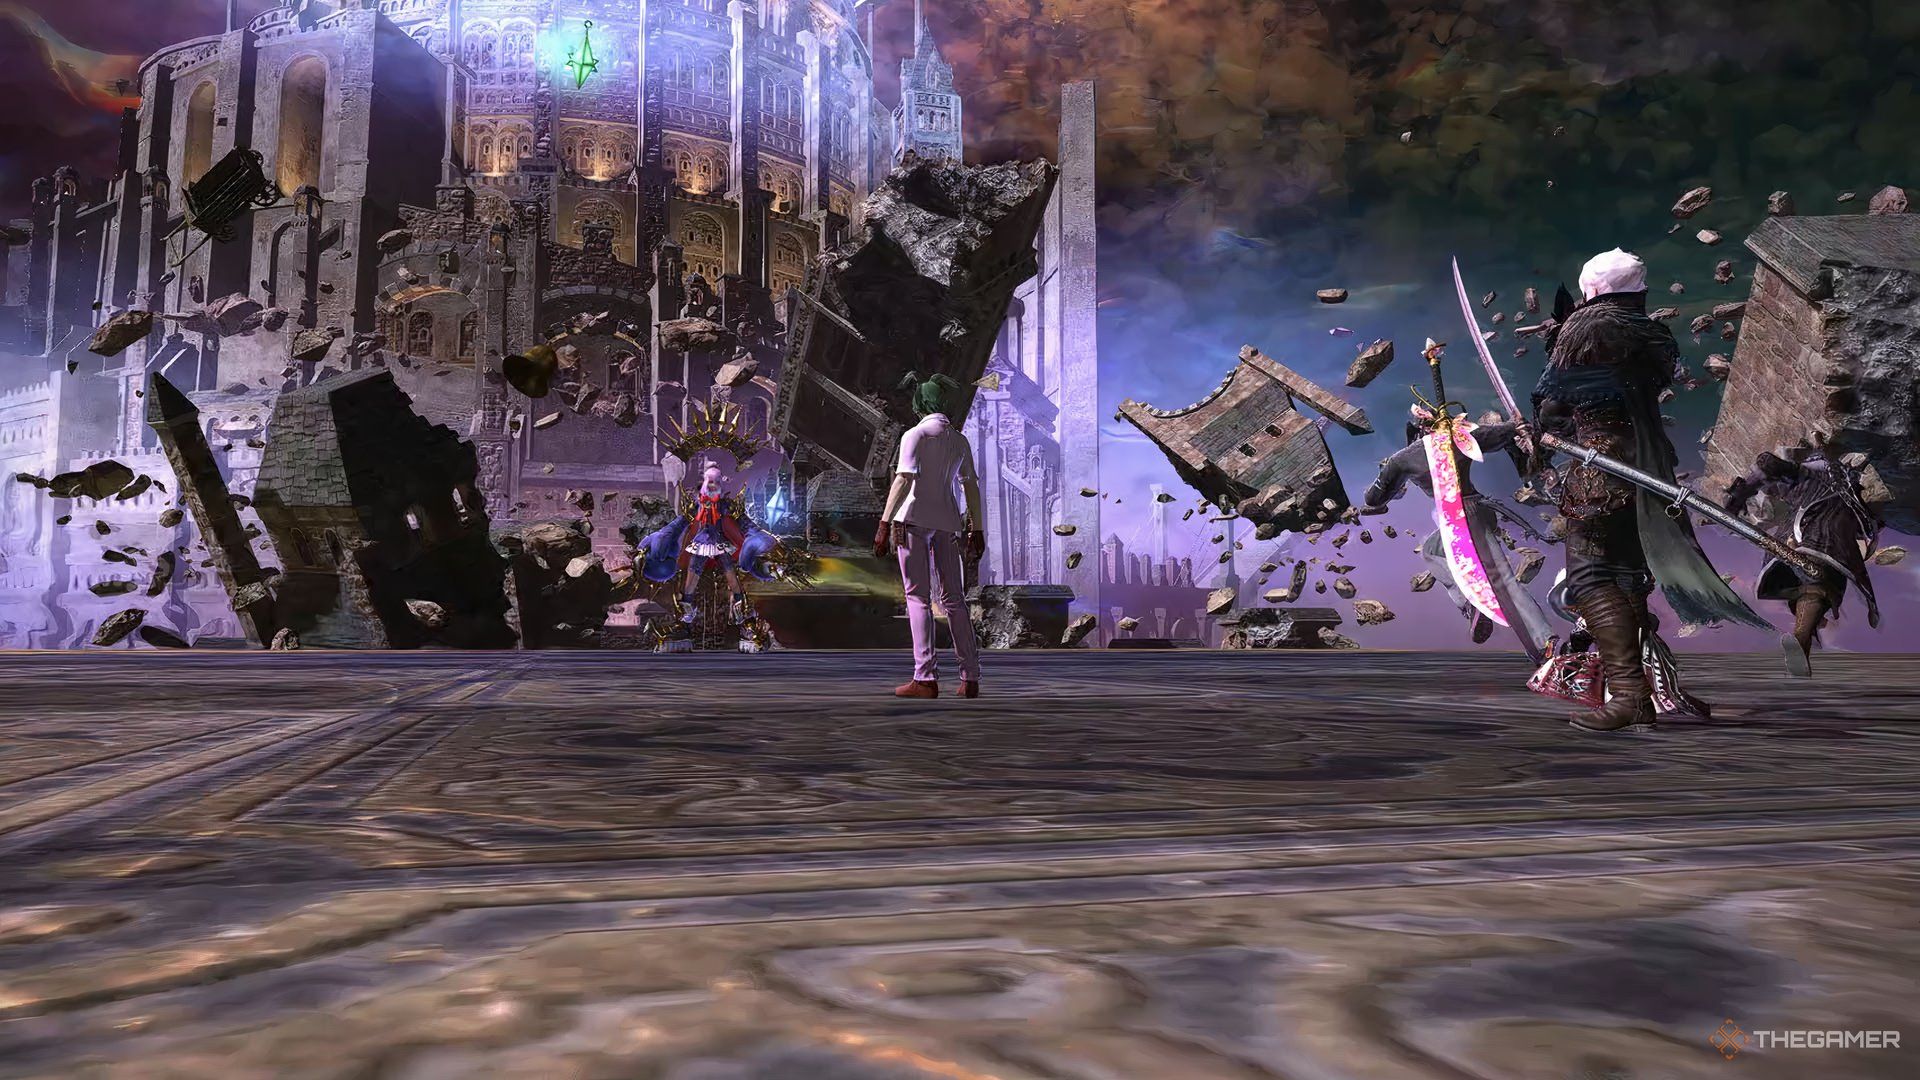
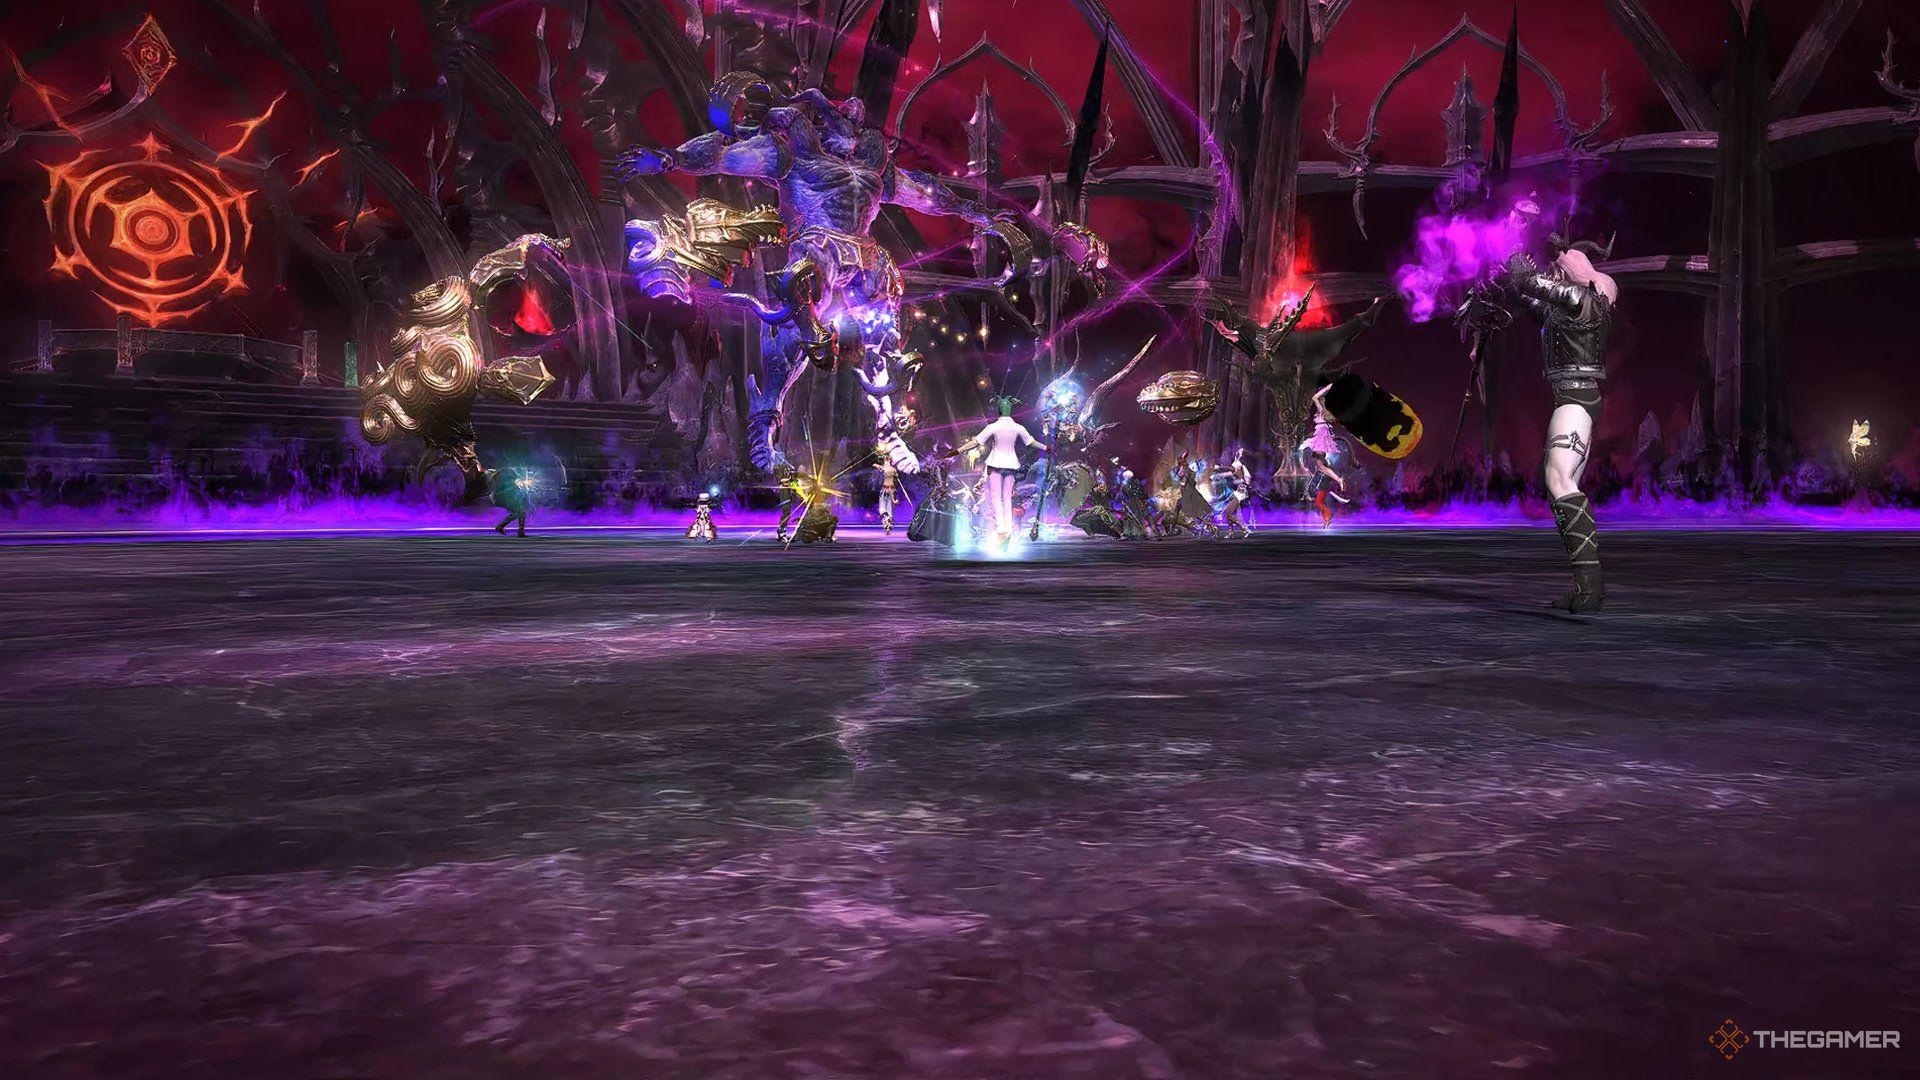
A good example is Jeuno: The First Walk.
As usual for these, each party consists of one Tank, two Healers, and 5 DPS.
You need aminimum Item Level of 695 or higherto enter.
As soon as you first enter, you’ll meet the first pack of minor enemies.
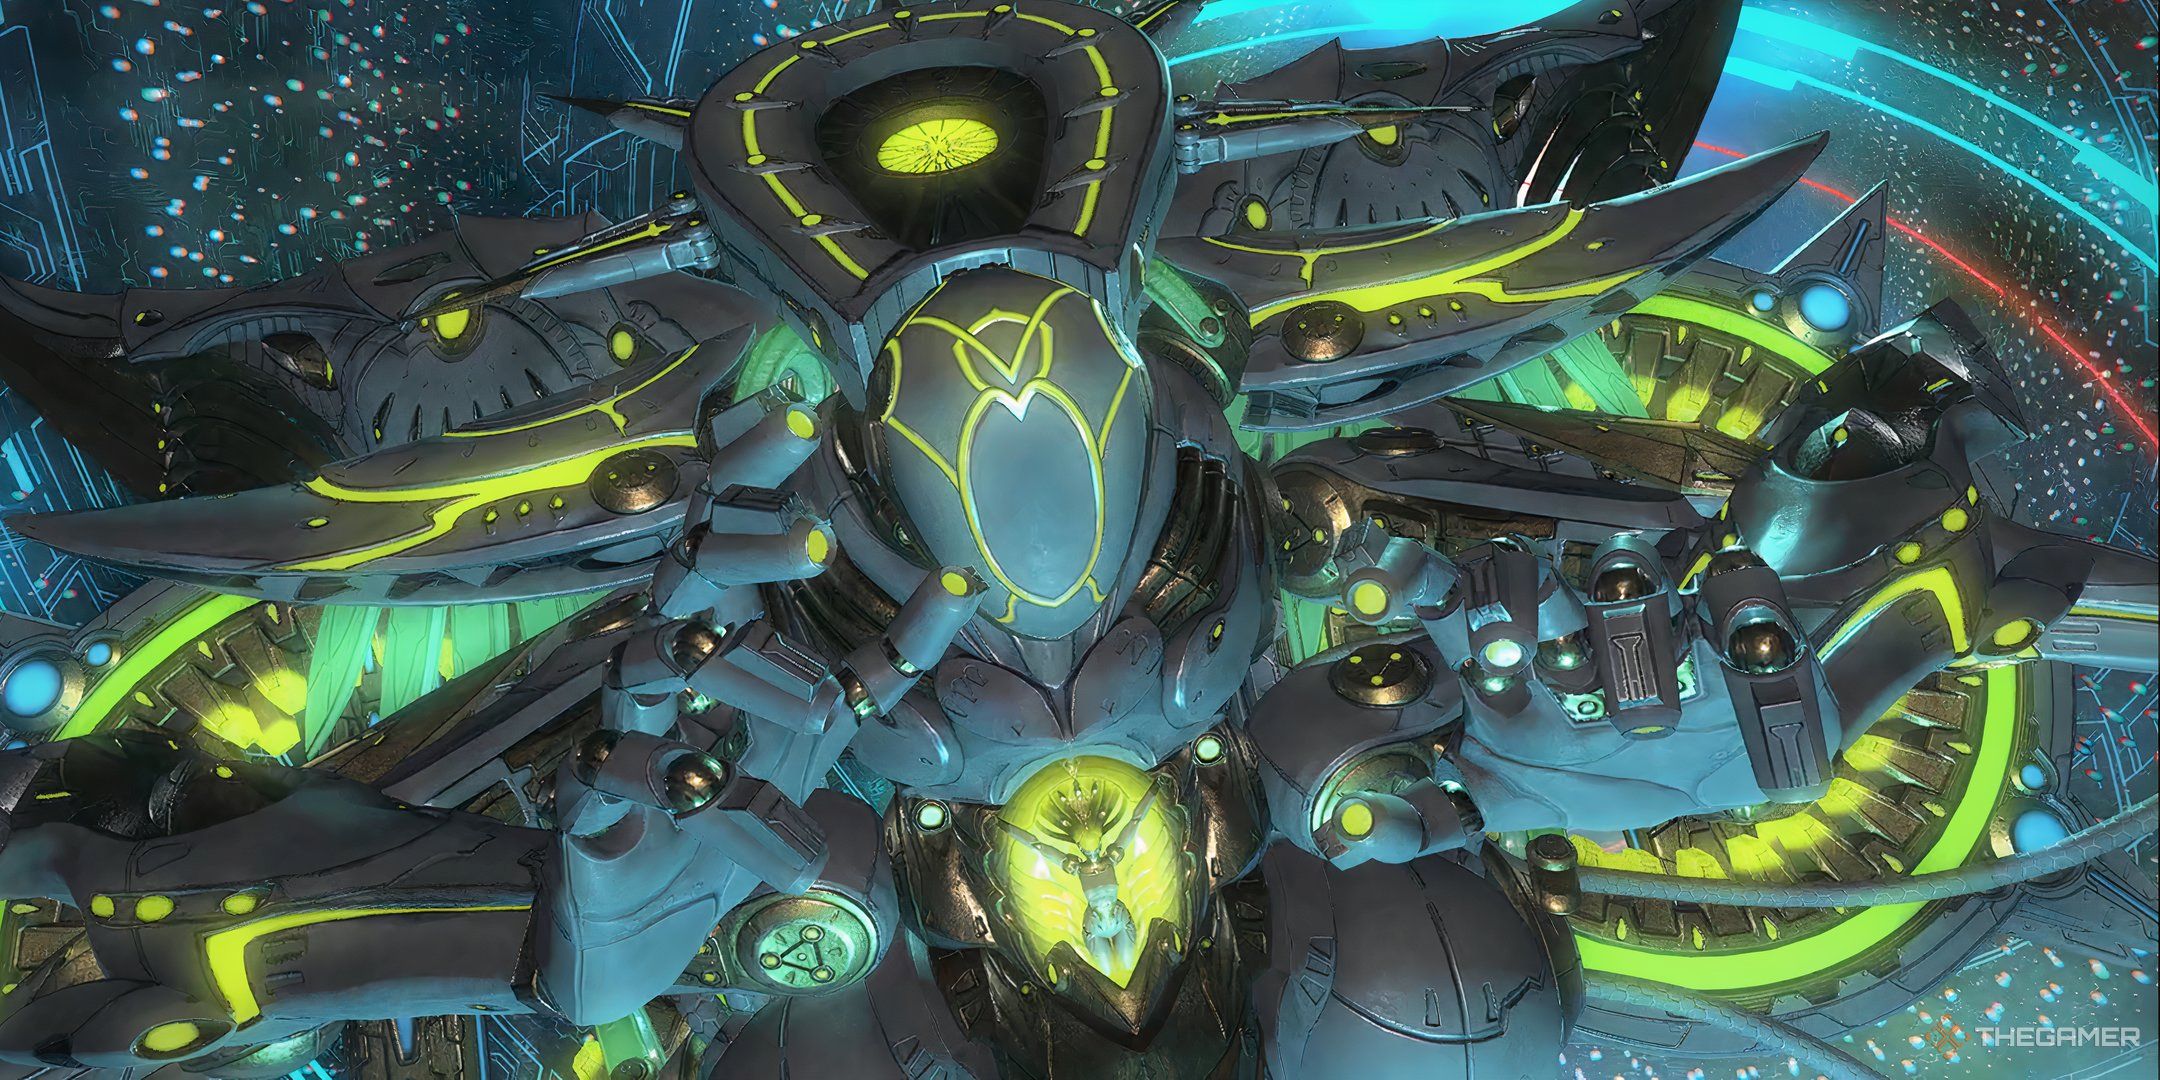
Prishe Of The Distant Chains
A well-known character from FF11, Prishe serves as the first encounter.
Arguablythe most straightforward fight in the raid, but still very interesting.
Here are her moves:
Attack
pop in
Description
Banishga
AoE
Raidwide AoE.
If she says once, she’s hitting the first circle inside.
Two times, the second circle.
Three times is for the bigger, third circle.
Pay attention to her voice line and stay next to the attacked circle.
Once the impact hits, enter the circle immediately, as the outer area is hit right after.
Applies a bleeding debuff if you’re hit.
Repeats twice at the start of the battle.
Nullifying Dropkick
Shared tankbuster
Tankbuster stack on a random tank.All tanks from the three alliances should stackto survive.
Banish Storm
Line AoE
Summons two scepters around the arena with pointing arrows around them.
Holy
Spread
Hits random players with a spread debuff.
If you’re targeted,stay away from others with the same debuff.
Crystalline Thorns
Creates various spikes around the arena, leaving only some small safe areas.
All players receivethree tethers on their backs pointing in different directions.
They have the same colors as the Knuckle Sandwich circles.
She then starts casting Auroral Uppercut.
Auroral Uppercut
Knocks you in the direction of one of the three tethers on your back.
If she says it twice, point the middle tether to the non-spike spots, for example.
Look for a safe spot, orwait for a nearby orb to explode to stand where it was.
After Asuran Fists,Prishe uses combos of previously seen mechanics with little to no surprises.
Once Prishe is down, you and Bakool Ja Ja encounter a forest with more regular enemies.
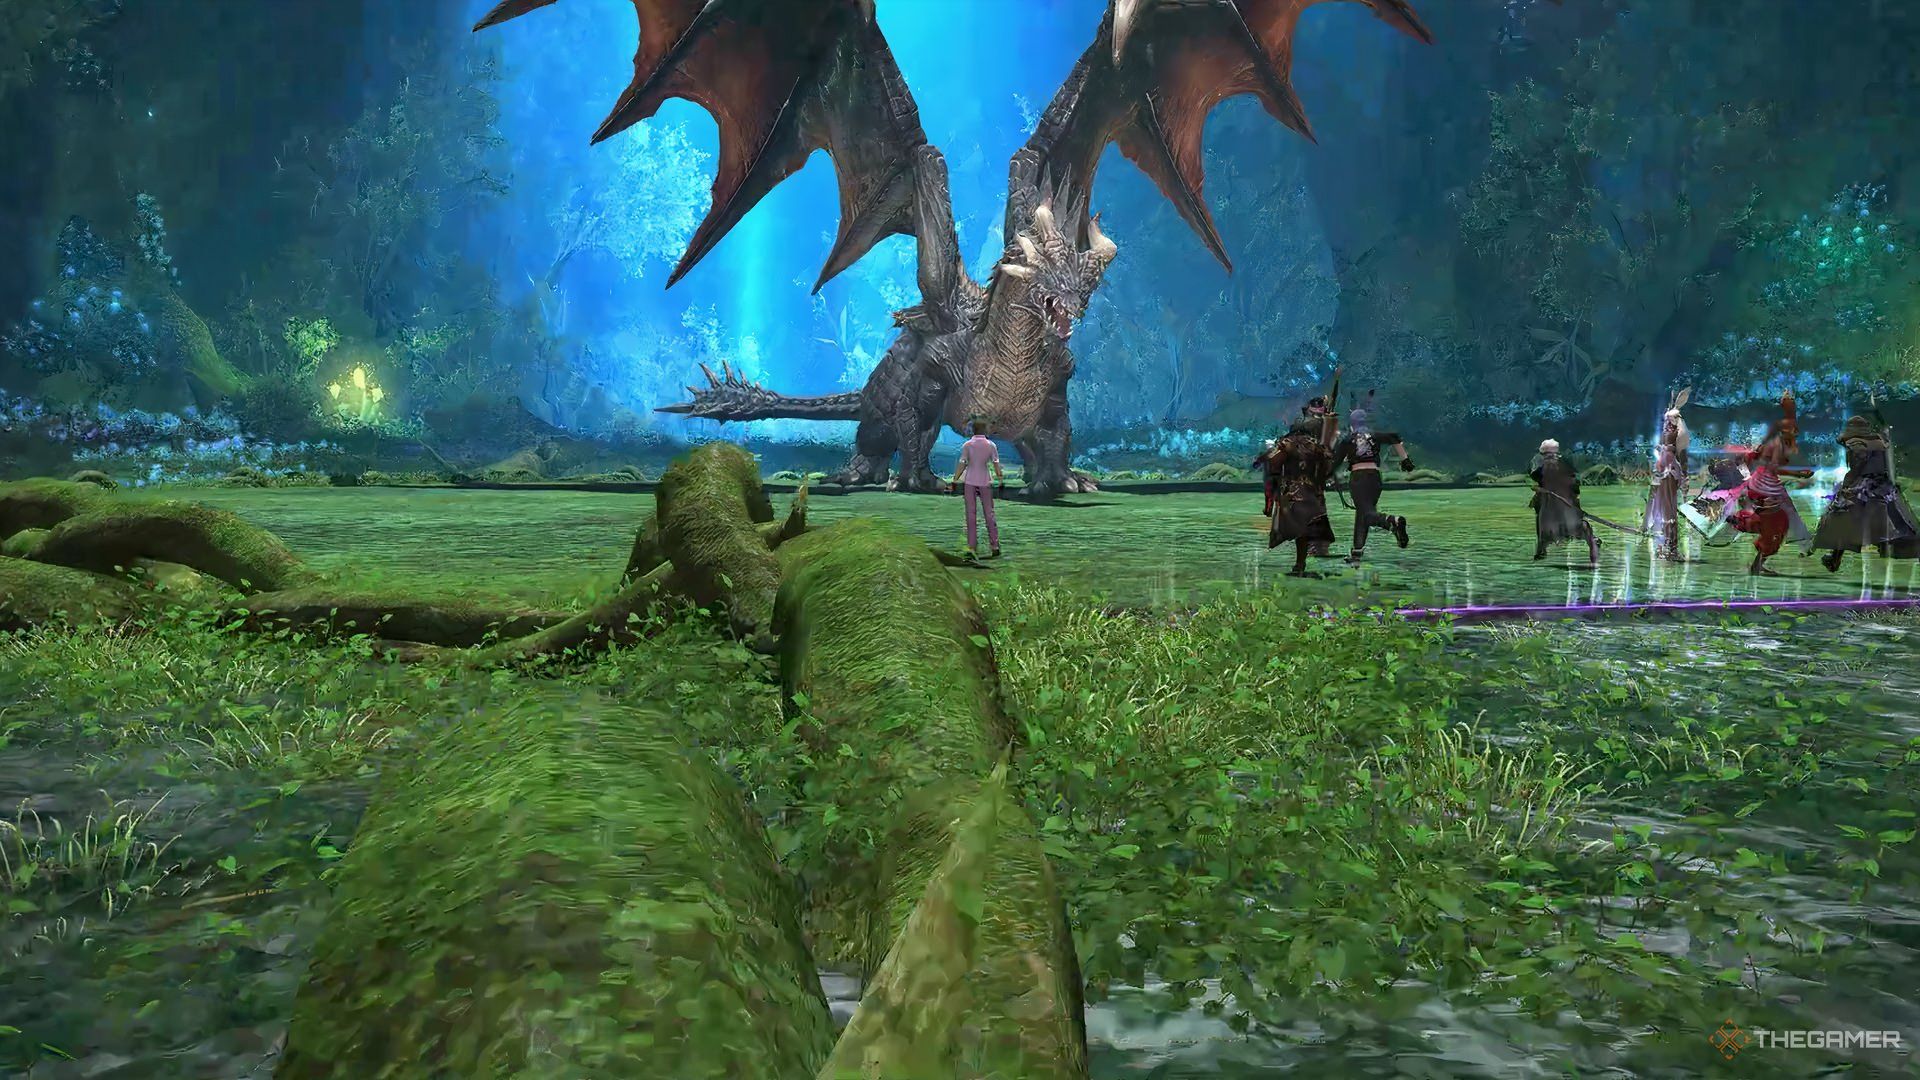
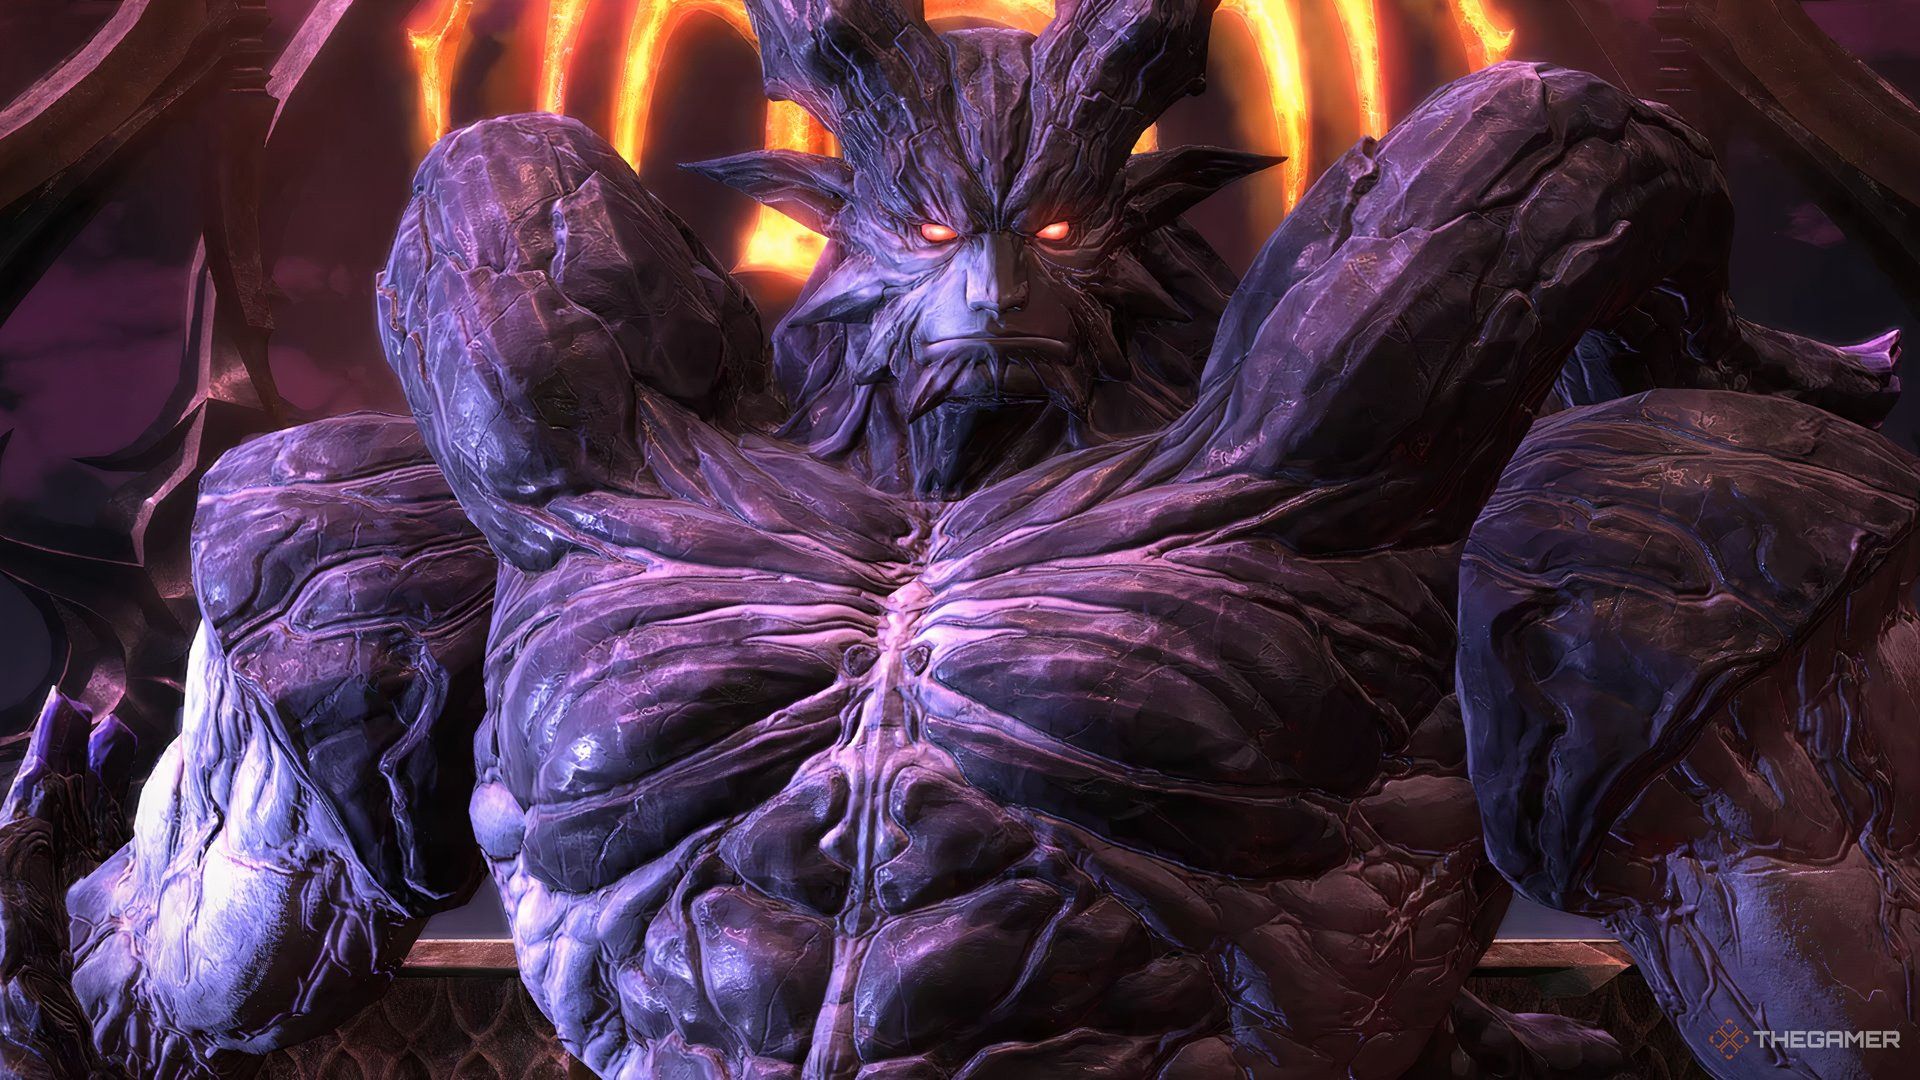
Fafnir The Forgotten
It wouldn’t be a Final Fantasy raid without a good dragon to fight.
Fafnir has thefollowing attacks:
Dark Matter Blast
Raidwide damage.
Creates apurple venomous circle around the arena, which is deadly for anyone who steps on it.
Offensive Posture
Fafnir starts glowing in a certain part of its body,indicating where its attack is aimed.
There are three variations, and they always happen in the following order:
Fafnir’s tail starts glowing.
The safe area isin front of Fafnir.
Fafnir’s claws start glowing and it starts to fly.
The safe area isoutside his hitbox, almost touching the purple zone.
Fafnir’s mouth starts glowing.
The safe area isinside his hitbox, as he burns the whole arena.
The fire vanishes in the same direction it was applied.
He finishes with another tail posture.
Being hit by any of these attacks inflicts a Vulnerability Up and a stun debuff.

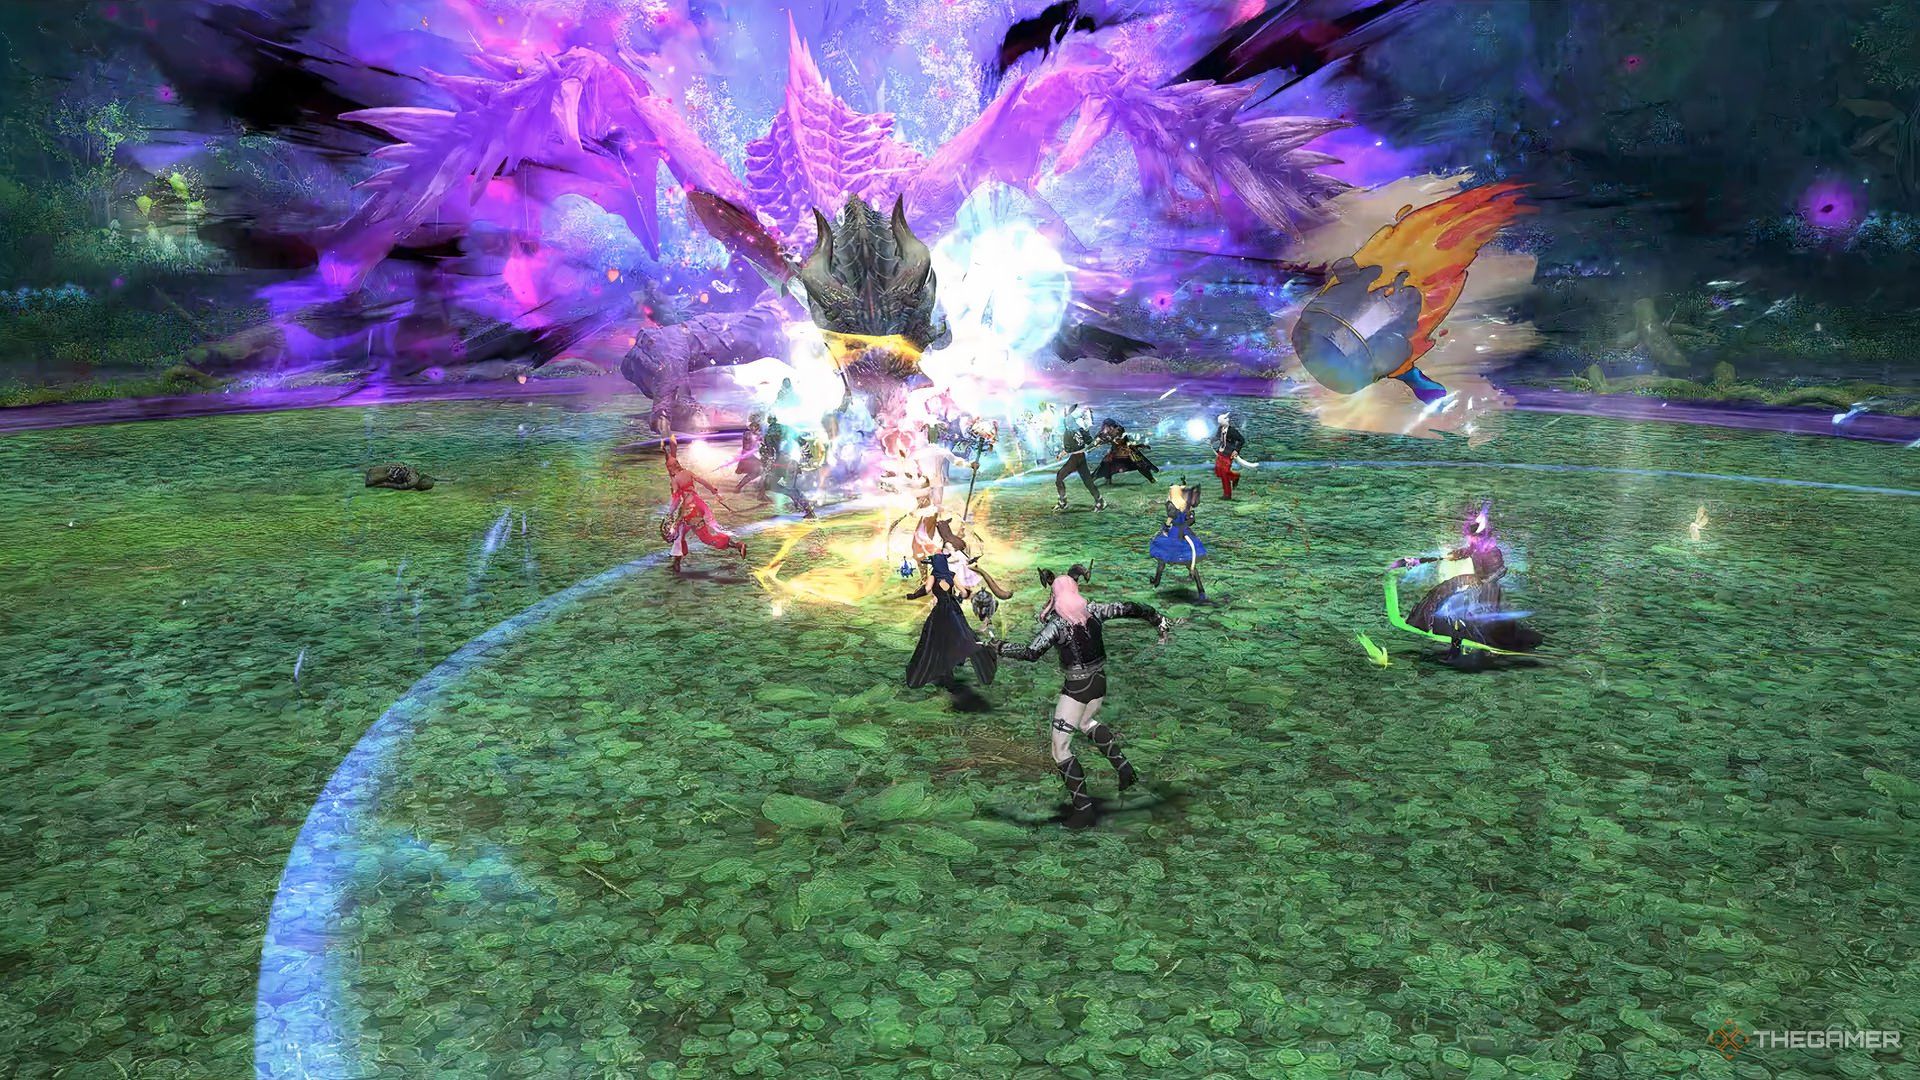
Baleful Breath
Stack AoE
Targets a Healer for a stack AoE.The whole raid must stackwith heavy mitigation.
Be careful with their Pestilent Sphere and their AoEs, which can hurt you severely if they hit.
At the same time,Fafnir enters a new phase.

Hurricane Wing
Fafnir flaps its wings, dealing damage to all players with each flap.
Both inflict a bleeding debuff.
You mustdodge the tornados as well as the AoE simultaneously.
Wait for the AoE to expand, then immediately enter the area that was just hit to be safe.
This AoE fires three, so be careful.
Horrid Roar
After the second expanding AoE finishes,Fafnir targets three players with an unavoidable spread AoE.
A red puddle drops beneath it, and everyone has to wait until it vanishes.
Touching the puddle inflicts Hysteria, making you walk in random directions.
Same as before, butthe posture used is random, so be careful.
During this time, Melees won’t have to worry about positional requirements.
Winged Terror
Fafnir glows its wings and hits directly in front of them.
Grab your loot and keep moving ahead.
The next zone has a few more dangerous enemies.
The first pack of mobs can usegaze attacks.
If you look at them, you get a Blind debuff (which can be removed).
The Despot in the final pack has a pull-in attack, but you canuse your knockback immunityto resist it.
Once they’re all gone, it’s time for themost unique encounterin the raid.
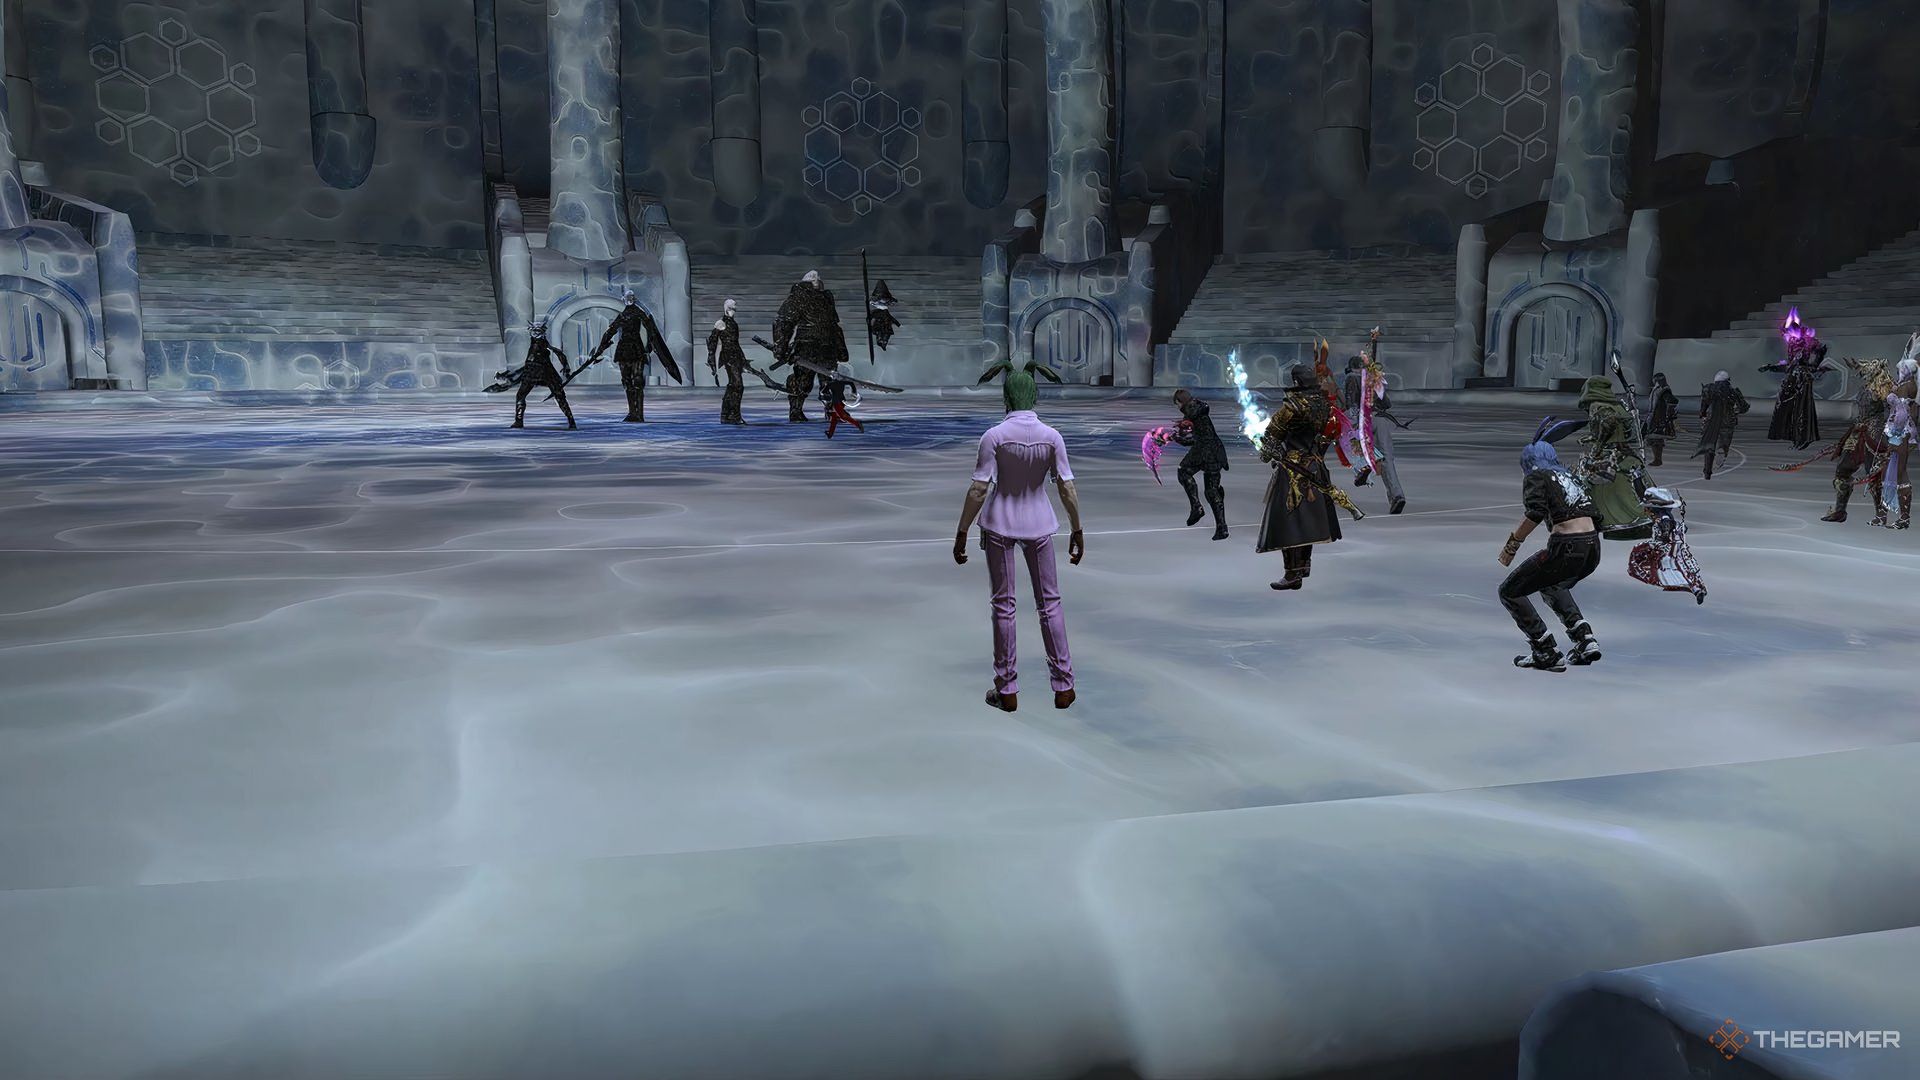
The Decisive Battle
Linksyou and your allianceto one of the three initial bosses.
Cloudsplitter
Tankbuster
Ark Angel MR targetsall Tanks with an AoE tankbuster.
Stay away from them, and use your mitigations if you’re a Tank.
The ice lines hit twice, and the gaze fires off after the second line hits.
Make sureyou’re looking away when dodging it.
After the gaze hits, Ark Angels MR hits the arena with various cone AoEs.
Wait for the AoE to explode, then enter the safe spot while dodging the cleaves.
Meteor
Raidwide AoE
Ark Angel TT starts casting a Meteor that wipes the whole raid.
Tanks or Physical Rangeds must useInterject/Head Graze to stop him.
Ends withSpiral Finish, which knocks players back.
you might use knockback immunity on it.
Run to him as soon as you hear him saying"Cowardice dismembers!".
After this onslaught, the three bosses will jump away, andArk Angels EV and HM take their place.
The debuffs are gone, so you’ve got the option to hit whichever you want.
Dominion Slash
Raidwide AoE thatleaves puddles on the groundfor a while.
They damage anyone who steps on them.
The marked players will be chased by HM clones, so keep running until they vanish.
Raidwide damageto all players.
TT covers the whole arena with a spell, except for the zone behind him.
Run to him as soon as you hear him saying"Cowardice dismembers!".
Same as before, but combined withCritical Reaver(Cross Reavers but as Critical Hits) andMeteor.
Cross Reaver
After using Critical Reaver, HM starts channeling another Cross Reaver thatcan be interrupted.
Not interrupting itwipes the party.
From here,any remaining Ark Angel will simply repeat their previous attacksuntil they’re gone.
His moves are easy to follow, butcan be deadly if you’re not paying attention.
He follows up with another Giga Slash.
Flames of Hatred
Raidwide damage.
Implosion
Circle + Half-arena AoE
Summons two fire orbs in his hands.
One of these orbs will grow, indicating the half of the arena that will be hit.
He also summons an AoE around himself.
Stayaway from the boss, then stand on the safe half.
Cthonic Fury
Transforms the arena intoa four-circled zone with lines connecting them, while also dealing raidwide damage.
Touching the flames outside the zone gives you a damage over time debuff.
Hatred Sigils
Summons sigils around the new arena, pointing inward or outward to the circle areas.
Dark Nebula
Knockback
Knockback from one side of the arena to another.
Position yourselfperfectly between the lines to avoid being pushed into flames, and land on the circles.
Same as before, butyou’ll be forcibly close to Shadow Lord, so be careful.
Similar to before, but there are extra sigils this time.
Echoes of Agony
Multiple AoE hits on a random player.
Thewhole raid must stack with them.
Reverts the arena to normal, while also dealing raidwide damage.
After returning the arena to normal, the Shadow Lord jumps to the wall and castsNightfall.
After he returns the normal, the Nightfall phase begins.
Be ready to move one more time.
Shadow Spawn
Summons two clones of himself.
These clonesrepeat his attacks, so be careful with his next attacks.
Same as before, but after the third slash,go inside his clone to dodge another Giga Slash.
The clone only slashes twice.
Same as before butwith a clone in the background.
Same as before, but withextra hits.
Dodging in the direction of one of the first AoEs after they’re fired off usually works.
Damning Strikes
Stacking AoE
Summons three towers that must besoaked by each of the Alliances.
They deal heavy damage, so be ready to heal and mitigate.
Transforms the arena into afour-circled zone with lines connecting them, while also dealing raidwide damage.
Touching the flames outside the zone gives you a damage over time debuff.
Same as before, butnow repeated four times.
see to it you’re always being thrown into a safe zone and never outside the arena.
Same as the third Hatred Sigil from before.
Stand in the line andlook for the safe half.
Summons another clone,identical to before.
Doom Arc
Inflicts raidwide damage and a bleeding debuff to all players.
The Shadow Lord alsogets a permanent damage buff.
Shadow Lord willonly repeat his Nightfall phase mechanics until he’s defeated.
Be careful, as his damage buff will make this repeated assault more deadly.
Fortunately,he should be low on health by this moment.
If you ever see him casting Doom Arc, it shouldn’t take much longer to kill him.
Jeuno: The First Walk Rewards
All players gettwoCracked Novaclusters and one Ordelle Coin.
Each boss drops a Treasure Chest, containingtwo random pieces of equipment from the Raid.
Equipment loot is rolled separately between Alliances.
The final boss hasextra chests with special loot, rolled between all 24 players.
He also drops four pieces of equipment at once.
As of Patch 7.1, players can only getone Ordelle Coin and one piece of equipment per week.
The limit will be removed in future updates.
Here’s how to beat Queen Sphene’s ultra-powerful form in this FF14 Extreme trial.
