Quick Links
Bardam’s Mettle is a level 65 dungeon inFinal Fantasy 14: Stormblood.
Complete the trials of Bardam the brave, tame a Yol, and you may just earn that title.
How To Unlock Bardam’s Mettle
This dungeon is unlocked through the following main story quest.
These monsters deal more damage than normal trash mobs, and should be Tanked with care.
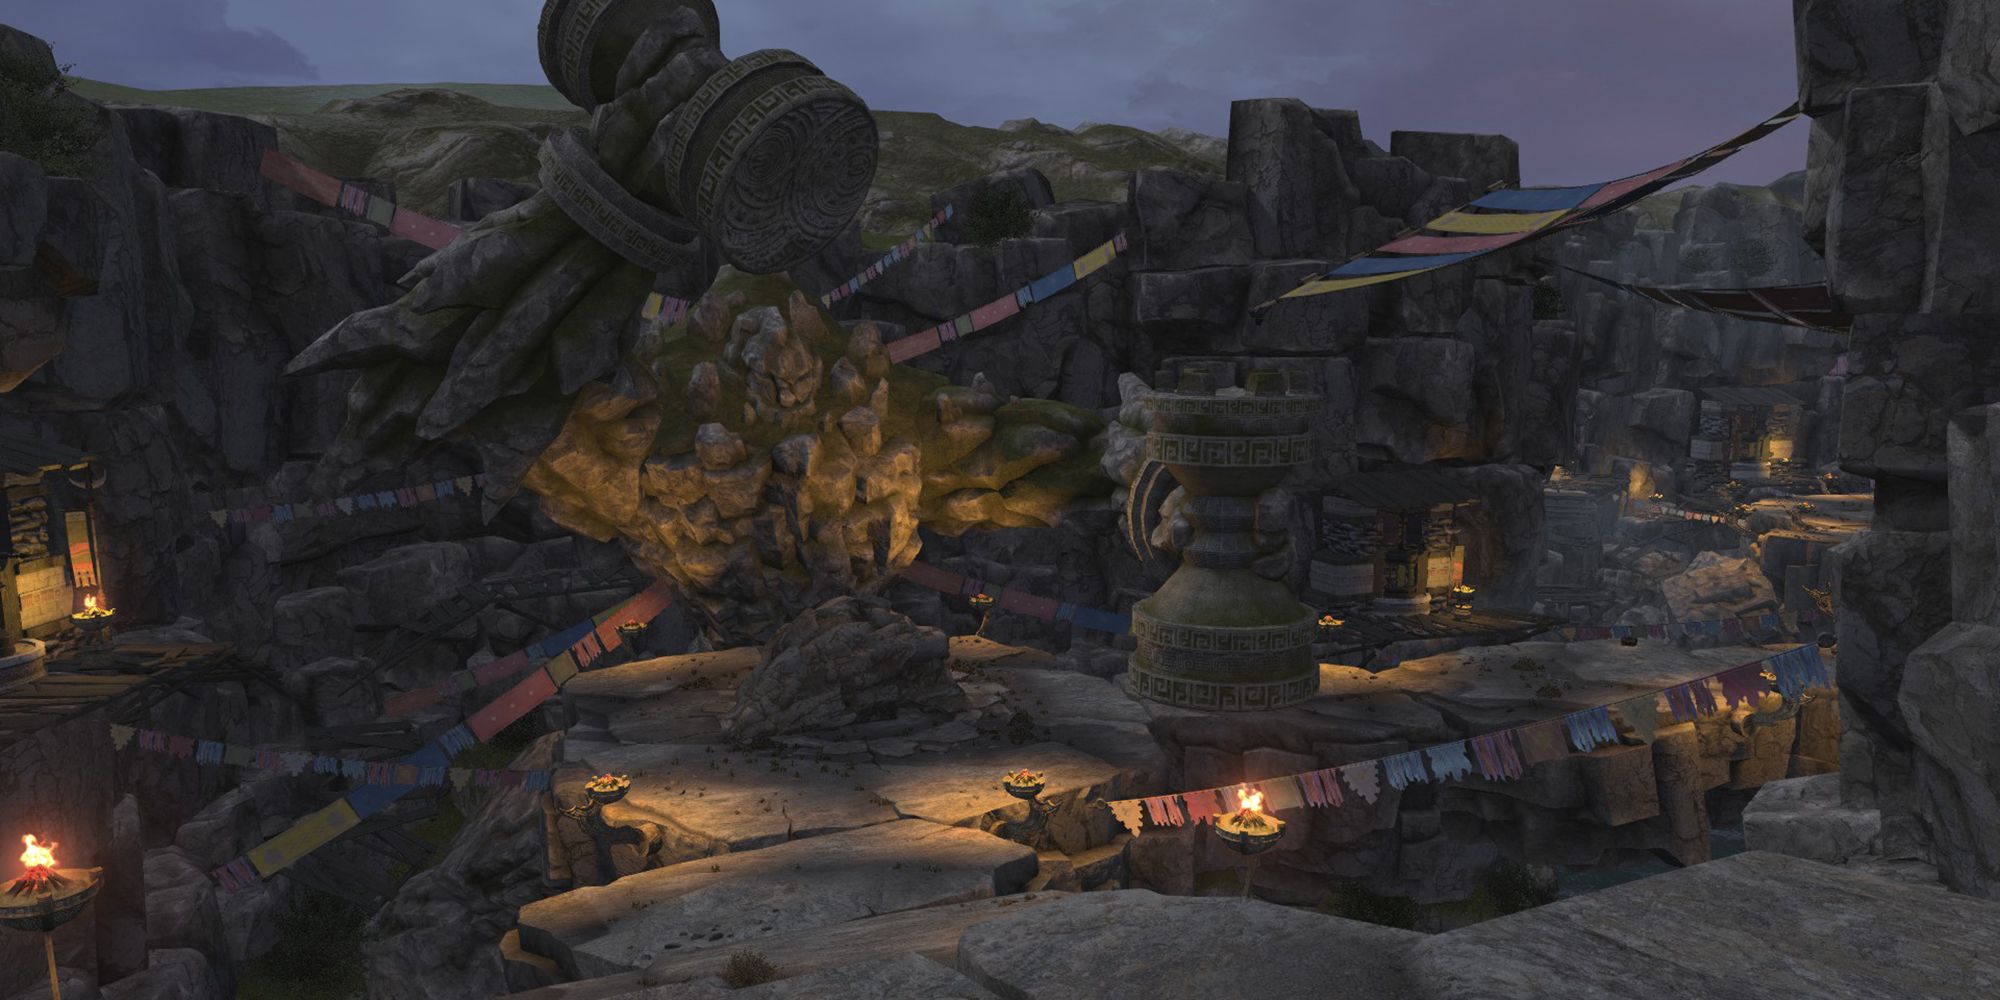
After the second boss, you will progress through a narrow cave.
In this section, watch forgiant boulders that will roll down the path.

Pull trash mobs to the side of the path to avoid being crushed.
Garula
The first boss of Bardam’s Mettle is Galura.
This boss is pretty straightforward, but can be deadly if you’re not careful.
Garula’s attacks and mechanics are detailed below.
Crumbling Crust
Garula will move to the center of the arena before creatingcircle AoEs around itself.
Rush
Tether/AoE
Targets a random player with anorange tether.
The boss will thenrush towards its target, dealing damage in aline AoE.
you’re able to tell when Rush will deal less damage when thetether turns purple.
Warcry
Special
Garula will activate the sleeping animals around the arena, which will shortly perform an attack.

Garula will deal damage to all players just before the animals' attacks go off.
Quickly recover with AoE healing.
Garula will repeat these attacks until it is defeated.

Be sure to run away from Rush until the tether turns purple, and dodge the other AoEs accordingly.
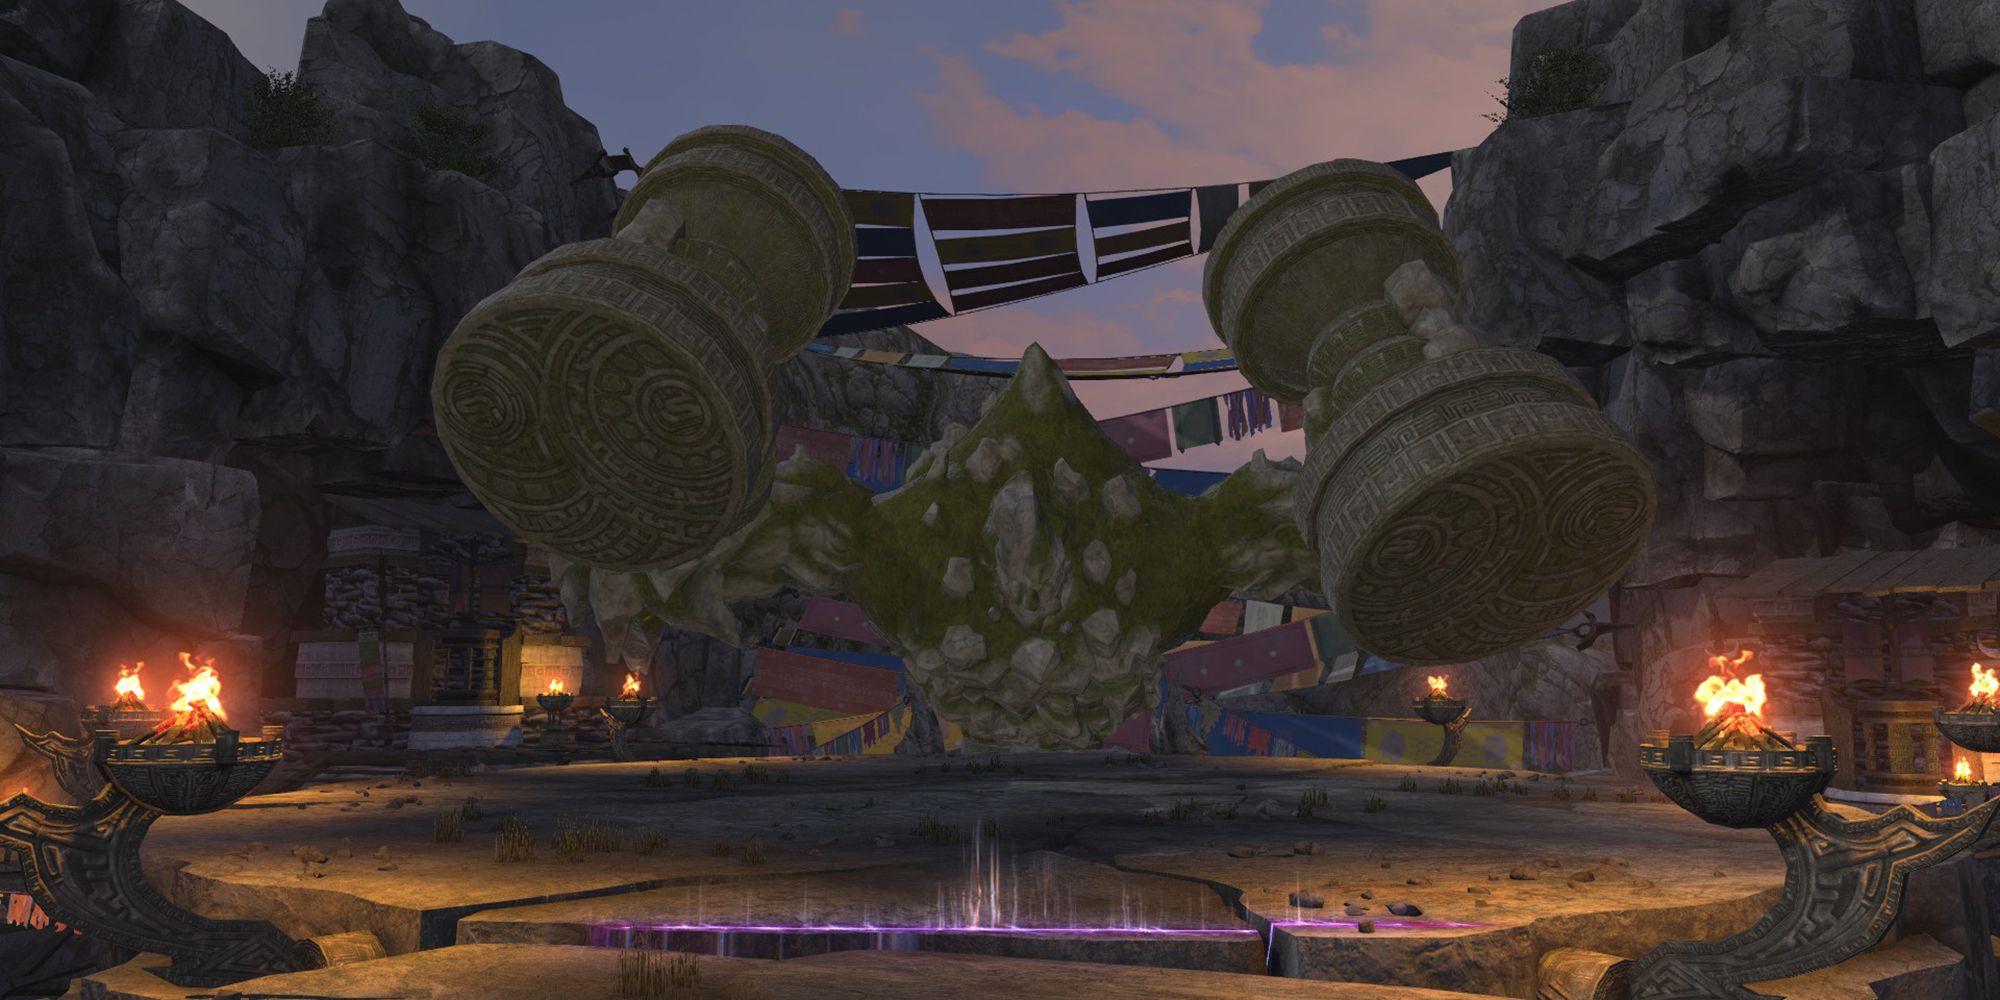
Bardam
The second boss of Bardam’s Mettle is Bardam.
Instead, you will undergo a Trial in which you’ll need tododge different mechanics correctly.
At leastone player needs to complete each phase correctly to move on.
This fight is split into three distinct phases, which are detailed below.
Then, you will need to dodge the following four attacks, which alloccur at roughly the same time.
Magnetism
Pulls all players toward the Hunter of Bardam.
Empty Gaze
Begins casting this immediately afterMagnetism.
The Hunter of Bardam will prepare a direction-based attack;look away from the bossto avoid failing this mechanic.
Shockwave
The Hunter of Bardam will use this at the same time it begins chargingEmpty Gaze.
You will need toavoid these AoEs while facing away from the boss to avoid Empty Gaze.
Spear Charge
Creates a series ofcriss-cross AoEs around the arena.
Move between the various safe squares to avoid.
The Hunter of Bardam will use asecond Empty Gazeduring this attack.
Phase 2
These attacks will occur in the following sequence.
Pillars
Three pillars will be summoned.
Rings
Two players will be marked with a largering-shaped AoE.
Theaffected players should group together, while theother two players either move inside or outside the ring.
Heavy Strike
A series of three 270 degree AoEs to the front of the Hunter of Bardam.
Move behind the enemy to avoid.
Star Shard
Four meteors will drop onto the arena, creatingcircular AoEs where they land.
Move to the outer edges of the arena or directly in the center to avoid.
Phase 3
Looming Shadow
A meteor marker will appear in the center of the arena.
You will need tohide behind one of the Star Shardsto avoid being hit with this attack.
Warriors of Bardam
Bardam willbreak the left and right Star Shards, summoningWarriors of Bardam.
After a moment, these enemies will both castHeavy Strike.
This will occur at thesame time as the following comboof attacks.
After Looming Shadow is cast, you will have completed Bardam’s trial.
Pat yourself on the back, collect your loot, and move on to the final boss.
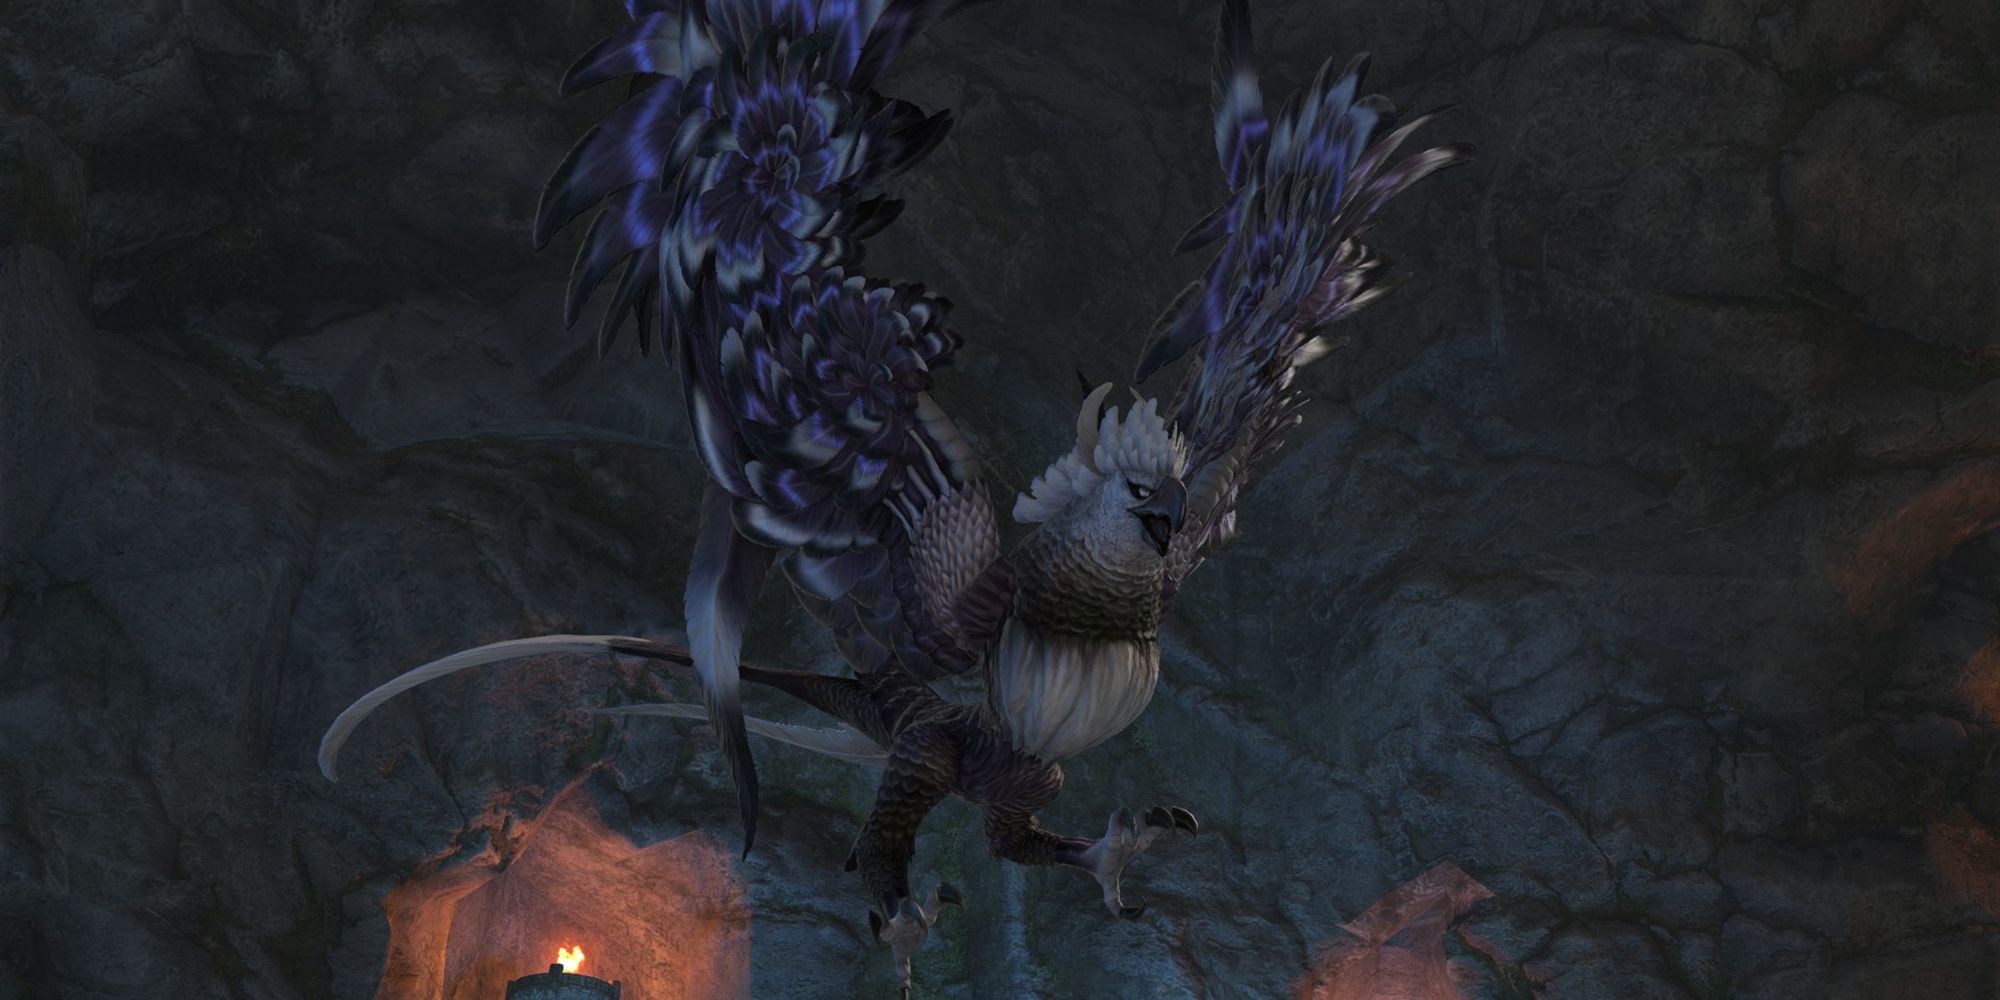
Yol
The final boss of this dungeon is Yol.
Get ready to dodge some AoEs.
Yol’s attacks and mechanics are listed below.
Feathercut
Deals damage in acleave to the front of the boss.
The Tank shouldface Yol away from the rest of the partyto avoid them getting hit.
Wind Unbound
Deals damage to all party members and summonswind orbsaround the arena.
These orbs will repeatedly target players with line AoEs, and persist for a while.
Move accordingly to dodge them.
Flutterfall
AoE Markers
Targets all players with an AoE marker.Spread out to avoid overlappingthese.
Corpsecleaner Eagle
Adds
Around 50 percent remaining health, Yol will fly away and summon these adds.
When both Eagles are down, Yol will reappear and the fight will resume.
You will need todestroy both of its wingsto continue.
Wingbeat
AoE/Knockback
happens when Yol’s wings are targetable.
Watch your position toensure you aren’t knocked into any of the rotating AoEs.
After defeating Yol, Bardam’s Mettle will be complete.
Next:Final Fantasy 14: Stormblood - Where To Find All Aether Currents In The Azim Steppe
