Here are the most ambitious indie video games!
In between, you’ll also encounter some truly tricky puzzles to solve.
These doors are locked, so ignore them for now andcontinue to enter the Perimeter proper.
However, there’s nothing important inside.
From here,head west and ascend the large staircase.
Once you’re ready,resume heading west and avoid any detours.

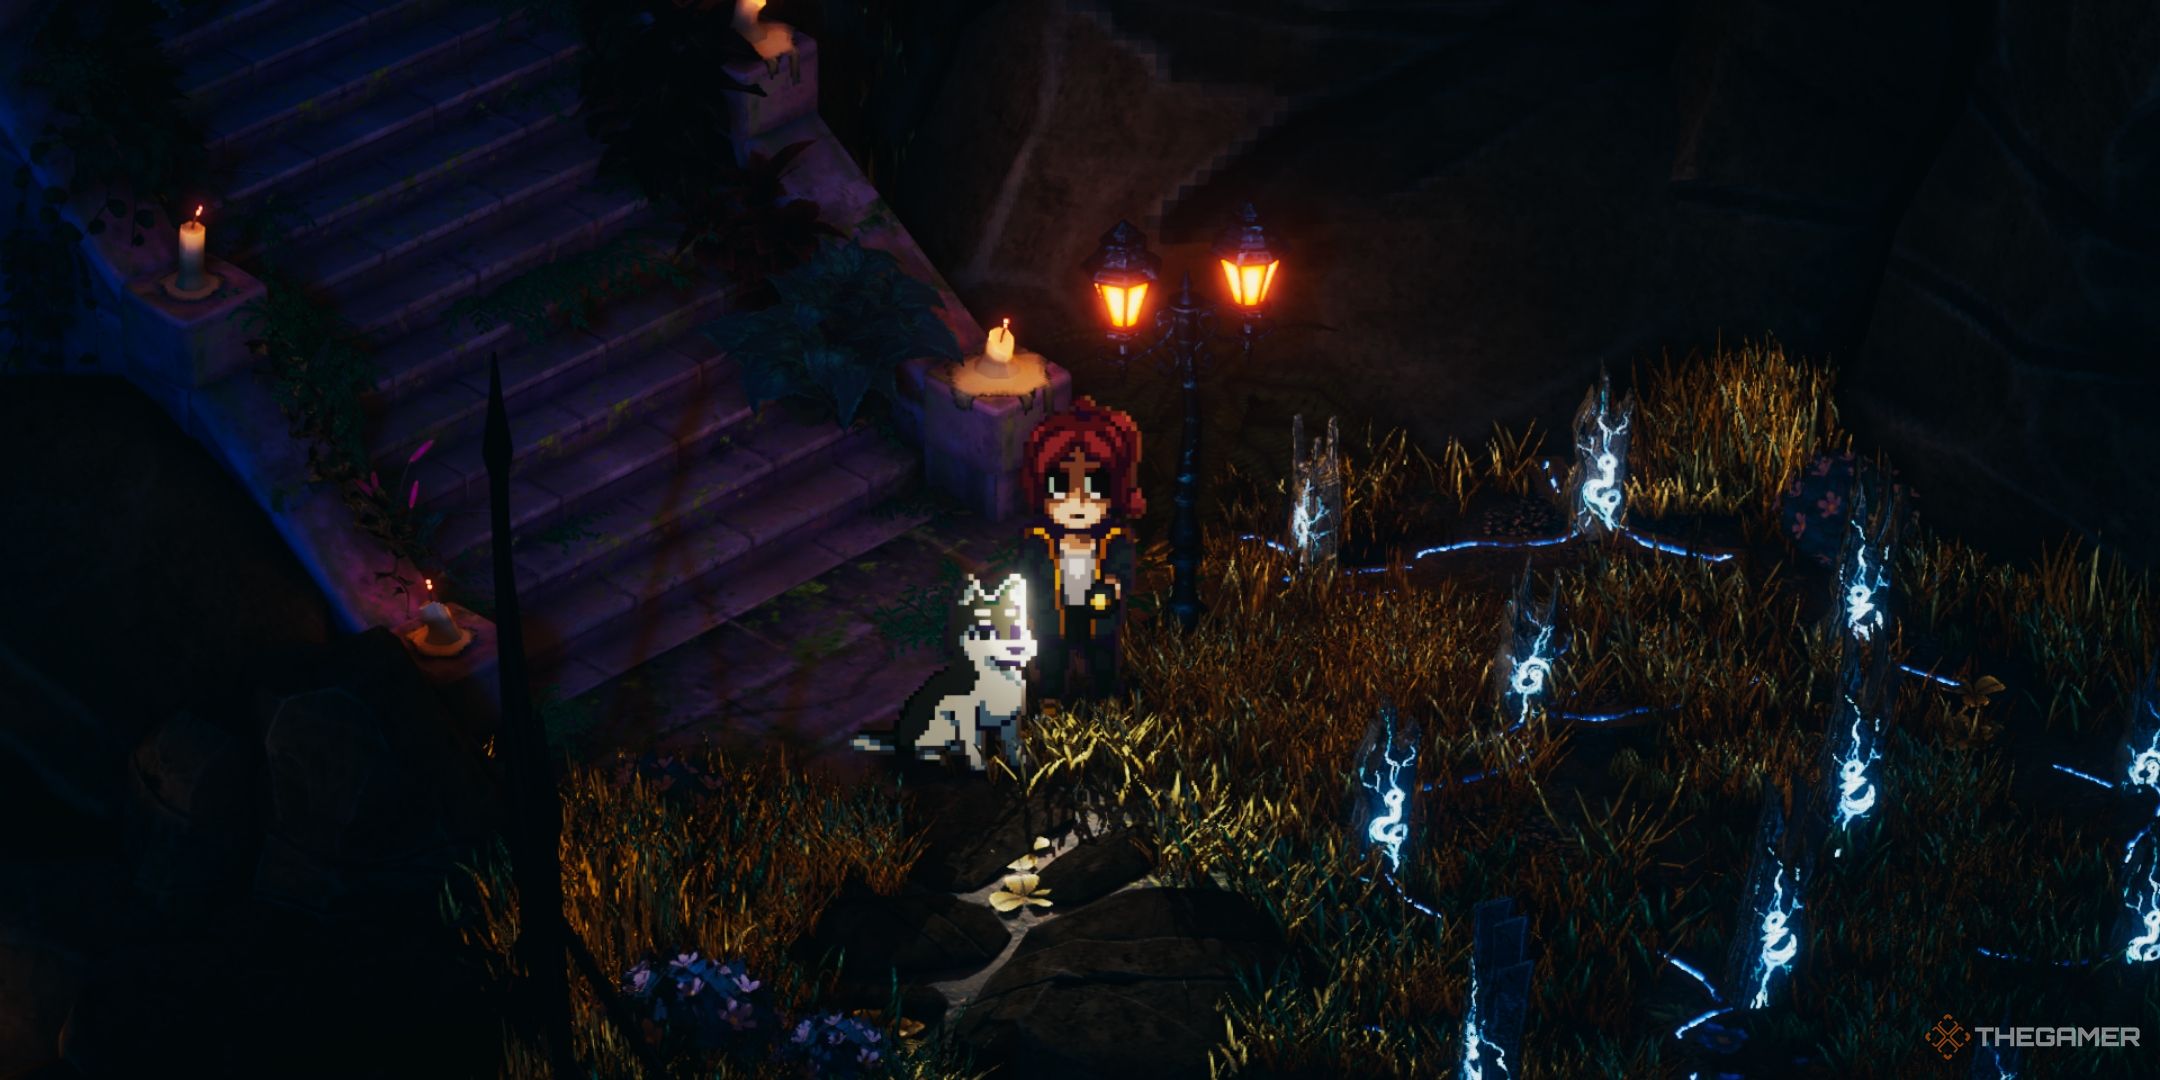
Soon enough, you’llstumble upon a campsitemarking your entry into the Graveyard of Melodies.
However,make a quick stop at the Spiral Castle first.
Each tent holdsvaluable information and cluesto help you navigate the Graveyard of Melodies and its upcoming Maze section.
You’llcatch static in some parts of the campsiteif youbring out your walkie-talkie.
The Maze introduced anew throw in of enemy called the Spectre.
To defeat a Spectre, you’ll have todestroy its source, which is a hovering stone object.

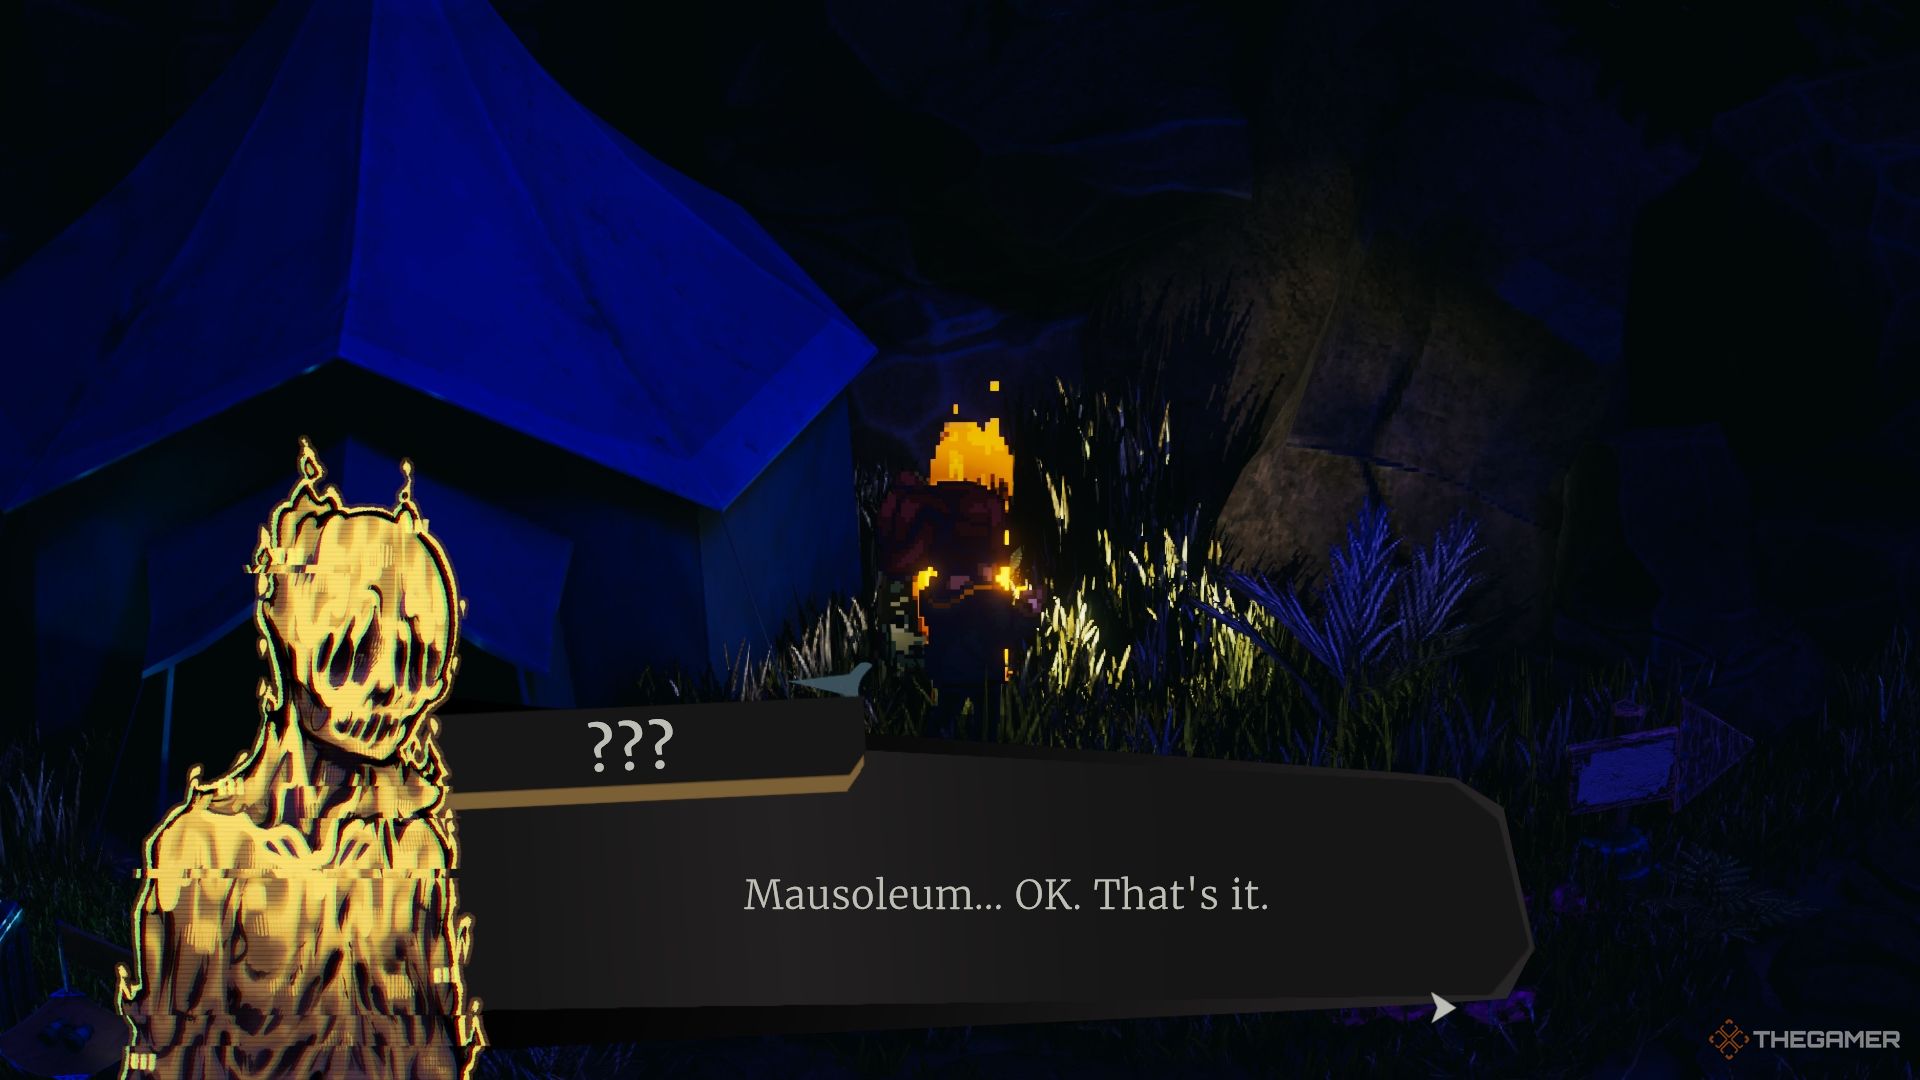
Once in the Mausoleum area, you’llencounter a locked gate.
To the south, you canunlock the earlier shortcut across a bridge.
After that,you’re able to head north to find the entrance to the Mausoleum.
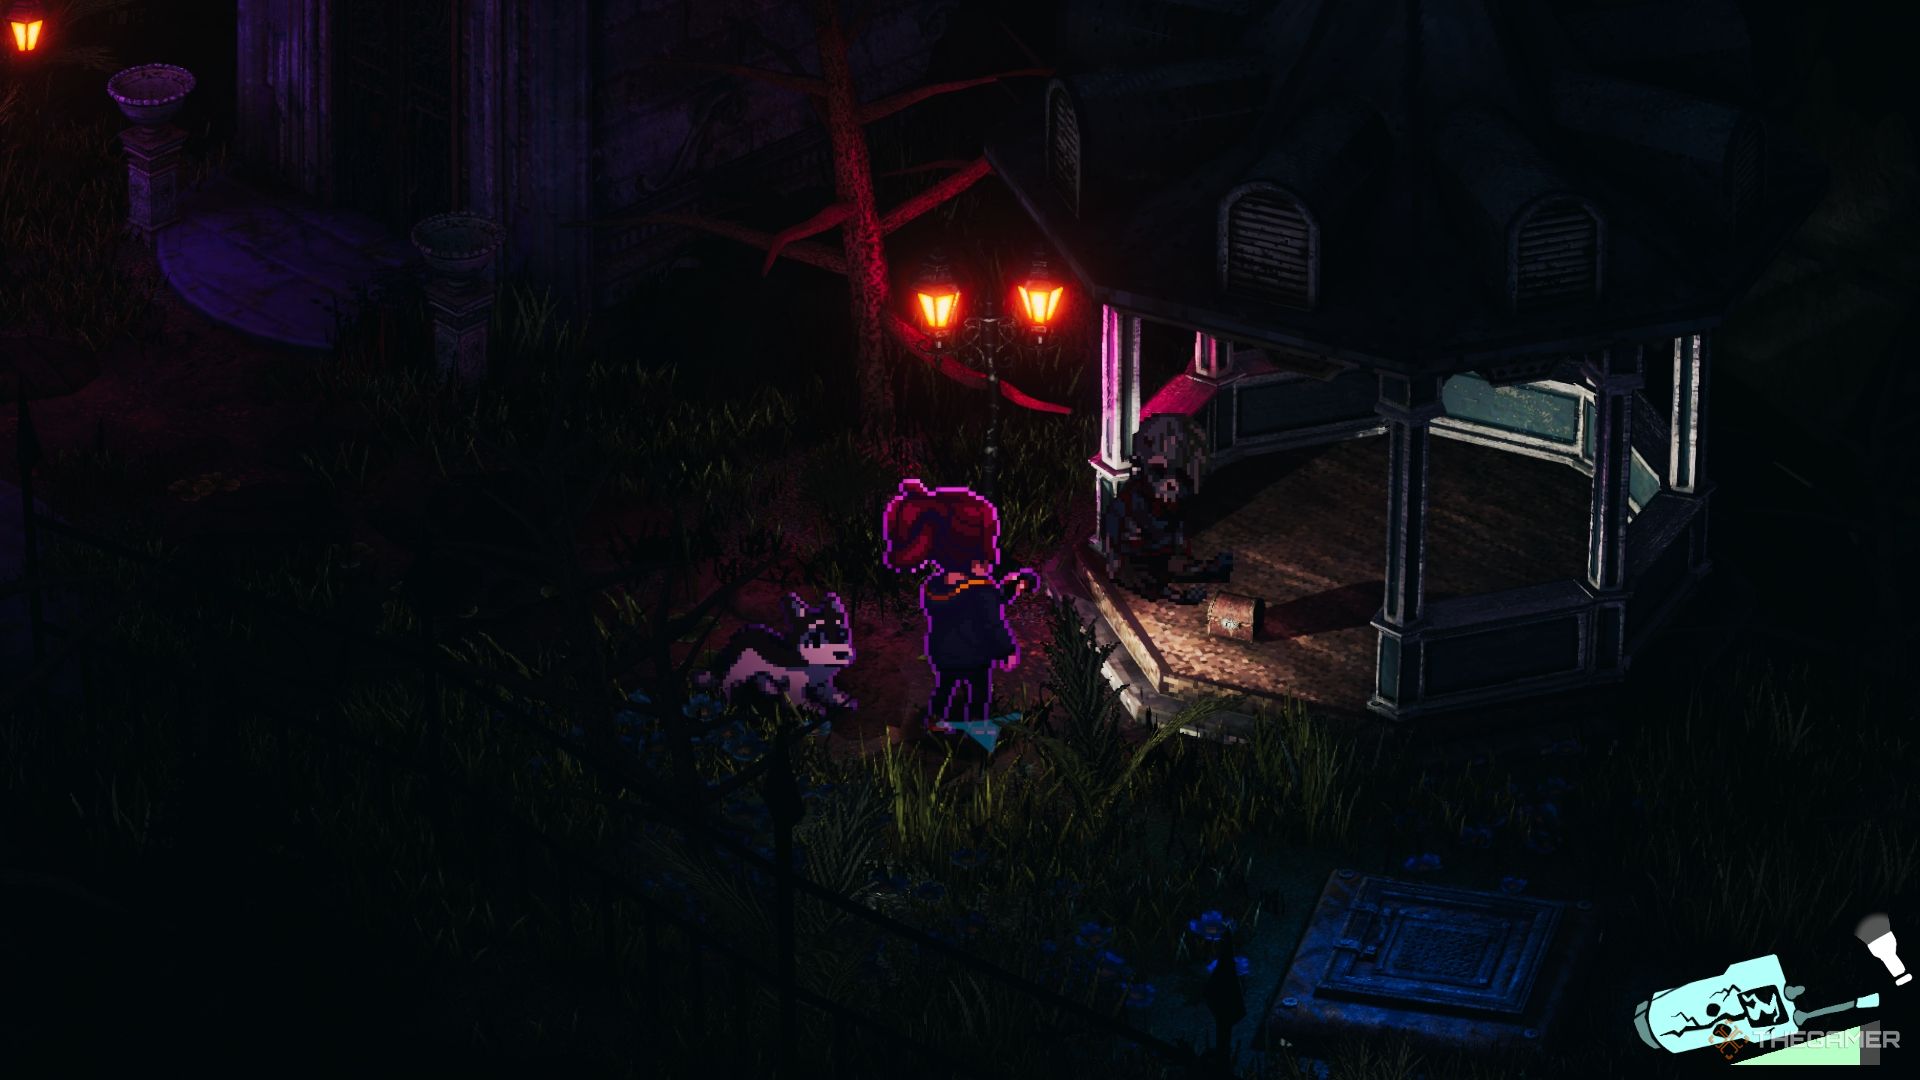
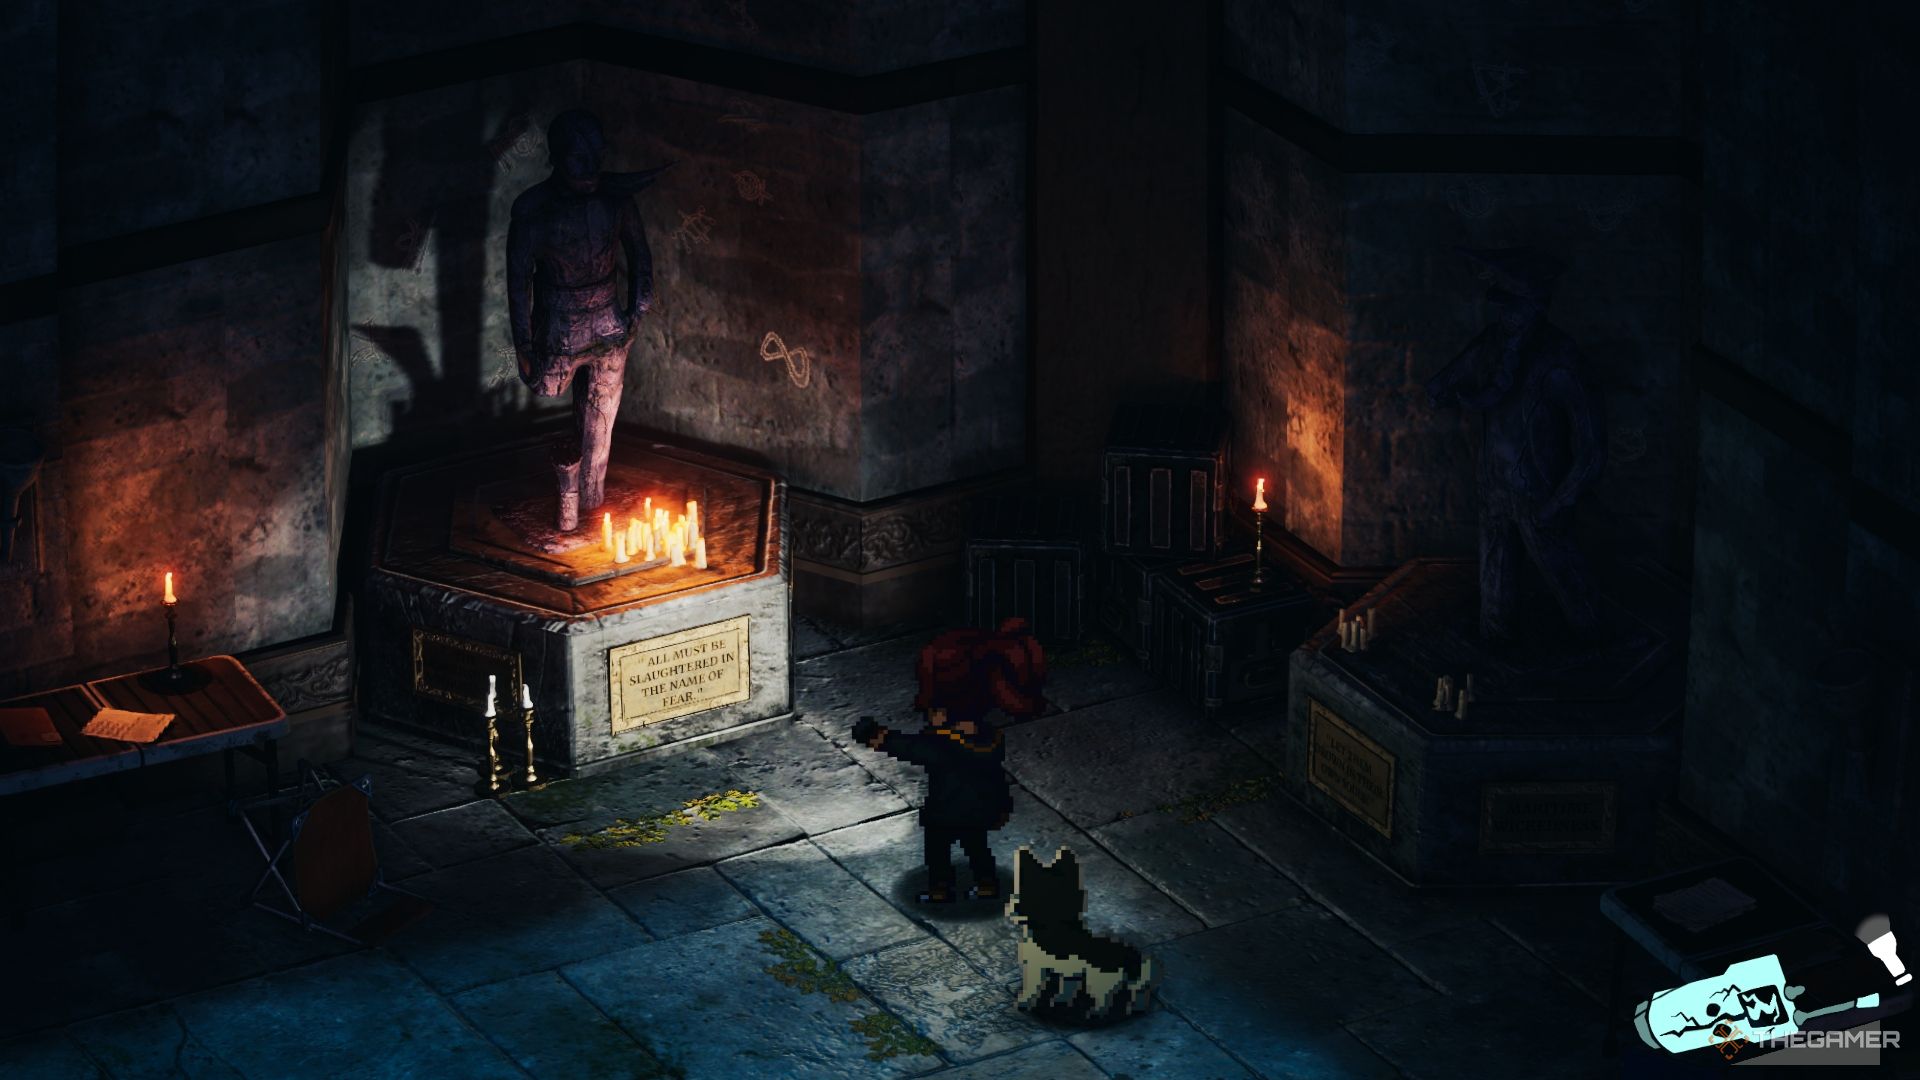
Next to the entrance, you’ll find agazebo housing a puzzlea chest with a combination lock.
Finally,fire up the trapdoor below the gazeboto create a shortcut back to the Underground.
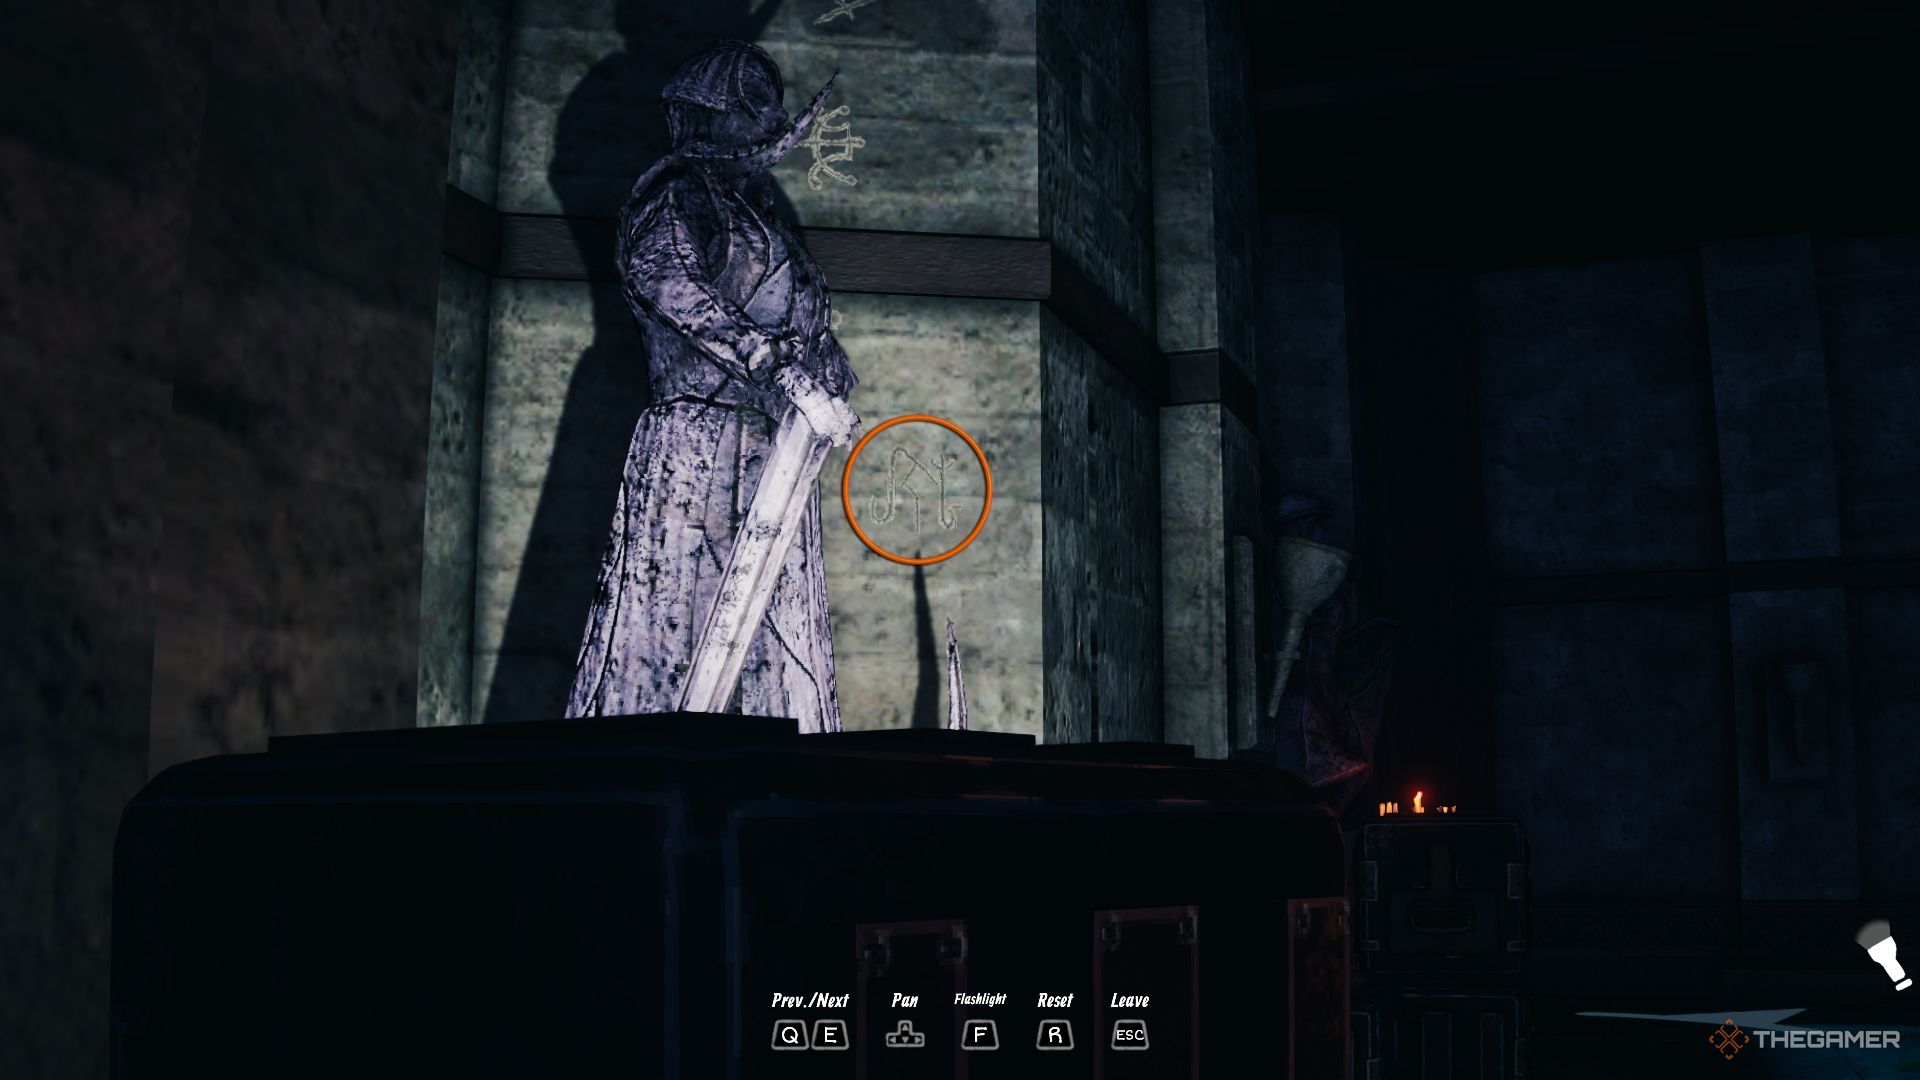
Behind these statues aremultiple symbols that match those on the chest’s combination lock.
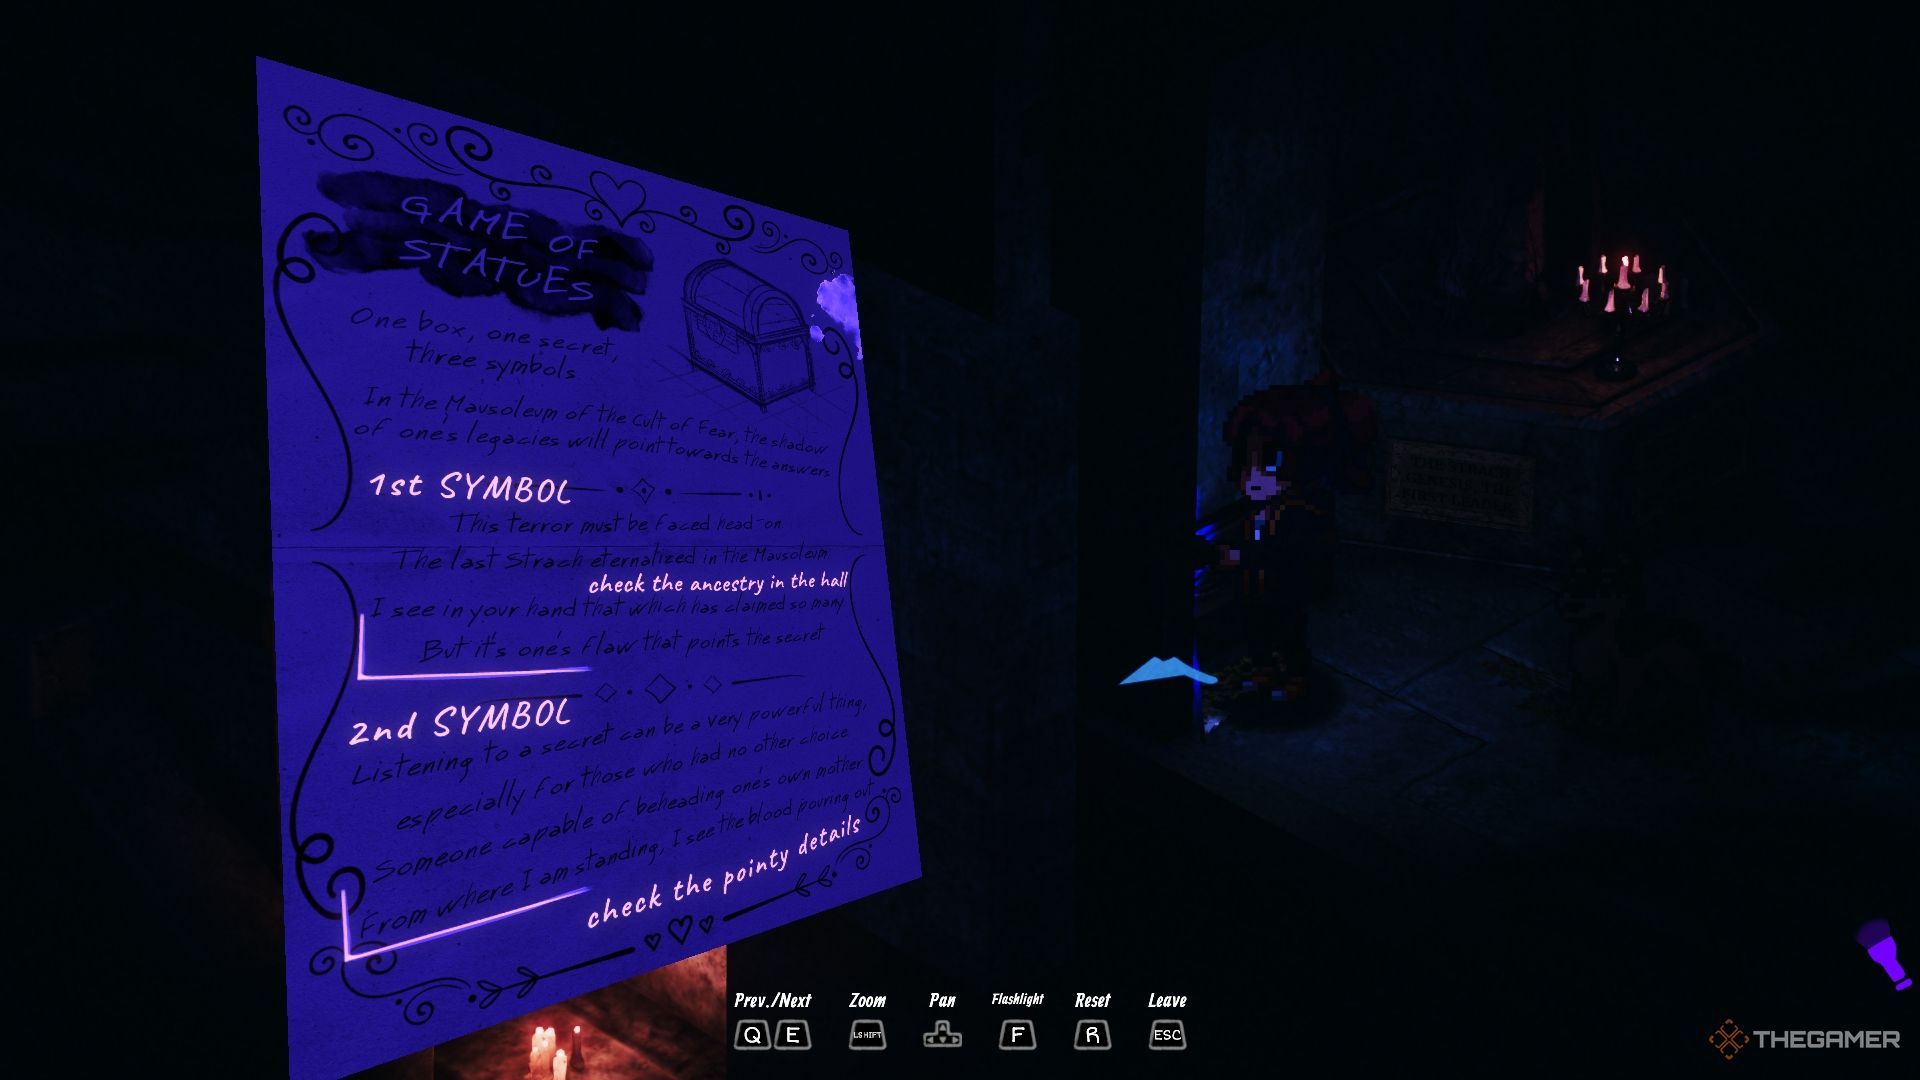
The connection becomes more apparent when you discover abirthday notein the bottom left corner.
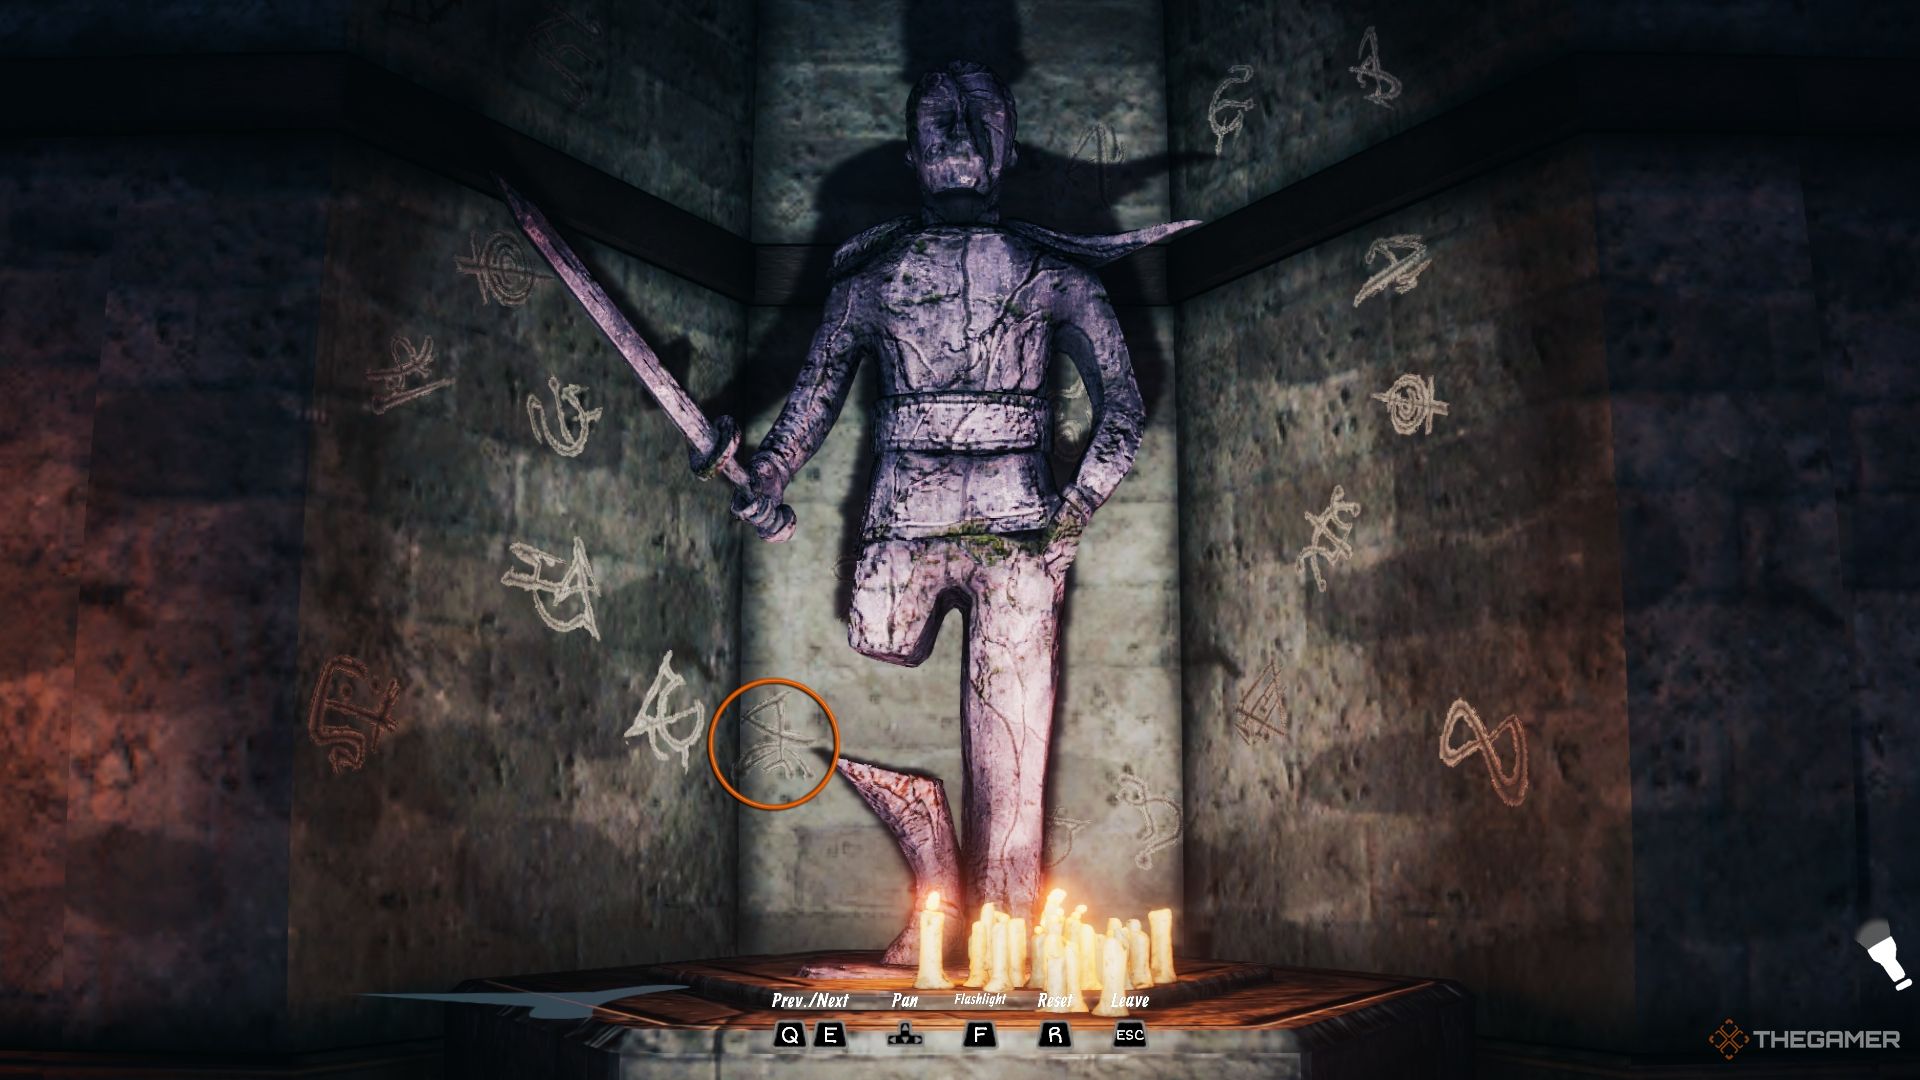
If you read the note under UV light, it revealsthree riddles, eachconnected to a statue.
Deciphering them will lead you to the correct combination.
“The key is finding a"flaw in the statute.
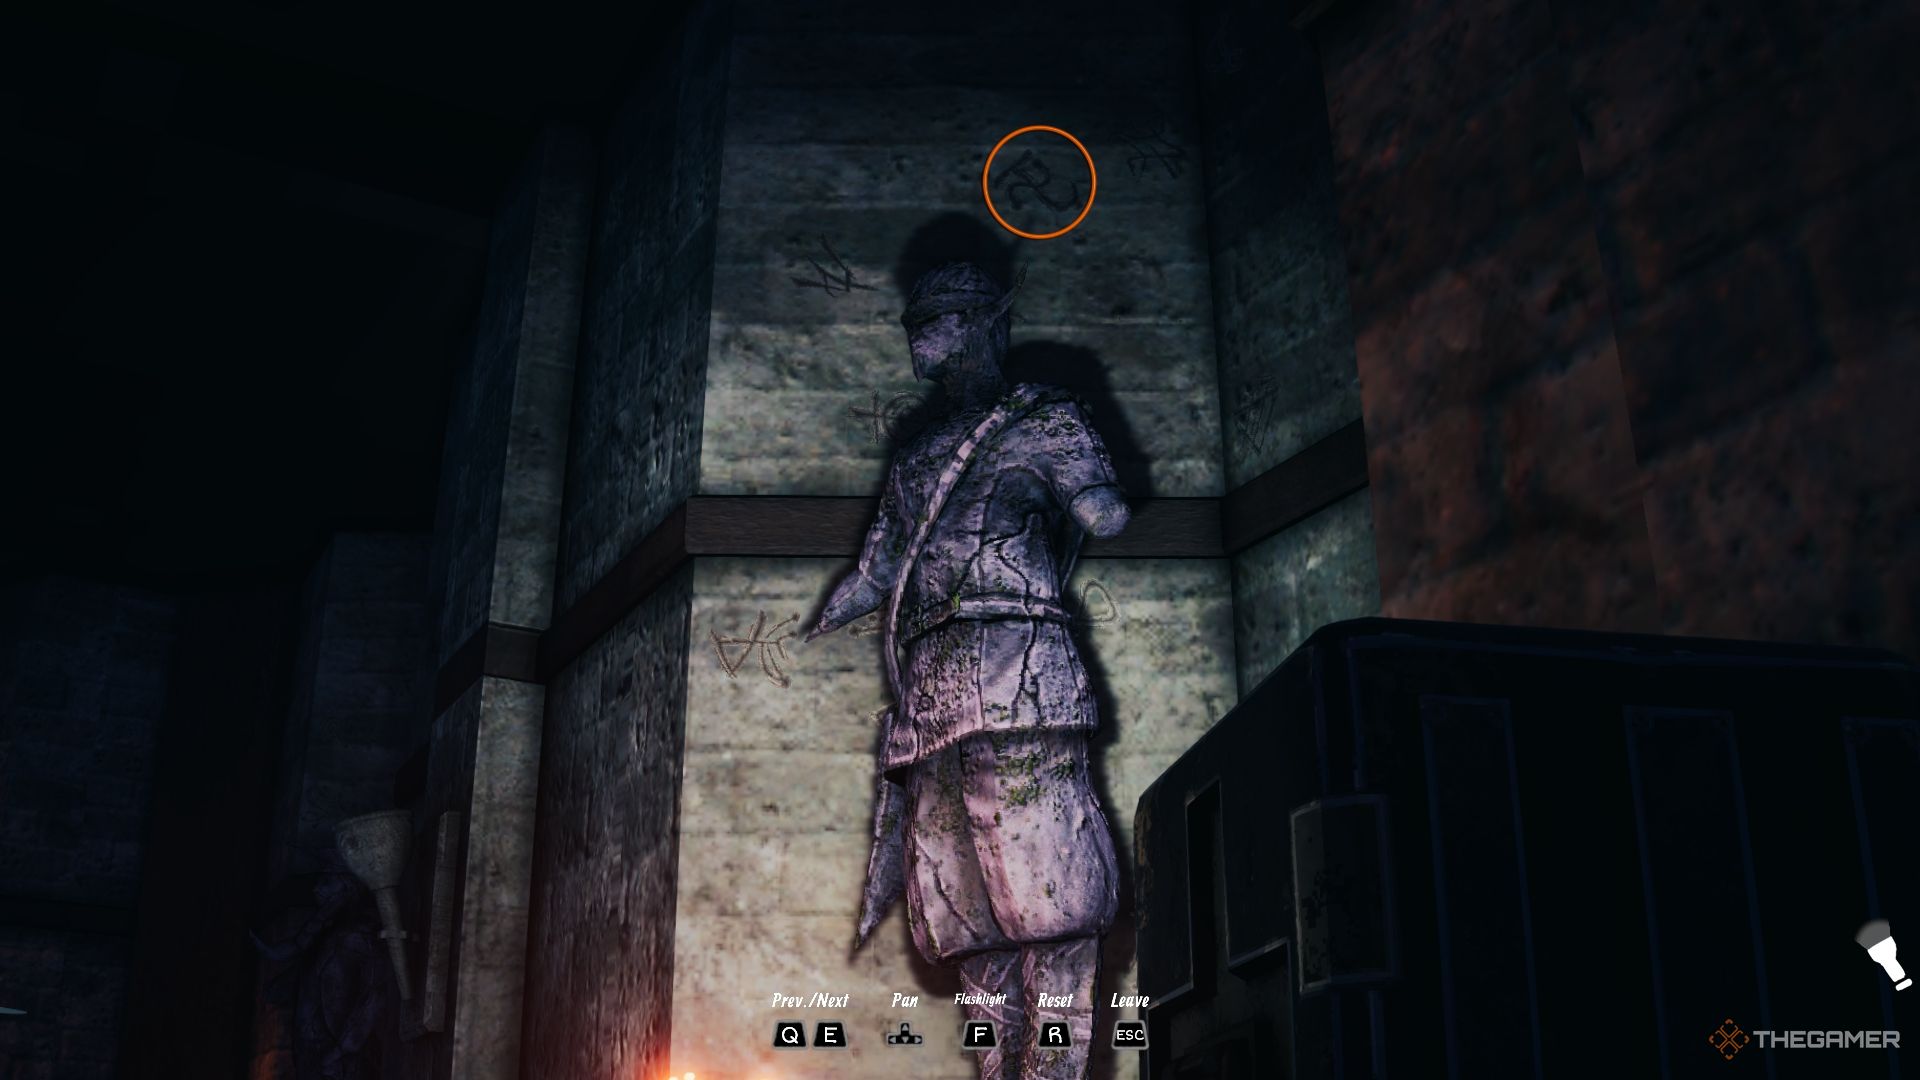
Third Symbol
The final riddlerefers to Olga.
The chest will open,revealing the Deja Vu Radio, a gadget capable of rewinding time.
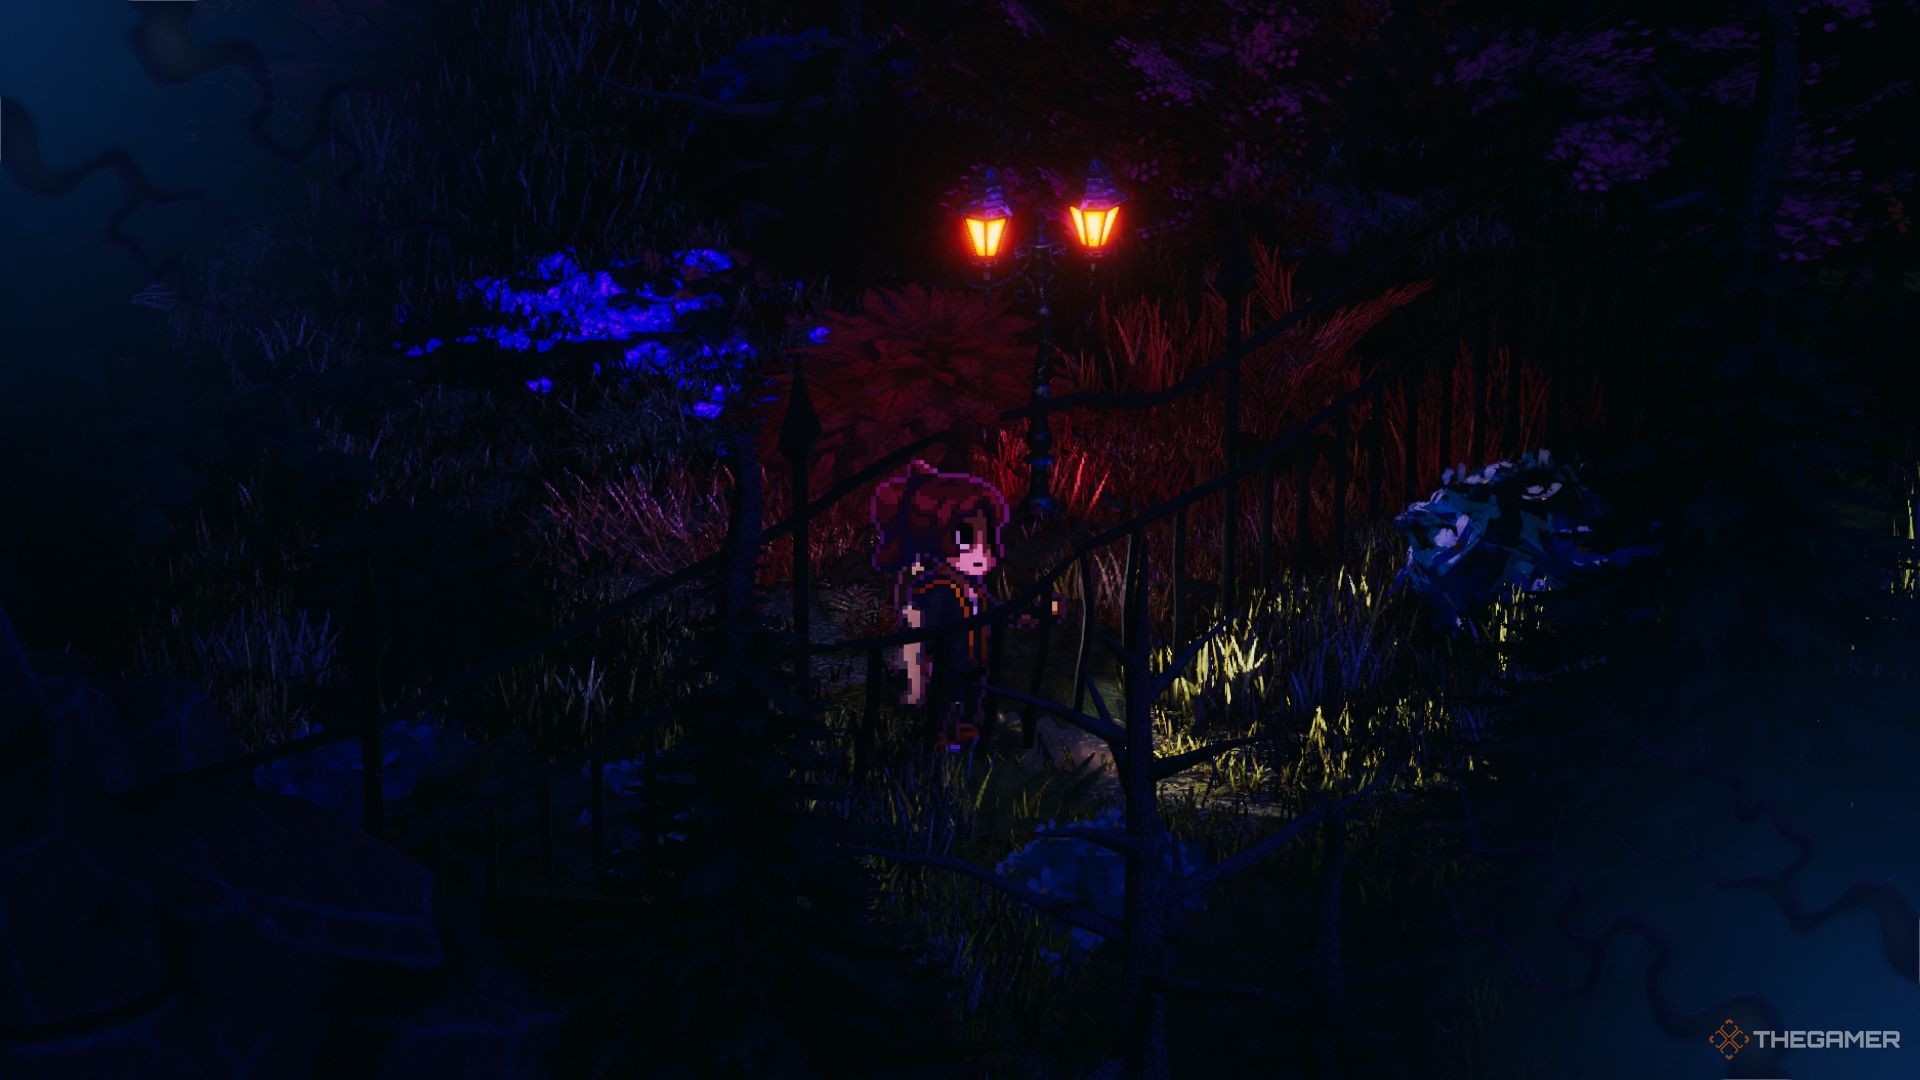
Once you’re inside the Garden,head north, where youllfind a locked gatewith apadlock atop a staircase.
For now, you won’t find the solution here.
To the east, near a crumbled bridge, youll find atelescope.
Use it tozoom in on the Hill subarea, which youll visit next.
Aghostly Echo on the bridge and one near the Maze signpostwilloffer clues on how to reach this area.
Further south, you’ll come across Beto’s tent.
Inside, a bulletin board holds anothersticky note with tips for reaching the Hill.
Thesolution to the Padlock lies elsewhere, which means heading back into the Maze once again.
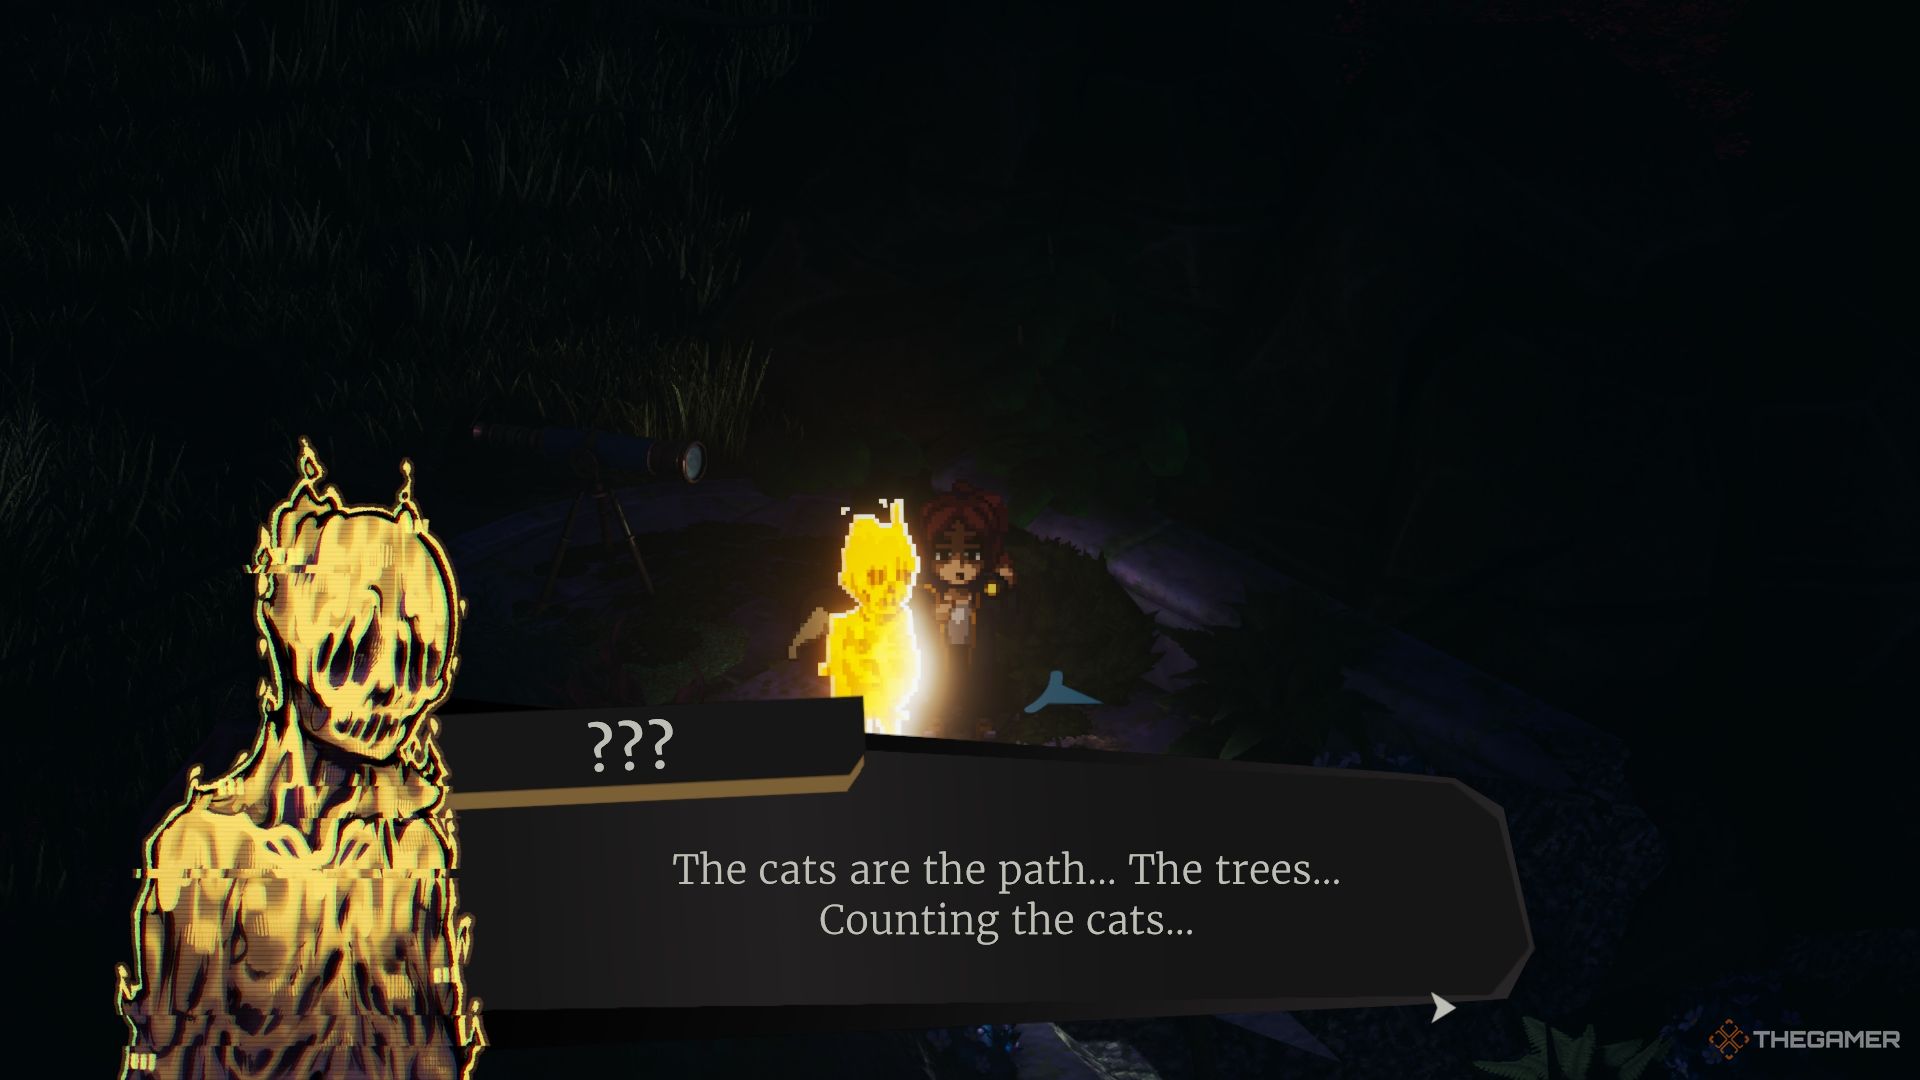
The position ofthe cat will determine which gate to take.
The cat won’t always spawn, however.
If this is the case, you’ll want toswitch to Lupi and bark at each gate.
If you listen closely,one of the exits should respond with a loud meow.
Thats yourcue to head through that gate.
The Hill greets you with atable stocked with some ammo and a tape recordingof Lethicia’s report.
Ignore the path to the right;it leads to a locked shortcut.
Instead,head left and climb the stairs.
From here,ascend the eastern stairs to reach the Hill proper.
Take in theview of the Great Fissure from a vantage pointandlisten to another of Lethicia’s voice recordingsnearby.
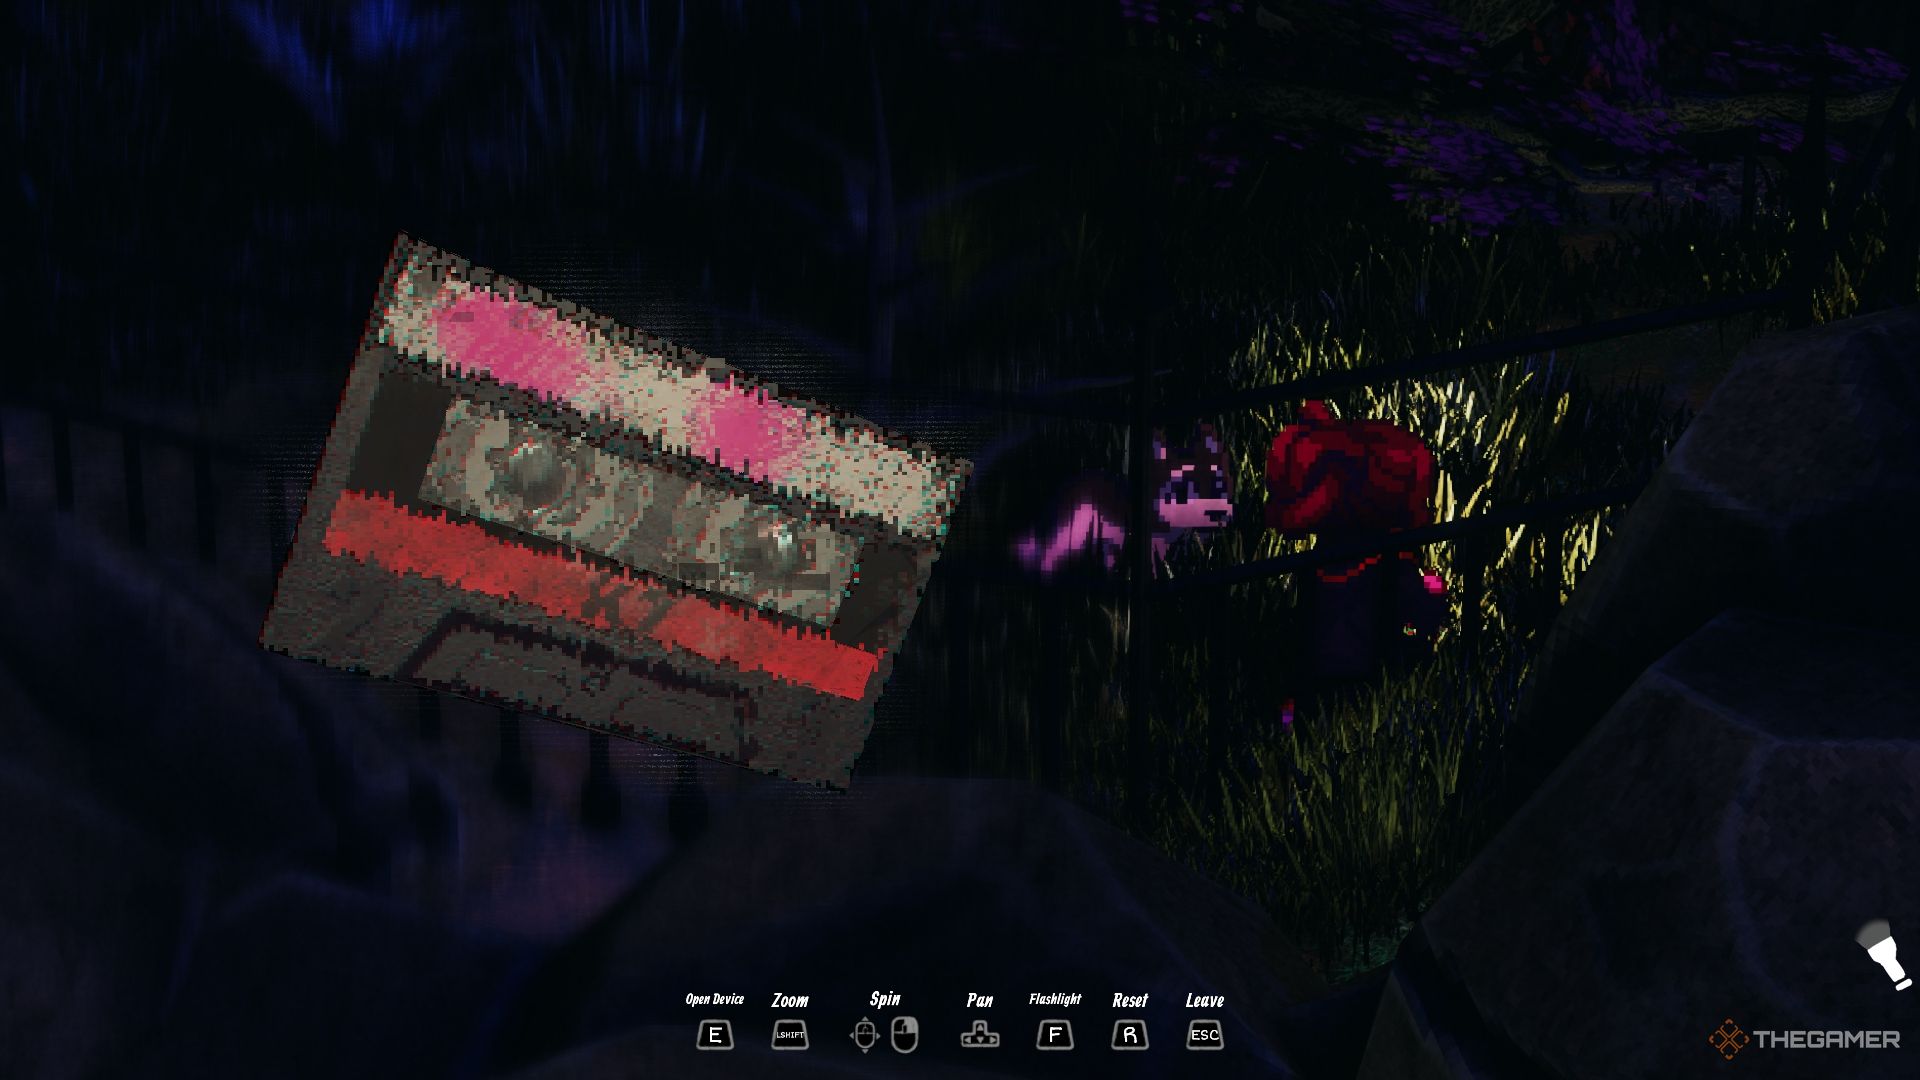
Before entering the house,go as far east as possibleto find another cursed item a cassette tape.
With no further leads, it’s time toreturn to the campsite.
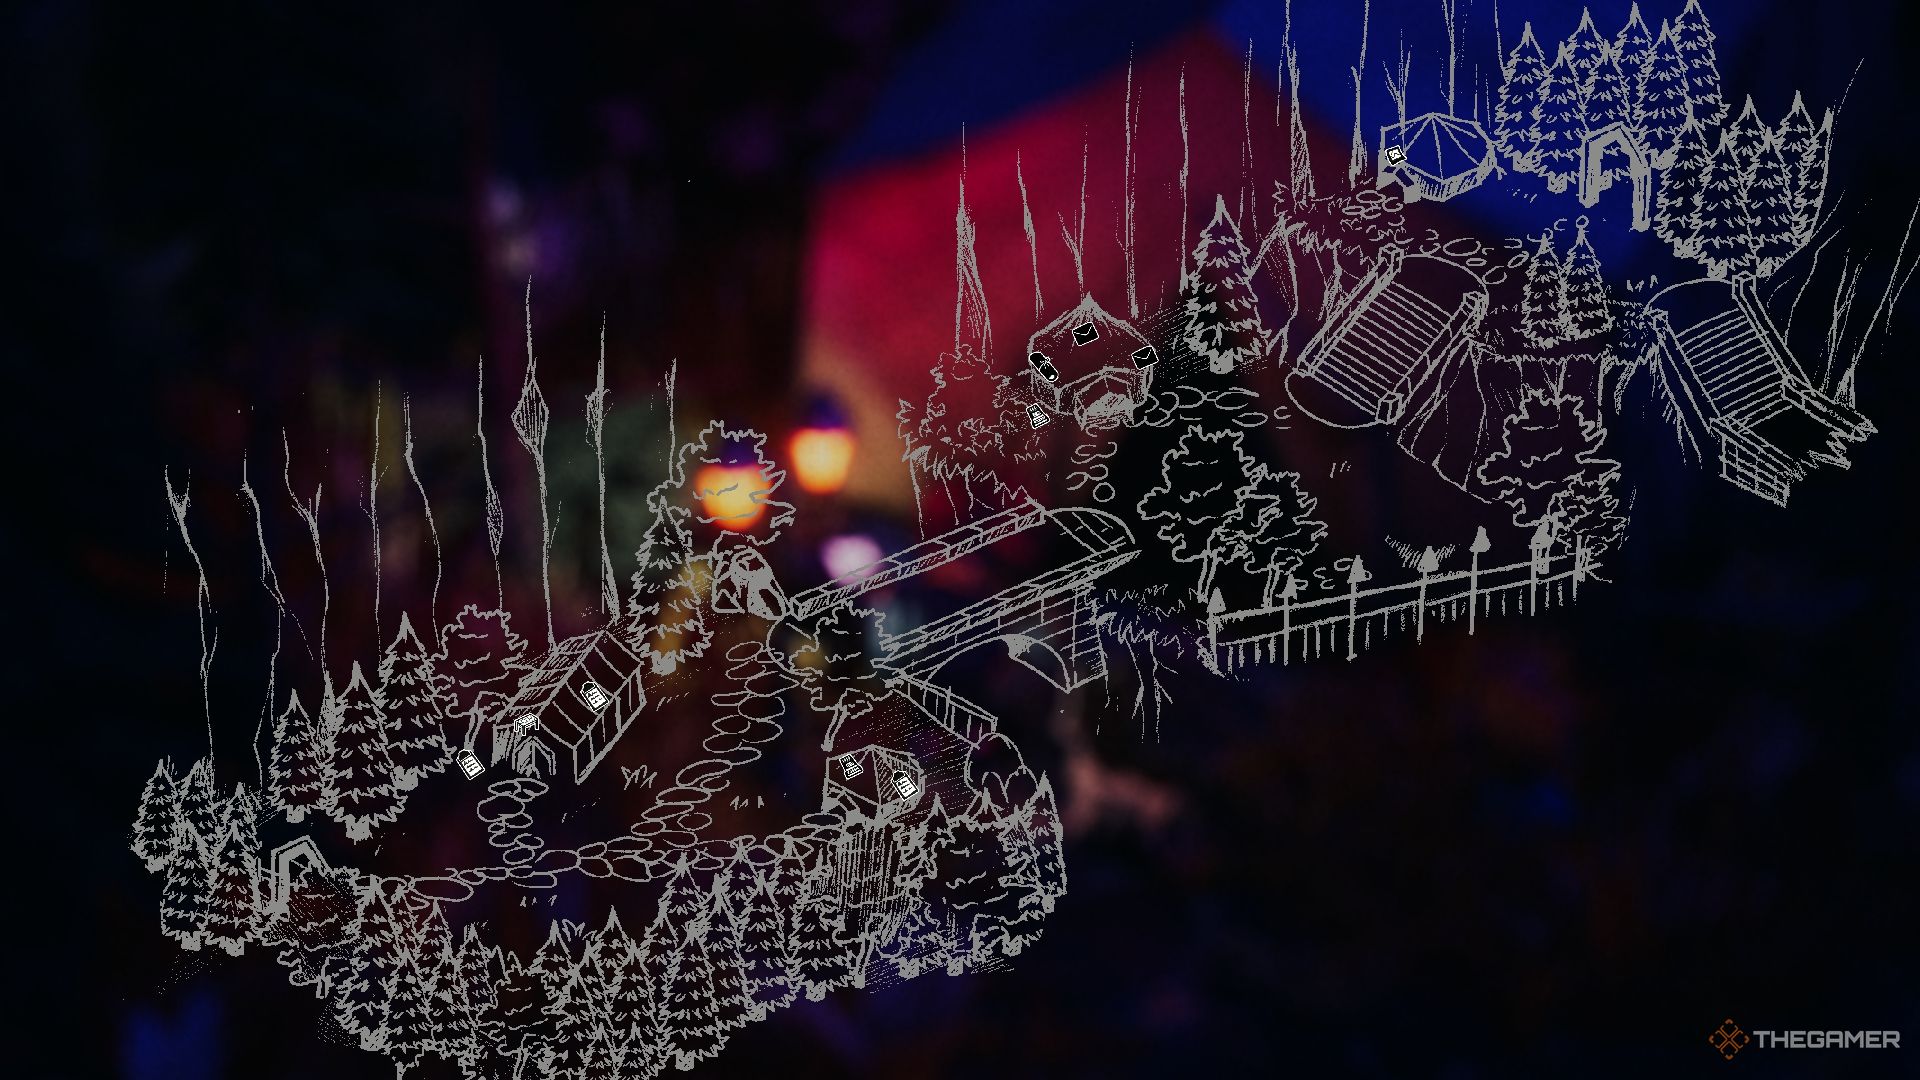
If youtake a closer look at the campsite map, you’llnotice an unexplored tent next to Lethicia’s.
Thepath to it is hidden, butit might just hold the answers you’re looking for.
Once you enter the Maze,just retrace your steps through the same dooryouoriginally used to enter.
You’ll have torepeat this process twice beforeyou’ll find yourself back at the campsite.
Now, take a moment to check the map.
You’ll notice the tent you’ve yet to explore is to the southeast of Lethicia’s tent.
Head over there, as it’s time to uncover what you’ve missed!
Take a closer look, though, and you’ll noticeone section is worse for wear, withvisible breaks.
Whip out your crowbar andgive it a solid smashto clear a path.
Thispreviously inaccessible area is where you’ll find Theo’s Tent.
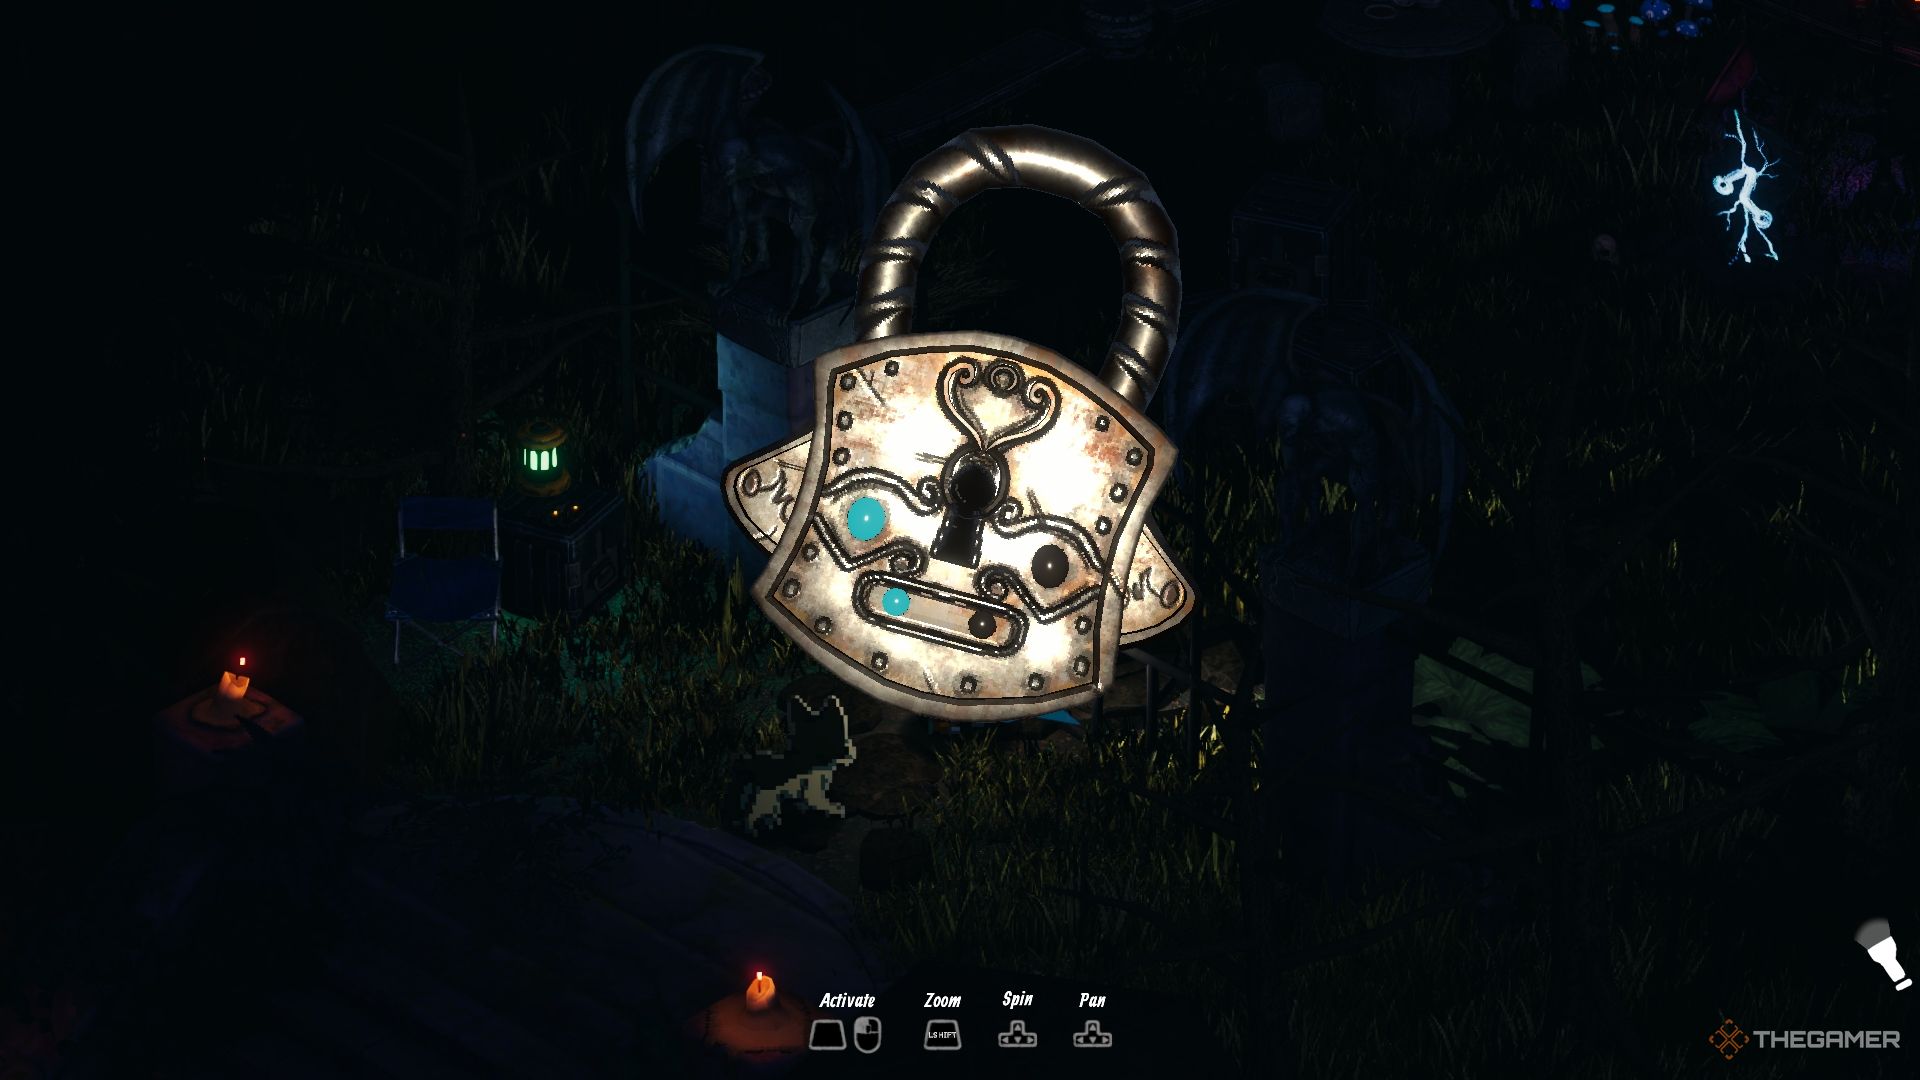
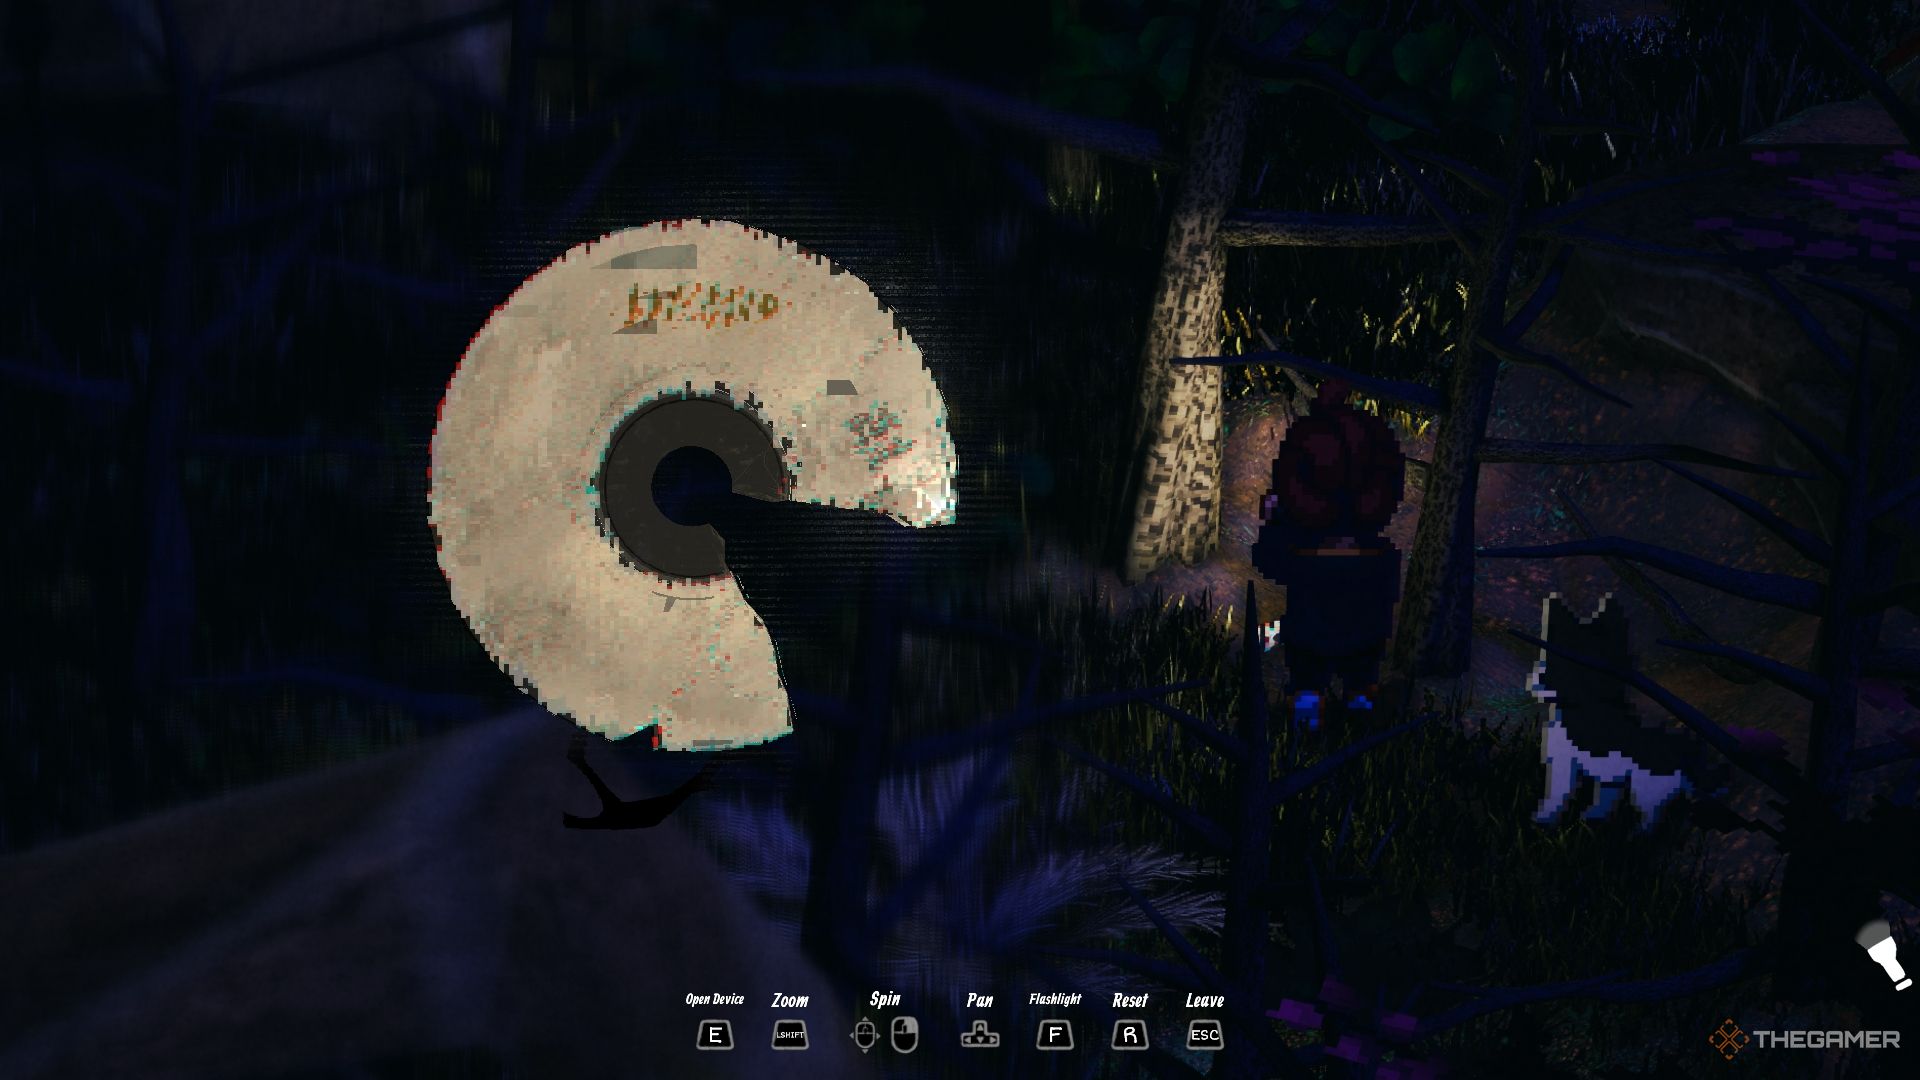
Whenrotated correctly, the ball activates four beads along the way.
Onceall the beads are glowing, the padlock will unlock itself.
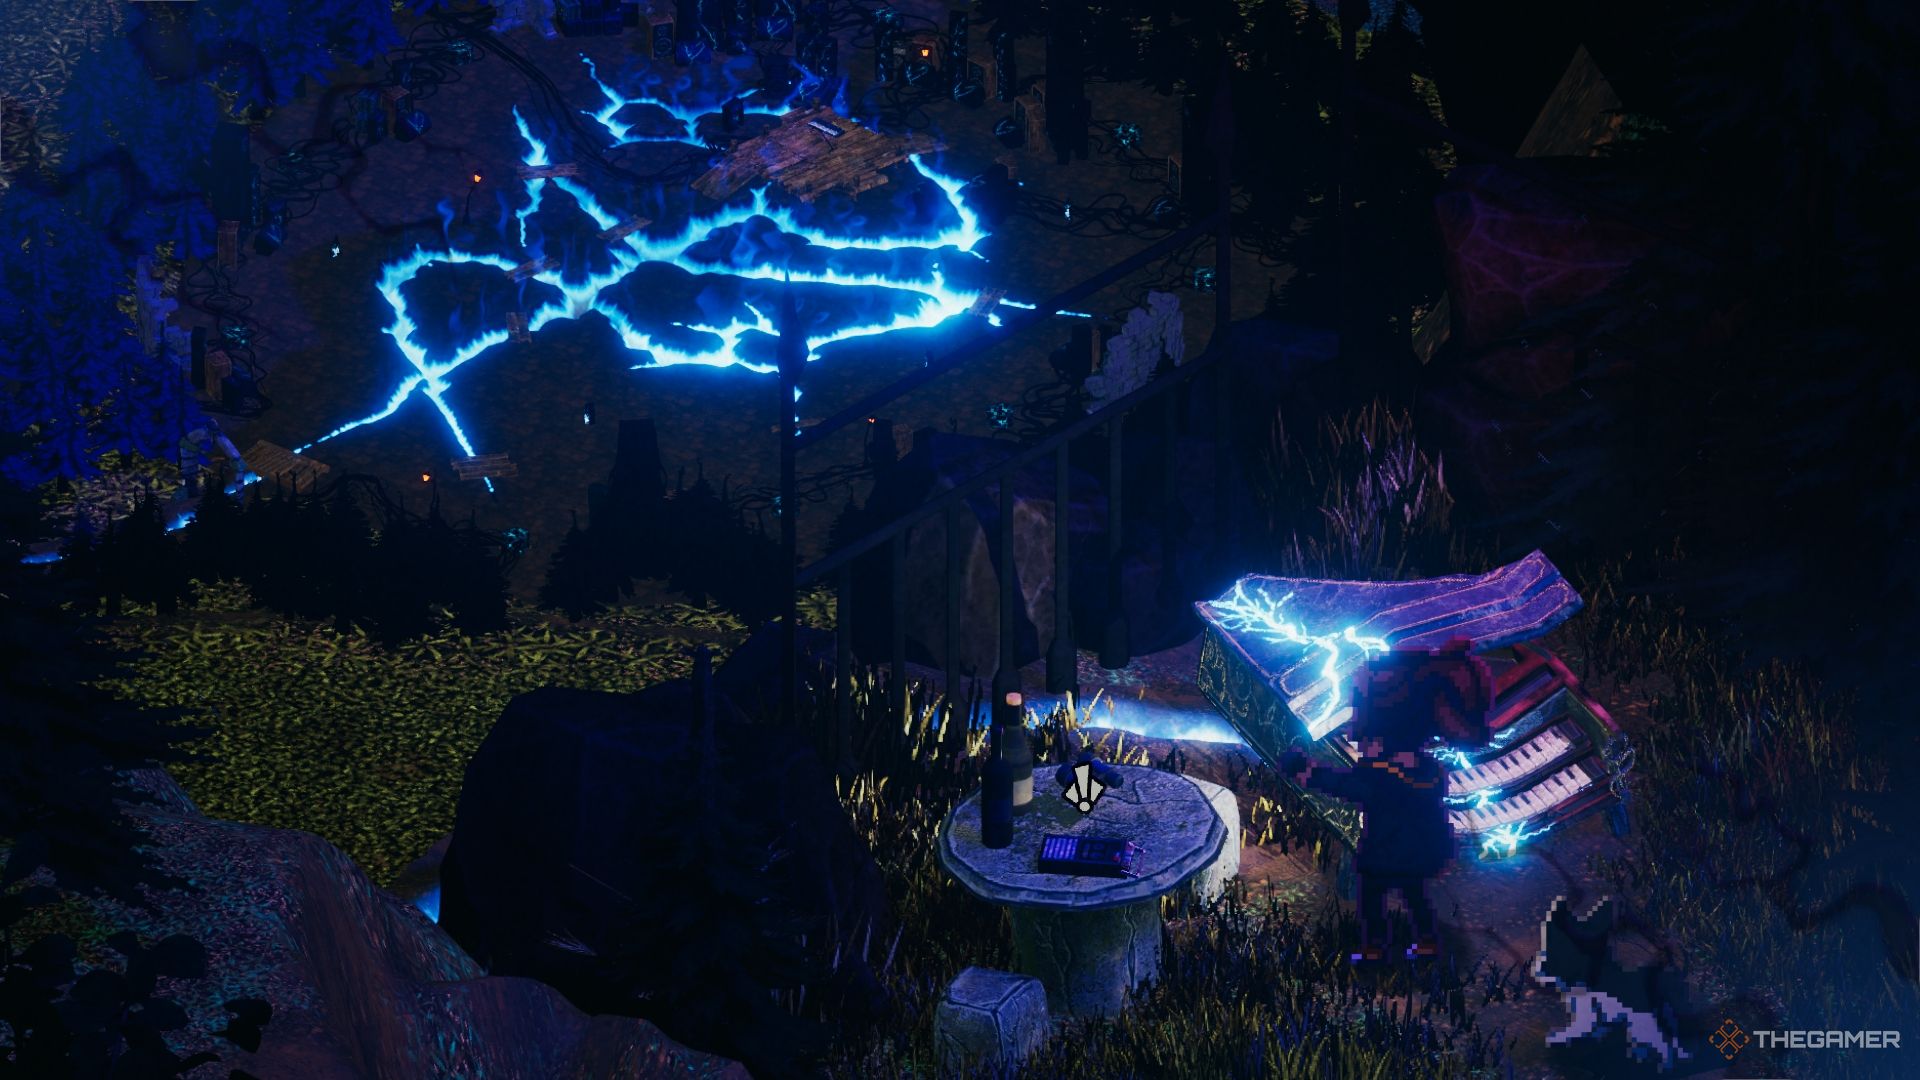
To solve it, head back to the padlocked gate in the Garden from the Maze.
Start byturning the padlock upside down, thenrotate it so its face-front and points to the right.
Next,turn it left while keeping it face-front, andfinally return it to its original position.
The ball should smoothly activate all four beads, unlocking the padlock.
It’s required to interact with the tombstone.
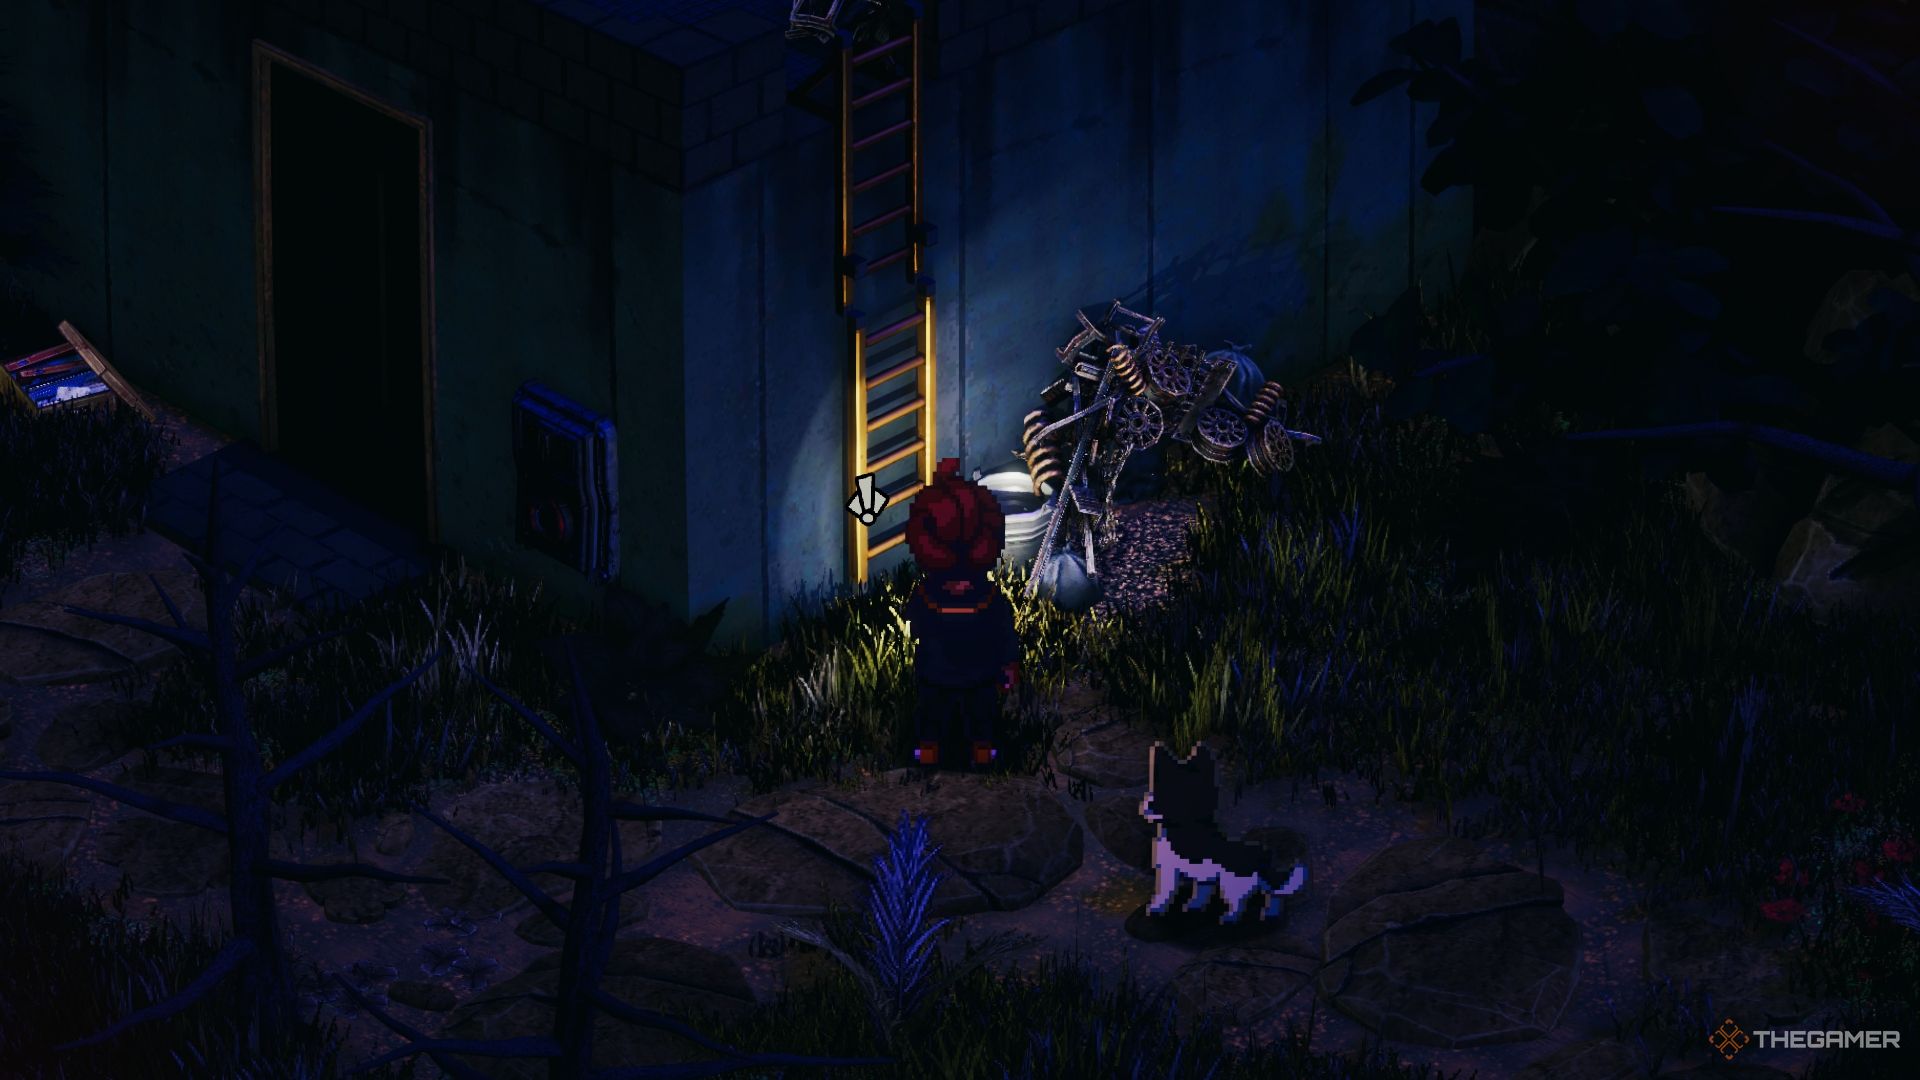
You’ll have tofollow a scent trail to the Hillandreach the house with the broken ladder.
Your goal is toactivate the control panel before the conversation ends.
Thislowers the ladder, and after a short while, the memory concludes.
Return to the Hill afterward to find the ladder permanently lowered, grantingaccess to the house’s rooftop.
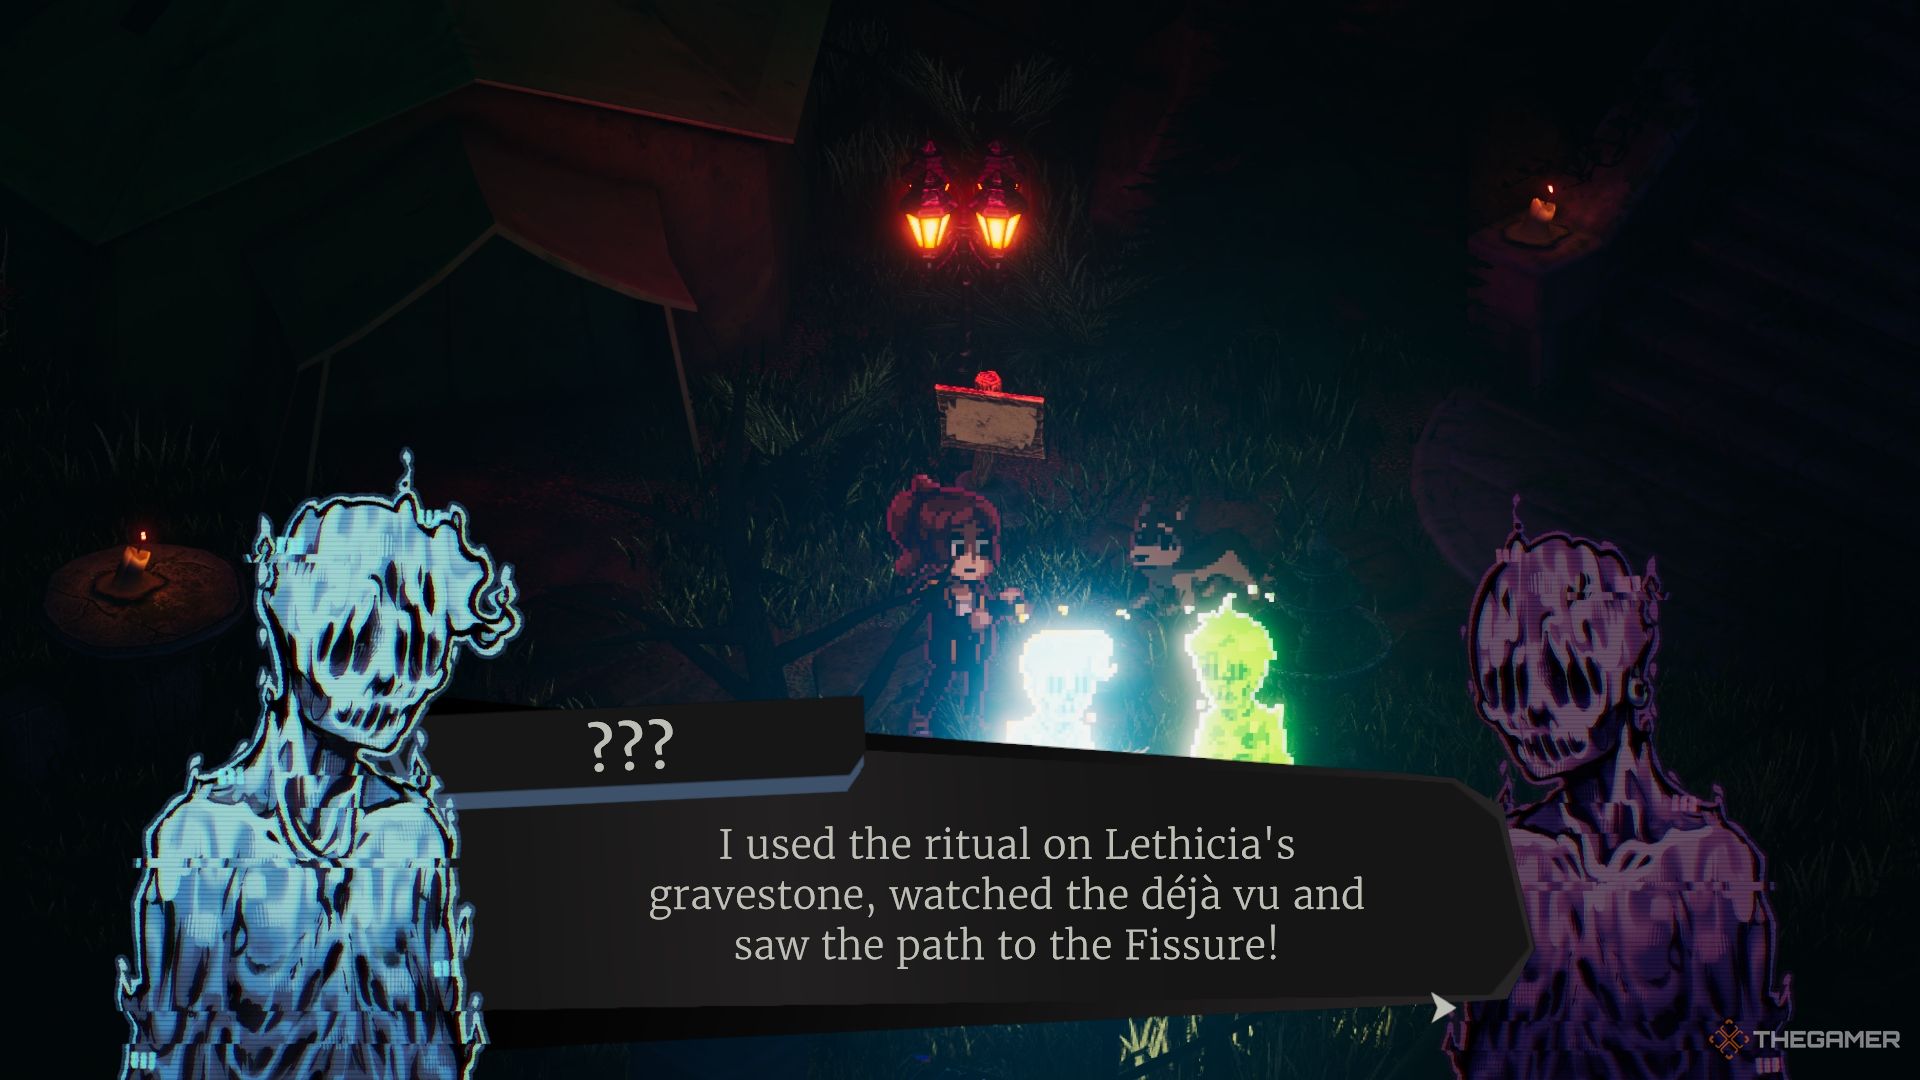
Up there, youllfind the second grave Lethicias.

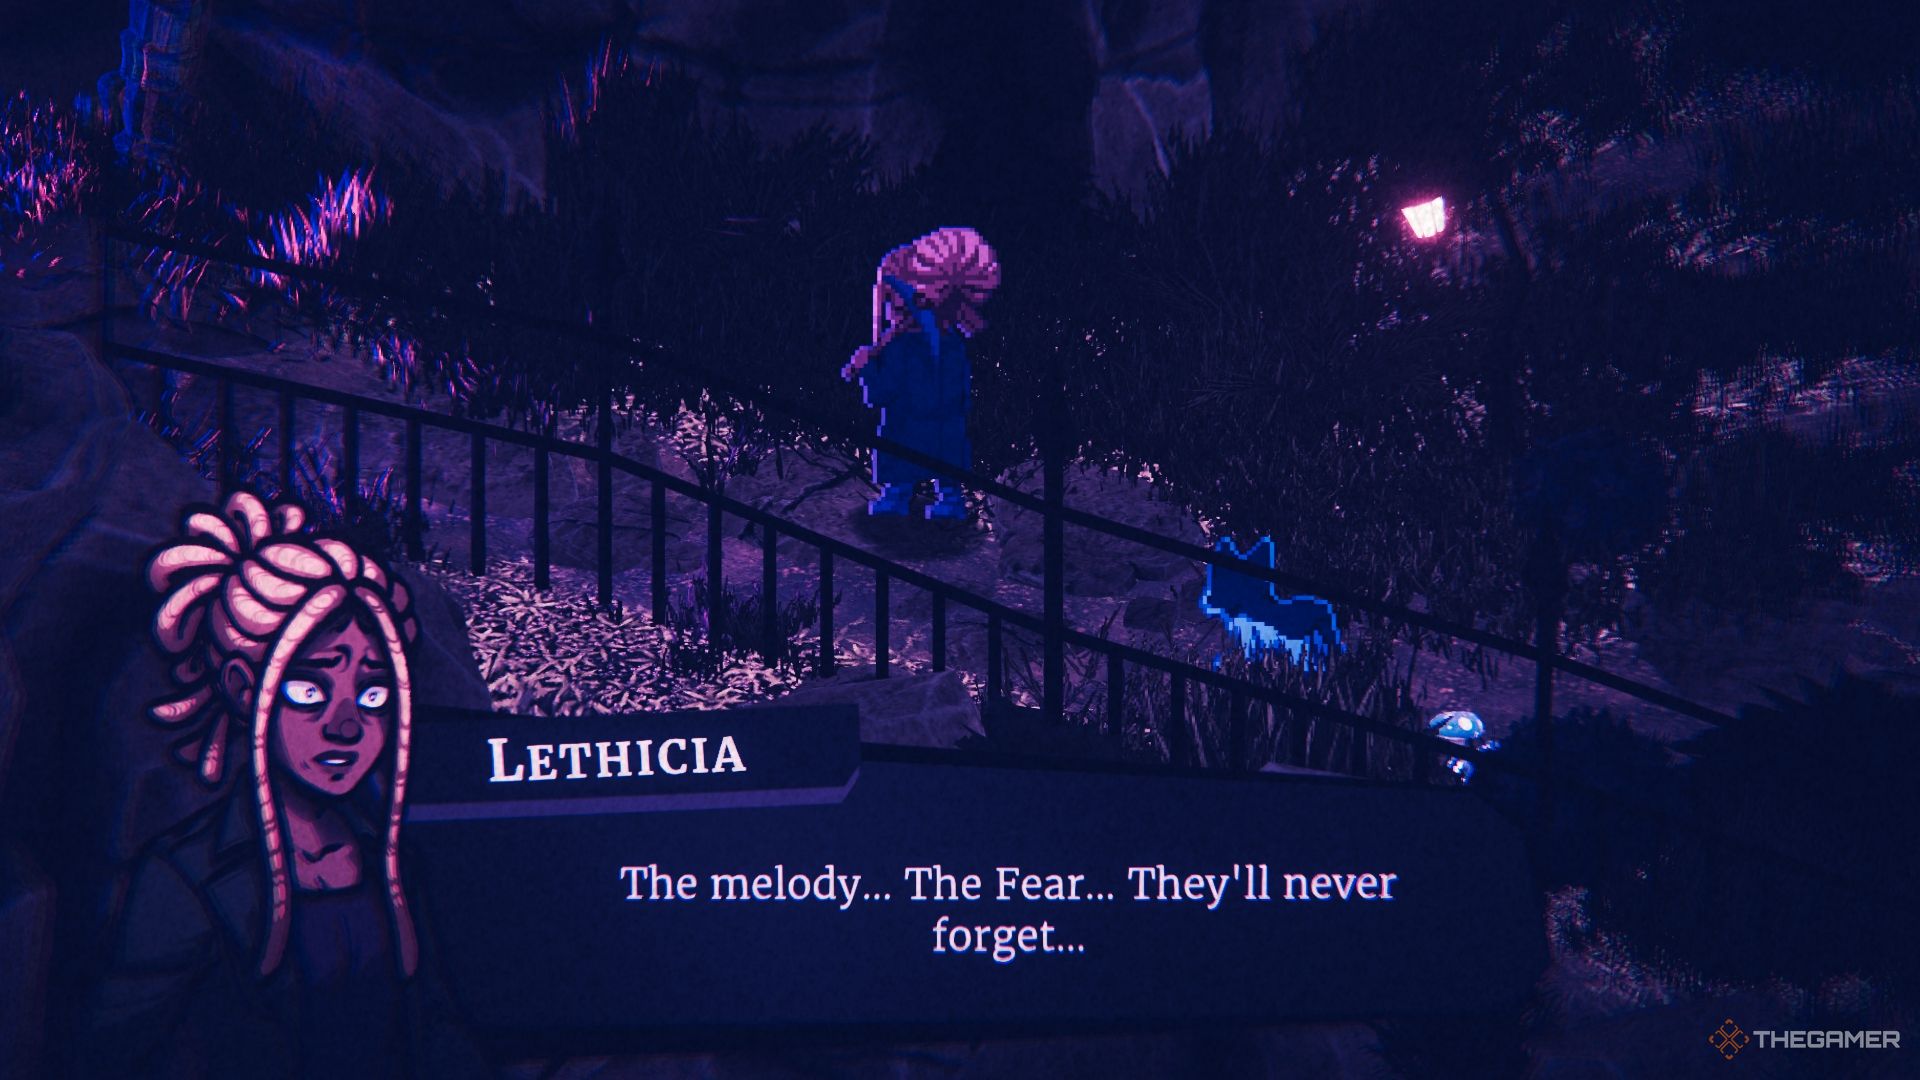
Interacting with ittriggers another memorywhere you’ll follow Lethicia through the Maze.
Shetakes a fixed path, sonote the exits she uses.
Shelleventually lead you to the Fissure, where the memory will end.

Take them in this order:
Afterpassing through the fourth gate in this sequence, you’llarrive at the Fissure.
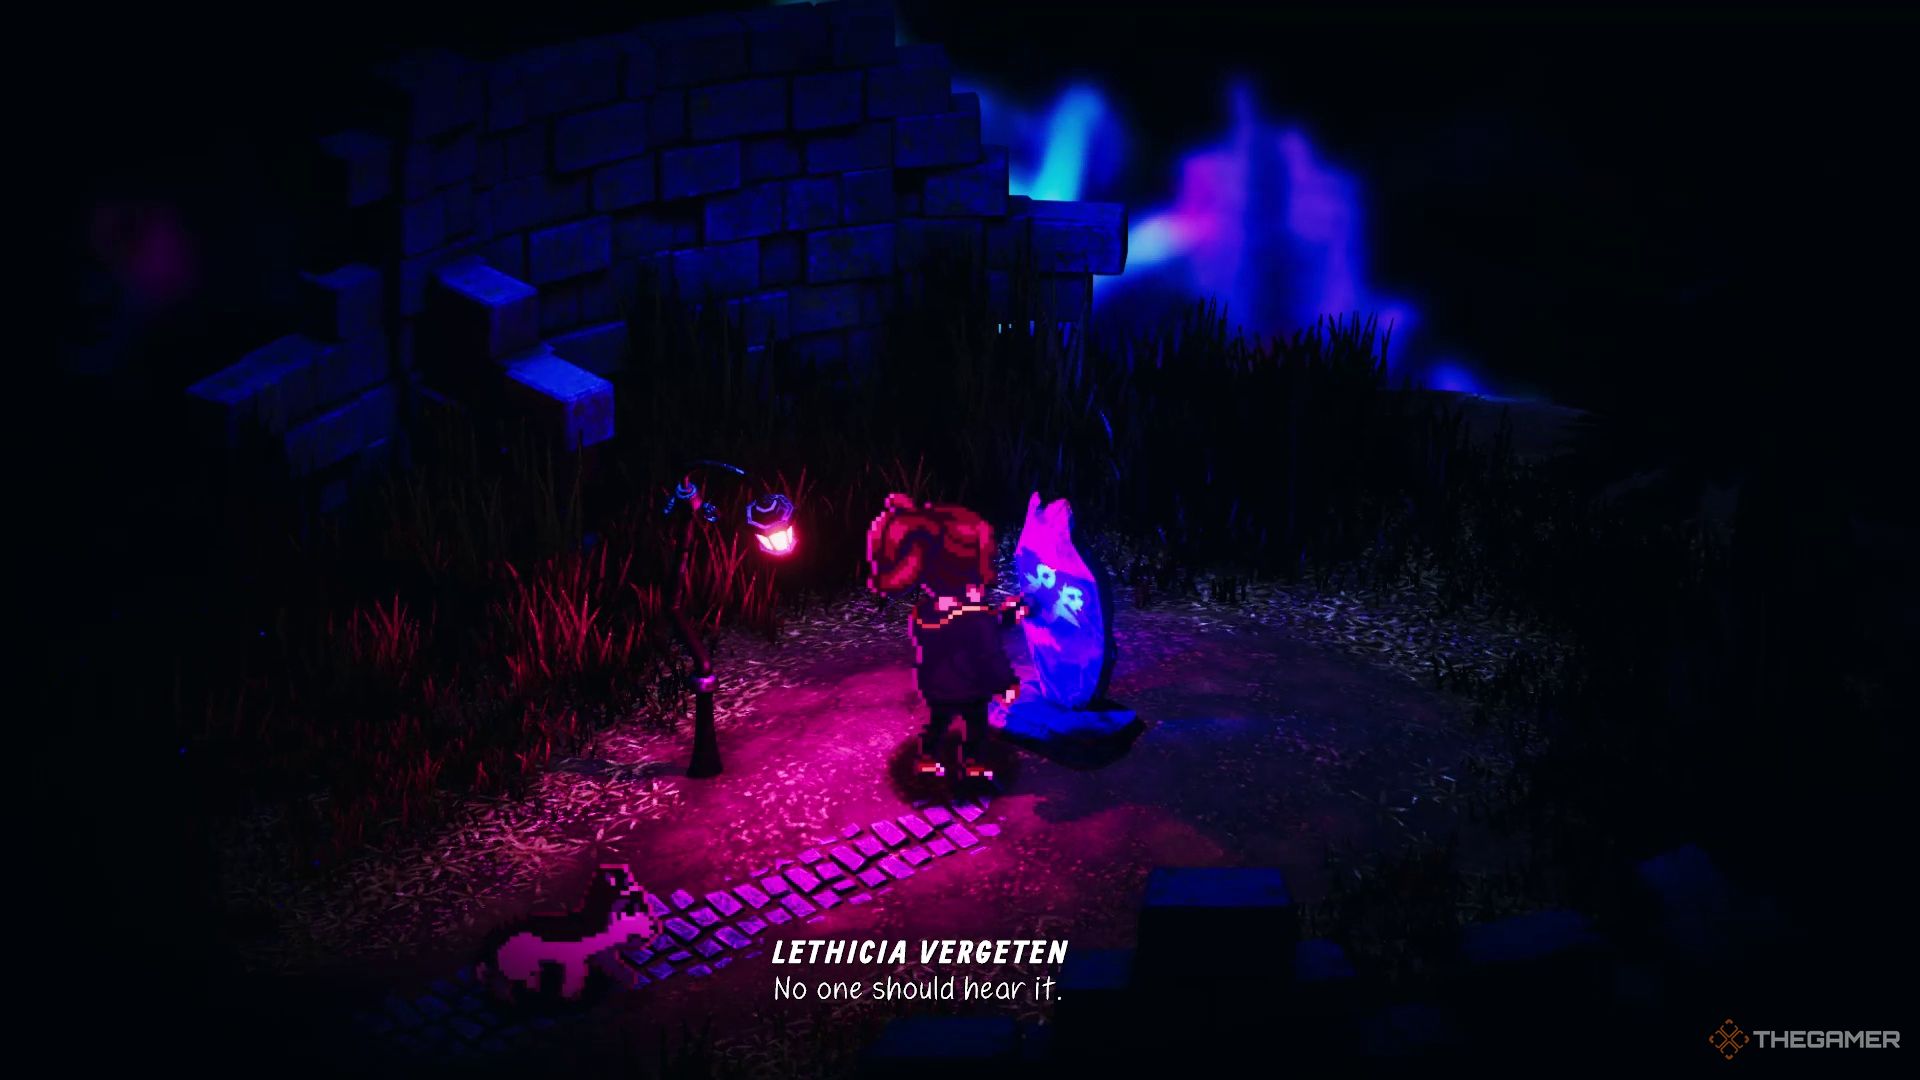
How To Beat Lethicia
The boss fight against Lethicia is adrawn-out battlewith agimmick to it.
Directattacks wont work here; your goal is todestroy her grave.
Thebattle starts with Lethiciain the center of the circular boss arena.
She’llattack with fear-inducing screams, but you canavoid it by hiding behind the Maze’s walls.
You’ll findarchways similar to those in the Maze.
After entering one, youll betransported to a puzzle-like section with many enemies to avoid and four more gates.
Repeat this cycle three times,finding and striking the grave each time.
However, if youd prefer a shortcut, you canconsult our video guide to breeze through the correct gates.
Once it’sentirely demolished,Lethicia will be defeated, and you’llcomplete the Graveyard of Melodiesin the Perimeter.
