Gaia’s navel throws a spanner in the works in that carefully constructed formula.
Wonder how being a raging narcissist will help me on my quest… That can prove quite the challenge, but the reward is well worth the extra effort.
To access this dungeon,you will need the Ultimate Key.

This, in turn, is gotten from the Sunken Shrine, which needs the Bottomless Pot to unveil.
This is then found in Edina, though it’s crucial that you be invisible to enter.
Thankfully, Fading Jenny, which turns you invisible,can be bought in Lanson.
Inside, you will be quizzed by an man on how confident you are in your own strength.
Yes will immediately bring you into Gaia’s Navel by yourself.
However, you don’t have to send your Hero.
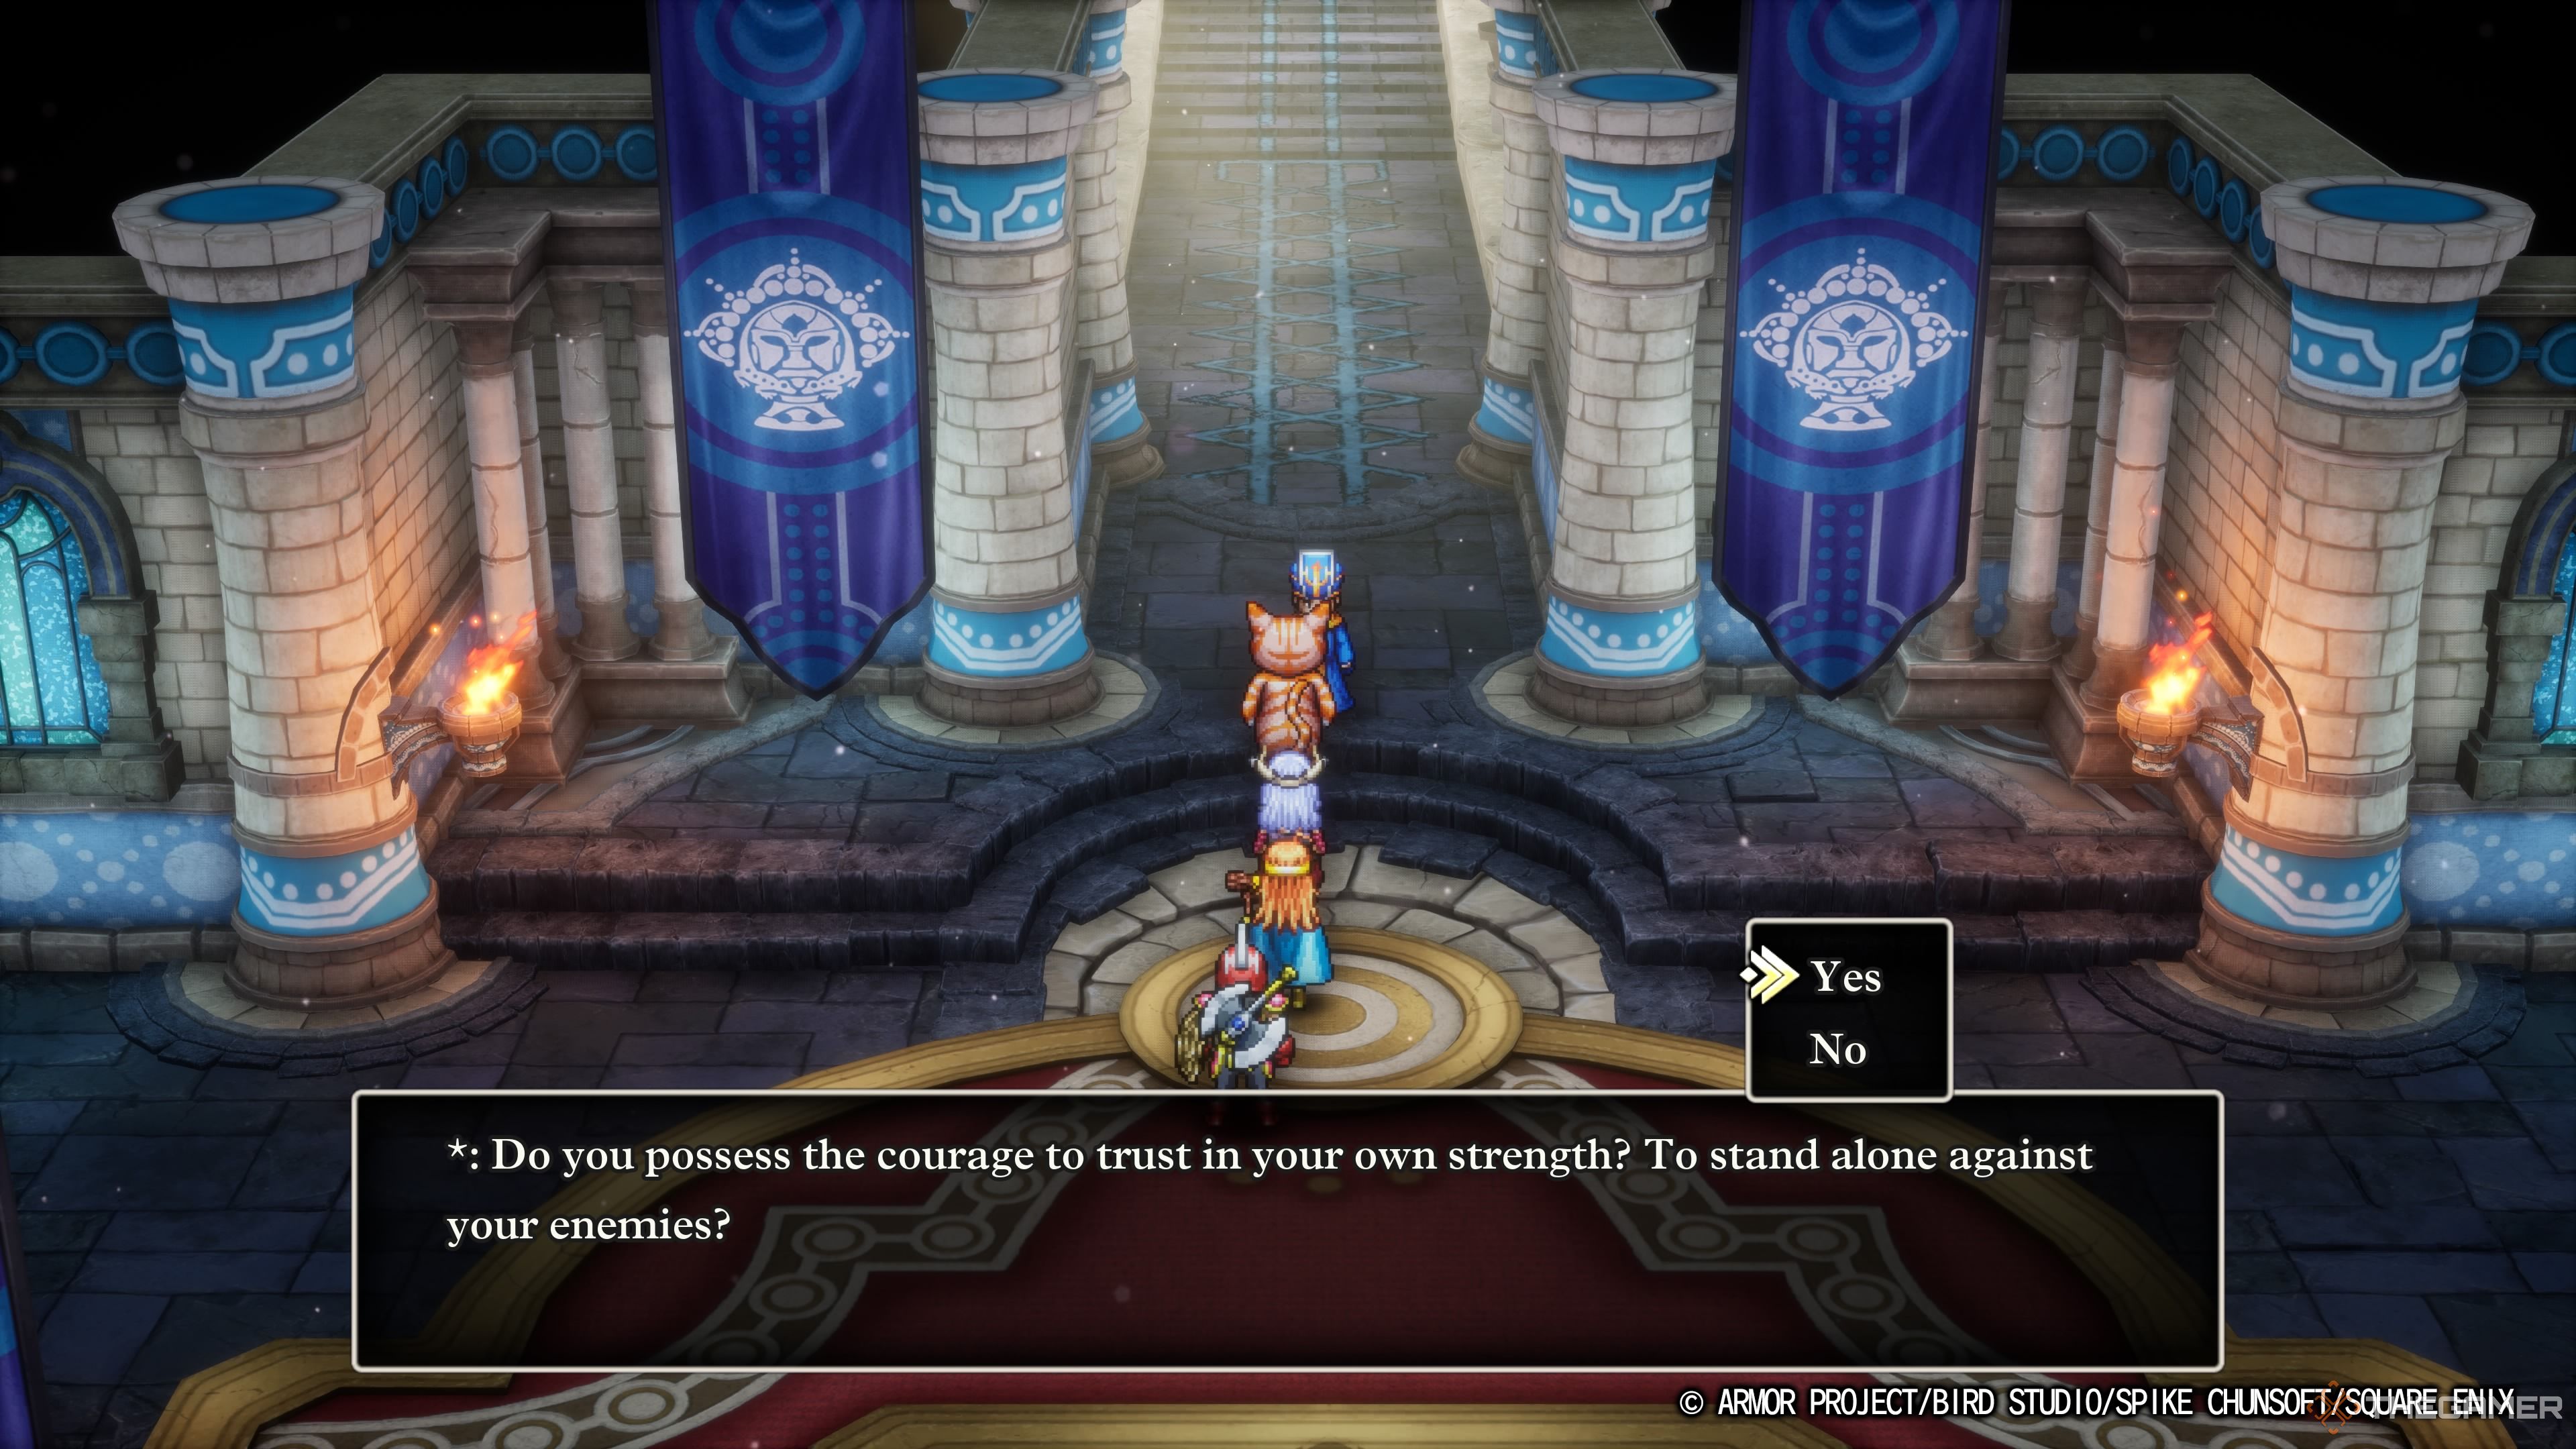
Instead, the character who challenges Gaia’s Navel iswhoever is first in your party’s line-up.
That means it’s possible for you to send anyone you want to challenge the dungeon.
As such, send whoever you feel most comfortable would be able to survive by themselves.
Navigating Gaia’s Navel
Thankfully,Gaia’s Navel is relatively straightforward.
That means that the random encounters are the hardest challenge here.
This will put you in a room with four staircases.
The bottom right will bring you back to floor B1, in a new C-shaped room.
The top left stairs will also bring you back to floor B1, this time to a straight path.
The downward stairs in the top right are the only ones that will bring you to floor B3.

Take these ones down.
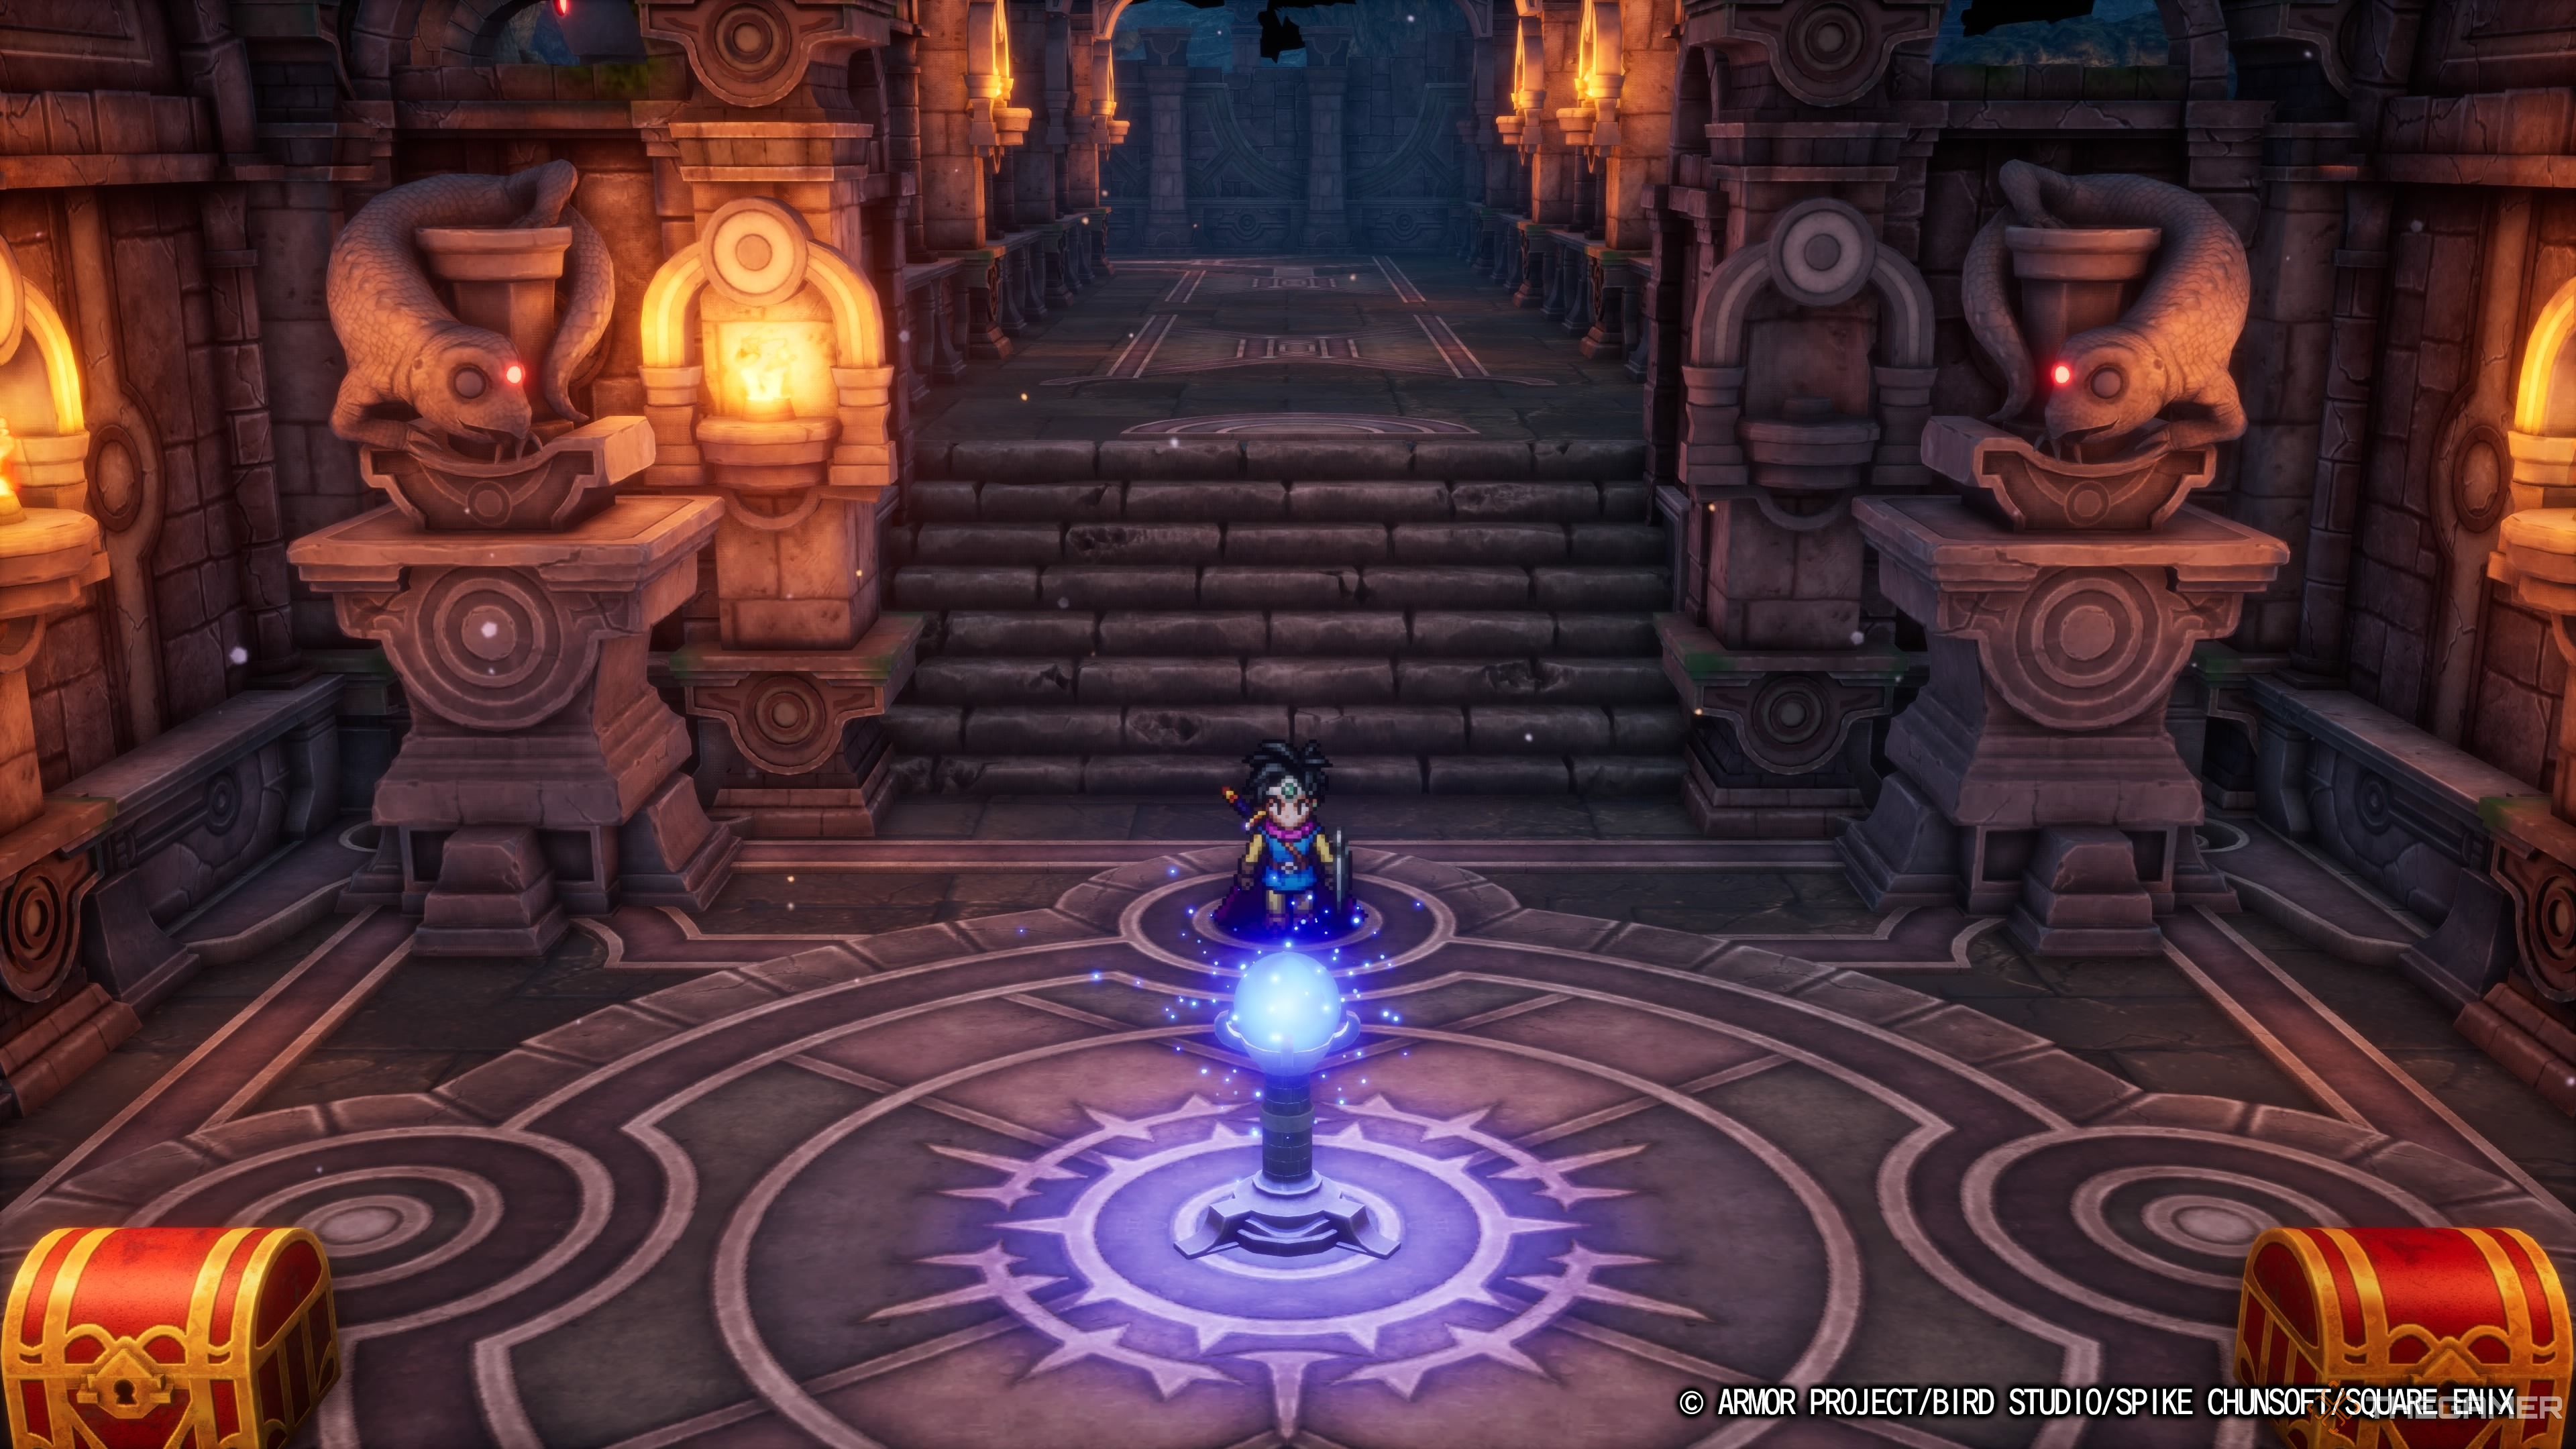
When you get to the final area of Gaia’s Navel, the path splits in two.
You will continually be stopped by the stone faces on the walls telling you to turn back.

This might seem threatening, but ignore them.They’re just trying to scare you.
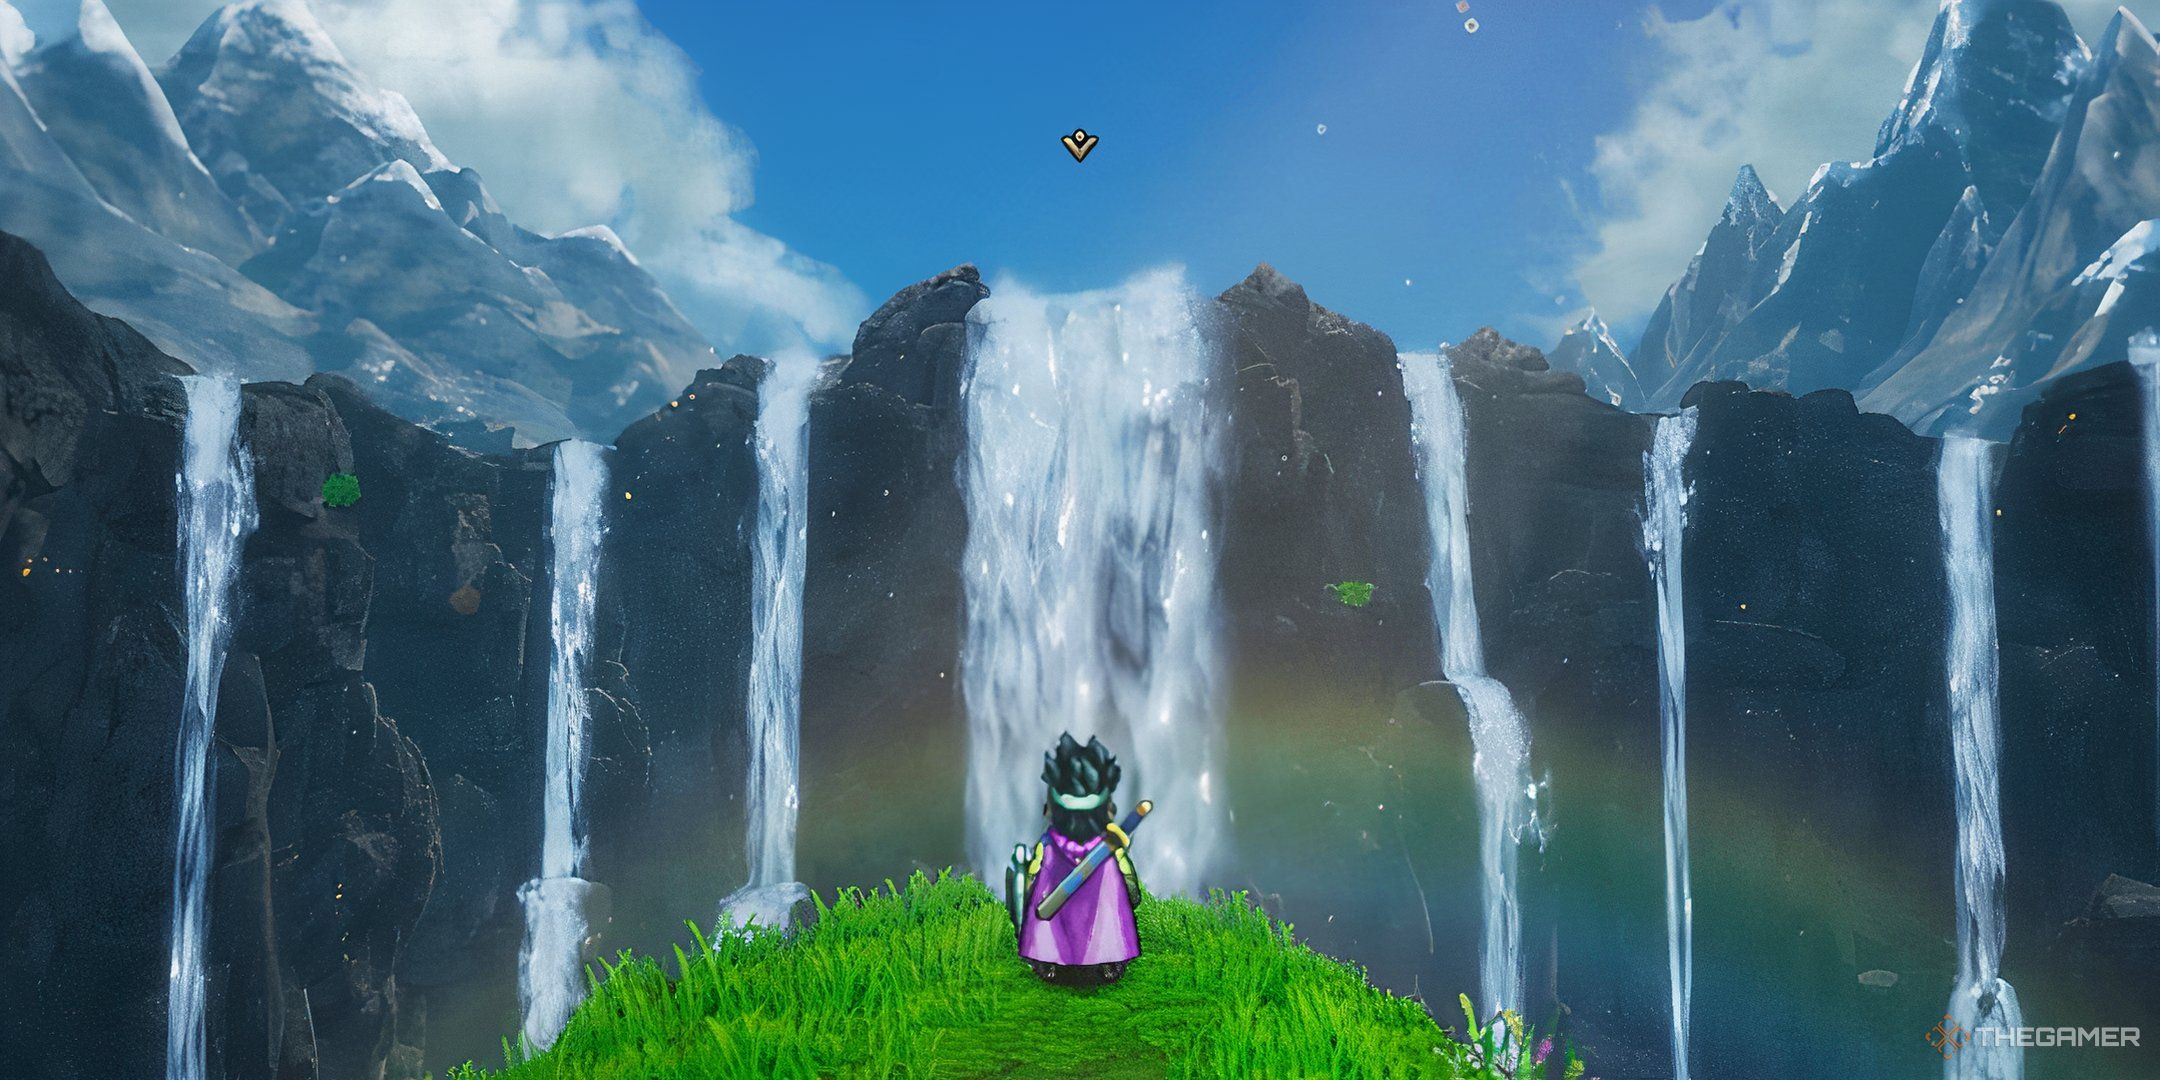
Once you weave all the way around, you’ll approach the pedestal with the Blue orb.
Ah, but of course it isn’t that simple.
Here’s where to find each of them.
Item
Floor
Directions
Knight (Monster)
B1
In the looping hallway accessed in the first area.
Seed Of Life
In a chest in the upper right room.
Prayer Ring
In a chest in the upper left room.
Seed of Wisdom
In a chest in the lower right room.
Banishing Bell
B2
On the ground by a collapsed pillar in the lower right of the room.
Earthenwear
In a chest at the end of the corridor of the C-shaped room.
3,640 Gold Coins
In a chest at the end of the corridor of the straight room.
Mini Medal
B3
In the left chest beside the Blue Orb.
Spirit Bracer
In the right chest beside the Blue Orb.
Blue Orb
On the pedestal, Acquired after beating the Chiromancer.
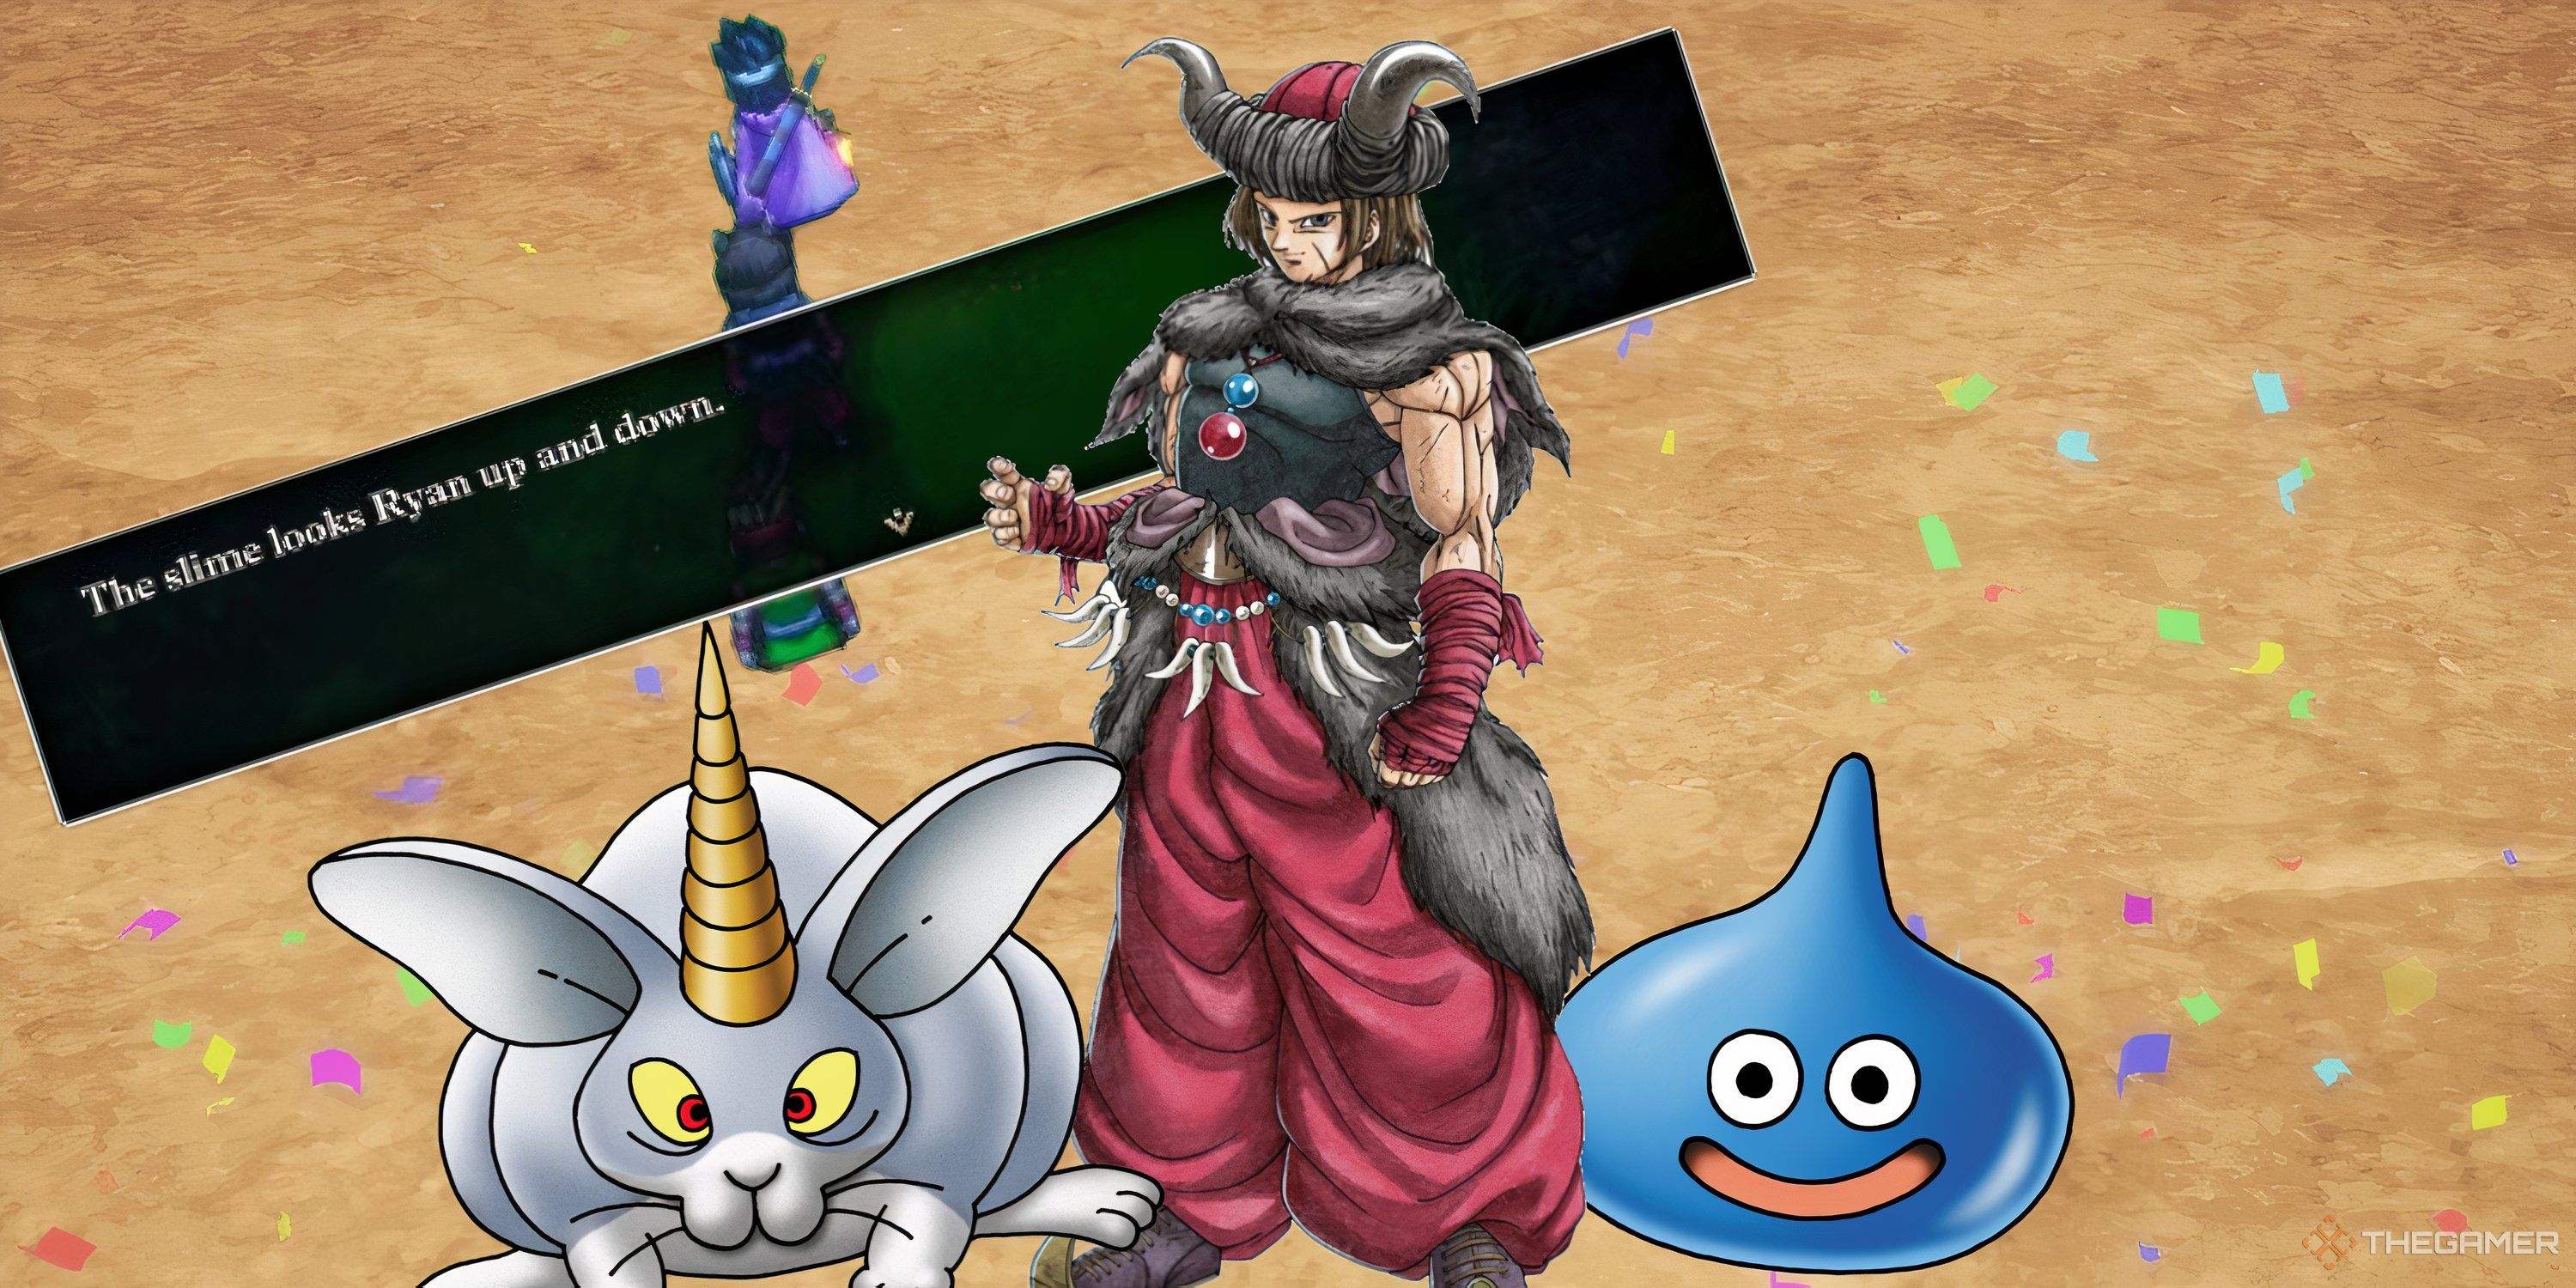
The Knight monster will run away at the sight of anyone but a Monster Wrangler.
Obviously that’s just not on, so show him just how confident you are in your own strength.
The Chiromancer will not battle you by himself though, and will havea Mad Vlad alongside himfor support.
Thankfully, he’s not all that strong so he shouldn’t prove too much of an issue.
They’re most impactful attack is Sap, which reduces your defence.
As such, take them down before the Chiromancer.
The Chiromancer isn’t the most proactive opponent, only using one move each turn.
Their most common attacks areFrizzle and Swoosh, a Fire and Wind elemental attack respectively.
As the battle draws on,the Chiromancer will begin to cast Oomphon themselves to boost their attack power.
magic attack in this stage can seriously damage your character.
If you’re using the Hero, you should have the Meditation ability, which fully restores your health.
This is incredibly useful when battling solo.
The Chiromancer has plenty enough resistances, though isquite weak to Lightning.
Each time they launch an all-out attack,their defence also decreases.
So press the assault as much as possible to take advantage of their lowered resistances.
Congratulations, and good luck on the rest of your journey.
