Quick Links
The Investigation is the second mission in The Witch Queen campaign forDestiny 2.
And if you haven’t started the Legendary campaign yet, give ourwalkthrough of The Arrival missiona look.
Chaff
Radar is disabled.
Galvanized
Combatants have more health and are more difficult to stun.
Fire Pit
When defeated, Acolytes spawn fire pools that cause damage over time.
Chaff and Fire Pit are especially dangerous modifiers in this mission, so watch your back.
Subclass
Hunter
Revenant
Titan
Bottom Tree Sunbreaker
Warlock
Voidwalker or Shadebinder
Huntersshould stick to Revenant for this mission.
Titansshould consider using Bottom Tree Sunbreaker.
This spec gives you access to Sunspots and the powerful Sun Warrior buff.

Warlockscan use either Voidwalker or Shadebinder for this mission.
Weapons
Arbalest
Breaks shields easily, carves through Hive Knights, and can deal great damage from a distance.
Witherhoard
Great for spawn killing enemies and dealing consistent damage to bosses.

Riskrunner
Quite a few enemies deal Arc damage, giving you damage resistance and great add-clearing potential.
Rat King
Get a kill and reload to become invisible, making it much easier to reposition and heal.
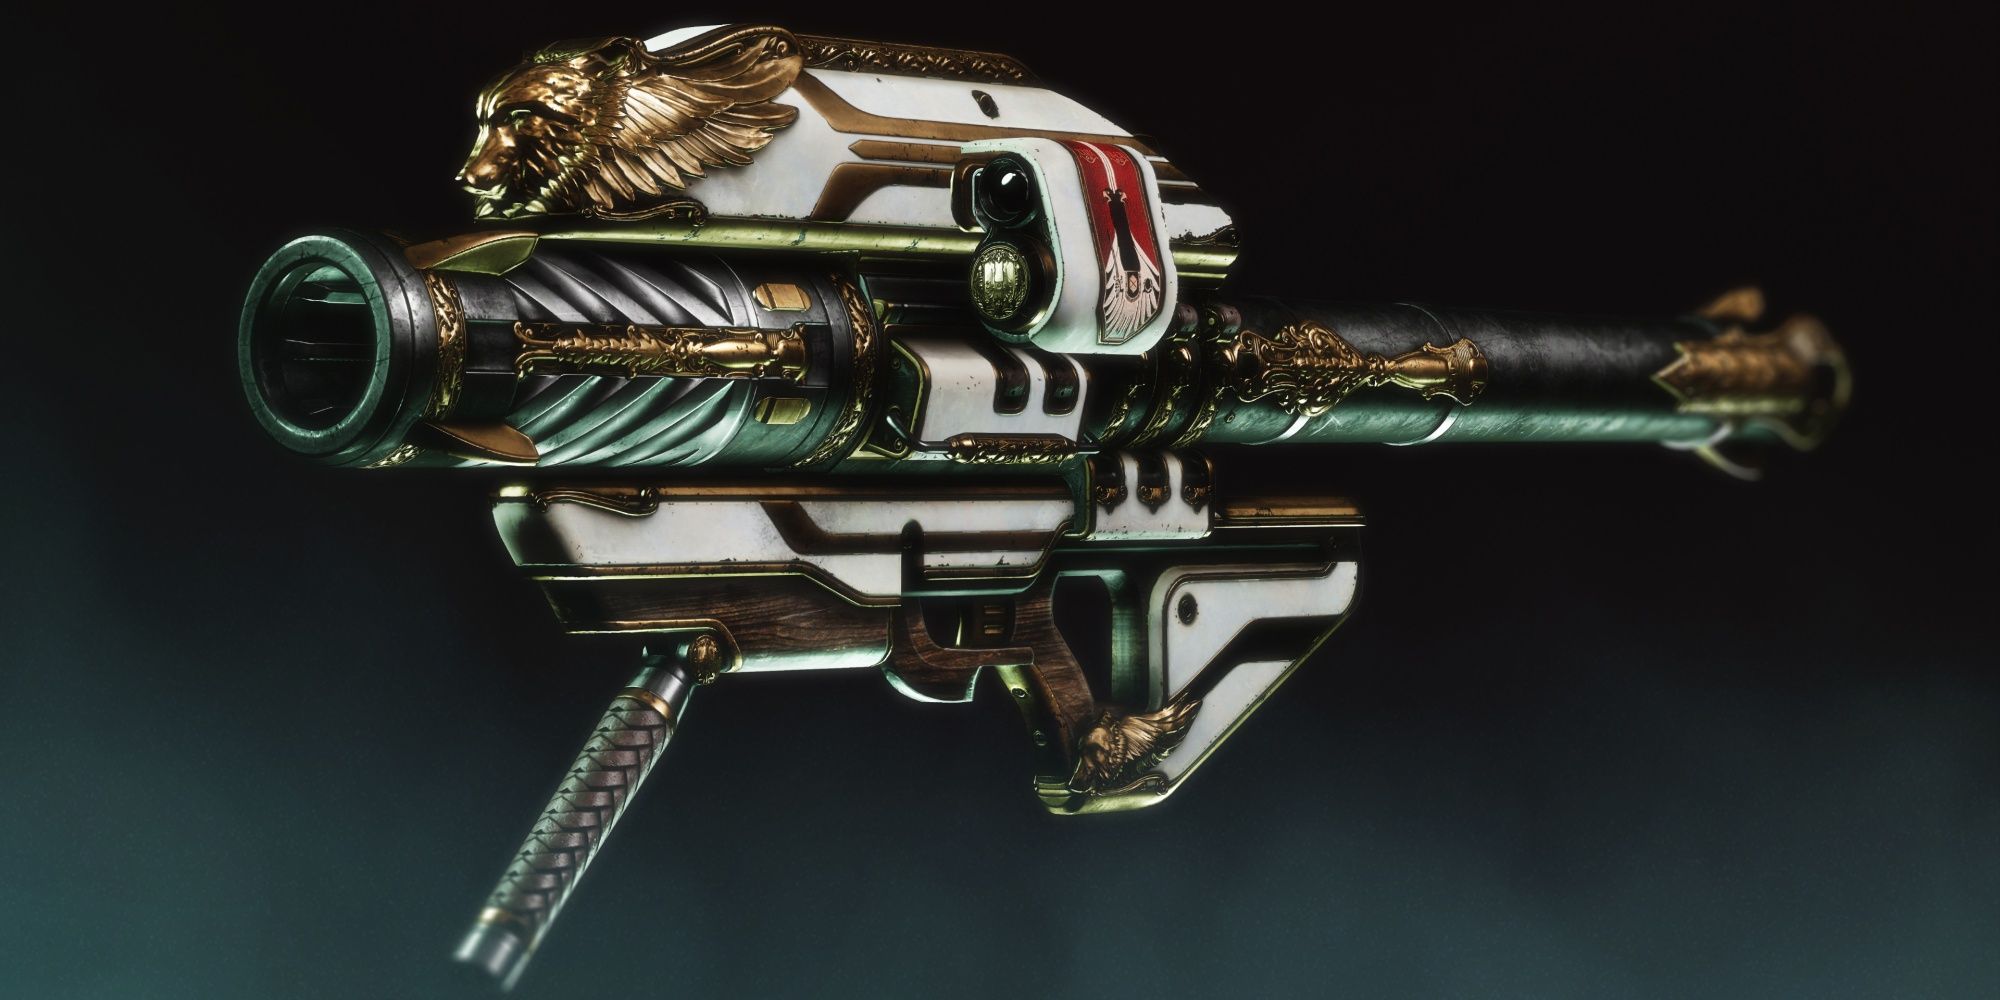
Gjallarhorn
It hits like a truck and pairs nicely with this season’s Lucent Finisher mod.

Arbalestis great if you’re struggling to kill Hive Knights.
It instantly breaks their shields and debuffs them for 50% more damage upon doing so.
Witherhoardexcels at dealing with adds and majors alike.

This weapon comes especially handy during the final two encounters.
Riskrunneris a solid pick for the final encounter.
Quite a few enemies deal Arc damage in this mission, activating Riskrunner’s Exotic perk.

This makes the gun shoot chain lightning and grant you damage resistance.
Rat Kingis not a joke; it’s incredibly strong for solo content.
Get a kill, reload, and enjoy a few seconds of invisibility.
It works with every class and subclass.
Gjallarhorndeals immense damage and has tons of ammo.
Pair this weapon with this season’s Lucent Finisher mod to give yourself more ammo.
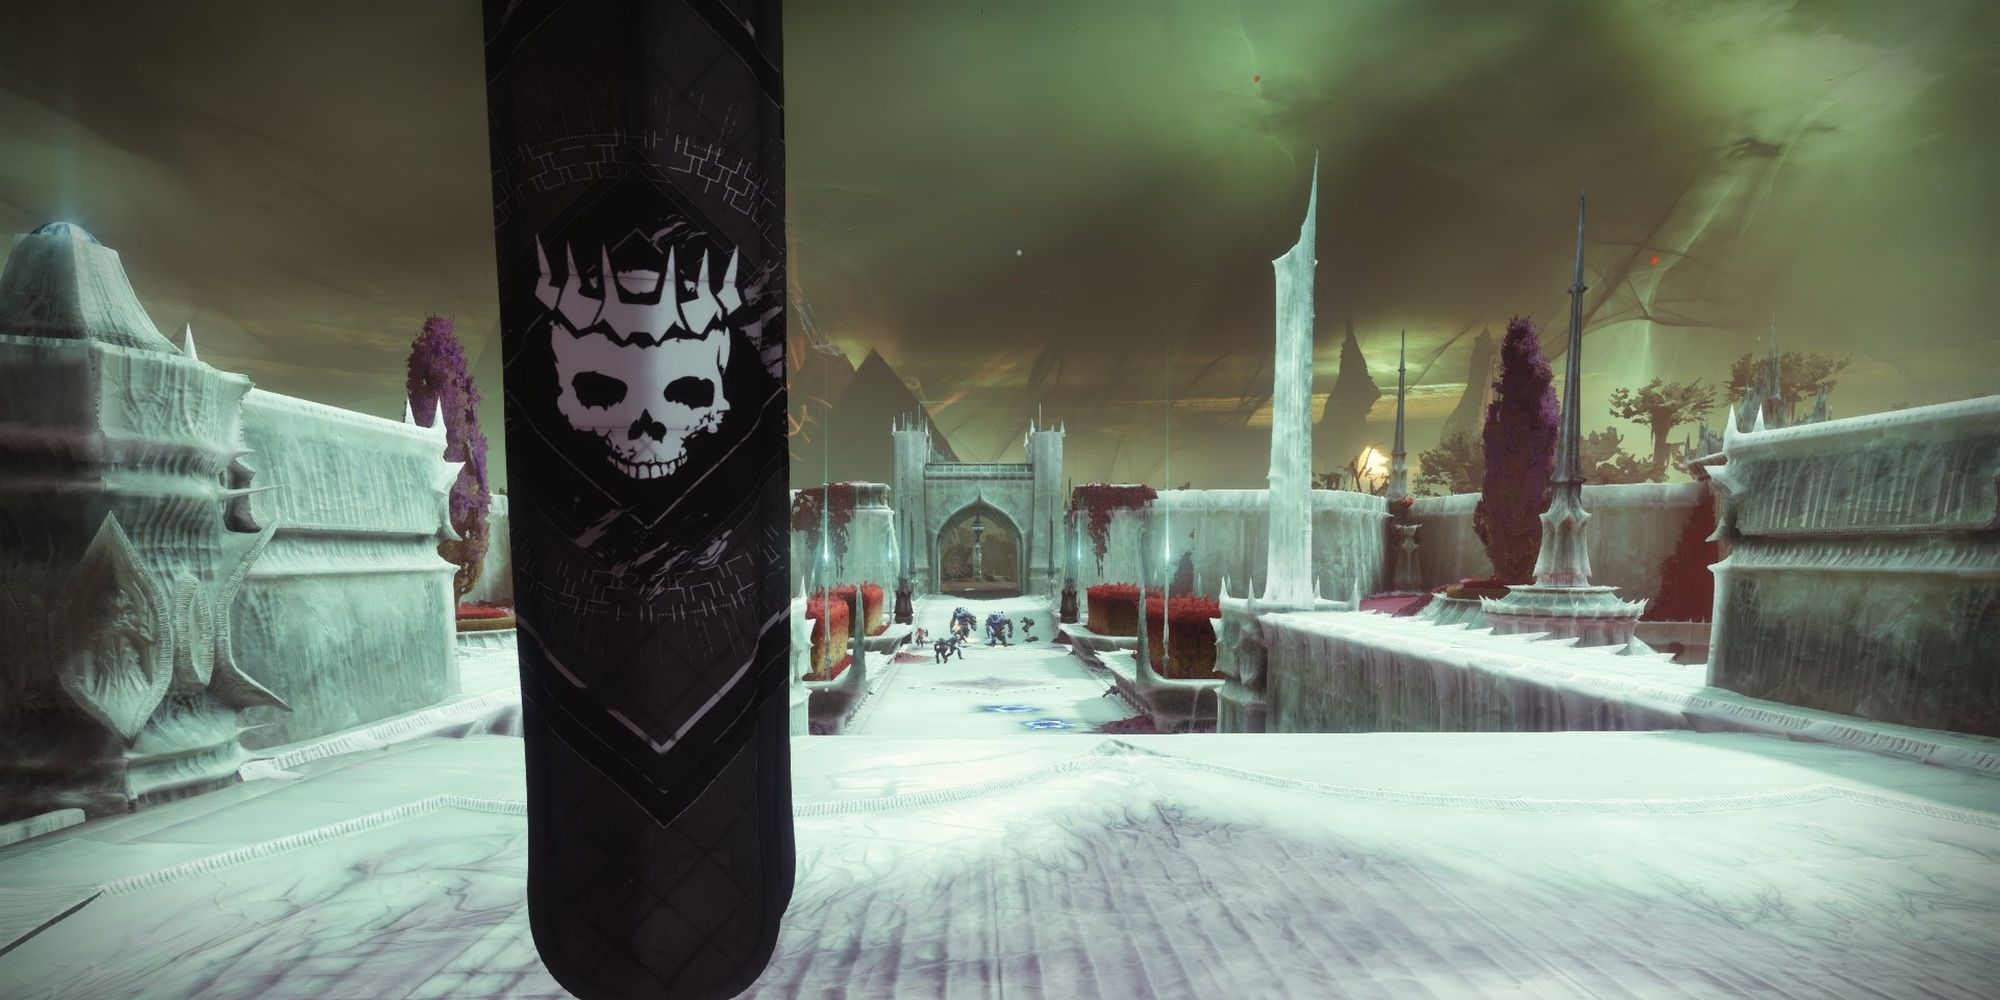
Make your way back to the entrance of the cathedral.
A few Hive enemies will be guarding the area, so clear them out.
A rather tanky Hive Knight will charge at you when you arrive.
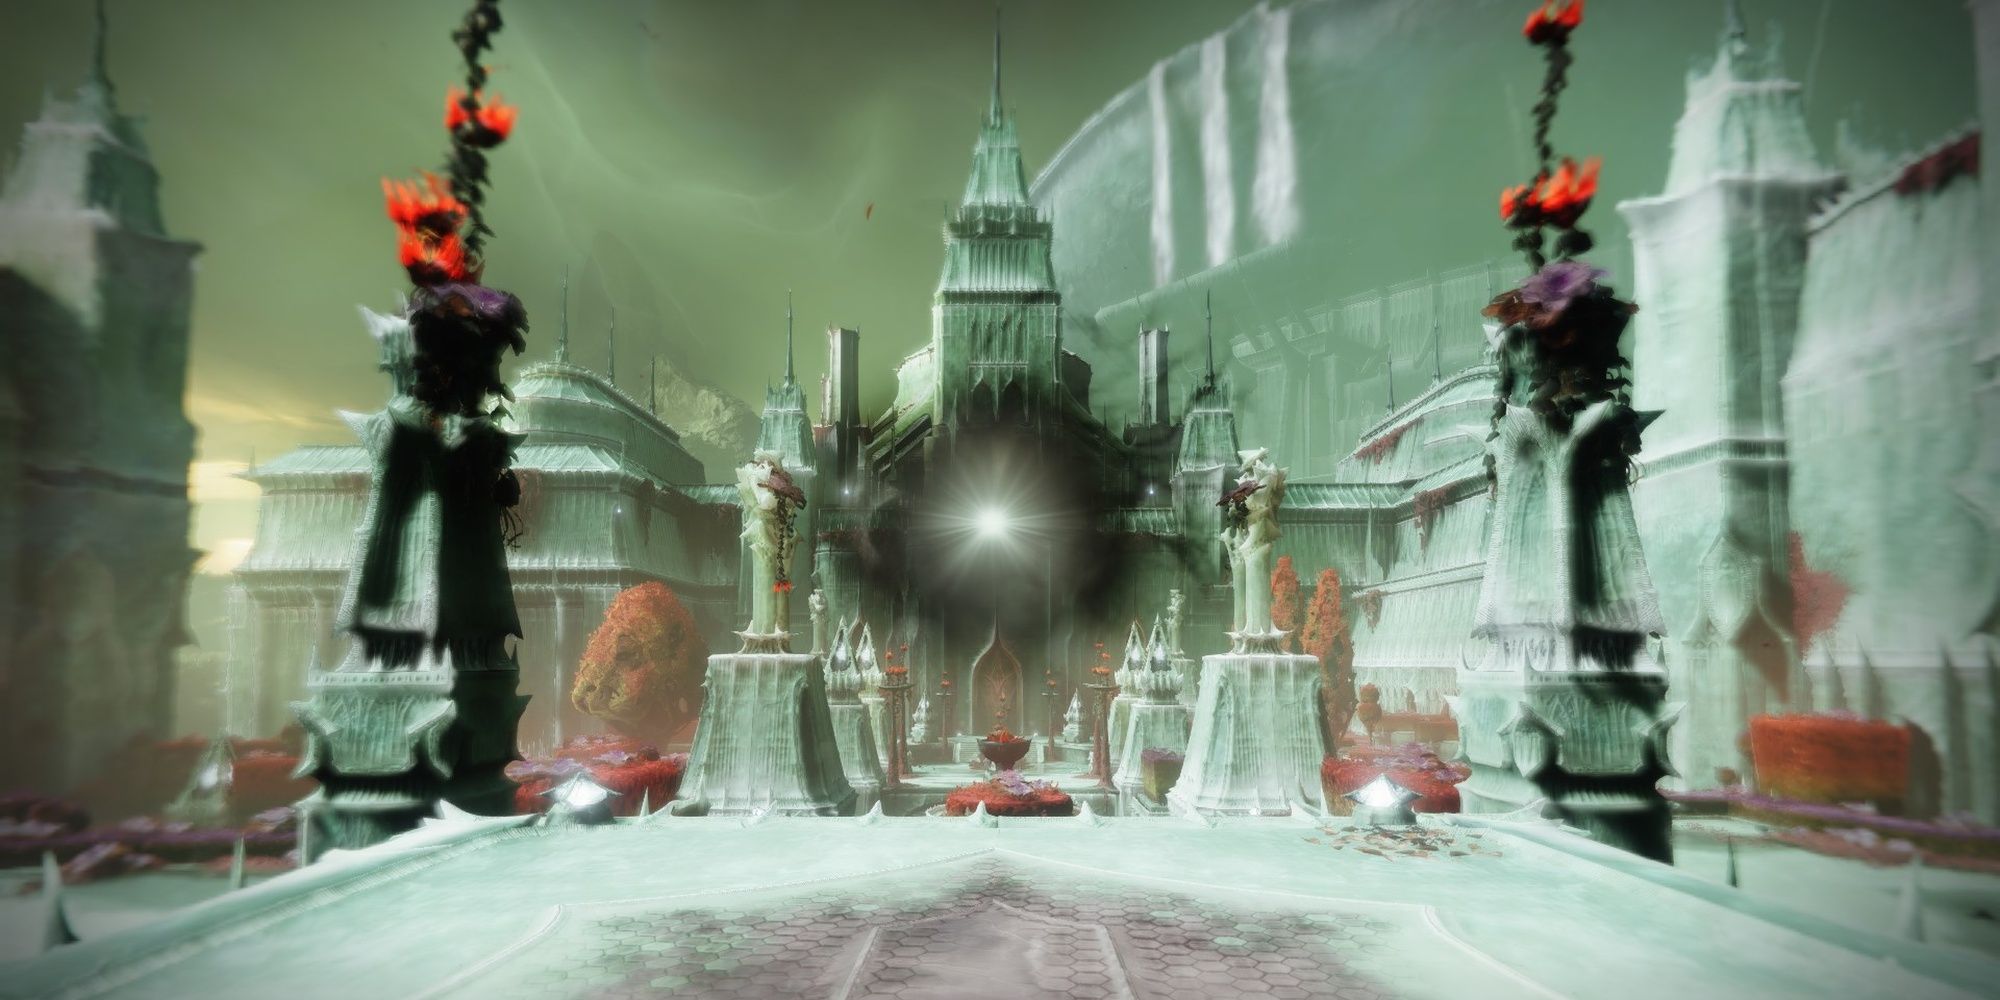
Use your Special weapon to kill them.
Shortly after killing the initial group of Hive aLucent Lightbearerwill spawn to the left of the cathedral entrance.
It’s the same enemy bang out you fought inthe previous mission.

Stasis can also stunlock the Lightbearer, freezing it long enough to force the Knight out of its Super.
Remember to crush its Ghost once you’ve killed the Knight.
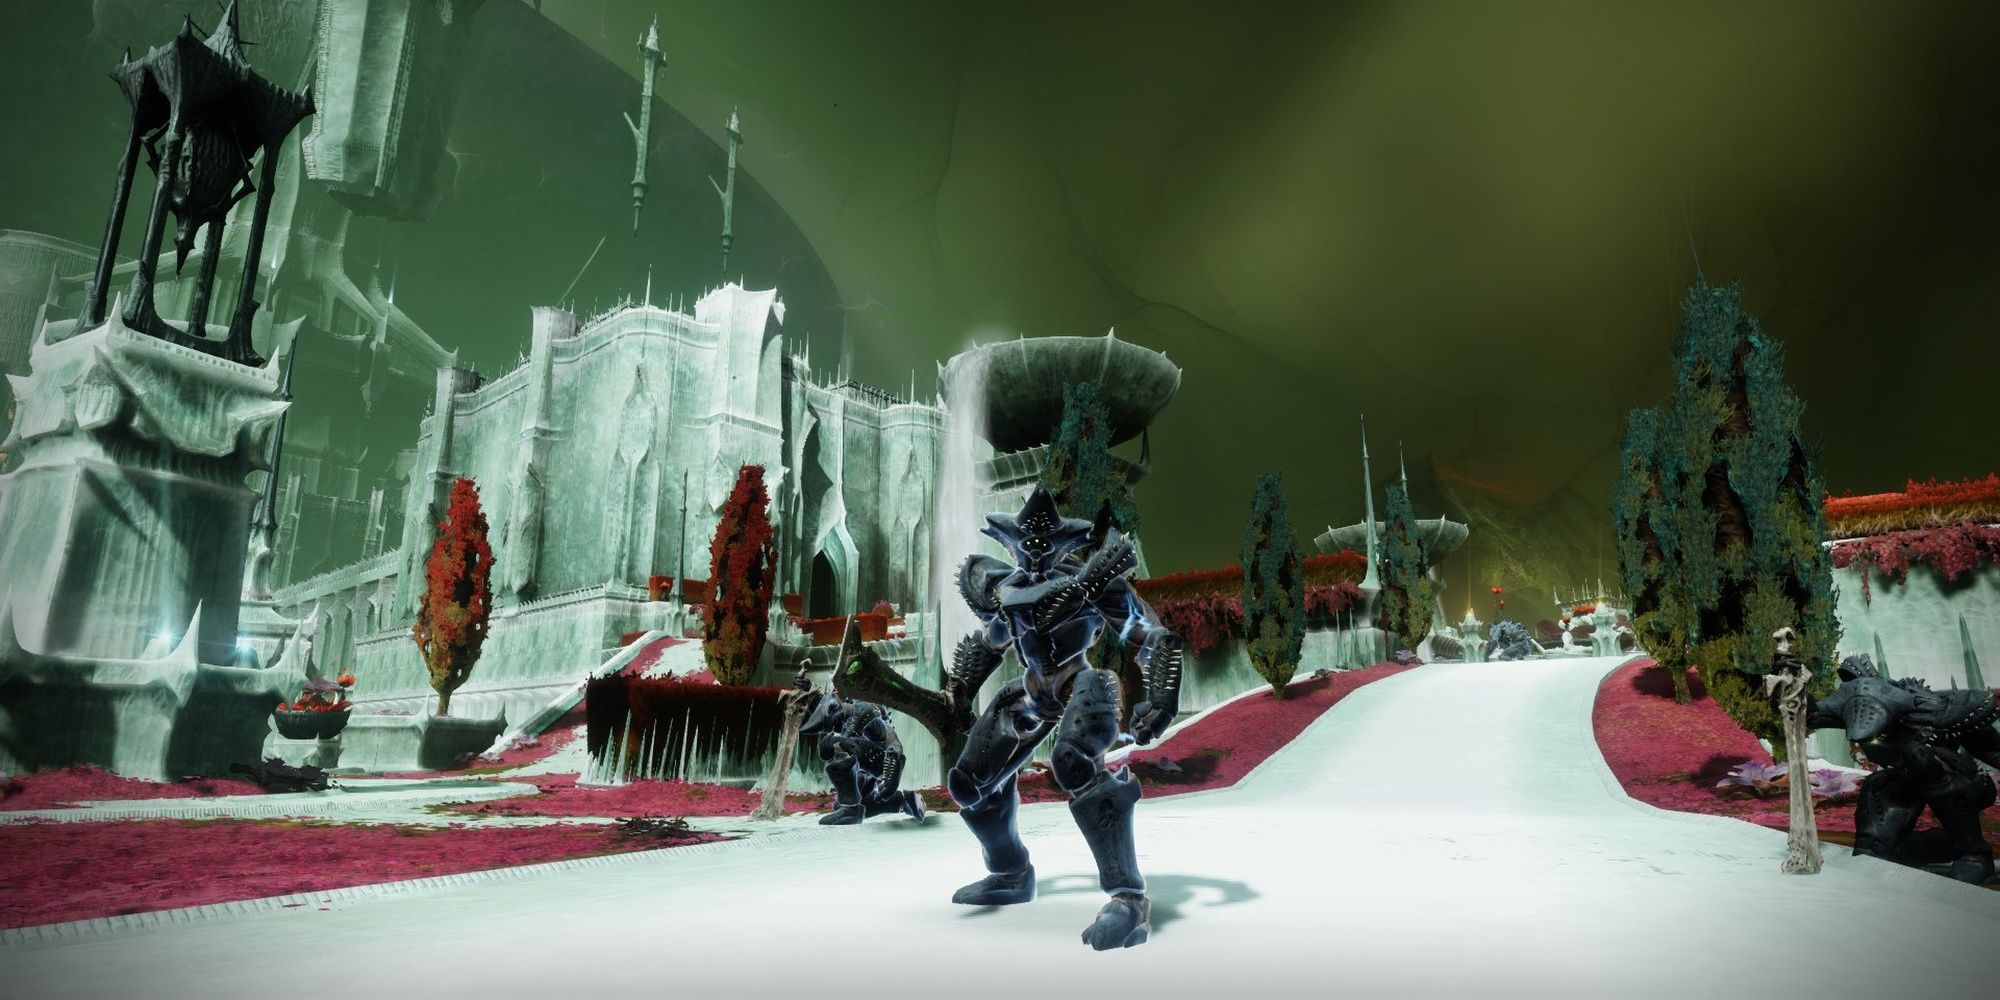
Backtrack to where you start, and you should see a green forcefield blocking a pathway.
Two Hive Knights will be protecting this field, both of which have Arc shields.
Killing both of them will reveal aDeepsightorb near the back of the courtyard.
Your Deepsight vision will reveal some nearby platforms, leading you to a nearby building.
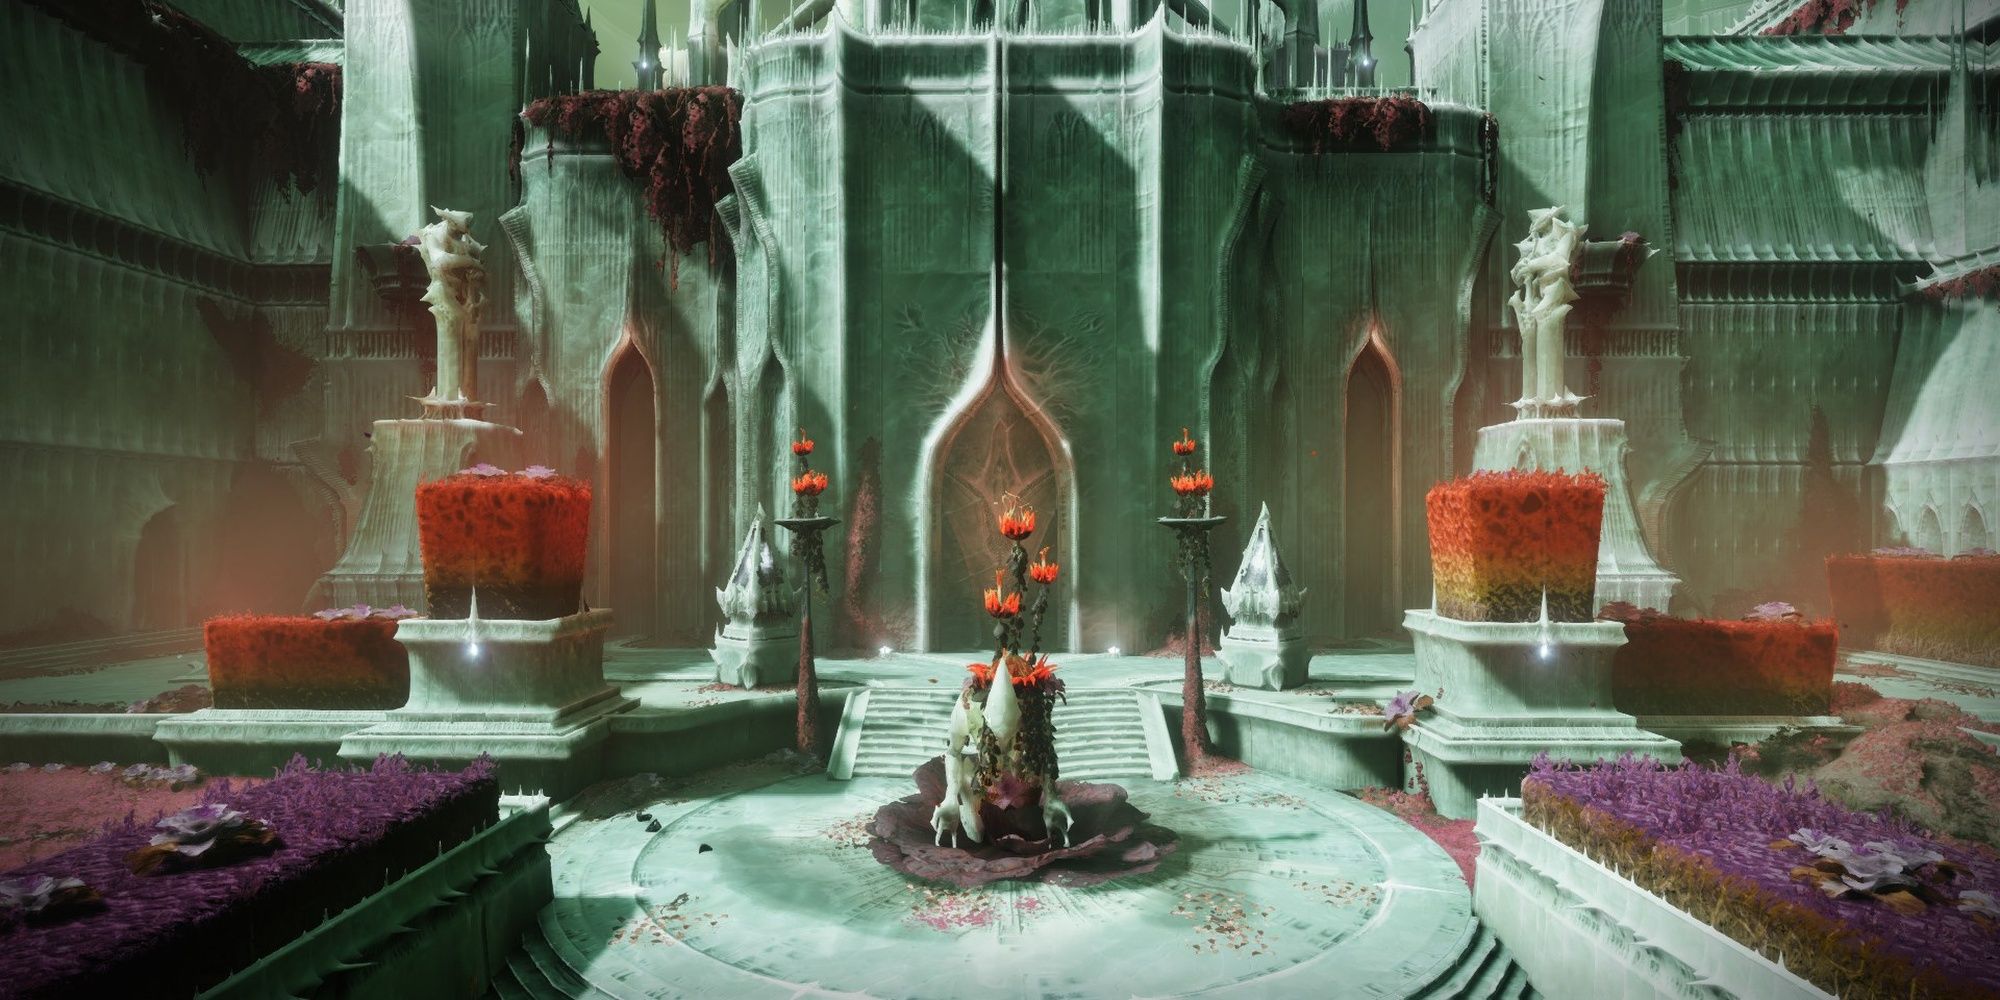
Deepsight is a 30-second buff that alters the environment around you.
While active, new platforms will be created, statues will change, and entire walls might be lifted.
Use these Deepsight orbs whenever possible to find the path forward.
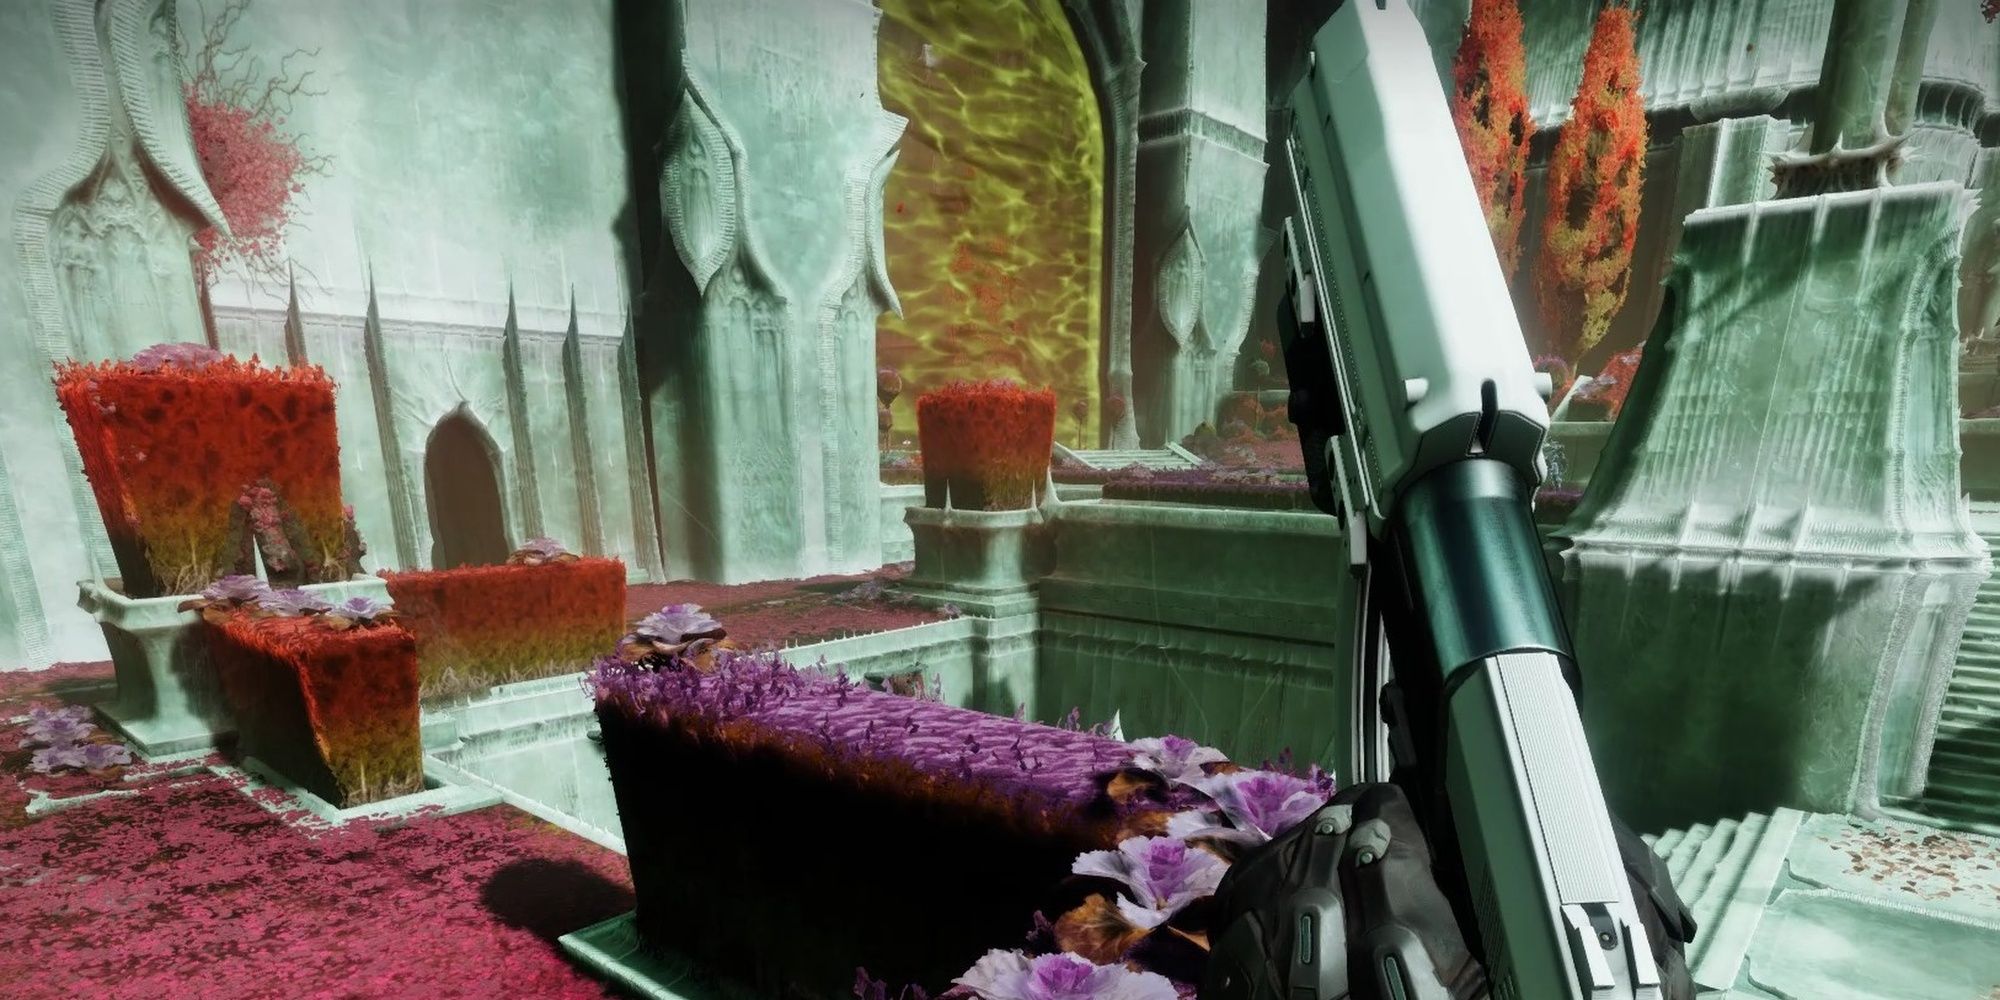
For the first part, you’ll want to keep heading right whenever possible.
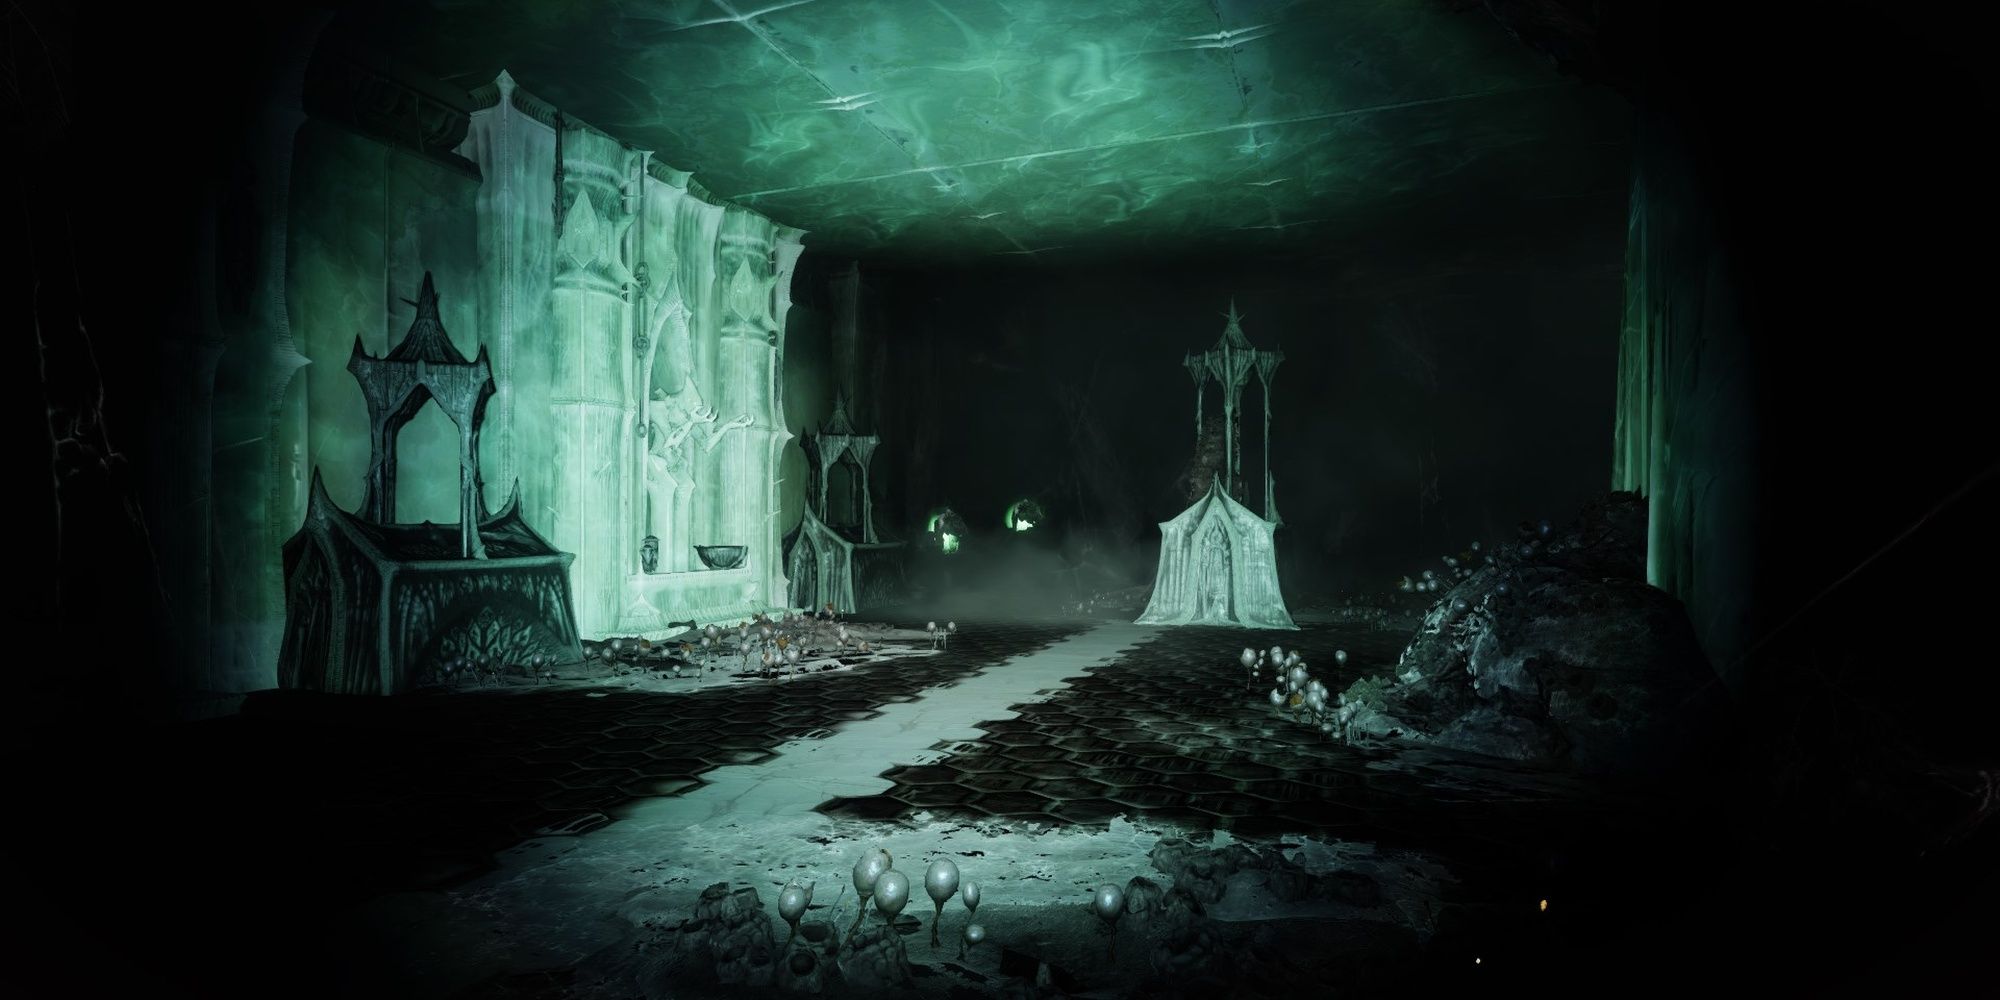
You’ll eventually reach a cavernous room with a Deepsight orb near the bottom.
Use the orb to find your way forward.
Continue exploring until you reach a T-shaped corridor that seems to be a dead end.
You’ll want to head right.
Defeat the Thrall and Knight residing in the room, then activate the Deepsight orb in the corner.
Backtrack to the corridor and go in the opposite direction.
The Deepsight will create platforms you’re free to climb on to reach the next room.
That next room contains a small group of Cursed Thralls and a Hive Knight.
This room is quite dangerous if you’re going for flawless, so play on the defensive.
Use Stasis or any AoE weapons to quickly kill the Thrall, then eliminate the Knight.
A short run will lead you outside.

A Hive Ogre will be guarding the path, nothing a Heavy weapon can’t deal with.
At this point, we recommend hopping on your Sparrow to bypass the rest of the enemies.
The gate will be guarded by yet another group of Hive.

Kill the Knight as soon as possible, then focus on the Acolytes.
When finished, grab any nearby ammo and reload your weapons.
It’s time to start an encounter.
Rendezvous With The Contact
Encounter Breakdown
Objective
Hold the area until the gate opens.
Notable Enemies
Hive Knights
Shields
Arc
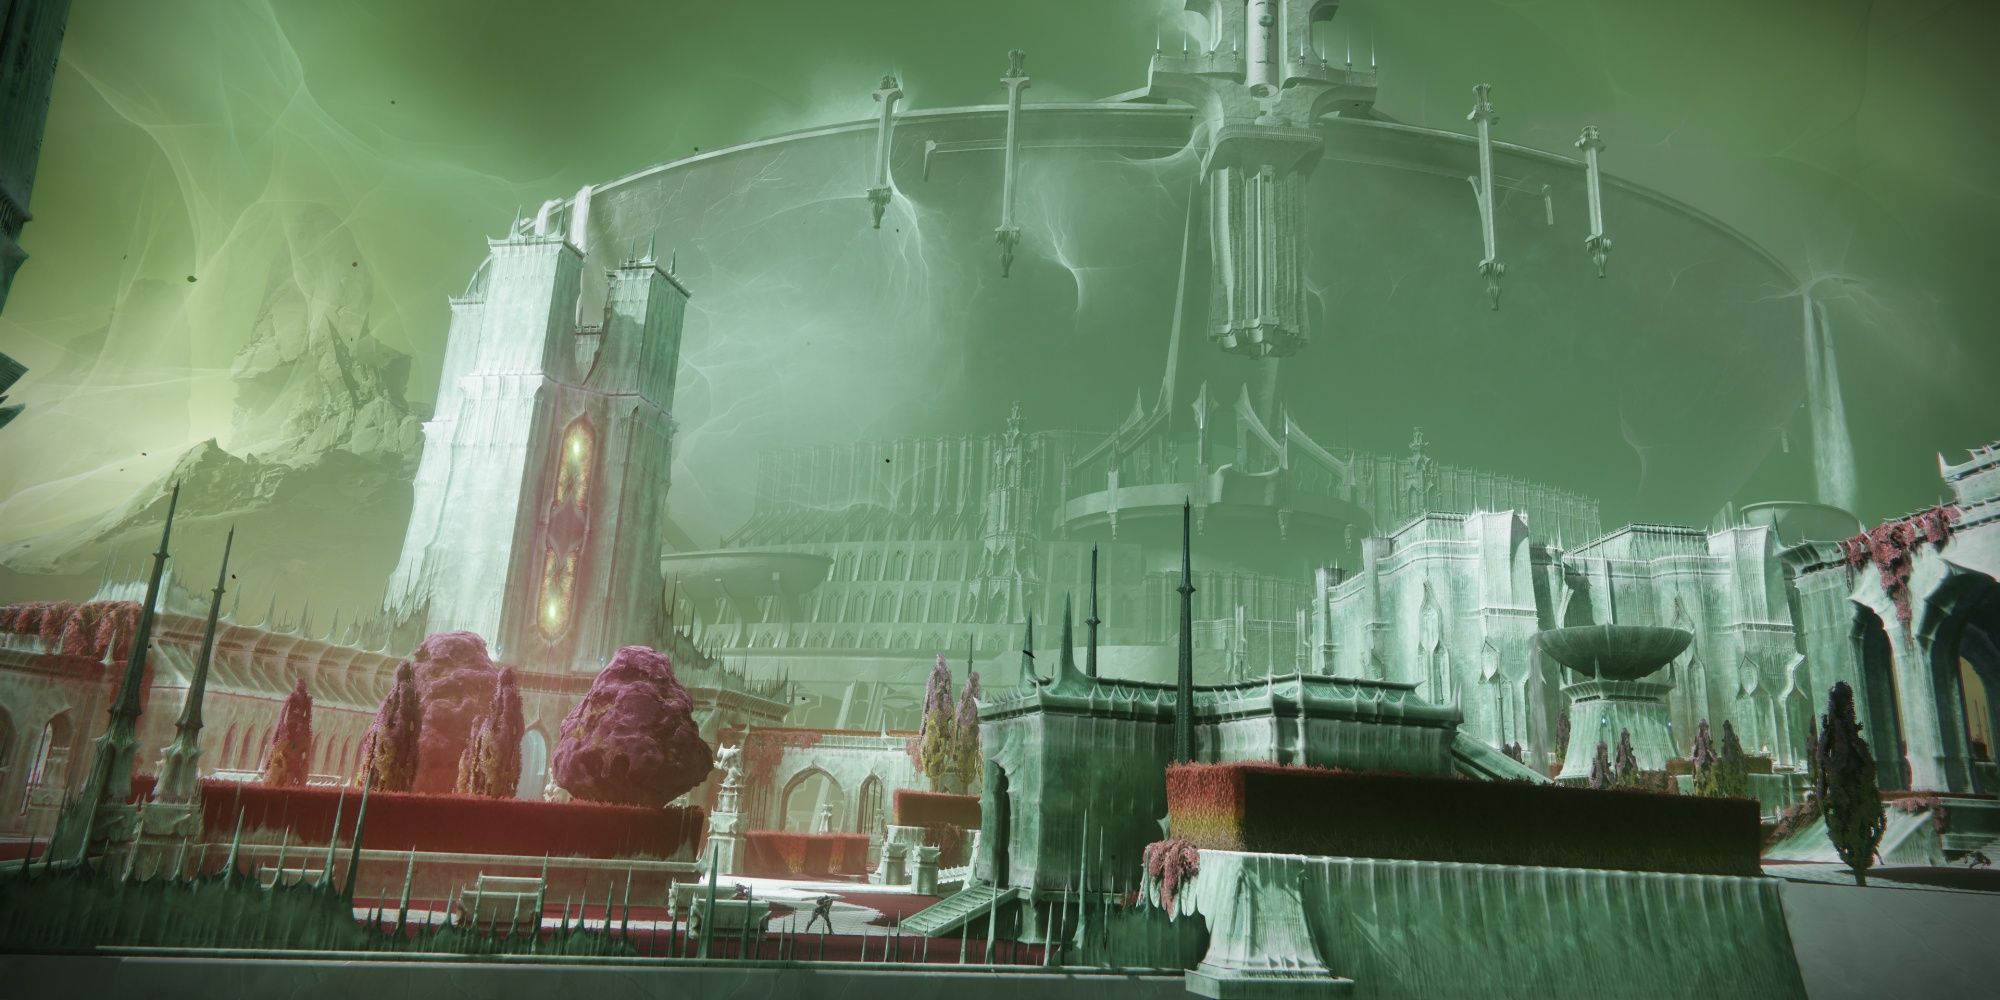
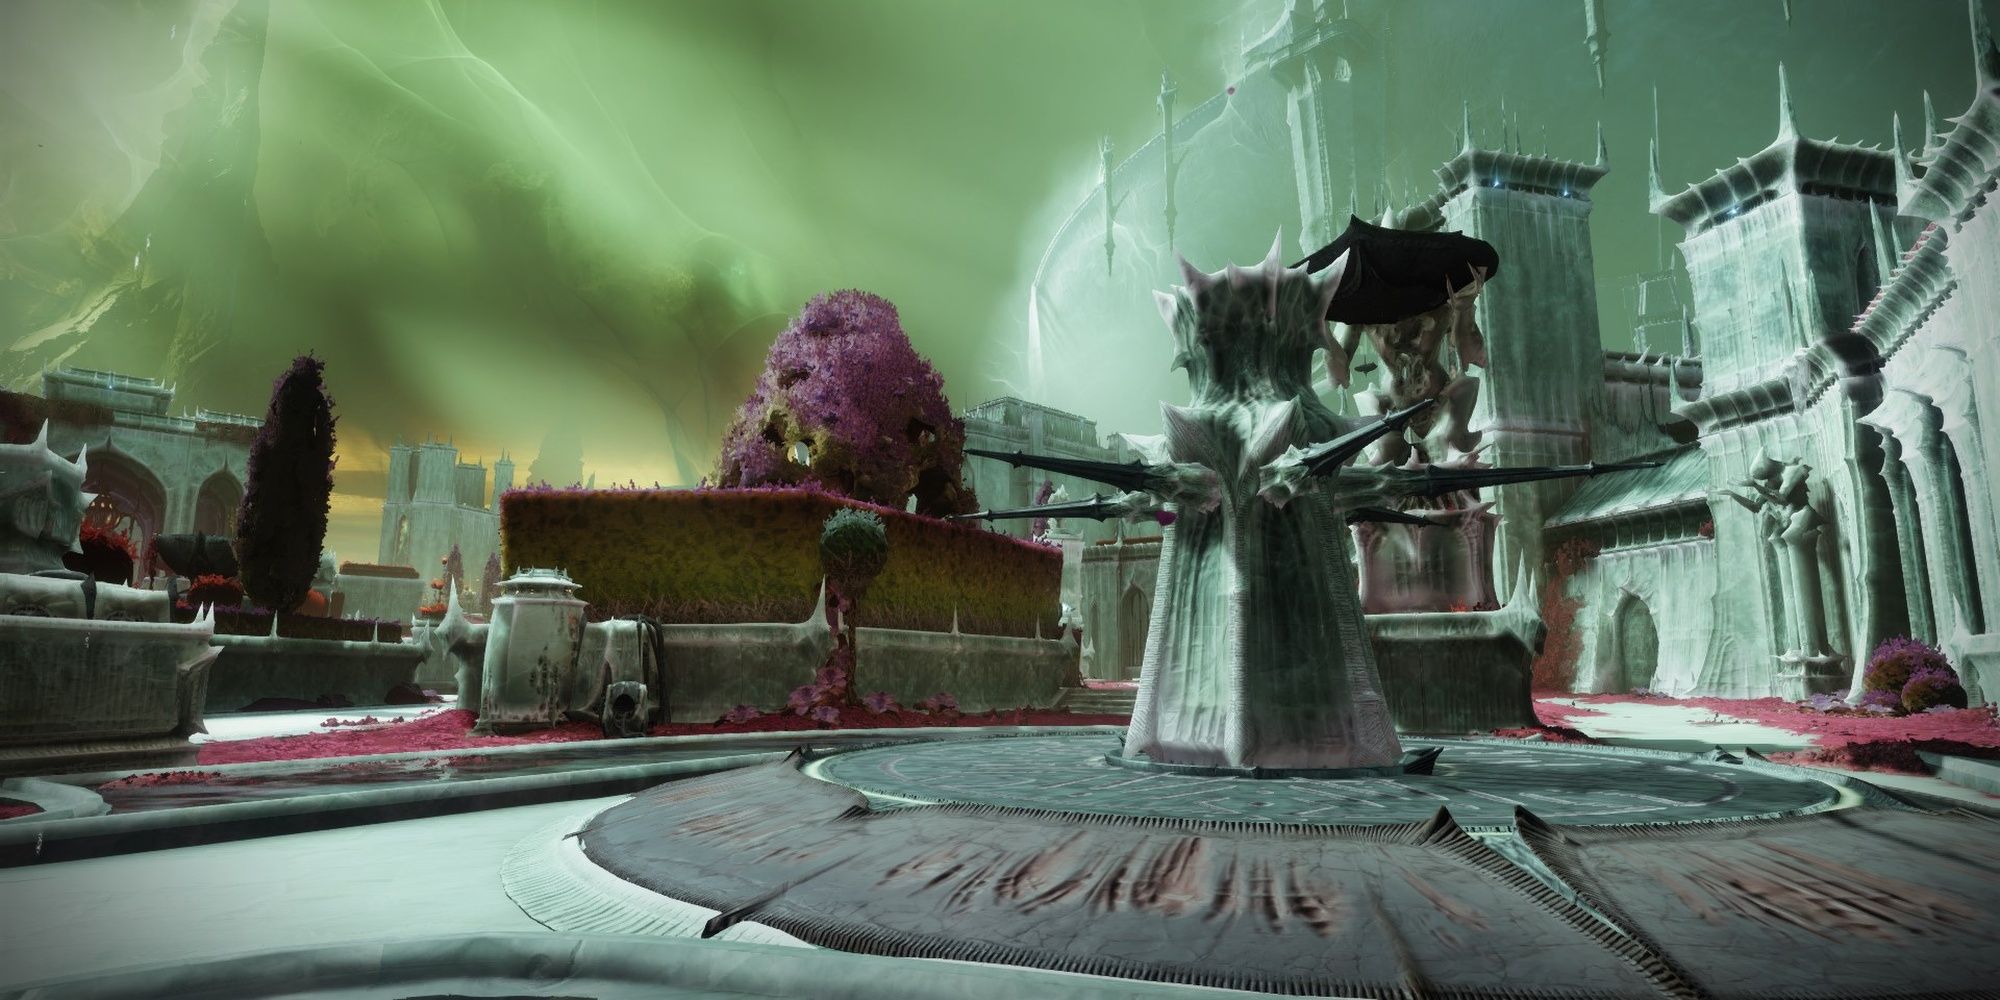
A nearby gate is preventing you from further exploring Savathun’s Throne World.
You’ll need to defend a nearby Hive pillar to lower the gate.
Stand on the pillar when you’re ready.
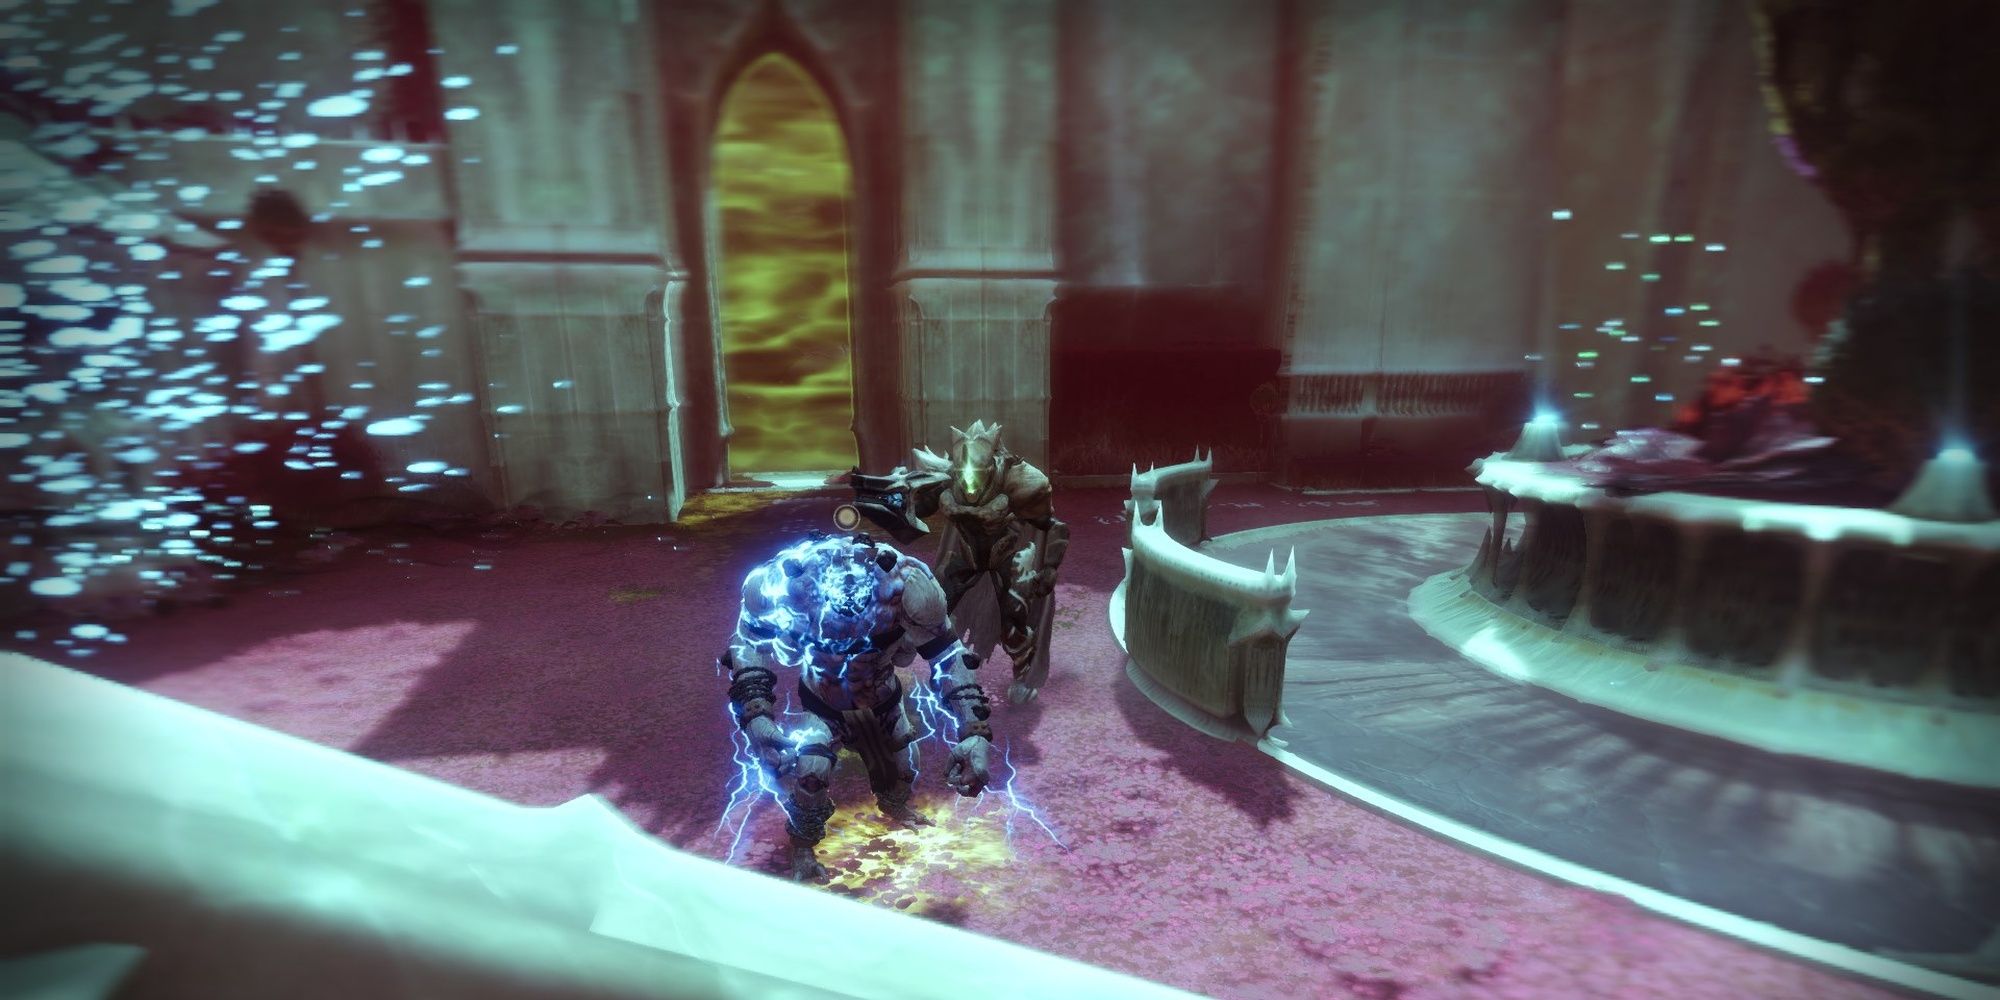
You’ll spawn just outside of a Hive vs.
Interrupt the fight with a well-placed grenade or AoE weapon.
Focus on the Abomination and the Barrier Guard Knight.
Clean up the nearby enemies when done.
Killing these enemies will spawnthree Abominations and Barrier Guard Knights, one on each side of the arena.
This is where Witherhoard, Stasis, or Sunspots come in handy.
Clear out the adds on a given side, then kill the Abomination and Guard Knight.
Feel free to use your Heavy on them.
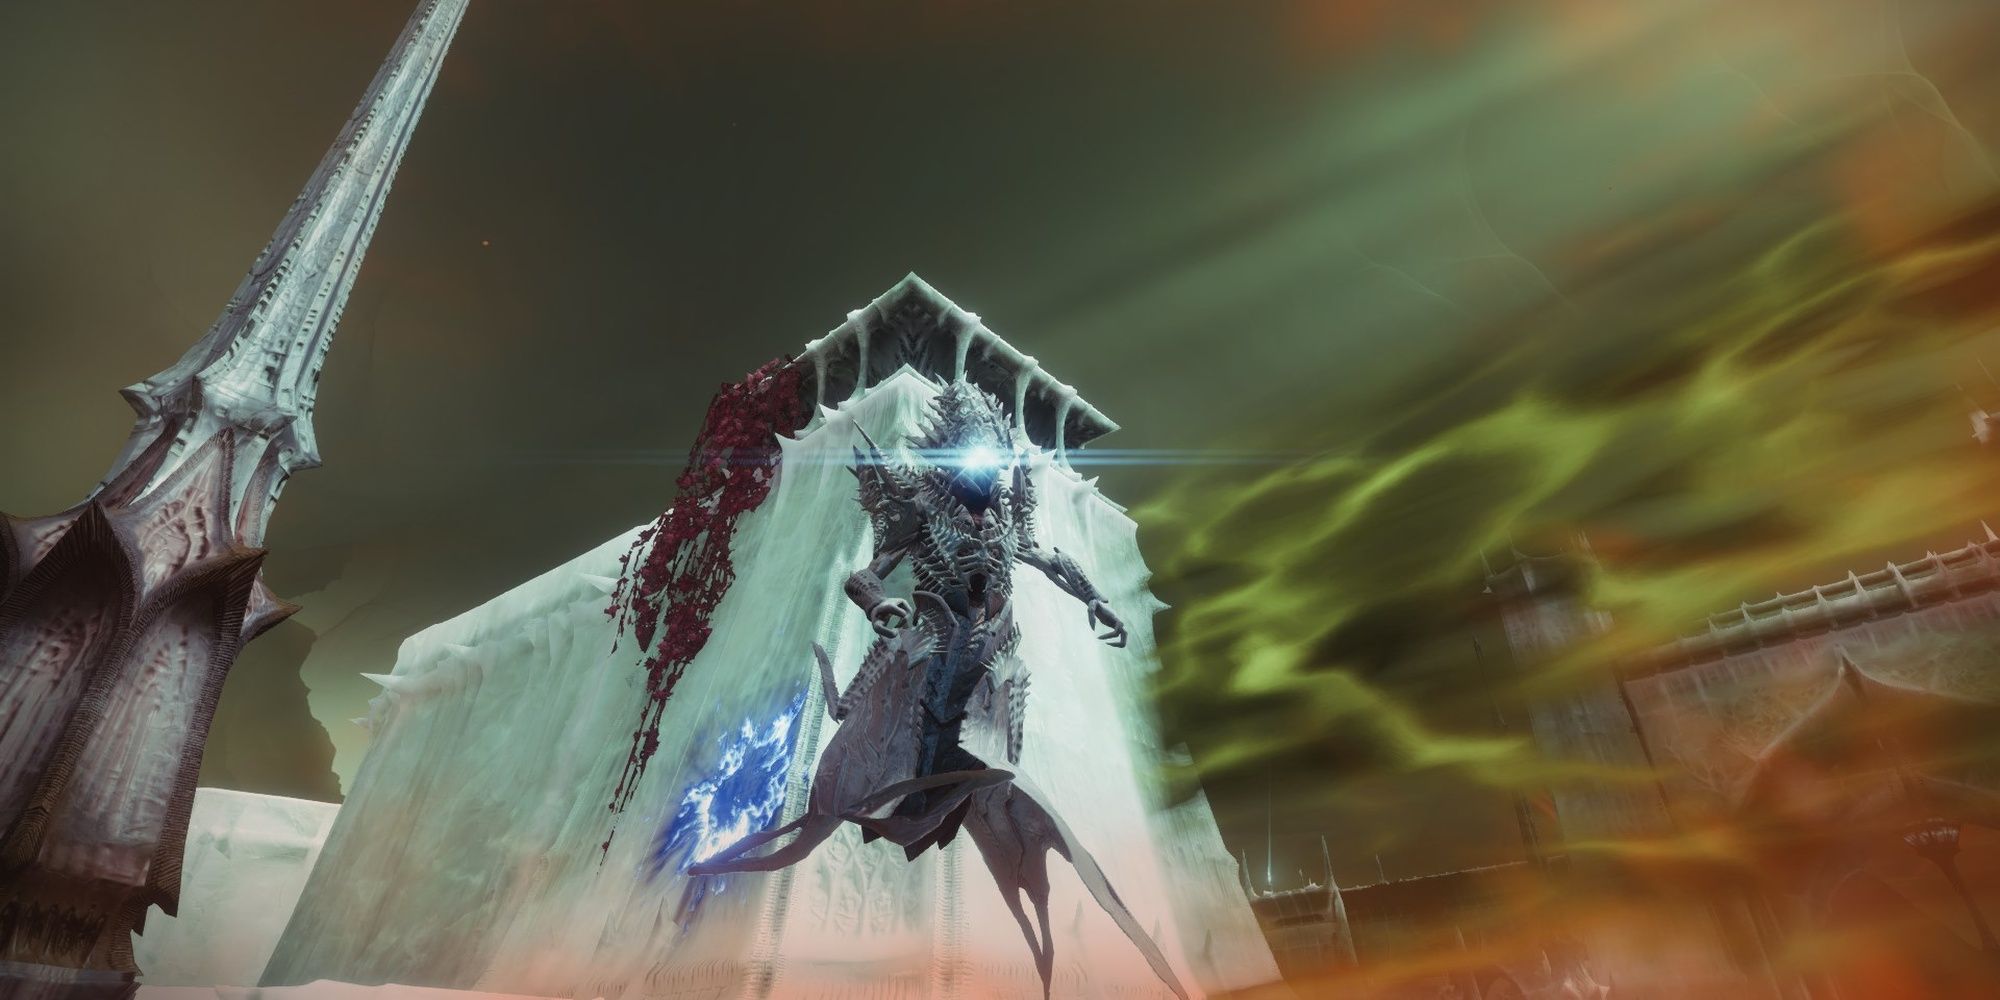
When all three sides are clear, aLucent Lightbearerwill spawn at the middle road.
While deadly, the Lightbearer is quite passive and won’t push your location if you keep your distance.
Damaging her enough will spawn two Barrier Guard Knights.
This is when you’ll want to Super and use your grenades.
Give the Wizard everything you’ve got, then crush its Ghost.
When finished, follow the waypoint on your HUD to meet your contact, ending the mission.
Next:Destiny 2: The Witch Queen Complete Guide And Walkthrough
