Quick Links
The Ghosts is one of the hardest missions in the Witch Queen campaign forDestiny 2.
It’s a serious challenge on Legendary and a test of patience on Master.
Modifiers And Recommended Loadout
Legendary
Power Level
1,370
Mettle
Your effective Power is capped at 1,355.
Heavily shielded and highly aggressive combatants appear in great numbers.
Chaff
Radar is disabled.
Galvanized
Combatants have more health and are more difficult to stun.
Fire Pit
When defeated, Acolytes spawn fire pools that cause damage over time.
Take increased damage from melee.
Master
1,580
Raider Shield
Scorn Raiders now have Void shields.

Champion Foes
You will face Overload and Unstoppable Champions.
Champions: Mob
This mode contains additional Champions.
Equipment Locked
You will not be able to change your equipment after this activity starts.
Match Game
Enemy shields are highly resistant to all unmatched elemental damage.
Attrition
Regeneration is greatly impaired.
Defeating enemies may create wells of Light.
Shielded Foes
Arc, Solar, and Void shields are present.
Legendaryon this mission includes the Empath modifier, causing enemies to deal much more melee damage.
Since Chaff is active, the enhanced radar from Empath is disabled.
Beyond that, this mission hasthe same modifiers as all other Witch Queen campaign levelsat this difficulty.
Masterdifficulty is nothing short of brutal.
You’ll need to be patient to beat this mission, especially the final encounter.
Spec for long-range weapons, and bring a Void weapon.
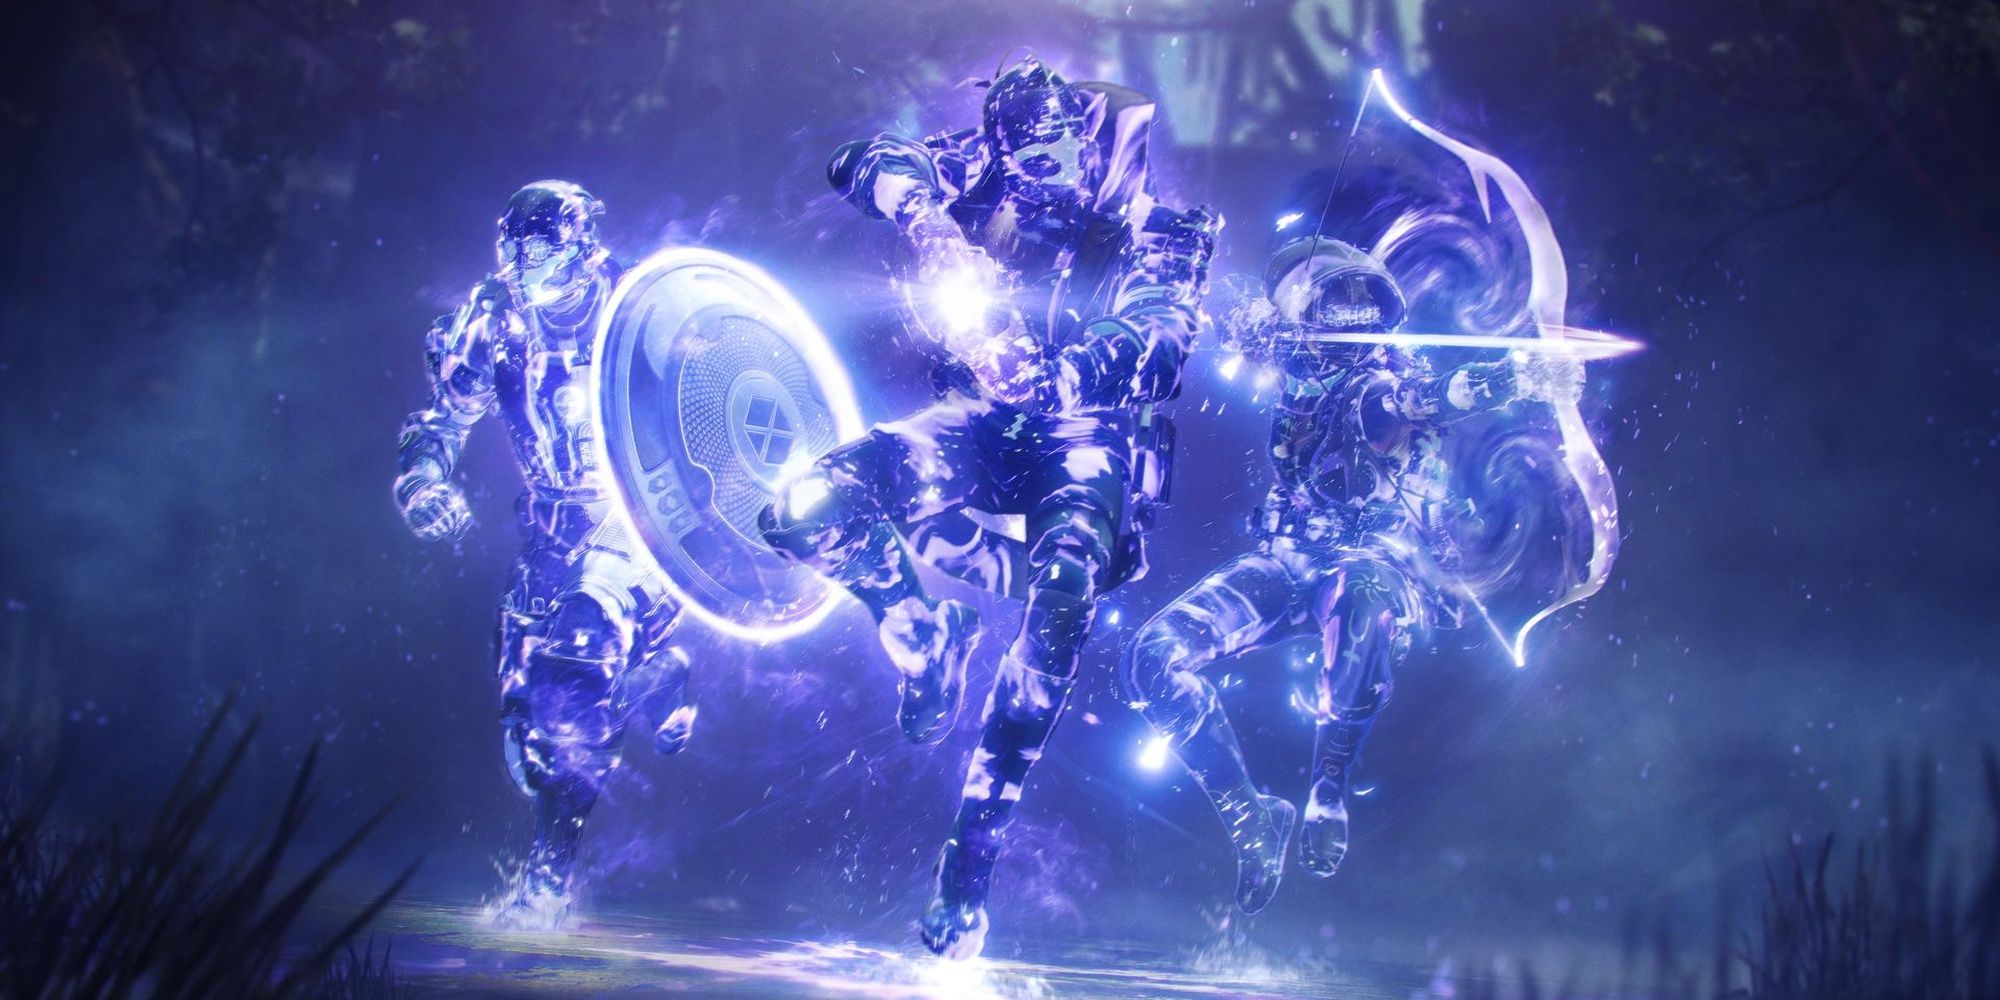
Subclass
Hunter
Nightstalker
Titan
Sentinel
Warlock
Voidwalker
Huntersshould use Nightstalker for this mission.
Even with your great ability and detonator uptime, we still recommend you take this mission slowlyespecially on Master.
Warlockscan’t go wrong with Voidwalker.
Instead of going all-in on aggression,we recommend a more reserved approach with Chaos Accelerant.
Under Your Skin
Effectively a Legendary version of Le Monarque.
Get a roll with Successful Warm-Up.
Witherhoard
Serves as a good add-management and passive DPS tool.
Rocket Launchers
Great for occasional add clear and burst DPS.
Deathbringer, Gjallarhorn, Palmyra-B, and Red Herring are good picks.
Le Monarqueand its Legendary cousin,Under Your Skin, are fantastic for killing enemies at a distance.
Rat Kingis actually a good pick here.

Consider using this is you’re struggling to stay alive.
Witherhoarddoes a little bit of everything.
Rocket Launchersare fantastic for this mission.
Tons of enemies and burst-oriented boss fights make this archetype shine.
If you have an Exotic slot open.
Deathbringer and Gjallarhorn are tough to beat.
If not, Palmyra-B and Red Herring can both be crafted and deal solid DPS.
If you need more DPS, consider using a Linear Fusion Rifle.
Return to Quick Links
Locate Savathun’s Secrets
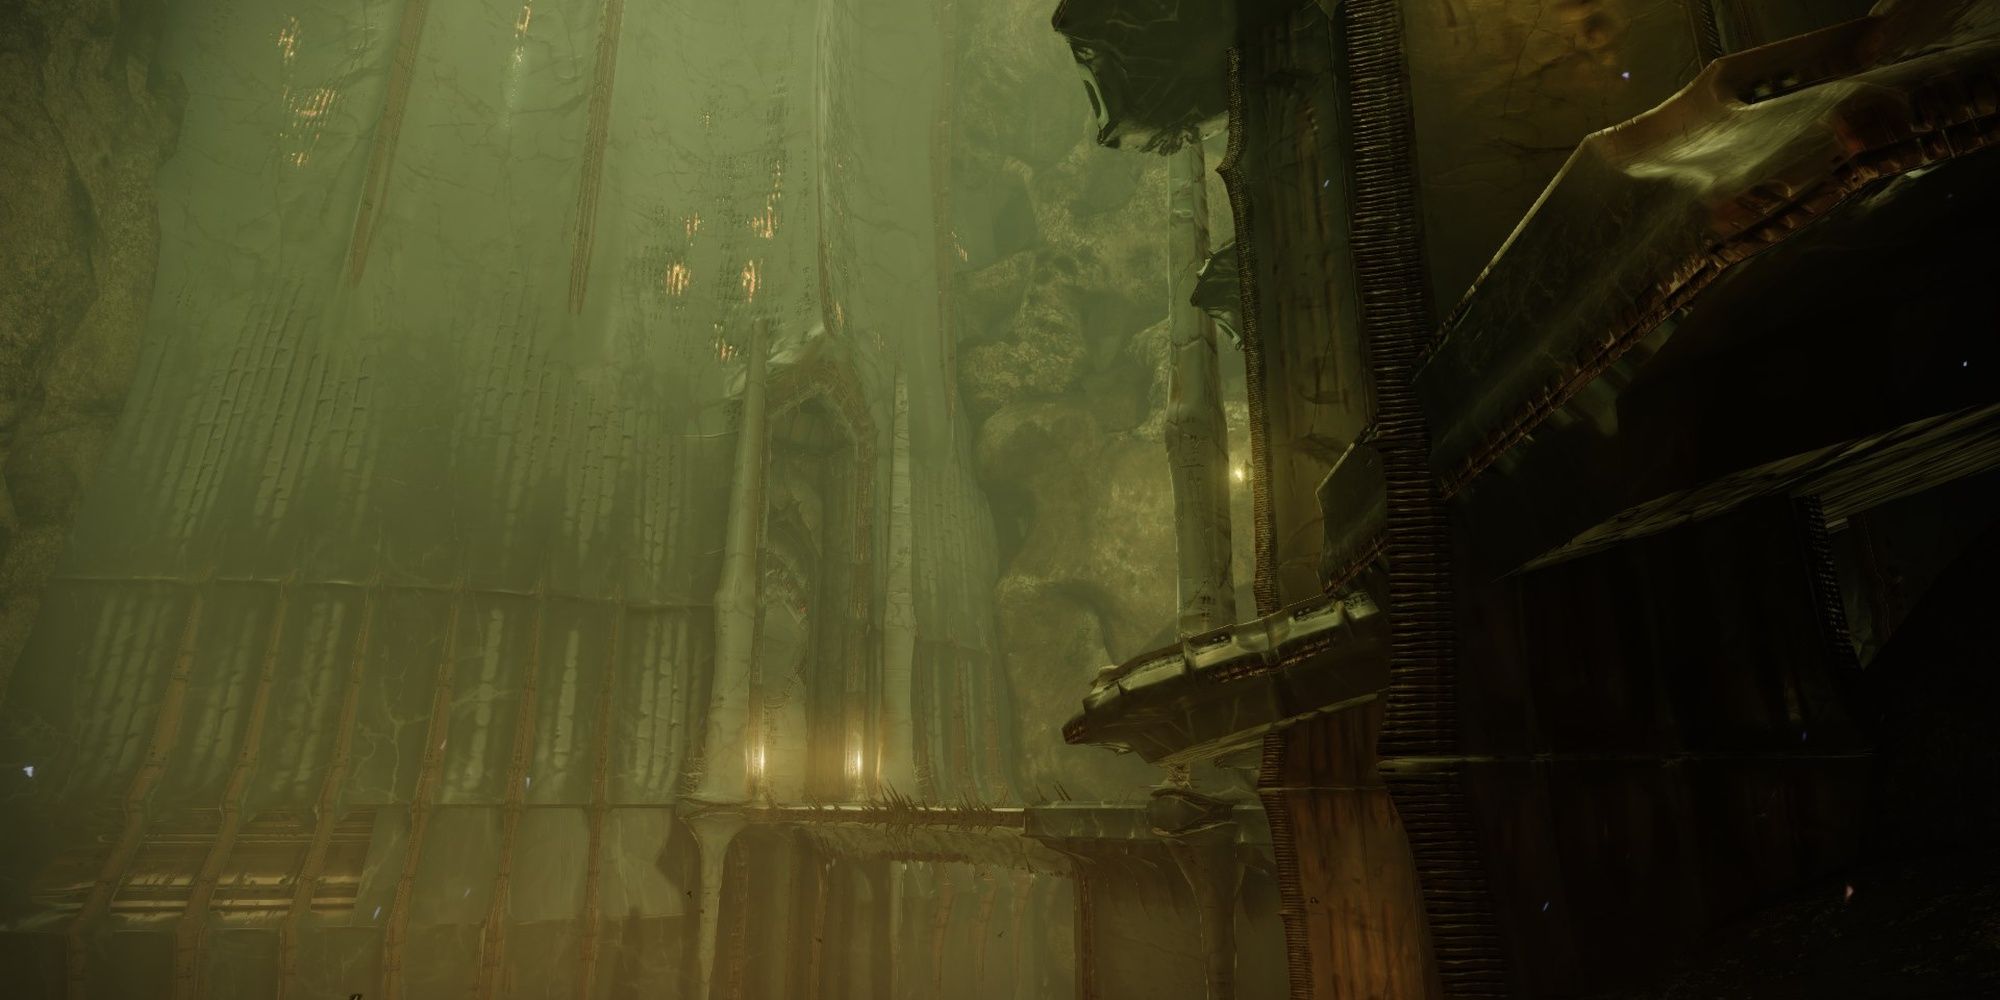
You’ll spawn just outside a heavily-fortified cave.
Make your way towards the cave, sticking to cover on your way down.
Beyond the traditional Acolyte fodder enemies, you’ll have to kill aLucent Lightbearer and Shriekerto proceed.
Kill the Shrieker first, then work on the Acolytes while keeping your distance from the Light-wielding Hive.

This Lightbearer is a Wizard, utilizing the Stormtrance Super, Lightning Grenades, and Healing Rifts.
If the Wizard pops their Super, immediately find cover; donotfight them.
Despite having a short-range Super, Lucent Wizards won’t chase you.

Kill the Wizard, crush their Ghost, then proceed further into the cave.
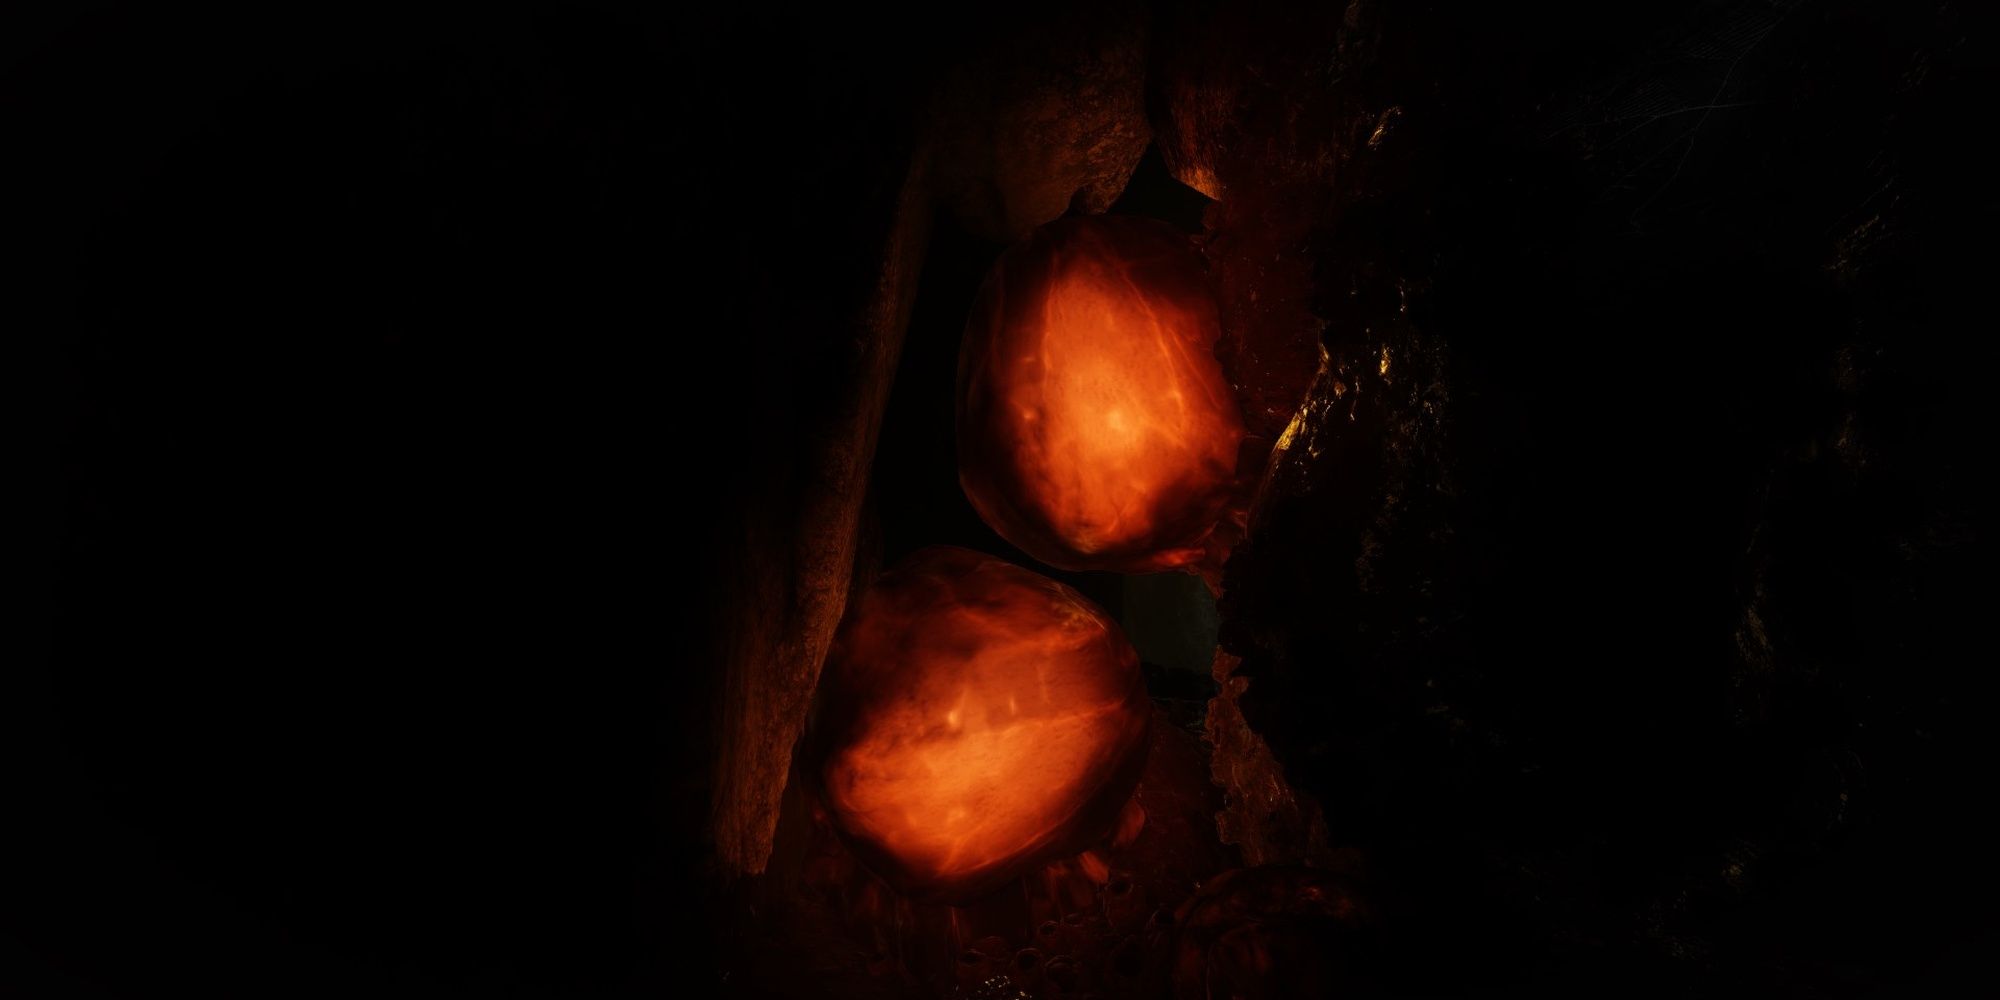
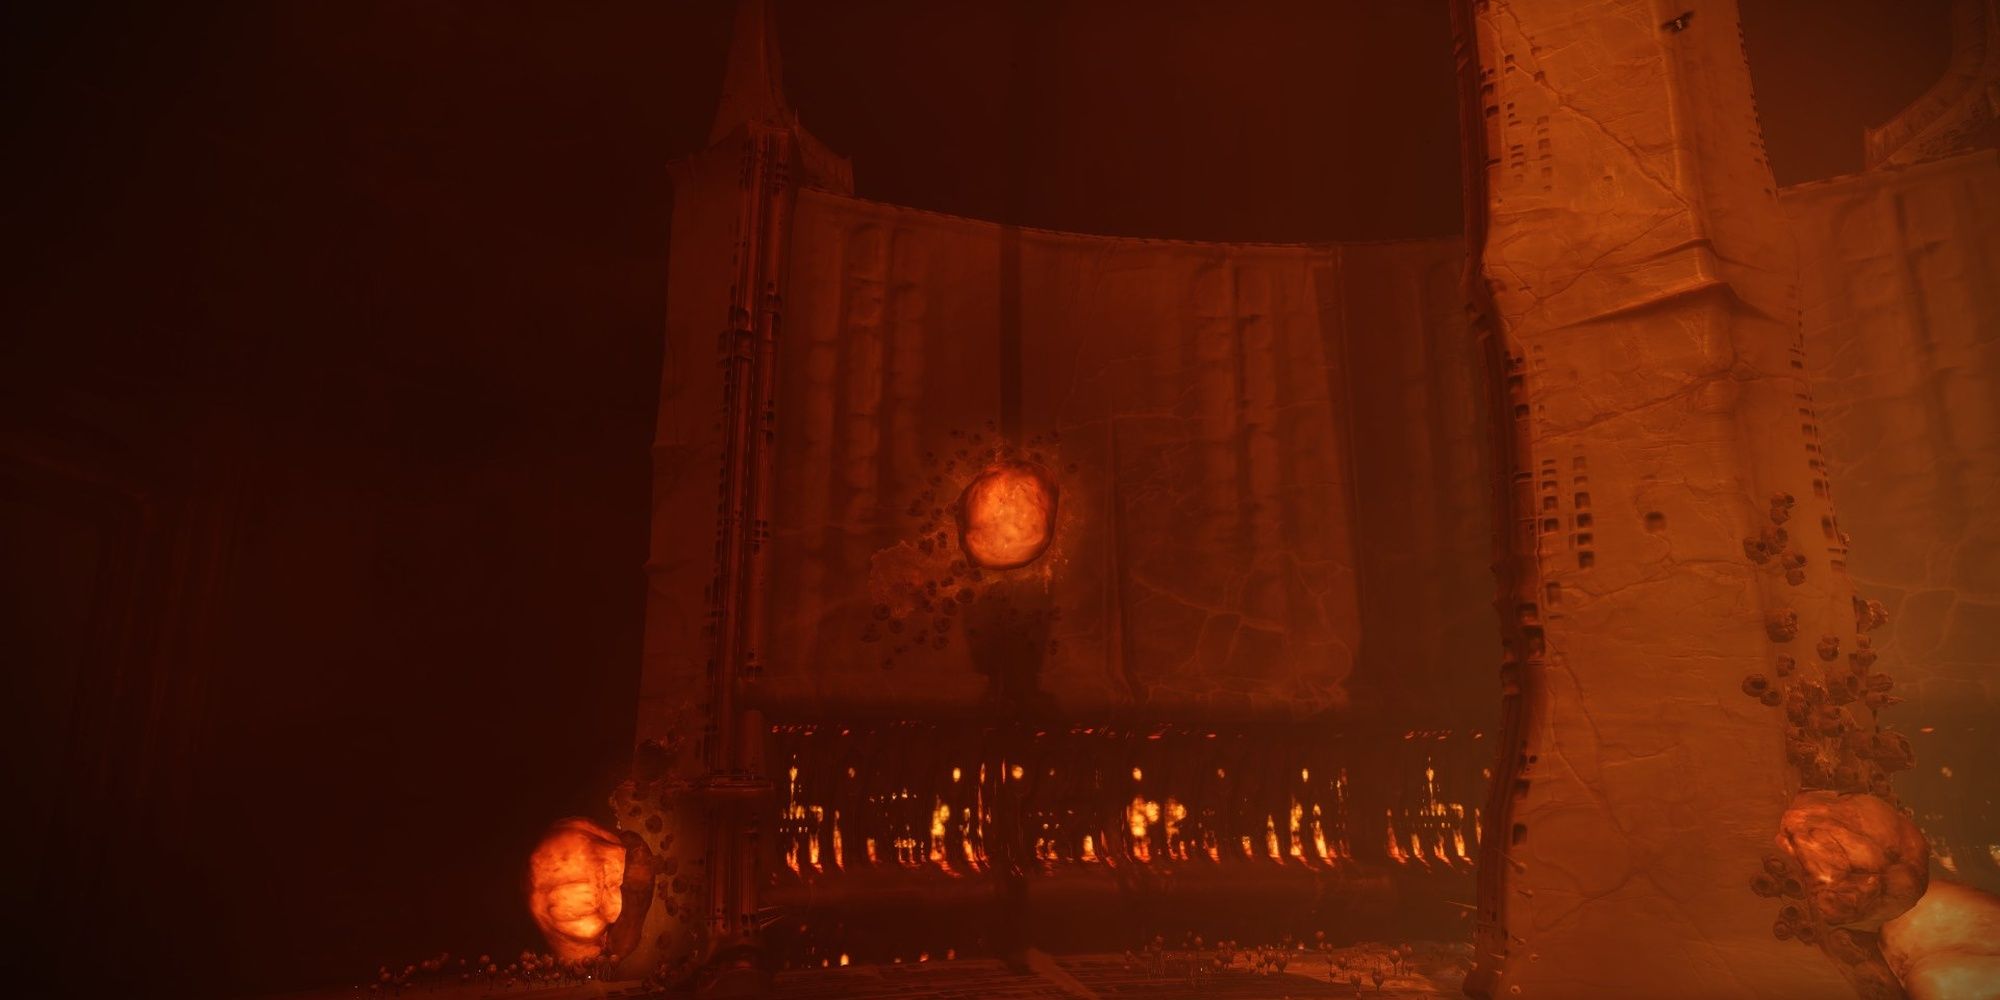
Most rooms will contain orange puss sacks that can be shot at, illuminating the area.
If you enter a dimly lit room, shoot any orange sacks on the wall.
They also blind nearby enemies when destroyed.
One of them will be a Chieftain with a Void shield.
With those enemies dealt with, aLucent Lightbearerwill spawn to the left or right of a nearby Hive pillar.
This Lightbearer is an Acolyte that shares the Hunter’s Middle Tree Gunslinger kit.
If you’re fast enough, you should be able to kill the first Lightbearer right as it spawns.
Pushing these enemies is tough on Legendary and suicide on Master, so take your time here.
Unlike the Lightbearing Wizard, the Hunter variants can’t recover their HP.
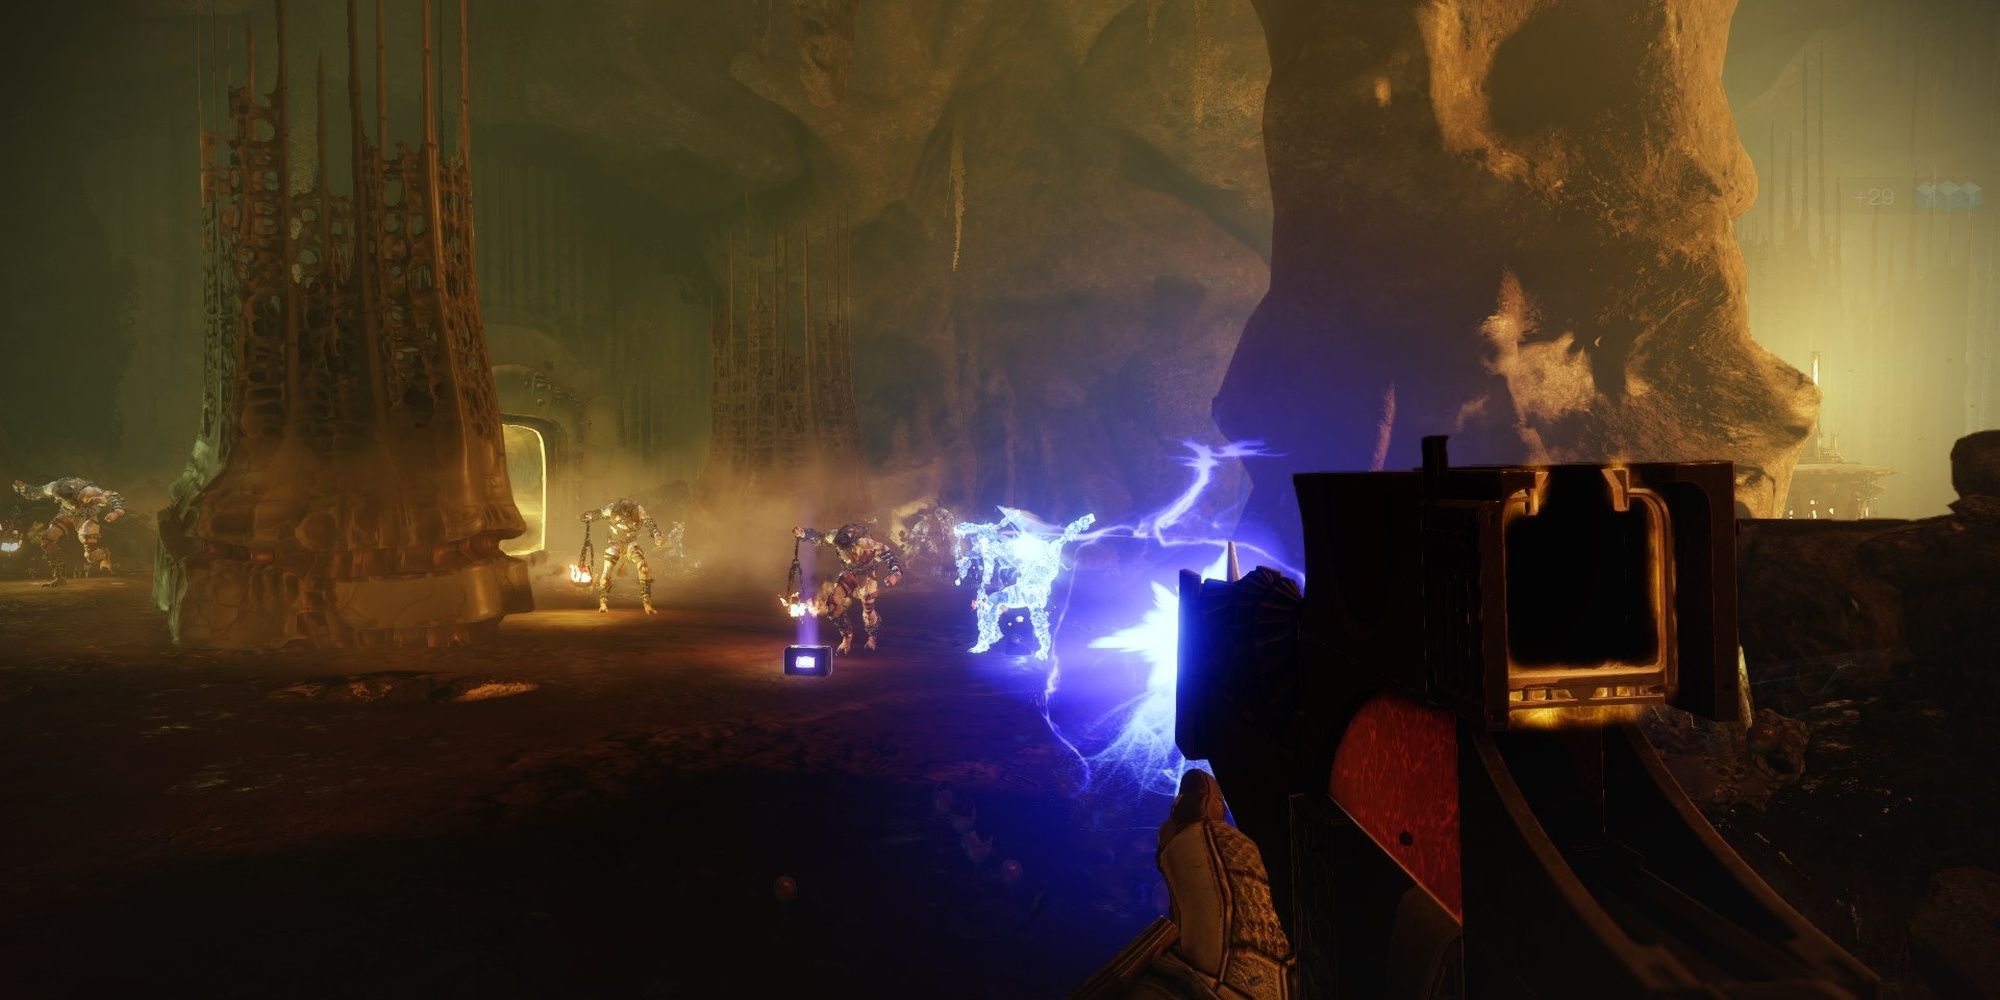
Once you’ve killed both Lightbearers, a swarm of Scorn will spawn directly across from you.
On Master, this wave contains anOverload ChieftainandUnstoppable Abomination.
The Legendary version only has the standard Chieftain and Abomination.
You’ll want to deal with the Chieftain first, stunning the Abomination beforehand.
A few melee Scorn will push towards you, but they’re fairly weak.
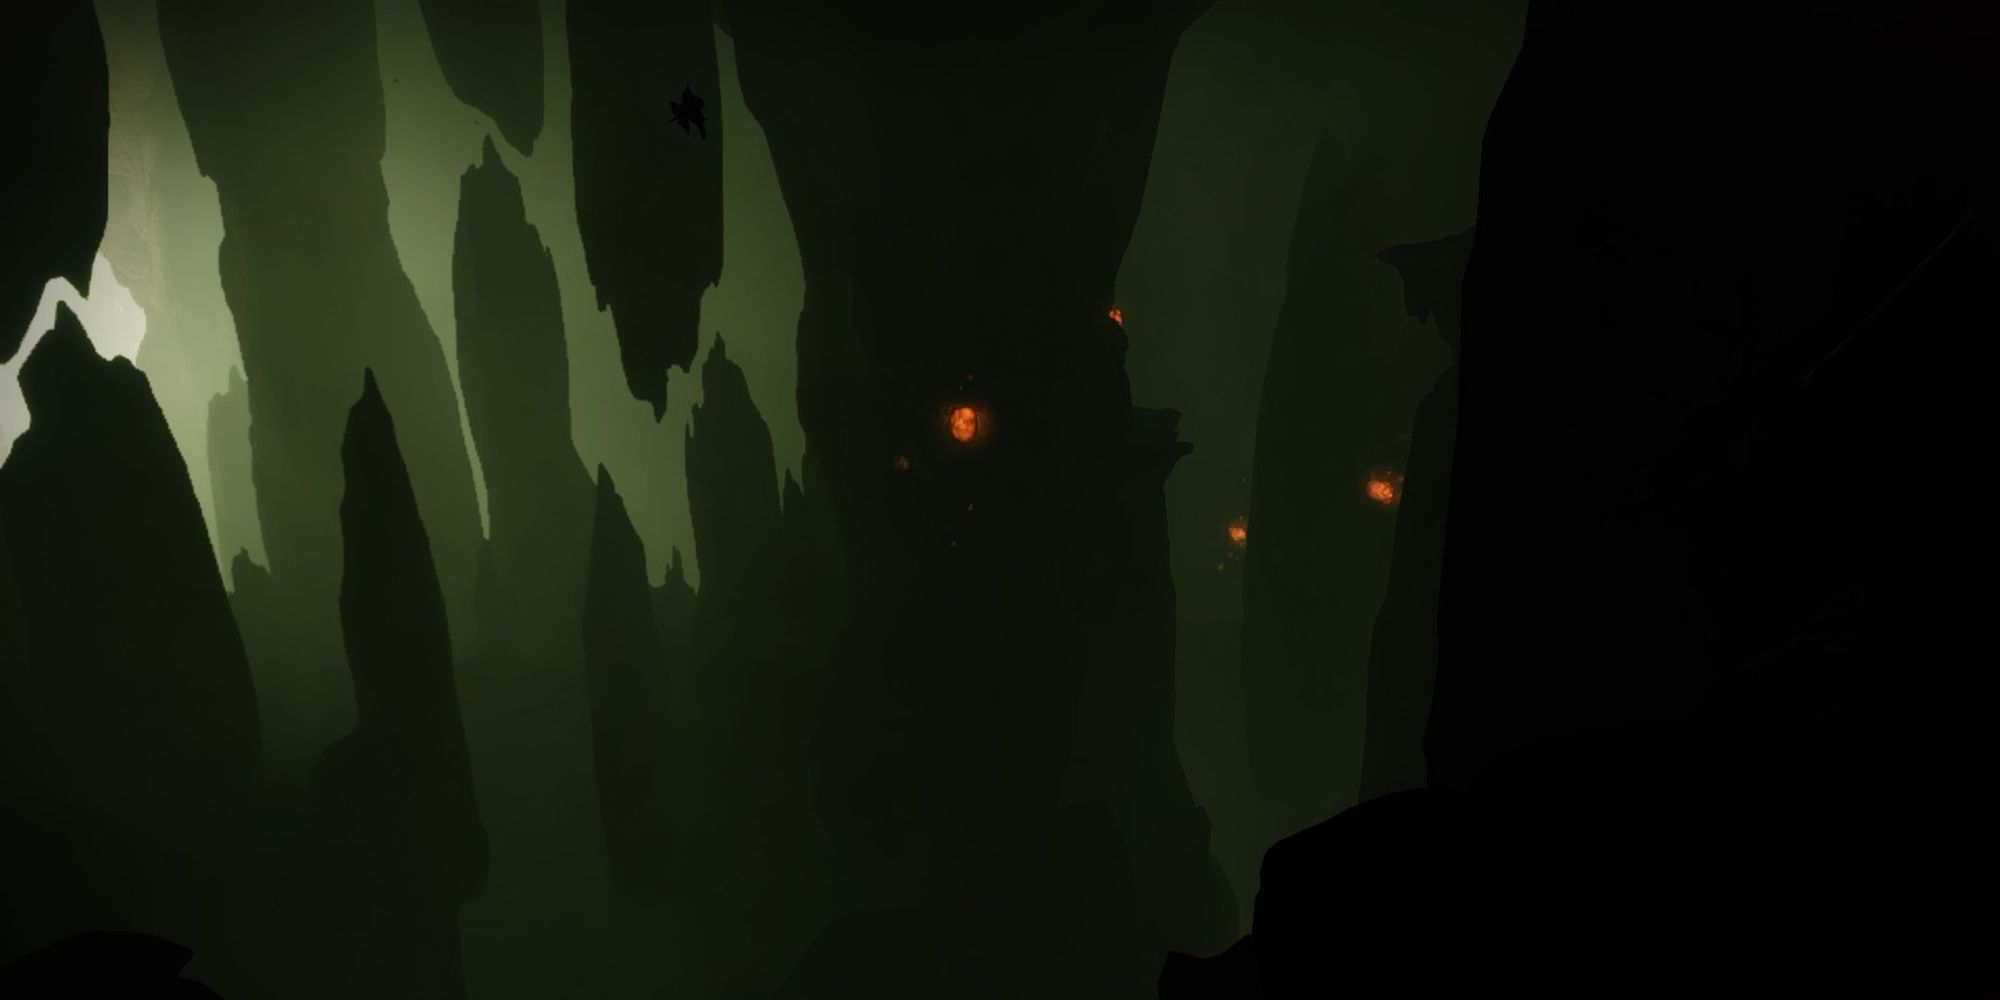
Locate Sagira
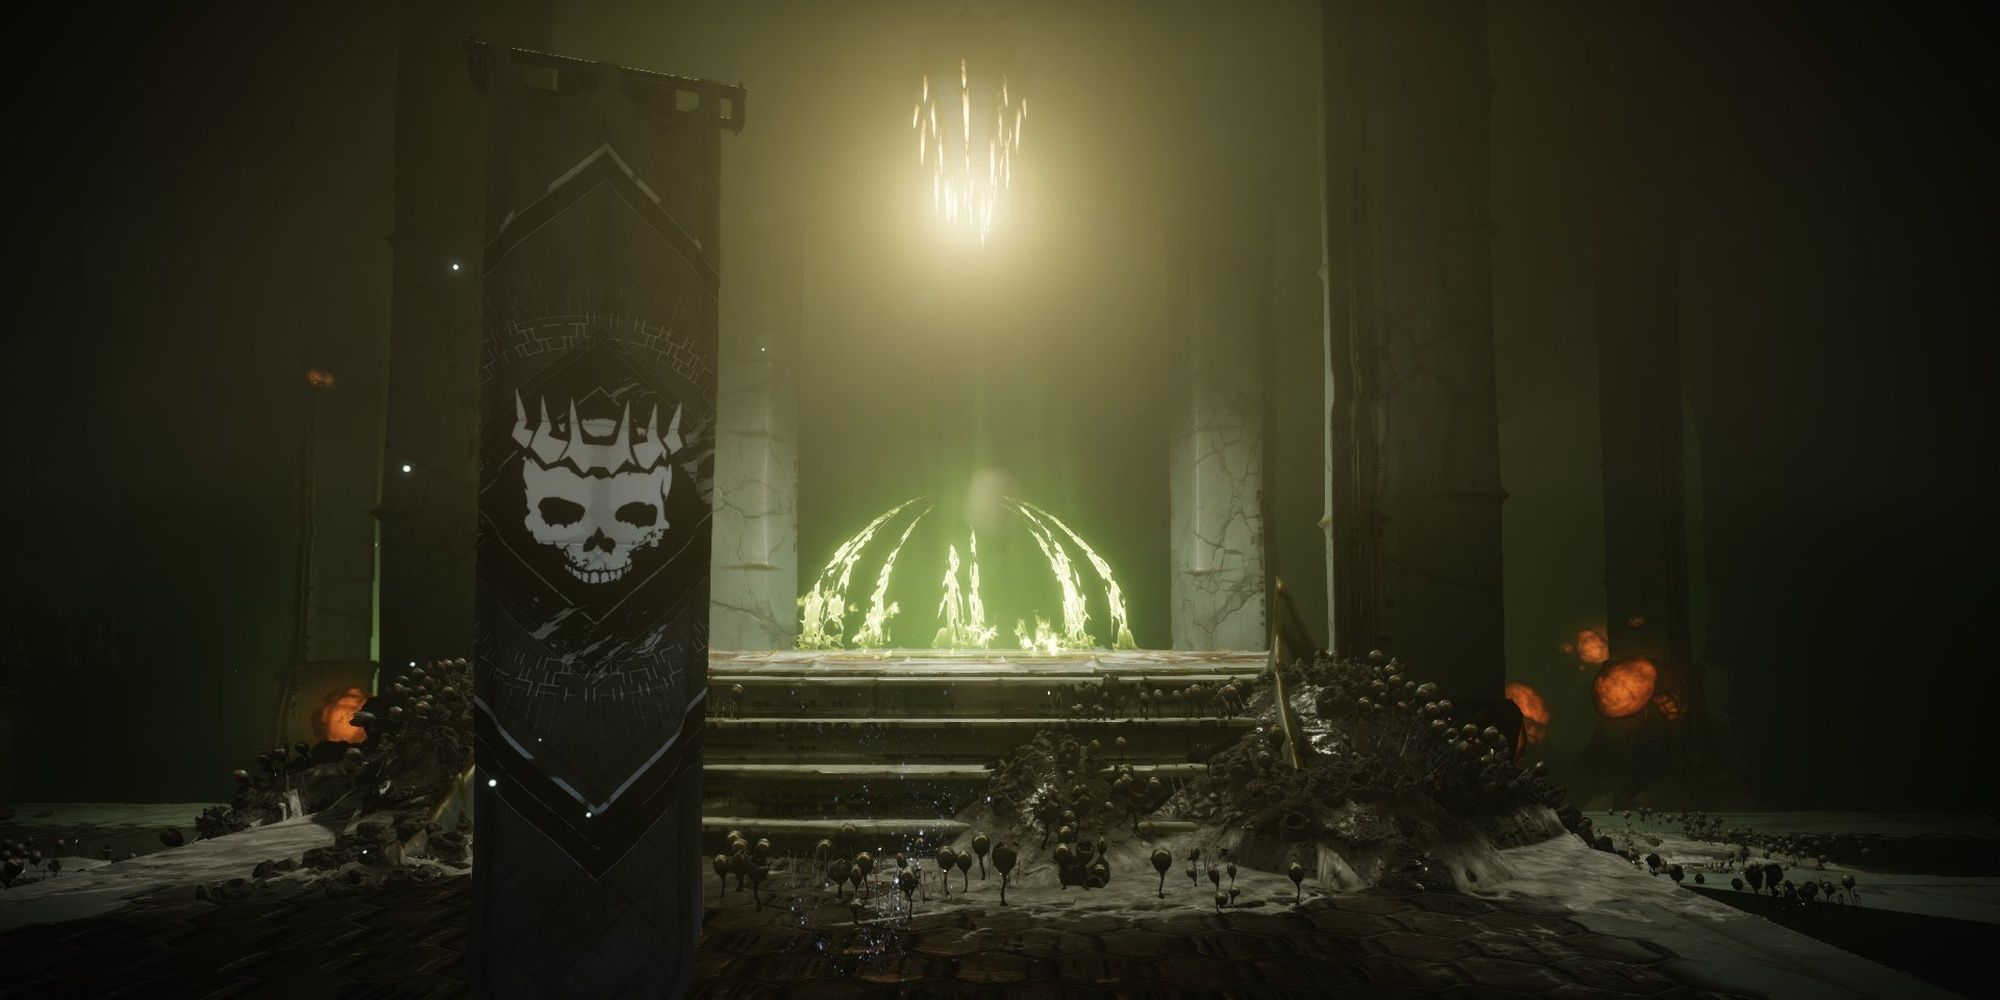
The last encounter will lead you into a dimly-lit cavern.
Like before, shoot the orange puss sacks lining the walls to light the area.
You’ll want to slowly make your way down.
Not even Sniper or Void Damage Resistance can save you here.
When they’re dealt with, follow the path outside.
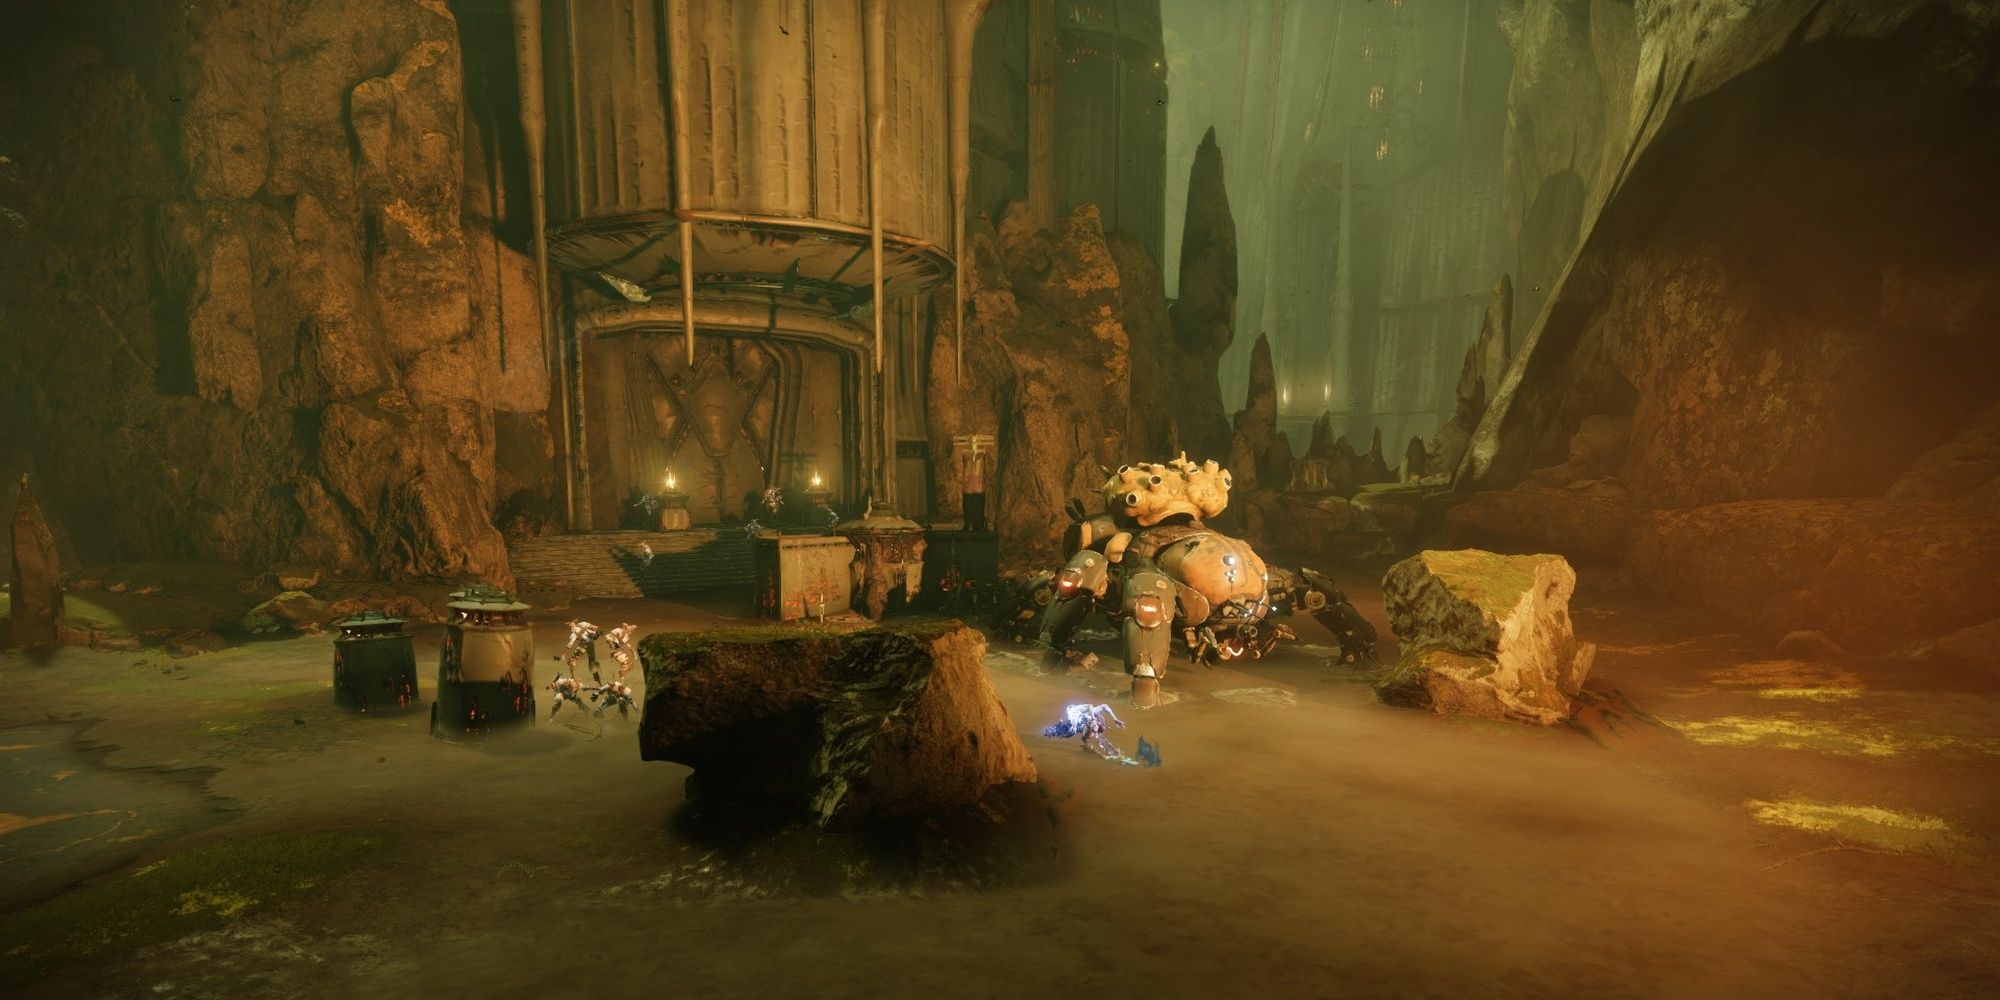
Scorn Walker Encounter
Destroy the Scorn Walker and accompanying enemies.
You’ll have to destroy a Scorn Walker and small Scorn army to proceed.
If you give a shot to move further up, you’ll quickly die.
Legendary only has a default Chieftain.
Work on killing as many adds as possible before dealing with the walker.
Anti-Barrier weapons can pierce the Scorn Walker’s shield.
The Scorn Walker works the same as its Fallen counterpart.
There aren’t any Champions or tough enemies in this wave, so take your time.
wipe the adds, break another leg, and finish off the walker.
For those on Master, now is a great opportunity to deal with the Overload Champion.
Make your way inside the building when ready.
Arguably more dangerous are the Scorn snipers in this room.
Take care of the Chieftain once the adds are dealt with.
At the top is a small arena that’s guarded by even more Scorn.
As with the previous door, a Chieftain is guarding each one, so have your Heavy ready.
The Master variant replaces the Chieftains withOverload Chieftains, and anUnstoppable Abominationis also present.
When ready, drop down and immediately head to your left.
You’ll need to deal with an Abomination and Chieftain here, so use your Super.
If you’re able to’t kill them fast enough, you’ll need to retreat and find cover.
When you’ve cleared one side, more adds will spawn.
A grenade will make short work of them.
Kill the second Chieftain, break the crystals, then drop into the well.
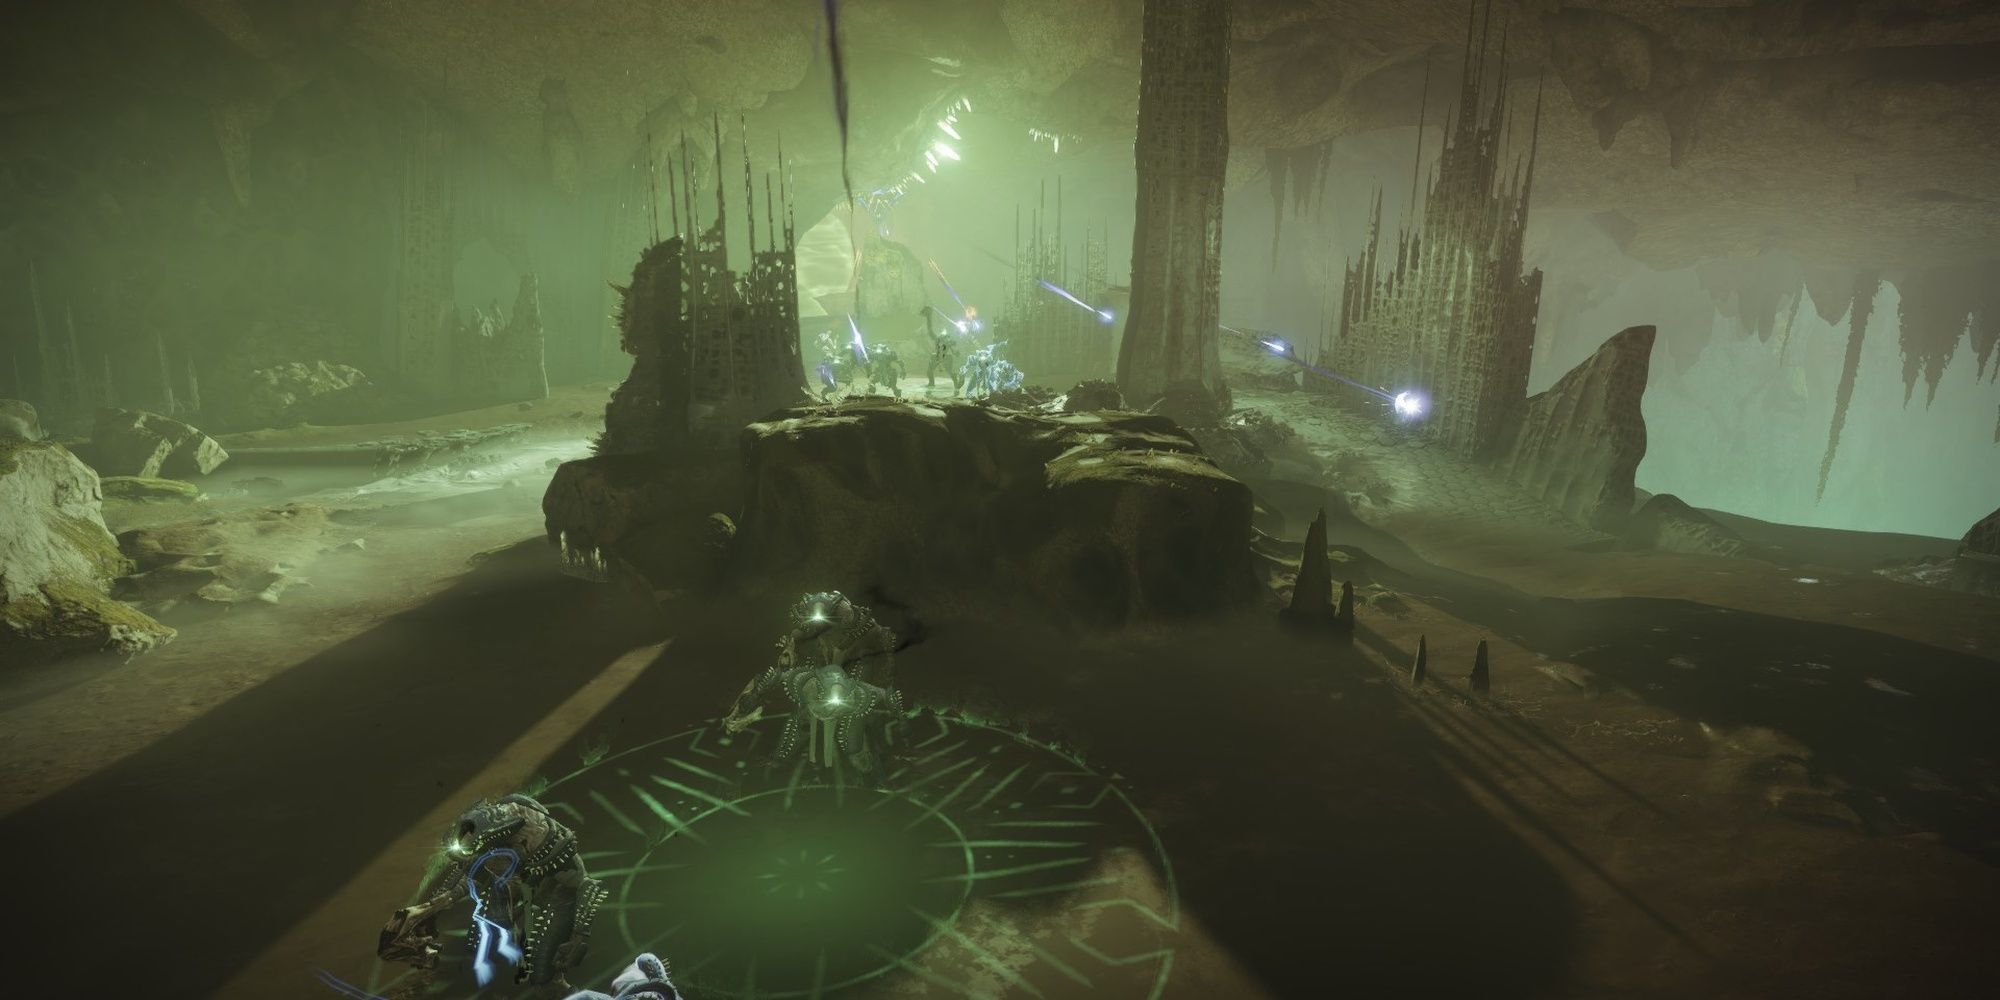
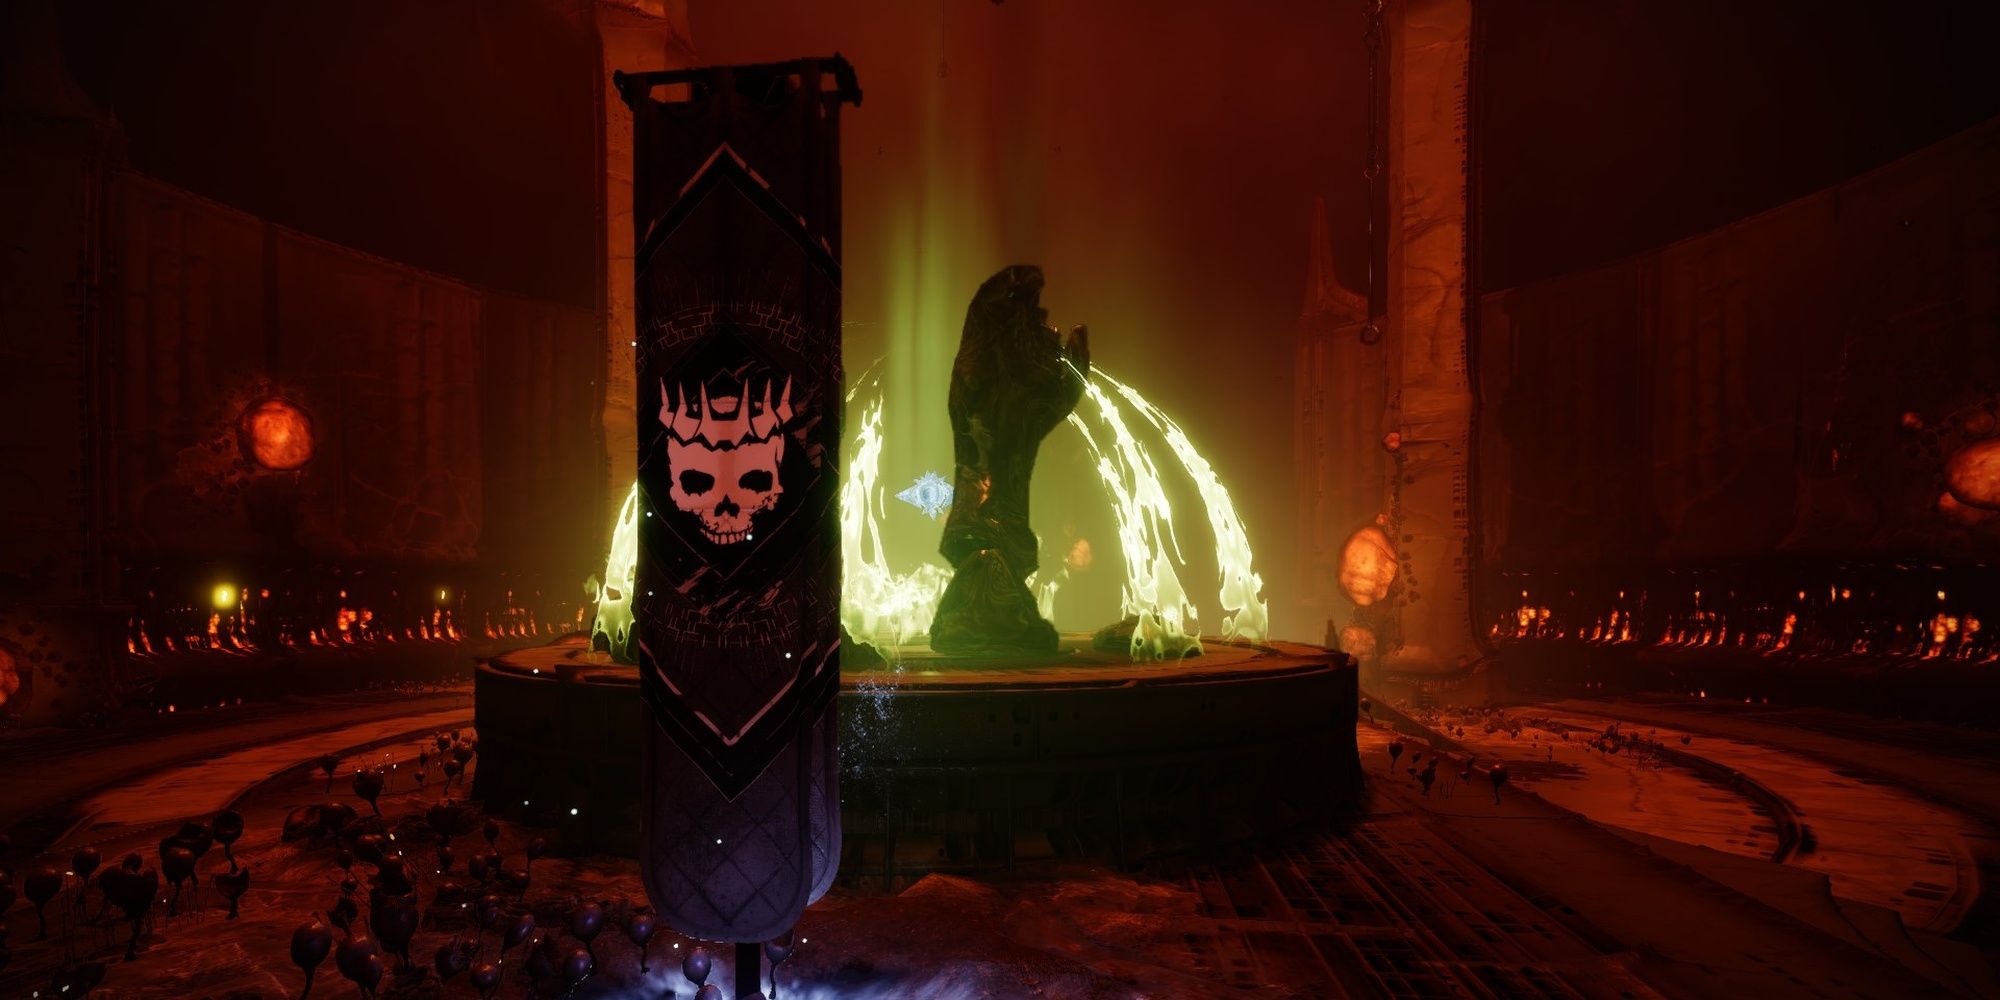
Lower The Scorn Baron’s Shield
Lower the Baron’s shield.
Around the arena are strange Hive runes, similar to the Pit of Heresy dungeon.
Your goal is to enter each room, kill a Chieftain, then break a crystal.
There are three rooms in total you’ll need to clear, each containing a Chieftain and multiple adds.
On Master, these Chieftains areOverload Chieftains, so have your Anti-Overload weapon ready.
The only noteworthy thing about these rooms is the sheer number of enemies in them.
One rune has Screebs that will charge you, so it’s best to keep your distance.
Destroy all three crystals, then return to the Baron.
It’ll teleport away to the floor under you.
Drop down and follow the path when you’re ready.
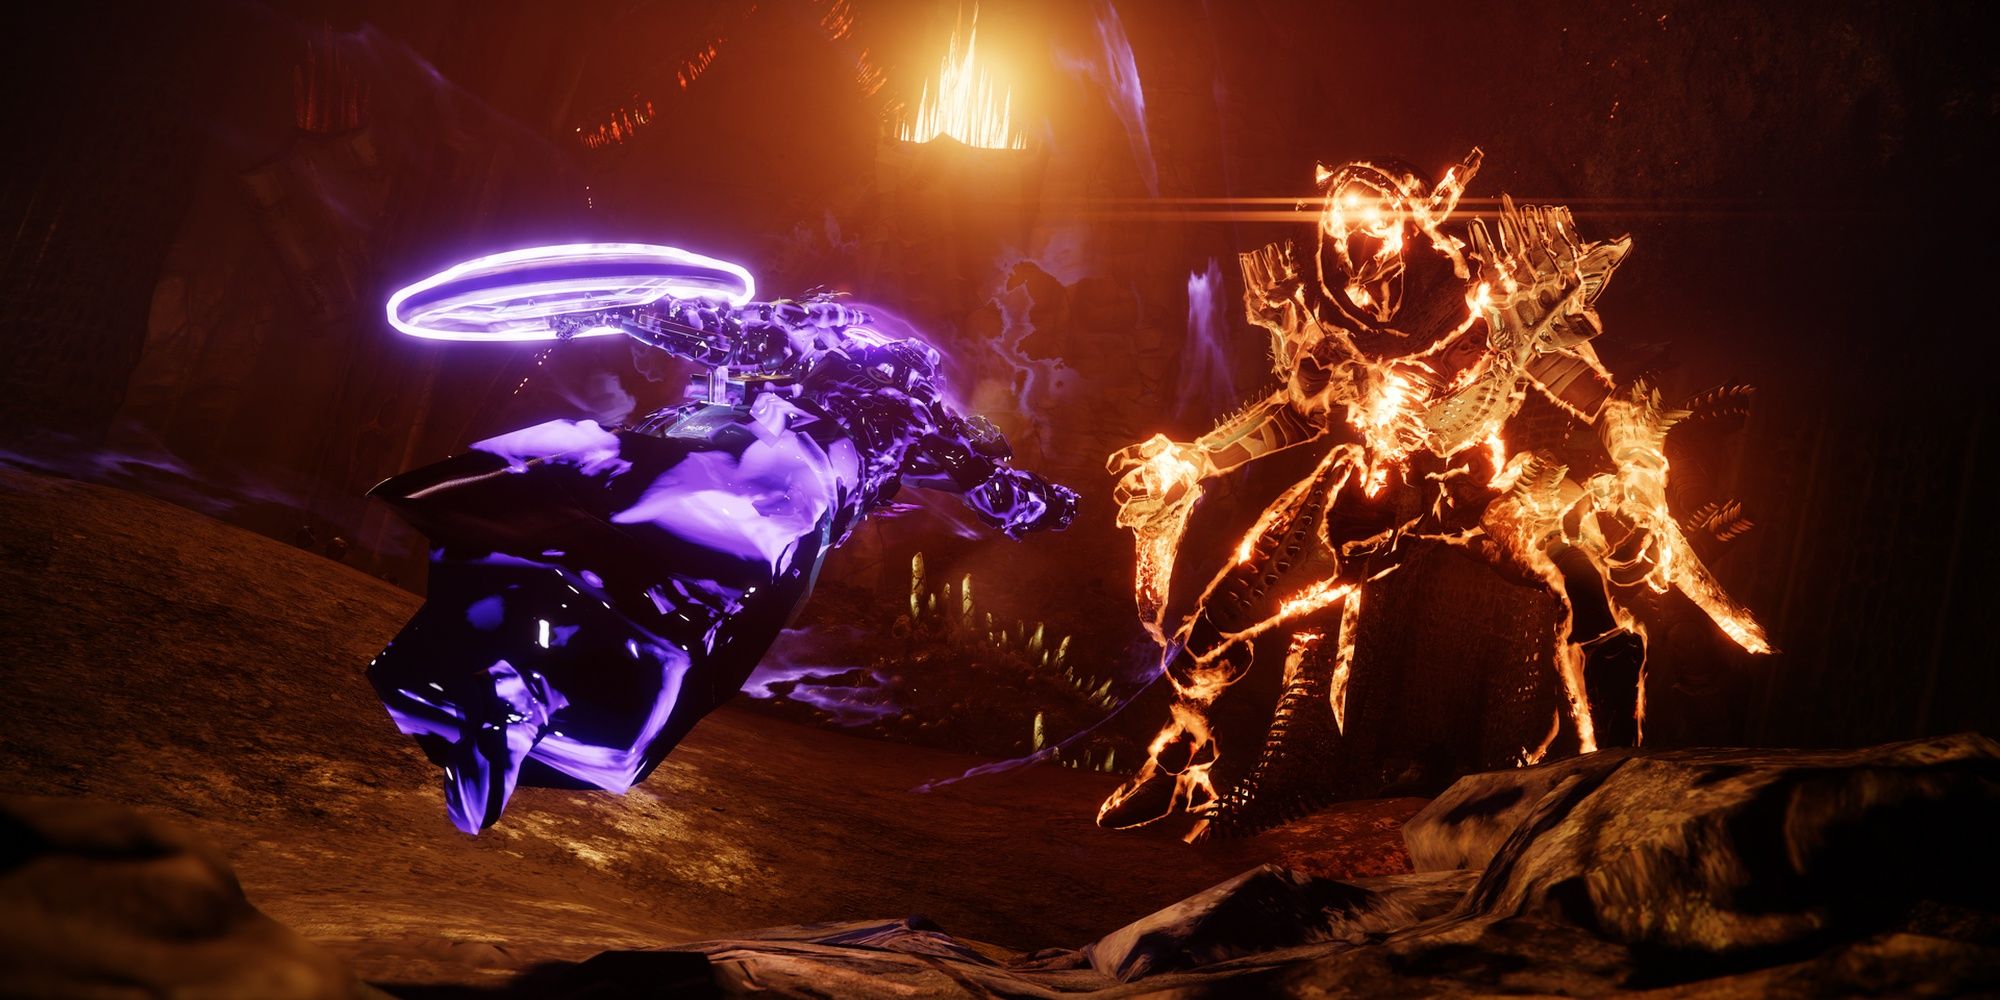
Defeat Brutiks, Lightbane
Defeat the Scorn Baron by destroying nearby crystals.
Baron, Chieftains
Master:Arc,Void
This encounter is all about patience.
Right as you drop down, the Baron will spawn alongside a Chieftain.
You must kill the Chieftain to drop the shield of a nearby crystal.
Linear Fusion Rifles and Rocket Launchers work great for quickly damaging him.
you might cheese the DPS phase by standing atop orange sacks scattered across the arena.
Stand on one, deal some damage, then reposition to another sack.
Repeat until you’ve phased the boss.
Once you’ve removed a third of his total HP, he’ll become immune again.
Look for the floating Hive runes to find which rooms you should probably clear.
Each crystal is guarded by a Scorn Chieftain major, upgraded to anOverload Chieftainon Master difficulty.
The Chieftain is always at the backend of the room.
Break all three crystals, DPS the boss, and repeat one more time.
Once the Baron is slain, the mission will end.
As for killing the boss:
Next:Destiny 2: The Witch Queen Complete Guide And Walkthrough
