Quick Links
The Cunning is the sixth mission in theDestiny 2: The Witch Queencampaign.
Chaff
Radar is disabled.
Galvanized
Combatants have more health and are more difficult to stun.
Take increased damage from melee.
Master
1,580
Scorched Earth
Enemies throw grenades significantly more often.
Champion Foes
You will face Overload and Unstoppable Champions.
Champions: Mob
This mode contains additional Champions.
Equipment Locked
You will not be able to change your equipment after this activity starts.
Match Game
Enemy shields are highly resistant to all unmatched elemental damage.

Famine
All ammunition drops are significantly reduced.
Shielded Foes
Arc, Solar, and Void shields are present.
Legendaryfeatures an onslaught of Void-shielded Chieftains and a rather tough miniboss.
You’ll want to bring a loadout that has good add-clearing potential or crowd control.
Melee units hit especially hard in this mission, so keep your distance.
Masterfeatures Overload and Unstoppable Scorn alongside the swarm of Chieftains you’d find on Legendary.
The miniboss in this mission can one-shot youunless you have a ton of damage resistance, so play cautiously.
A loadout that damages foes from long range is highly recommended.
Subclass
Hunter
Nightstalker
Titan
Bottom Tree Sunbreaker
Warlock
Voidwalker or Shadebinder
Huntersshould use Nightstalker for this mission.

Titansshould use Bottom Tree Sunbreaker for its Sunspots and Sun Warrior buff.
Killing enemies with your abilities will spawn a Sunspot that deals great damage over a small area.
The Scorn in this level spawn in a few predetermined areas, making Sunspots incredibly strong for killing adds.
If survivability is an issue, use Crest of Alpha Lupi.
Warlockscan’t go wrong with Voidwalker or Shadebinder.
Weapons
Le Monarque
Kills adds from a distance and can use Volatile Rounds.
Leviathan’s Breath
Counters Unstoppable Champions and deals great damage to Champions.
Linear Fusion Rifles
Great DPS from range, and it’s especially useful for the final boss.
Dead Messenger
Counters all shield types and has good add-clearing potential.
Le Monarqueis almost impossible to top for this mission.
Linear Fusion Riflesare especially useful for defeating the Ahamkara boss at the end of the level.
They deal great damage to majors as well.

It’s excellent at killing fodder enemies and breaking all shield types.
Hop on your Sparrow and make your way through the tunnels.
Shoot any spores on the walls to light the way.
Stick to the back of the room, eliminating the Chieftains from a distance.
On Master, this Chieftain is anOverloadvariant, so have your Overload counter ready.
Don’t push up too close, and always play near cover.
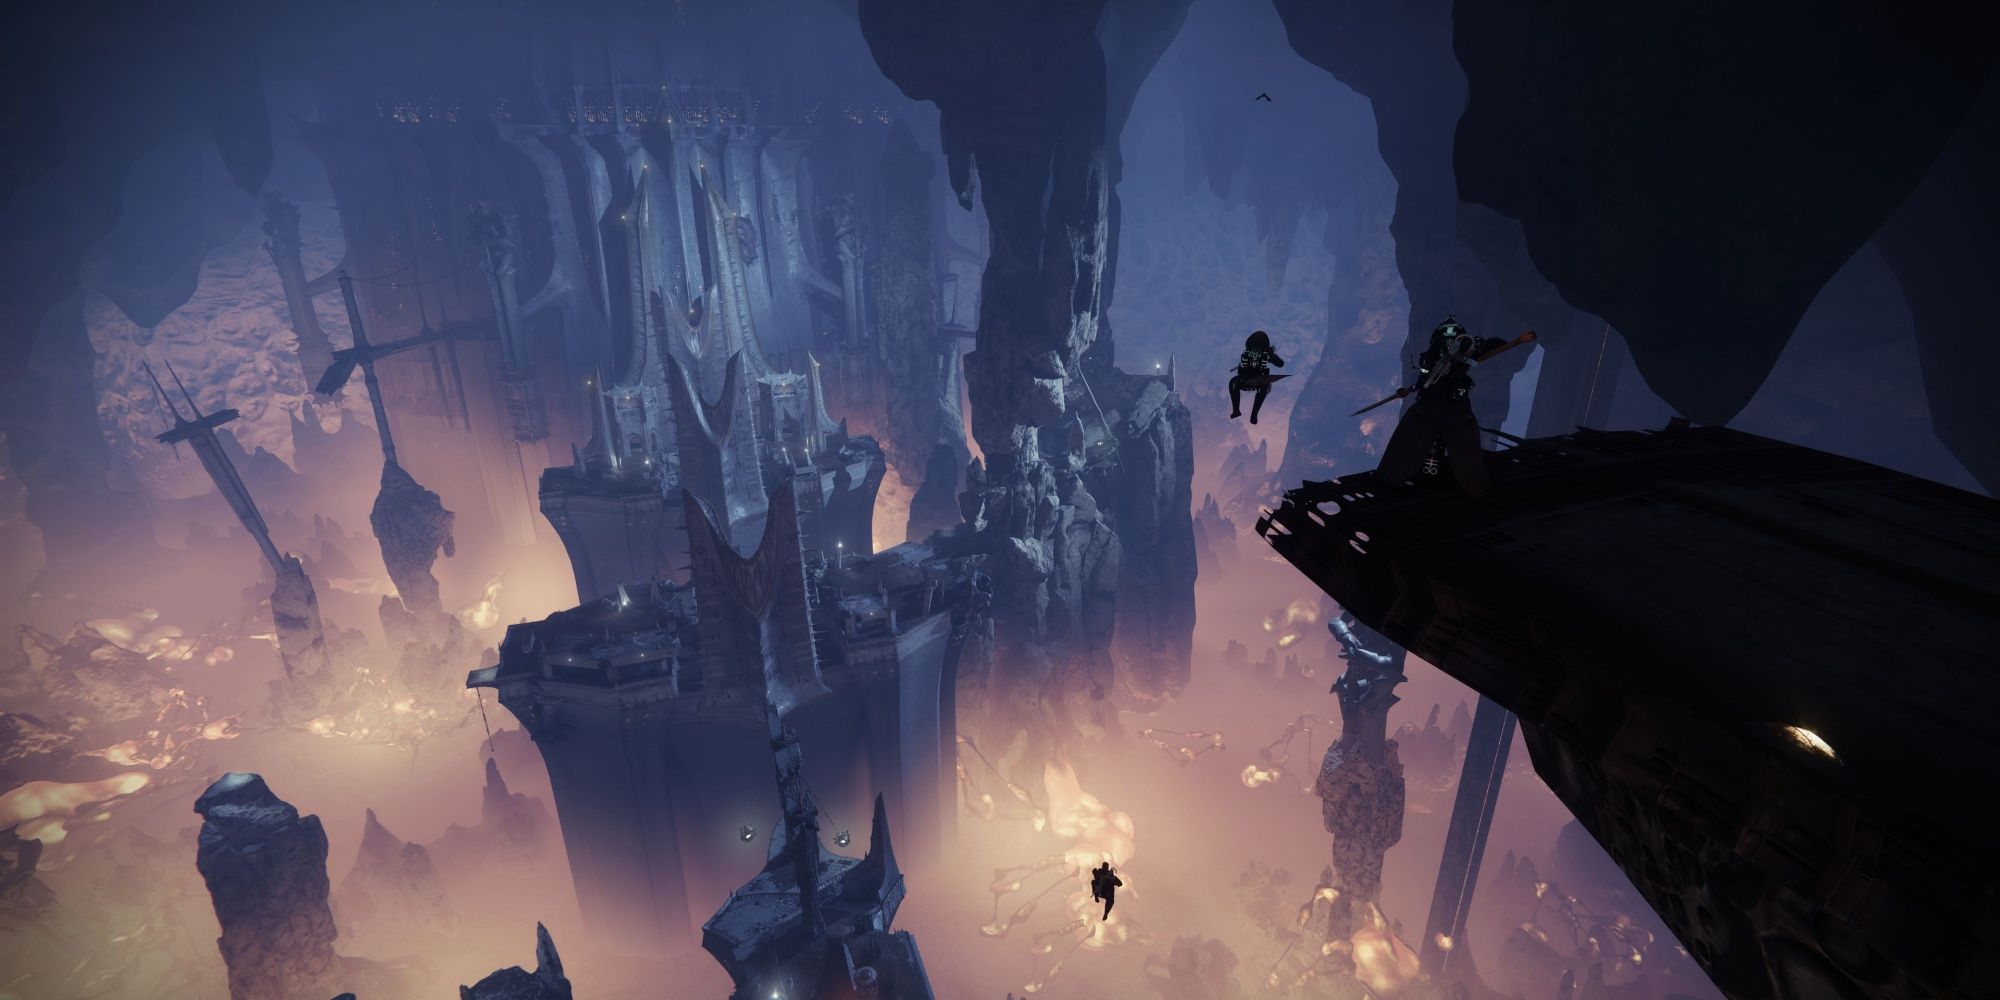
Descend Into Sathona’s Temple
Encounter Breakdown
Objective
Defeat the Scorn guarding the path.
When ready, take out the two snipers in front of you.
Jump onto the platform, then use your new vantage point to snipe away at the Scorn below.
Only push forward when most of the fodder enemies are dead.
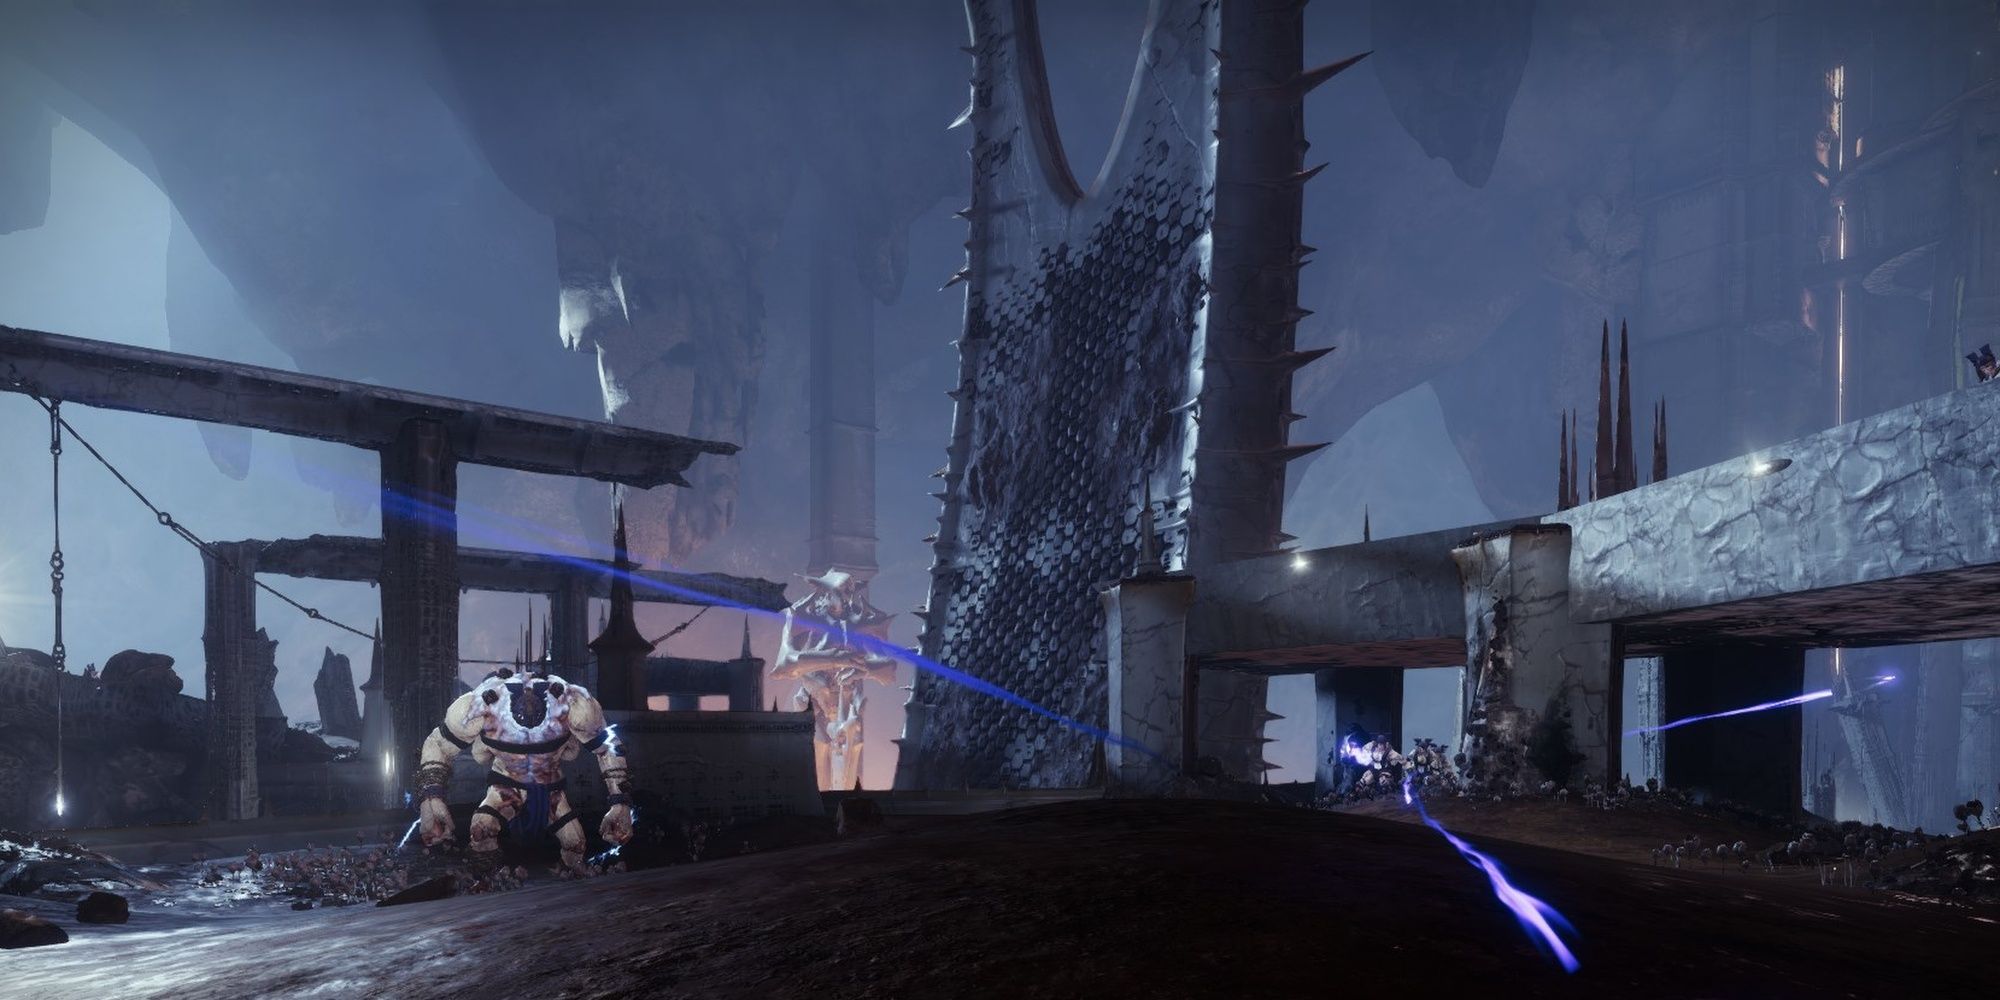
You’ll need to push through an onslaught of Scorn Raider, Chieftains, and Abominations.
There areOverload Chieftains and Unstoppable Abominationson Master difficulty, so keep that in mind.
You’ll find the tough units on platforms directly above the path.
Using your Super at this part is highly recommended.
If that doesn’t work, backtrack until you have enough distance to kill them all.
The end of the path houses an AbominationUnstoppableon Masterguarding a bridge.
Adds will begin spawning on the bridge shortly thereafter, including an Abomination orUnstoppablevariant on Master.
Lure the adds towards you before doing anything, separating them from the Abomination.
If you haven’t used your Super yet, do so now.
Grenades work well too.
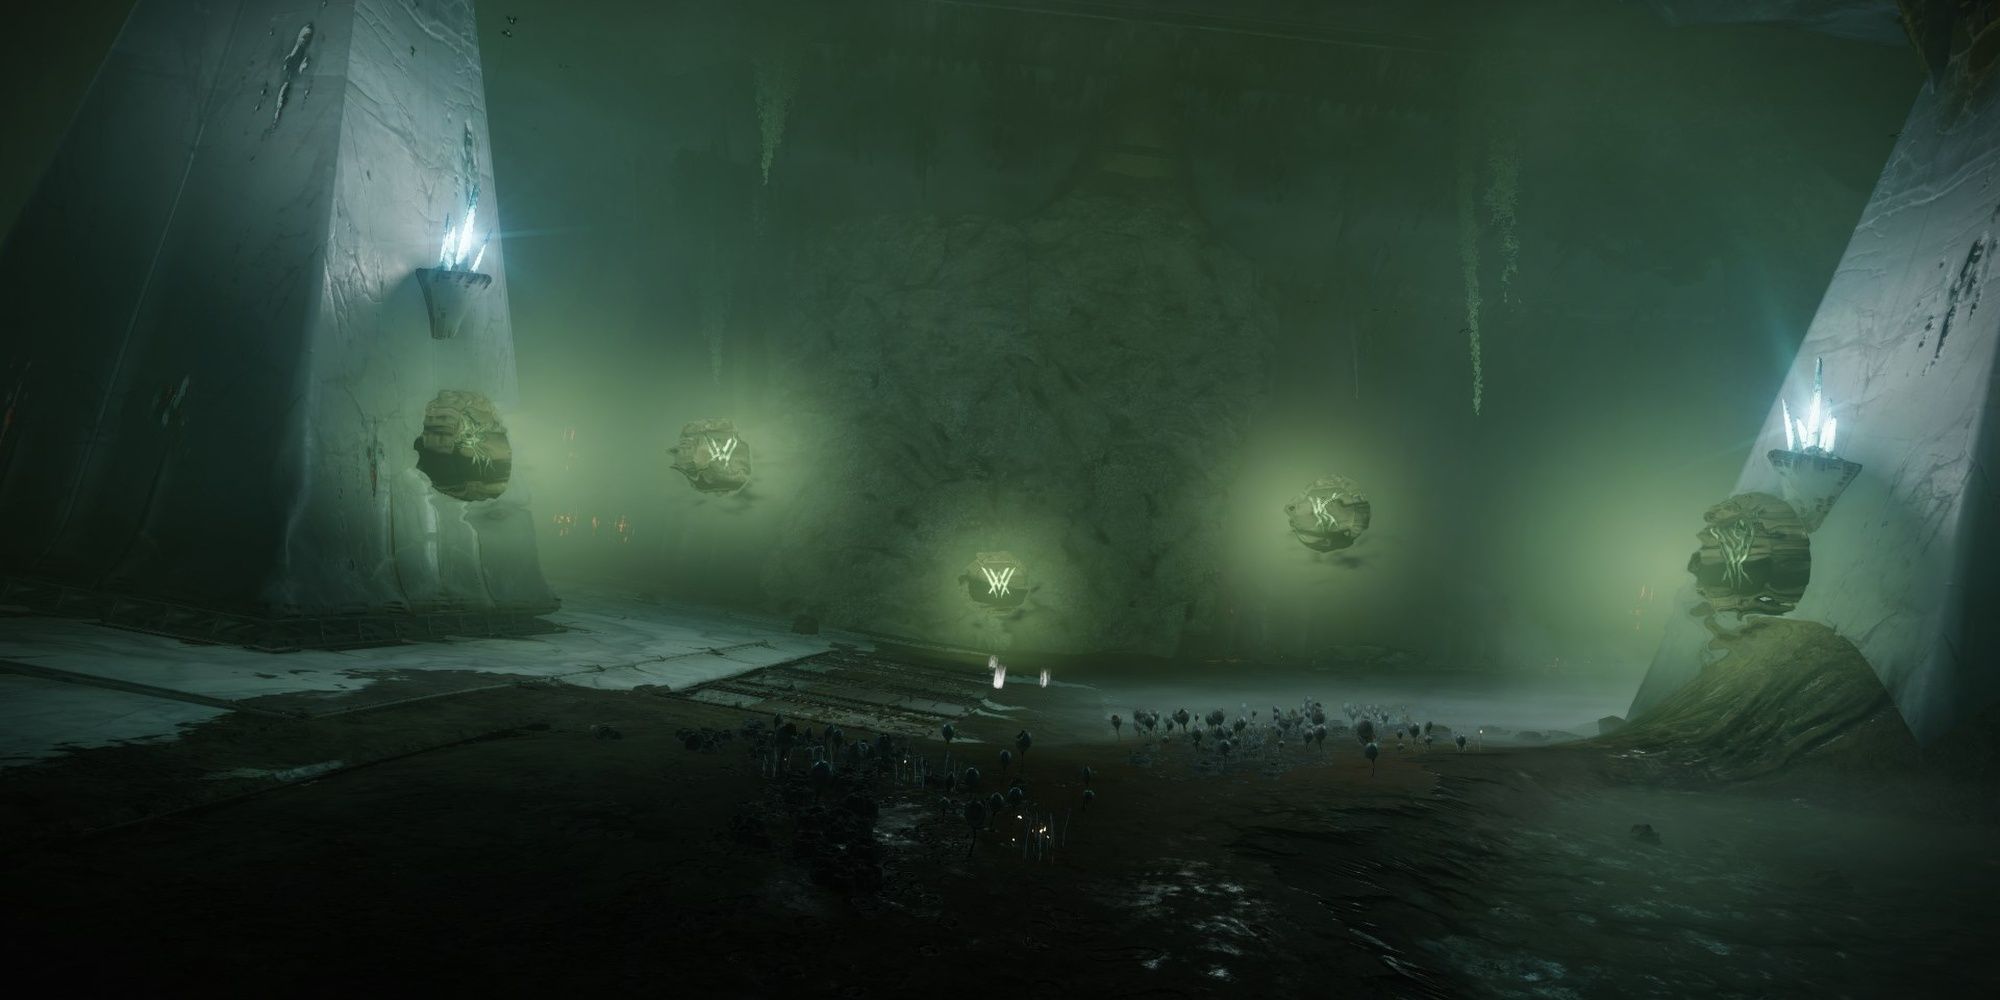
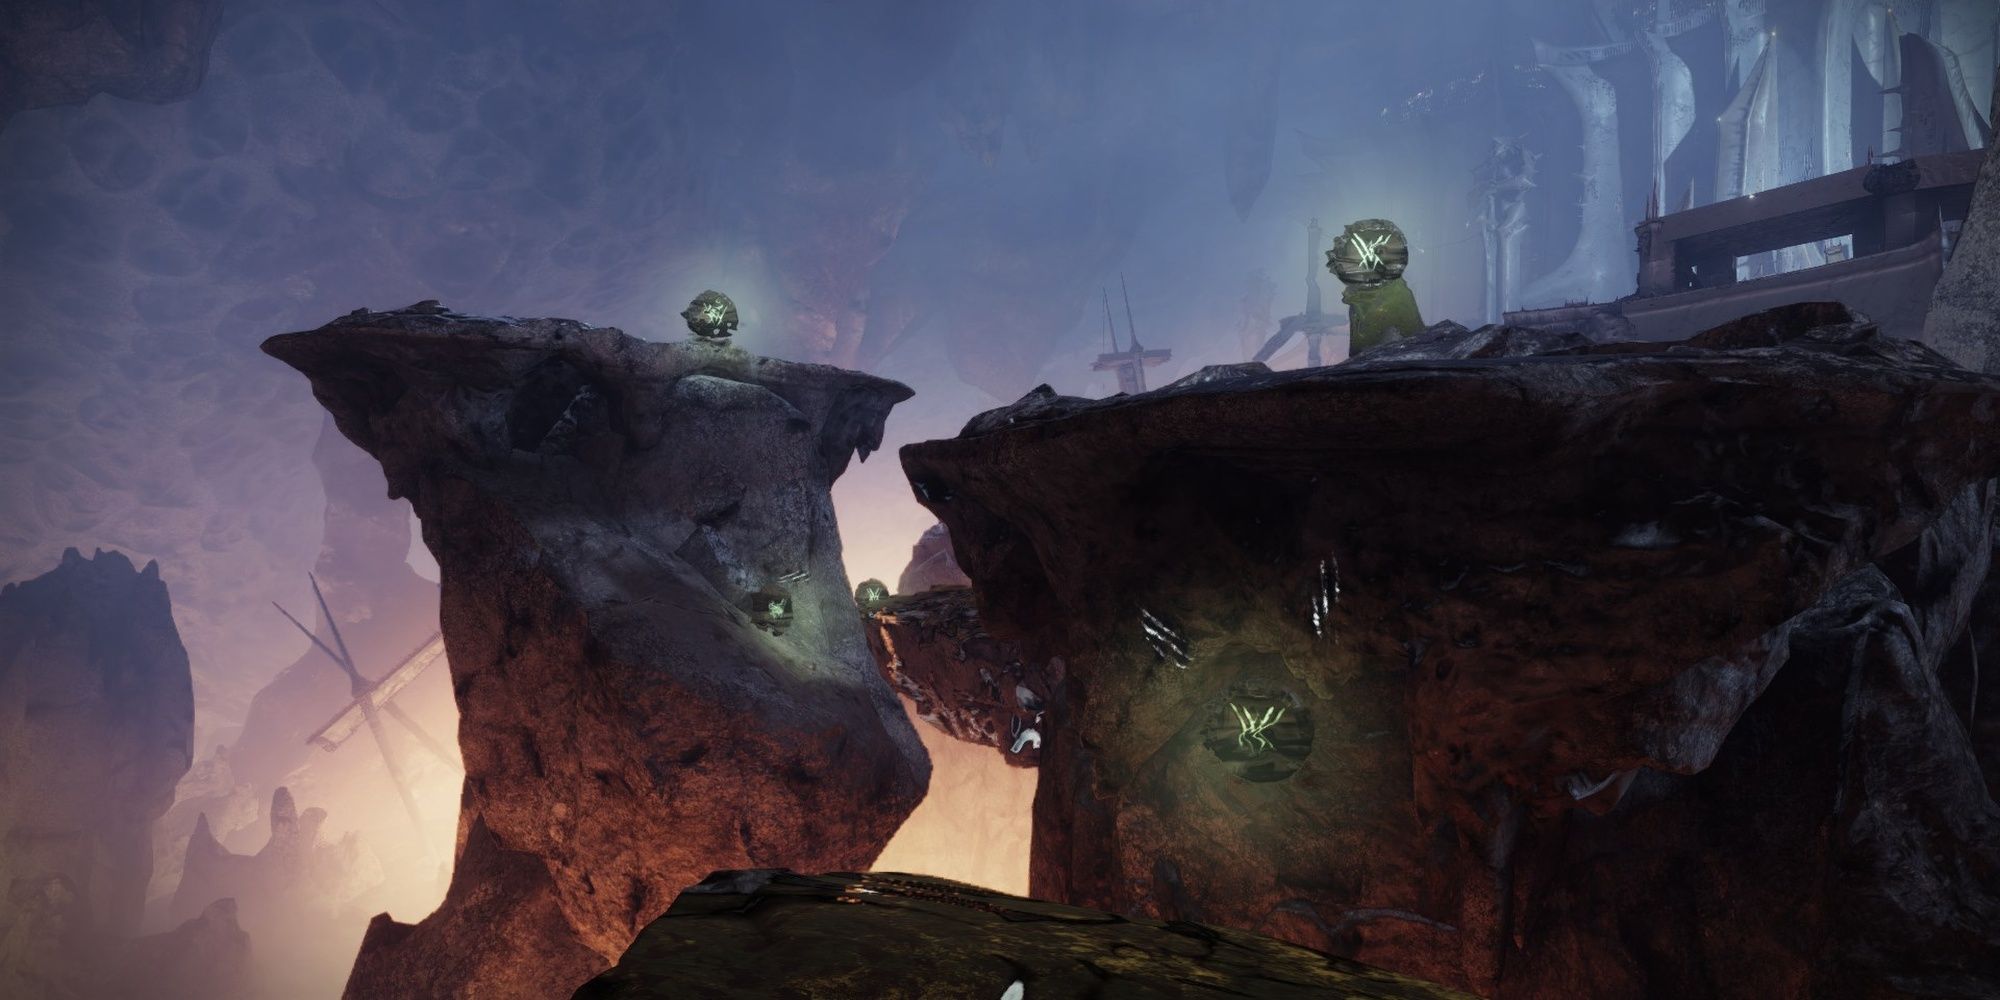
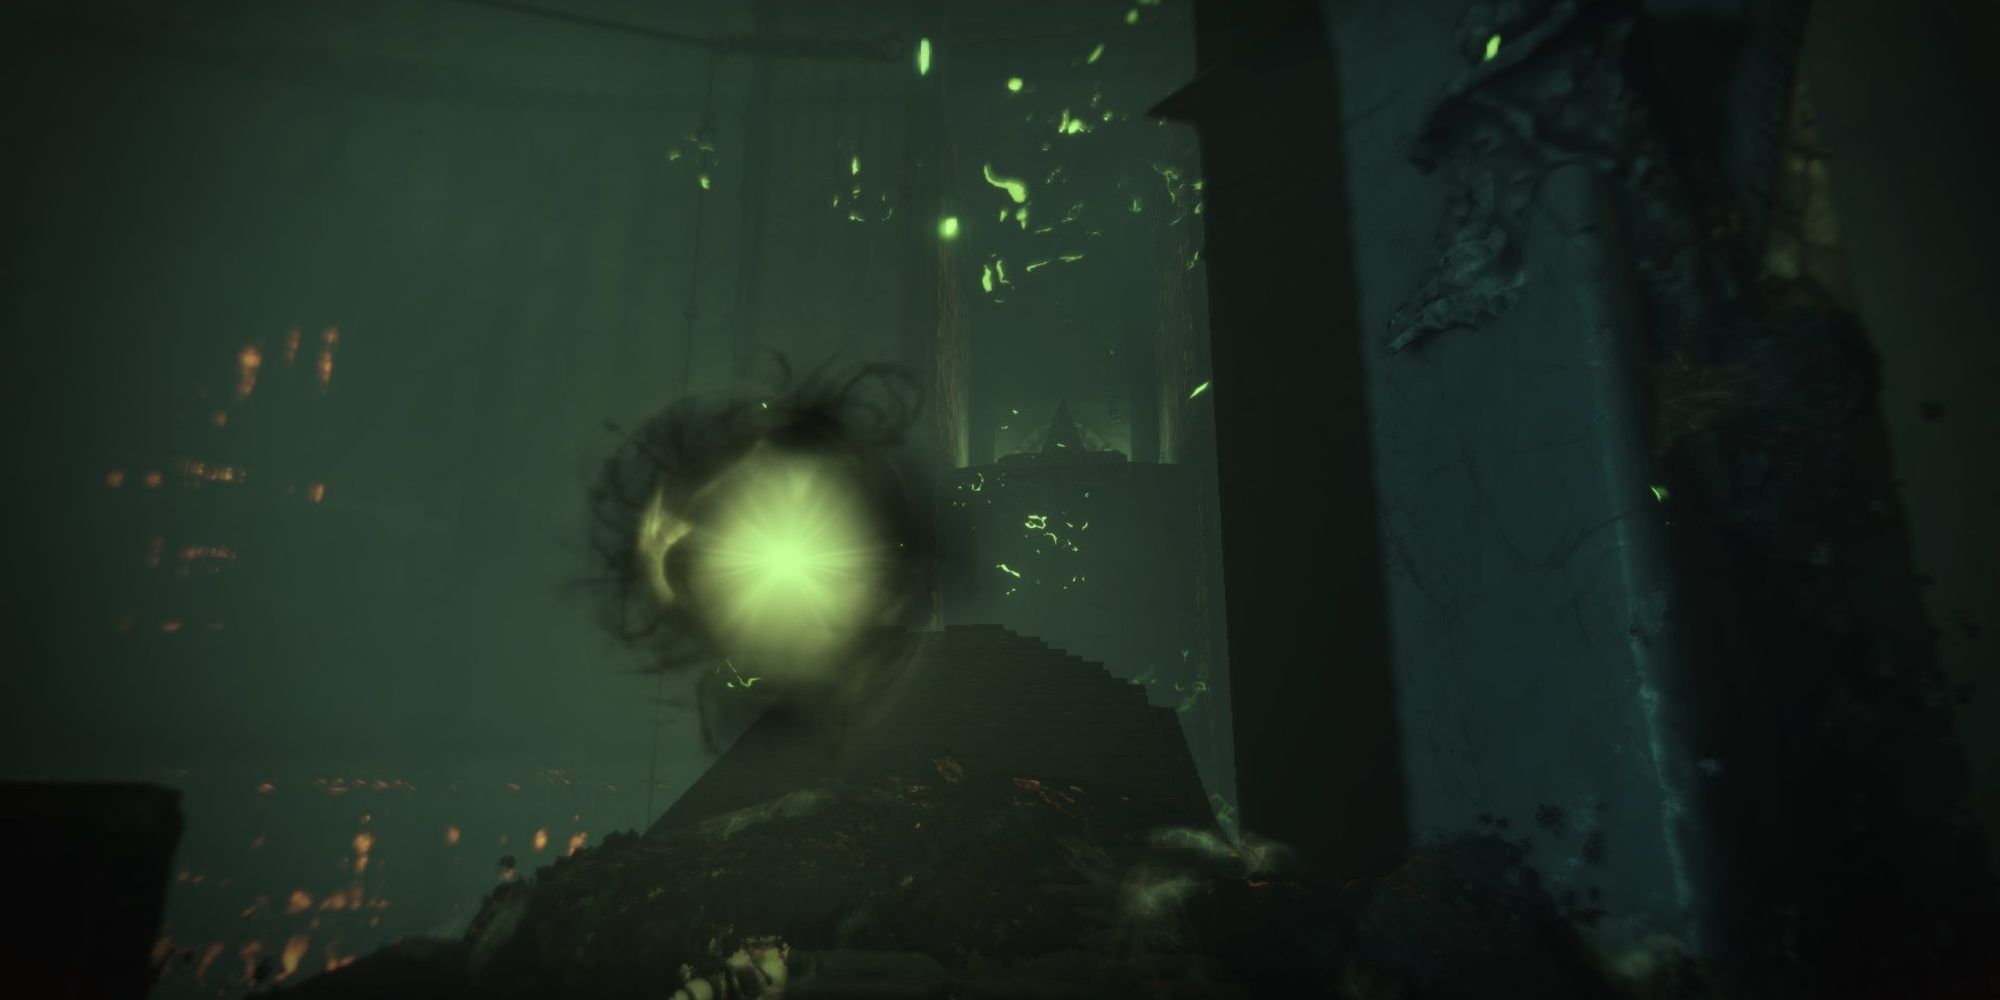
For this mission, Deepsight Orbs will reveal five symbols you must shoot within the 30-second period.
The first one is simple enough, spawning five symbols in front of you.
Shoot all of them to bring up the path forward.
The next section drops you in the center of a rather cramped cave.
You’ll find yourself in a square room with a horde of Screebs attempting to charge you.
A Chieftain will spawn at the other end of the room, upgraded to anOverloadvariant on Master.
If you killed the Screebs, the Overload shouldn’t be a big threat.
Forge The Caldera
Scorn Raiders are currently bugged and deal twice as much damage as intended.
Play this section cautiously, sticking to cover whenever possible.
Raiders take top priority whenever you see them.

Once they’re nerfed next season, this section won’t be nearly as difficult.
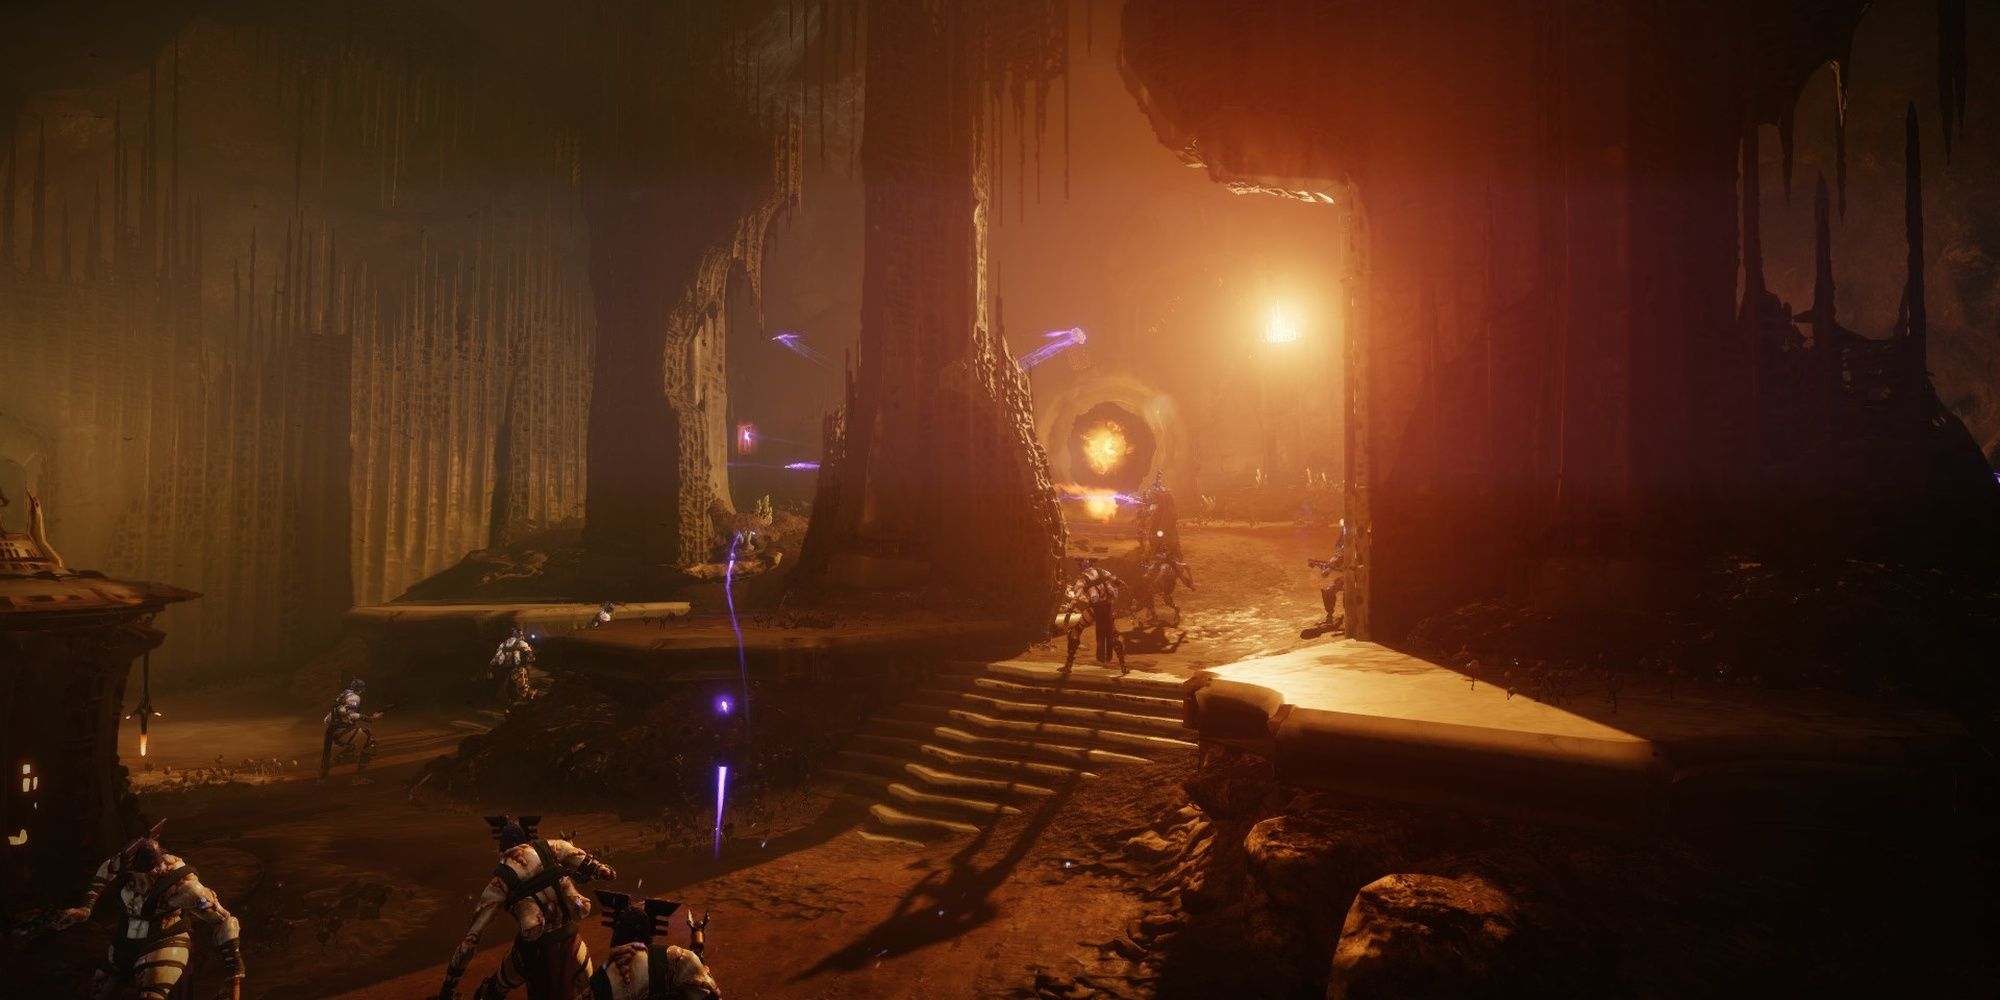
The path into the temple is blocked off by raised drawbridges and a small army of Scorn.
You’ll need to carve a path through them.

Right as you descend, you’ll come across multiple Scorn Raiders and two ChieftainsOverloadvariants on Master.
Kill the Raiders first, then work on the Chieftains.
Consider using your Super or Heavy weapon against them, as both Chieftains spawn close to each other.
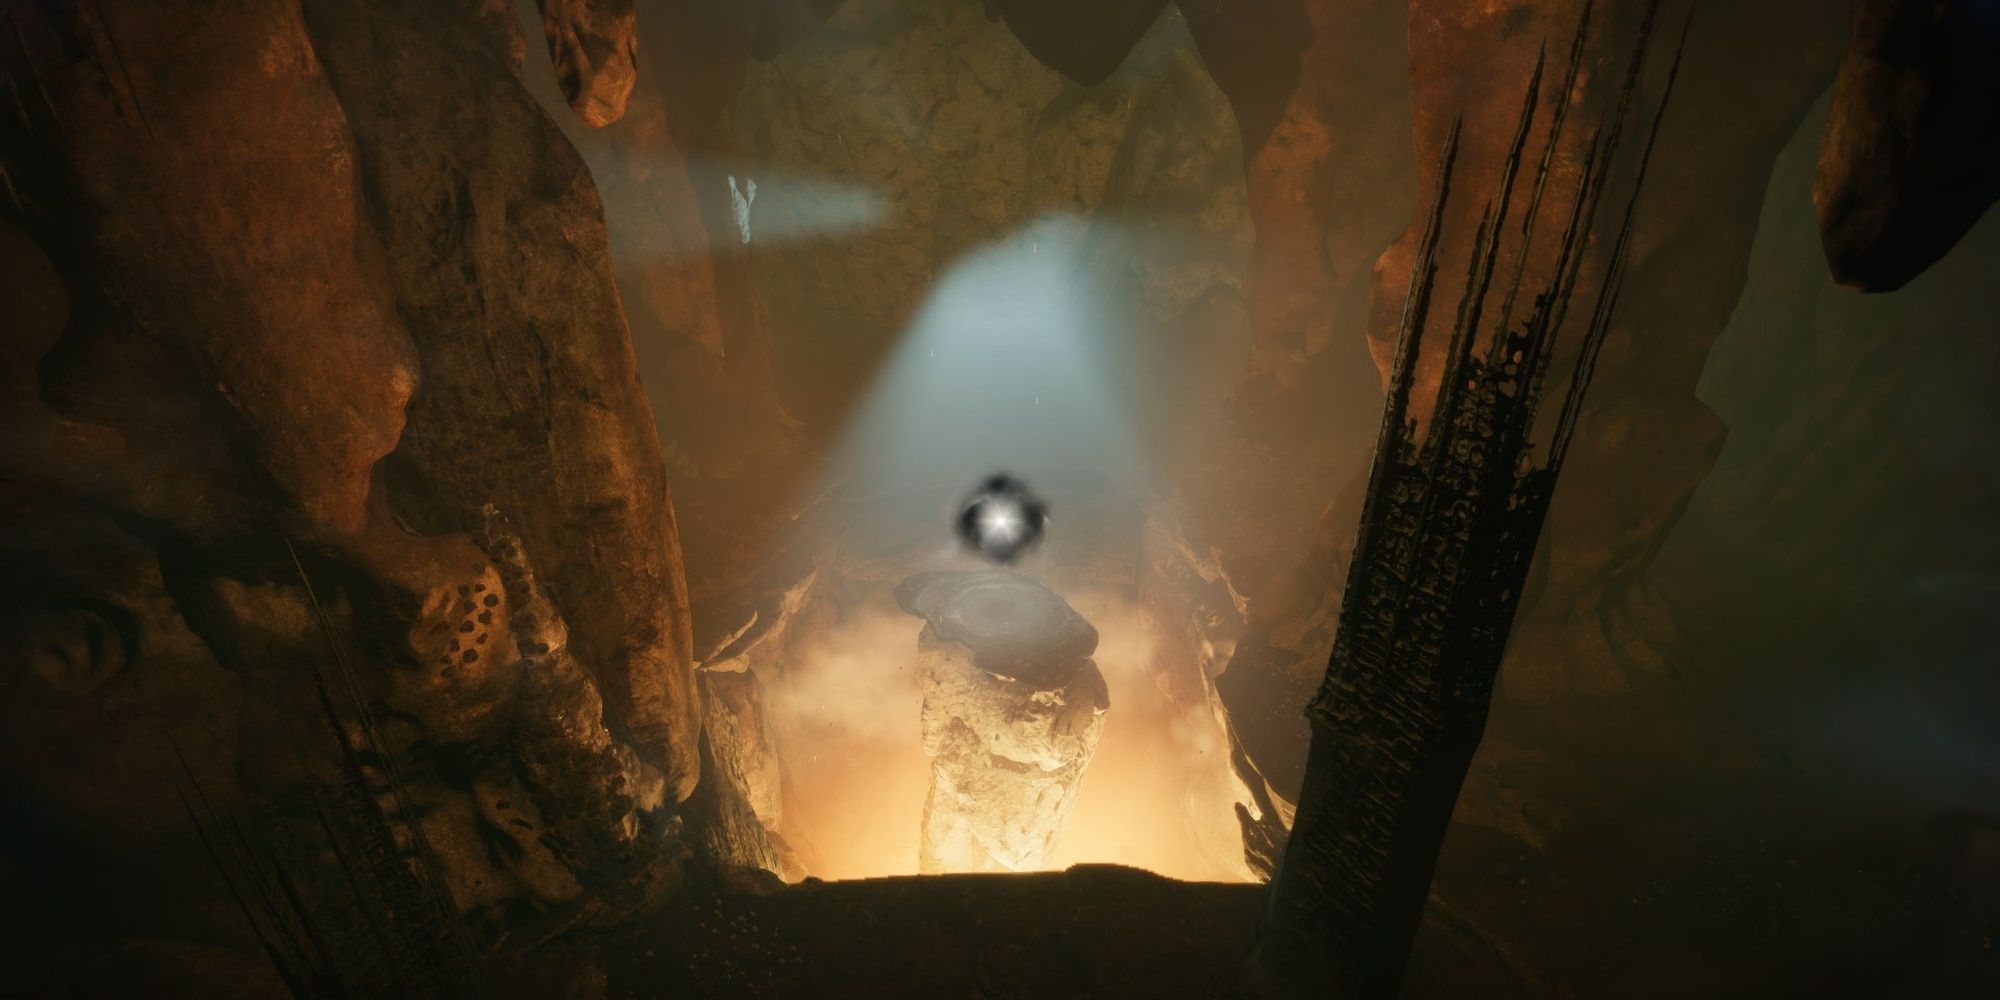
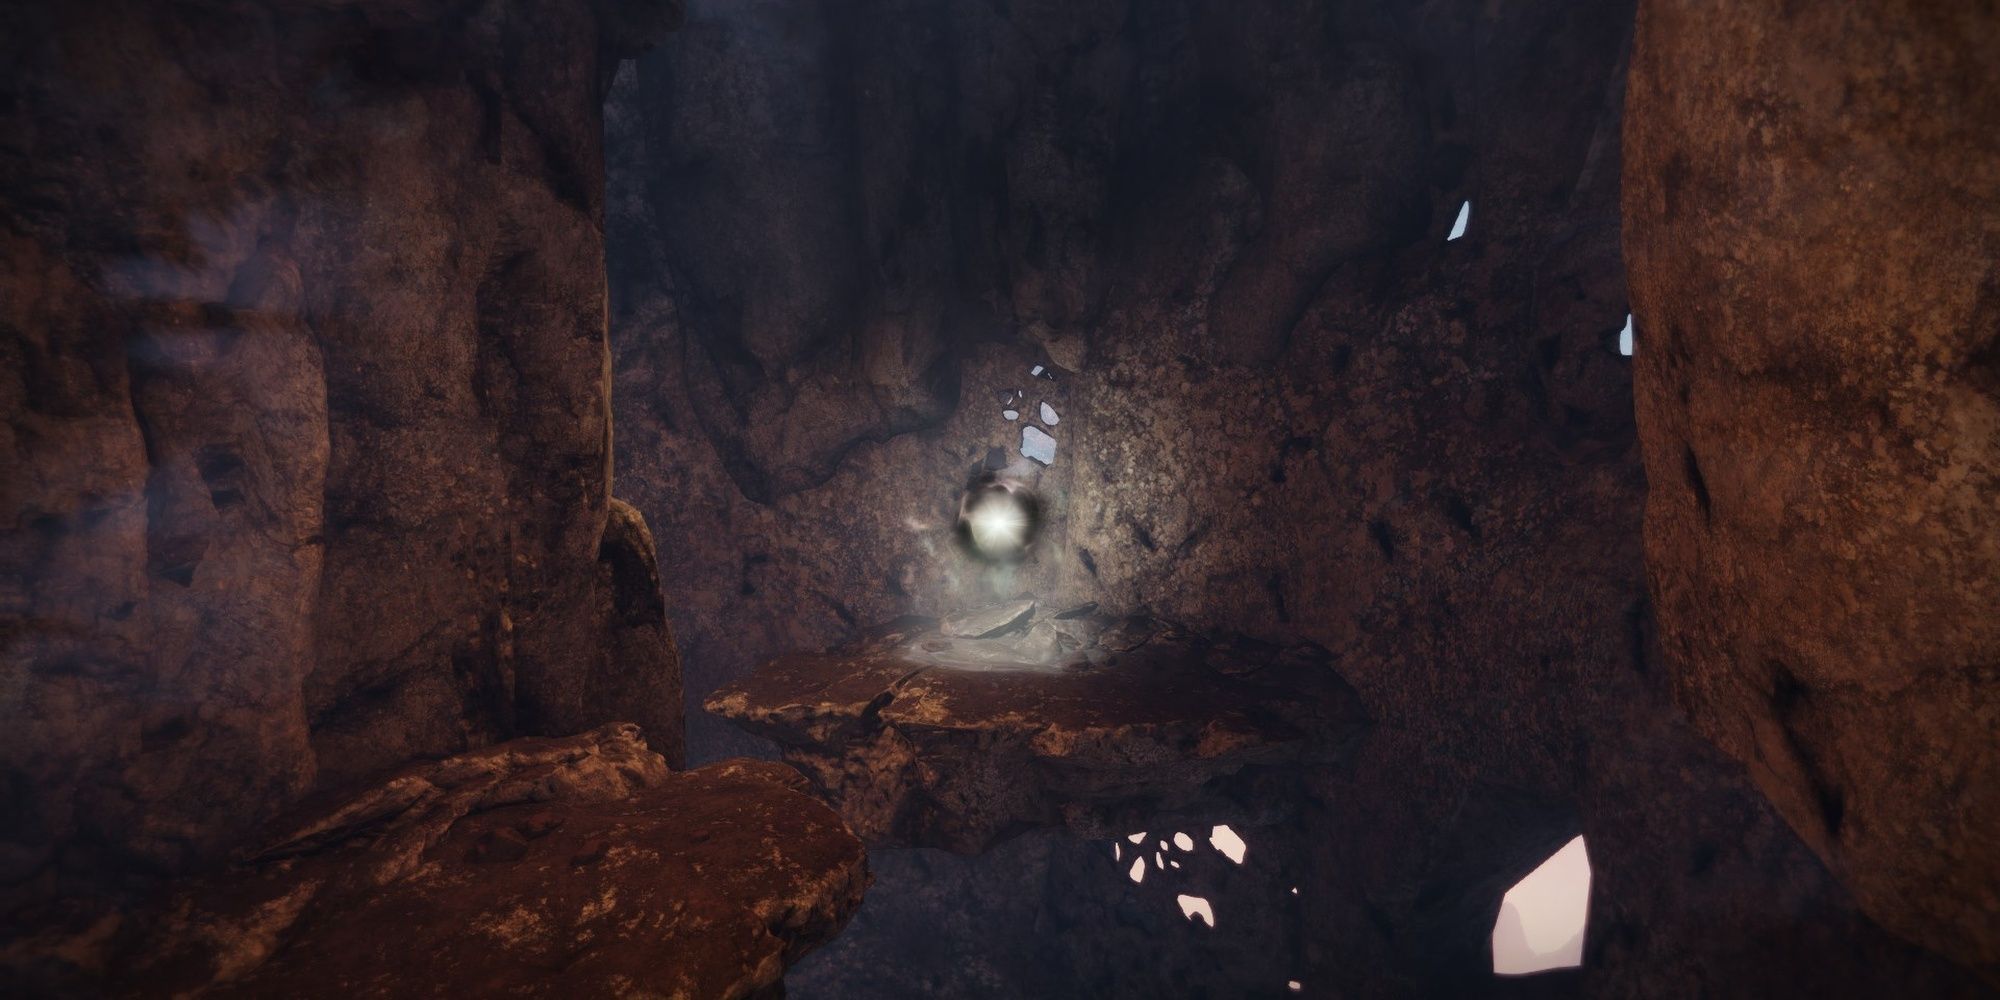
You’ll find a Deepsight Orb to the left of where you dropped down from.
Hop across the terrain to activate it.
Jump to the first platform, and you should see all five symbols you should probably shoot.
Breaking them will reveal a second Deepsight Orb.
Interact with that second orb to make your way further along the bridge.
This second section of the bridge is guarded by a group of Scorn Raiders and an AbominationanUnstoppablevariant on Master.
You’ll want to immediately find cover from the Abomination and kill it.
Raiders will be beside you and on the other end of the arena.
When their crossbow begins to glow purple, duck back into cover.
Make your way to the Raiders you just killed.
You’ll find another Abomination and a Chieftain.
On Master difficulty, they’ll be upgraded toUnstoppableandOverloadChampions, respectively.
This is the perfect time to use your Super and Heavy ammo to burn through these enemies quickly.
If they prove too punishing, take them out from a distance as you did with the Raiders earlier.
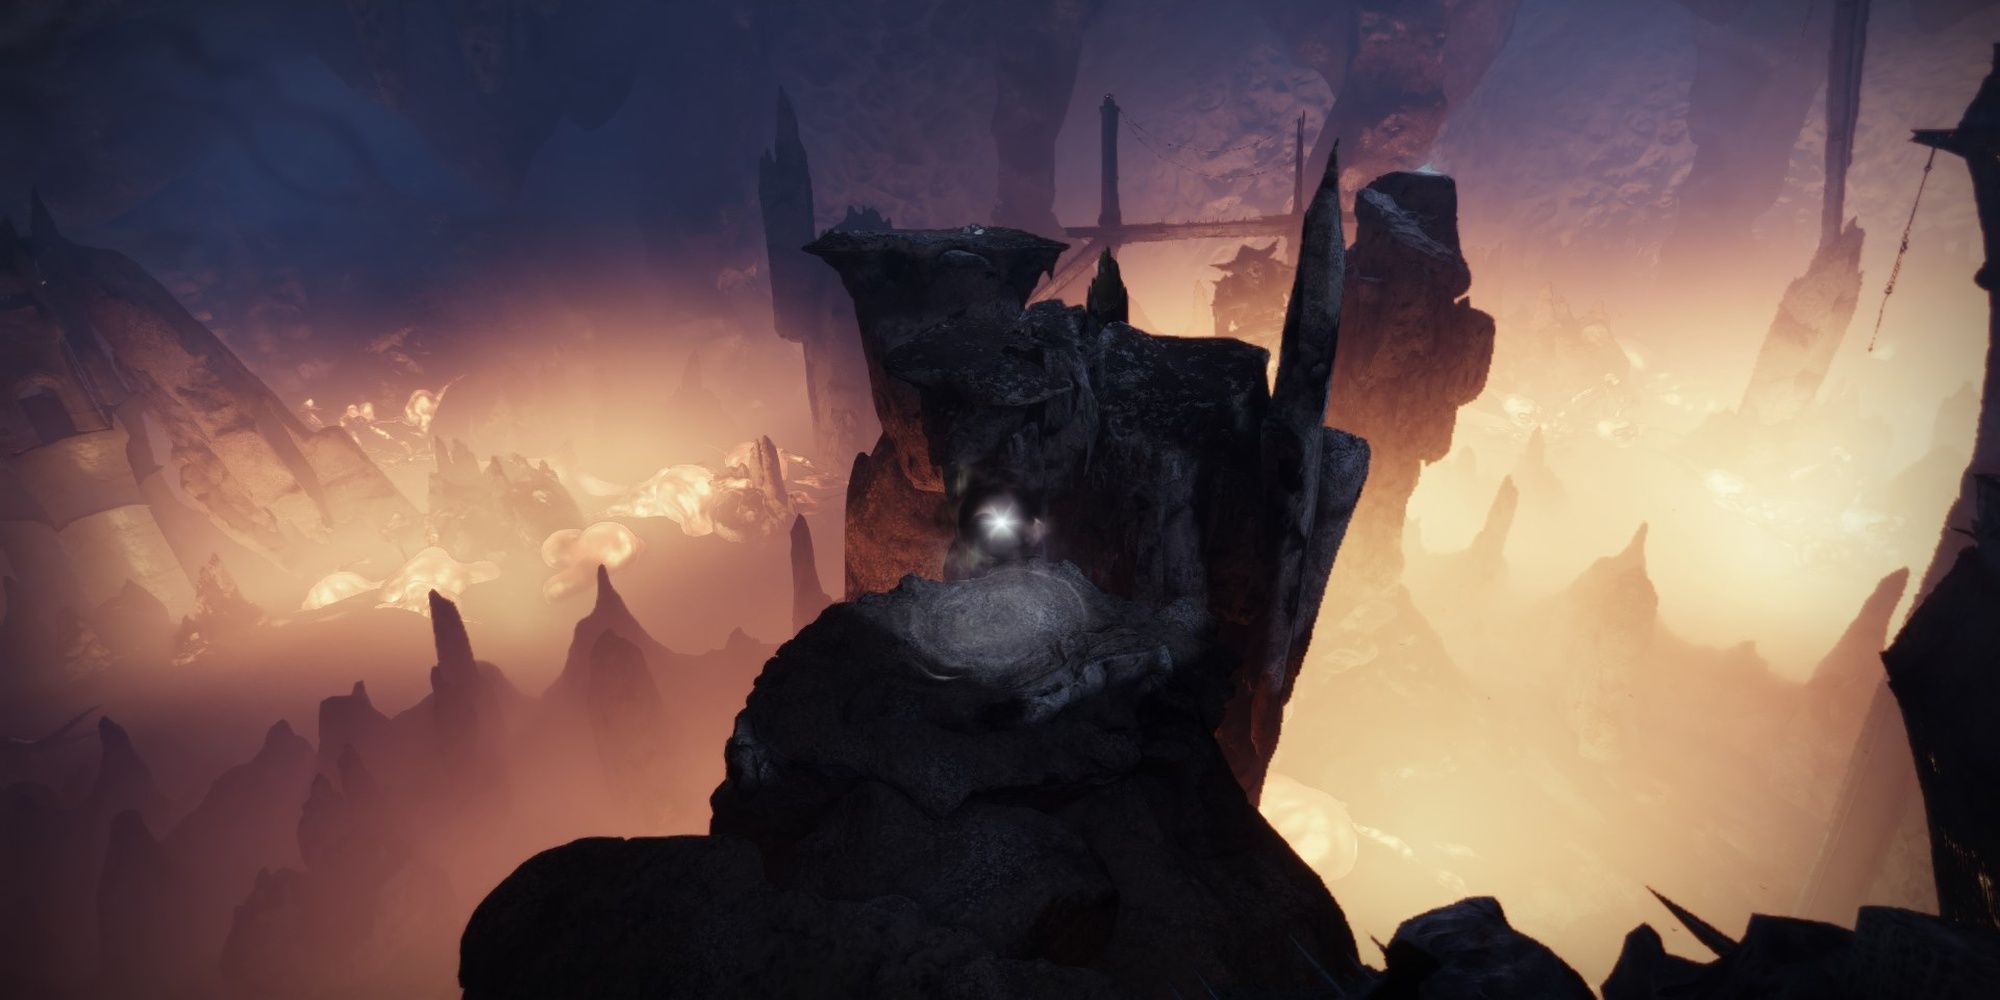
Across the way will be yet another Deepsight Orb.
Using this orb will lead you to another orb.
The second orb will project five symbols yet again, although they’re extremely easy to find.
No Champions or particularly tough enemies spawn here, although you should find cover if things get dicey.
If you aren’t on the plate, additional enemies cannot spawn.
When you’ve lowered the drawbridge, yet another group of Scorn will spawn.
One of them will be a Chieftain, swapped for anOverloadvariant on Master difficulty.
Try not to get sniped by the Raiders here.
Kill the enemies from safety, then make your way inside.
You’ll find two Abominations (Unstoppablevariants on Master) inside.
make a run at lure them outside if you’re attempting to solo flawless this mission.
Otherwise, just burst them down with your Heavy weapon.
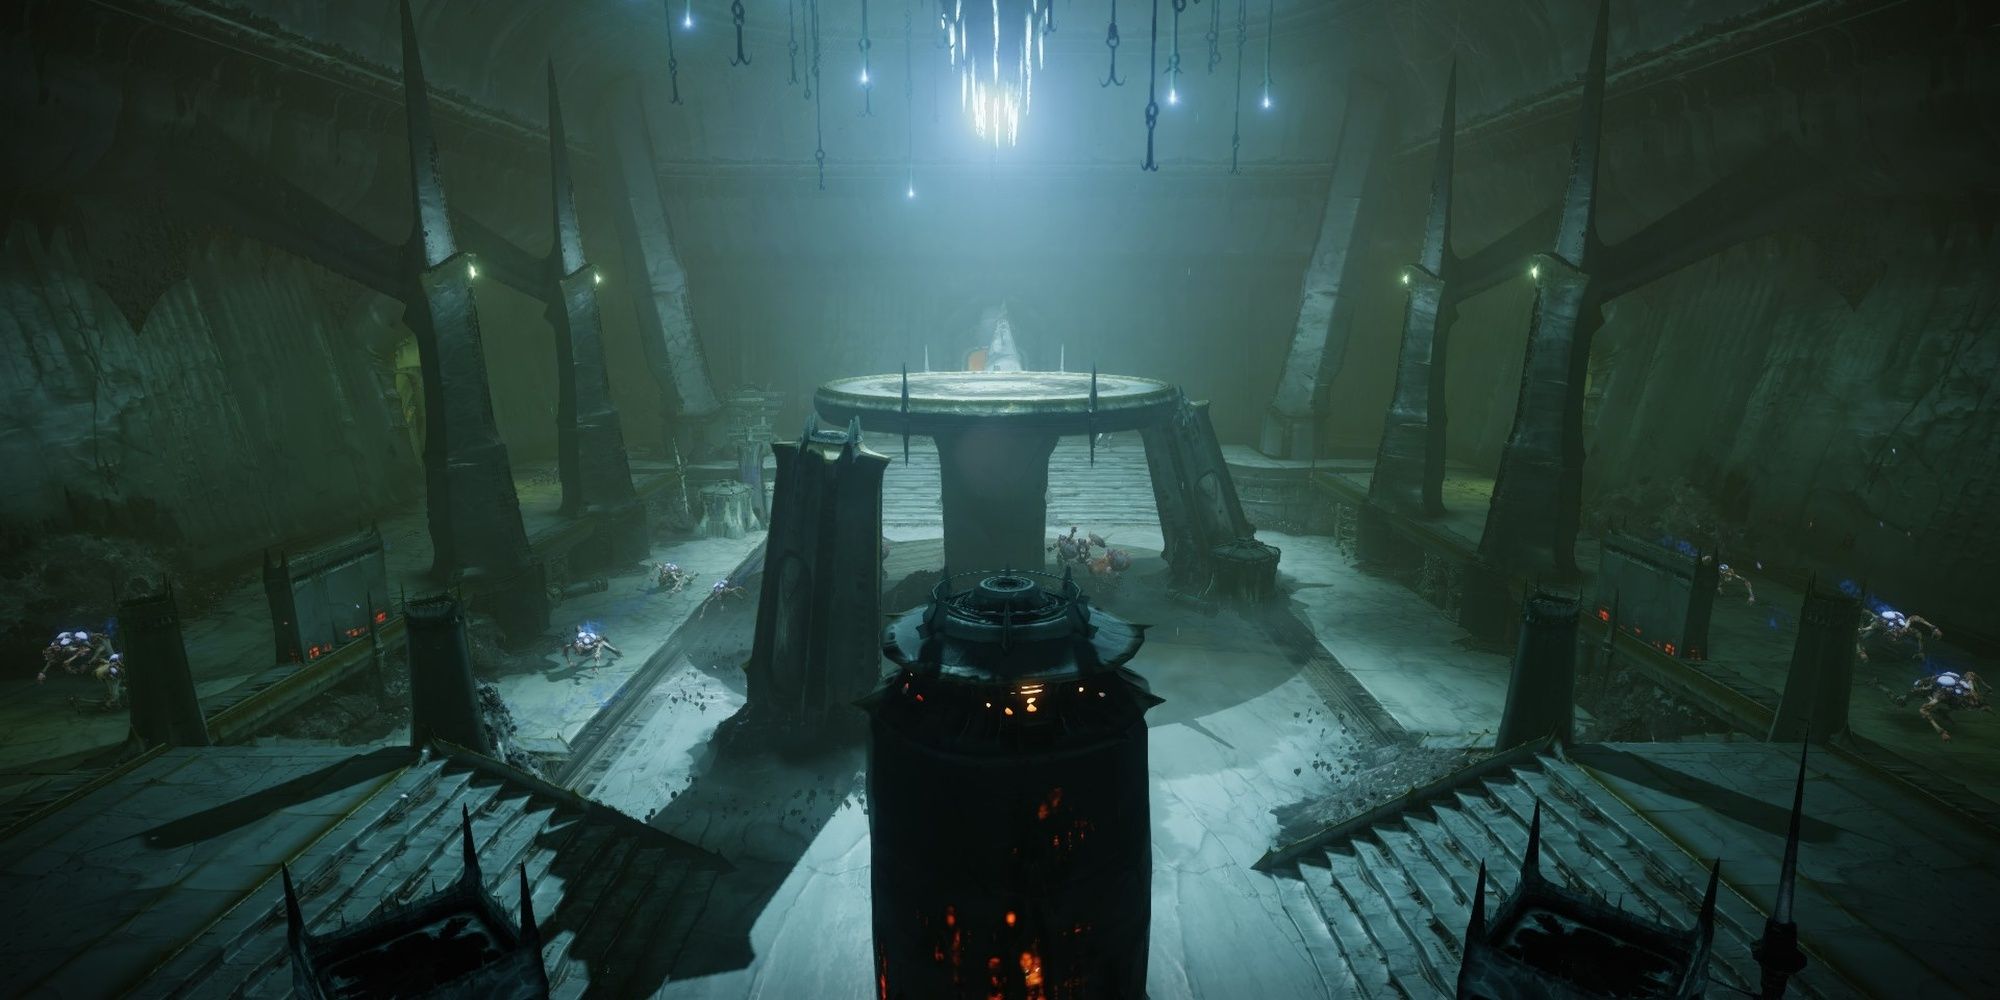
Cross the internal bridge when you’re ready for the next encounter.
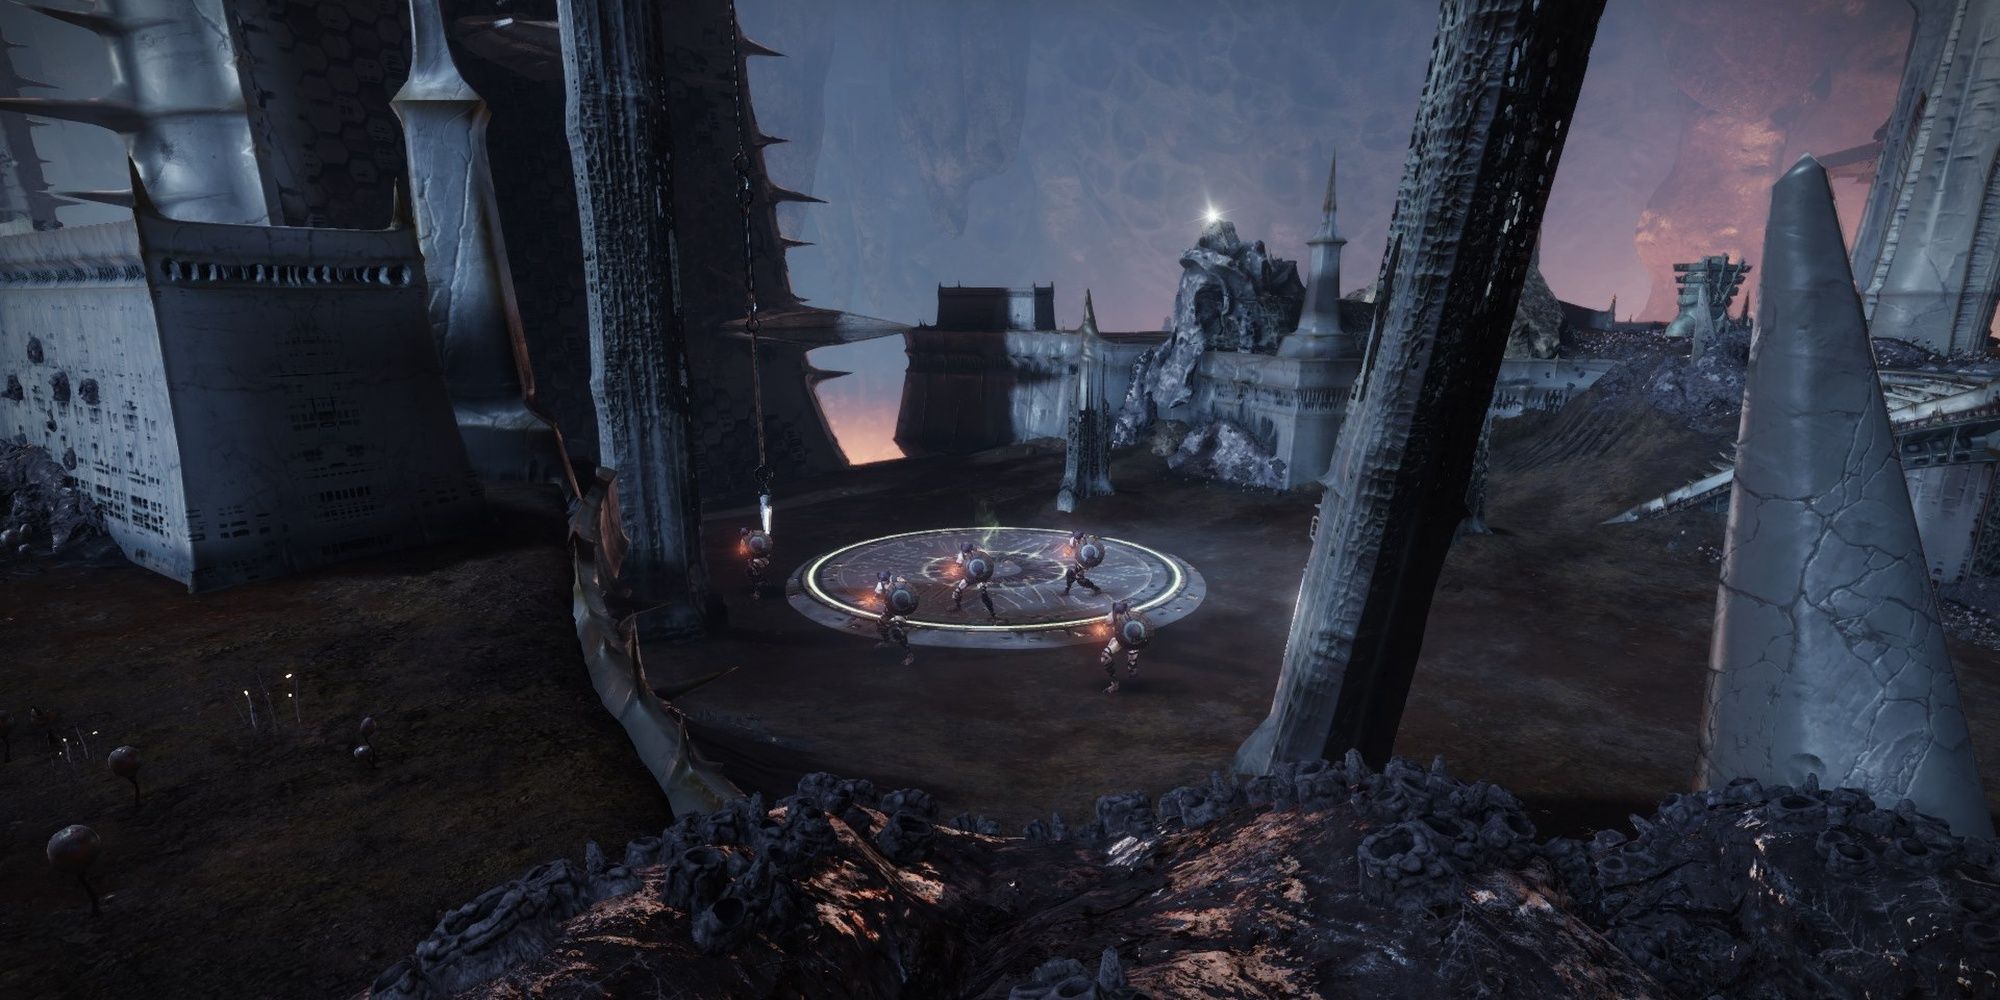
Focus on killing the Chieftains first, as they can make all nearby allies invulnerable with their totems.
You’ll want to slowly chip away at the Warden’s HP after you’ve dealt with the adds.
Ramp Cheese
There’s a ramp located at the back-right corner of where you came from.
you’re able to hide under this ramp during any add-focused phase to kill the enemies from safety.
When the Warden attempts to snipe you, duck into cover.
If they end the gap, you won’t last long.
Killing all of the adds will make the Warden vulnerable once again.
Burst down the Warden with your Heavy weapon to finish the fight.
Interact with the Deepsight Orb that’s beside the Rally Flag you planted earlier.
Look ot the left of the arena to find all five symbols.
Shoot them, climb up the platforms that spawn, then interact with the next Deepsight Orb.
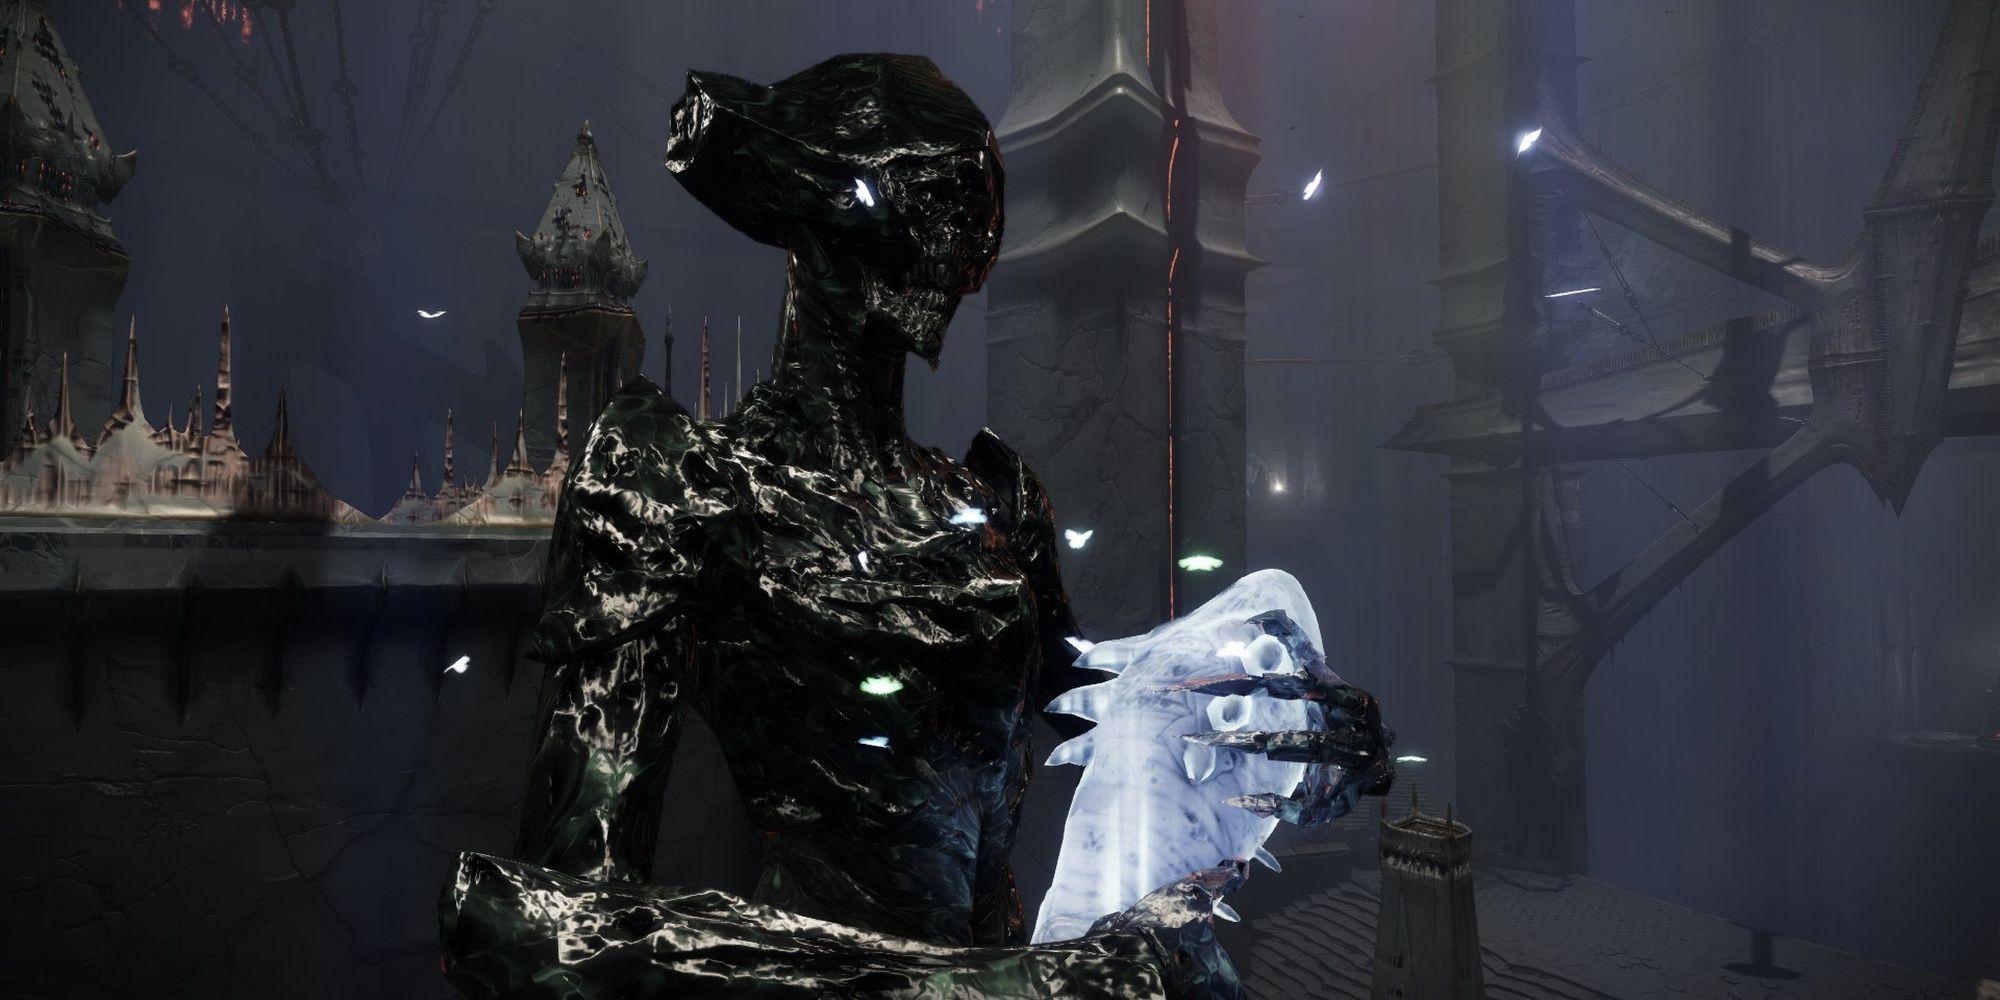
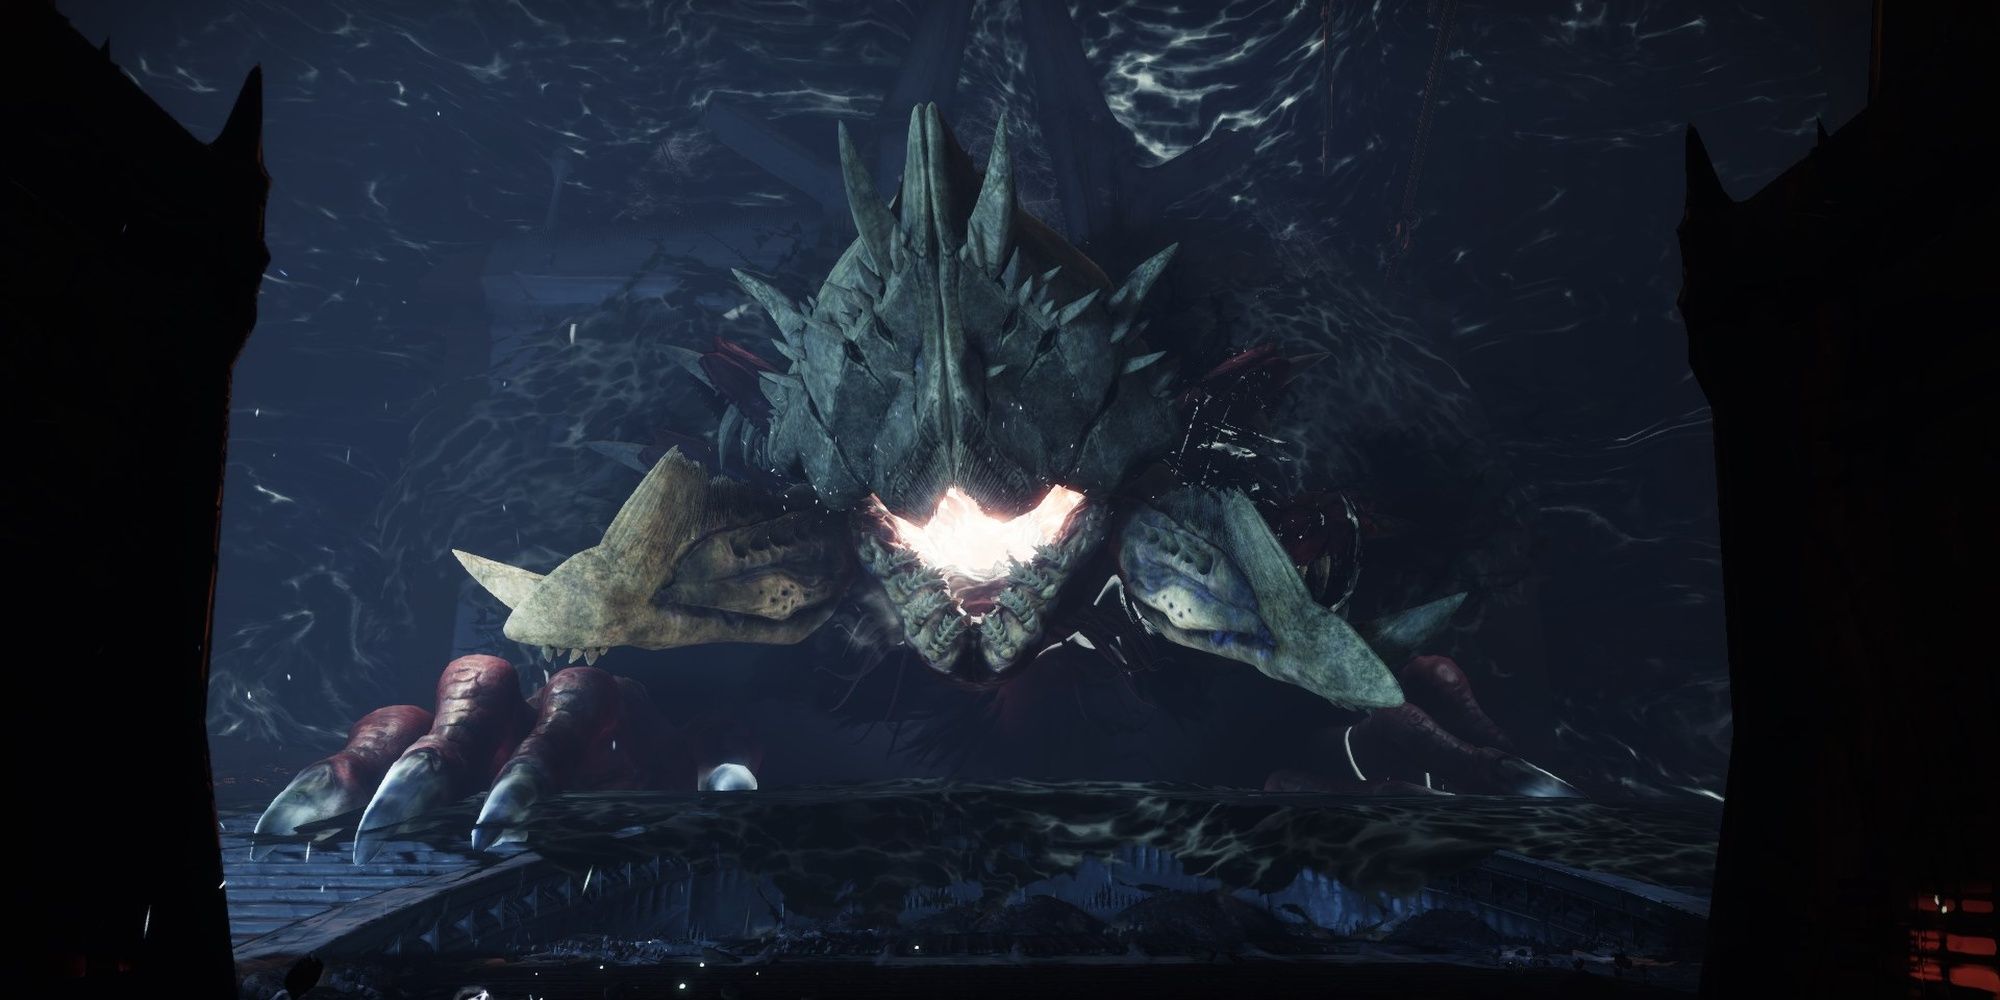
Once you grab the Worm, prepare for yet another boss fight.
Outlast The Illusion
Defeat the Ahamkara illusion.
This Ahamkara is surprisingly easy to kill.
Peak around the pillar to damage the boss, and repeat.
You’ll need to remove three chunks of its HP to finish the fight.
Between each DPS phase will be an add-clearing phase where a swarm of Scorn will spawn near the Ahamkara.
Grenades and Supers are your friends here.
Feel free to use any abilities you have to quickly clear these enemies out.
If you get overwhelmed, retreat further into the temple to create some distance.
The Ahamkara won’t come back until all of the adds are slain, so take your time.
Remove all three health chunks from the Ahamkara to finish the fight.
Escape
Landing the final blow on the Ahamkara will cause it to scream, blinding you temporarily.
Hop onto the Scorn Pikes in the next room, and follow your HUD.
Enemies will block the path, but you could drive past most of them on Legendary.
On Master, you might want to dedicate a few seconds to killing them.
The very end of the path will house an elevator, protected by a pack of Scorn.
Two of these enemies are Chieftains, upgraded toOverloadChampions on Master.
This is the perfect time to use your Super and Heavy weapons.
Burst down the Scorn as fast as you might; there isn’t much cover for playing defensively.
Legendary players can book it for the elevator if they find it safe.
Using the elevator will end the mission.
Next:Destiny 2: The Witch Queen Complete Guide And Walkthrough
