Guardians can expect a rather lengthy campaign with two difficulty variants: Classic and Legendary.
Modifiers And Recommended Loadout
Legendary Difficulty
Power Level
1,360
Mettle
Your effective Power is capped at 1,350.
Legendary
Heavily shielded and highly aggressive combatants appear in great numbers.
Chaff
Radar is disabled.
Galvanized
Combatants have more health and are more difficult to stun.
Fire Pit
When defeated, Acolytes spawn fire pools that cause damage over time.
Master Difficulty
1,580
Scorched Earth
Enemies throw grenades significantly more often.
Champion Foes
You will face Barrier and Unstoppable Champions.
Champions: Mob
This mode contains additional Champions.

Equipment Locked
You will not be able to change your equipment after this activity starts.
Match Game
Enemy shields are highly resistant to all unmatched elemental damage.
Shielded Foes
Arc, Solar, and Void shields are present.
Legendarydifficulty doesn’t have any Champions or Match Game, but that doesn’t mean this will be easy.
Beware of the Fire Pit modifier as well; this can easily kill you if you play aggressively.
Masterdifficulty features Unstoppable and Barrier Champions, Match Game, and every shield pop in.
Nightstalkers can go invisible with ease and gain access to Devour with Echo of Harvest.
Titanscan’t go wrong with Sentinel.
Build around your overshield and volatile, and you should be able to crush this mission with no issue.
It’s up to you.
Warlockscan use either Voidwalker or Shadebinder.
Voidwalkers canhave constant uptime of Devour to refill their health.

For a much safer alternative, Shadebinder with Bleak Watcher turrets can lock down just about every combat encounter.
Osmiomancy Gloves especially help with this.
Weapons
Arbalest
Mandatory for Master difficulty.
Breaks Barrier Champion shields, all shield elements, and deals great damage from afar.
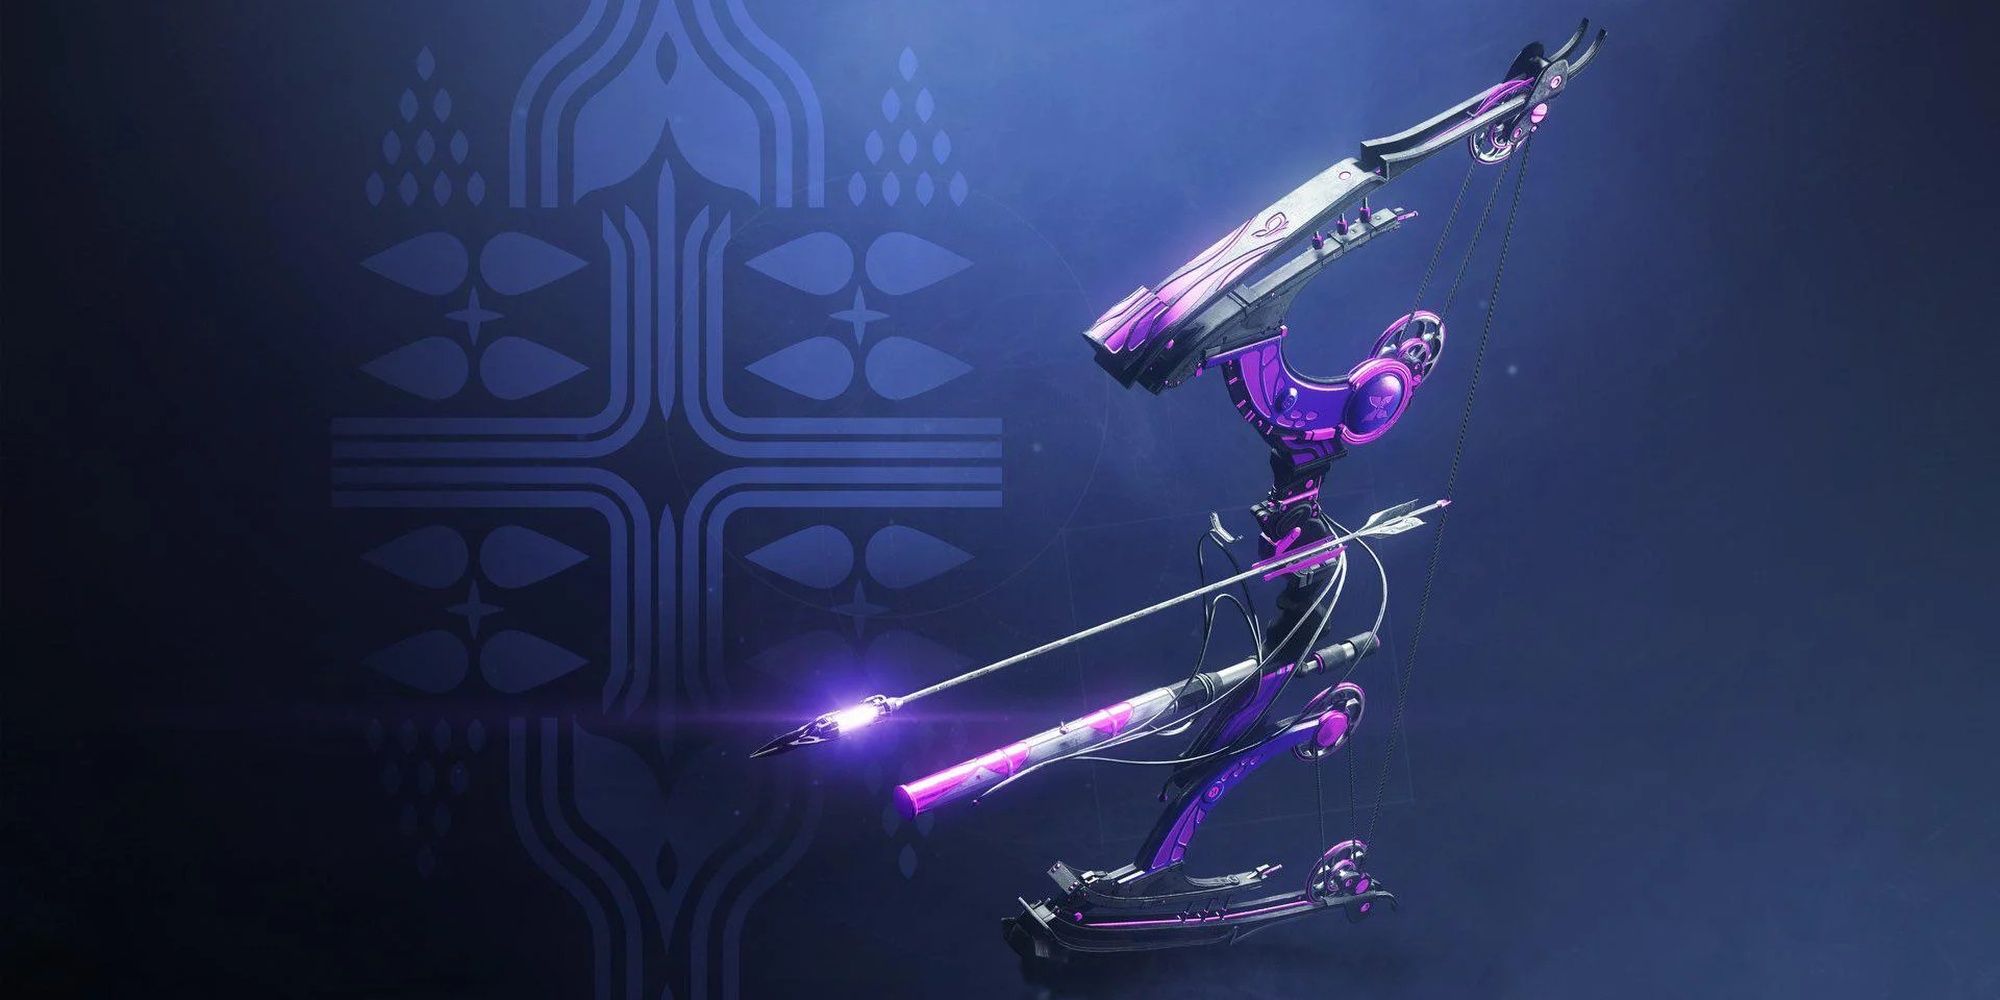
Le Monarque
Breaks Barriers, deals good damage, and can apply volatile with a certain Fragment/mod.
Salvager’s Salvo
If you’re struggling to kill adds, use this weapon.
Osteo Striga
One of the best add-clearing weapons in the game.
Rockets w Explosive Light
With Explosive Light active, this weapon deals great damage to majors and bosses alike.
Stun this enemy jot down before fighting the rest of the Cabal.
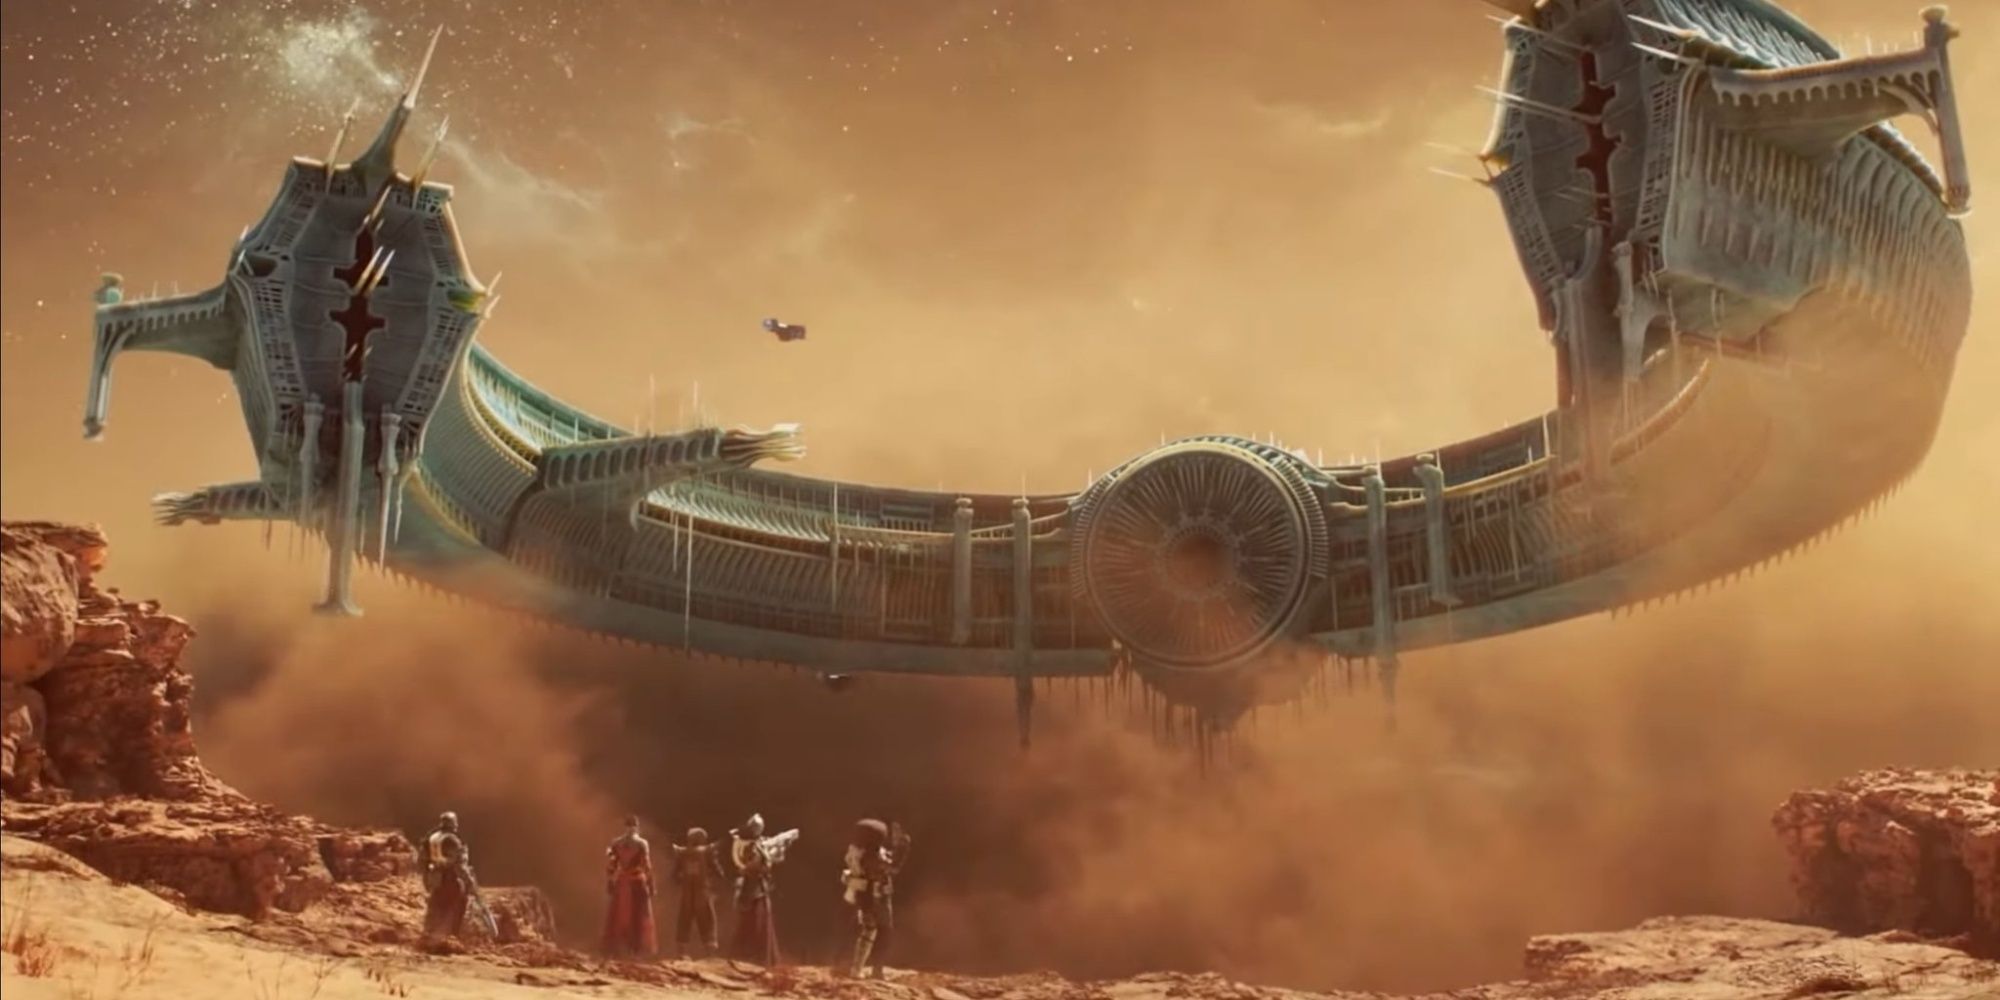
You’ll start this mission on the red sands of Mars.
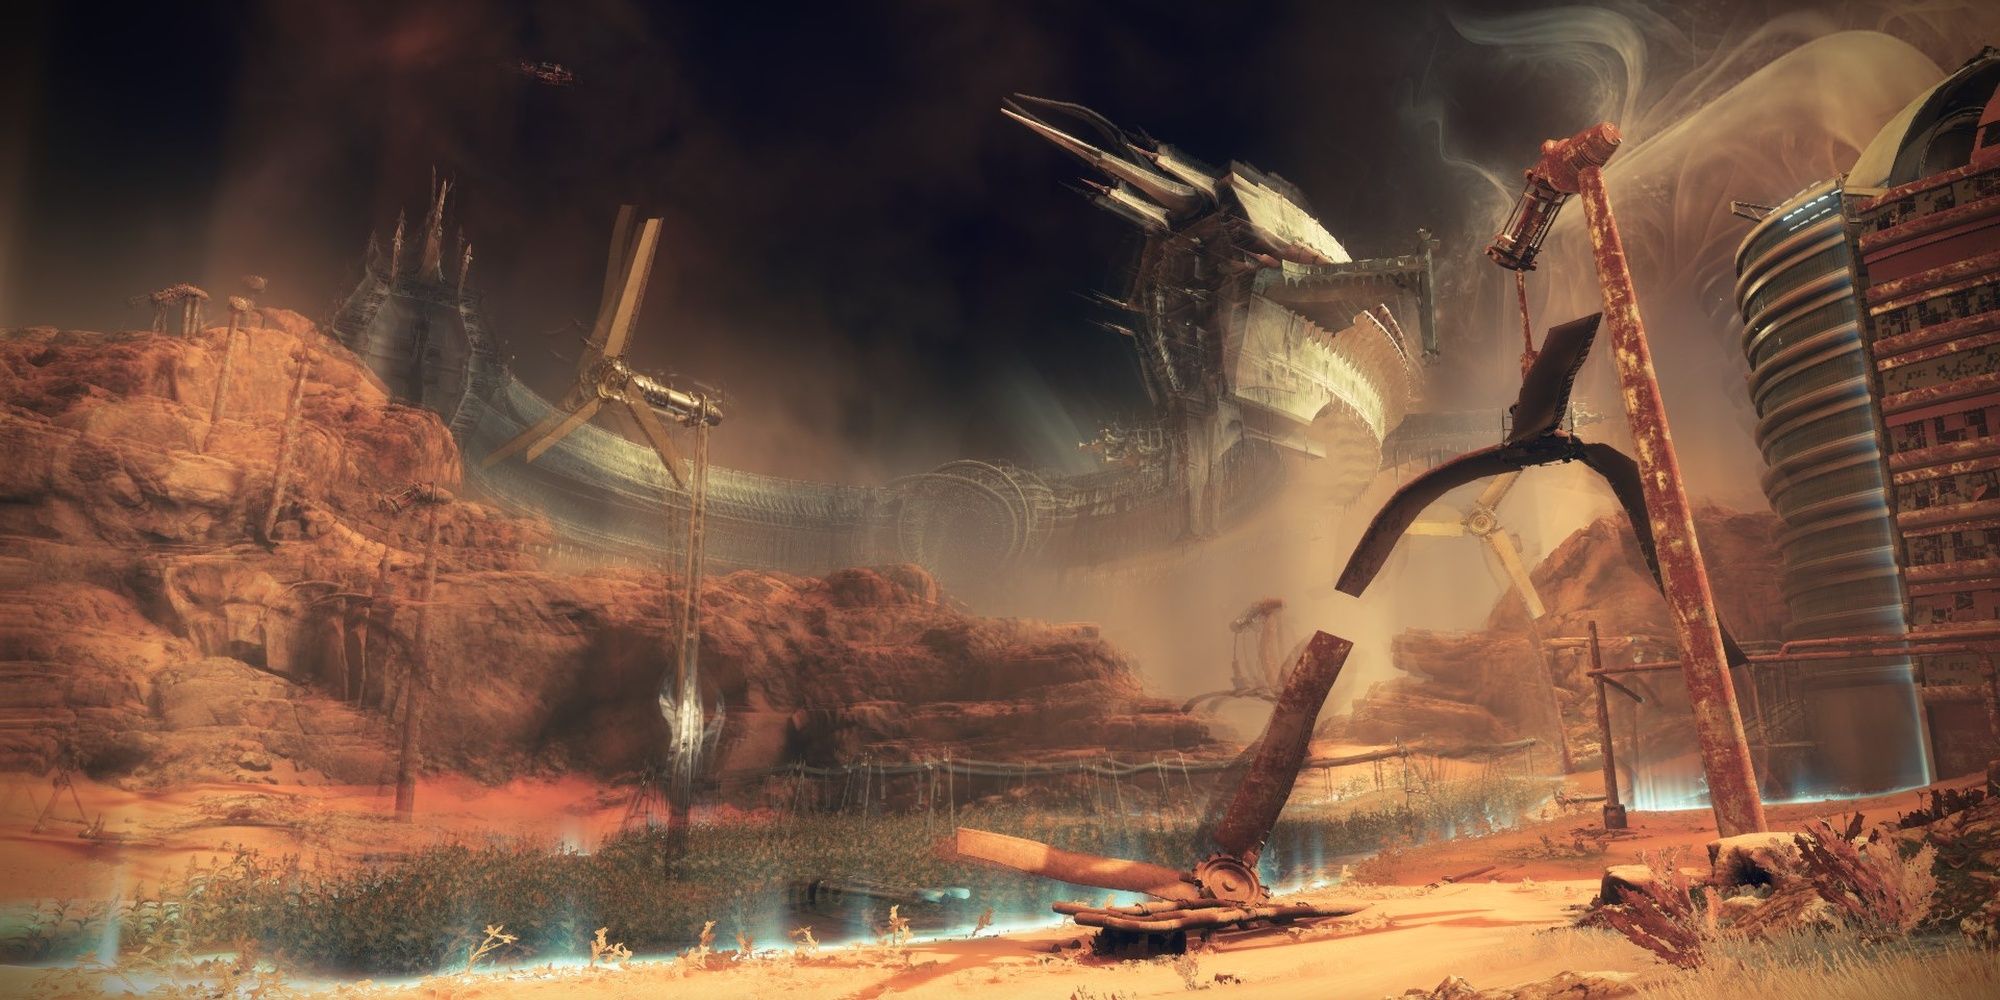
Make your way past the Golden Age rifts towards a small Cabal encampment.
It appears they’re just as interested in Savathun’s Ship as the Vanguard are.
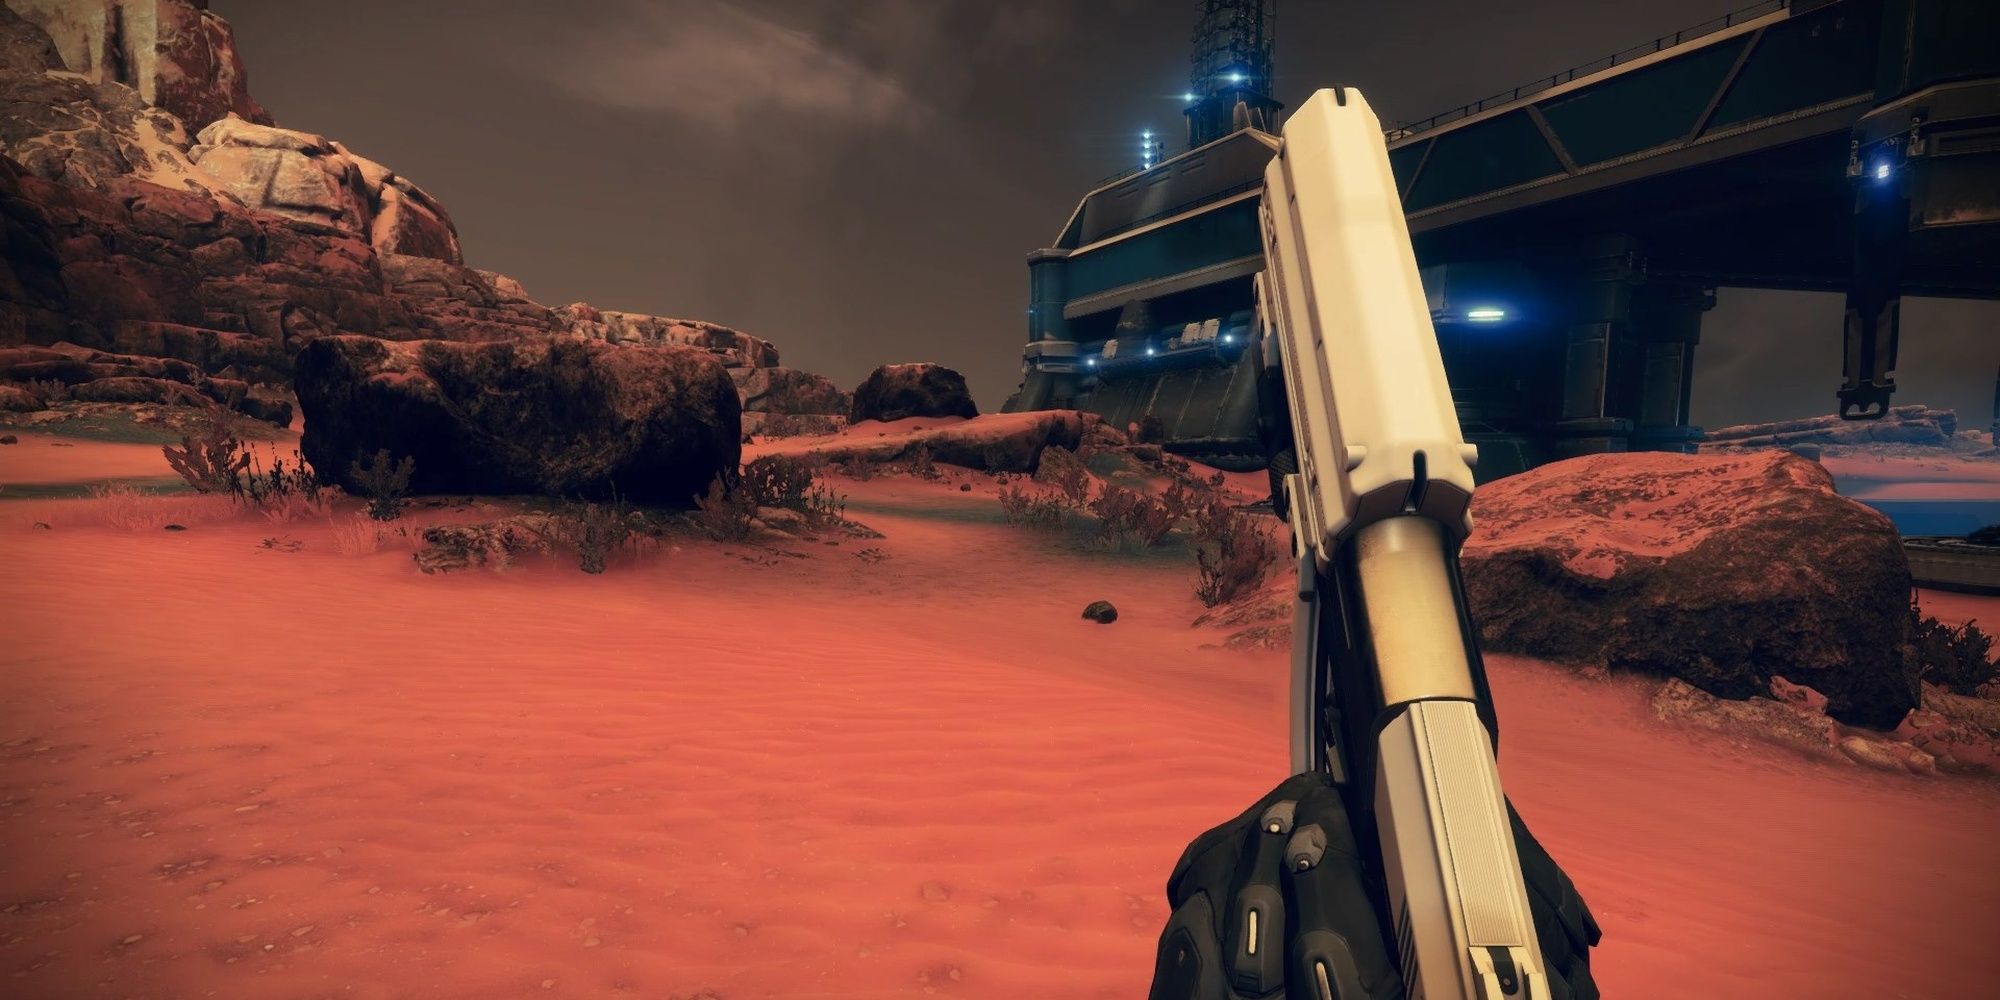
If your loadout is more focused on CQC, use the rocks scattered across the area as cover.
One of the Cabal is an Incendior, wielding a flamethrower and somewhat large health pool.
Break its Arc shield, then unload your weapons into its flame tanks.
This will deal massive damage and cause the Cabal to explode on death, leaving behind a fuel canister.
Grab the canister and deposit it at the fuel station beside a gravity lift.
Psions and Legionaries will spawn right as you grab the canister.
Drop it and kill the fodder enemies.
Use the lift when ready.
You should now be right outside a Cabal base.
Use the nearby rocks as cover, taking out the small band of Cabal as you reposition.
Take out the enemy on the overlook on a nearby platform, then make your way inside.
Those on Master difficulty want to take this part slowly, as there’s anUnstoppable Incendiorinside the base.
Stock up on ammo, then hack the nearby console when you’re ready.
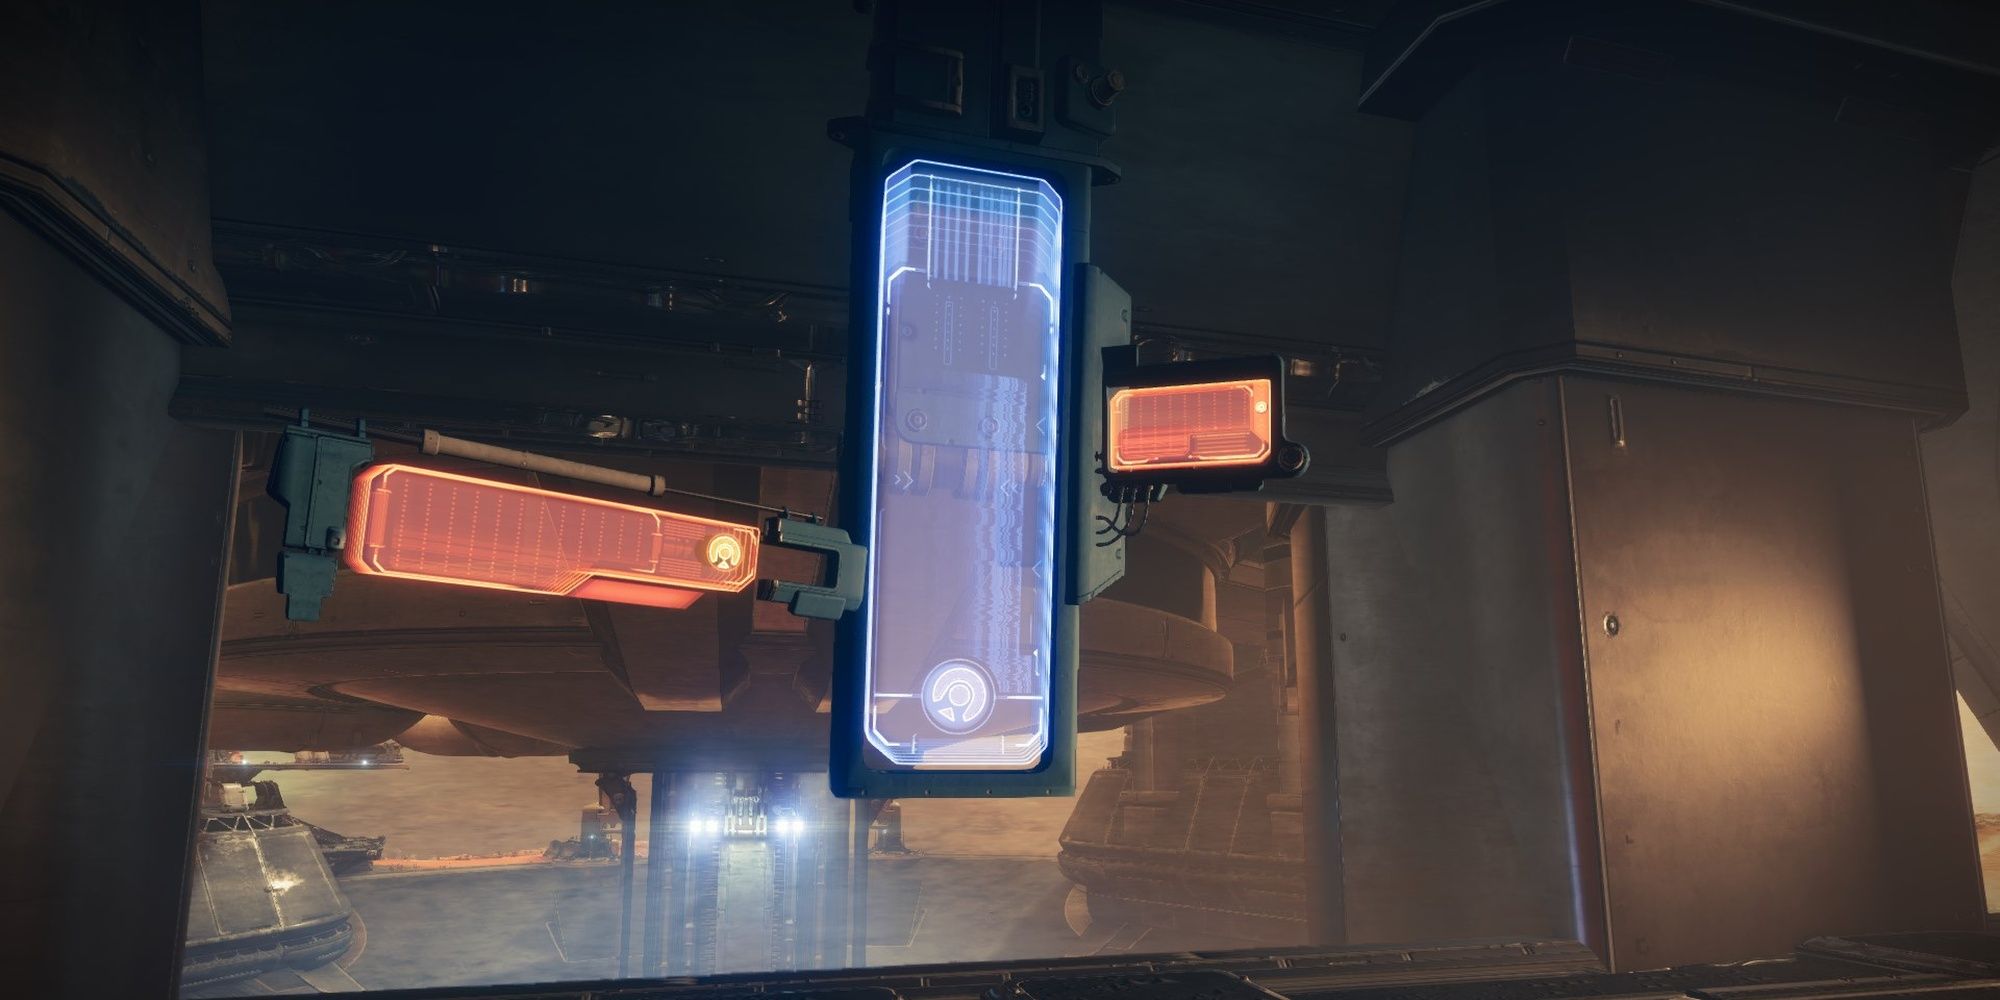
But first, you’ll need to prepare the cannon.
Make your way outside the base and towards the nearby fuel station.
You’ll need to defeat two Colossus majors called “Imperial Mechanics” to pop fire up fuel lines.
Break their Arc shields, land the final blow, then grab their massive wrenches.
Colossus enemies are Barrier Champions on Master difficulty.

Unstoppable Incendiors are also present.
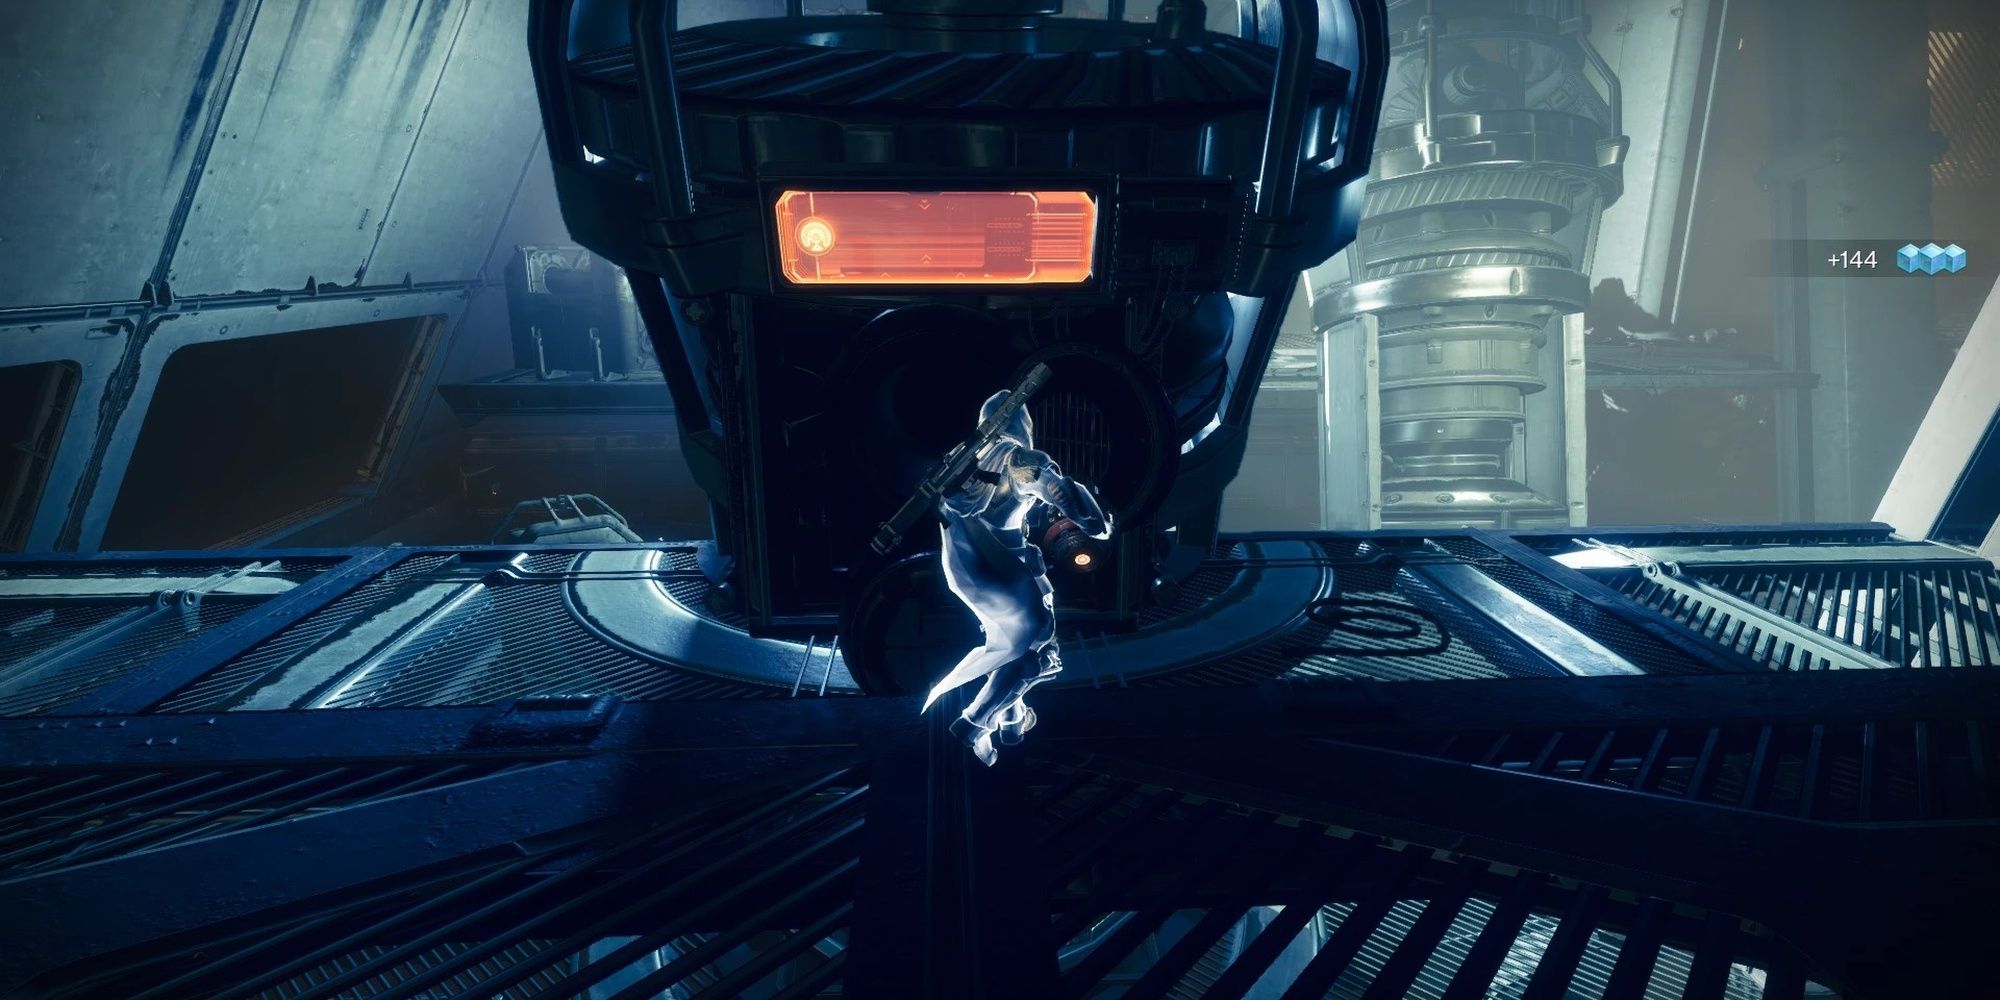
Inside the generator room will be more Cabal enemies and Incendior majors with Void shields.
On Master difficulty, the Incendiors are Unstoppable Champions.
You’ll need to kill the Incendiors and use their dropped cores to kickstart the two generators.
This room is claustrophobic with virtually no cover, so play cautiously here.
Hunters can also use invisibility to safely deposit the cores.
Encounters are sections of a campaign level where respawning is restricted.
Should the fireteam wipe, you’ll need to restart the encounter.
On Legendary difficulty, all players get one revive token.
Should an ally fall, you have 90 seconds to revive them before you wipe.
This timer doesnotreset when all allies are revived.
You’ll find yourself in a rectangular room with a Colossus miniboss on each side.
The goal is to kill each boss to collect their codes.
There isn’t much cover, and tons of enemies will spawn at each corner of the room.
Focus on clearing one side of the room at a time, preferably from medium range.
Kill the Psions and Legionaries first, then go for the Colossus.
Clear each side of the arena, grab the codes, then head up the elevator.
You’ll enter the cannon and enter Savathun’s ship.

Make your way inside to start the next encounter.
To unlock the door, you must collect five shards as tribute.
Hive Knights and Wizards spawn throughout the encounter and drop a tribute shard when slain.

They act just like Motes from Gambit, despawning if you don’t grab them quickly enough.
The first wave will spawn the second the encounter starts.
Acolytes and Thrall will spawn to the left and right of you, the Knight protecting the tribute pool.
Kill the Knight to grab its tribute shard, then deposit the shard to spawn additional Hive.
Once again, kill the Knights as soon as you’ve got the option to.
Deposit the tribute only when you’re ready.
The final wave has Wizards instead of Hive Knights.
Like before, one will spawn on each side.
The left side seems to spawn their Wizard first, so burst that one down before the second spawns.
Grab the tribute, deposit, and the encounter will end.
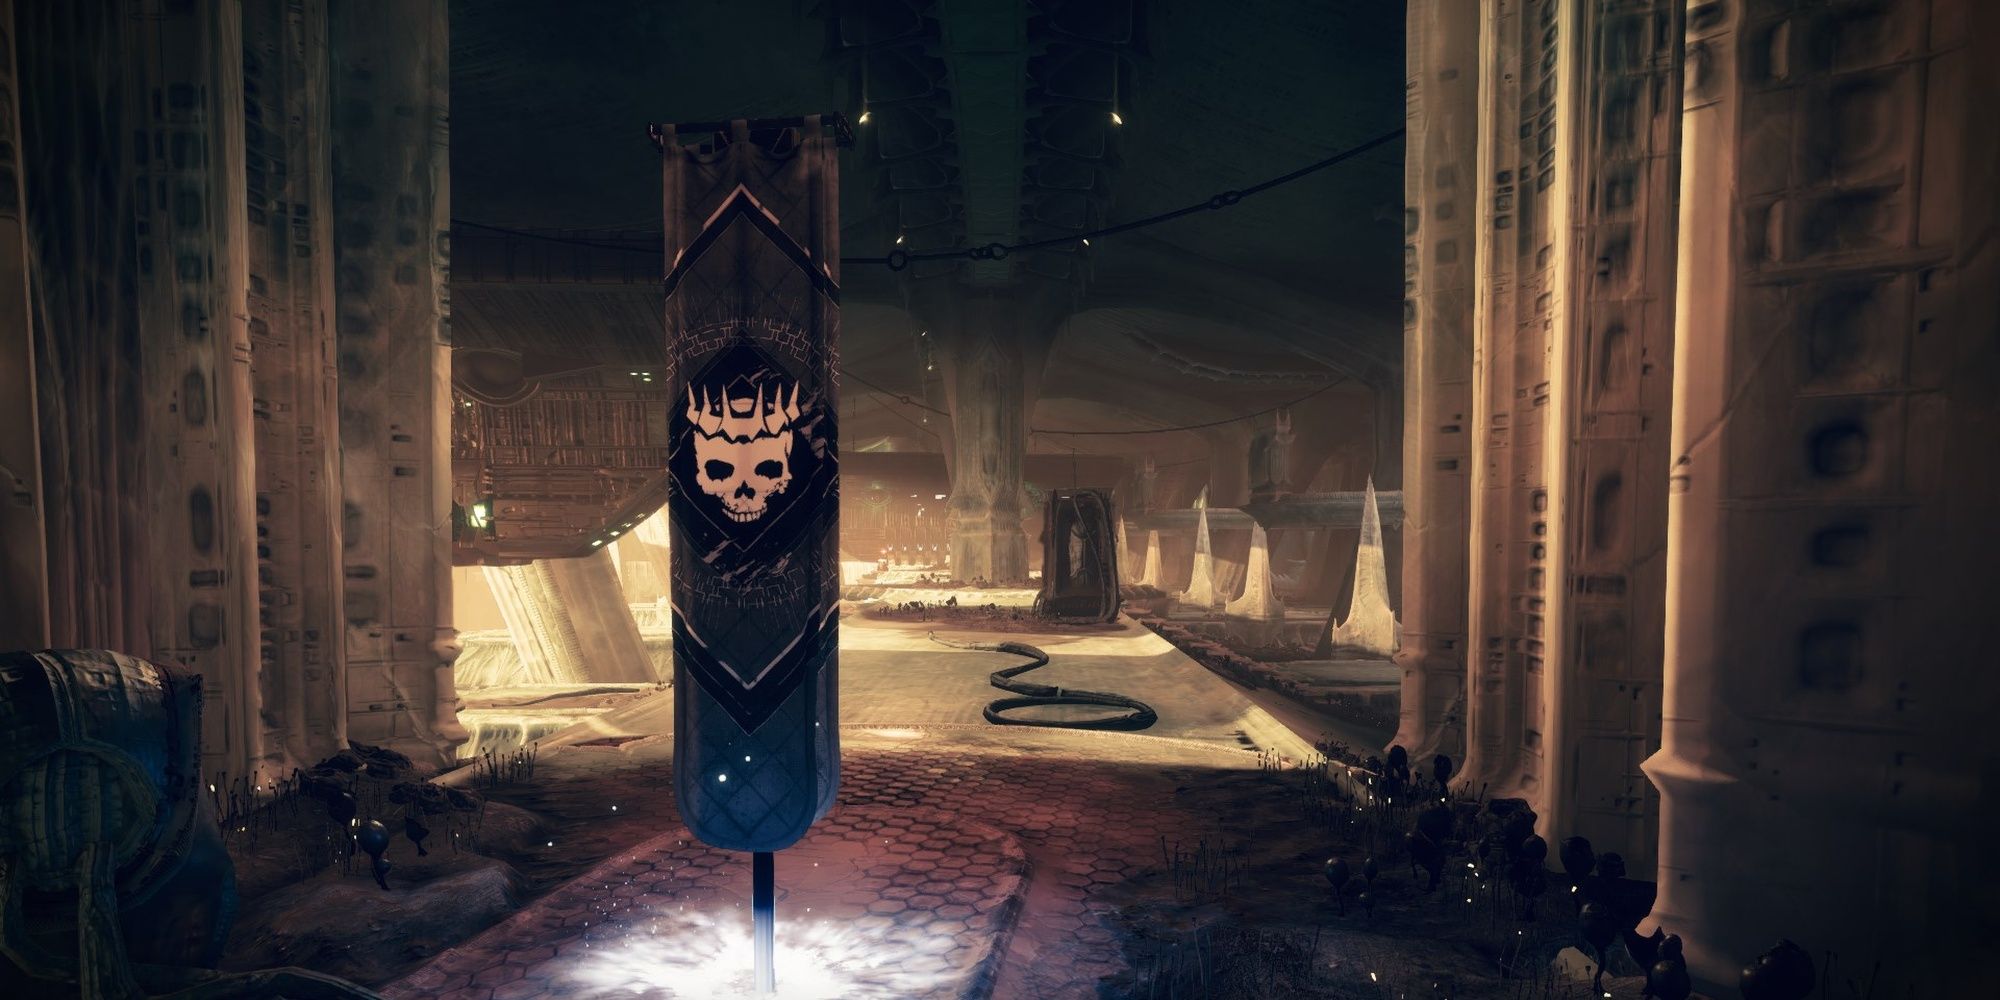
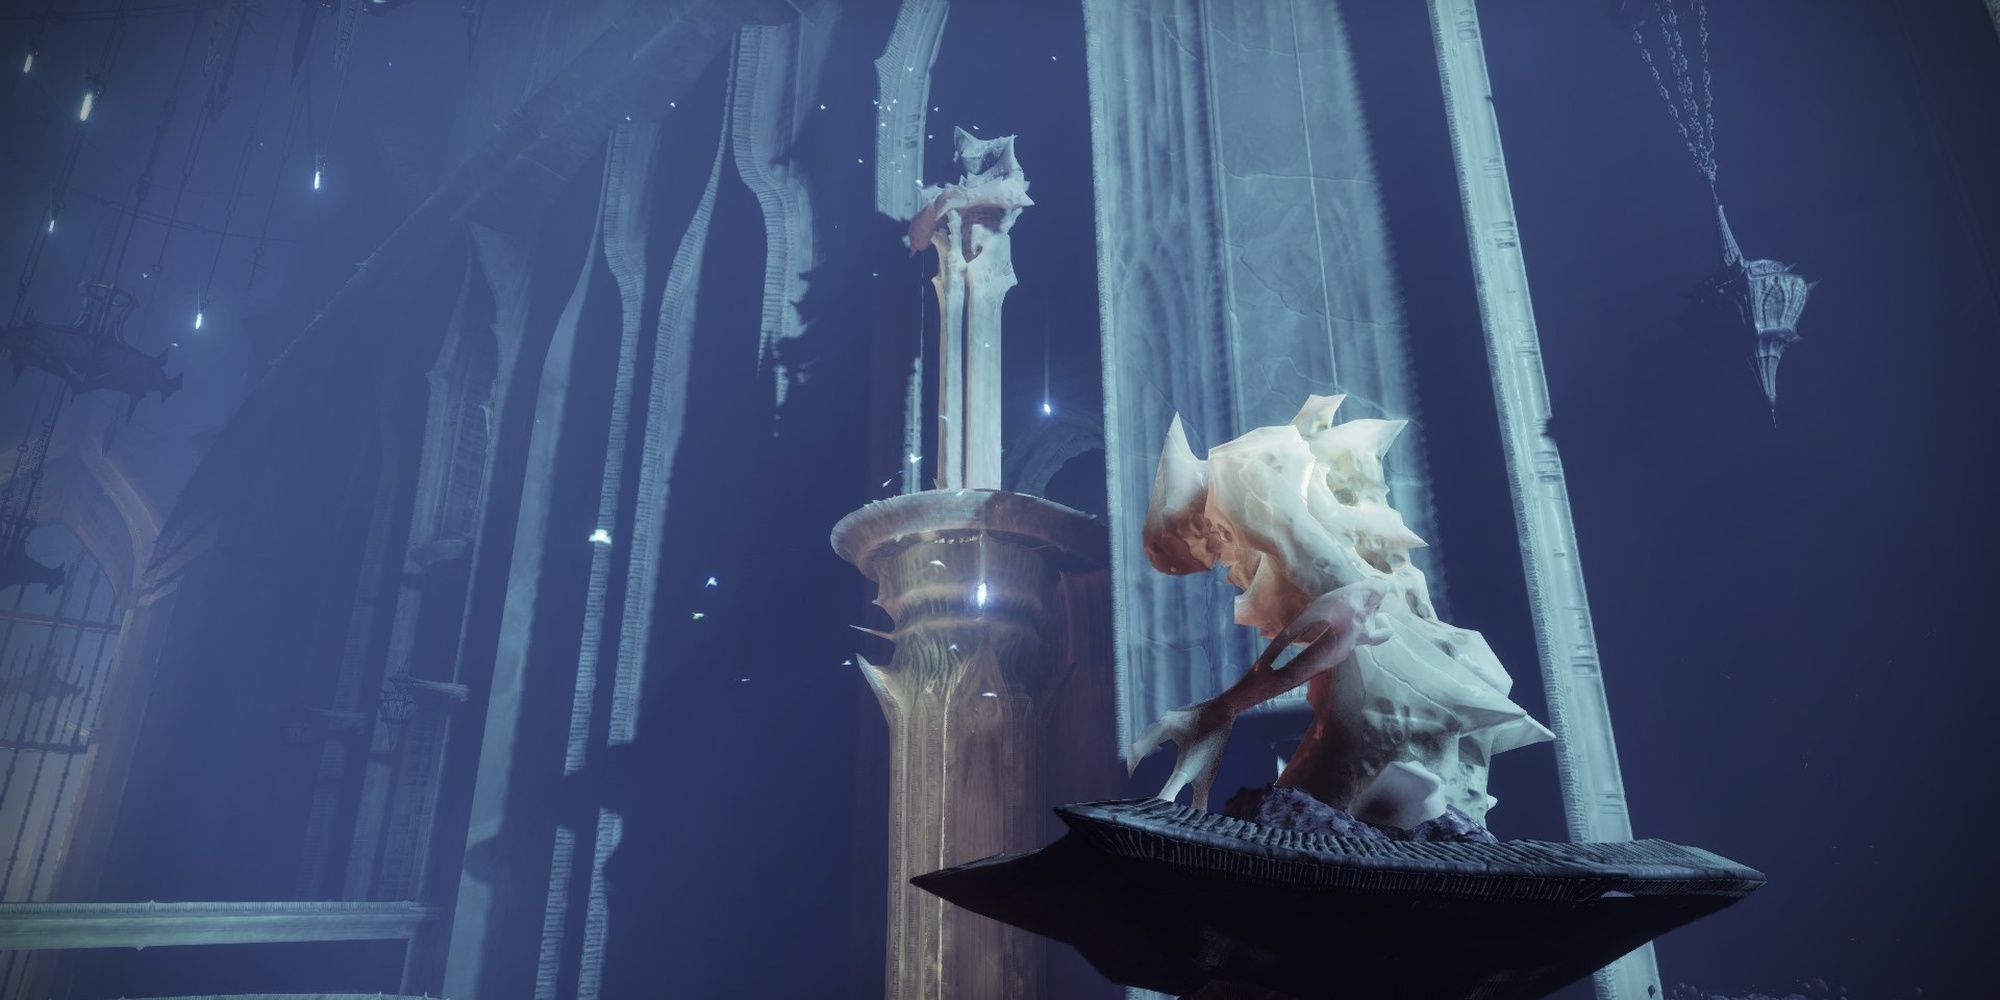
Continue your way through the ship to find a peculiar statue.
Clear out the rest of the supporting units.
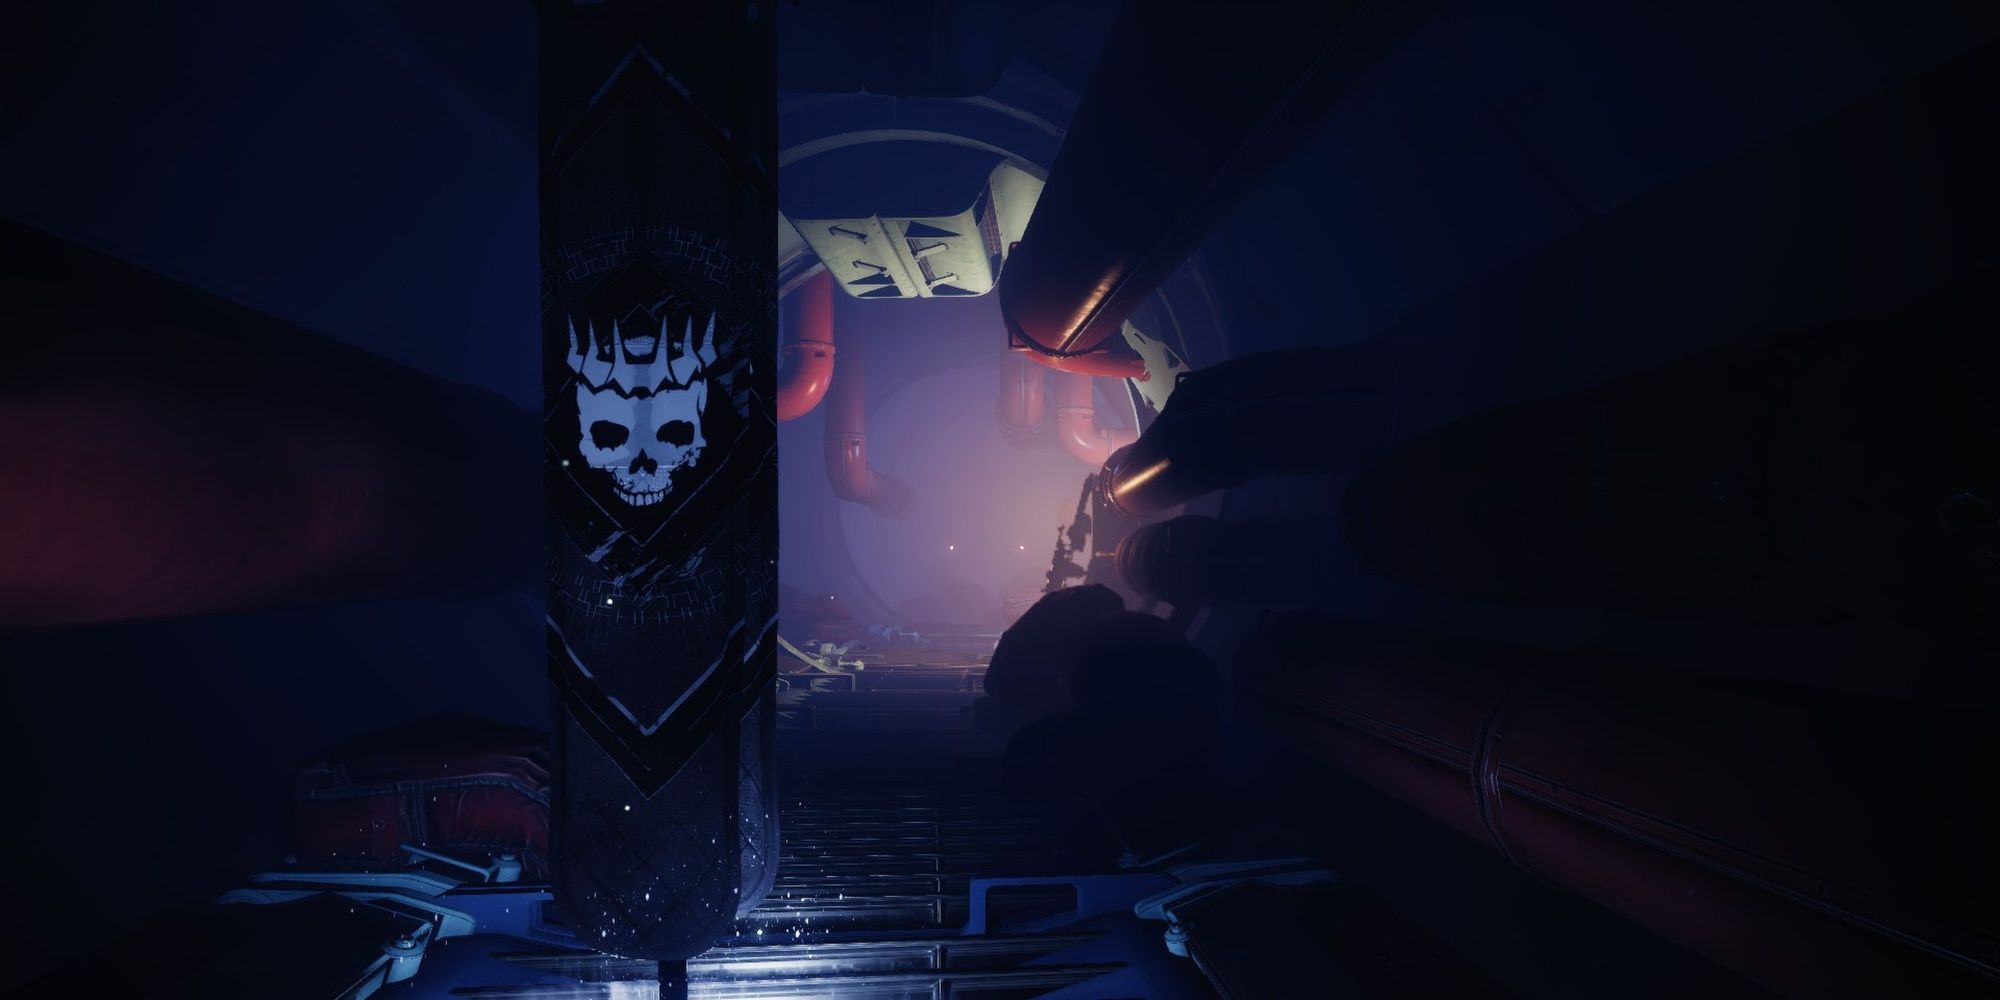
To reach this room, you’ll need to do a little platforming.
The path can be found below.
Moths become vulnerable to damage when they start glowing.
Shooting near their glow will magnetize your bullets to their small body, causing the Hive Moth to explode.
The explosion deals major damage to nearby enemies.
The statue room itself was an ambush of sorts.
Right after grabbing the object floating near the statue, you’ll be rushed by multiple Acolytes and Thrall.
The real concern is the next wave of enemies that spawn to the left of the statue.
You’ll be pushed by an Ogre (anUnstoppablevariant on Master difficulty) and multiple Acolytes at this part.
Ogres deal absurd damage on higher difficulties, especially Master, so play around cover.
Sources of suppression and blinding work exceptionally well against Ogres, so make liberal use of those effects here.
When the path is safe, make your way outside.
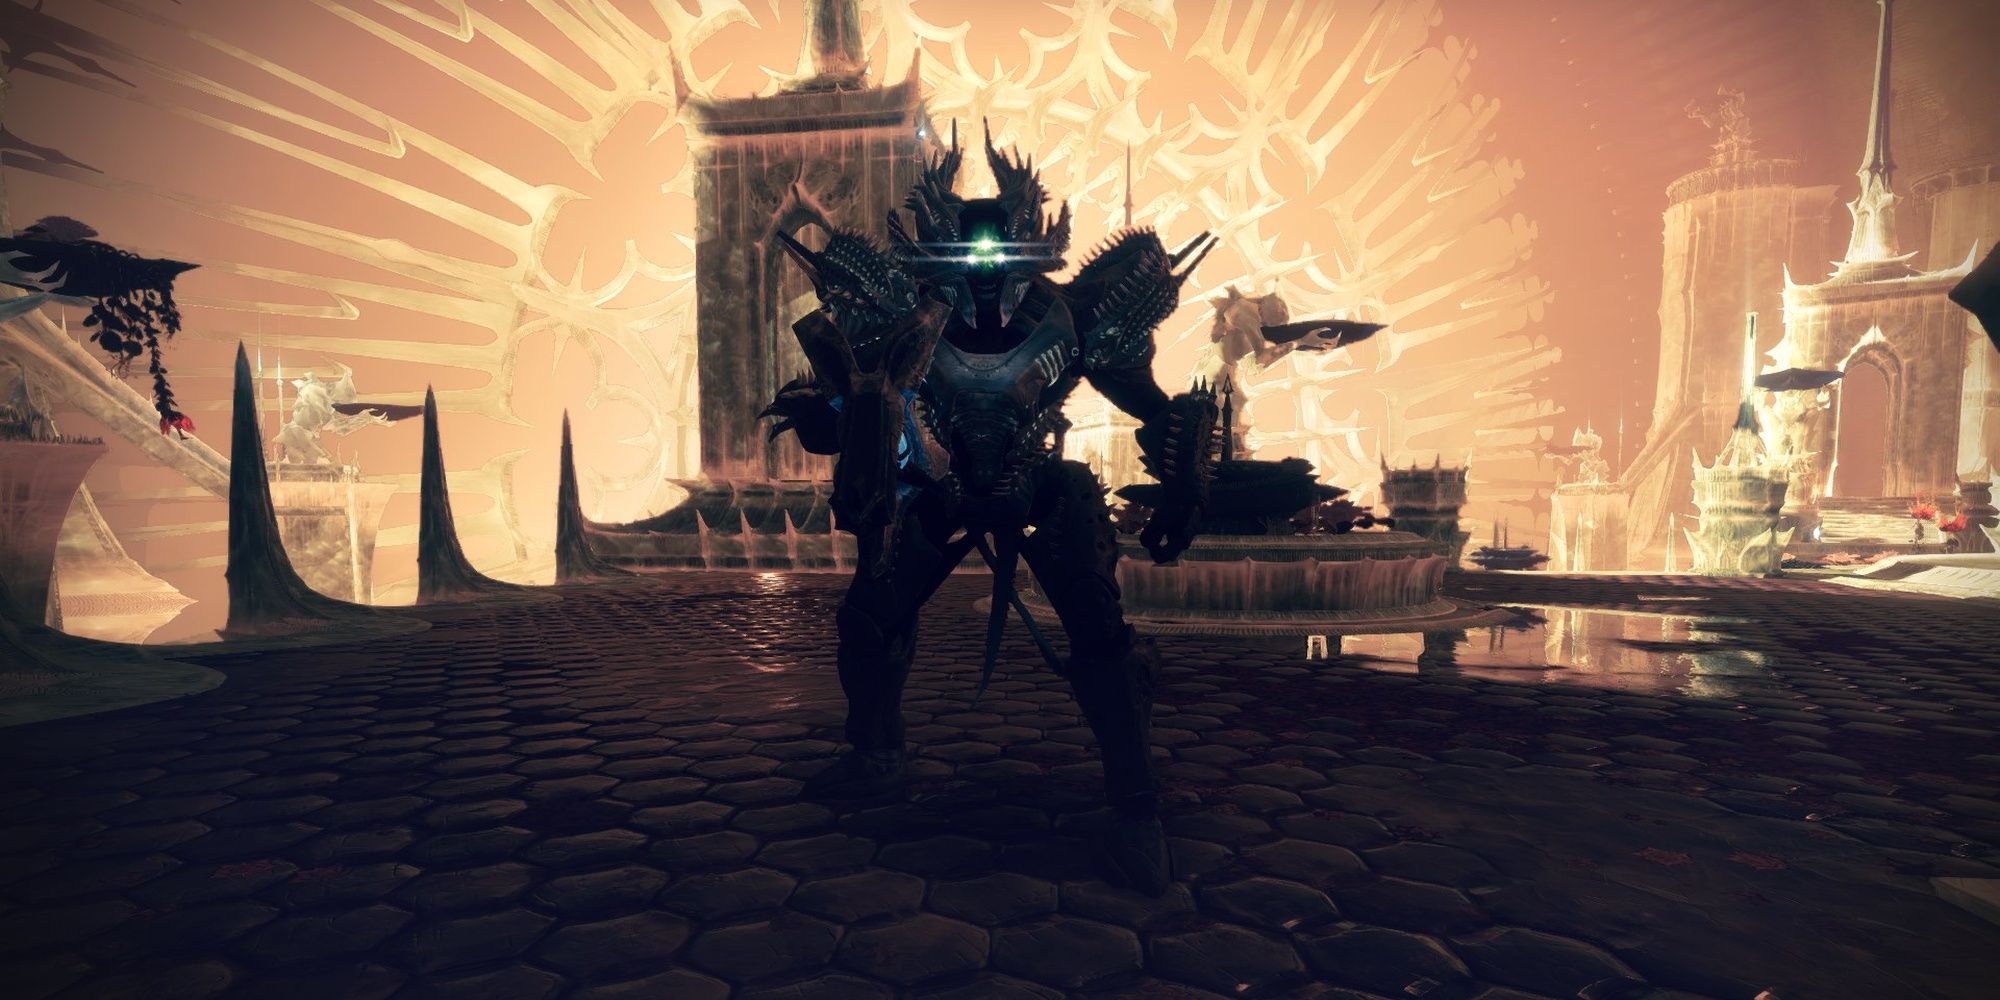
The Lucent Knight will duel-wield two Void shields to protect itself.
With a short telegraph, it will throw both shields back-to-back at you, one-shotting you on higher difficulties.
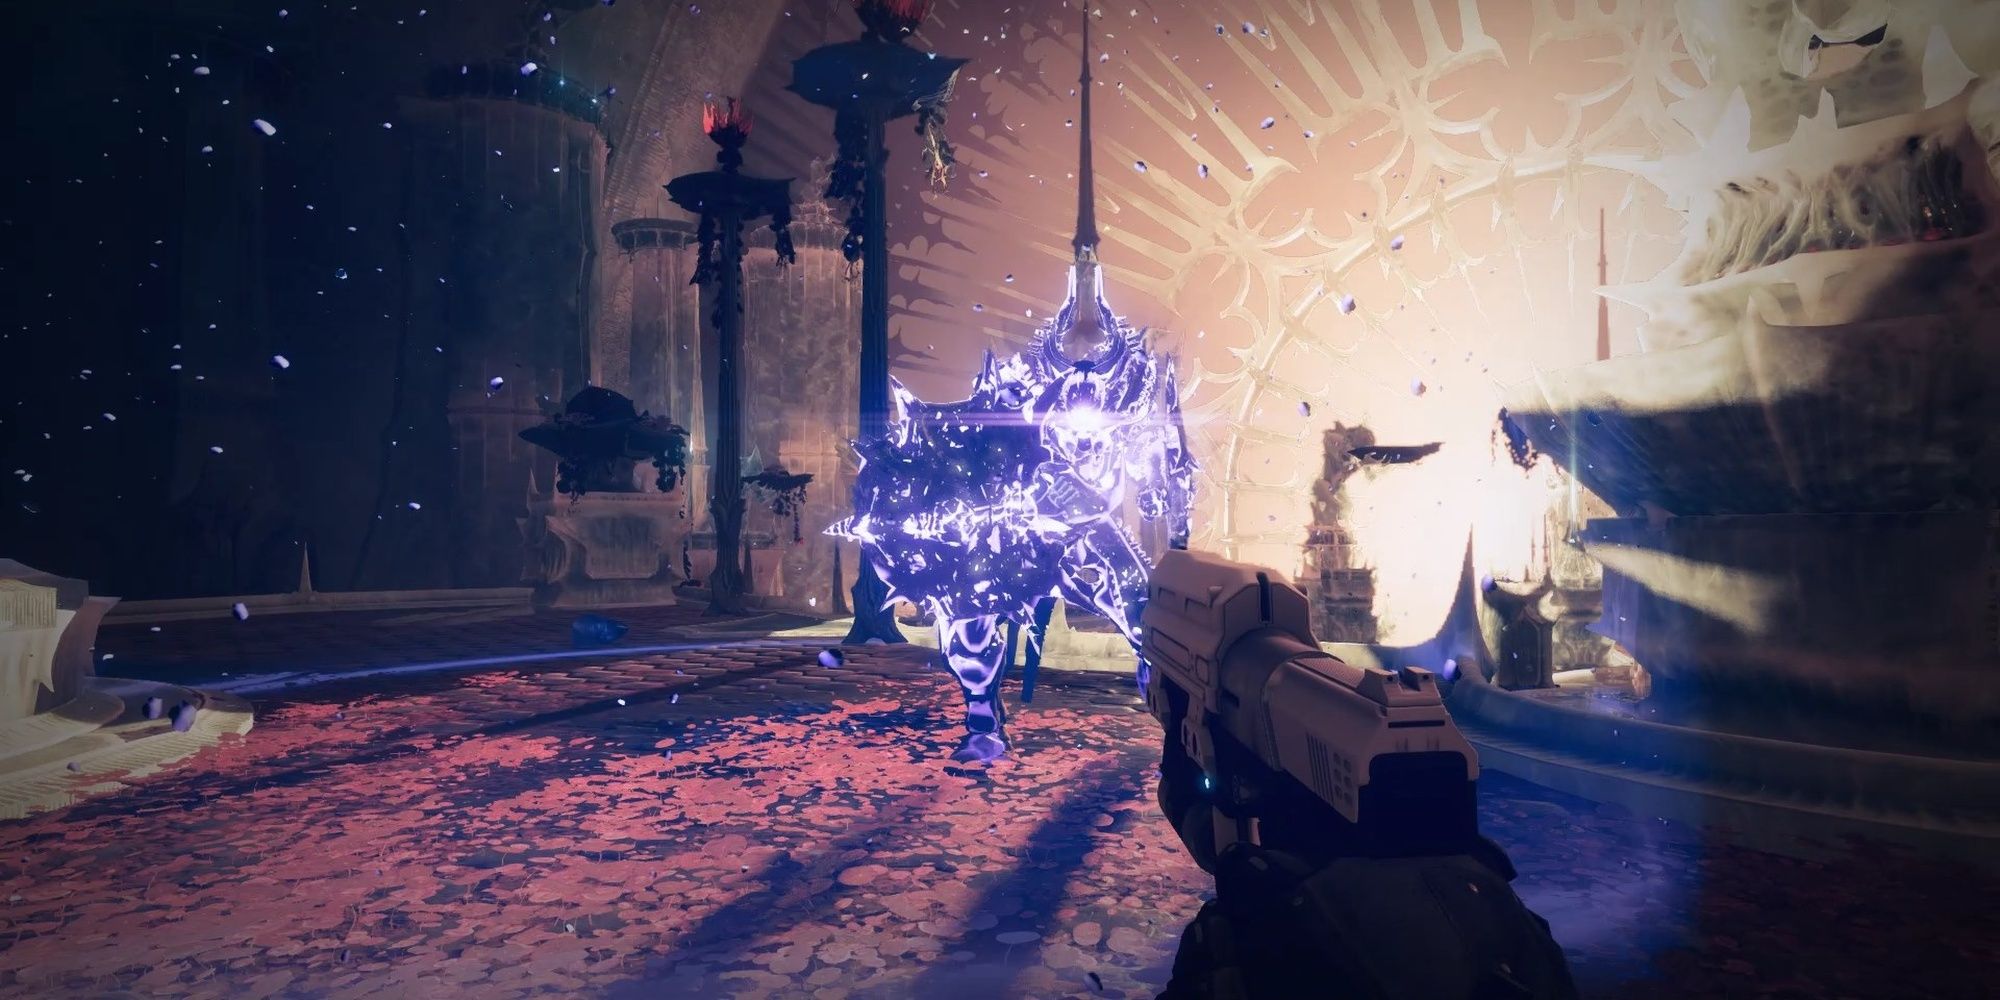
The Knight will regain its shields and keep doing this attack until the Super ends.
Lucent Lightbearers must wait at least 30 seconds to Super again.
Counter:Suppressing the Knight will immediately end its Super.
If you’re unable to do so, breaking line of sight with the enemy is recommended.
Stay invisible or behind cover until the Super ends.
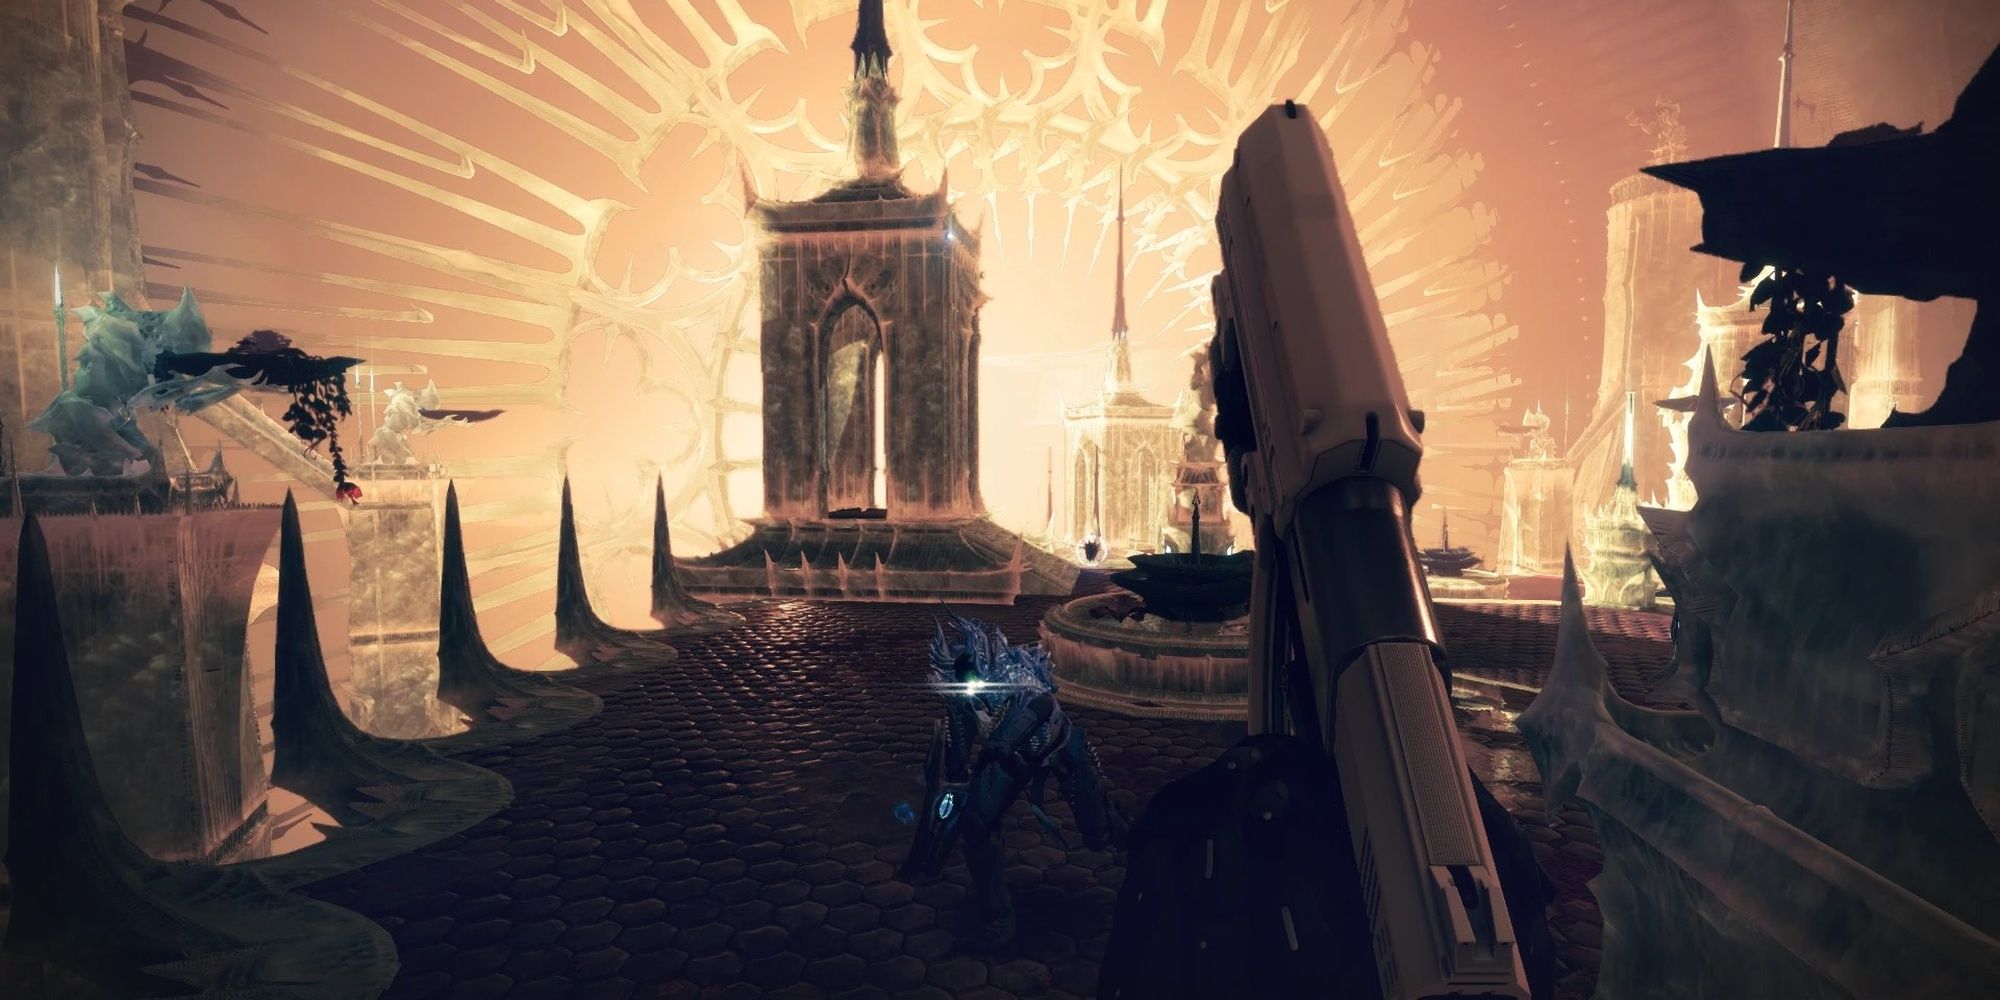
CITAN BARRICADE
The Lucent Knight will create a Towering Barricade in front of itself.
Both the Knight and allied Hive can shoot through the Barricade, similar to the Citan’s Rampart Exotic.
The Barricade has slightly less HP than a typical Barricade.
Counter:Special and Heavy weapons make short work of the Barricade.
Grenades can also be used to damage the Barricade and/or the Knight behind it.
SUPPRESSIVE GRENADE
The Lucent Knight will lob a grenade near you, detonating shortly afterward.
The grenade deals moderate damage and inflicts suppression for a short time, preventing you from using any abilities.
Counter:Slide away from the grenade immediately, or find a nearby piece of cover.
RESURRECTION
When slain, the Lucent Knight will leave its Ghost behind.
If left unattended, the Ghost will resurrect the Knight to full health.
Counter:Use the finisher button near the Ghost to crush it, preventing the Knight from respawning.
Donotmaintain line of sight when its Super is active.
Wait for the Super to end before using your weapons and abilities to damage it.
You’ll need to kill the Knight twice and crush its Ghost to finish this part of the encounter.
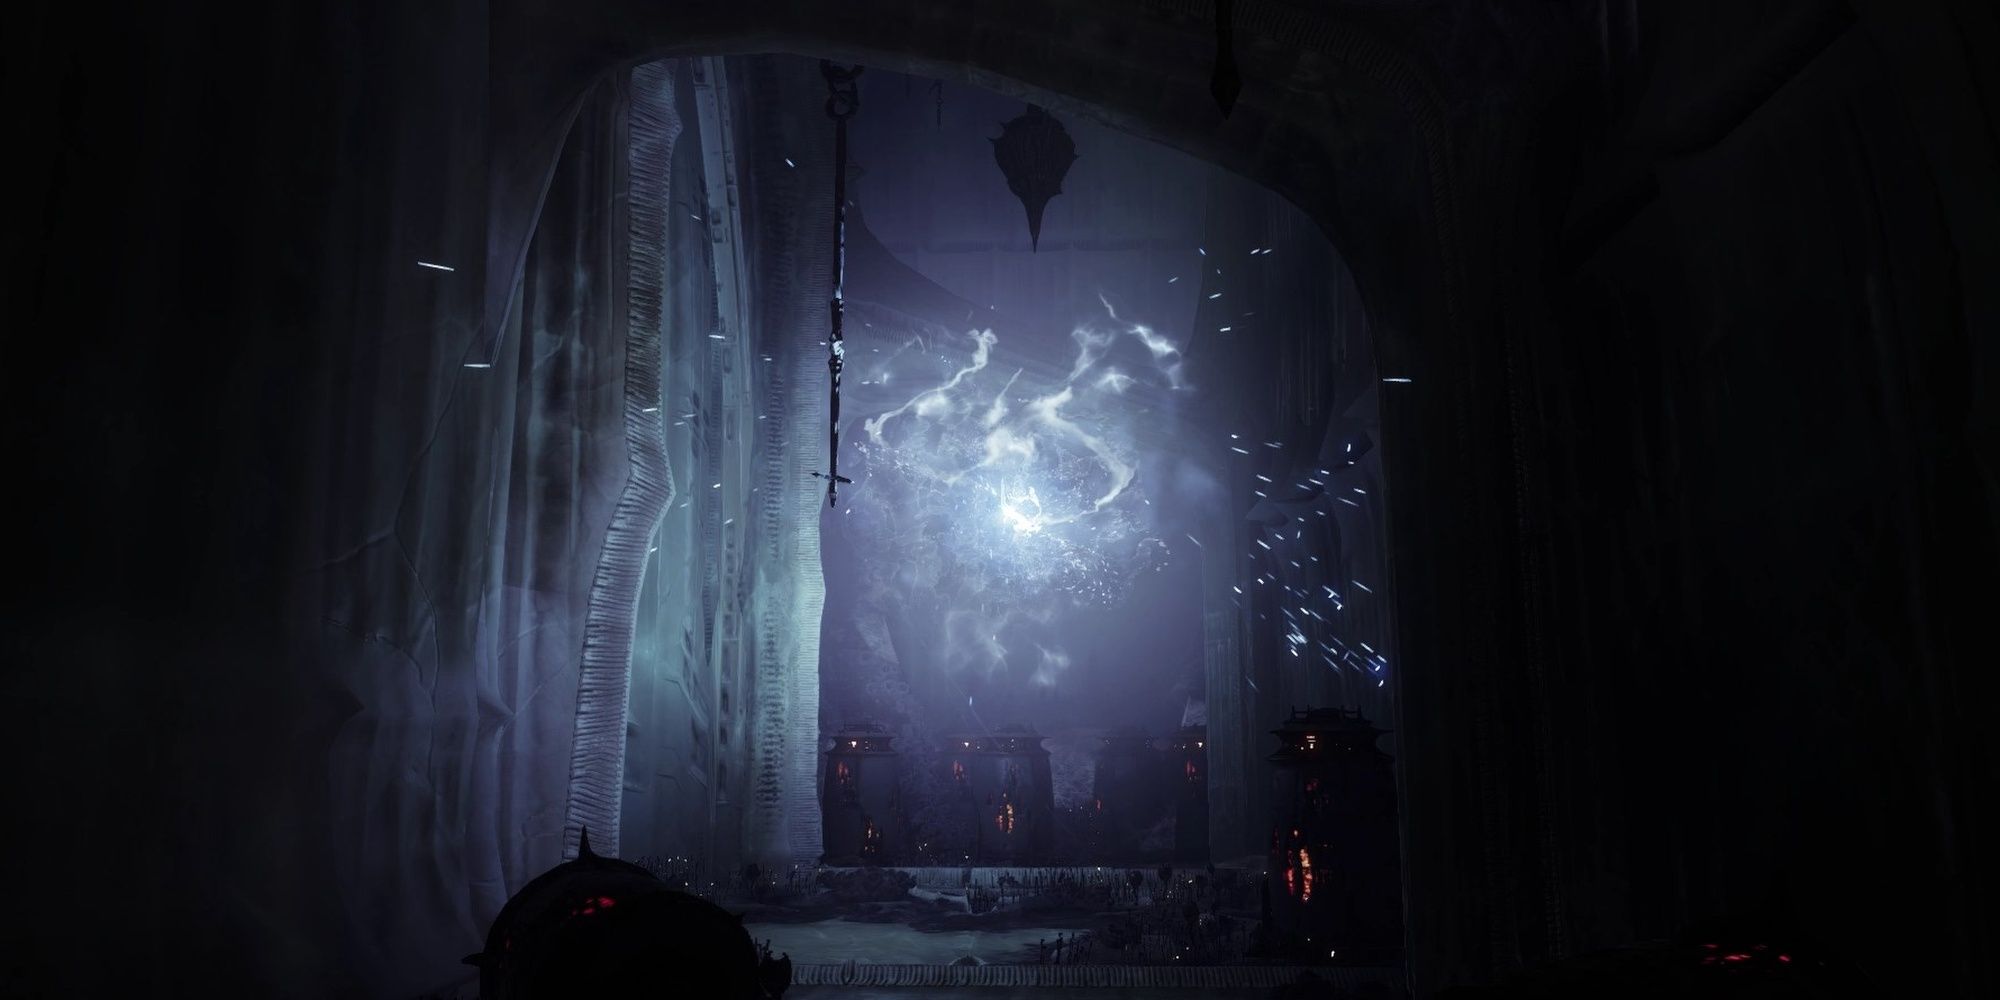
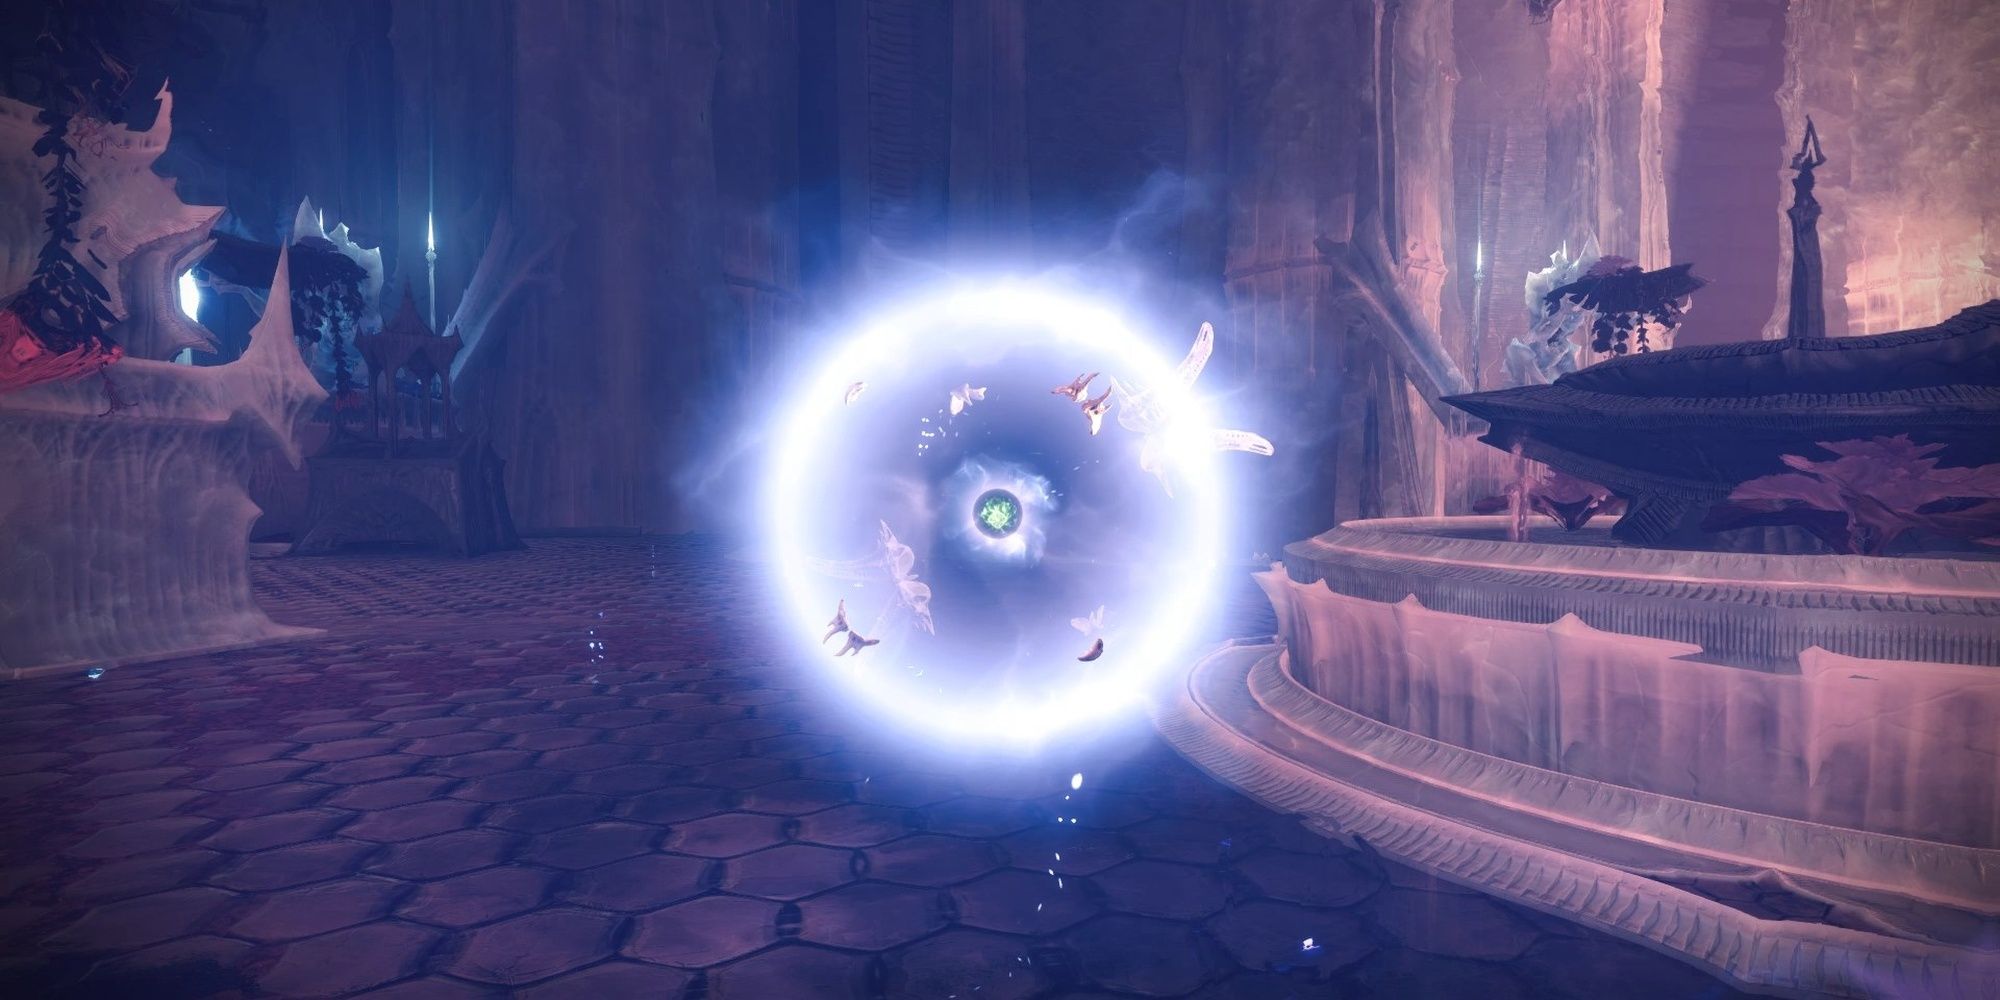
As with the previous encounter, you must collect tribute shards off slain Hive to charge the portal.
The tribute deposit plate is right beside the portal at the center of the arena.
Rally the nearby flag, then stand on the plate when you’re ready.
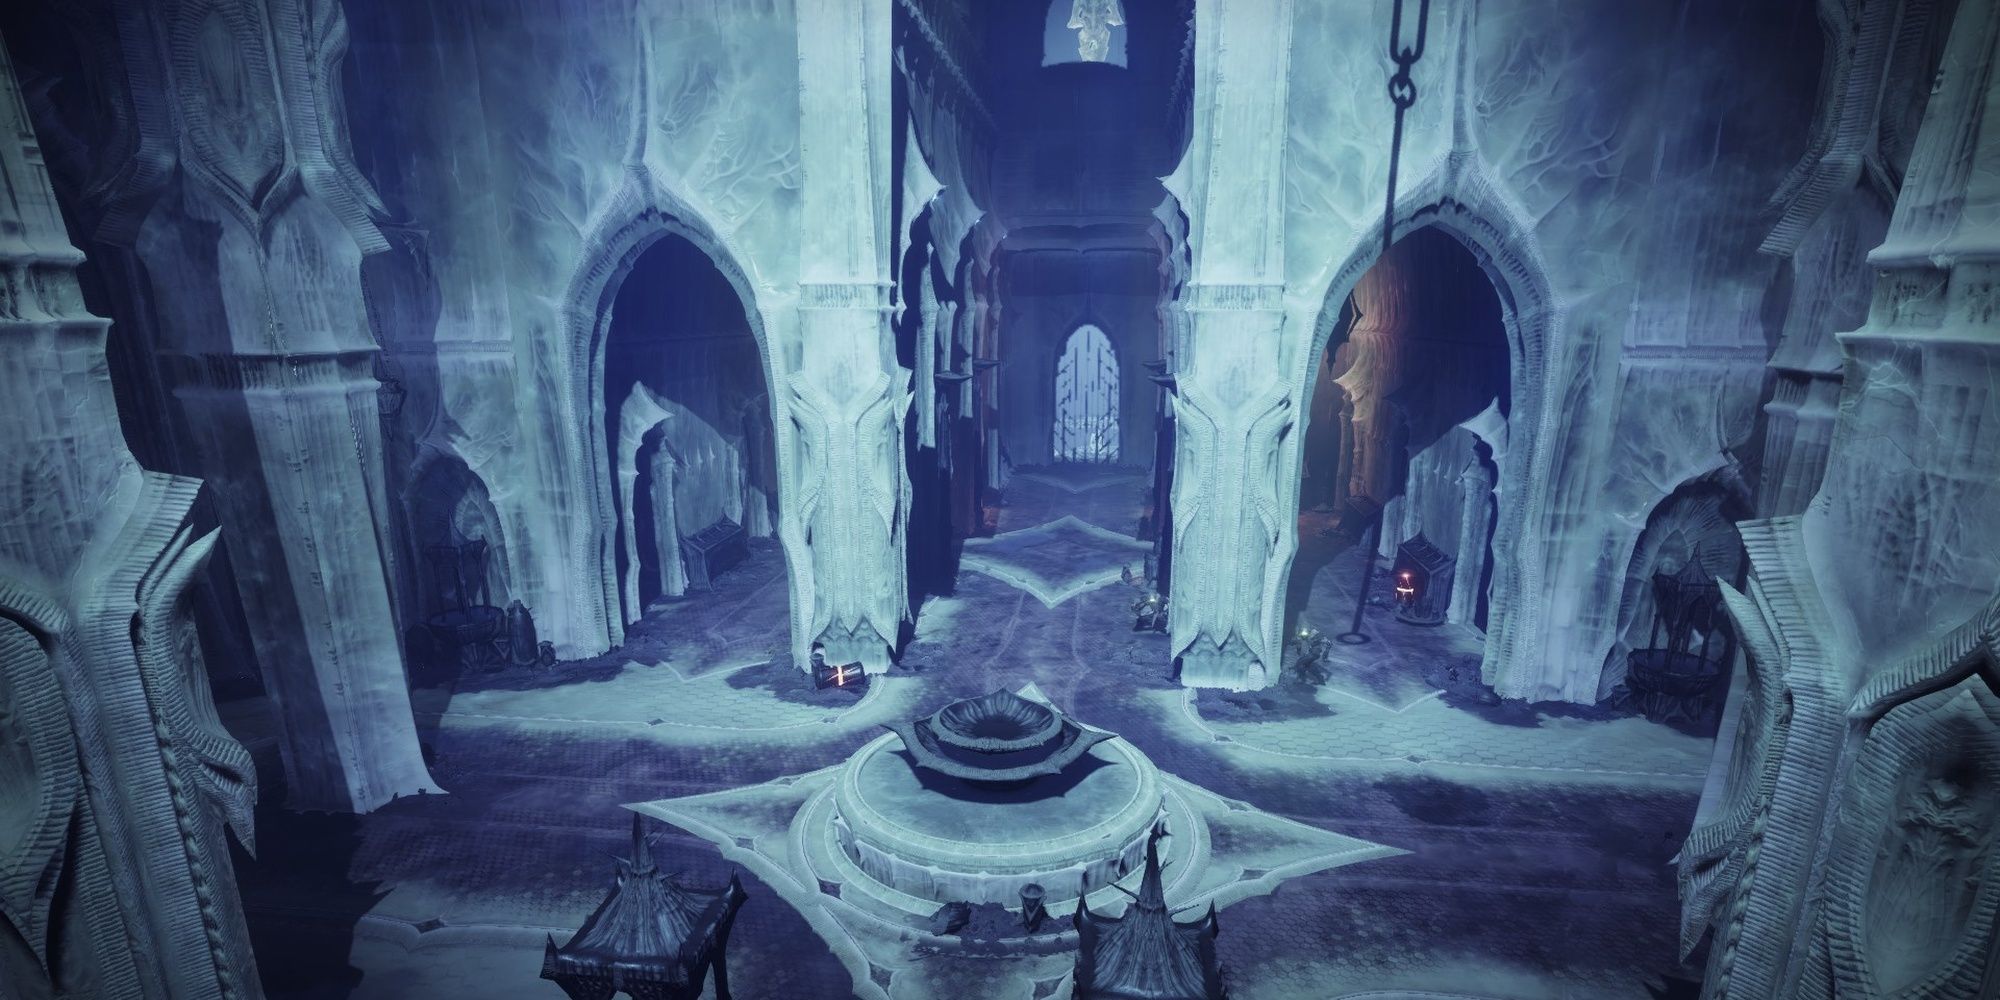
Once again, there will be three waves of enemies in this encounter.
Take it slow, stick to cover, anddon’tenter the room across from the portal.
We recommend backtracking to where you originally came from and fighting enemies from there.
It offers a good vantage point and plentiful cover.
Backtrack to the upper platform you came from, or use as much cover as possible.
The Master variant of this mission ends here.
Legendary campaign players following this guide still have one more encounter before the mission is over.
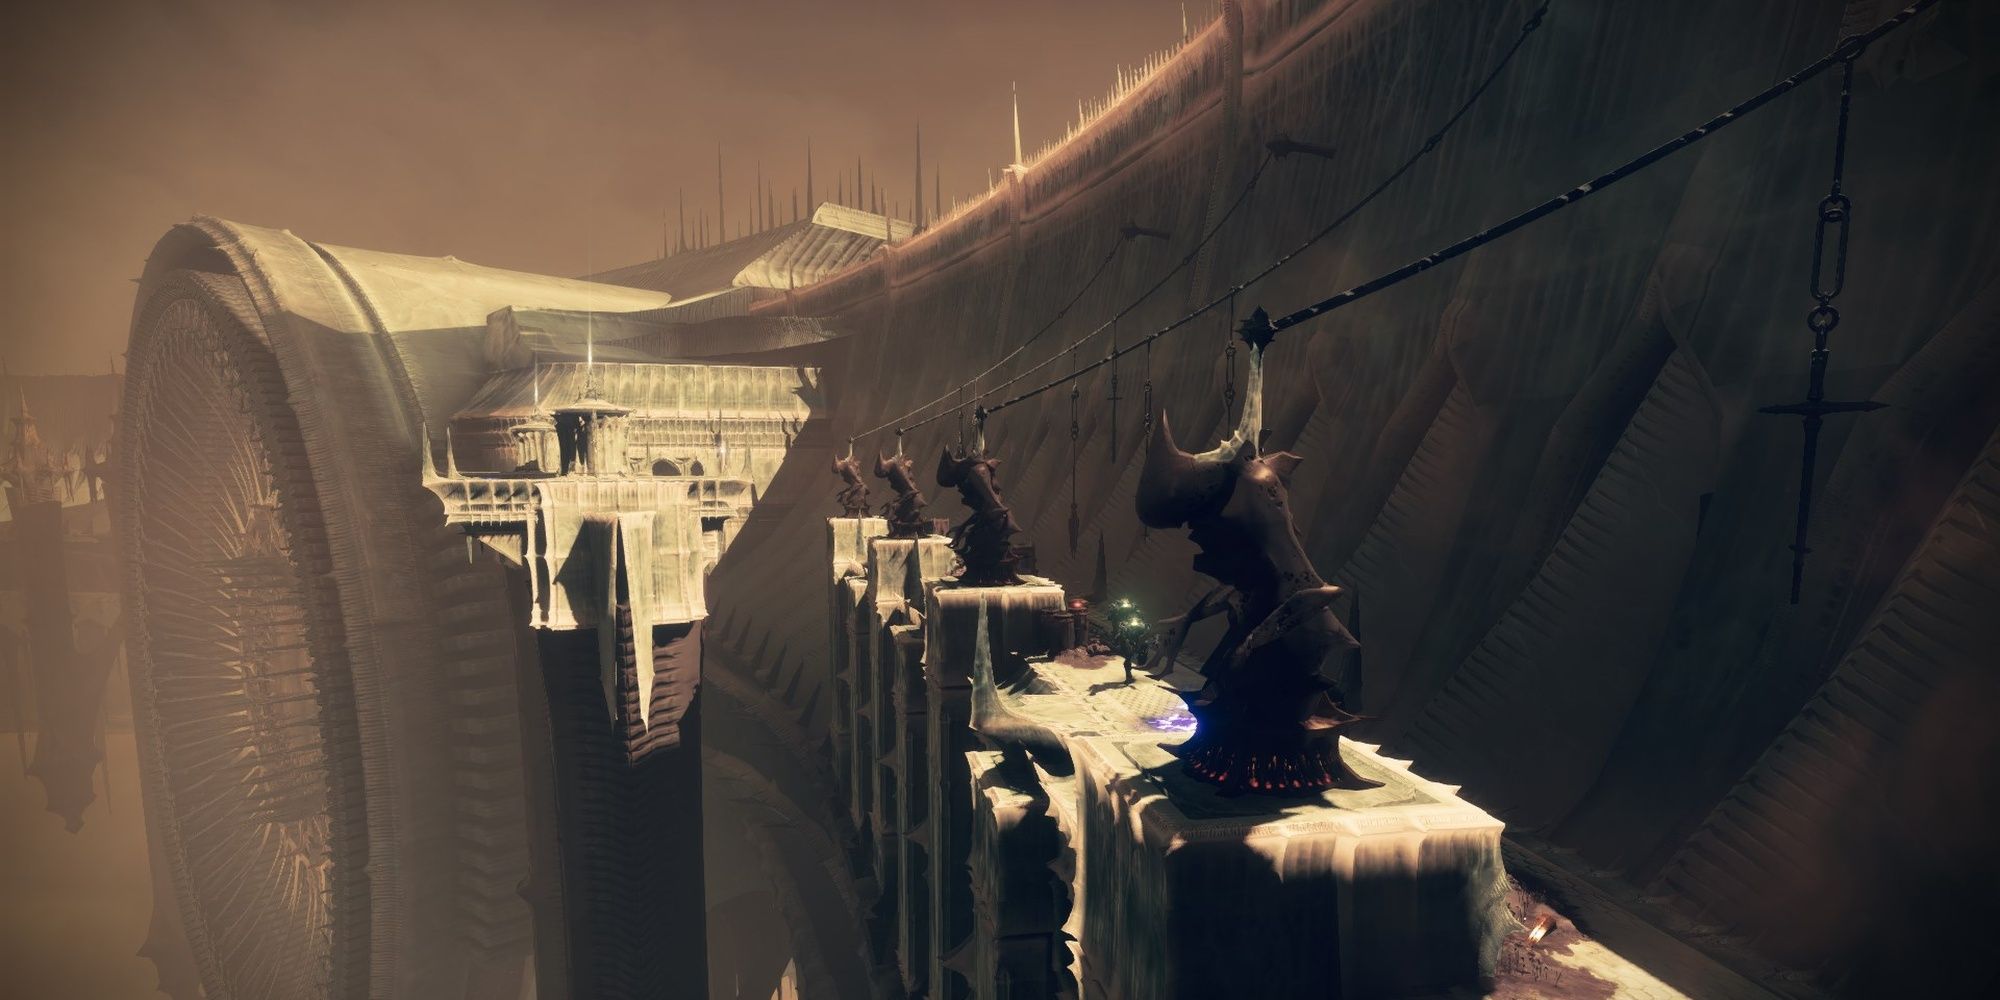
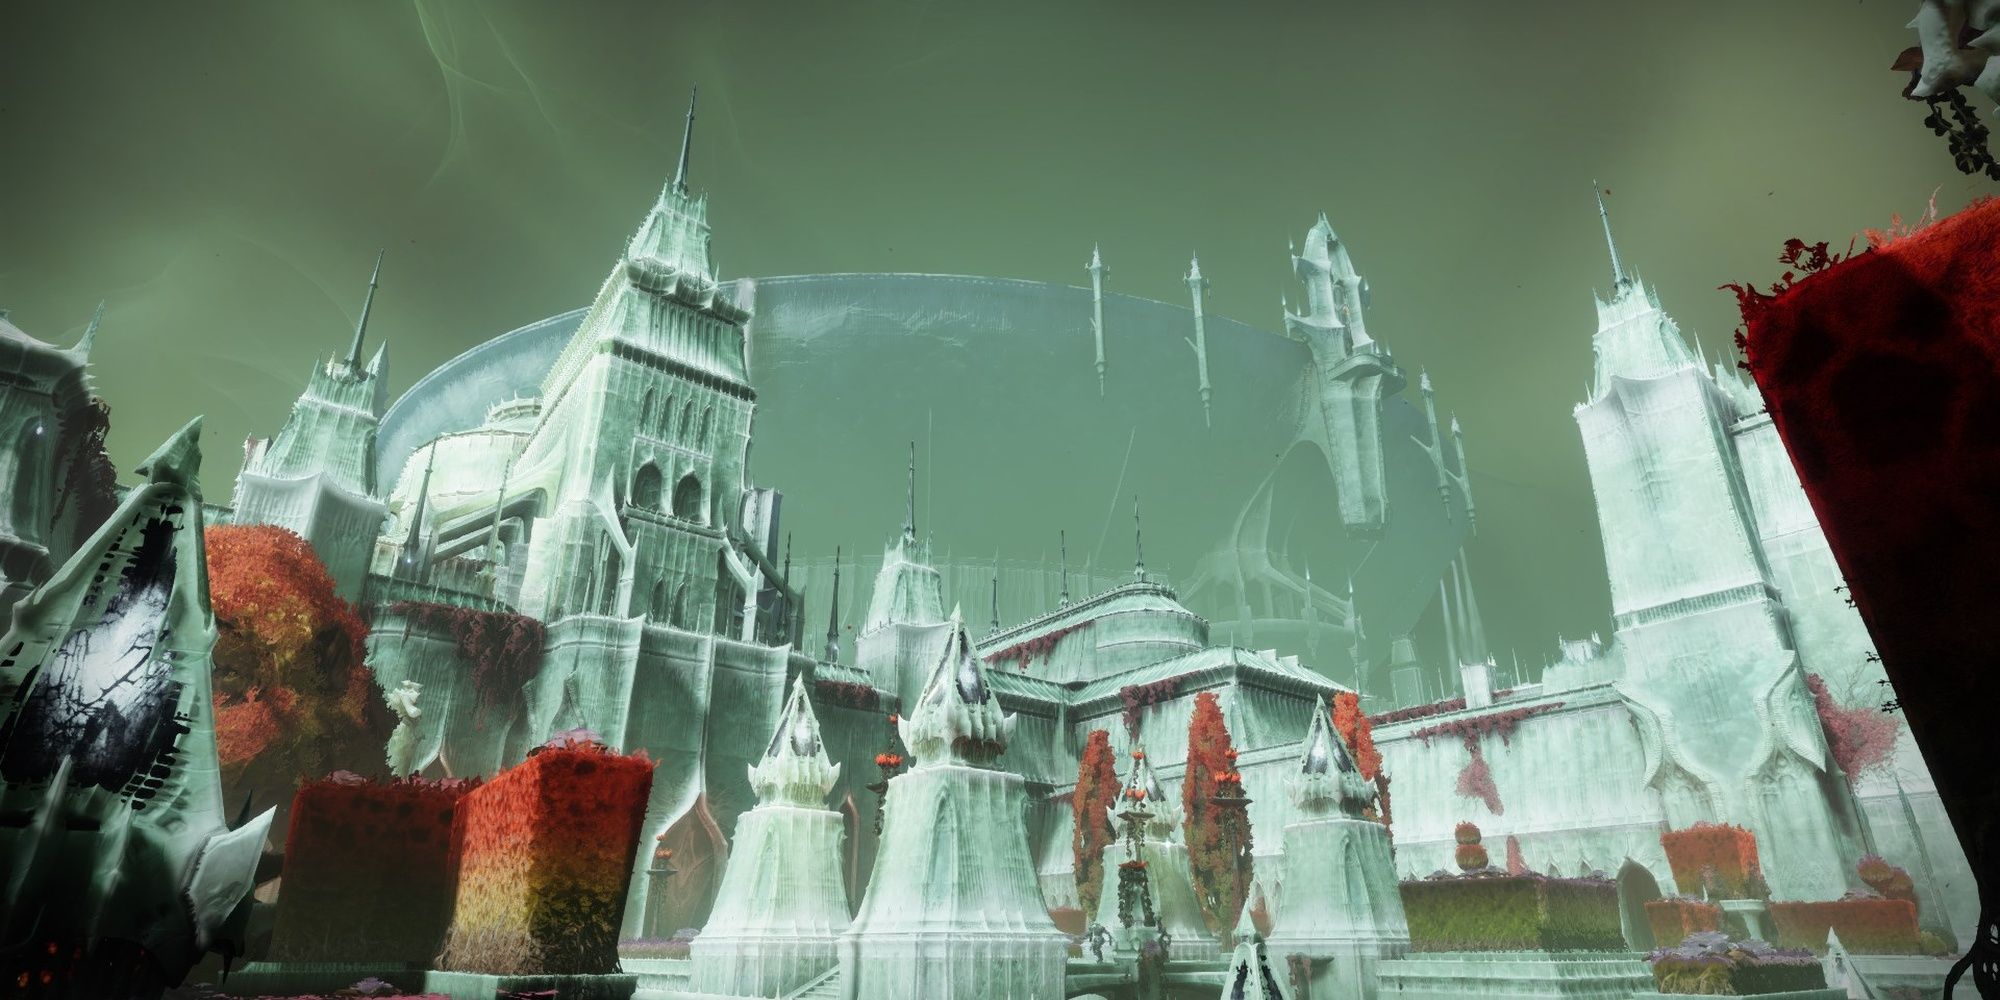
Savathun’s Throne World
You’ve now entered Savathun’s Throne World.
Moving up a little bit will spawn an Ogre buffed by a Moth.
Use cover and play cautiously.
The final encounter is up ahead.
Dealing enough damage to her will end the mission, so give her everything you got.
Heavy, Supers, and Special weapons should melt her health bar quickly.
Just remember to take cover whenever she pops a Super, similar to the Lucent Knight encounter earlier.
Next:Destiny 2: The Witch Queen Complete Guide And Walkthrough
