Part of what makes the Deep Stone Crypt raid so memorable is its difficulty.
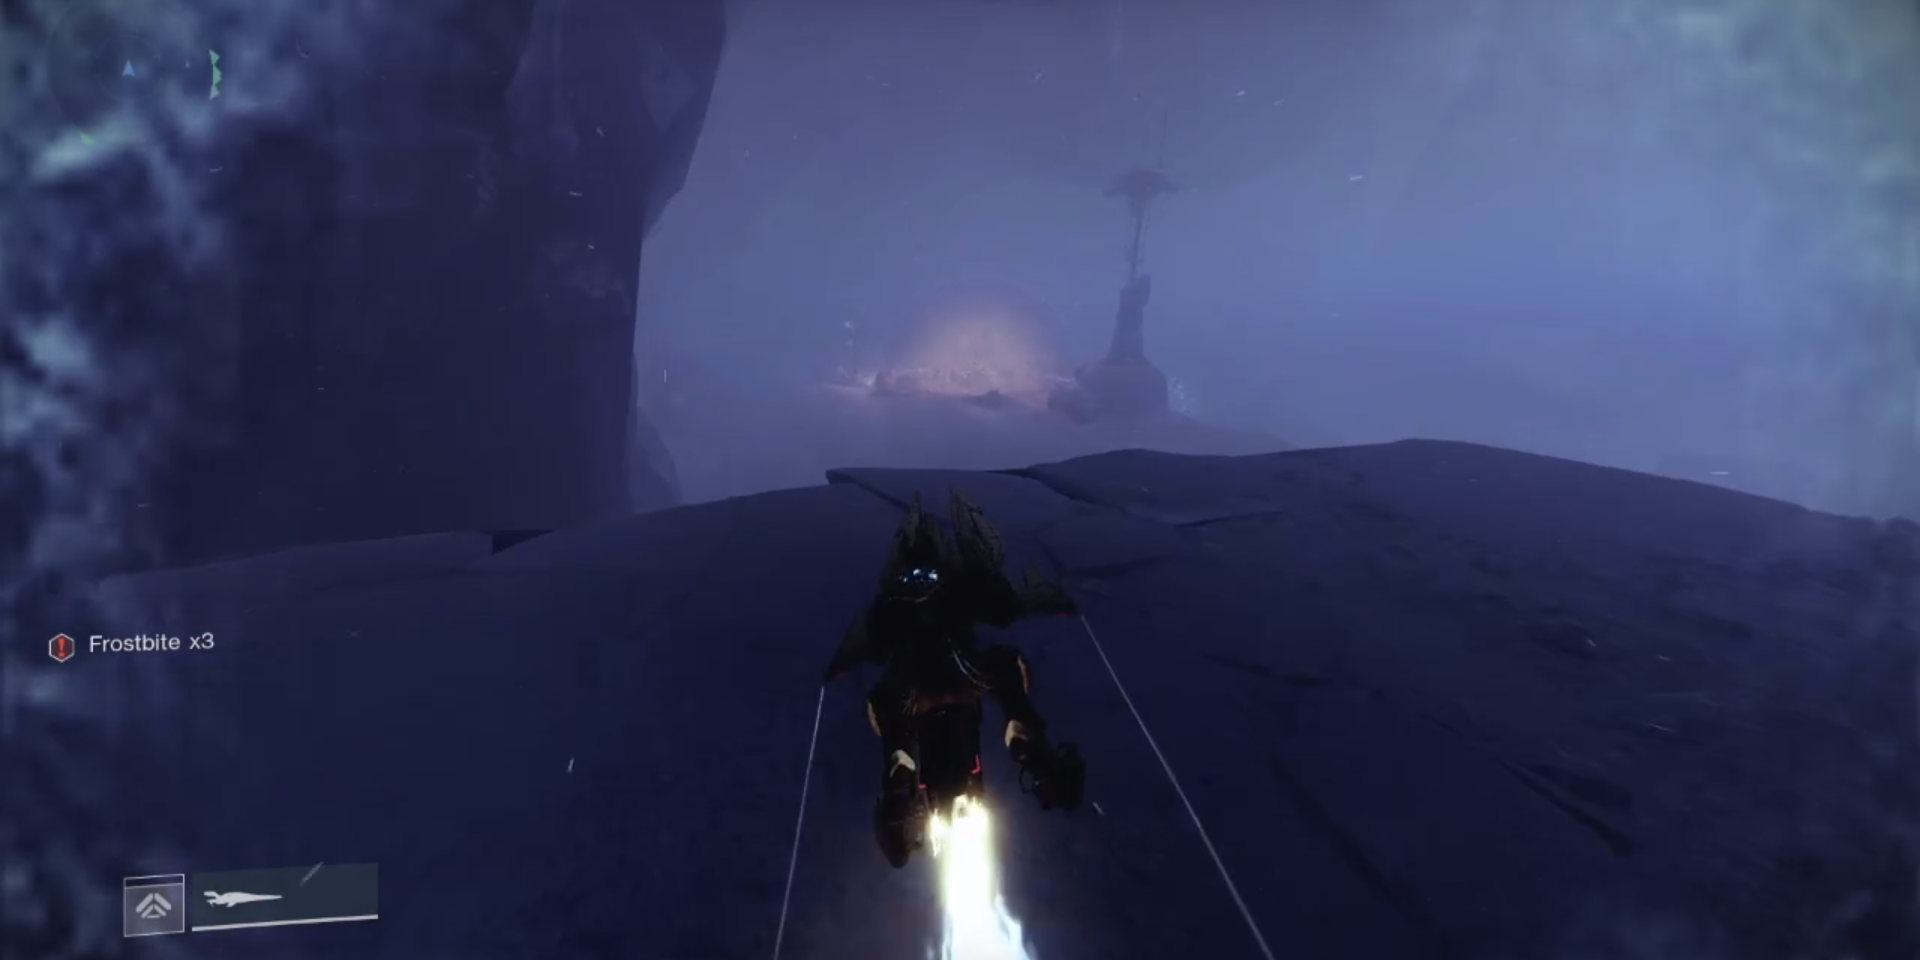
Every second you are out in the blizzard, you will obtain a stack of the Frostbite debuff.
If your Frostbite stacks reach ten, you die.
Lamp posts that dot the area denote the correct direction to travel to.
Every fireteam member must reach the airlock at the end of the path to start the first encounter.
There is also a hidden chest that can be found off from the main path.
YouTuber Esoterickk has a video on where to find it thatyou can watch here.
Two Guardians will be designated to either the left or right side of the arena.
One player from each side will take up the Scanner role.
As they descend to the underground, have the topside Guardians kill enemies until the Scanner buff drops.
The opposite side will then grab the buff and call out their two glowing panels.
The Operator should be firing at the panels during this.
When all four panels have been shot, the DPS phase begins.
Immediately have the Operator deposit their buff into the augment terminal underground for someone else to take.
Have a Scanner player deposit their Scanner buff for the underground player to take.
Topside Guardians will then damage the fuse.
Players have one minute to destroy as many fuses as possible.
These enemies drop the Scanner and Operator buffs on death, respectively.
Sentinel Servitors will also spawn during the encounter, preventing the augment terminal from working.
Players without any designated augment roles should kill these Servitors as soon as possible.
For information regarding Crypt Security challenges and more in-depth strategies,consult this article.
Split the raid team into two teams of three.
Three players willstay on Europawhile the other three go into space.
The objective is to destroy six Servitorsthree on Europa and three in spaceto make a copy of Atraks-1 vulnerable.
Grab the purple orb beside the space pods to start the encounter.
Have the non-Operator members of space team enter the space pods.
Conversely, the Scanner buff will spawn on the space station for space team to take.
When all six Servitors are destroyed, Atraks-1 will initiate Extinction Protocol and begin a wipe mechanic.
Atraks' phantom takes more damage than his physical counterpart does.
Killing four of Atraks' clones will spawn a fresh set of Servitors.

Once his phantom vanishes, Atraks will leave behind a glowing orb that grants the Replication debuff.
Have a non-Operator player grab the debuff, preferably someone without the Scanner augment.
They must coordinate with the Operator when to refresh the debuff’s 40-second duration.

Operators do so by shooting the glowing orb above a player’s head.
The same airlock cannot be used twice until three other airlocks have been used.
It is highly recommended to purge three players at once instead of four.

The fourth debuffed player from Ground Team would be purged in a separate airlock.
Every player must meet inside the space station for this phase.
This final part is a condensed version of the encounter without the Replication debuff or Servitors.

Scanners will call out which clone is glowing that the team must kill.
Kill as many clones as necessary to finish the encounter.
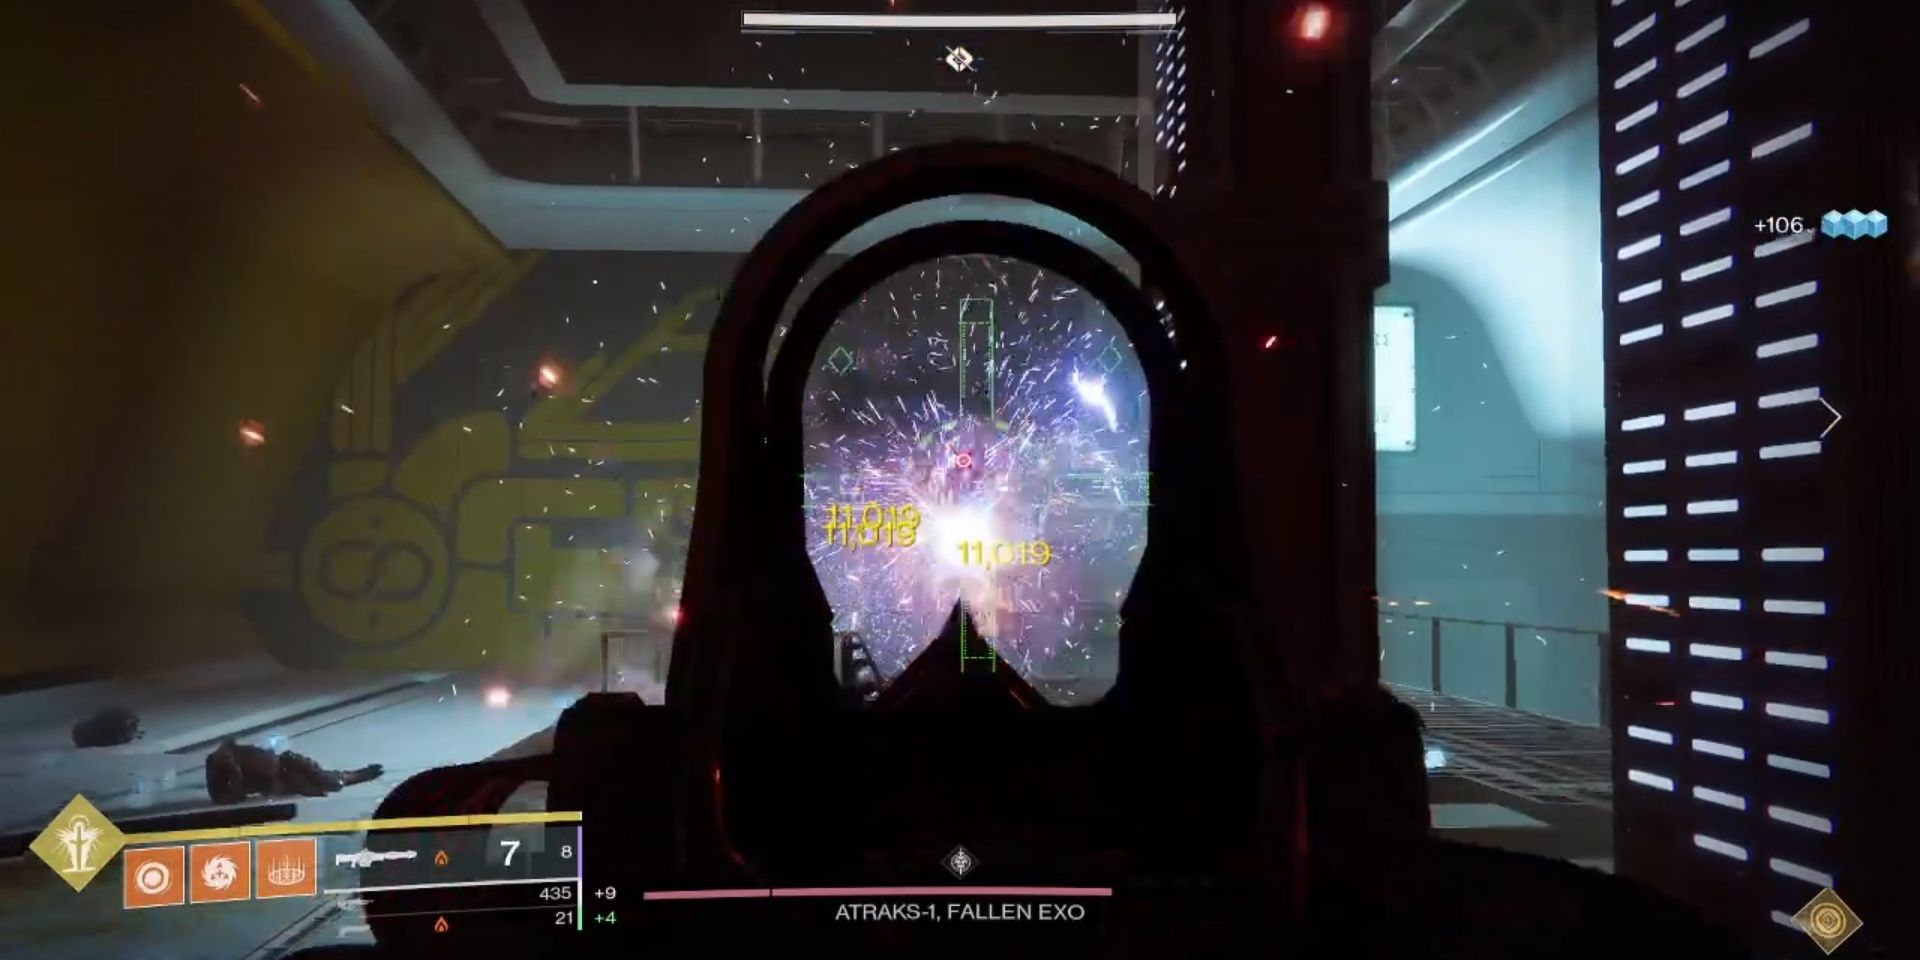
For information regarding Atraks-1, Fallen Exo challenges and more in-depth strategies,consult this article.
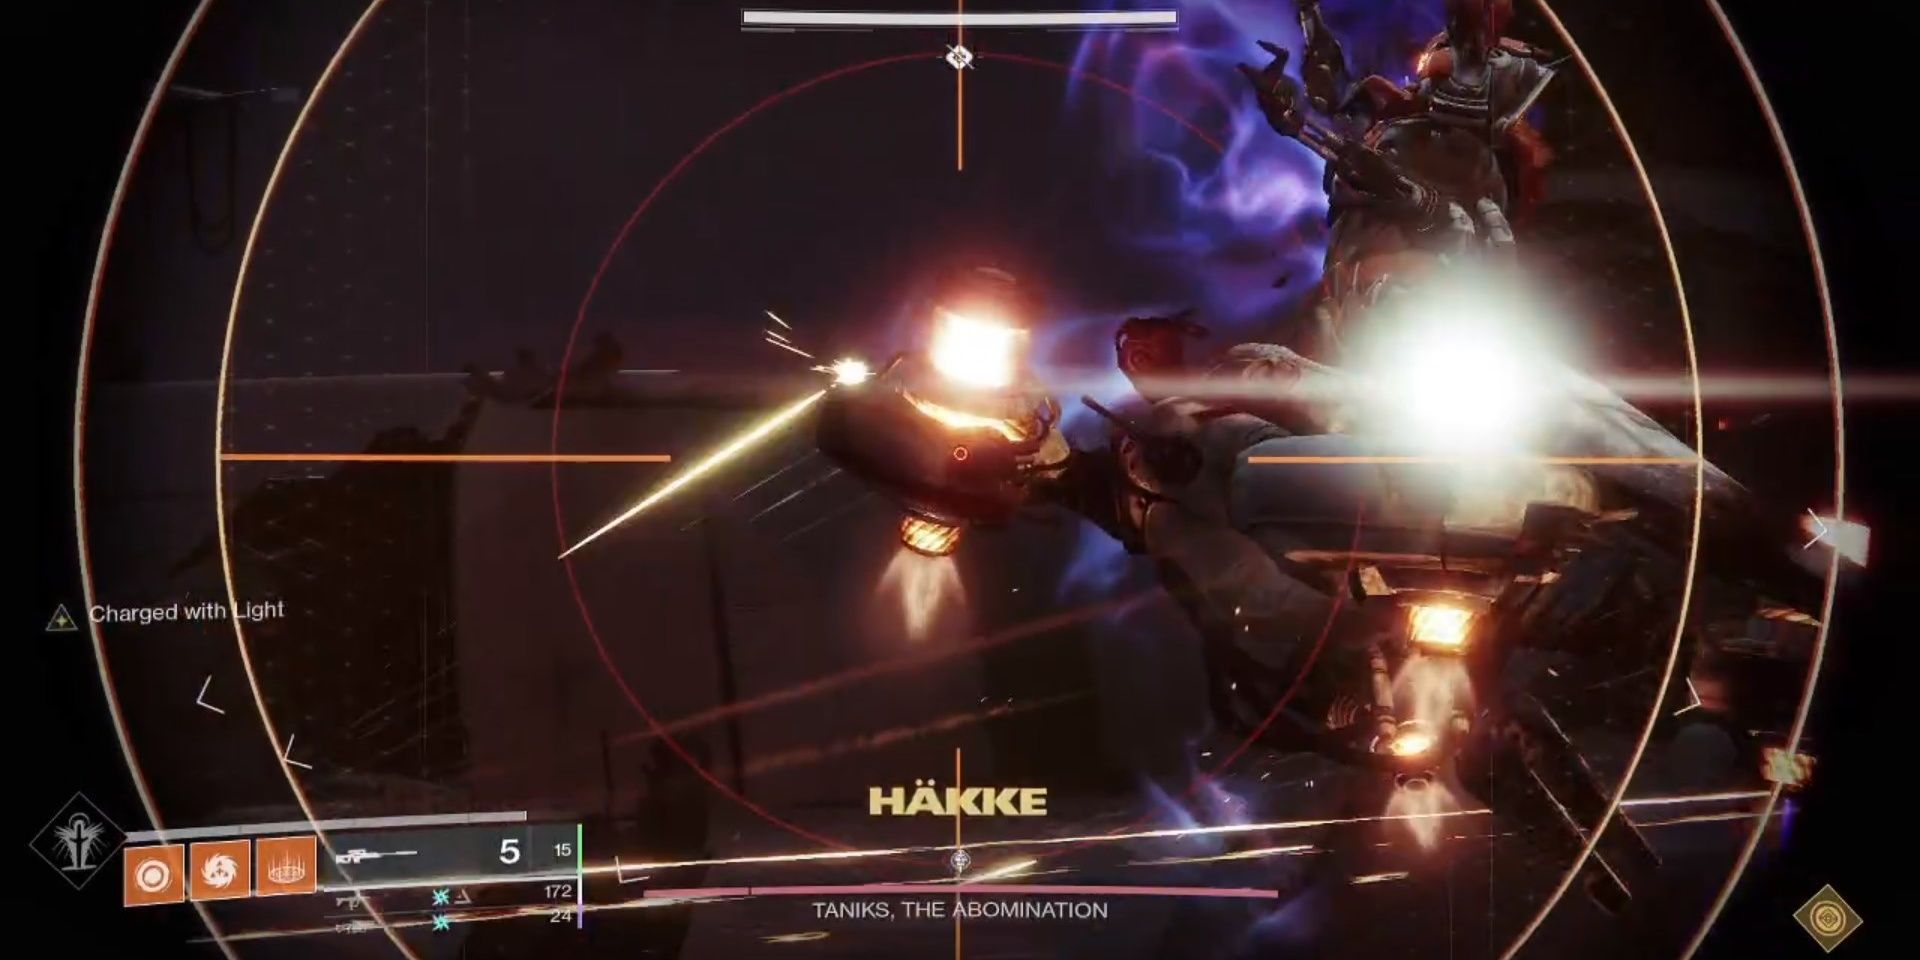
Players will be tasked with depositing Nuclear Cores in certain bins while the new Suppressor role must stun Taniks.
While he does have a visible health bar, Taniks cannot be damaged.
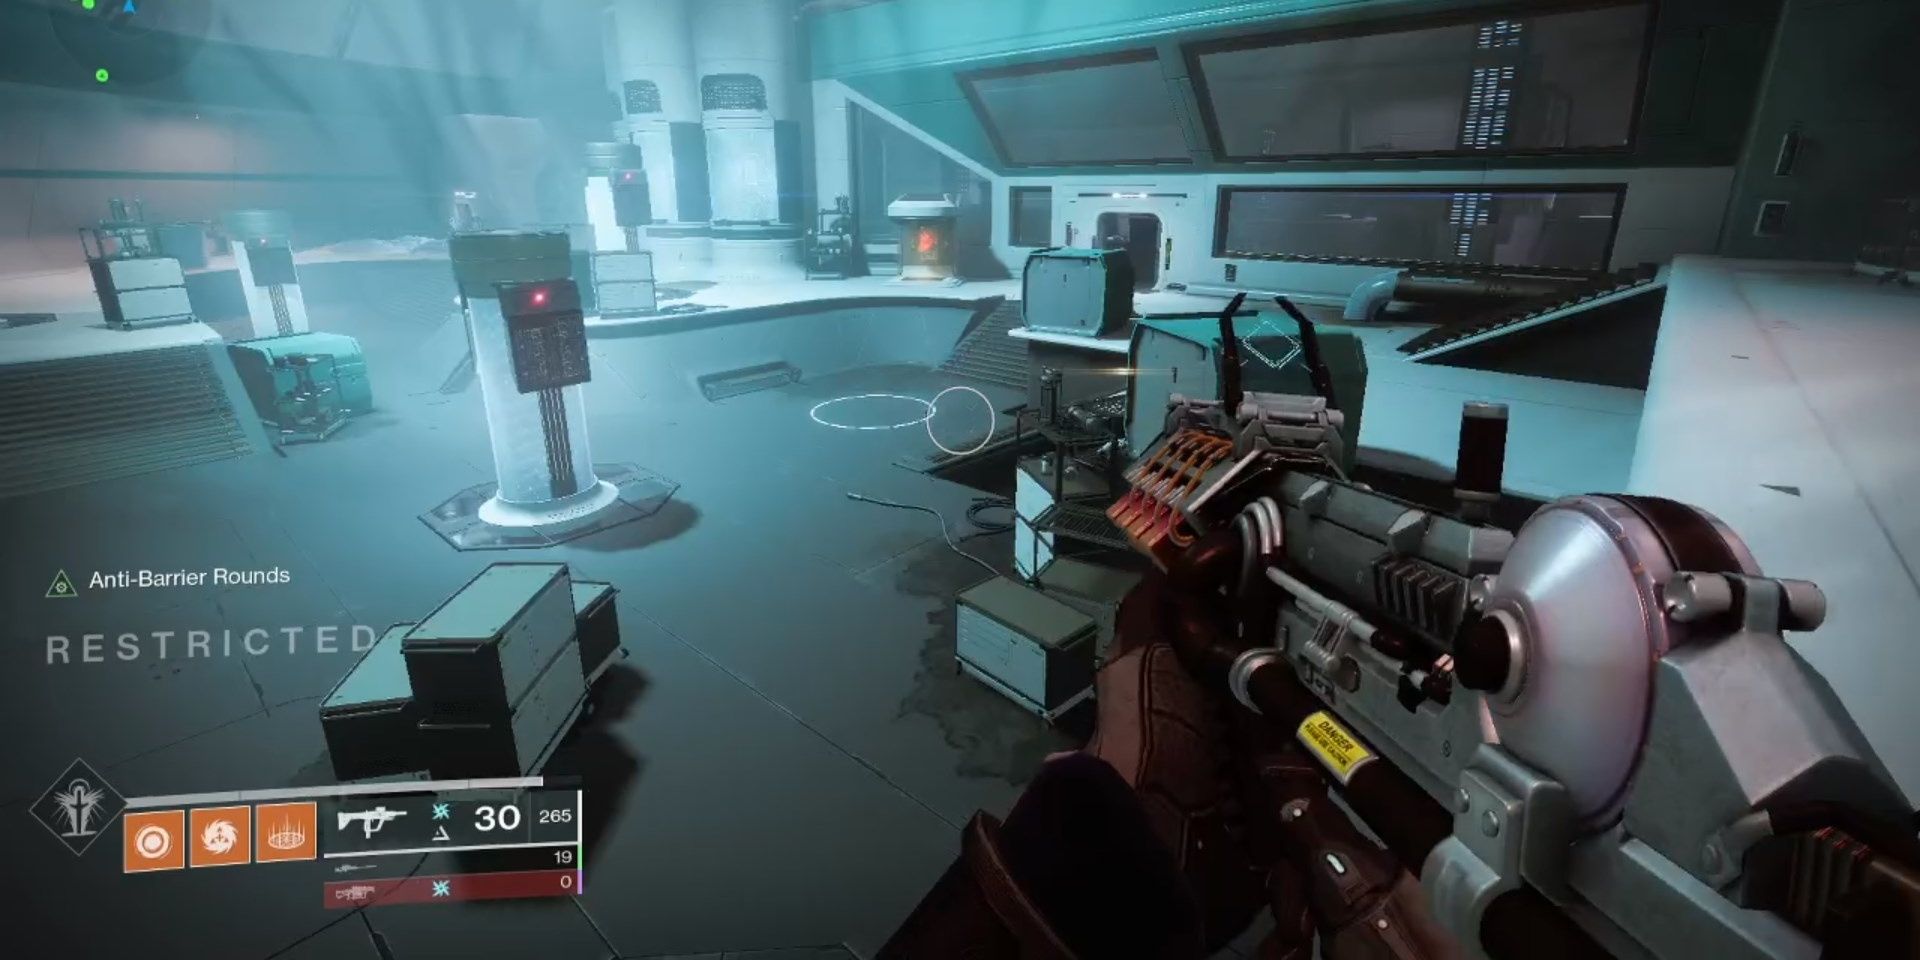
Note that this encounter hasOverload Champions.
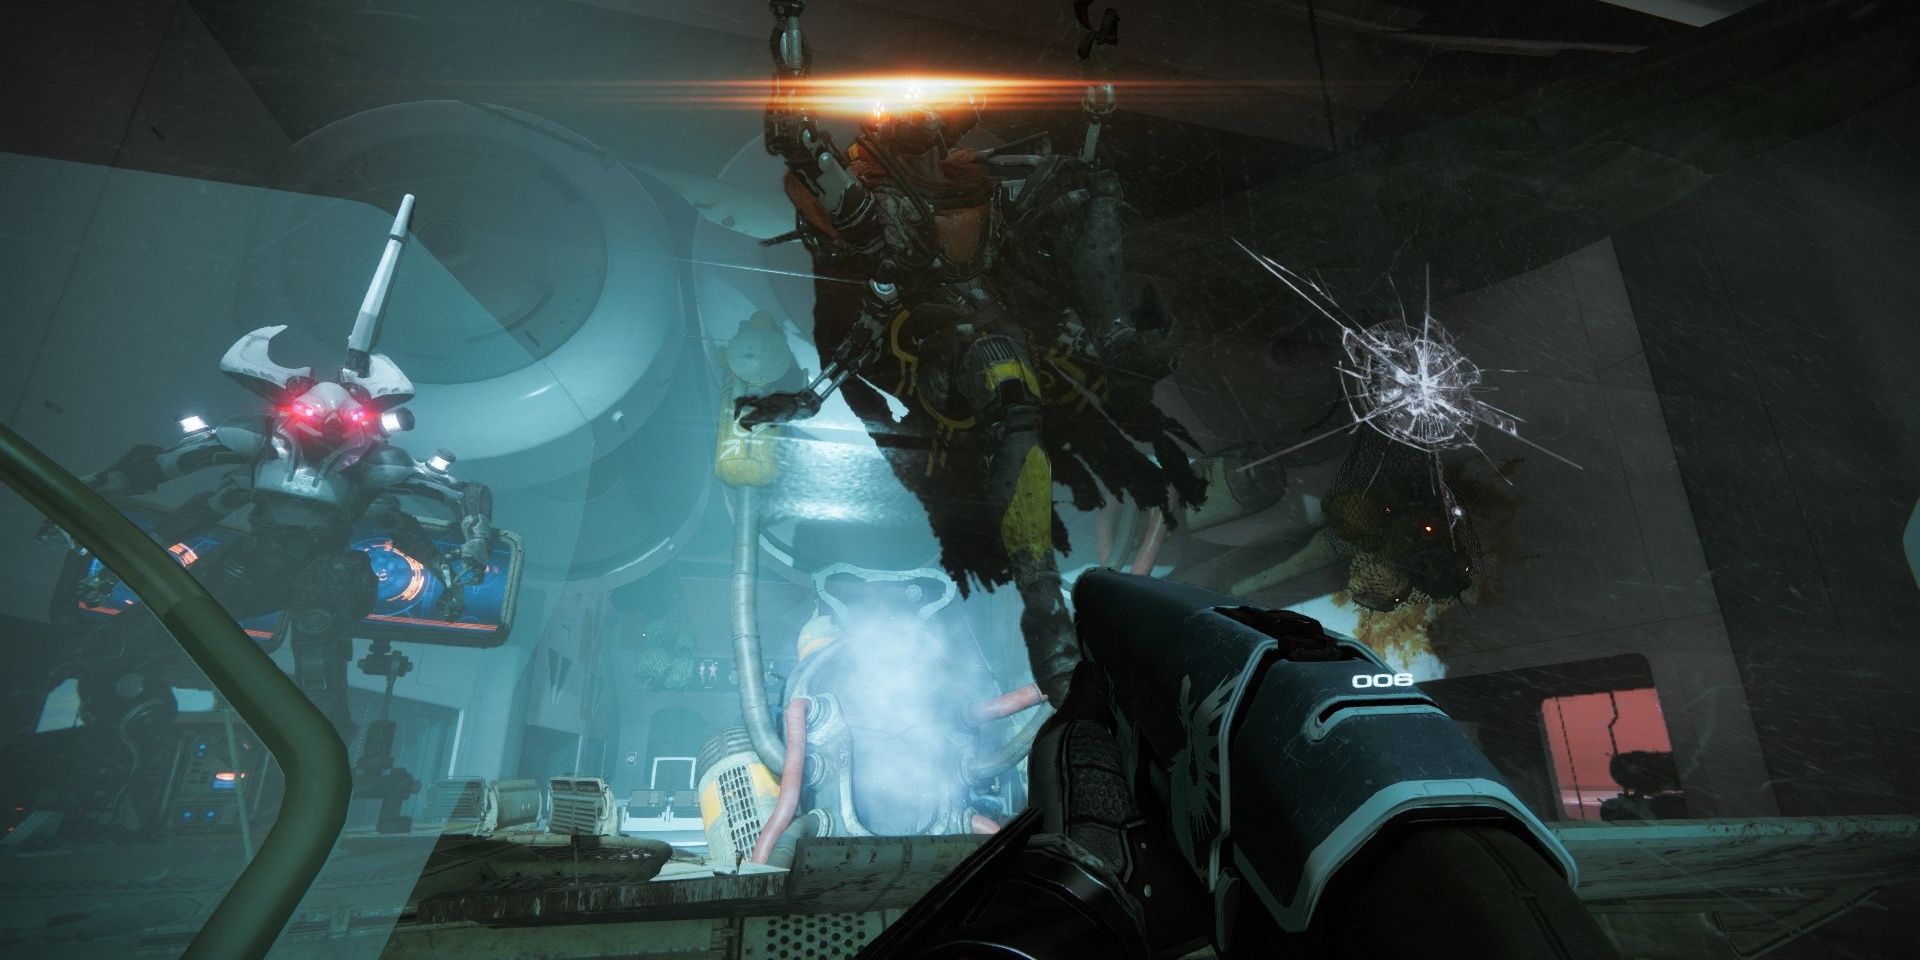
Waves of Fallen will flood the arena and bring one of each augment key in.
Have Guardians pick up these buffs and fulfill the designated roles listed above.
Operators should wait to spawn nukes until Suppressors have shot at Taniks from one or two drone positions.
When the nukes spawn, the Scanner should call out which two bins need Nuclear Cores.
Note that all Nuclear Core carriers will gain a stack of Radiation every few seconds.
Obtaining ten stacks of Radiation will kill you.
Upon depositing a core successfully, a random player will have their augment disabled.
A non-augmented player will then grab the buff, effectively swapping roles.
After completing this cycle six times, a hatch near the front of the room will open up.
Stopping at all will cause Taniks to kill you.
One Guardian must reach the end of the corridor to beat the encounter.
For information regarding this encounter’s challenges and more in-depth strategies,consult this article.
Mechanically, this final encounter is a more intense iteration of the previous encounter.
Three quadrants make up Taniks' arena: spawn/white, left/blue, and right/orange.
Every section of the map has two Nuclear Core bins that Scanners must keep track of.
Augments will spawn in a certain section of the map.
Spawn/white always gets Operator, left/blue gets Scanner, and right/orange gets Suppressor.
When deciding which Guardians covers each side,keep these buffs in mind.
After a few minutes pass, Taniks will move towards a certain section of the map.
A minimum of two thrusters must be destroyed to prevent this attack from causing a wipe.
During this escort, Suppressors should be standing under drones near Taniks and firing at him.
Doing so at all three nearby drones will stun Taniks and allow Nuclear Core runners to deposit their cores.
Similar to the last encounter, depositing these Nuclear Cores will disable a random augment.
Repeat this process once more to start the DPS phase.
Taniks will deploy two bubbles that have debris orbiting the outside of them.
Fireteams will want to stand in between both bubbles to damage Taniks.
Halfway through the DPS phase, Taniks will slam himself on the ground and throw everyone in the air.
Regroup and damage him once more until he becomes immune.
Once Taniks reaches 20% HP, he will enter a final stand mode and prepare a wipe mechanic.
Anarchy, Izanagi’s Burden, and Triple Tap Sniper Rifles are also fantastic choices for this encounter.
For information regarding Taniks, the Abomination challenges and more in-depth strategies,consult this article.
Next:Destiny 2: Beyond Light Complete Guide And Walkthrough
