Quick Links
Vow of the Disciple isDestiny 2’slatest raid.
Symbol Callouts And Raid Prep
If you want to jump straight into encounter guides,click here.
To have a smooth experience with this raid, you’ll want to establish symbol callouts with your team.
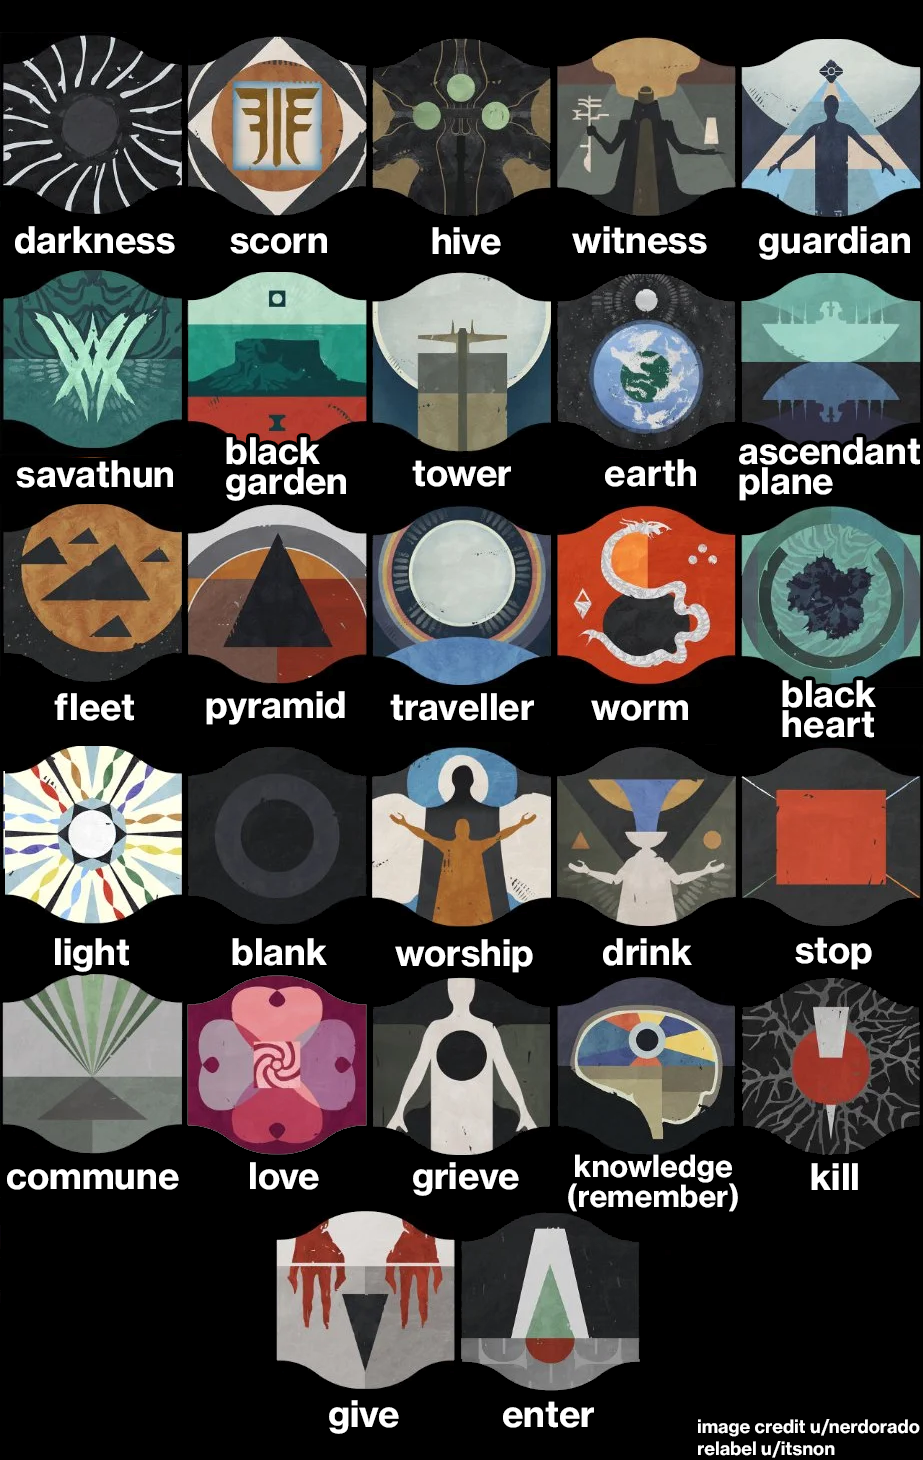
The image below showcases each official callout as shown in-game.Credit to users u/itsnon and u/nerdoradofor the image.
There are 27 symbols in total.
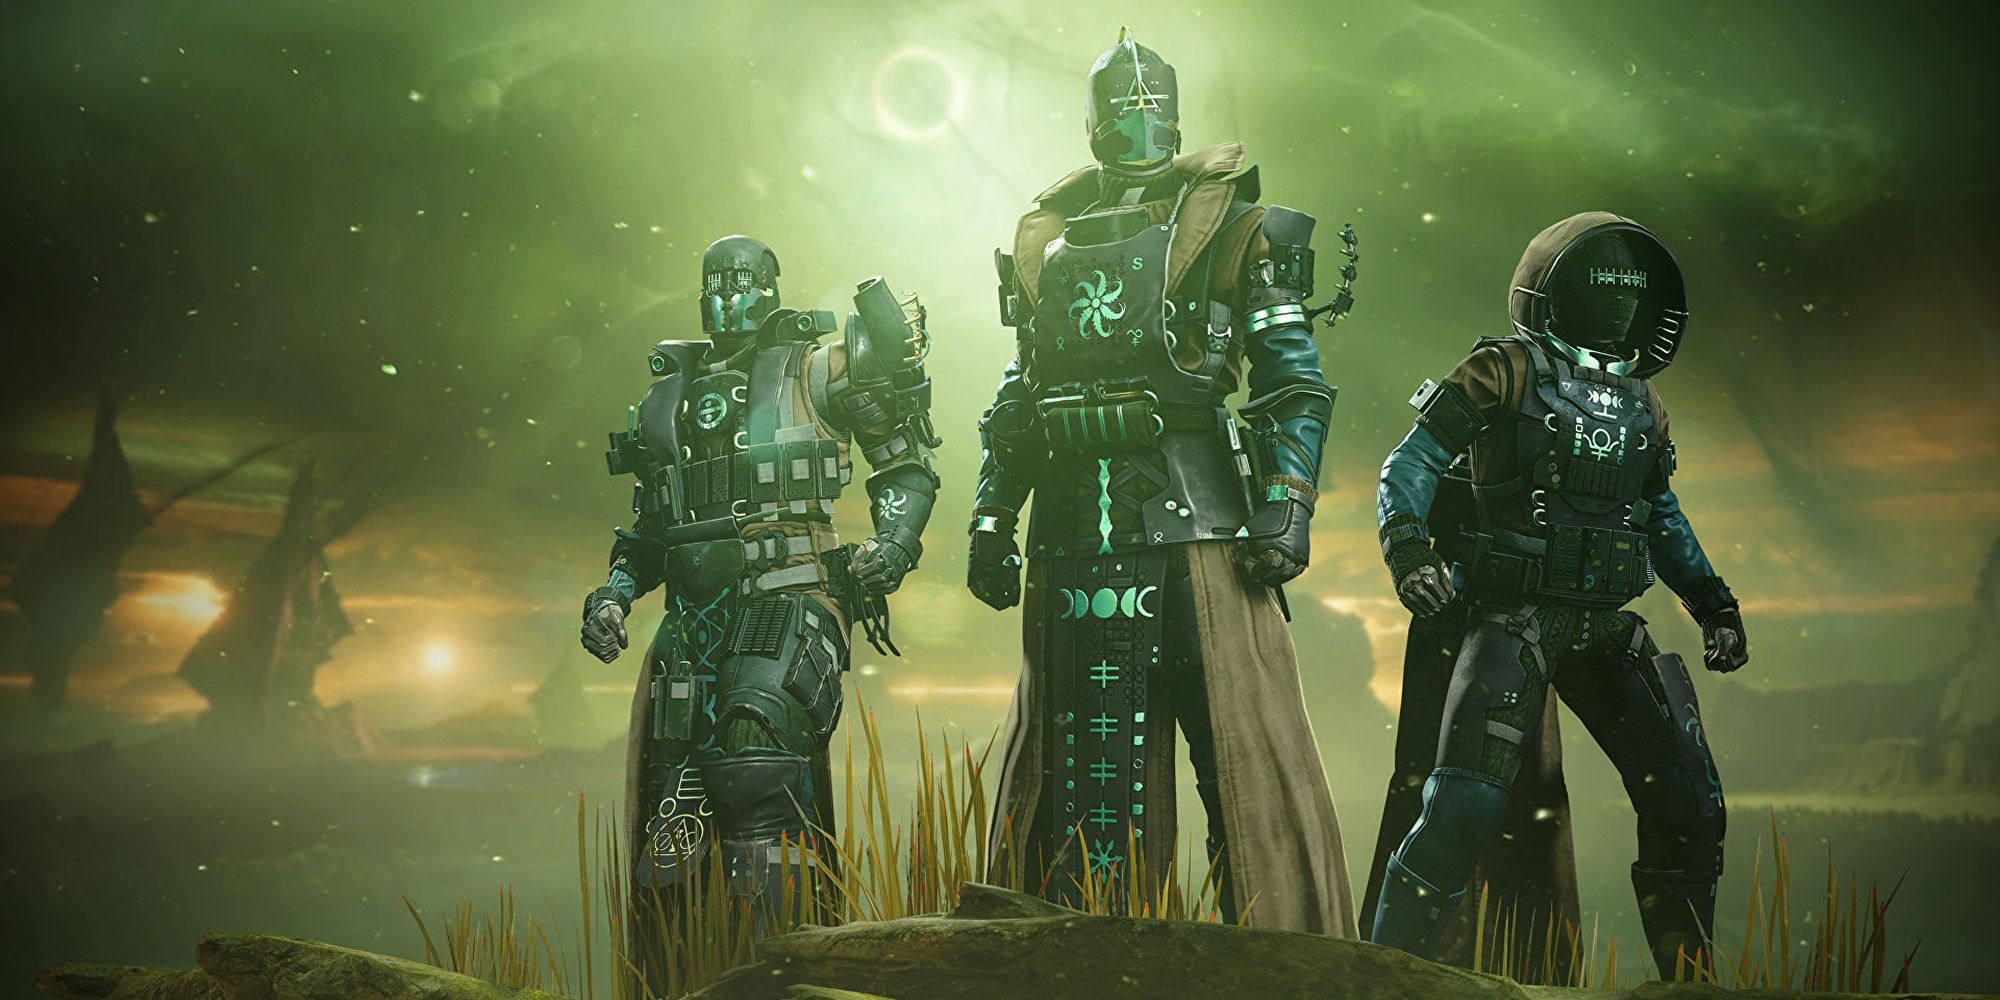
Titansshould run Sentinel if they’re conflicted on what to play.

Via: u/nerdorado and u/itsnon (Reddit)
Volatile serves as a fantastic add-clear tool that can heal your team with the Controlled Destruction Aspect.
For Rhulk, you might want to run Middle Tree Striker instead to nuke his health bar with Thundercrash.
No mechanical changes are present between the Legend and Master variants; only combat has seen a difficulty spike.
Via: u/nerdorado and u/itsnon (Reddit)
Champion Foes
Overload and Unstoppable Champions are present.
Champions: Mob
This mode contains additional Champions.
Chaff
Radar is disabled.

Weekly Challenge
One encounter will have an optional challenge that rotates weekly.
Check out ourAdept weapons guidefor more information on how Adept weapons and mods work.
The weekly challenges rotate each week, while the Triumph challenges can be completed at any time.

Weekly challenge completions also grant an additional raid weapon or armor piece.
Consider opening this chest after completing at least one encounter.
You’ll need to destroy three Darkness fragments to spawn this chest.
From the third fragment, turn around and book it to the other side of the area.
Jump up the elevated terrain and walk into the structure on your right.
The chest is inside.
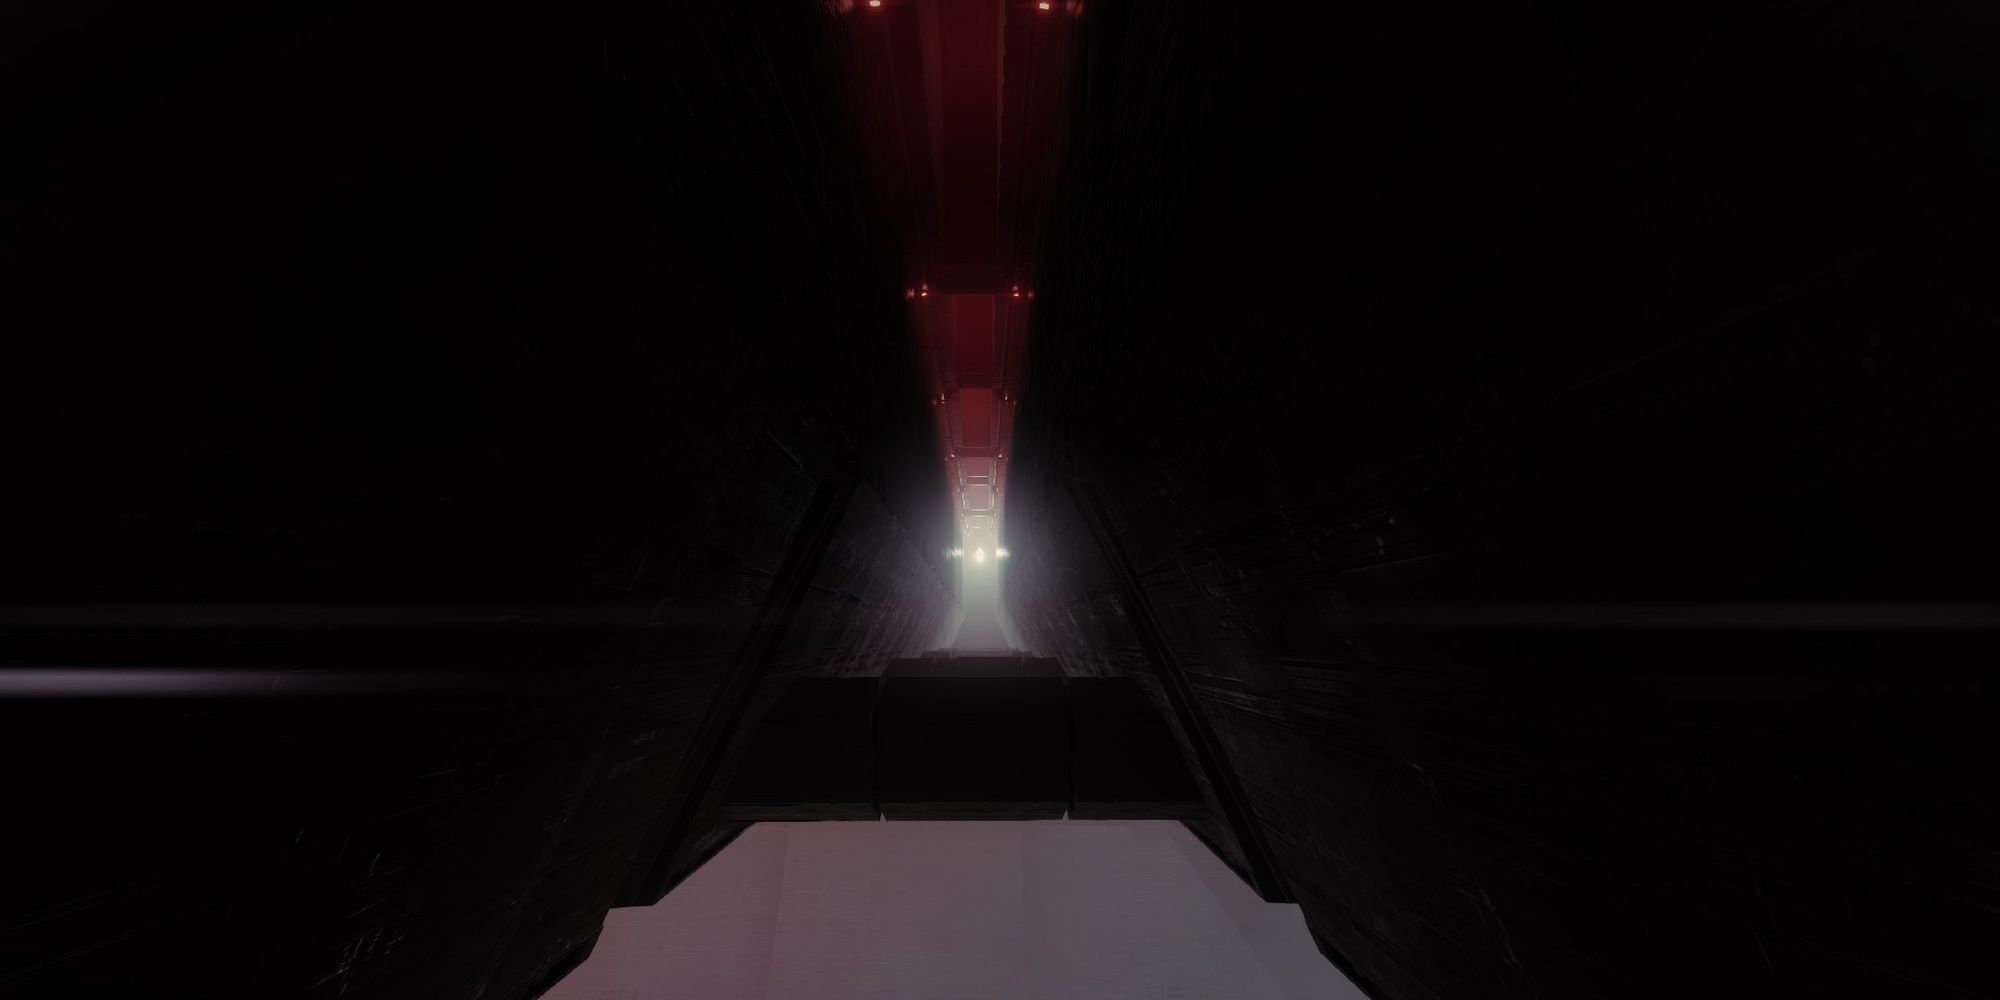
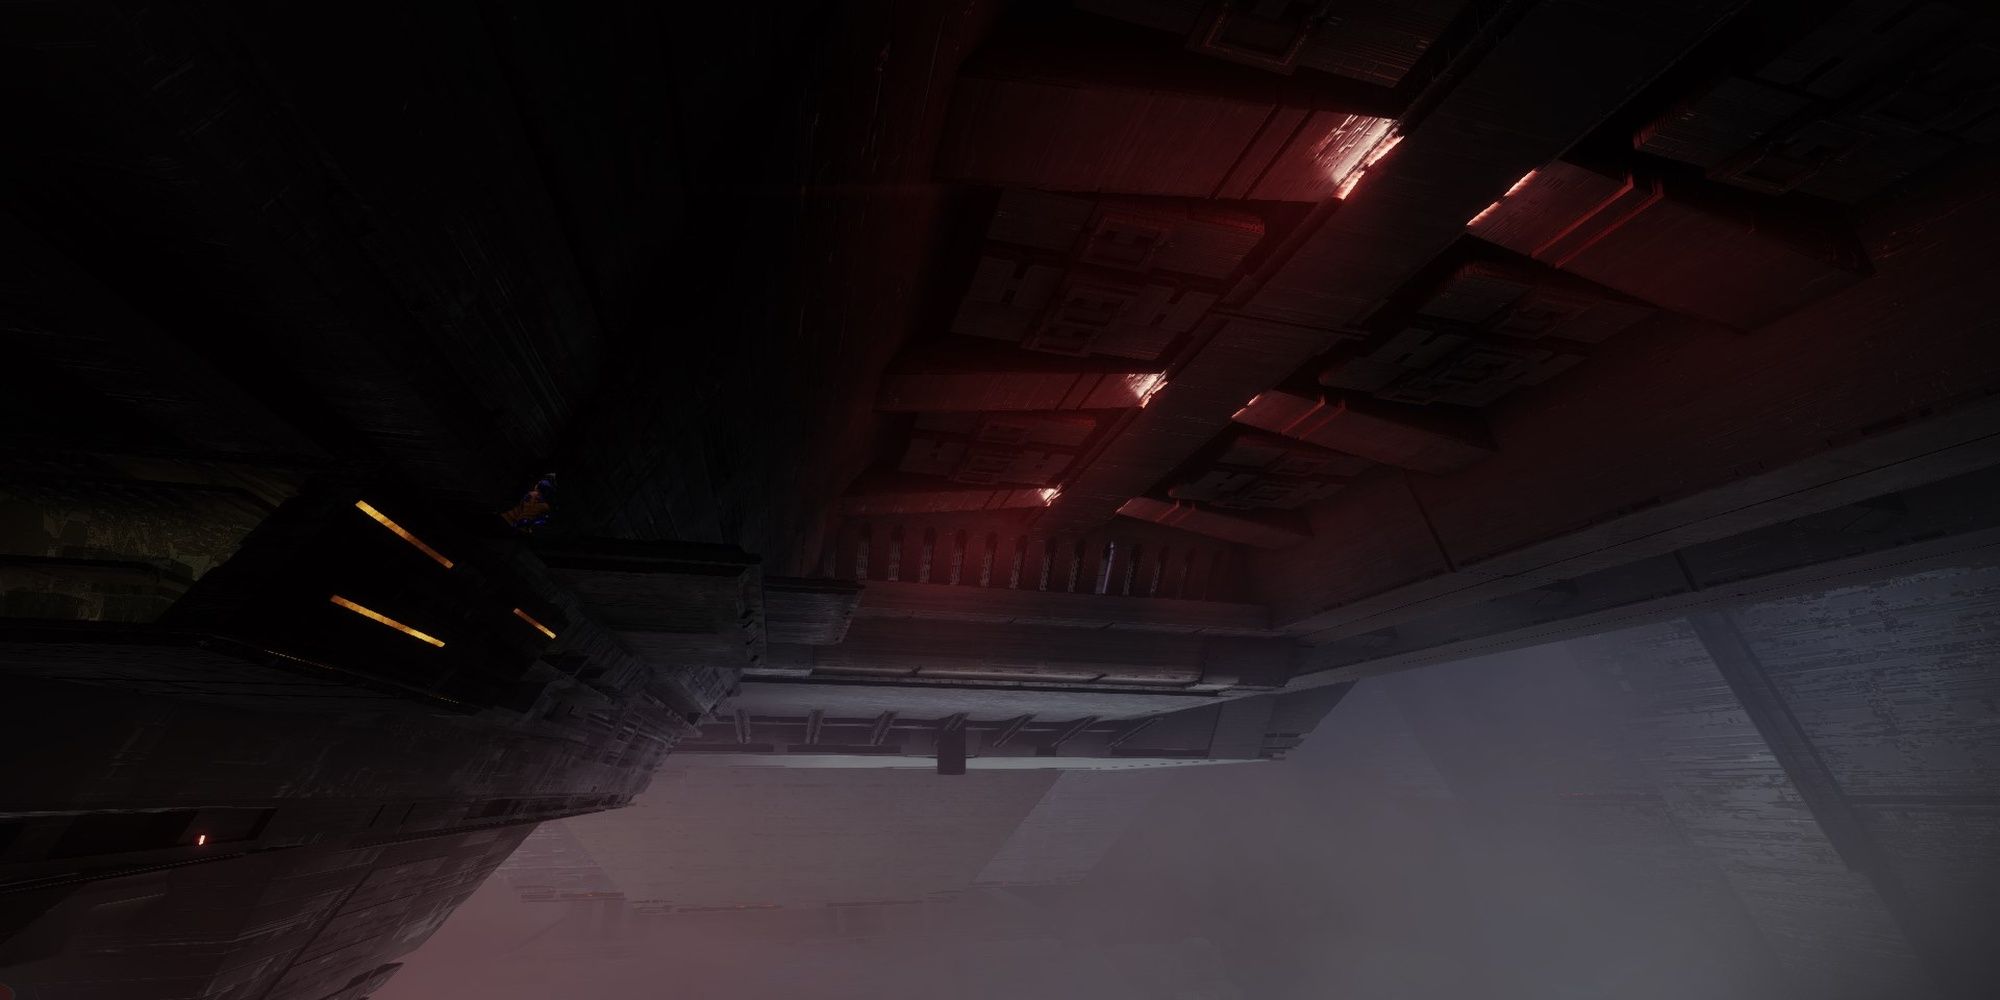
You’ll eventually climb up to a series of horizontal pillars.
Hop across the pillars until it seems like a dead end.
Look to the wall on your left to find a small gap you could jump through.
The chest will be in the following room.
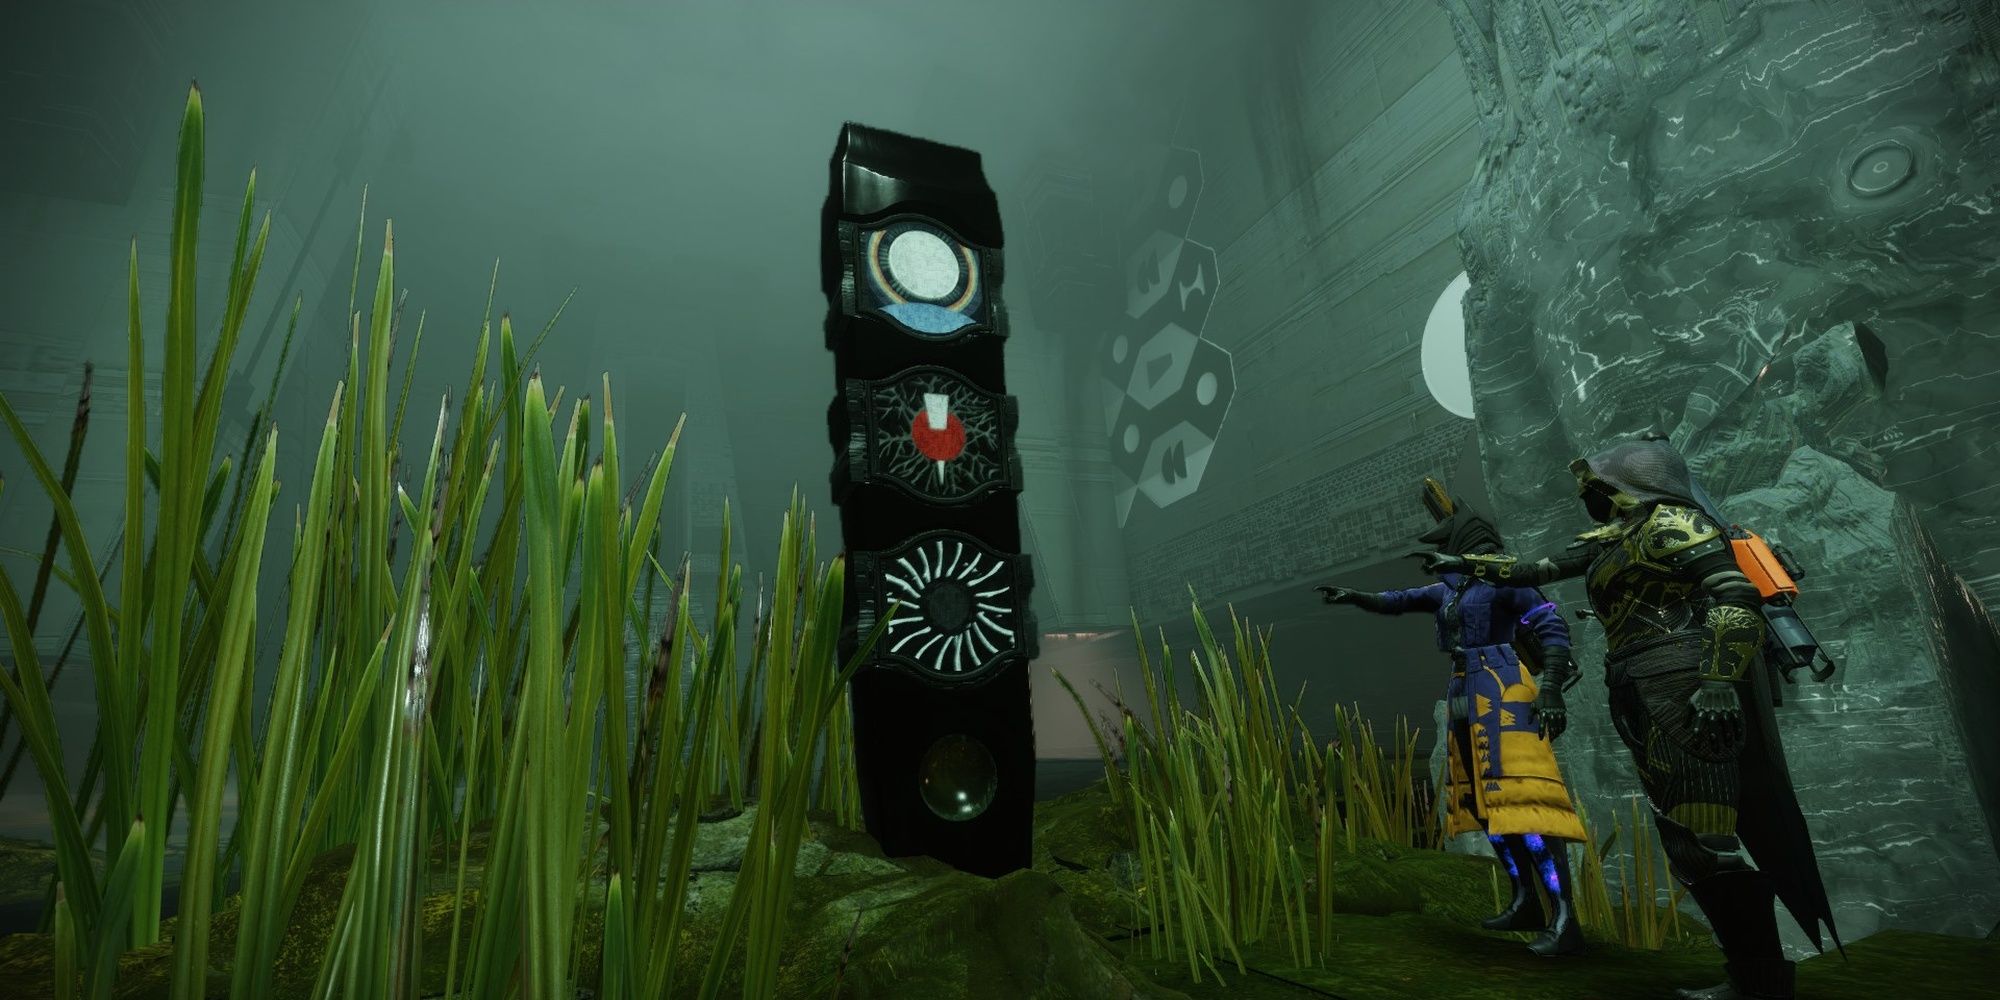
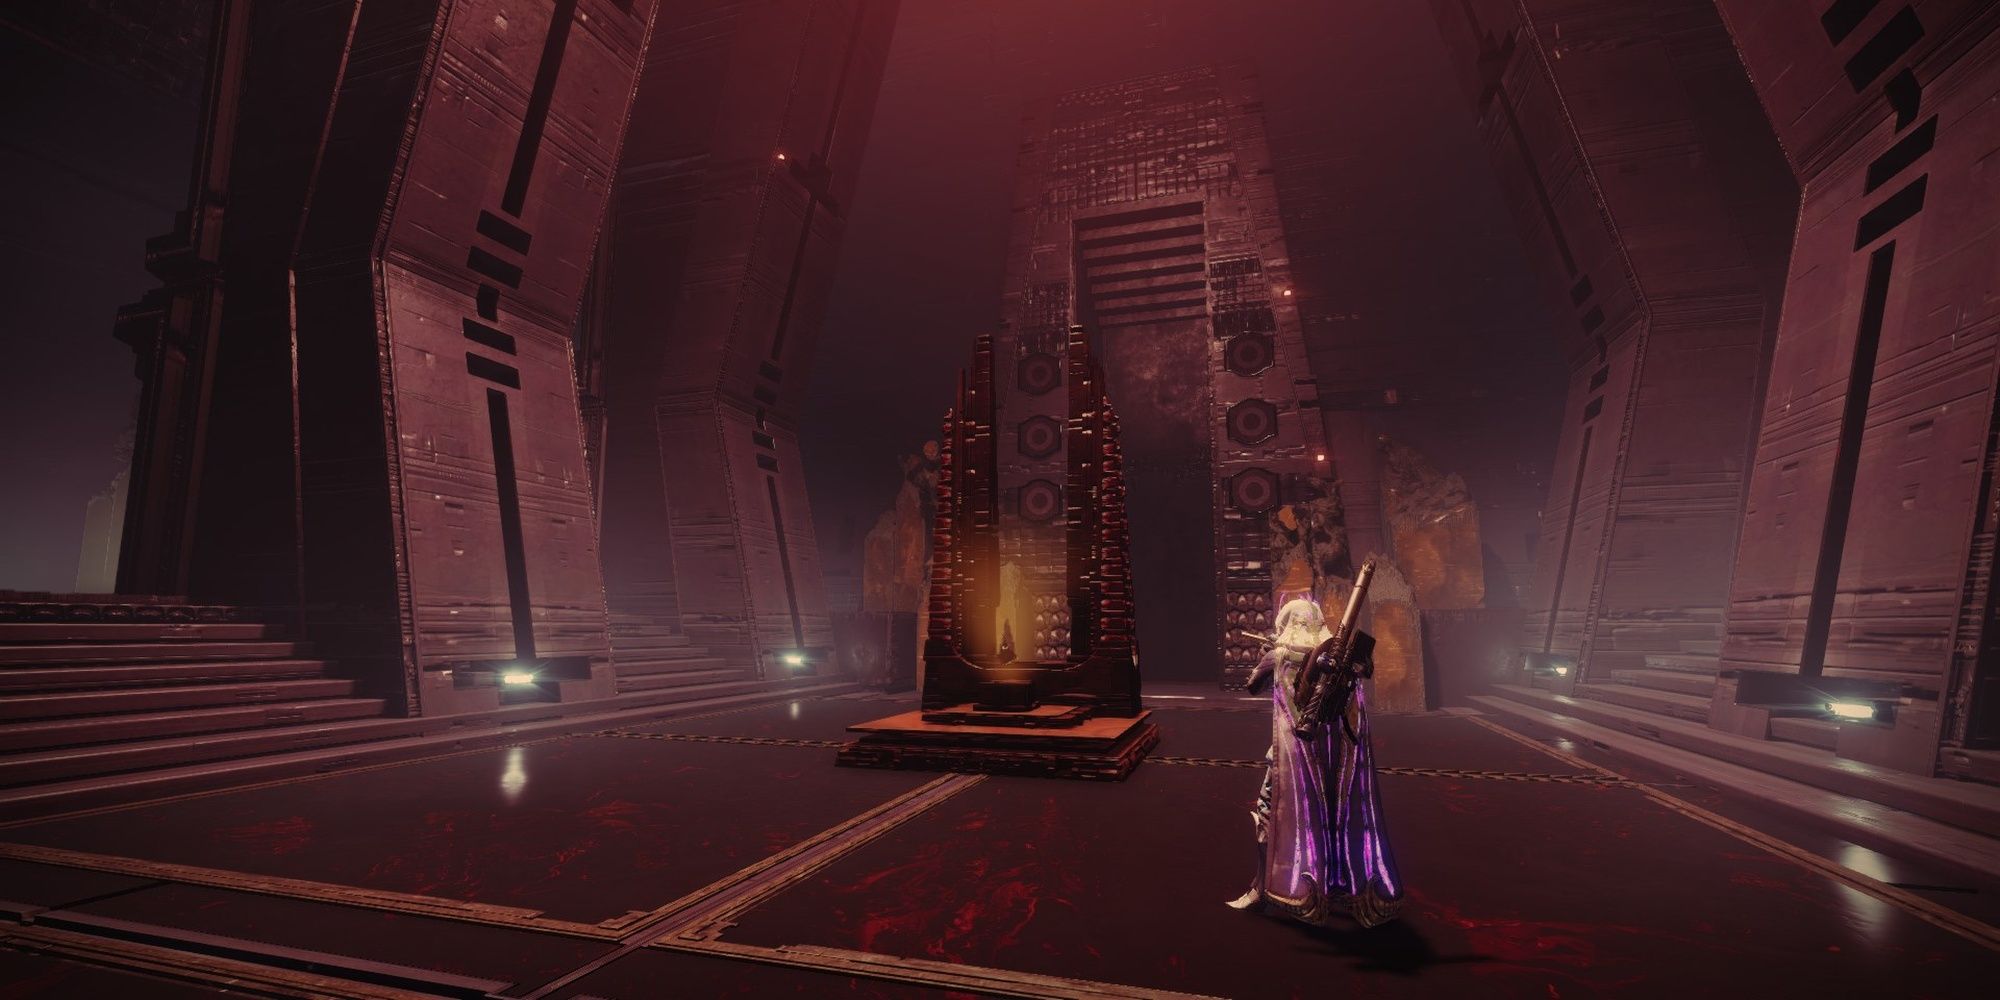
Once you’ve entered the Pyramid ship, you’ll come across a totem with three symbols on it.
Take a picture of these symbols or write them down somewhere.
Upon activating all three symbols, a message stating, “Rhulk accepts your offering…” will appear.
This means you’ve entered the code correctly.
So long as the wall panel is displaying the symbol, it’s active.
you might shoot the panel a second time to deactivate a symbol.
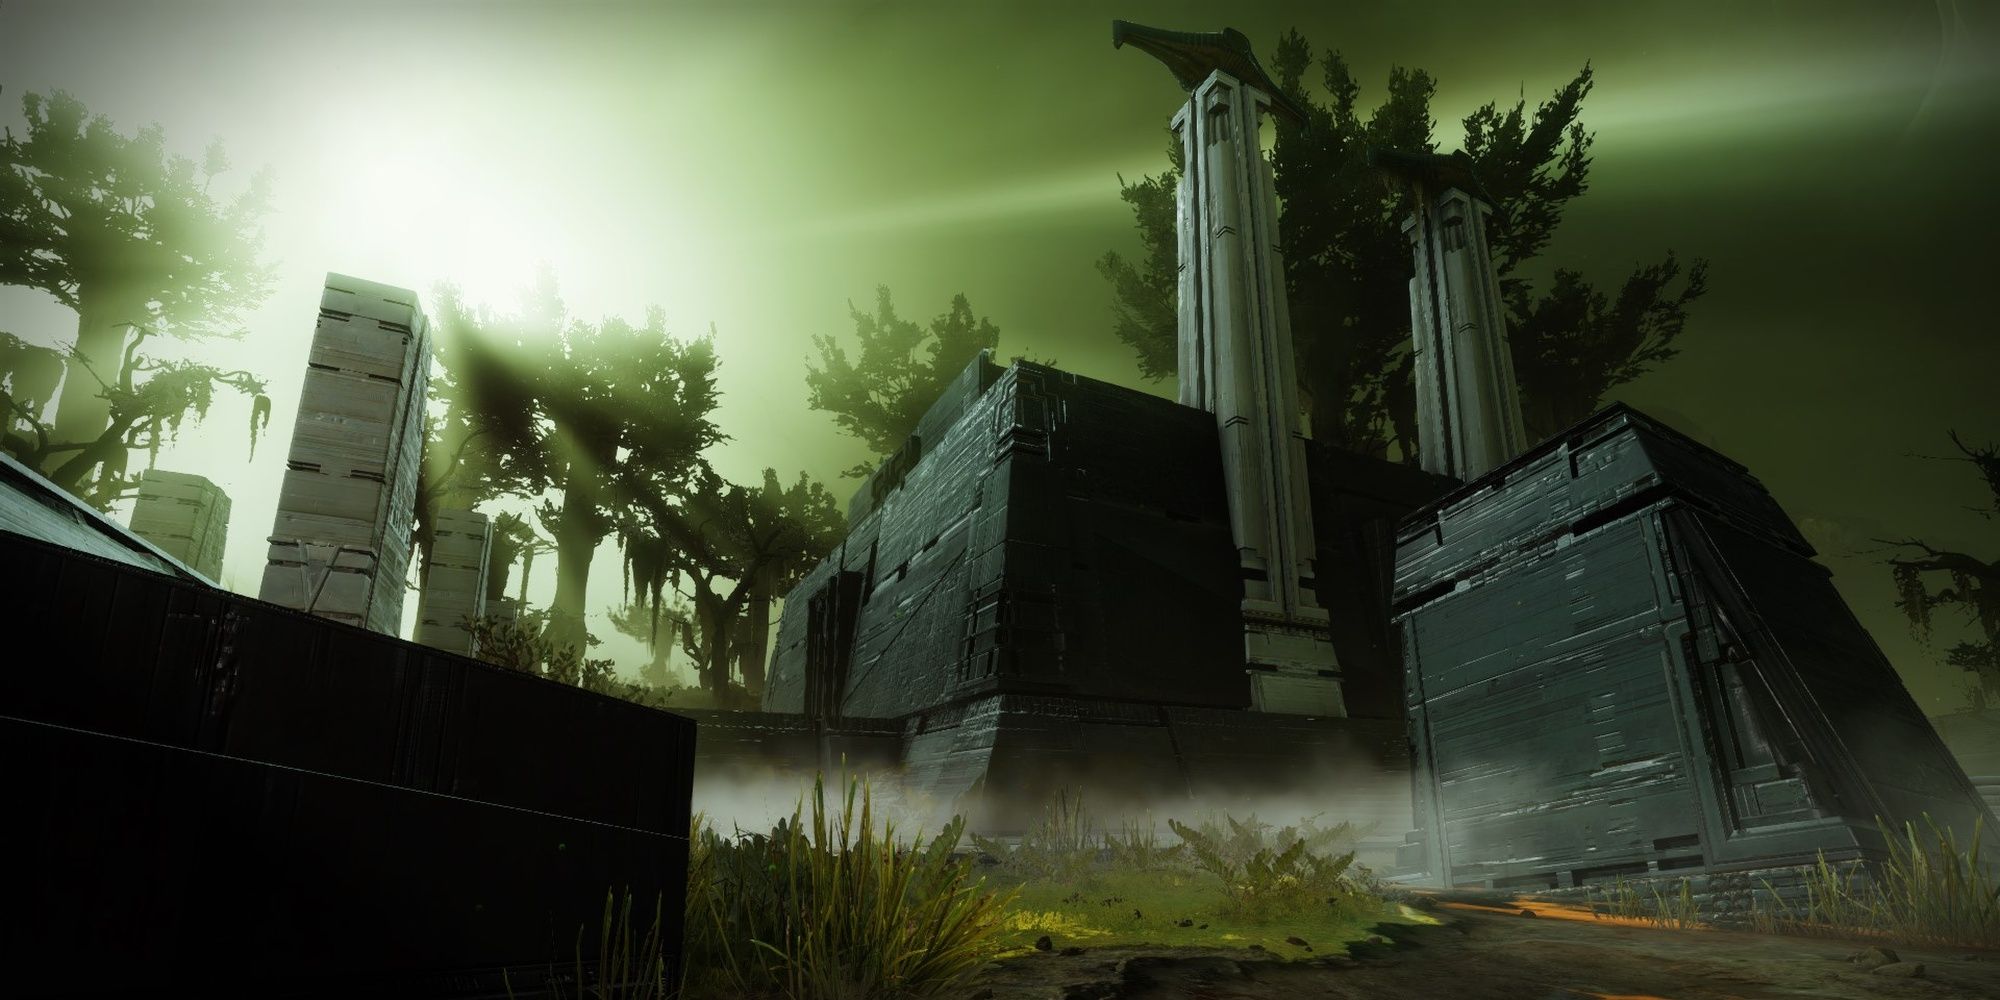
Your fireteam will start the raid at the northwest corner of Miasma.
A remnant of Savathun and a few Hive will be guarding the entrance to the Disciple’s Bog.
Clear them out, then push into the swamp on your Sparrow.
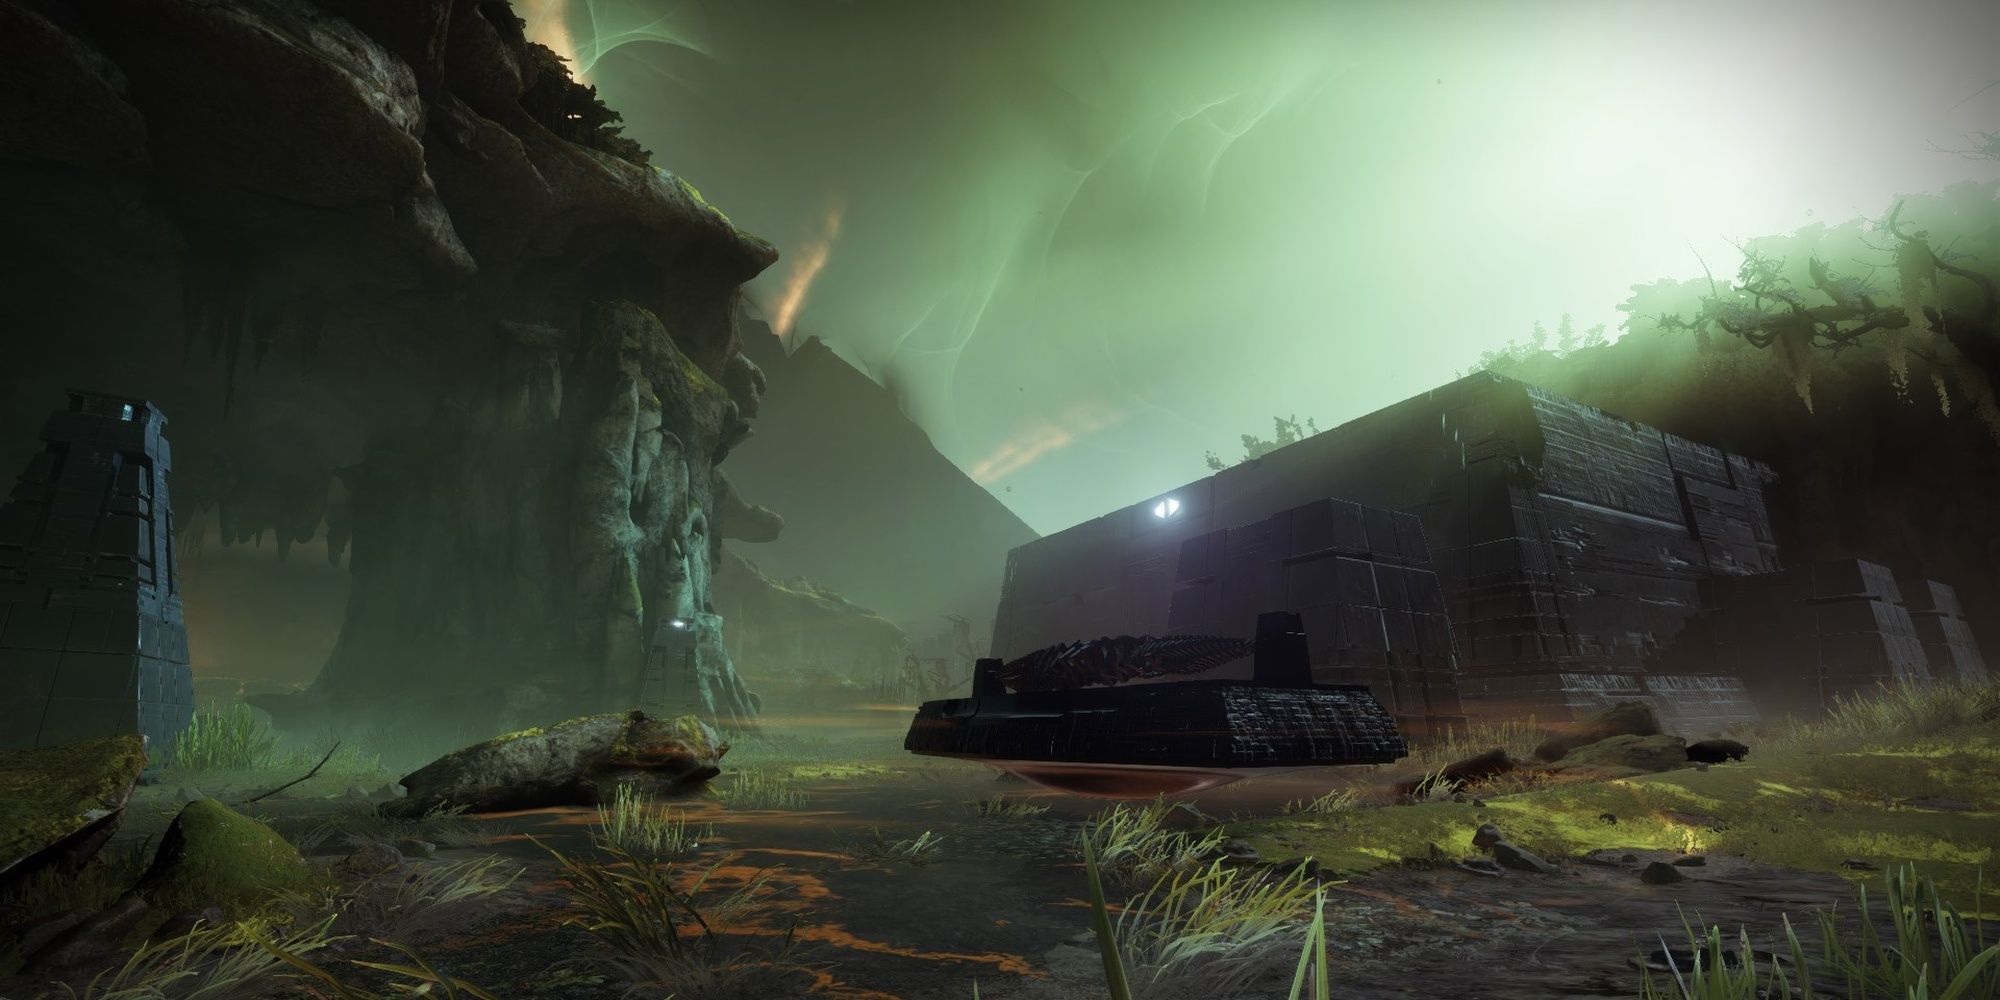
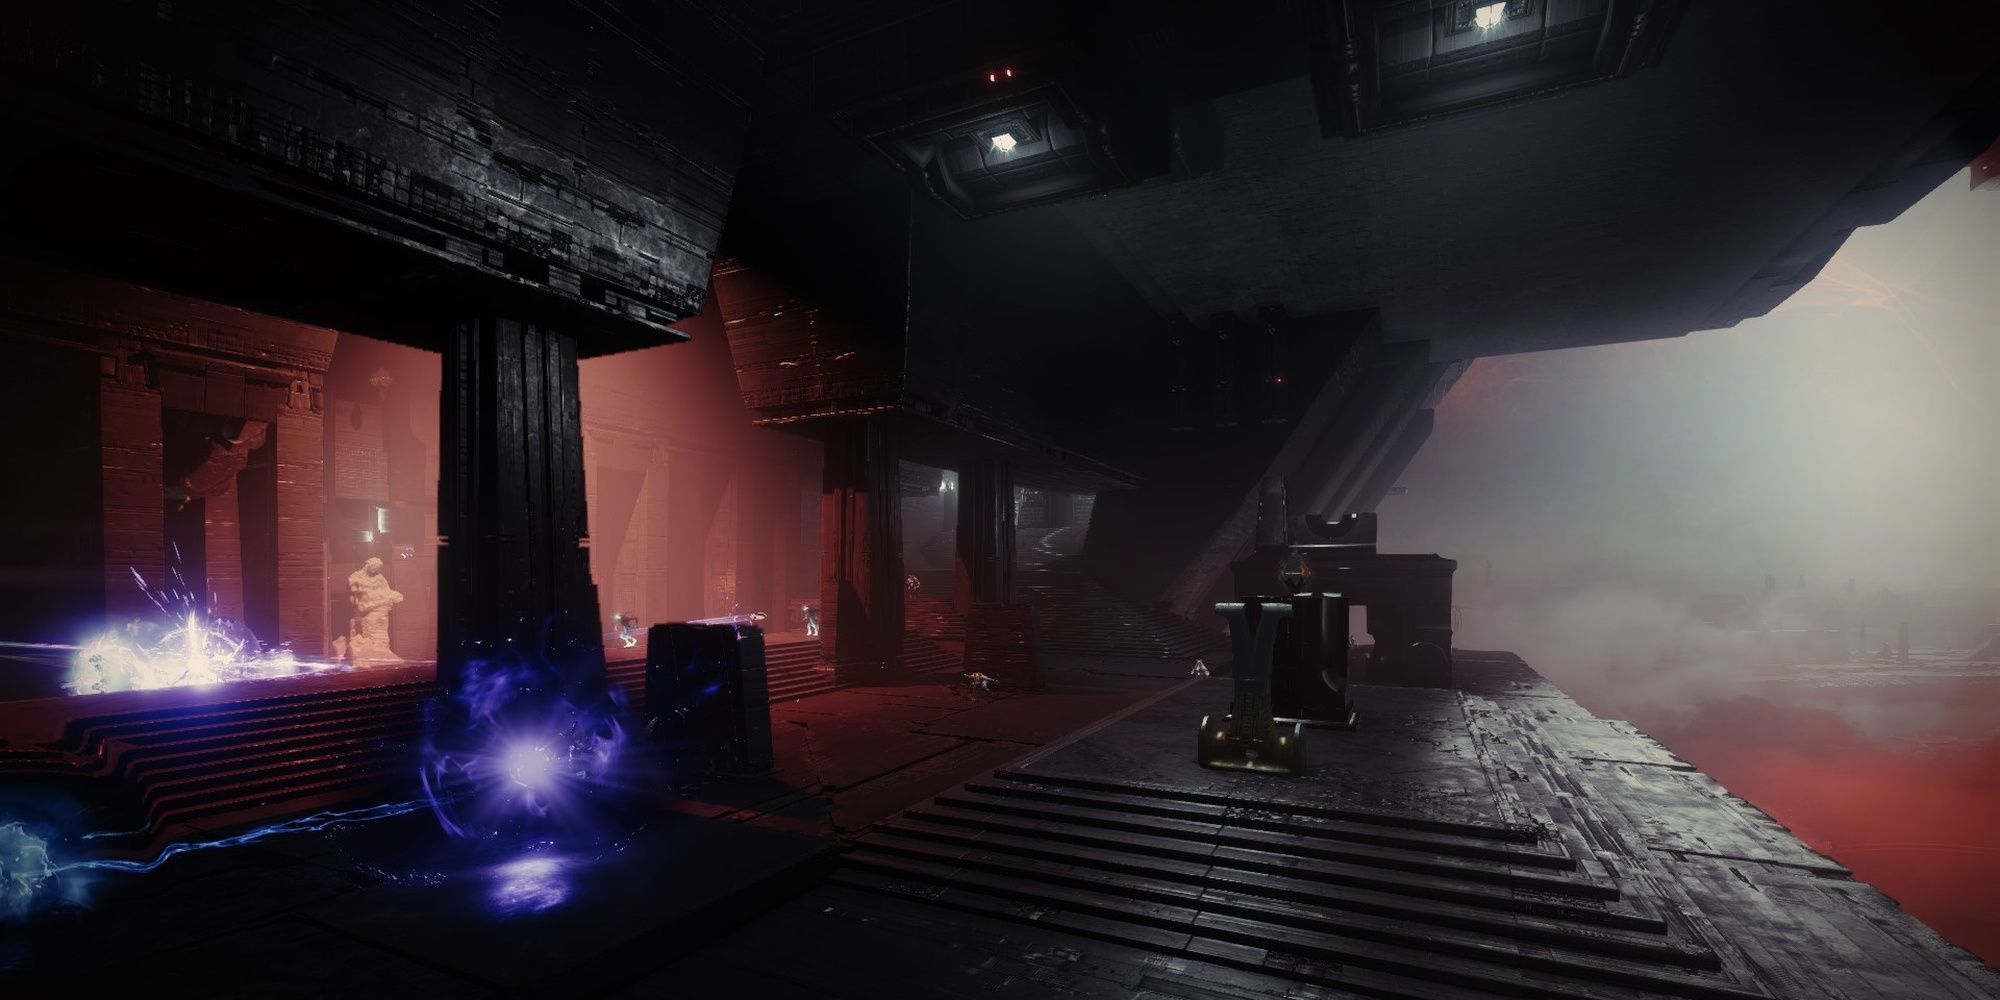
Your team will eventually come across a Darkness barge surrounded by an orange glow.
When you arrive, waves of Scorn will begin to spawn around you.
Some of these enemies will be Abominations.
Defeating them will spawn nine Darkness fragments around the arena.
Your job is to grab three of them and return to the barge.
Each fragment you collect will grant a Knowledge buff.
Should this reach ten stacks, you’ll die.
Stand near the barge or collect Darkness Fragments to lower your debuff stacks.
Deposit all nine Fragments and hop onto the barge.
It will begin moving momentarily, taking you to another part of the bog.
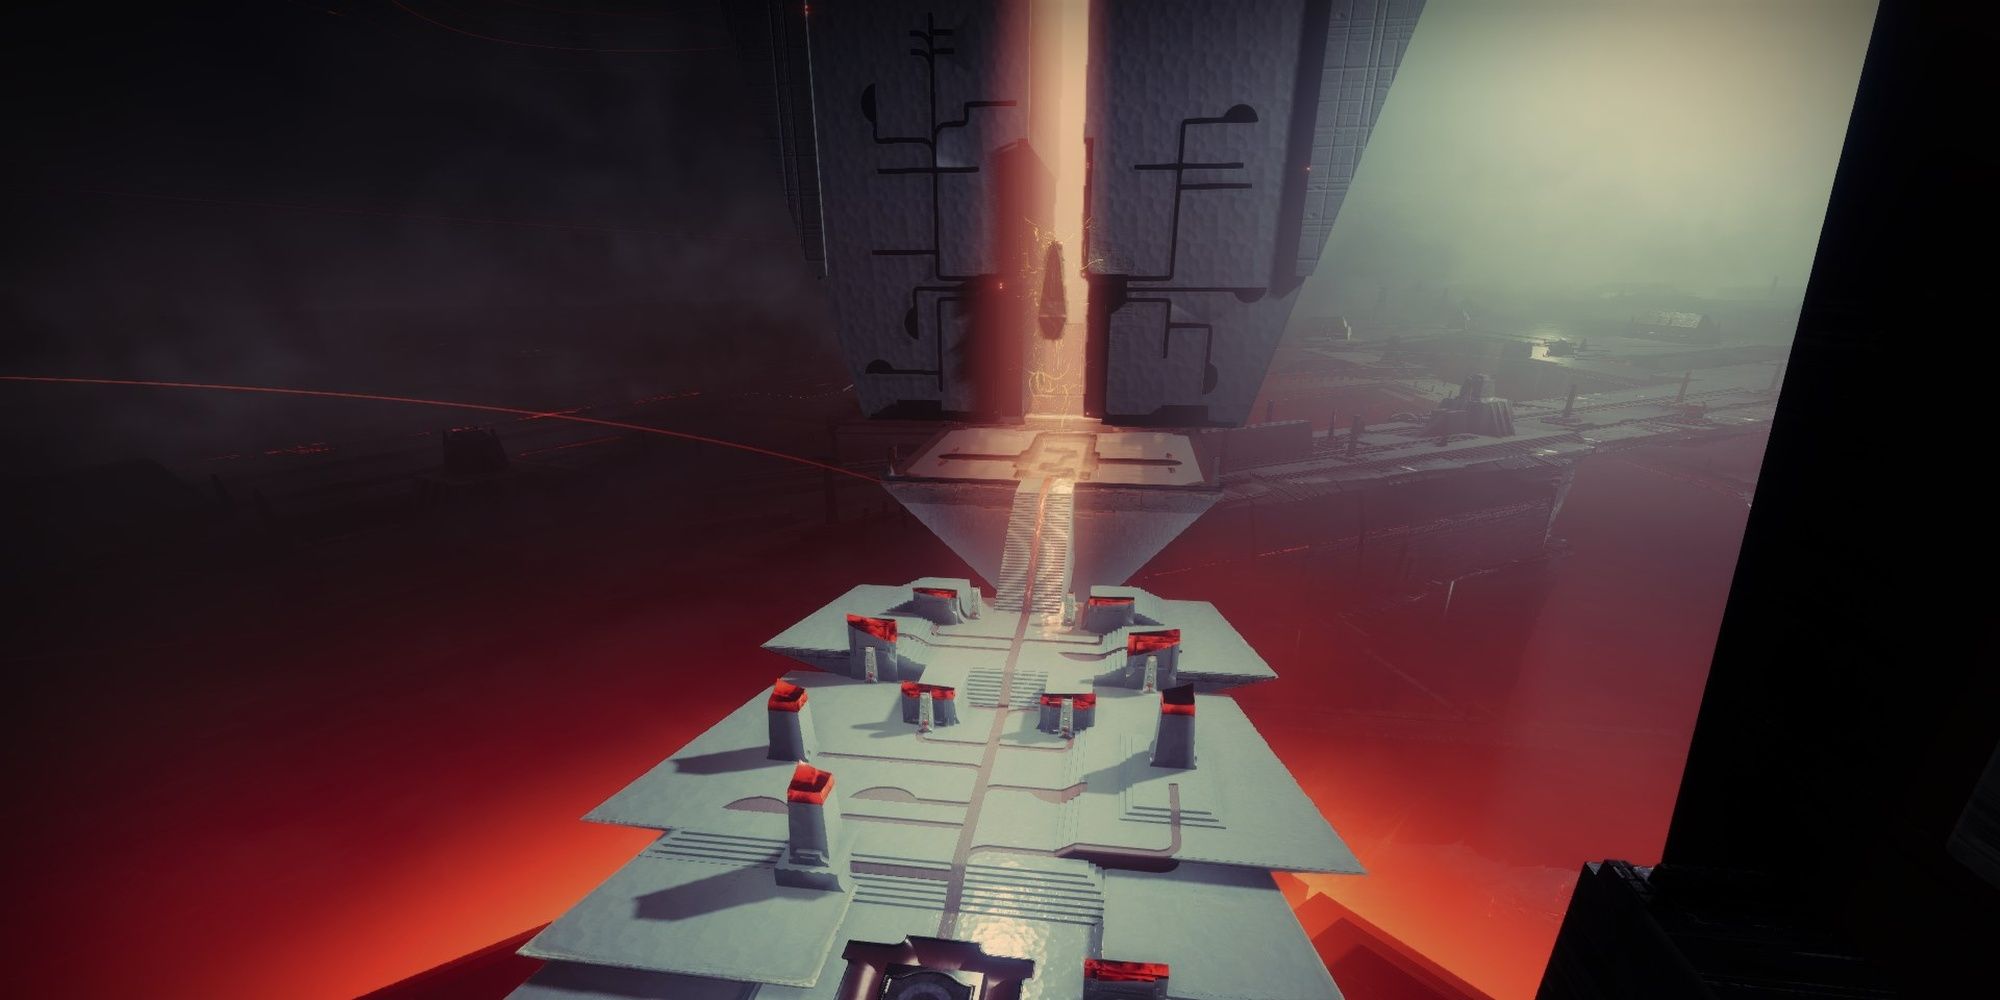
Repeat this cycle three more times to enter the Pyramid on the other side of the bog.
![]()
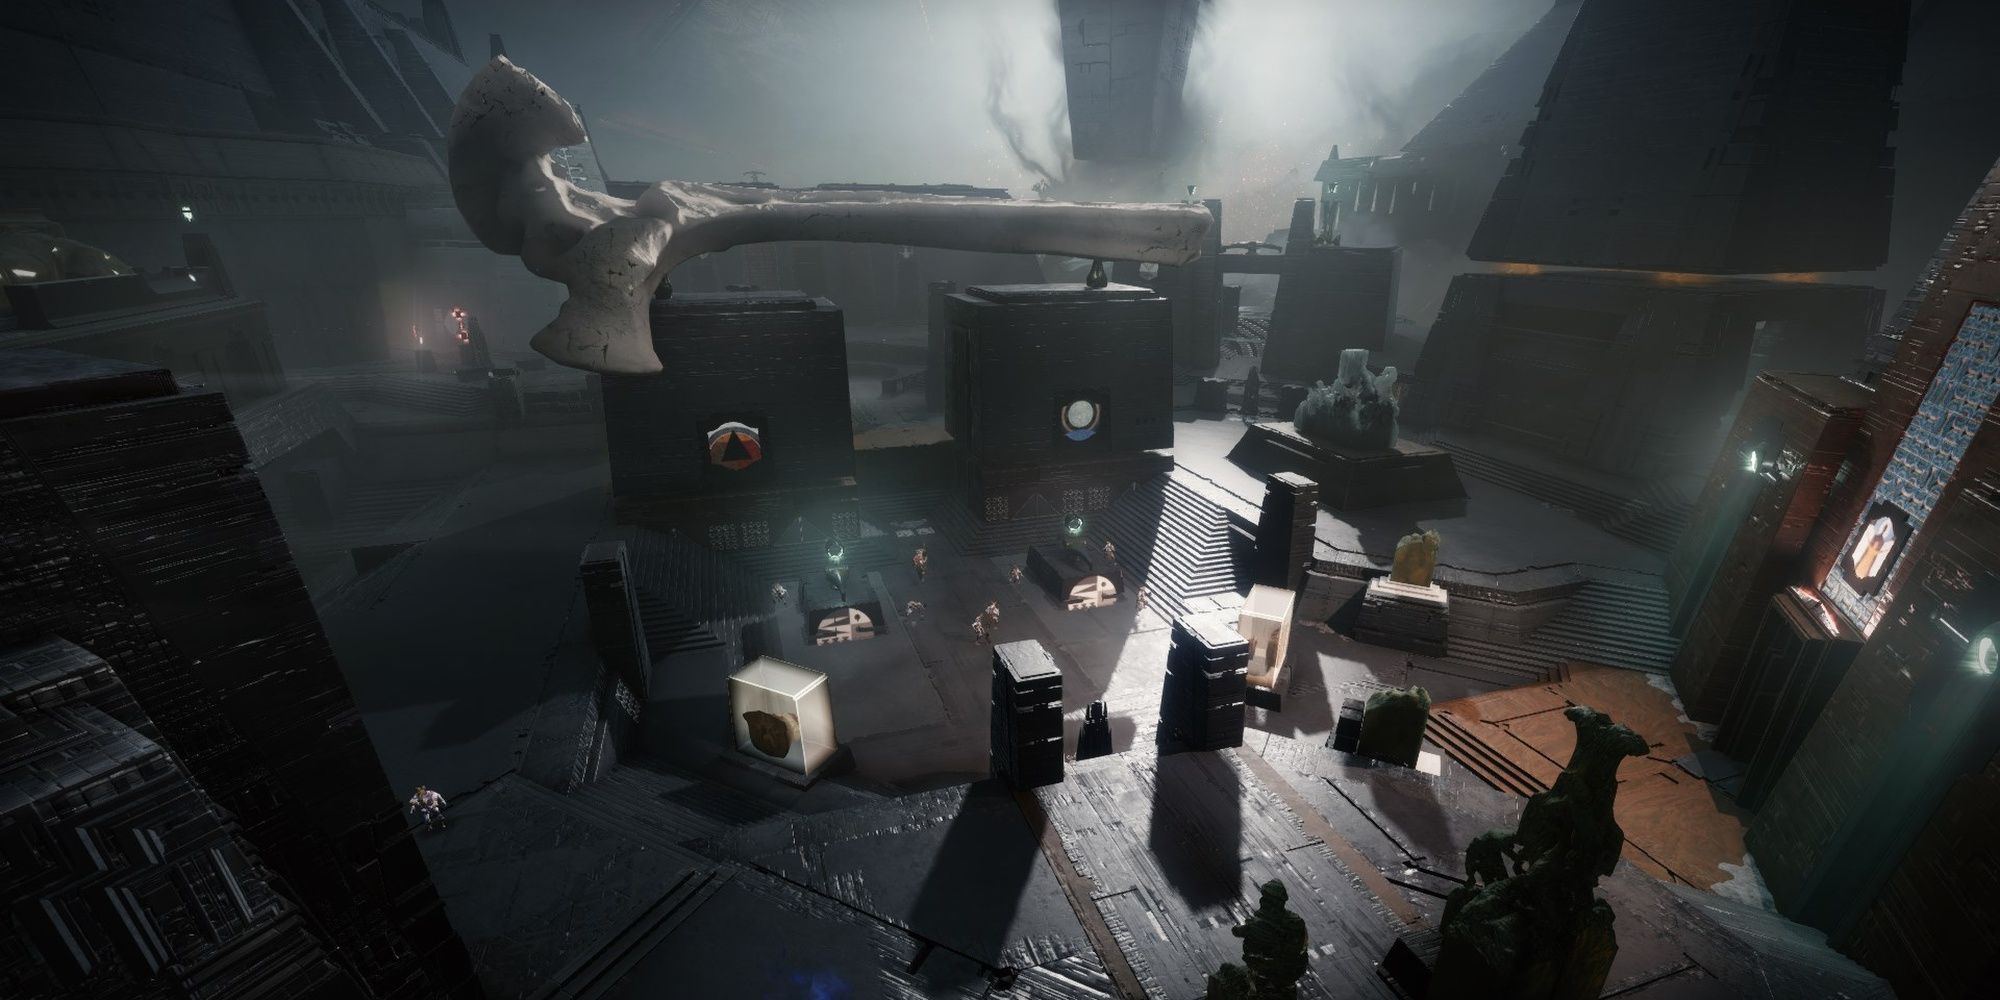
Descend into the depths of the ship to start the first proper encounter: Acquisition.
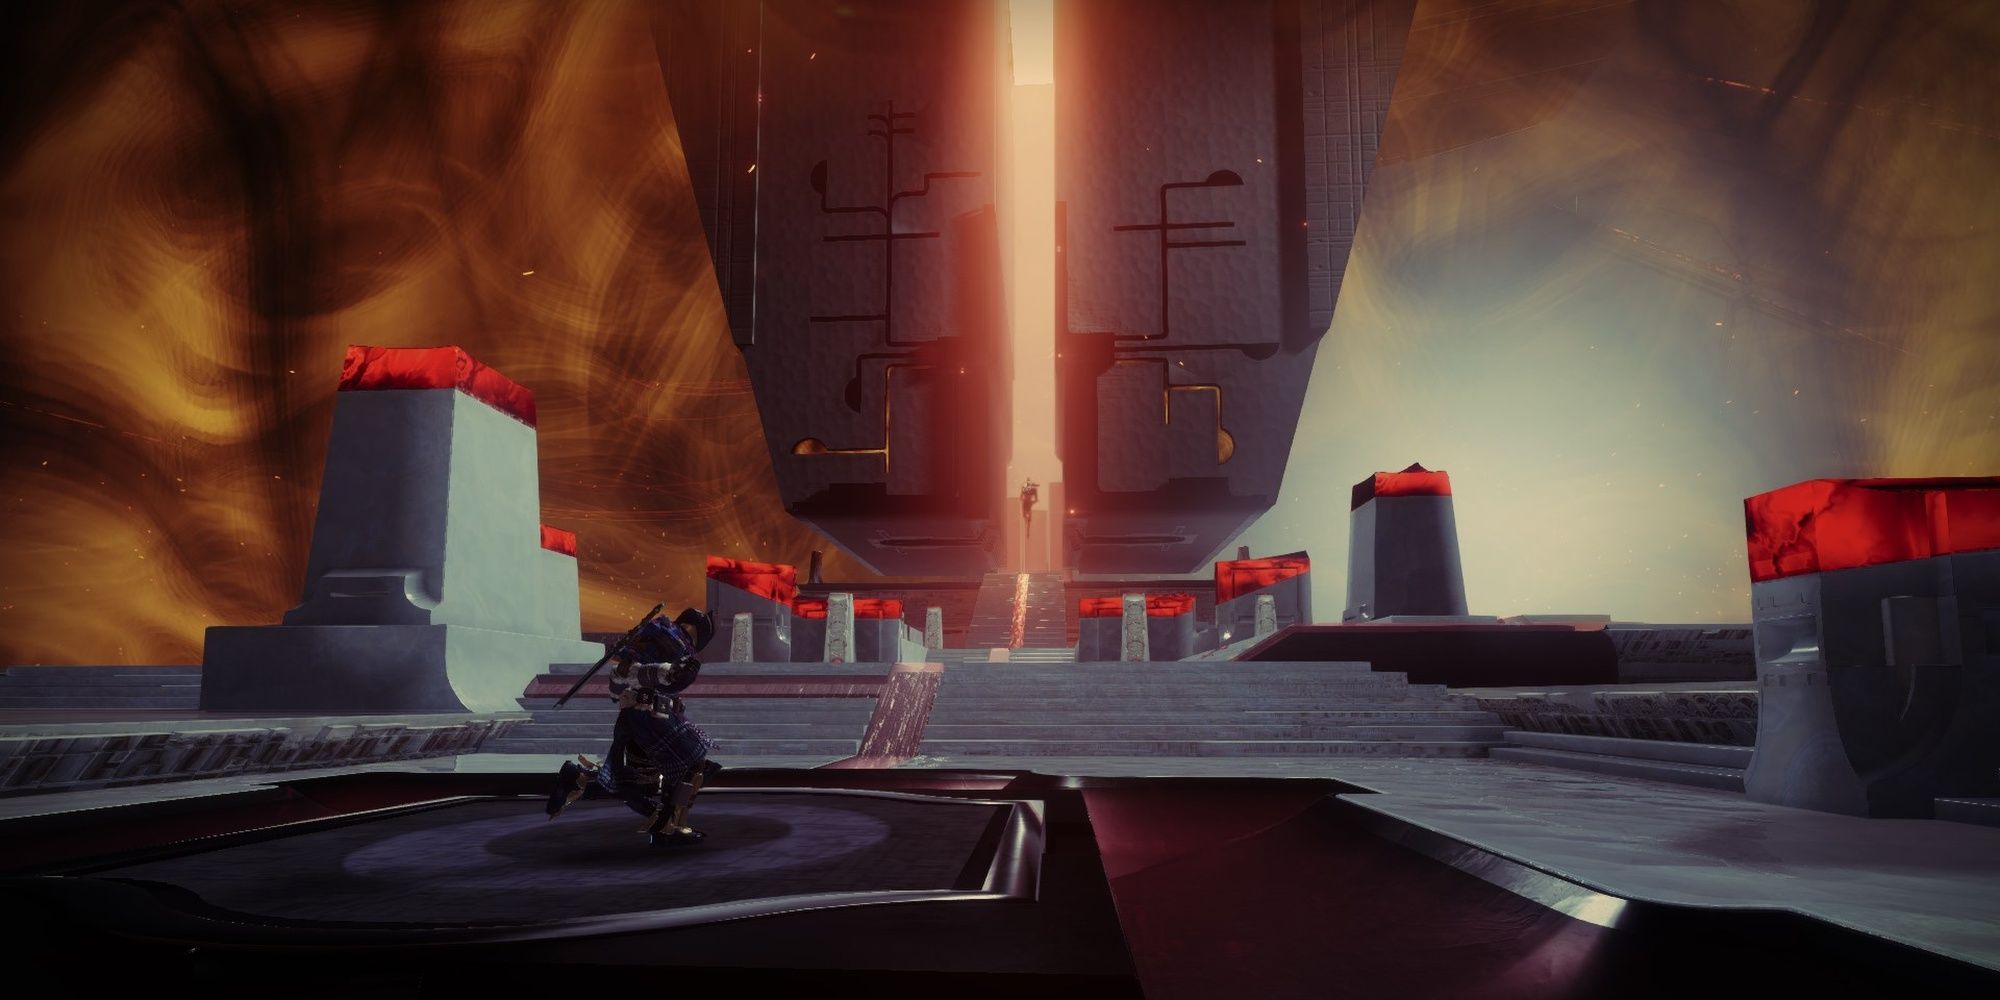
This encounter is all about symbols.
before you roll, walk around the arena.
![]()
Get a good feel for the layout and the symbols adorned above the various rooms around the perimeter.
You’ll notice three obelisks in the arenaone top-left, one top-right, and the last near the entrance.
Split your team into pairs and have them defend one of the three obelisks.
![]()
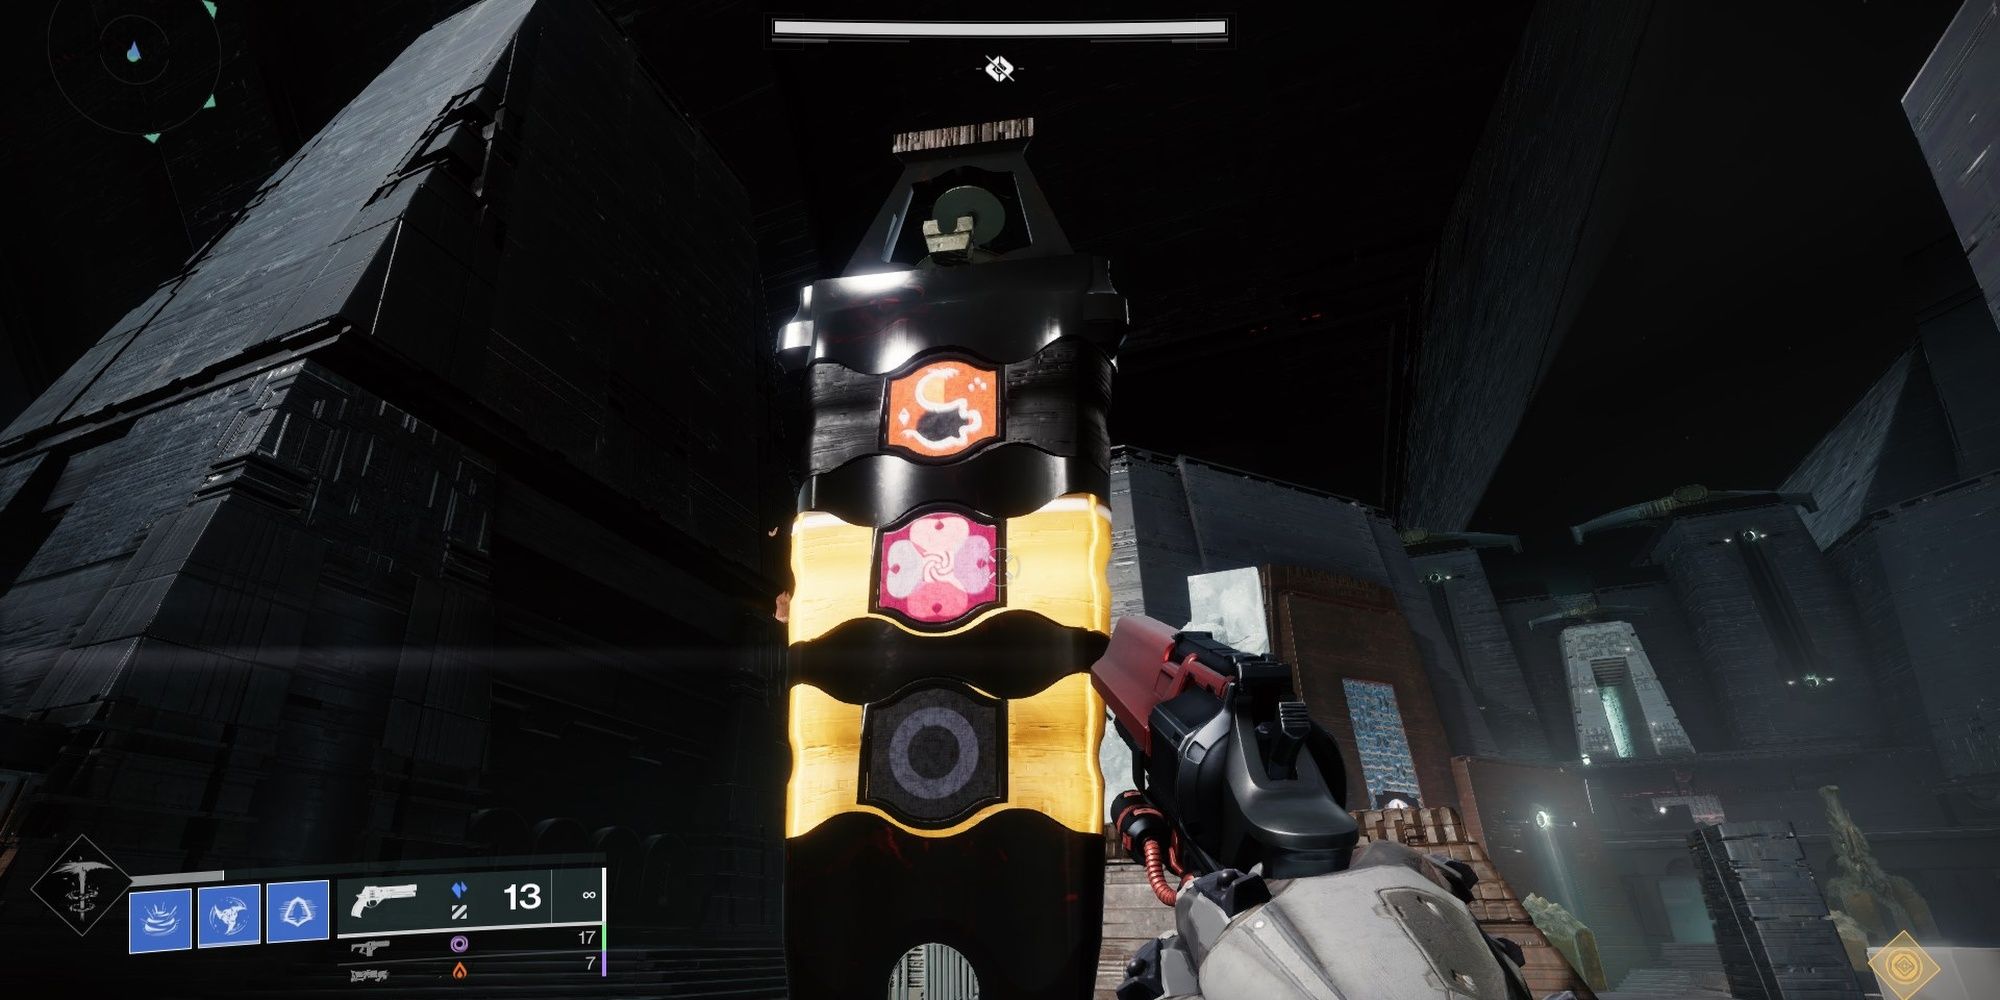
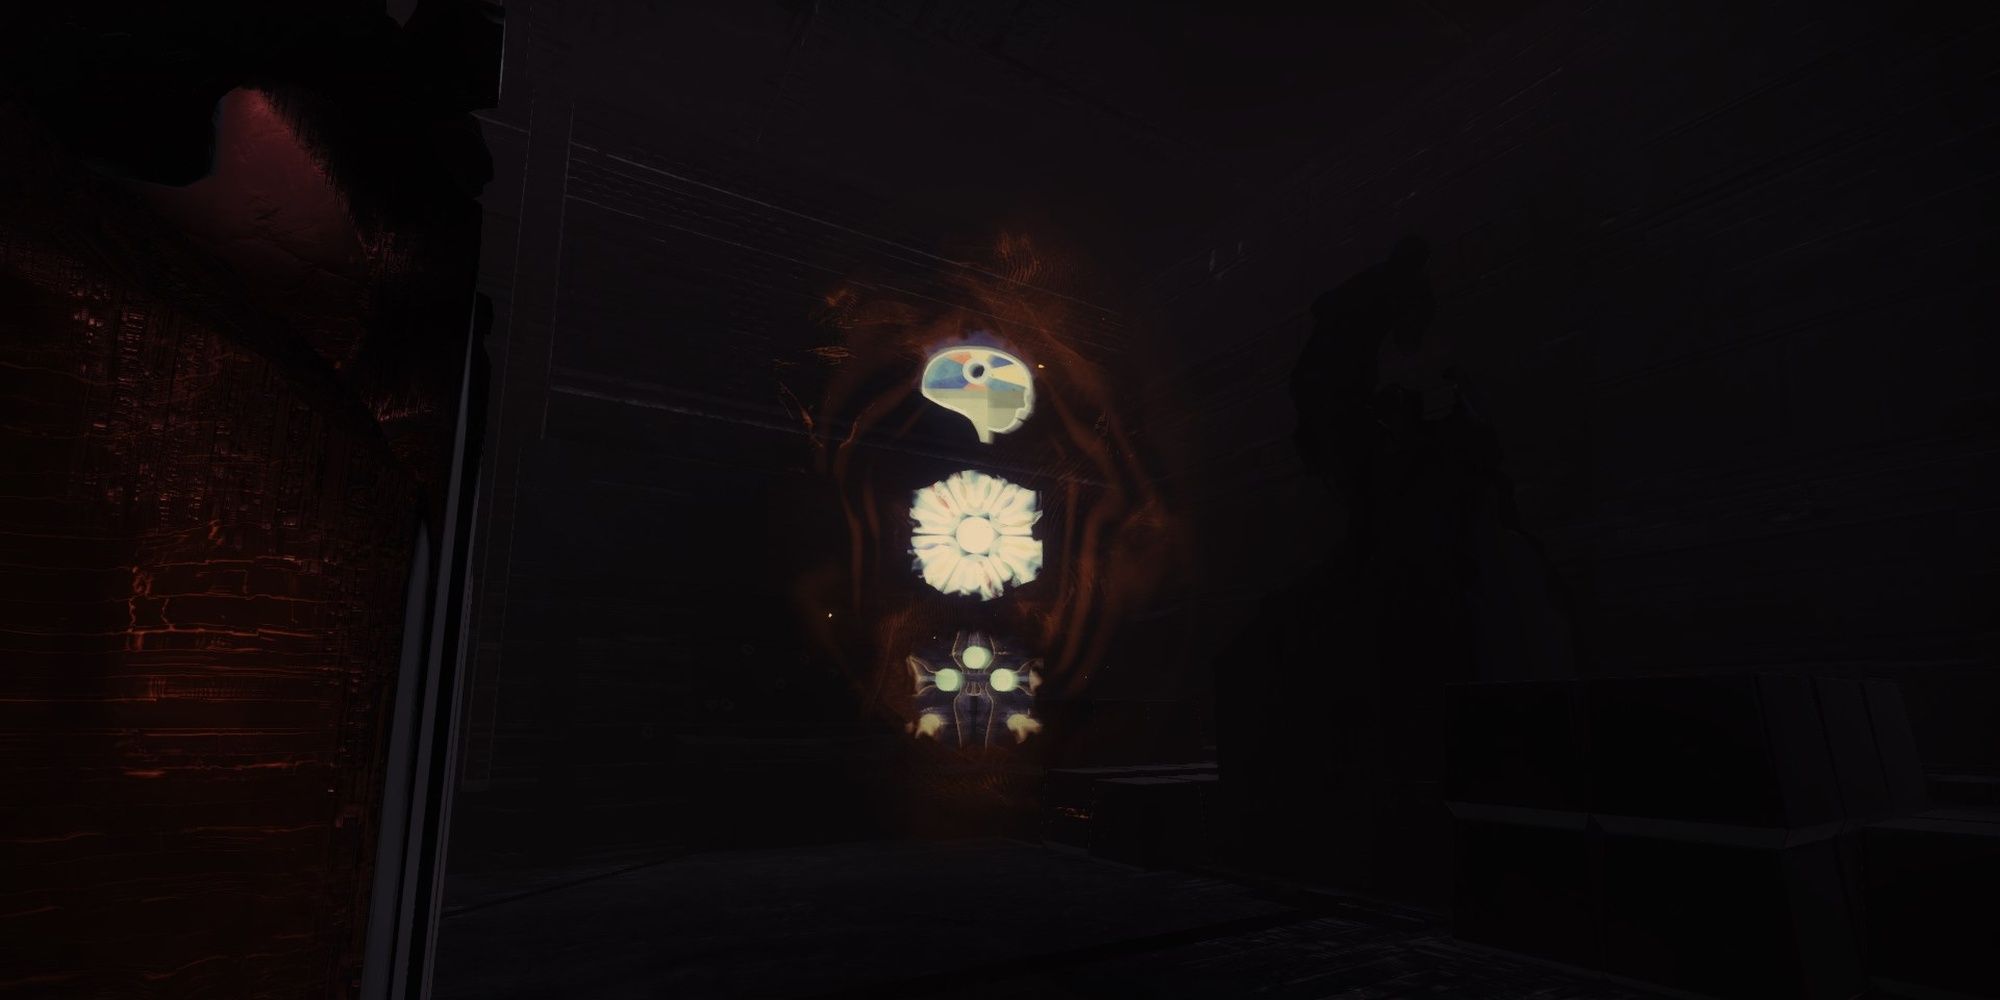
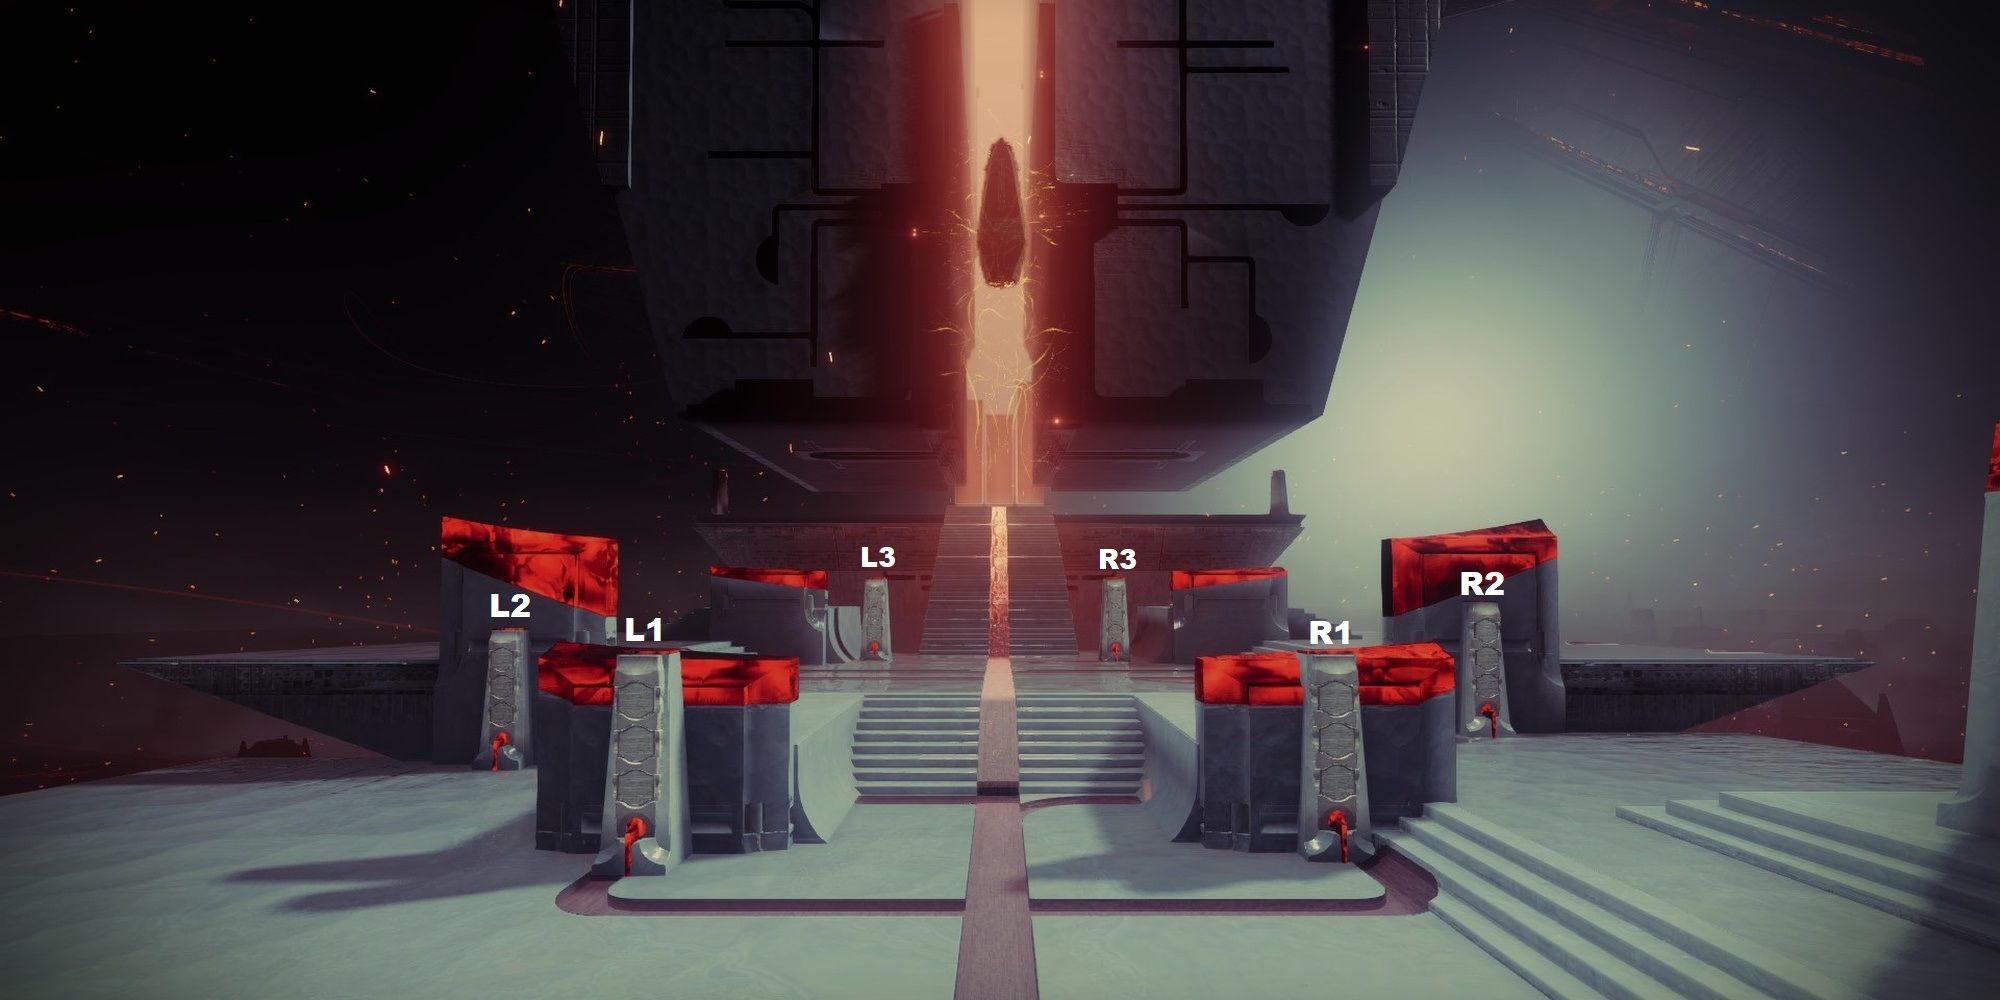
Near each obelisk will be a totem that has three blank symbols.
Assign one person from each pair as areaderandrunner.
Your role will determine what you do for this encounter.
![]()
Both roles should also take note of the floating Darkness switch near the center of the arena.
Shooting this switch starts the encounter and swaps which perimeter doors are open and closed.
This is repeated three times before your team must present an offering to an obelisk.
We’ll explain how offerings work in a moment.
Start the encounter by shooting the floating darkness switch near the center of the arena.
A wave of Scorn will spawn on each side.
Eliminate the Scorn to spawn a symbol on one team’s totem.
Slaying the Taken Knight will display a second symbol on the reader’s obelisk.
This symbol states which room a runner must enter to find a Glyphkeeper.
This will open all closed doors and vice versa.
The second symbol presented on a totem won’t always be on that obelisk’s area.
This determines which Glyphkeeper the runner must kill.
Kill that Glyphkeer to uncover a symbol near their corpse.
Record this symbol in text chat, on paper, or wherever is most convenient.
Once your team has uncovered three Glyphkeeper symbols, it’s time to cleanse an obelisk.

Once discovered, work with your partner to shoot all three symbols in a short time window.
retry until you get the timing down.
When done successfully, the obelisk will accept your offering and reset the encounter.
You must now repeat this encounter two more times to cleanse the other two obelisks.
Cleansing all obelisks of symbols will end the encounter.
Should your totem display a symbol, you’ll call it out to your team.
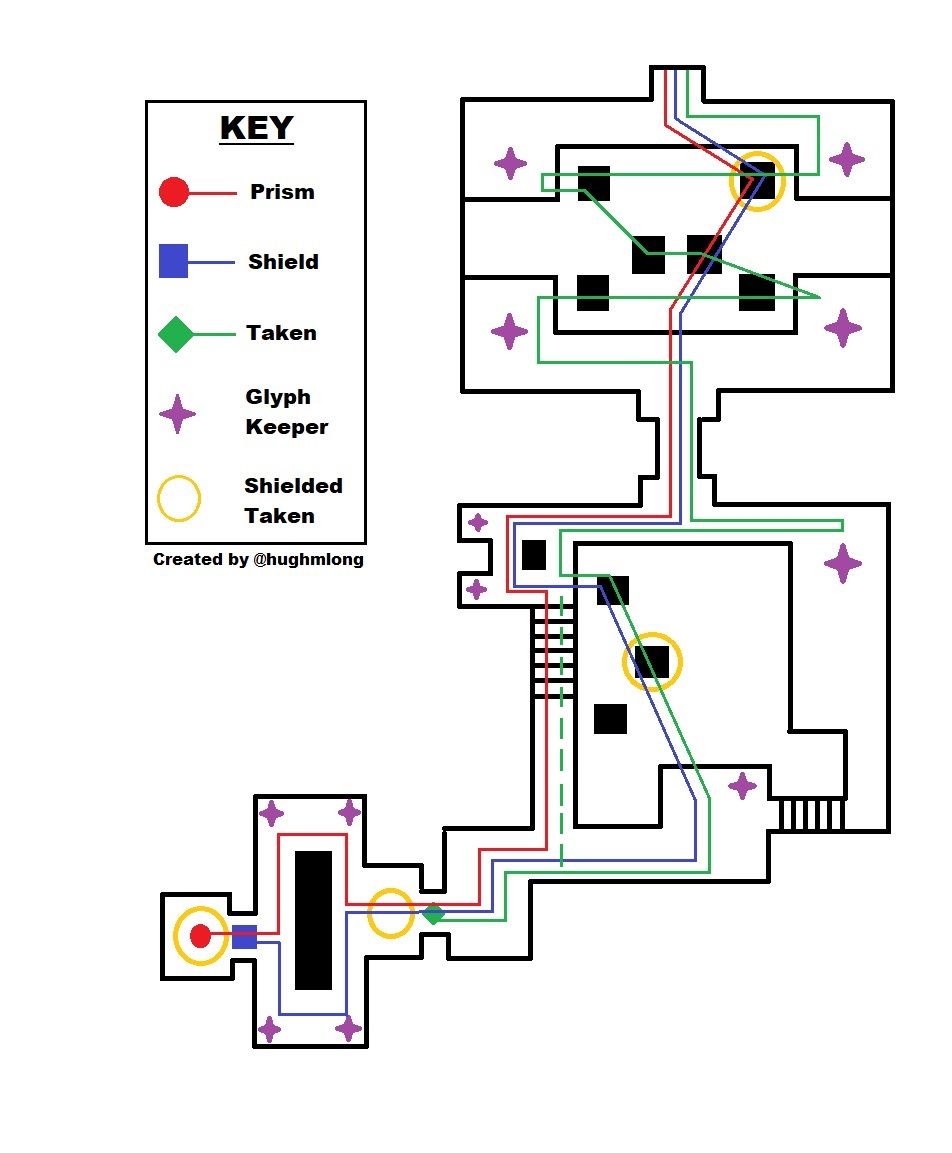
Original image by @hughmlongRecreation by @Chargerhawk
Totems will always display their top-most symbol first, then their middle one, then their bottom symbol.
Once they’ve killed a Knight, check your totem to find new symbols.
If so, shoot the symbols with your partner to cleanse your obelisk.
Rinse and repeat until the encounter ends.
However, you’ll still need to make callouts from your totem.
Encounter Rundown: Runners
Assist your reader with defeating Scorn enemies until someone gives a callout.
If you’re assigned on that side, search the area for the Knight and kill them.
Use your radar to better locate them.
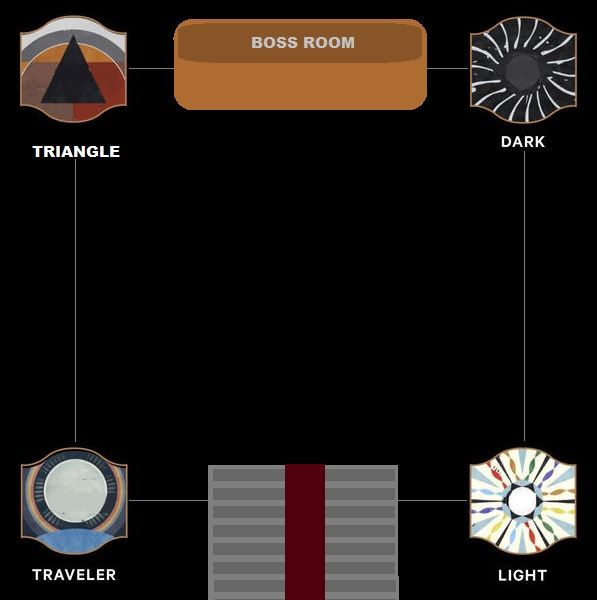
If the callout is near your section of the arena, you’ll enter the room they call out.
Inside the room, you’ll find two symbols adorned on the walls: Light and Dark.
A Glyphkeeper will spawn shortly thereafter near these symbols.
Whichever symbol your reader calls out (Light or Dark) determines which Glyphkeeper you must slay.
Once they’re dead, a symbol will appear near their body.
Record this symbol in text chat, paper, or whatever you prefer.
Exit the room and listen for more callouts.
Via: Athena_Rip (Reddit)
Be wary of Screebs on your way out.
If all three symbols are present, quickly shoot them to purge the obelisk.
Otherwise, assist the pair who does have all three symbols with purging theirs.
Rinse and repeat until the encounter ends.
Should it reach the obelisk, your team will wipe.
before you jump in the encounter, take note of the arena you’re in.

The center will contain the obelisk you gotta defend.
Right behind it is a door locked by two floating Darkness switches.
Shoot either switch to pop swing open the door, starting the encounter.

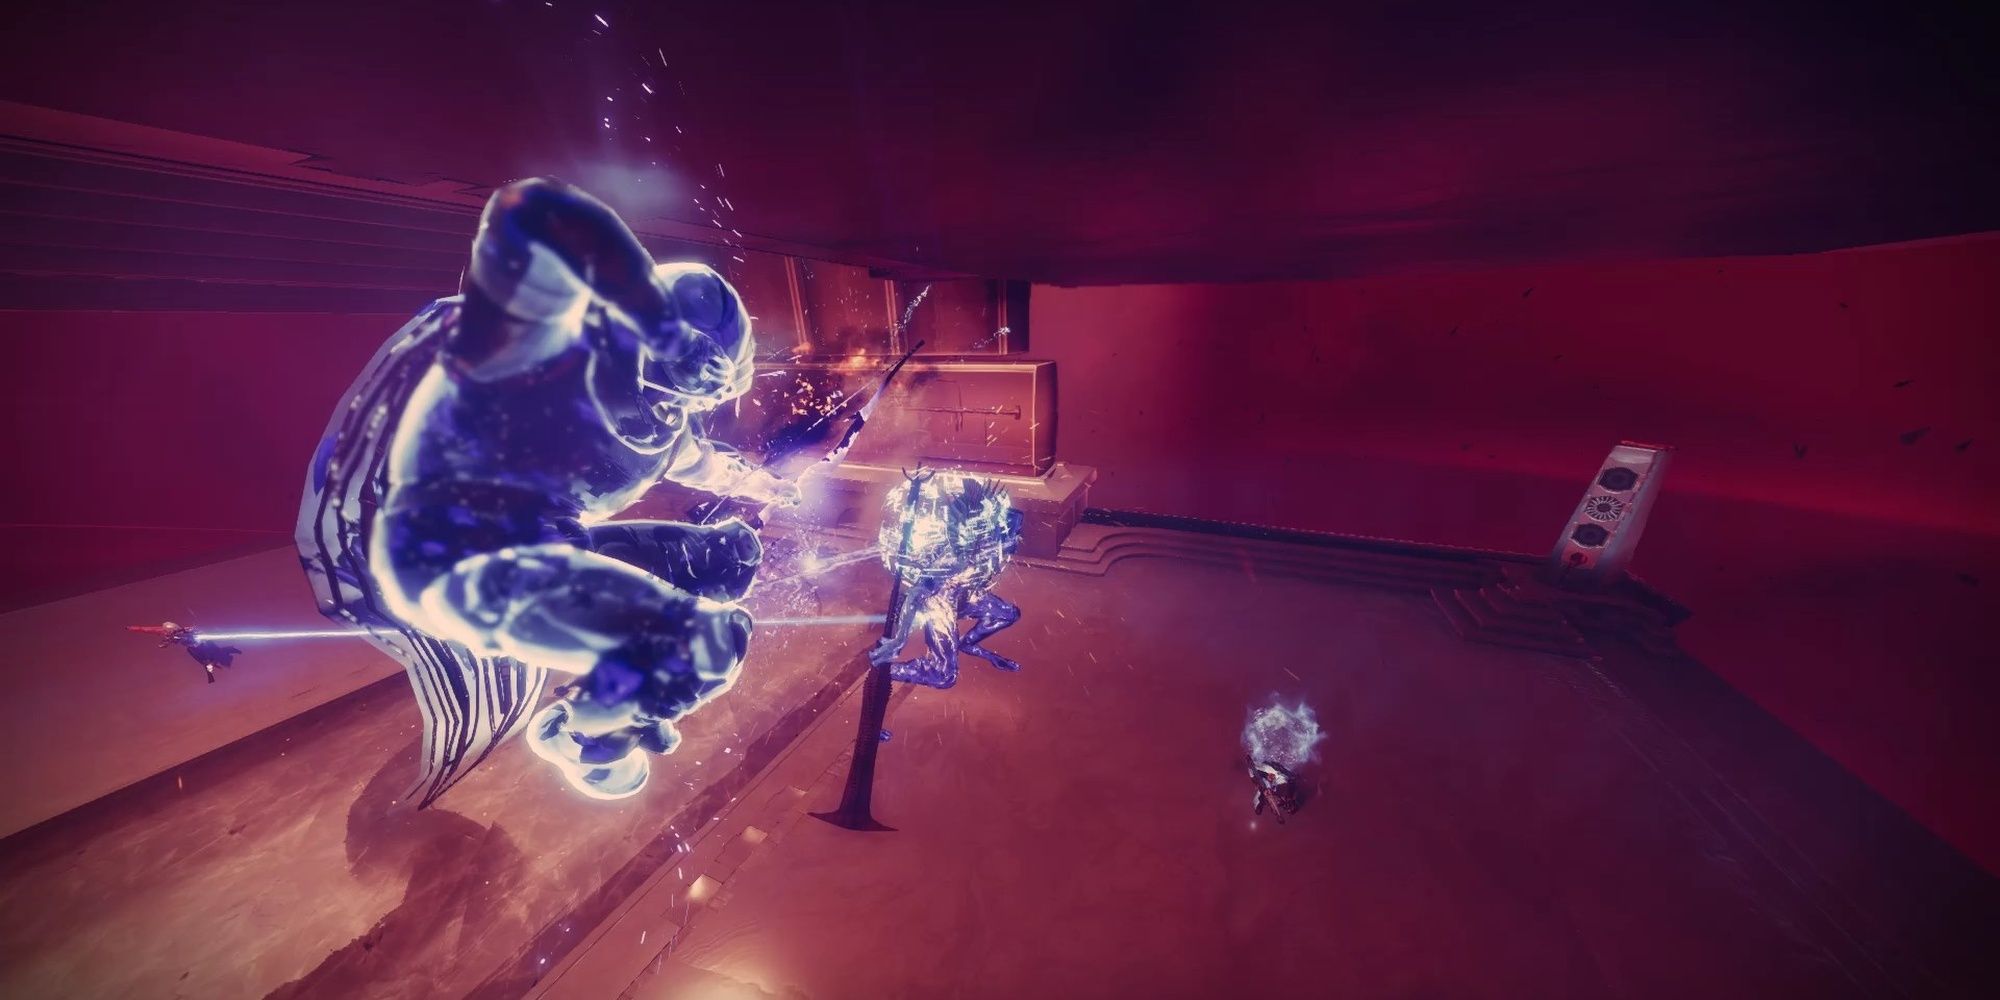
The Caretaker will spawn in the center of the room, directly across from the obelisk.
Runnerswill start the encounter by opening the door.
Inside will be nine fragments with symbols above them.
They will need to grab at least one fragment, remembering the symbol that appeared above.
Continue to grab fragments until all nine symbols have been purged.
This starts the DPS phase.
Stand right under the Abomination to force a slam attack, drawing their gaze.
Its face will glow yellow, allowing you to damage it.
Breaking this glow will expose the Caretaker’s back.
Add Clearis just what it sounds like.
Keep clearing out the fodder enemies until runners cleanse the obelisk and start the DPS phase.
With the obelisk cleansed, everyone will head to one of three plates.
Once the Caretaker’s HP bar begins to glow, it’s possible for you to damage them.
Stairs will form near you to let you ascend the arena.
Reach the next floor and repeat the encounter as before.
Runners will have more dangerous rooms to traverse each time, so be careful.
Once your team has cleared three floors, a final phase will begin.
You have three plates to finish this fight, so give it everything you’ve got.
The encounter ends once the Caretaker is slain.
This fight is a serious endurance test, so we highly recommend you use ammo finder and scavenger mods.
Remember the symbol(s) you grabbed.
Exit the room to remove stacks of the debuff.
Once you’ve collected at least one fragment symbol, exit the room.
Should the door be locked, ask your team to kick off the door for you.
If you grabbed multiple symbols, you’ll need to shoot all of them at once.
The obelisk will accept your offering if done correctly.
Walk back into the room when this is done to collect more fragments.
Clearing the obelisk of all nine symbols will start the DPS phase.
Repeat this process for all three floors.
Be aware that subsequent floors have larger, more dangerous rooms.Watch out for bottomless pits and tough enemies.
Encounter Rundown: Stunners
Your job is simple: prevent the Caretaker from reaching the obelisk.
While this debuff is active, the boss will emit a yellow hue from its head and back.
Shoot its face to open up its back.
Damage the Caretaker’s back to stun the boss temporarily.
Be careful while doing this, as the boss will release swarms of projectiles from its back.
Destroy these projectiles as soon as you’re able to.
To make stuns consistent on this boss, we recommend having one player stand in front of the boss.
Whoever gets the debuff should shoot the Caretaker’s face, while the other player aims for their back.
Encounter Rundown: Add Clear
There’s nothing fancy here.
Bring your hardest-hitting Primary and lay waste to any enemy that spawns.
Should they damage it too much, your team will wipe.
The only noteworthy enemy is a pair of Taken Vandals, one spawning on each side.
If they get enough shots on the obelisk, it’s a wipe.
Meet up with your team once the DPS phase begins.
From the Caretaker encounter, follow the path until you enter a room filled with enemies.
Take note of a rectangular structure on the right-hand side of the room.
Above it is a floating Darkness switch you might shoot.
This is how you’ll alternate platforms in the jumping section ahead.
Further along the path, you’ll see a few platforms alongside the walls of this rather massive structure.
Jump atop the platforms until it appears to hit a dead end.
Repeat this process until your group can get a sightline on the switch once again.
Escort the remaining players back to the group.
Turn right upon entering the room to find the next set of platforms to jump on.
This platforming section requires you to jump across moving platforms that are controlled from a Darkness switch.
Leave at least one player behind to shoot the switch while everyone else jumps across the platforms.
You’ll find the next encounter shortly thereafter.
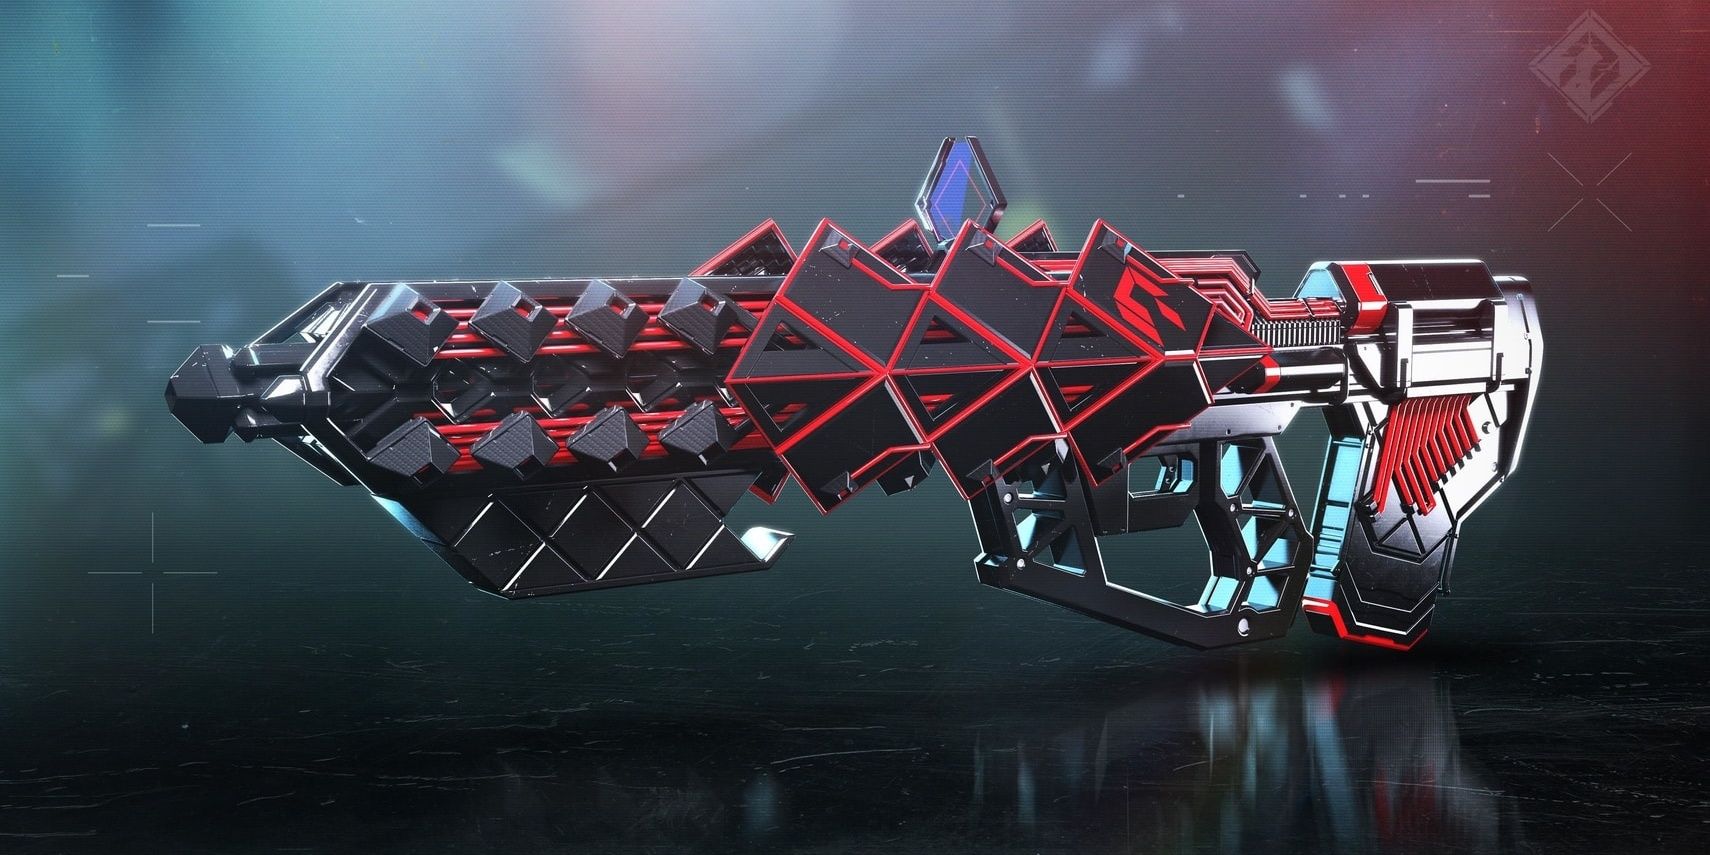
Related:Destiny 2: How Do Glaives Work?
The Upended
Everyone
Aegis
Crystal
Taken
Overload Champions are present in this encounter.
Unlike previous encounters, you’ll be using three relics seen in previous Destiny raids to interact with mechanics.
A timer called Terminal Resonance will appear on your screen.
If this reaches zero, you wipe.
Resetting this timer requires you to either kill Taken Knights or unlock a new room.
Unlocking a room requires you to locate symbols from Glyphkeepers.
Two Glyphkeepers will spawn, one on each side of the room.
Slaying the Glyphkeepers will display three symbols that only half of your fireteam can see.
Your team will need to read both sets of symbols and determine which symbol is matching.
This determines which symbol you shoot at the nearby doorframe to proceed.
Have two players grab each relic to launch the next room.
Clear out all of the Taken Hobgoblins to spawn the Glyphkeepers.
Defeat the Glyphkeepers to spawn a Taken Knight, allowing you to extend your timer.
Reaching the second room will introduce aTaken relicthat someone will need to grab.
This relic is used to destroy blights that spawn throughout the arena.
Walk near one, then press the grenade key to break it.
These Knights spawn whenever your team defeats a pair of Glyphkeepers and a sizable number of Taken Hobgoblins.
Remember to regroup with your Aegis runner to purge your Pervading Darkness stacks.
Use your block button to project a shield around yourself, cleansing allies of any debuff stacks they have.
Beyond that, focus on reading symbols and killing enemies.
Just be careful not to get too far from your team.
Your job is to find Taken blight orbs scattered across the arena and destroy them using your grenade key.
In general, blights alternate positions in the arena.
Also, take note of the forcefield the boss spawns.
You cannot bypass this field unless you have the Emanating buff, something only runners should have.
Start the encounter by walking up to Rhulk.
A plate right next to spawn will activate whenever a Leeching Force retainer stands atop it.
Have whoever just broke the fragment stand on the plate to spawn two more fragments.
Have your second buff retainer and dedicated runner break each fragment.
Only the player with Leeching Force needs to stand on the plate.
Those shooting the fragments can damage them from anywhere in the arena.
If successful, the runner’s buff will turn intoEmanating Force.
This means you’re free to now enter the forcefield without getting thrown out of the arena.
Should the runner dunk at the wrong totem, they will die.
Totem symbols change with each cleanse.
Readers will need to check totems after each cleanse to see where runners need to dunk next.
Kill the Glyphkeepers, figure out which symbol matches, then have the runner dunk at the totem.
The forcefield will shrink every time you do this correctly.
Removing the forcefield starts the second phase of this encounter.
You only get this opportunity once per encounter.
Losing the buff again will cause your fireteam to wipe.
Rhulk DPS Phase
Don’t let off your rockets and Supers just yet.
Before we continue,Rhulk is not a prop in this encounter.
He willcharge at you and dropkick you.Keep as much distance between you and Rhulk as possible to prevent dying.
One death in this phase can quickly spiral into a wipe.
There are three attacks worth mentioning during this phase:
Rhulk will spawn glaives behind him throughout this phase.
Have your runner destroy the glaive to receive the Leeching Force buff.
As before, the runner must get hit by Rhulk’s lasers to empower the buff.
Non-runners will be able to see a symbol when Rhulk’s glaive breaks.
Six Shadow Thrall spawn a few seconds after Rhulk attacks.
DPS phase begins when Rhulk transforms, the arena turning a dark red color.
This is your window to strike, but beware of Rhulk’s attacks.
Like before, he’s capable of charging at you and using his glaive to kill any unsuspecting Guardians.
Keep your distance from the boss; never stop moving.
Once Rhulk becomes immune to all damage, retreat to the start of the encounter.
When Rhulk reaches the last portion of his HP, he’ll enrage and enter a final stand mode.
The Pervading Darkness debuff will begin to stack during this part.
Your job is simple,kill Rhulk before Pervading Darkness reaches x10.Should it reach x10, you wipe.
Spam your Heavy weapons, use your Supers, and remember to avoid his attacks.
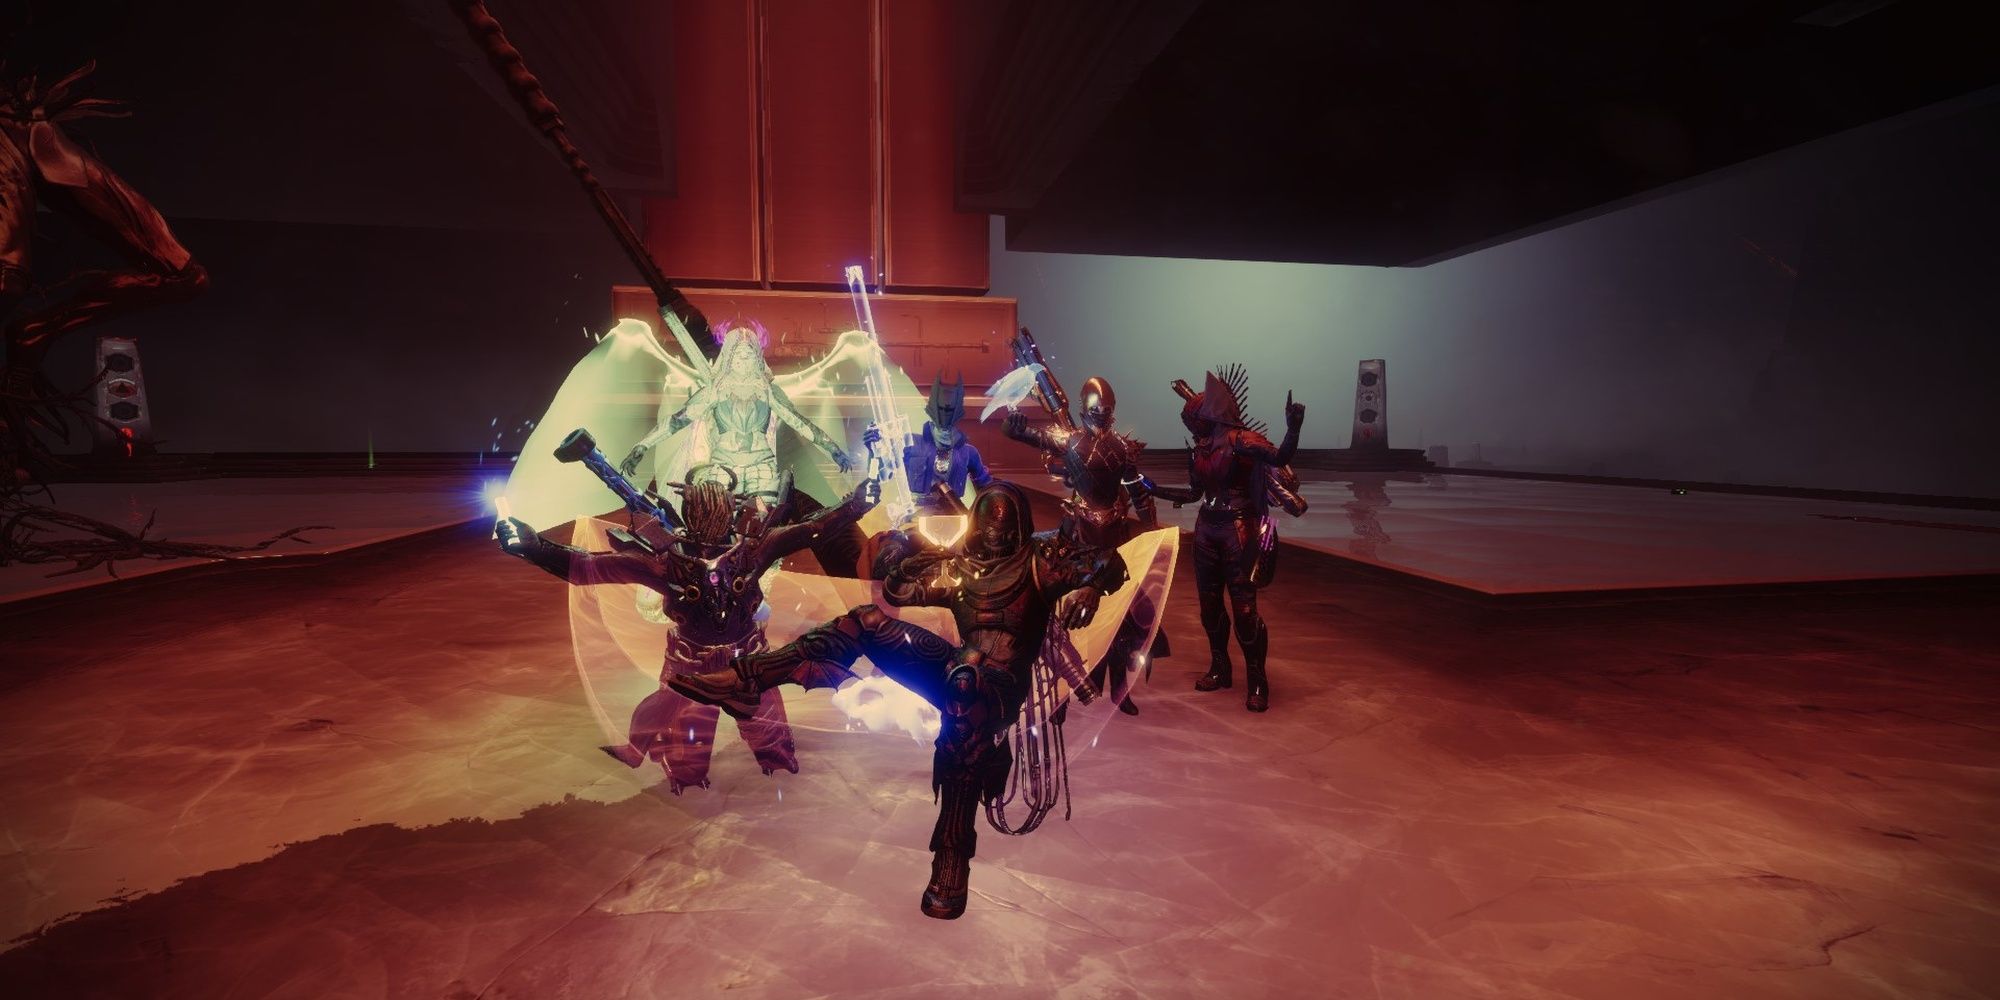
Defeating Rhulk ends the Vow of the Disciple raid.
This makes High-Energy Fire your best bet for buffing your damage.
Rock this mod with Taking Charge and/or Radiant Light to always have High-Energy Fire active during the DPS phase.
Stasis users can easily proc this mod by having at least one member of your fireteam run Supreme Wellmaker.
Void users can spawn Wells by using Reaping Wellmaker.
Use your class ability, kill a Shadow Thrall, then grab the Well once the DPS phase begins.
Encounter Rundown: Buff Retainers
Before the encounter starts, bring a long-range weapon.
Pulse Rifles, Scout Rifles, or Sniper Rifles are recommended.
Once the encounter starts, you’ll want to shoot at the floating Darkness fragment above Rhulk’s head.
You will receive the Leeching Force buff for doing so.
Stand on the plate directly in front of spawn to spawn two more fragments.
Your runner and second buff retainer will shoot this buff, removing Leeching Force from you.
The second buff retainer will now stand on the plate.
You are now free to walk around and kill adds or help with callouts.
You have just swapped the Leeching Force buff with the second buff retainer.
Swap places with them.
Repeat this process until the forcefield has dissipated.
Have your buff retainers shoot the first Darkness fragment, the one floating right above Rhulk’s head.
Two more fragments will spawn when the buff retainer stands on a plate.
Shoot one of them, then jump in front of Rhulk’s beam attack.
You will now have Emanating Force, allowing you to walk inside the forcefield.
Read the three left-hand symbols for your reader.
Your reader will then tell you which totem to cleanse.
Run over to that totem and interact with it.
Cleansing six totems will remove the forcefield entirely, allowing you to reach Rhulk and start the DPS phase.
Your job is to determine which symbol matches both sides of the arena.
Shortly after the encounter begins, each side will spawn a Glyphkeeper.
Work with your add-clearing team to kill the Glyphkeepers.
You’ll see three symbols on the right-hand side of the arena.
Call them out to your team.
Anyone with the Leeching or Emanating Force buffs can read the left-hand symbols.
Use these callouts to determine which symbol is present on both sides.
You must now look for a totem that has your matching symbol.
When two totems have been cleansed, new Glyphkeepers will spawn.
Help your runner cleanse six totems to start the DPS phase.
Ensure that your runners don’t die by killing as many enemies as possible.
For each section of the forcefield, two Glyphkeepers will spawnone on each side.
Glyphkeepers are your top priority, followed by Abominations, Taken Hobgoblins, and Taken Psions.
If you’re severely underleveled or playing on Master difficulty, consider using Trinity Ghoul for this part.
Focus on killing adds and Glyphkeepers until the forcefield drops, at which point the DPS phase begins.
Next:Destiny 2: The Witch Queen Complete Guide And Walkthrough
