ThisDestiny 2dungeon is incredibly difficult and has plenty of mechanical puzzles that rival most raids.
Learn how to craft and use tonics with this in-depth guide.
You’ll need a build and/or weapons that can kill dozens of Fallen in a couple of seconds.
Classics likeGraviton Forfeit,Sunshot, andTrinity Ghoulwill thrive here.
For Legendary picks,you’re free to’t go wrong with Hand Cannonsor any Solar weapons with Incandescent.
The final boss is a more traditional fight that demands rapid repositioning,similar to the Witness.
For that fight, a traditional Heavy GL or Rocket Launcher should work fine.Grand Overturealso works wonders.
Hunters will want aNightstalker tether buildon standby.
Shadowshot makes the combat portions of this dungeon fairly trivial.

As for Warlocks,DawnbladeandPrismatic ‘buddy’ builds(Getaway Artist,Bleak Watcher, etc.)
Learn how to fully unlock Prismatic and realize its full potential with this in-depth subclass breakdown.
You must deposit your buff at a nearby terminal before the timer expires, or else you’ll die.

Walking near a panel will either make the hexagon white or remove it.
Call out white hexagons.
First, Last
Operator
(Red)
Allows you to shoot panels.

Damage the panel(s) your Scanner calls out.
All
Suppressor
(Blue)
Replaces your grenade with a hologram decoy, drawing enemy aggro.
It explodes when damaged.

Decoy explosions make boss units vulnerable.
Second, Last
You may have one augment active at a time.
Eliminate the nearby Fallen Vandas that are holding augments.

You’ll want to pick up the Scanner (yellow) augment first.
Glance at your minimap to find all nearby panels, then get close to them.
If any of the yellow hexagons turn white, make a note of where they are.

This is your only method of swapping augments in the dungeon, so keep this in mind.
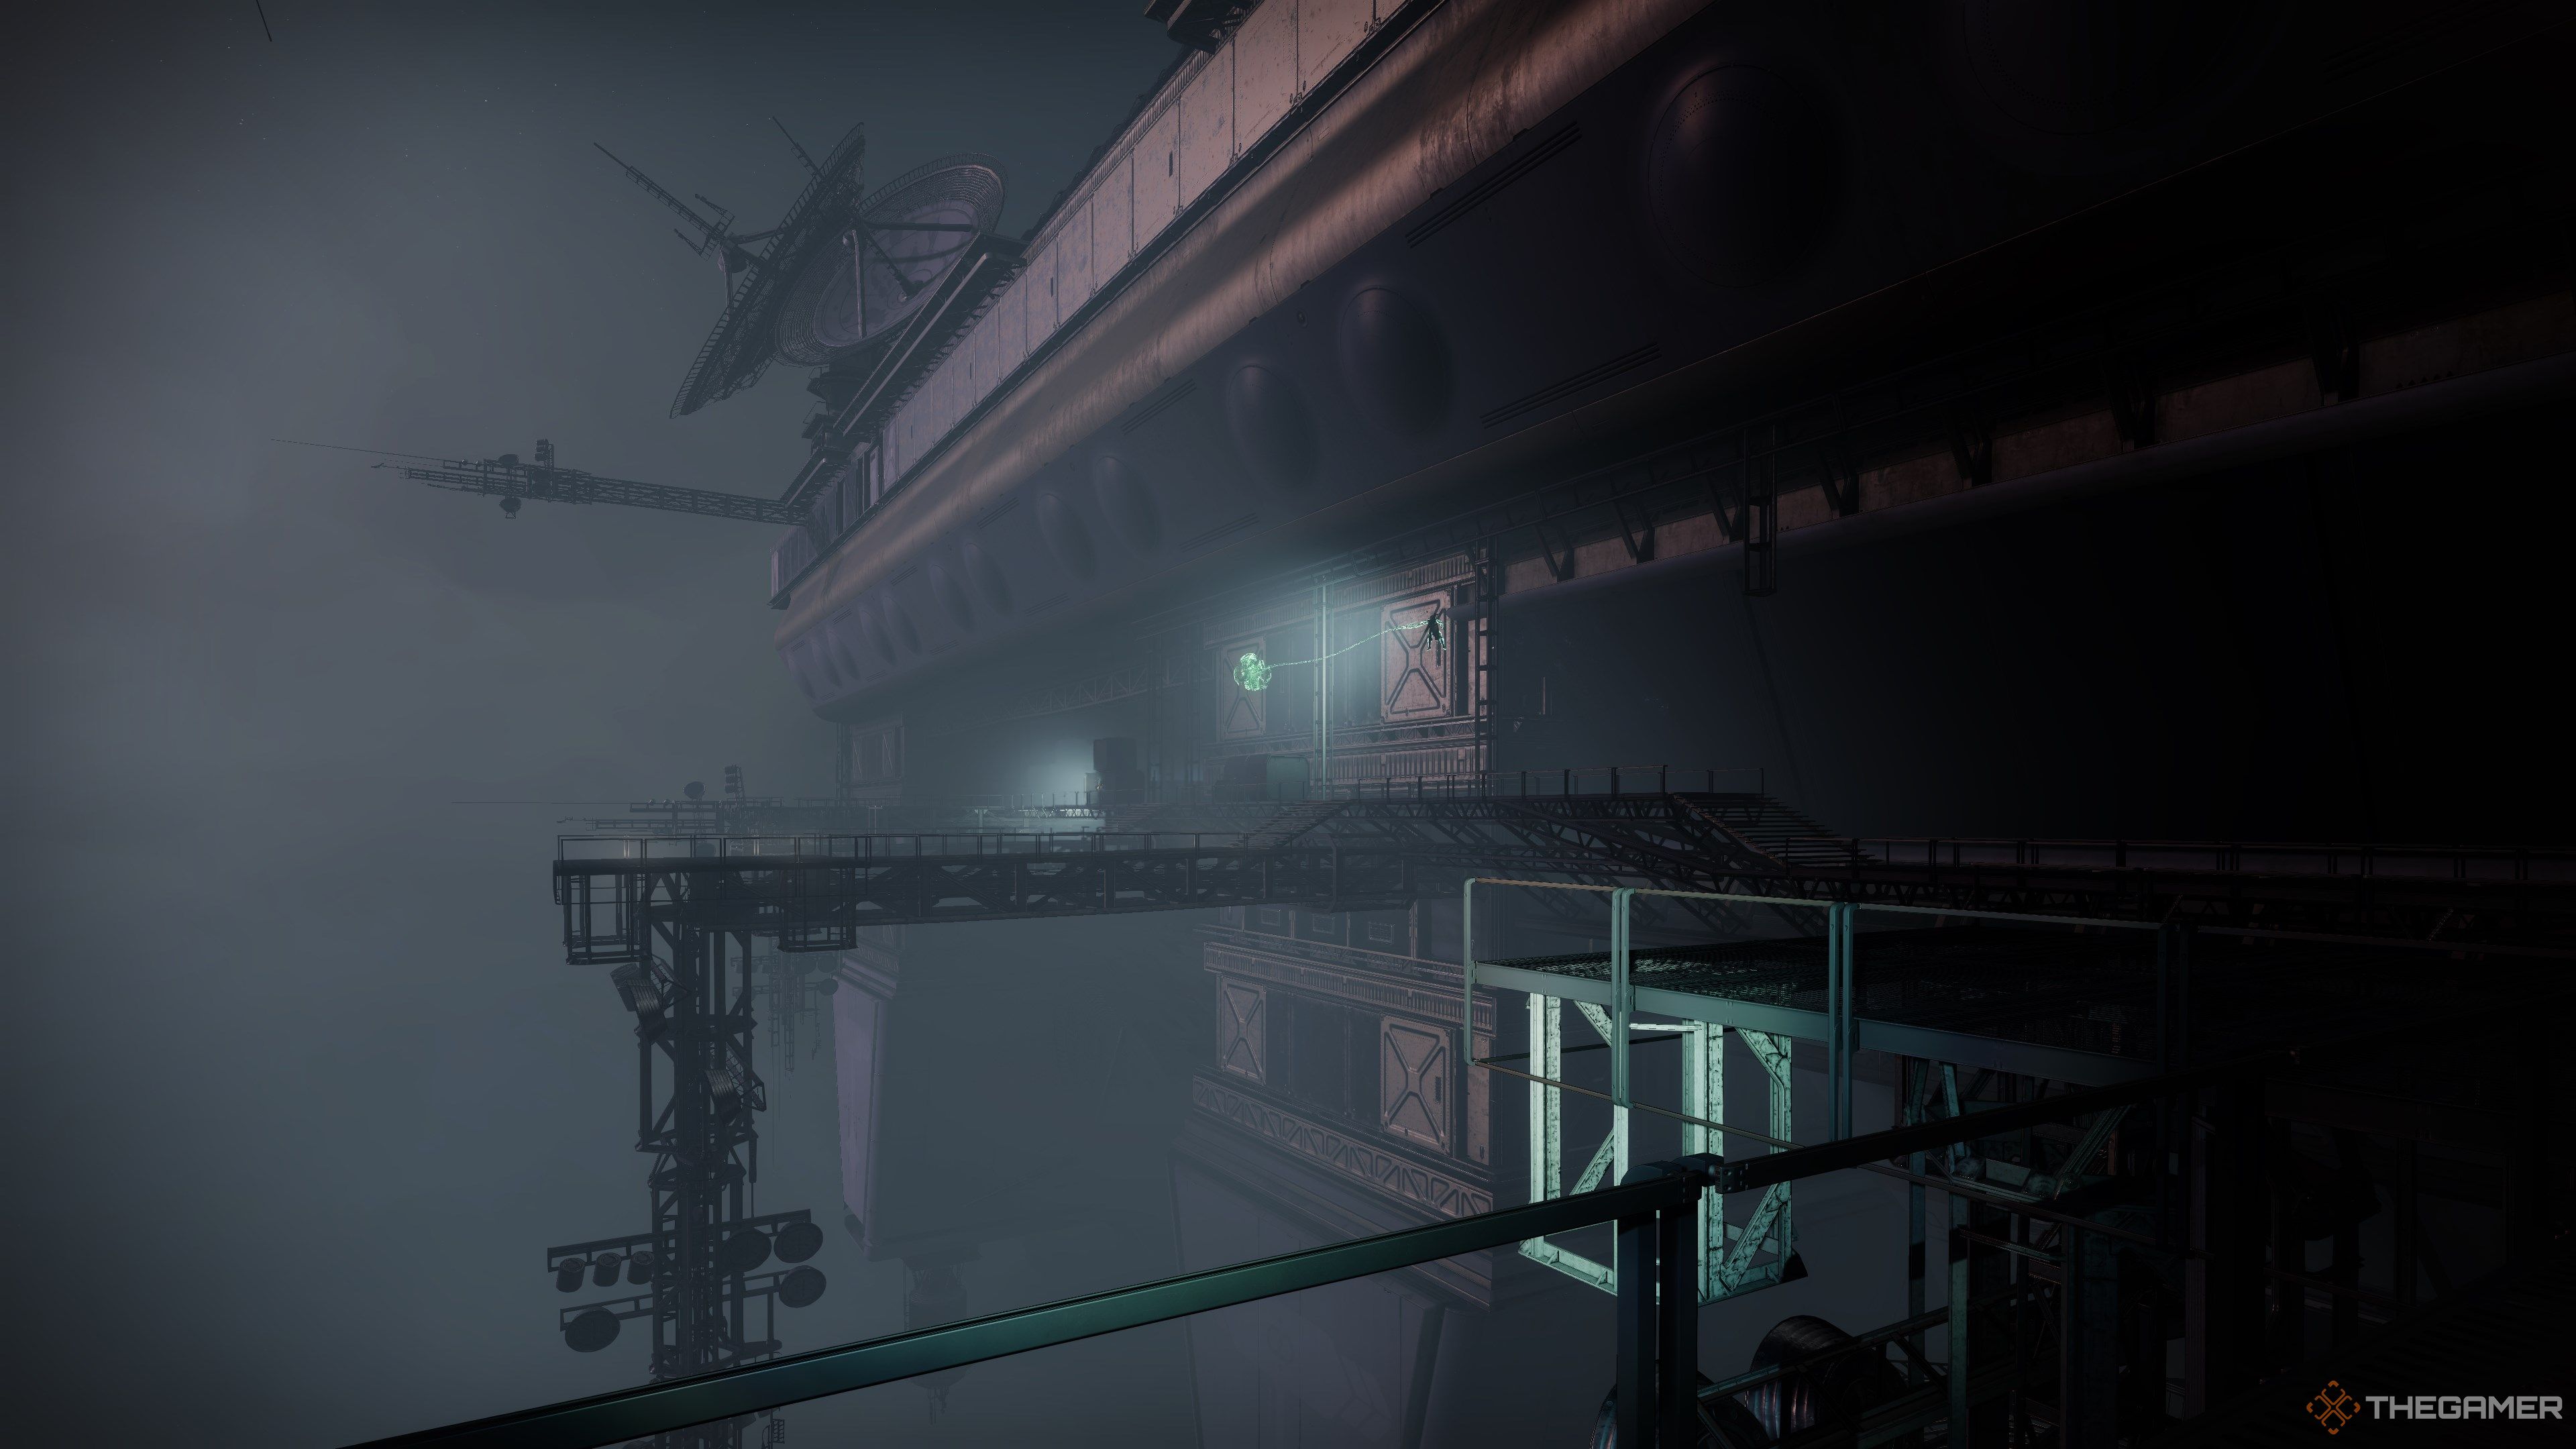
If done correctly, the airlock will open and lead you inside.
Destroy the tripmines and follow the path to reach the first encounter.

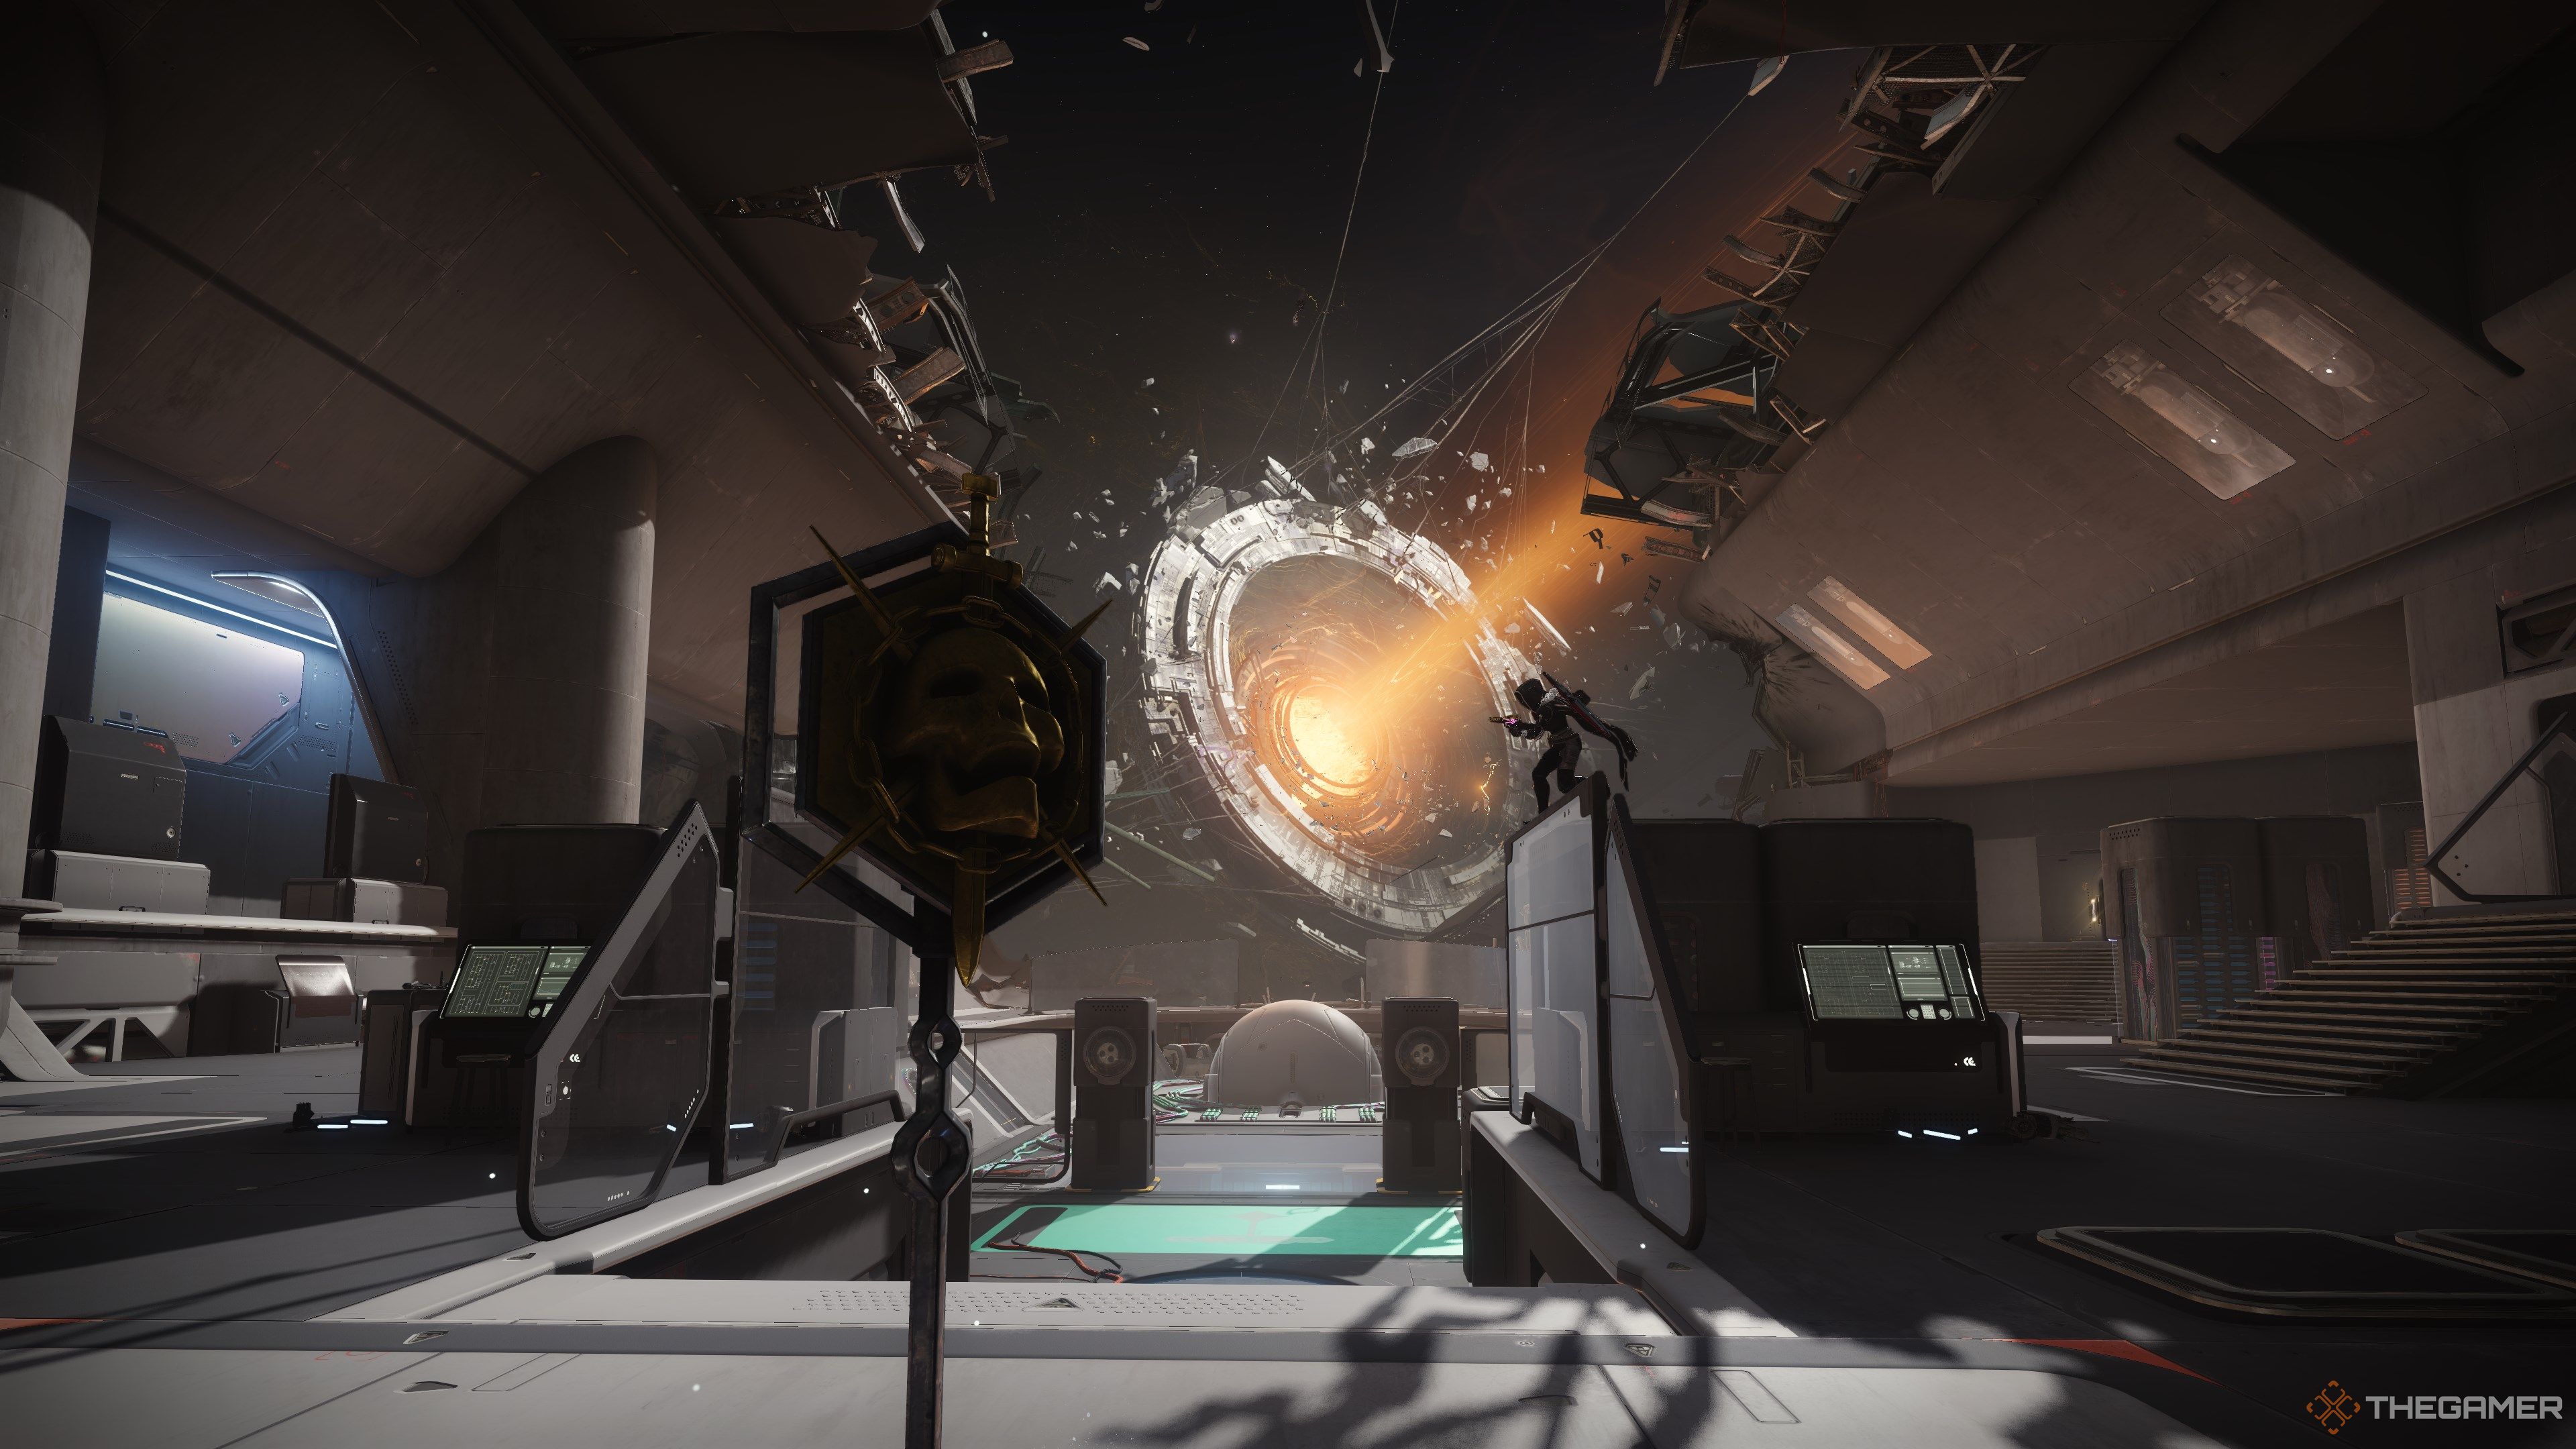
Start the encounter by interacting with the AI orb in the middle of the room.
This will spawn dozens of Fallen and a Brig miniboss.Focus on the Brig.Destroying it will spawn aScanner Vandalshortly thereafter.
Grabbing the Scanner buff will fire up the doors in each corner of the room.

You’ll want to enter any three of the side rooms; order doesn’t matter here.
Each side area will have two Vandal bosses guarding an active energy field.
Kill both of them and any nearby adds to drop the field.

The next room is where you’ll need to repeat the panel activation puzzle from earlier.
You’ll need todamage four panelsin total.
Drop the ball whenever your stacks get high, kill some adds, then resume backtracking.

A Brig respawns whenever a nuclear core spawns.
You’ll need to destroy it before you’re free to dunk the core.
Do this a total of three times to finish the encounter.

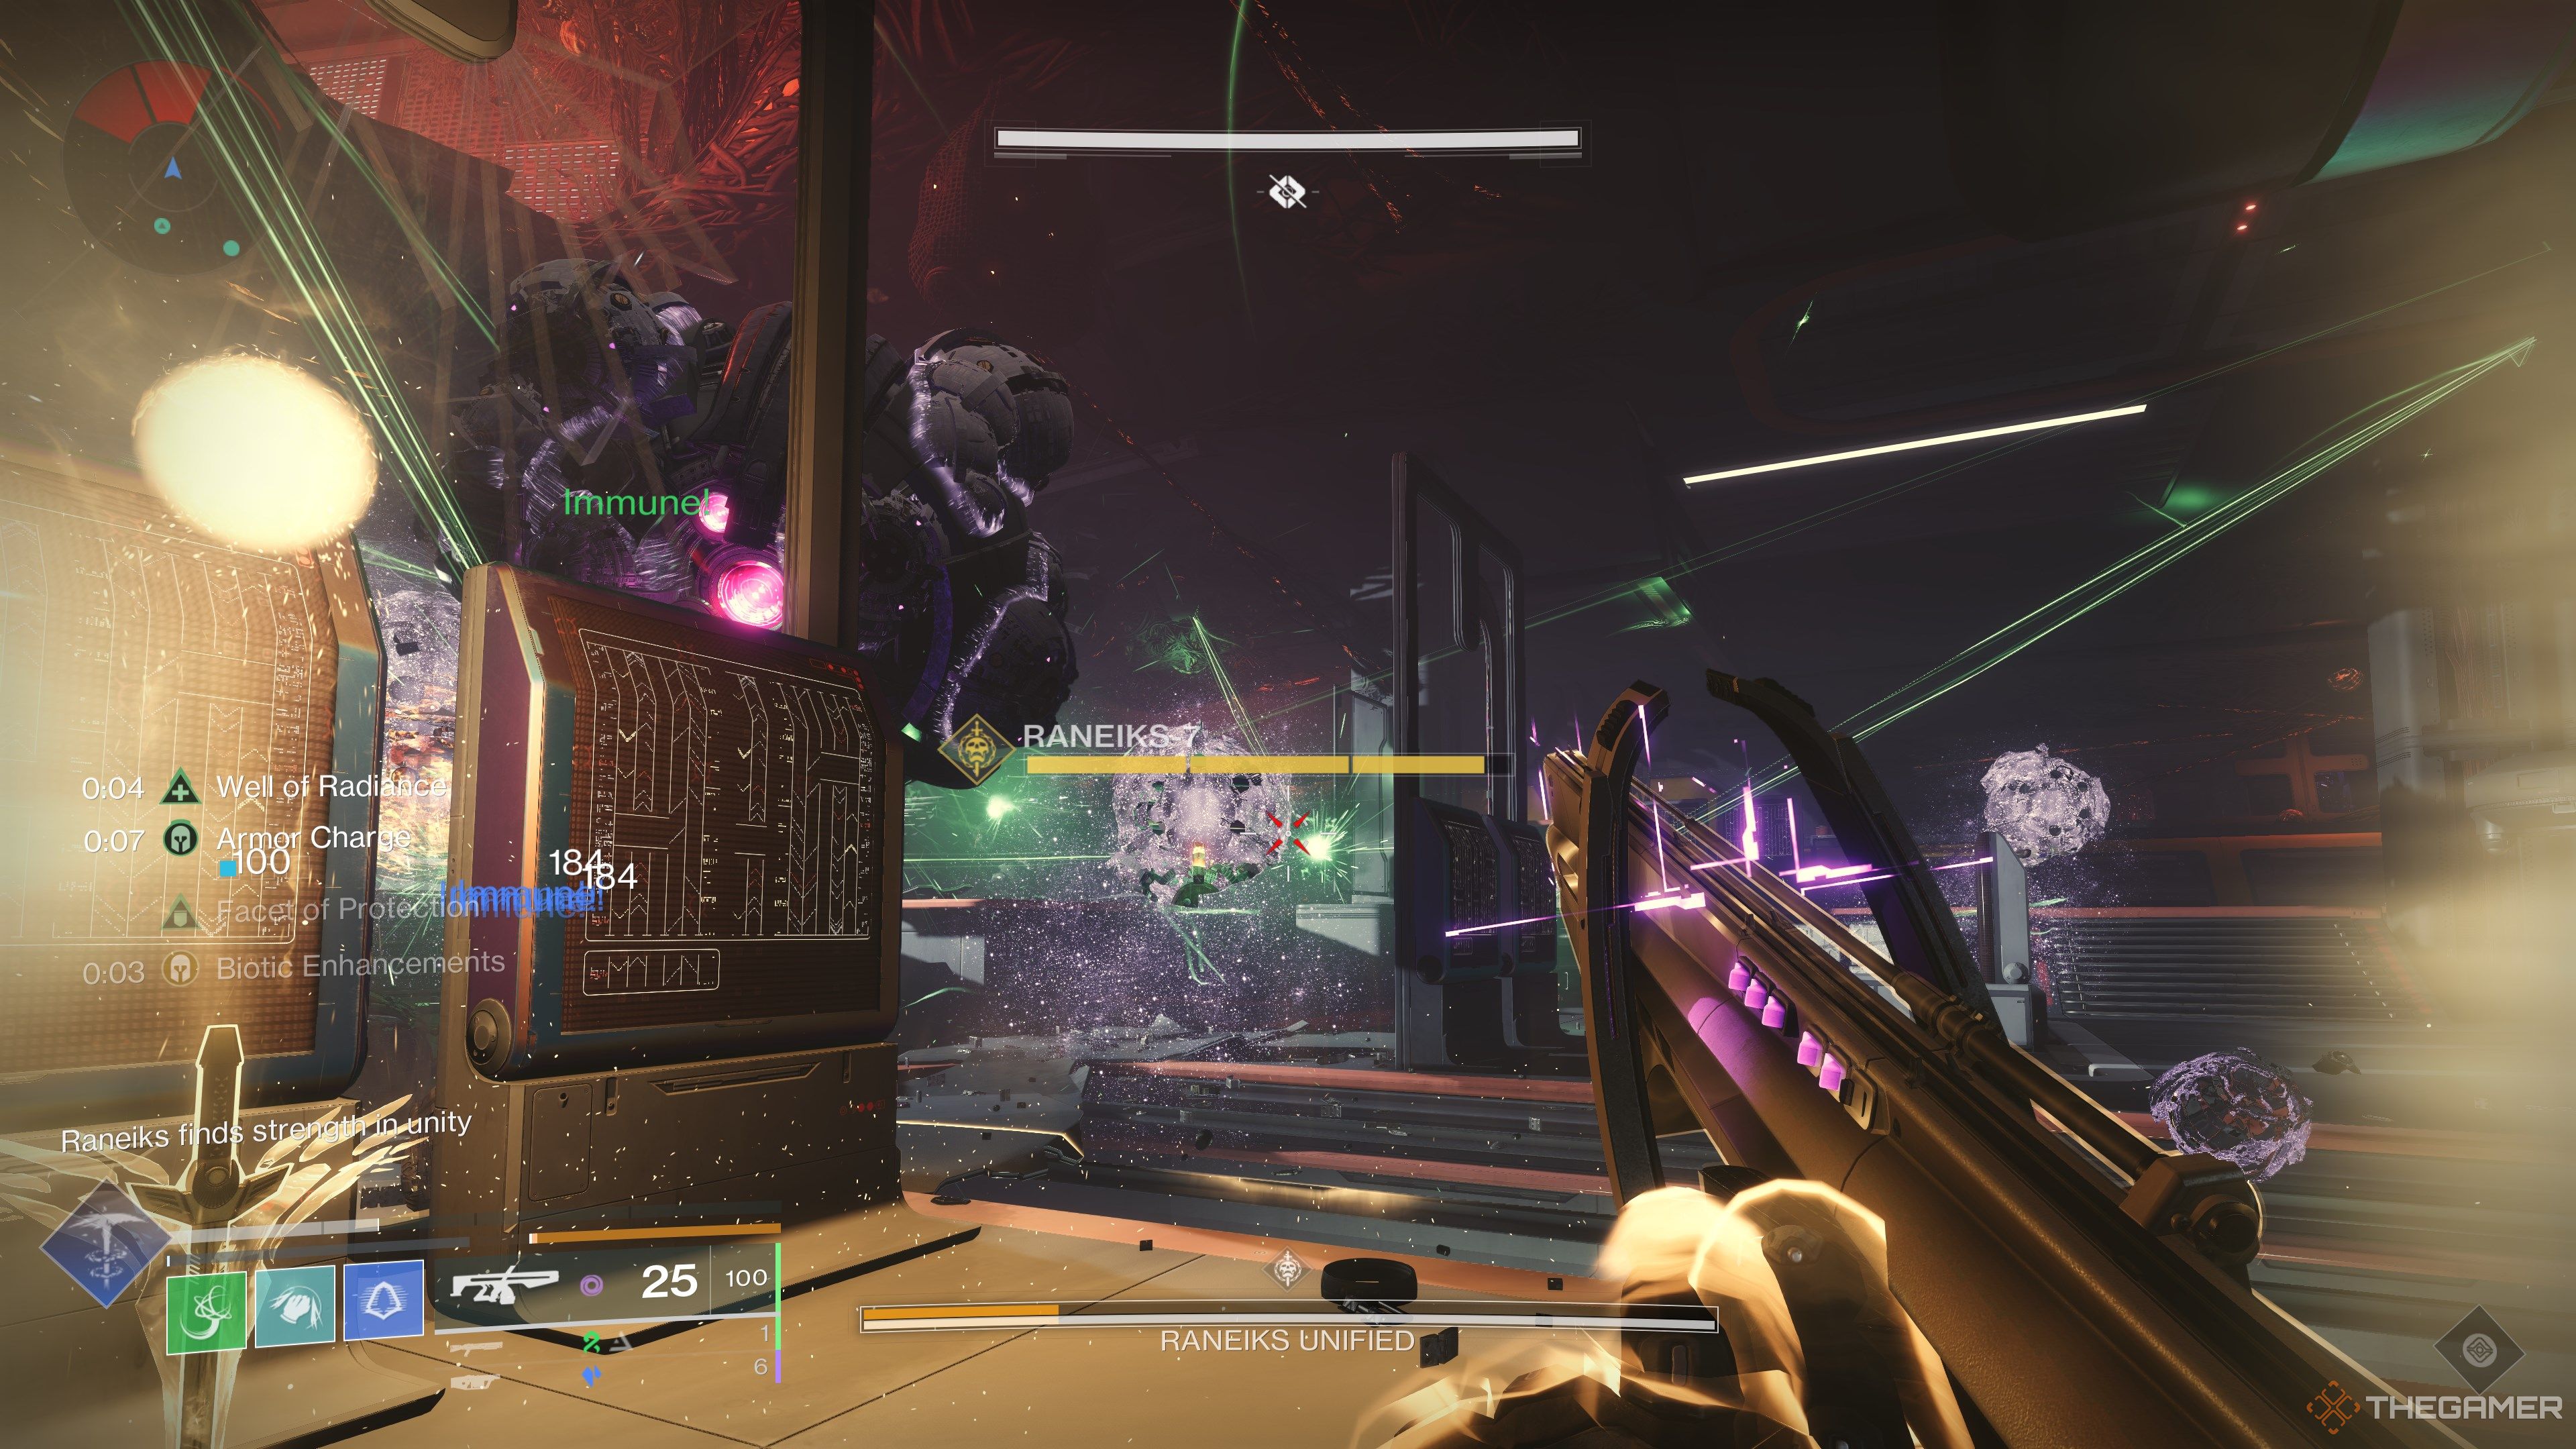
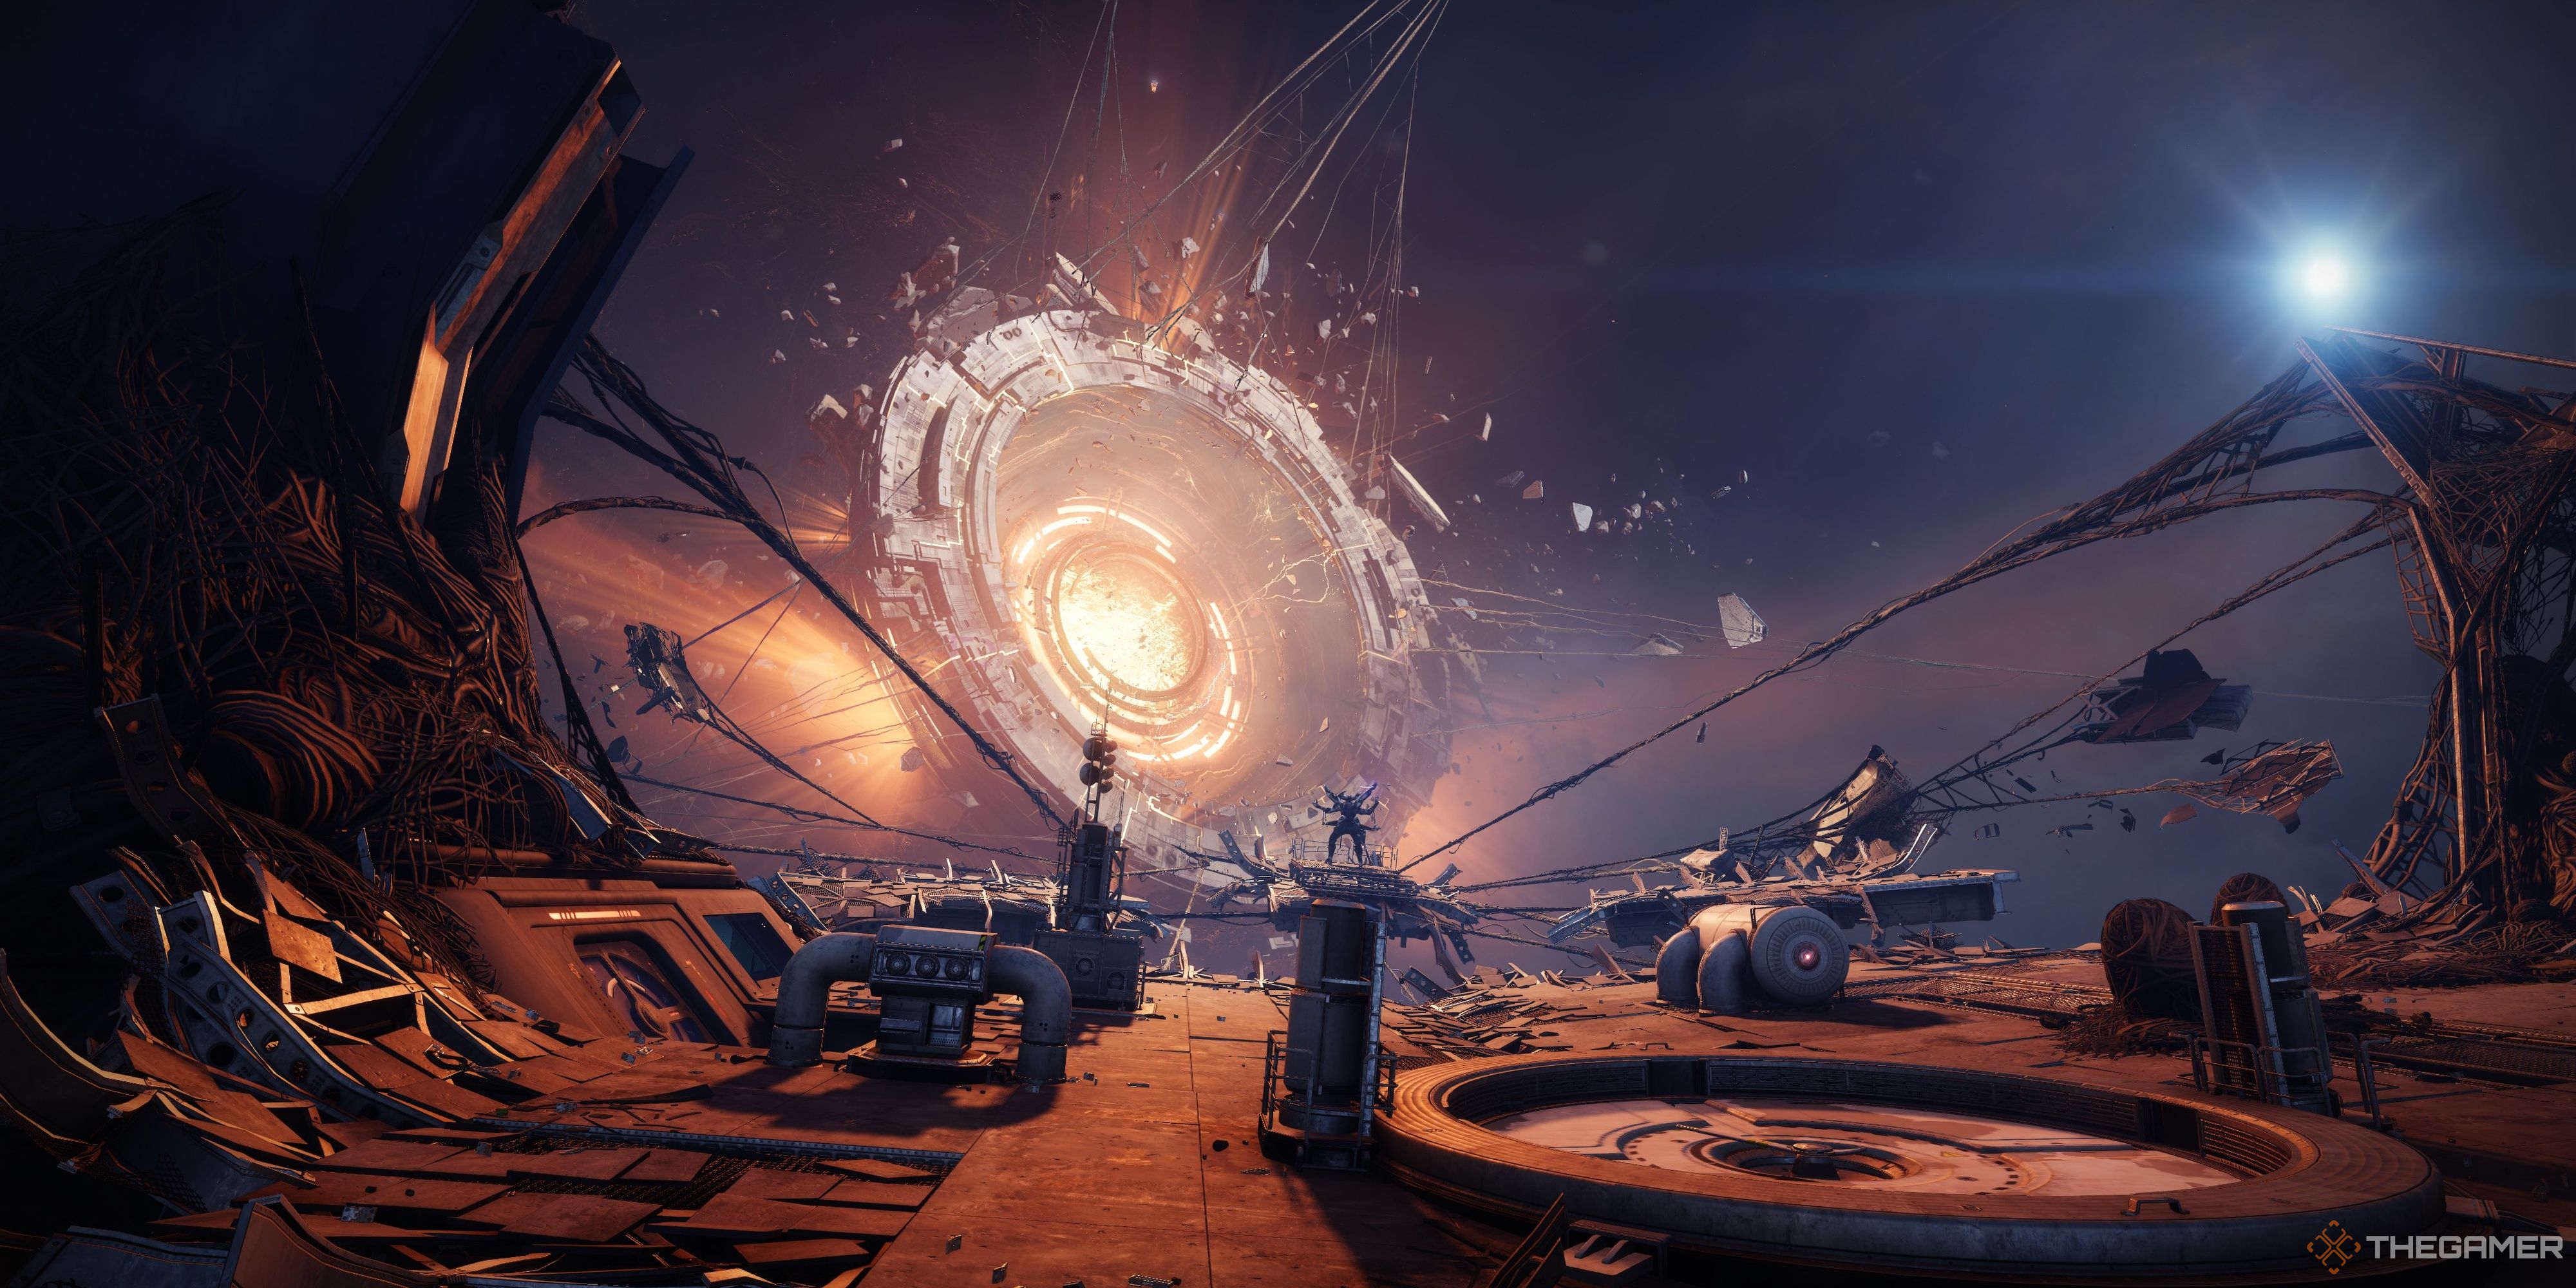
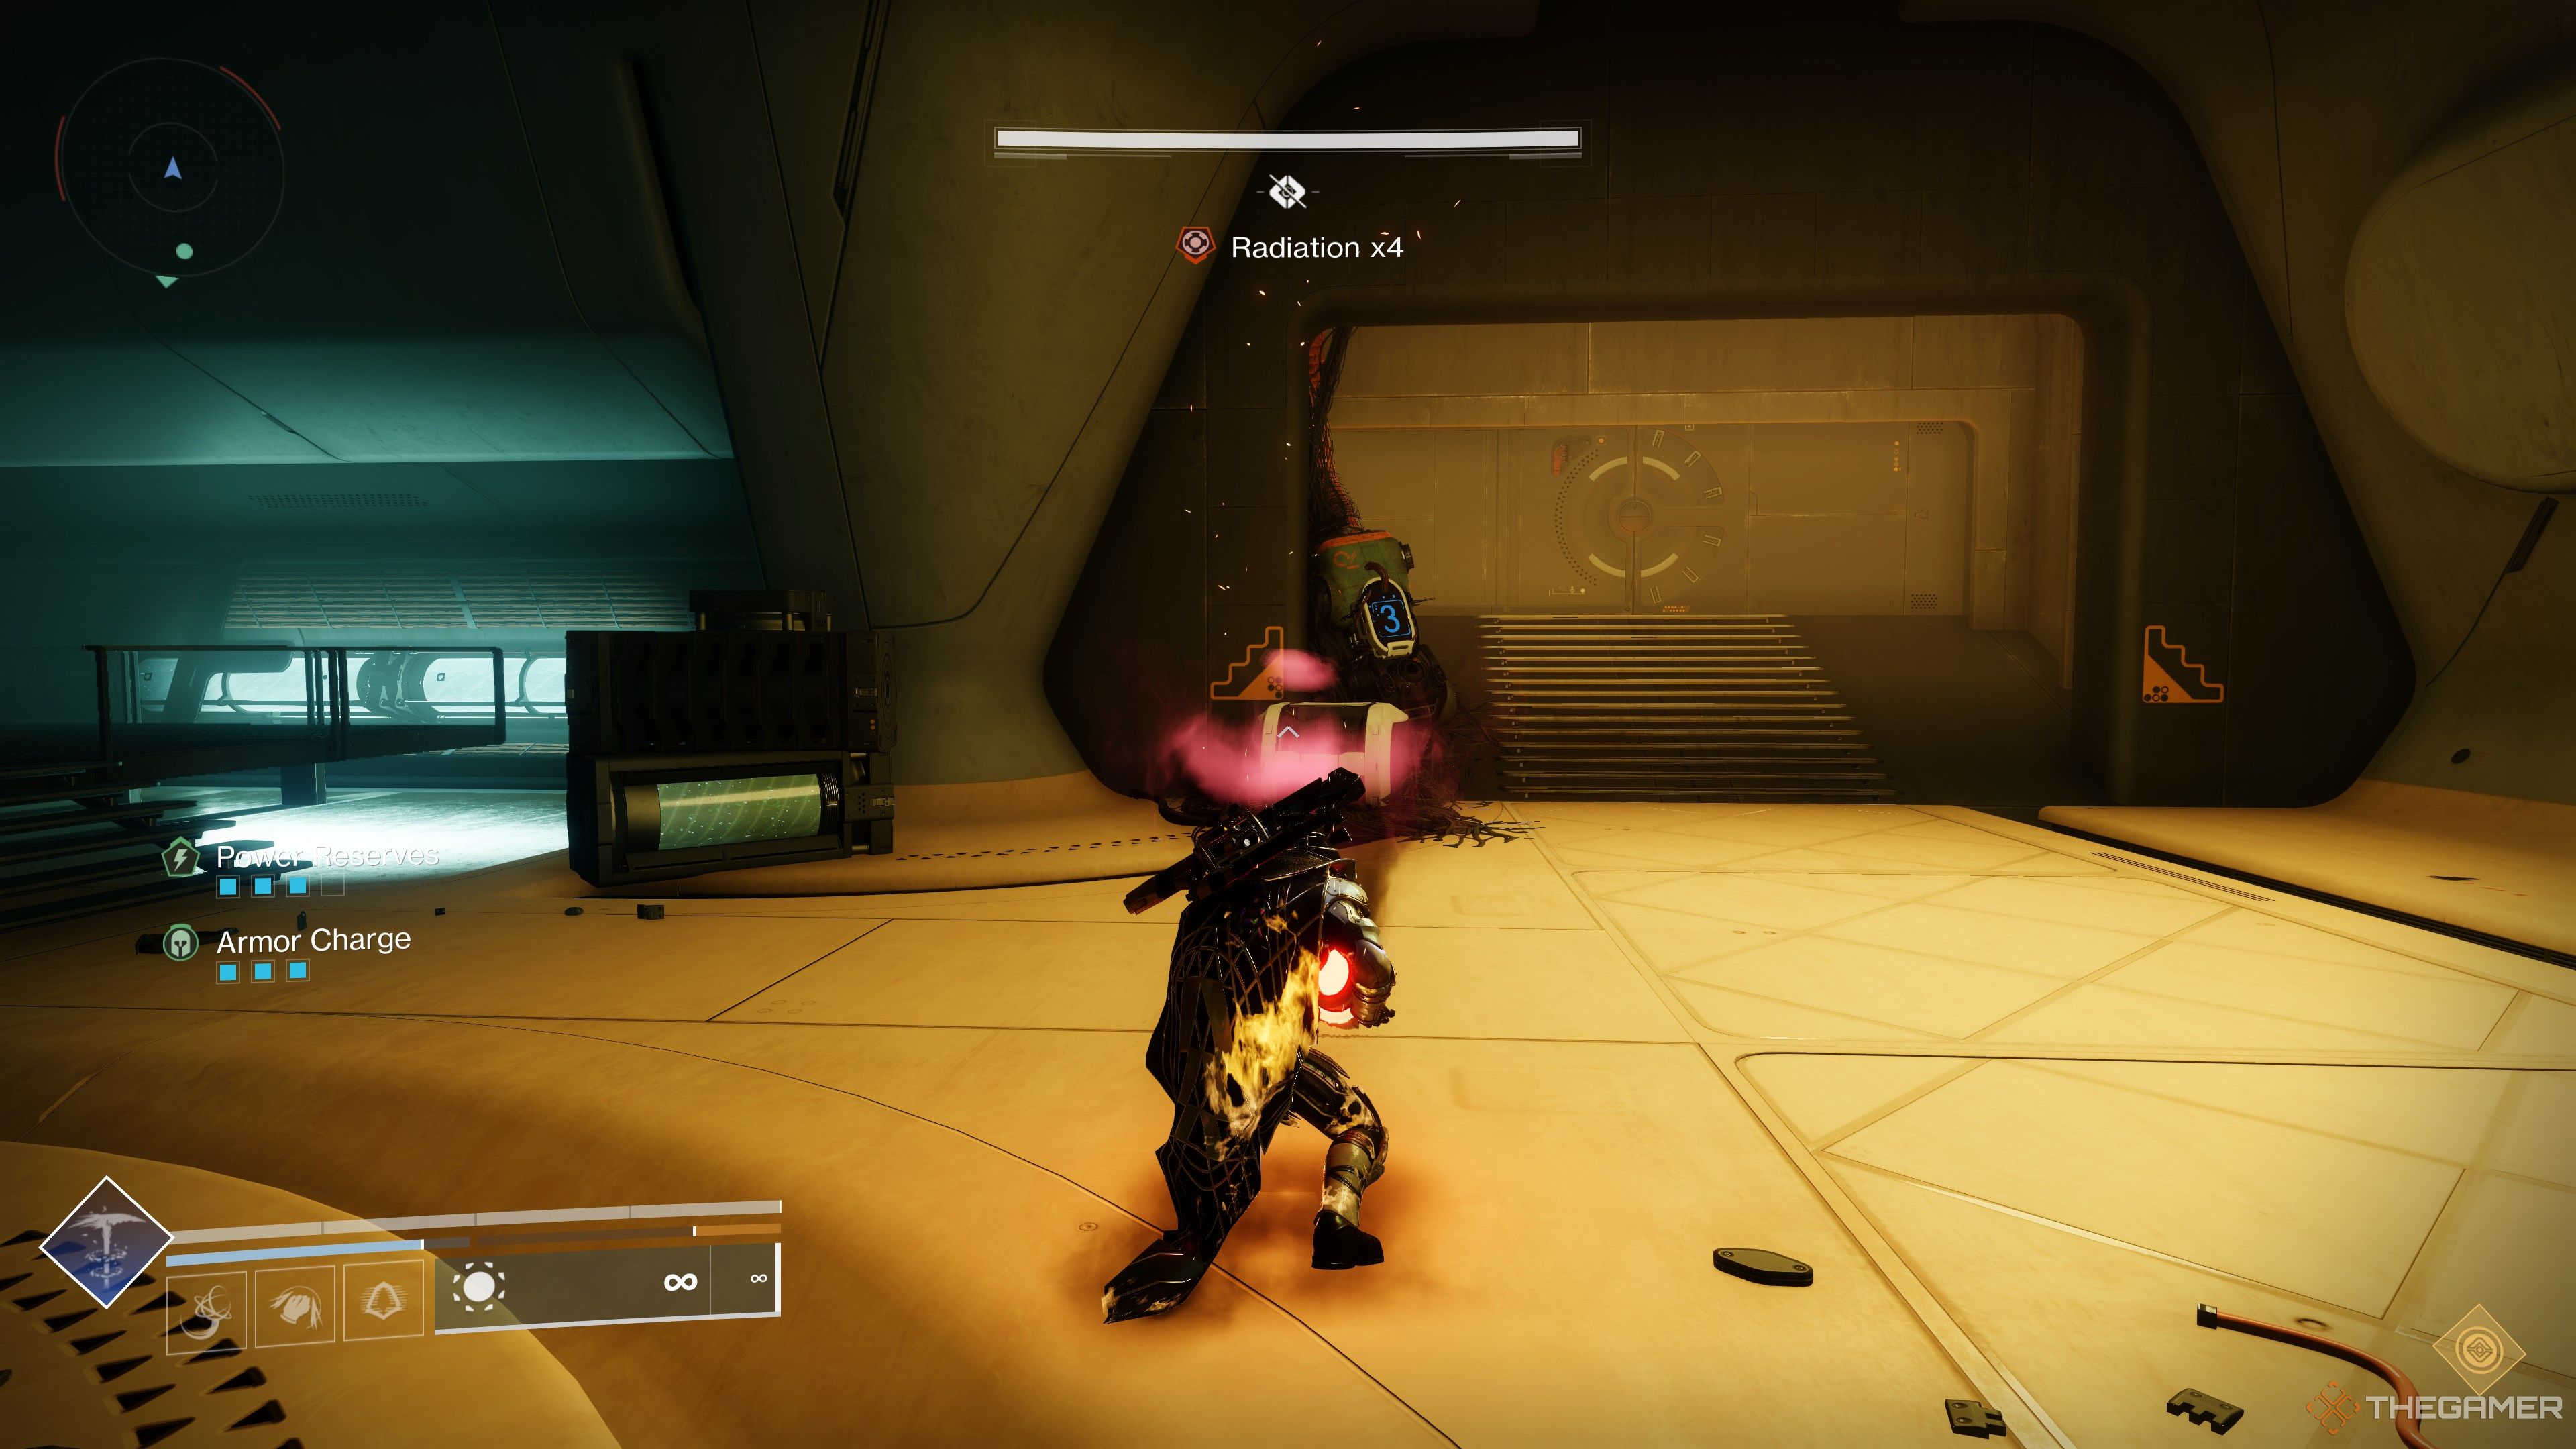
You’ll eventually enter a labyrinth of sorts that’s guarded byRaneiks Unified, an amalgamation of multiple Servitors.
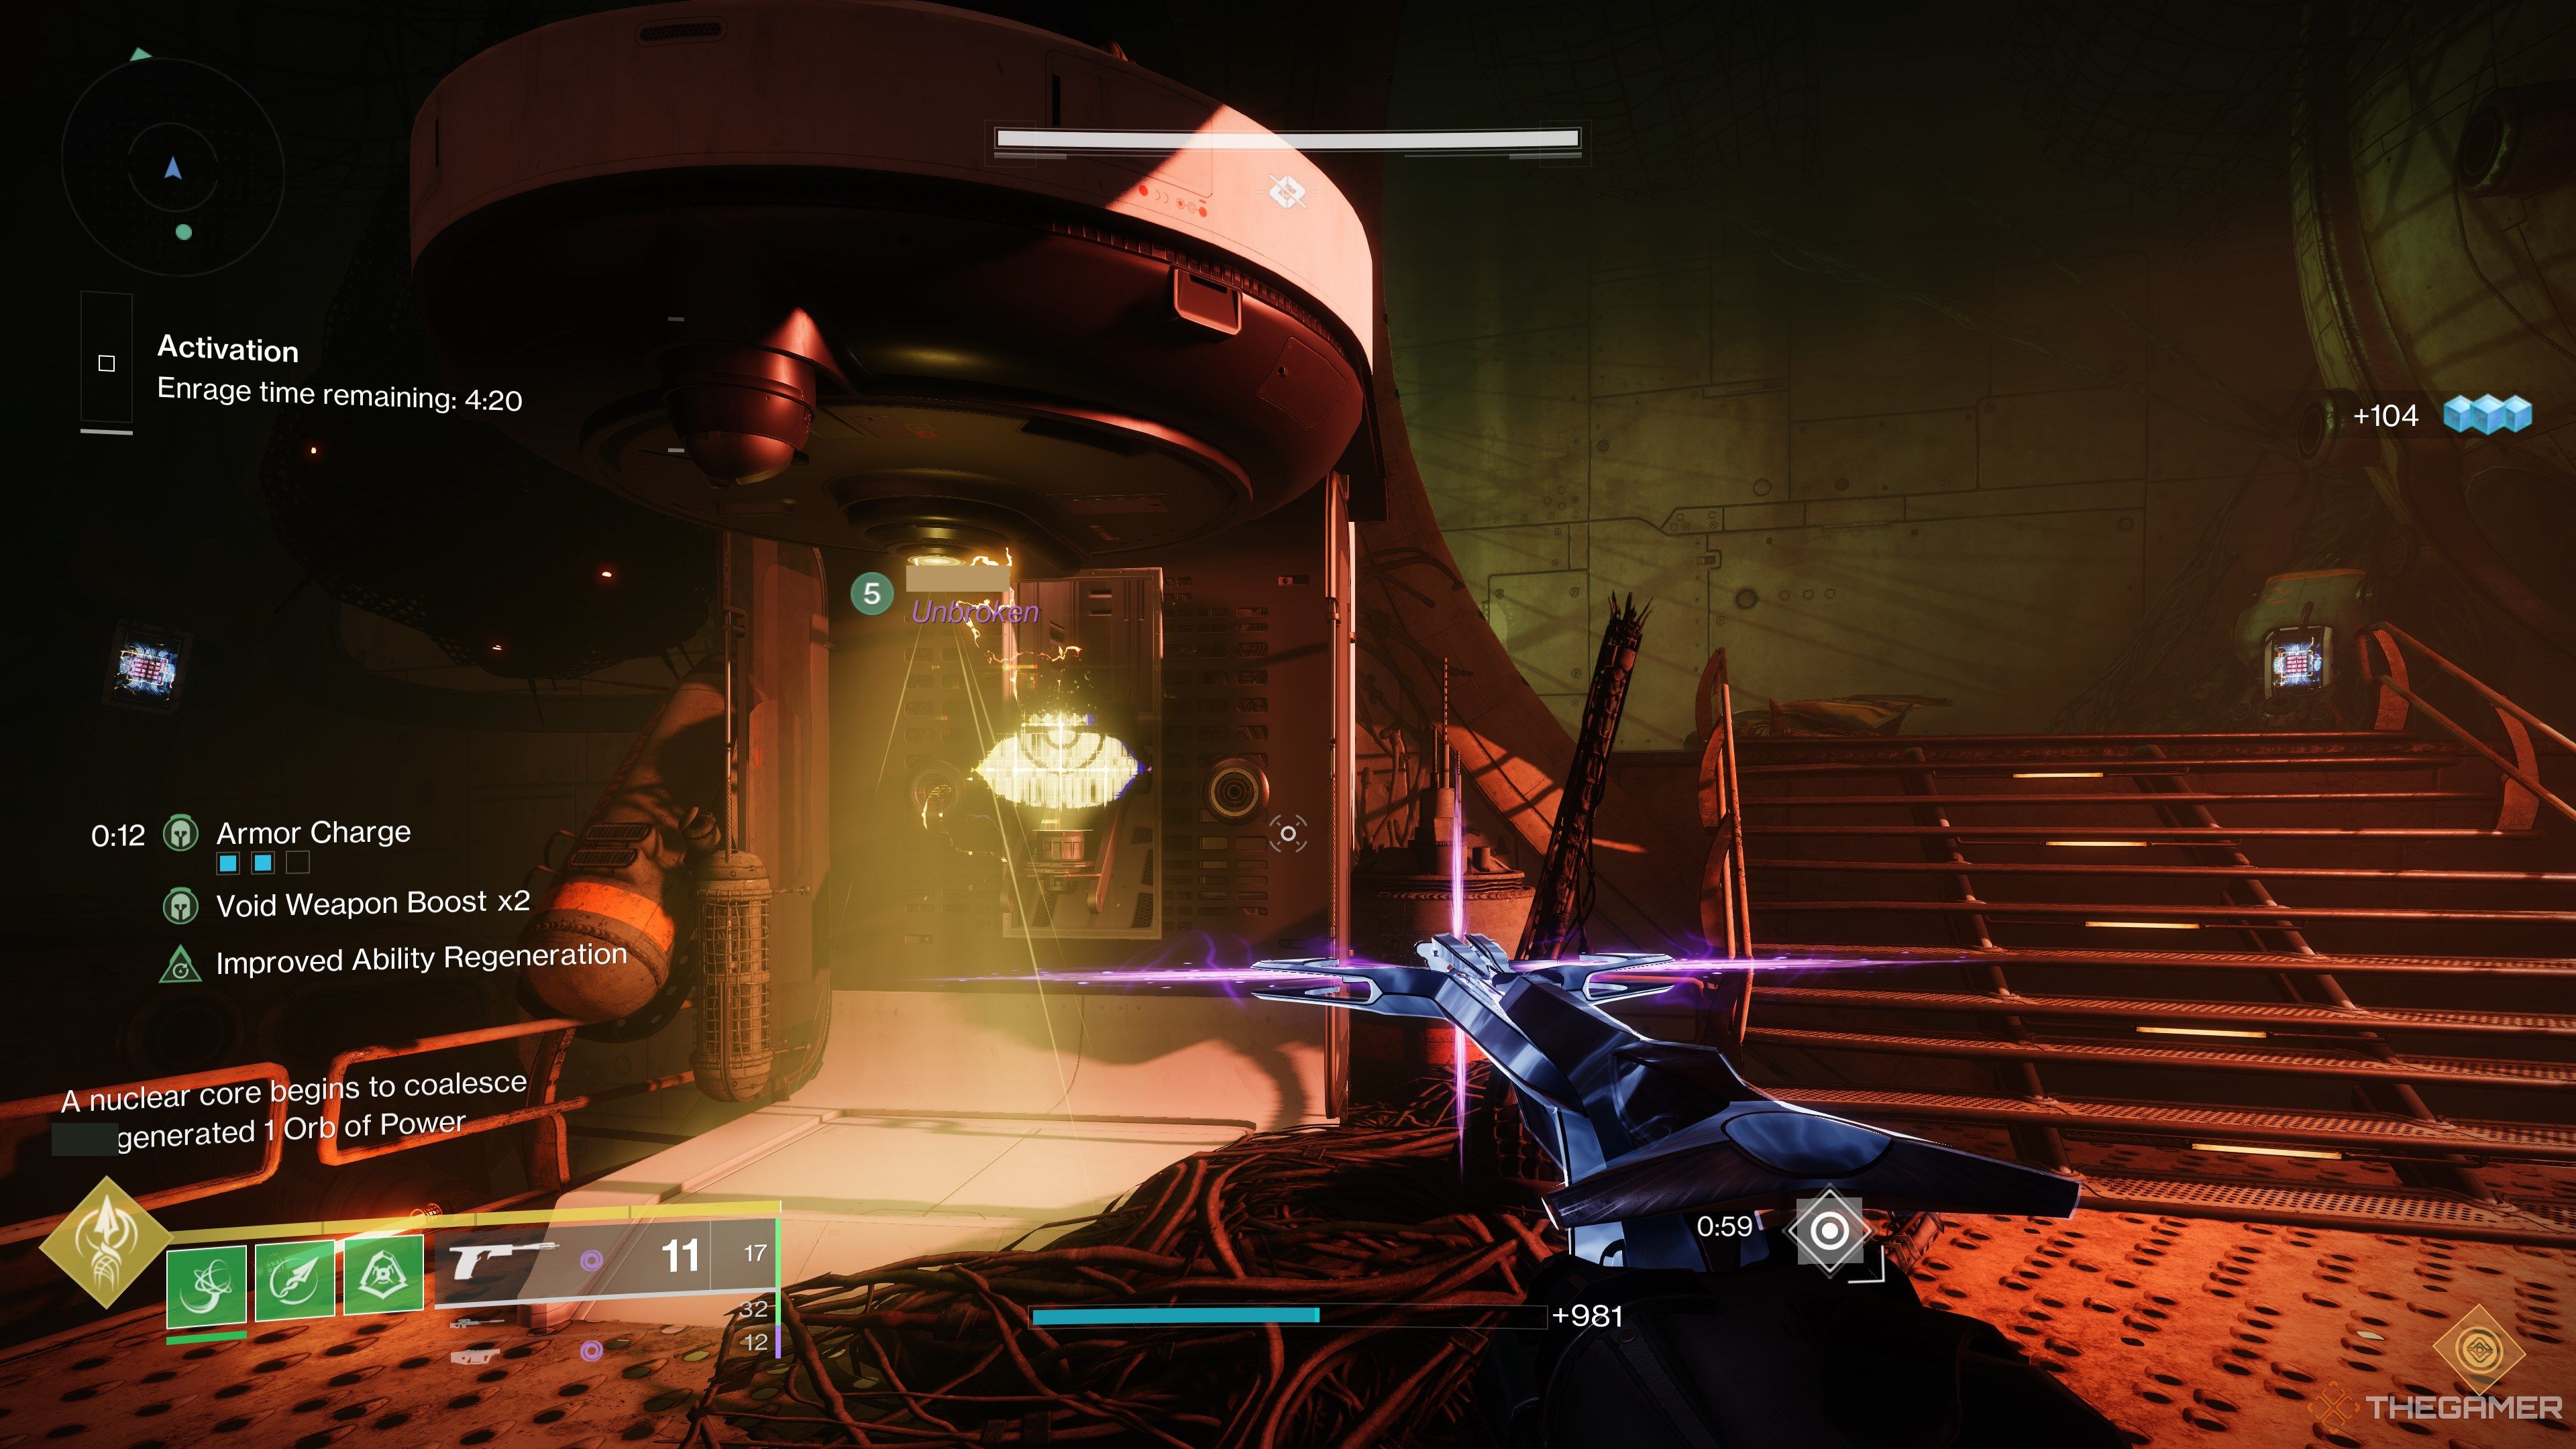
You’ll have a buff on your HUD called “Power Reserves.”
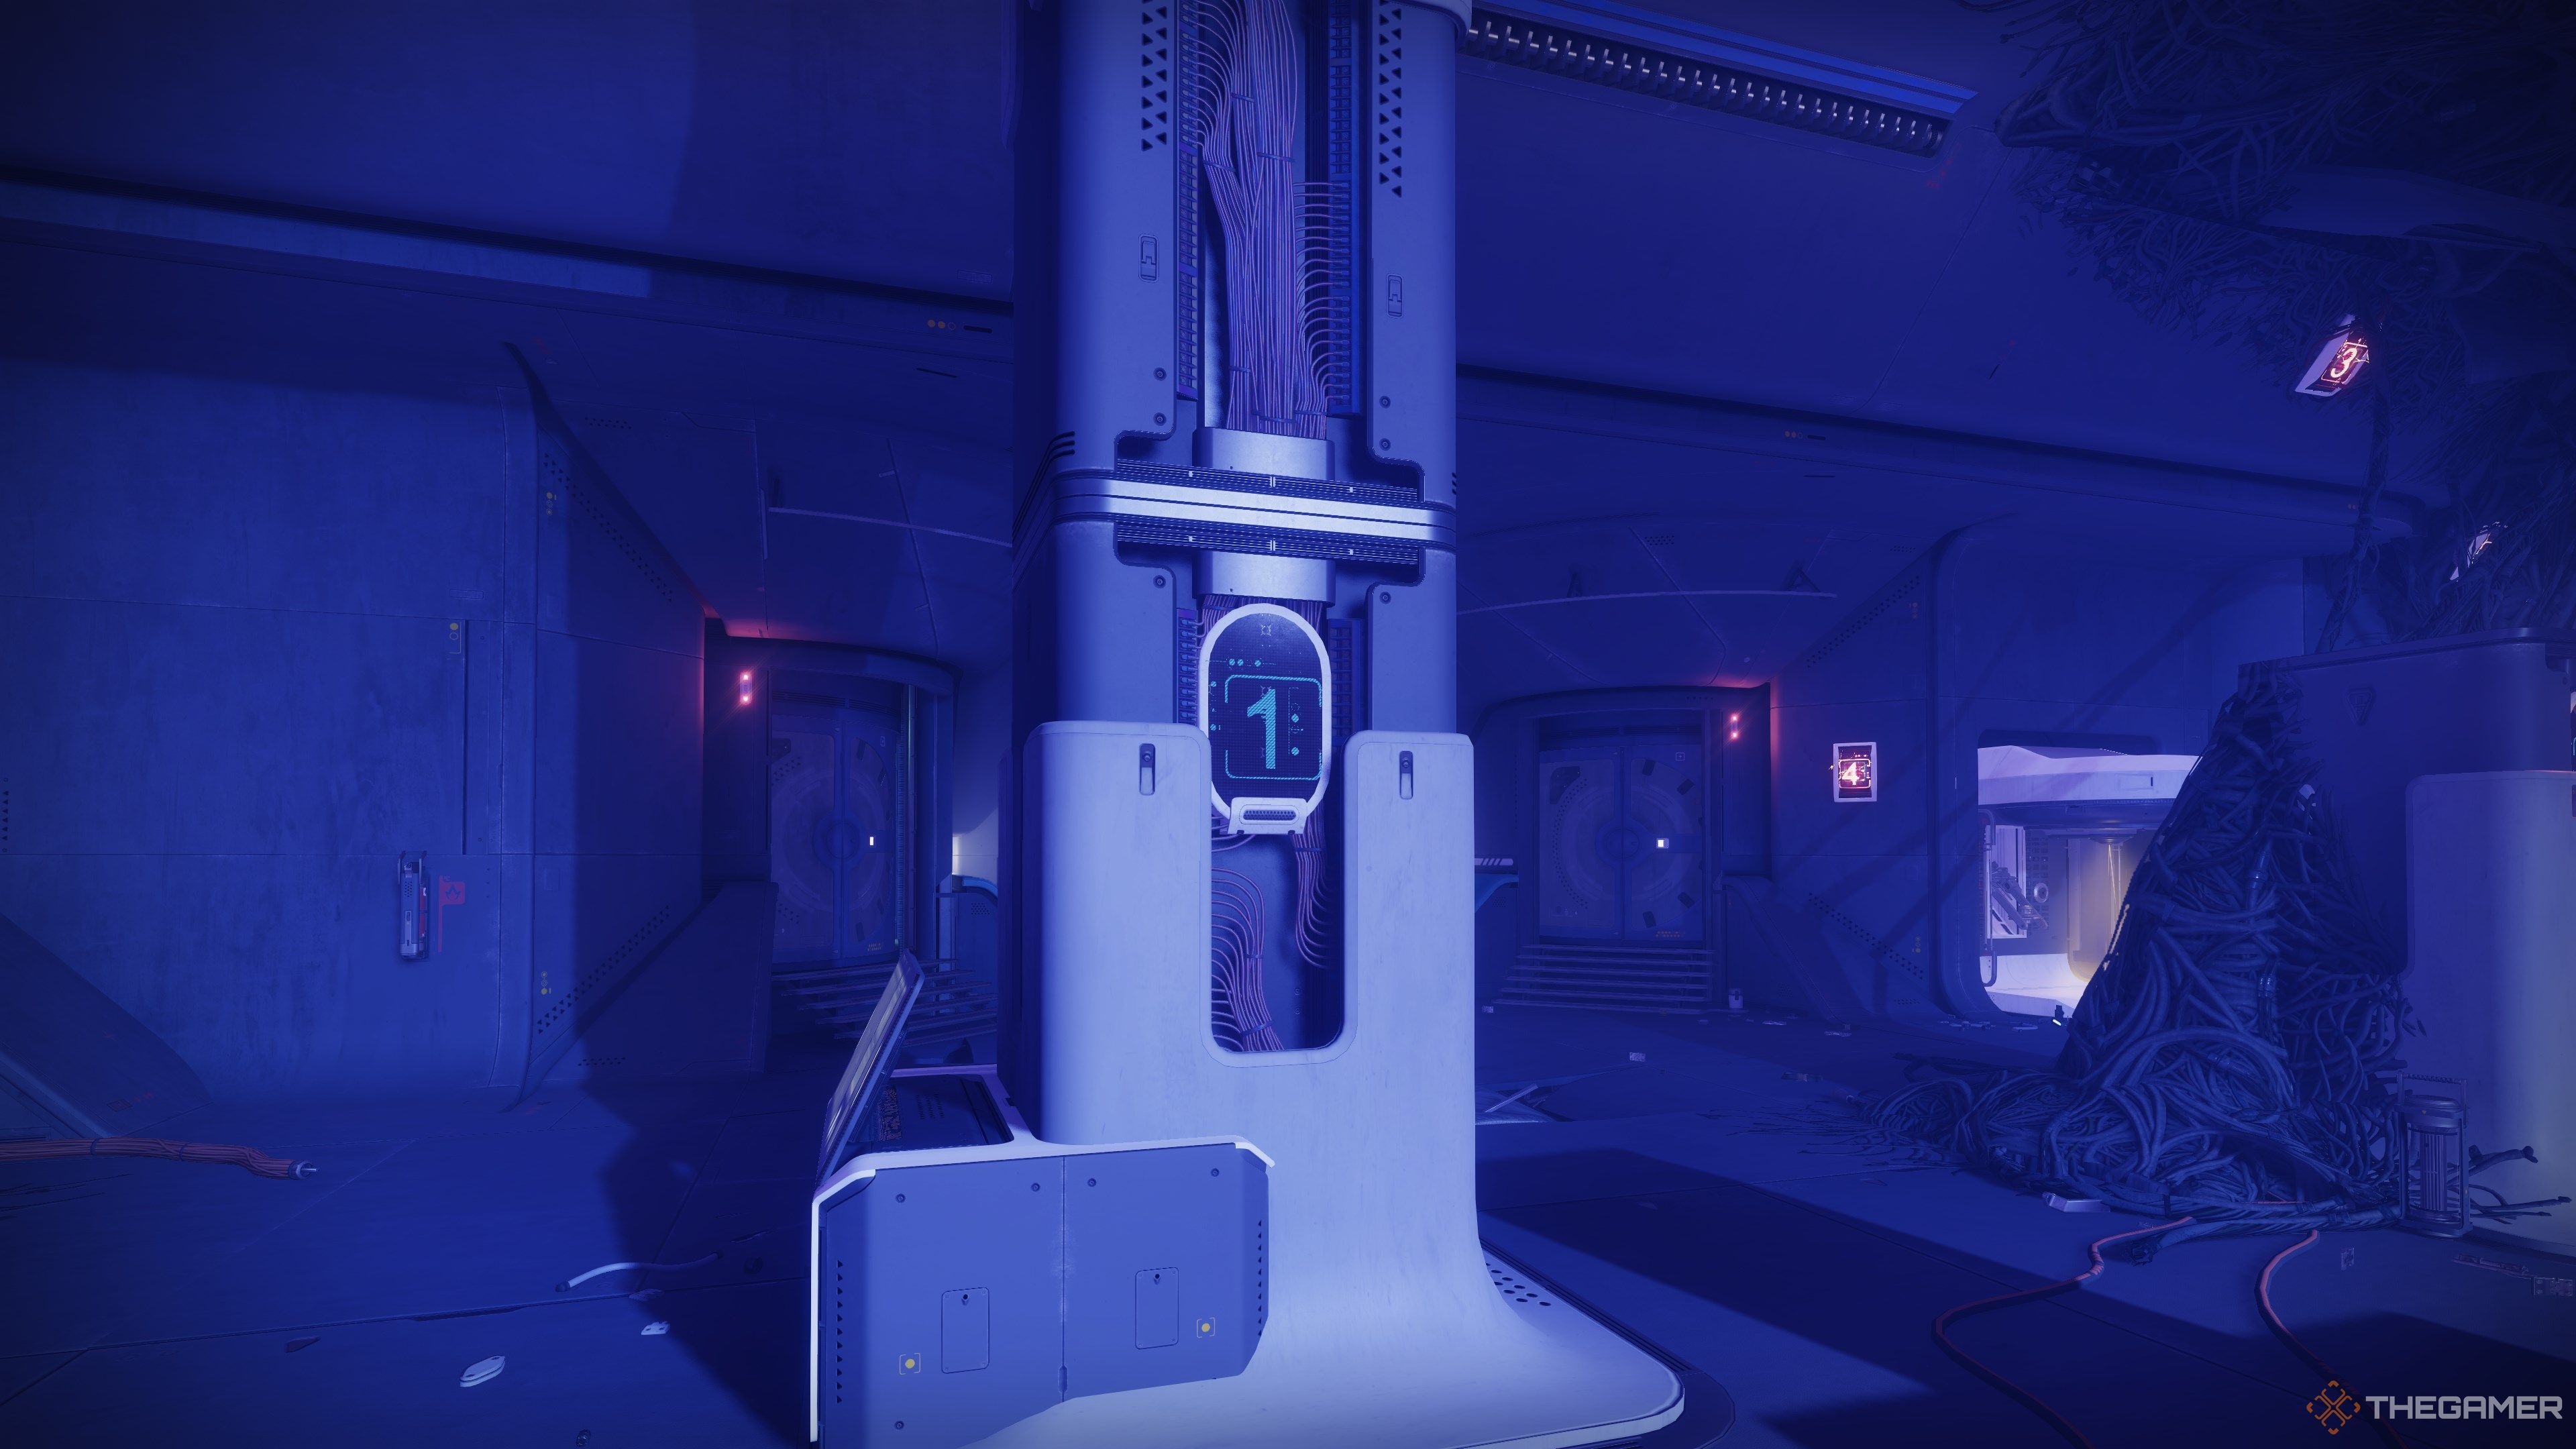
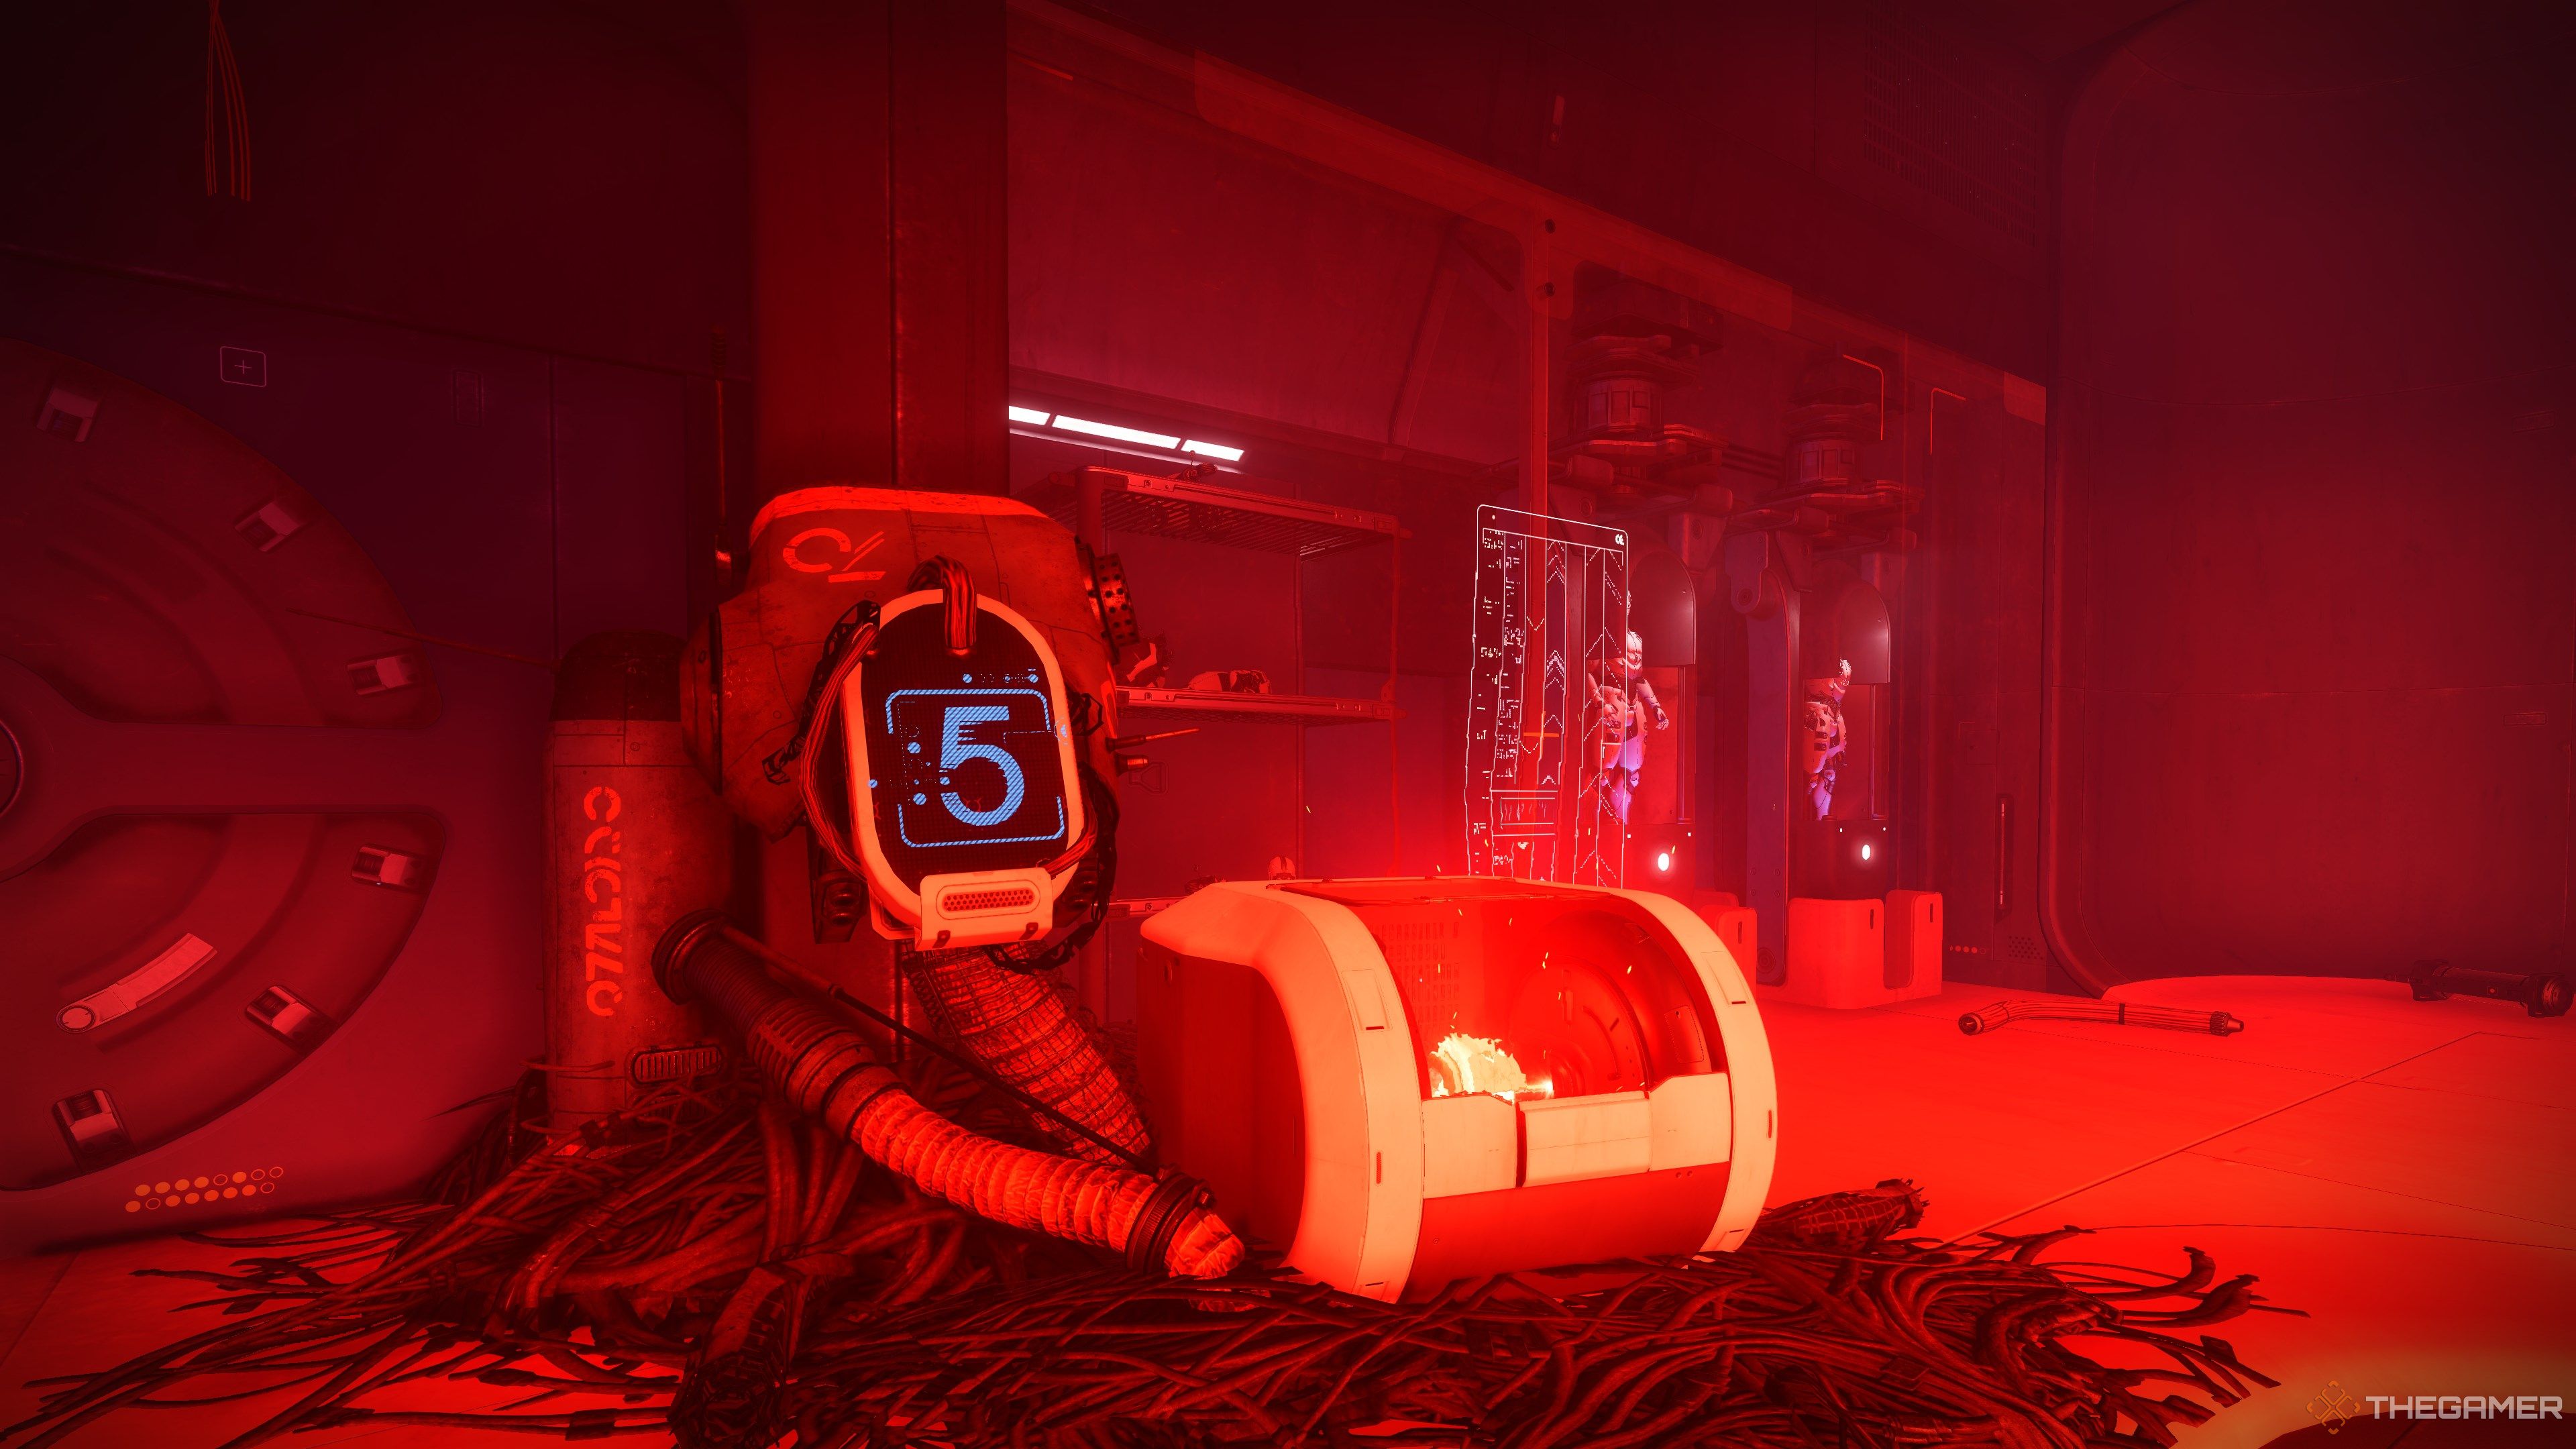
Some rooms will have a nuclear deposit station with a number above it.

Each successful dunk gives you an extra energy pip, letting you progress further in the maze.
If you’re playing a Titan,ConsecrationandThundercrasharefantastichere.
You’ll start the encounter with an add-slaying gauntlet.

Dozens of Fallen will pour into the arena from all sides.
Use a strong add clear build to melt through them.
Place it near Raneiks and shoot it to trigger a detonation.
This will cause the boss to split into ten different Servitors.
The order in which you shoot the panels doesn’t matter.
As long as you shoot the correct panels, the DPS phase will begin.
You must also use the Operator augment to damage the panels.
Grab it from the augment station.
You have roughly 15 seconds to damage the boss; make them count.
DPS ends when the Servitors reassemble and teleport to their perch, resetting the encounter.
Repeat this process until the giant Servitor is destroyed.
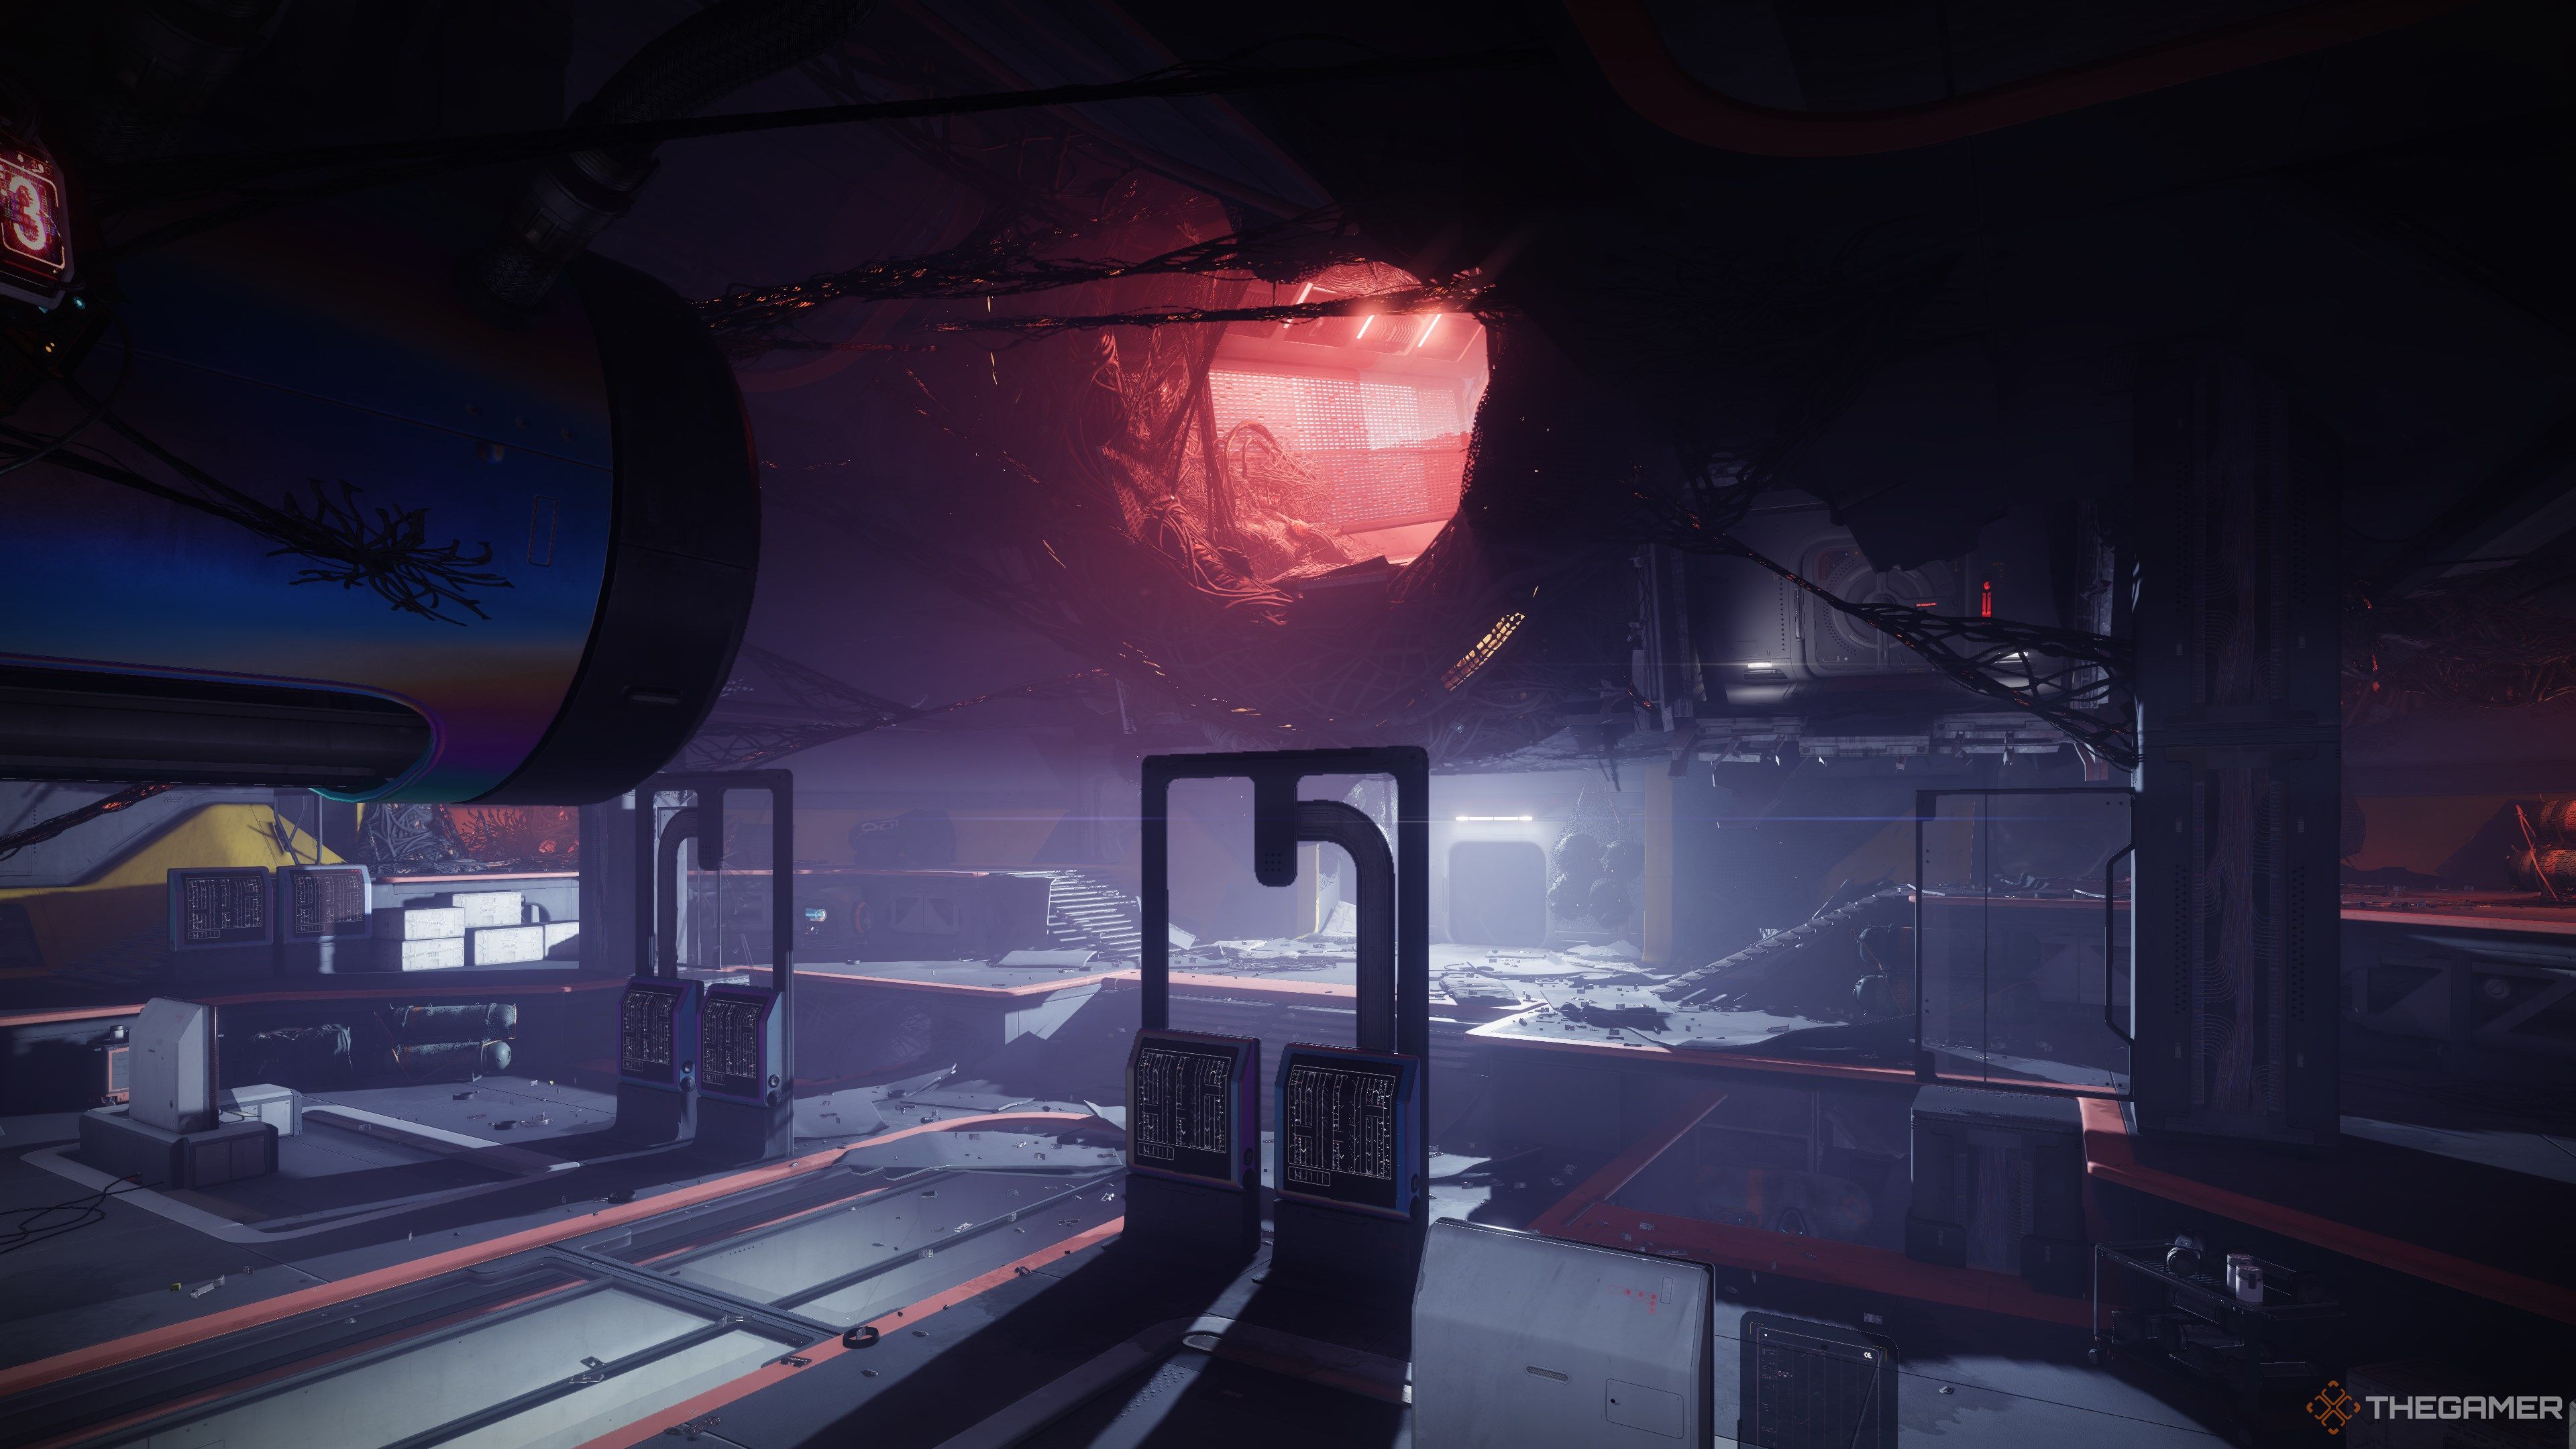
Descend into the lower levels and prepare for a claustrophobic fight.
Clones will keep spawning until all three augments have spawned.
Have someone keep Suppressor active to deal with them.
you could always deposit the Suppressor augment and immediately grab it to reset its duration.
Dunking the nuclear core inside the bunker will remove half of Atraks' immunity shield.
Repeat the process in the other room, then return to the middle room to find a teleporter.
Use it to reach the start of the encounter.
Ascend to the top floor when you’re ready.
Atraks' DPS phase is similar to the Witness fight in Excision.
Weapons that deal high burst DPS are highly recommended.
Deal as much damage as you could before another magnetic storm occurs.
Bring long-range weapons (notablyGrand Overture) if you plan on fighting here.
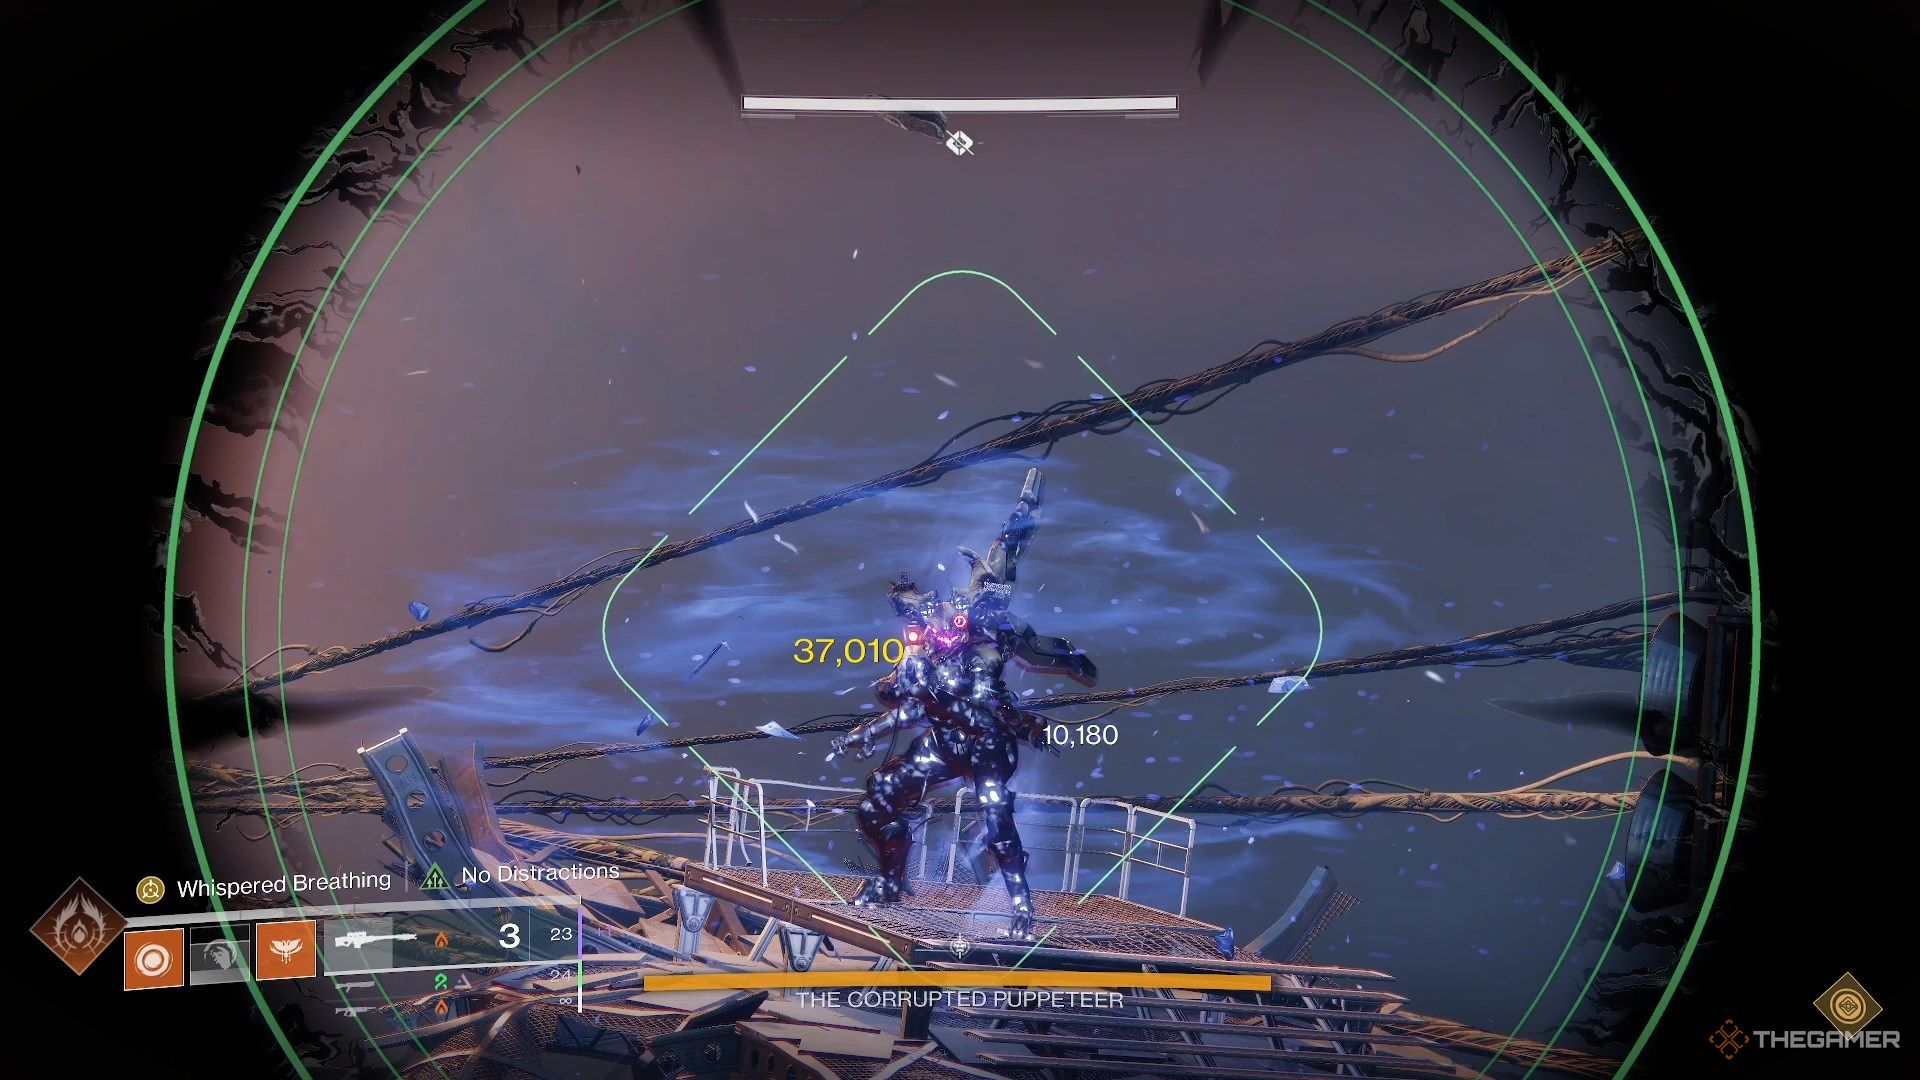
Towards the end of the DPS phase,one of Atraks' clones will start to glow white.

This will extend the DPS phase for a few more seconds.
Repeat the encounter steps until you kill The Corrupted Puppeteer.
Get your hands on Ice Breaker, Bygones, Chroma Rush, and more in Episode: Revenant.