Before starting the dungeon, it’s important you revise the symbols from Vow of the Disciple.
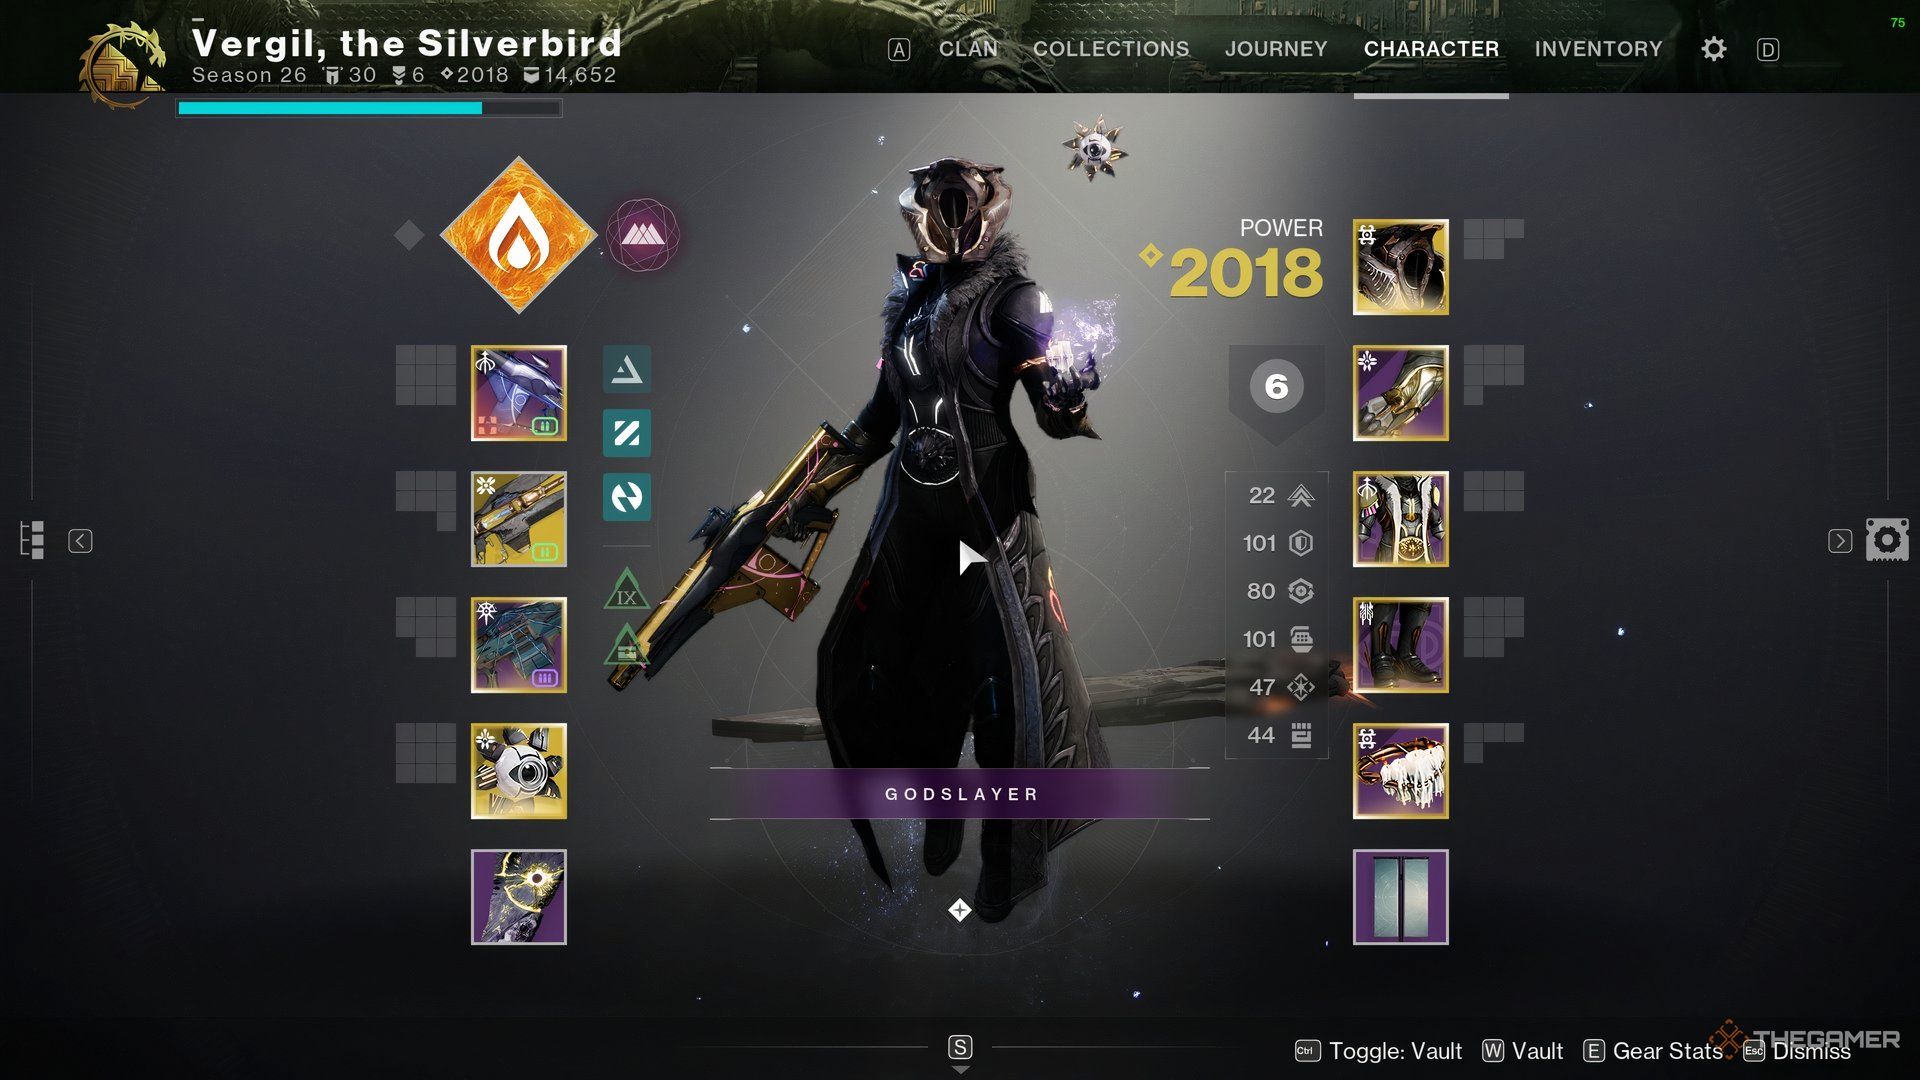
In thesecond encounter, you will need a DPSloadout with eitherThunderlord or Sleeper Simulantin the heavy slot.
If you’re using Titan, verify to wear theCuirass of the Falling Starchest piece.
For Hunters, you’re able to wearRaiju’s Harness.
Finally, Titans can also useKnockout to heal upwhenever their HP goes critically low.
The first encounter is pretty much the same thing, but a lot more nuanced.

Thethird symbol in all probability will be Witnesswhich finishes the sentences that Guardian Killed the Witness.
However, the question is how to find the third symbol.
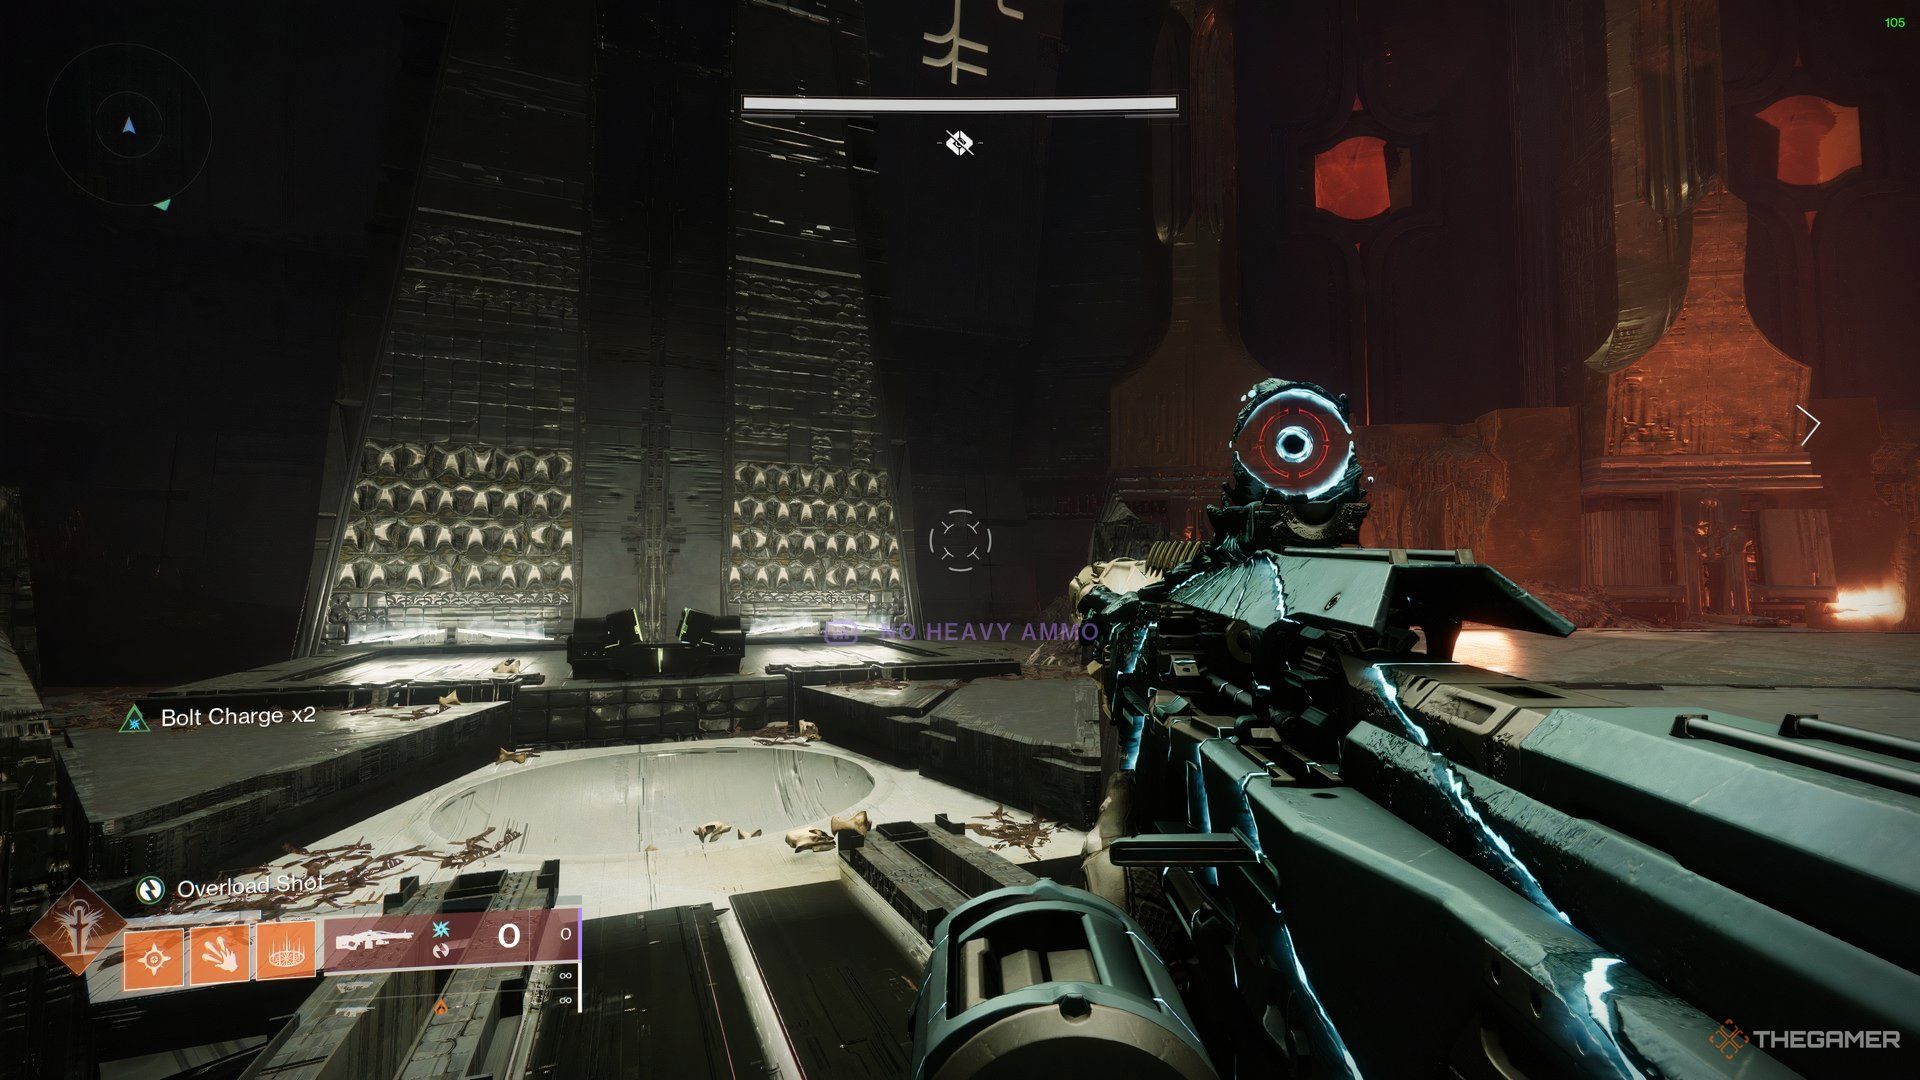
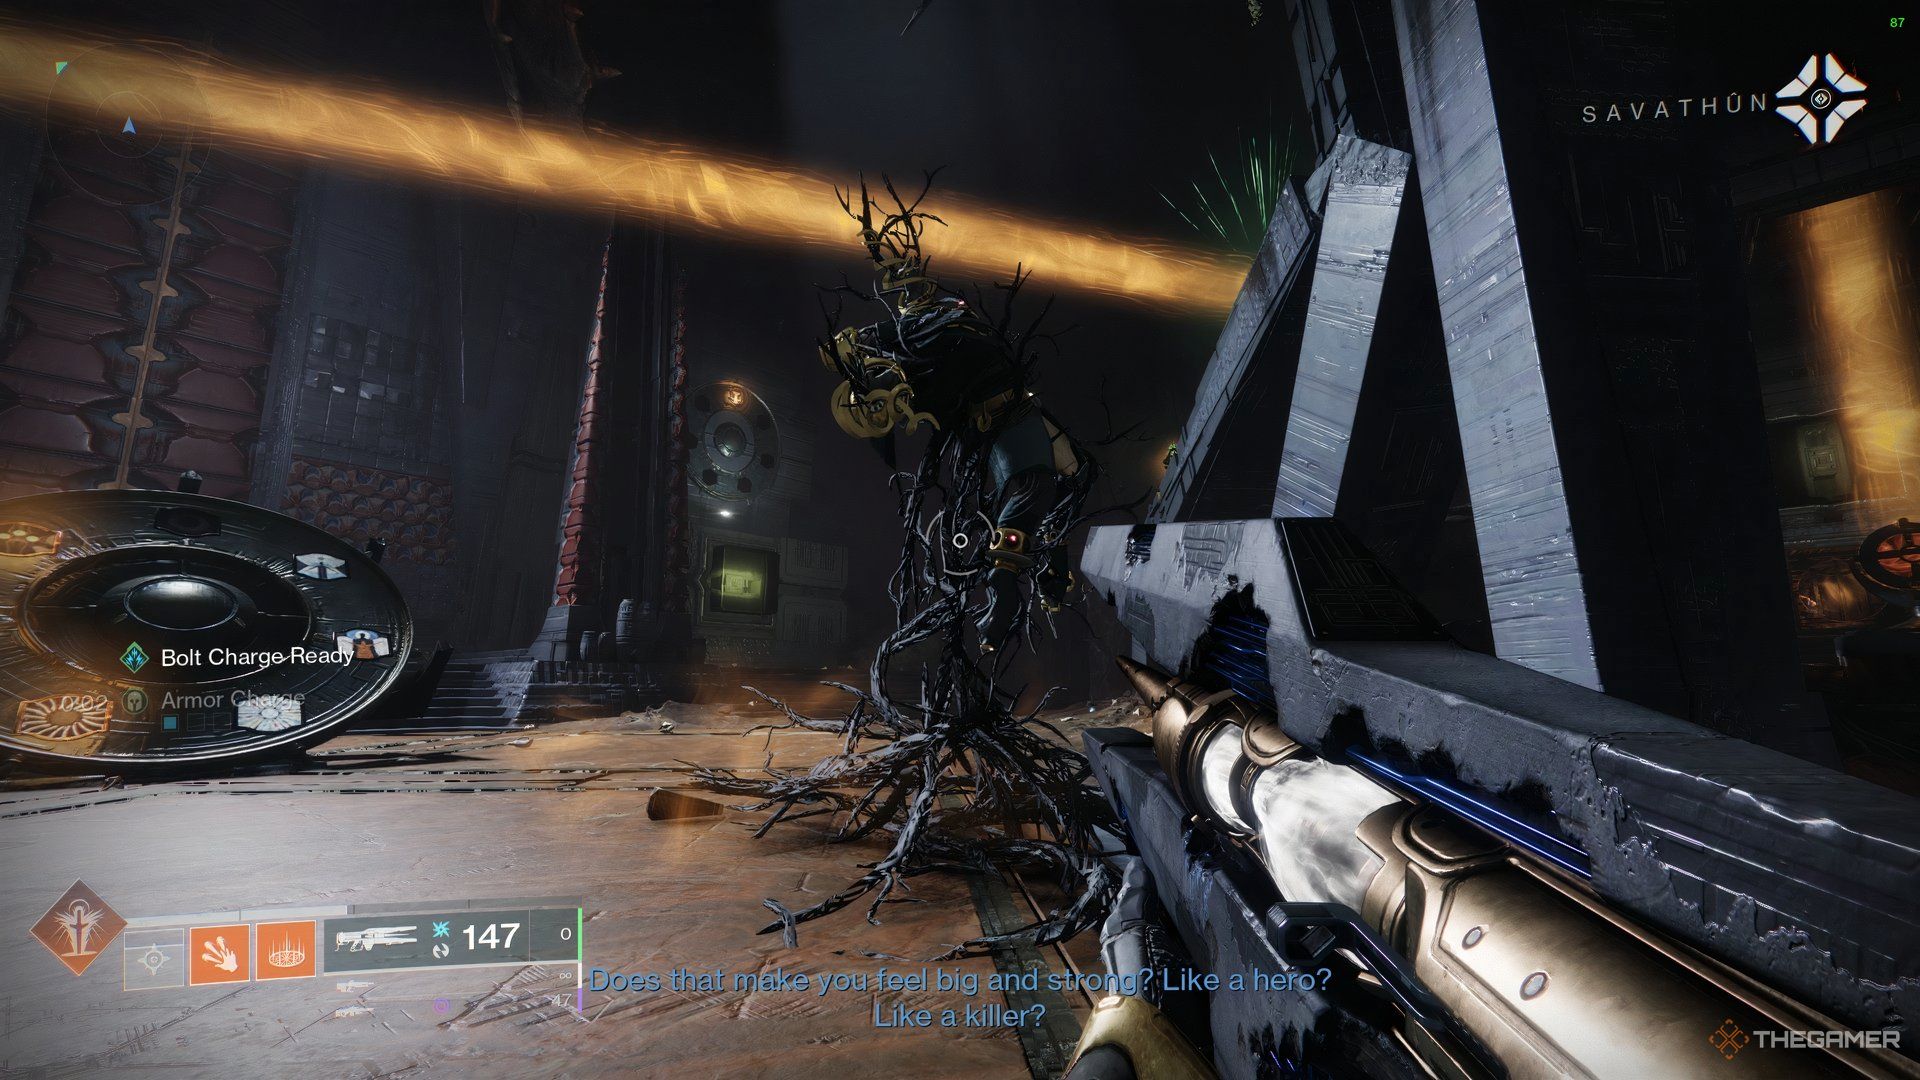
Once the encounter starts, you need tolook for a Grim enemywith a special namecalled the Truthspeaker.
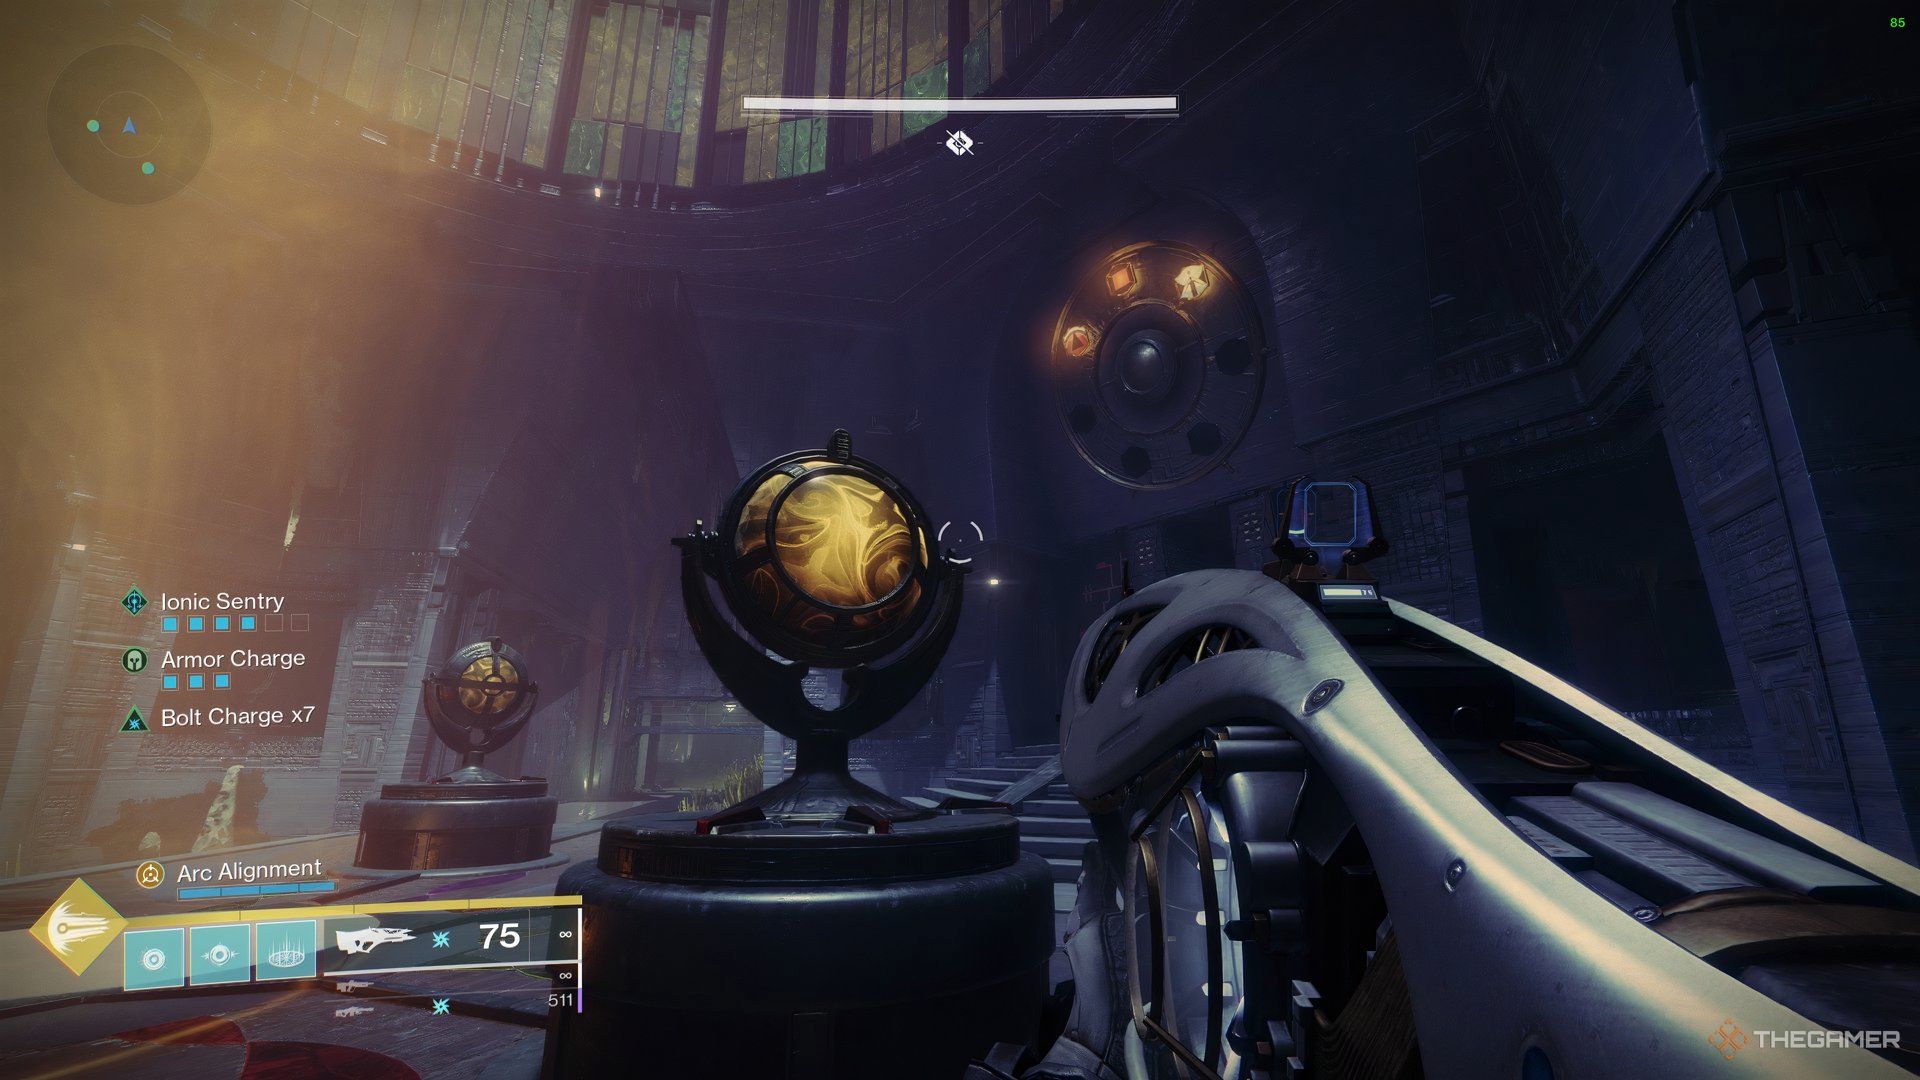
Upon dropping, your objective is tolook for the room that has the wheel with the symbol on it.
Once you find it, it’s time to start the actual mechanics of the first encounter.
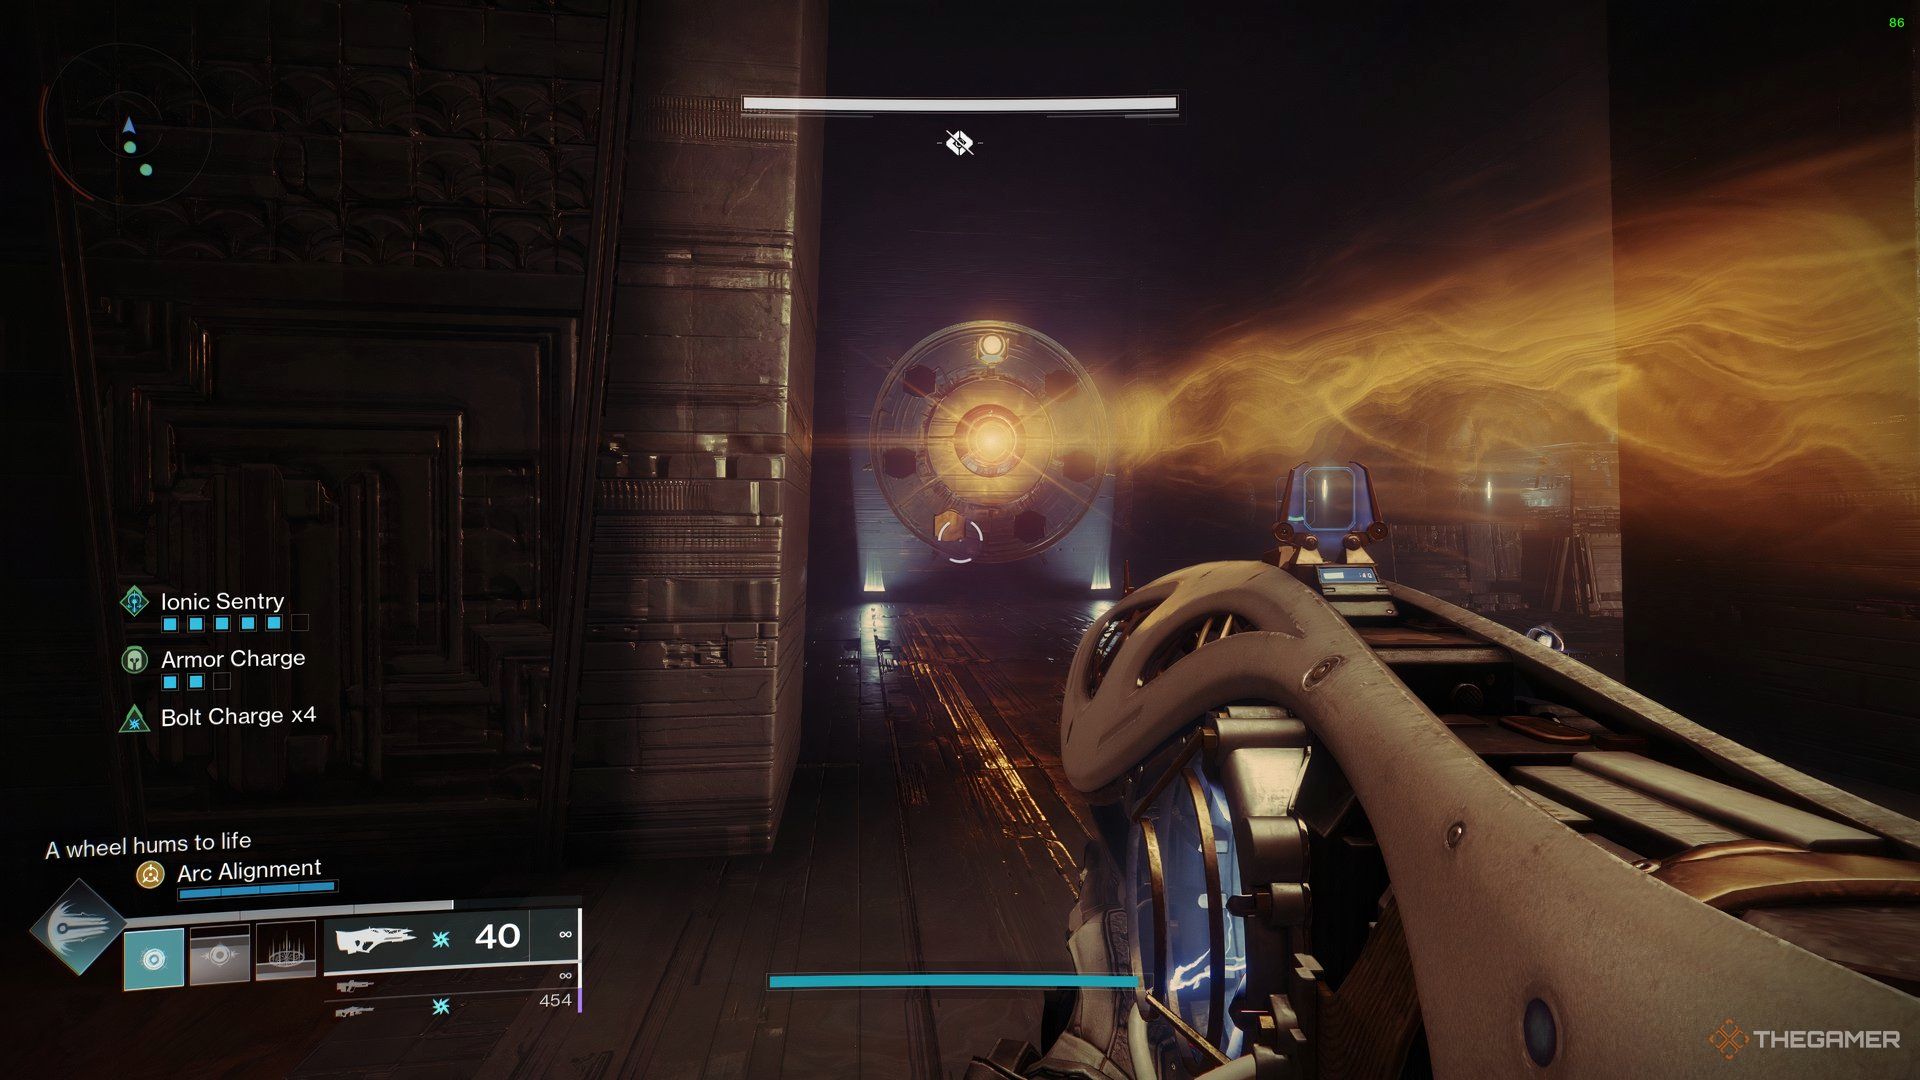
it’s possible for you to’t touch them, but you’ll need those to complete the reflecting chain.

In every room, you’ll find Subjugators, who upon defeatingwill drop a Lens.
you’re able to alsorotate the light source to match the correct direction.
However, this time,there are multiple symbols on thosewheels instead of one.

These wheels will also have adarkness switch on top of themand adeposit box in front of them.
The question is which symbol to match and how to do it.
For the time being forget about the wheels and walk forward in the room.

You will then see a right, which you must take to see the locked door.
You first need to look at which side of the wheel the symbols are located and at what position.
confirm you learn the buff collection and depositing parts properly as that will be key to the second encounter.

While you’re in this room, an Ogre will spawn, and after defeating itWitches will spawn.
Once you defeat a Witch, they willdrop a Knowledge buff.
Once you deposit the buffs, and the correct symbol is glowing, the door will finally open.

Before you entered the room, you encountered the small puzzle to bring up the door.
However, the symbols you’re gonna wanna activate aren’t written on doors.
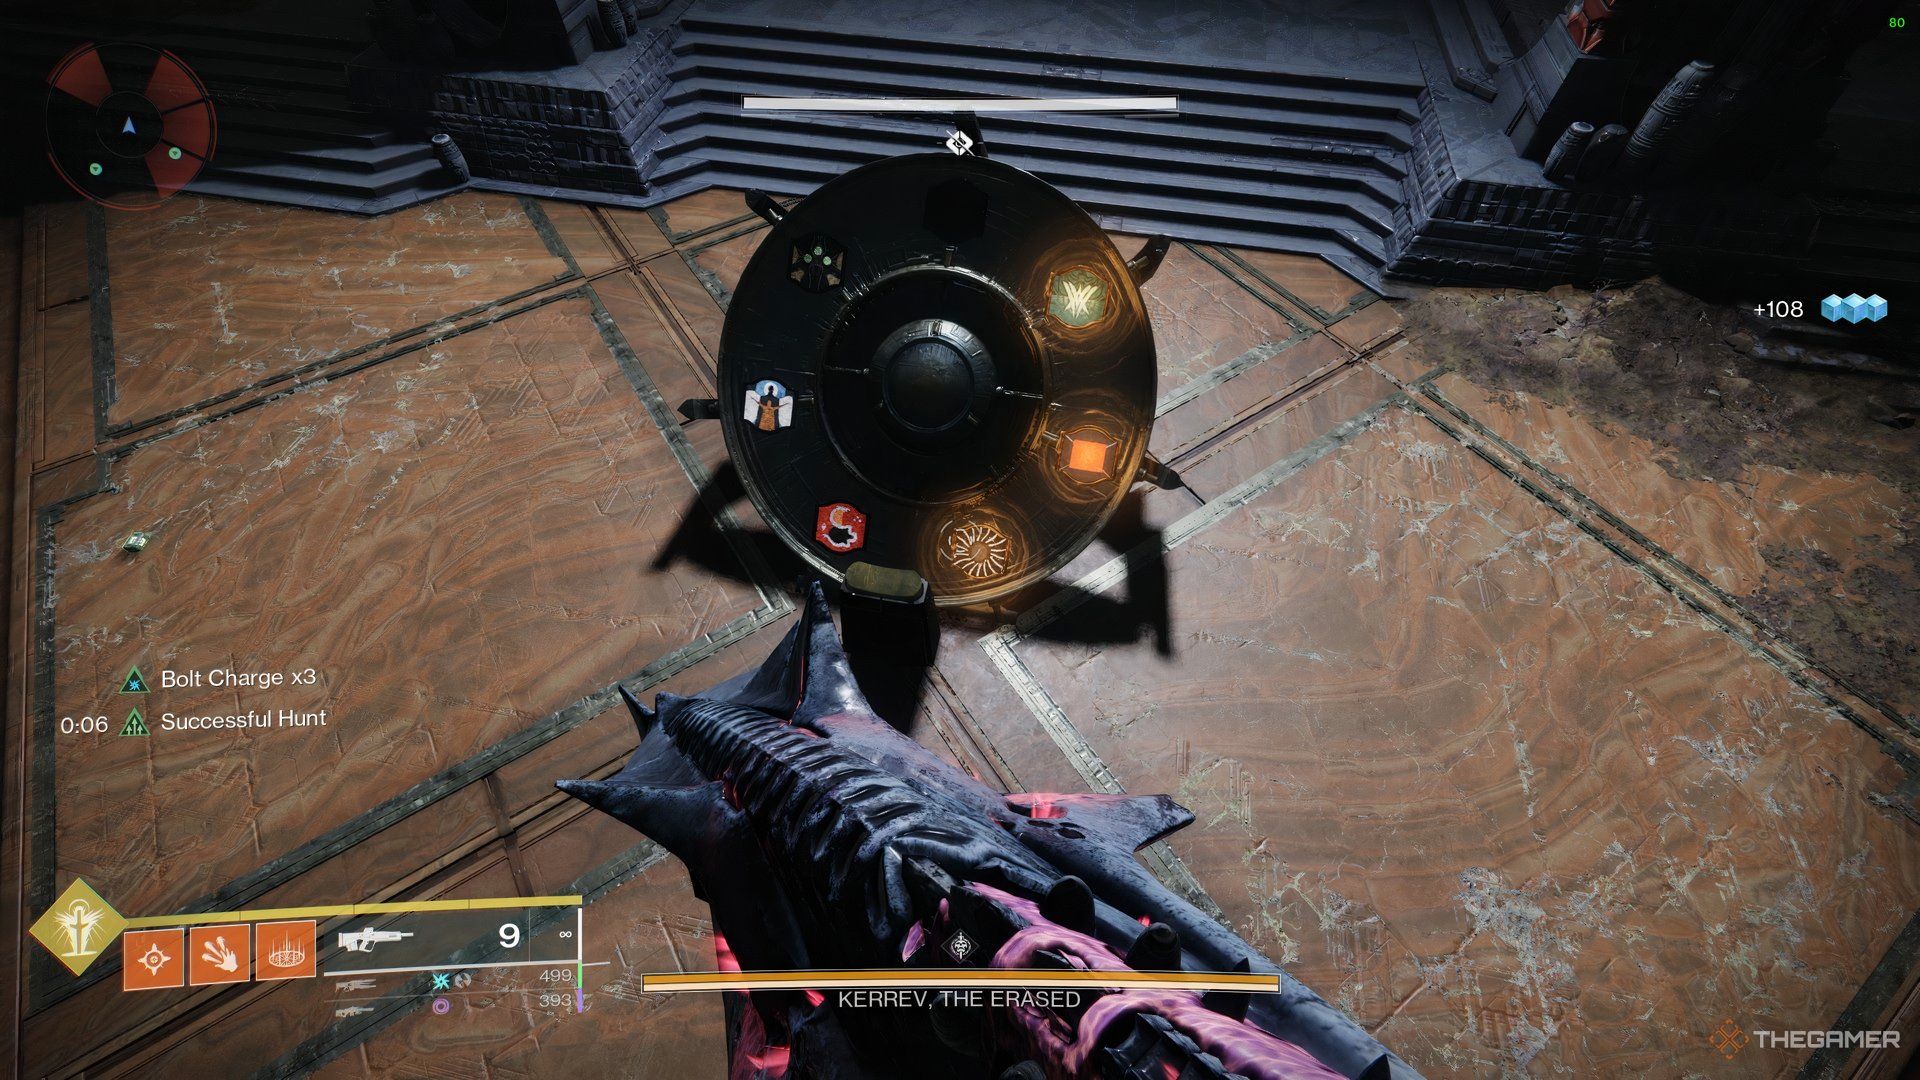
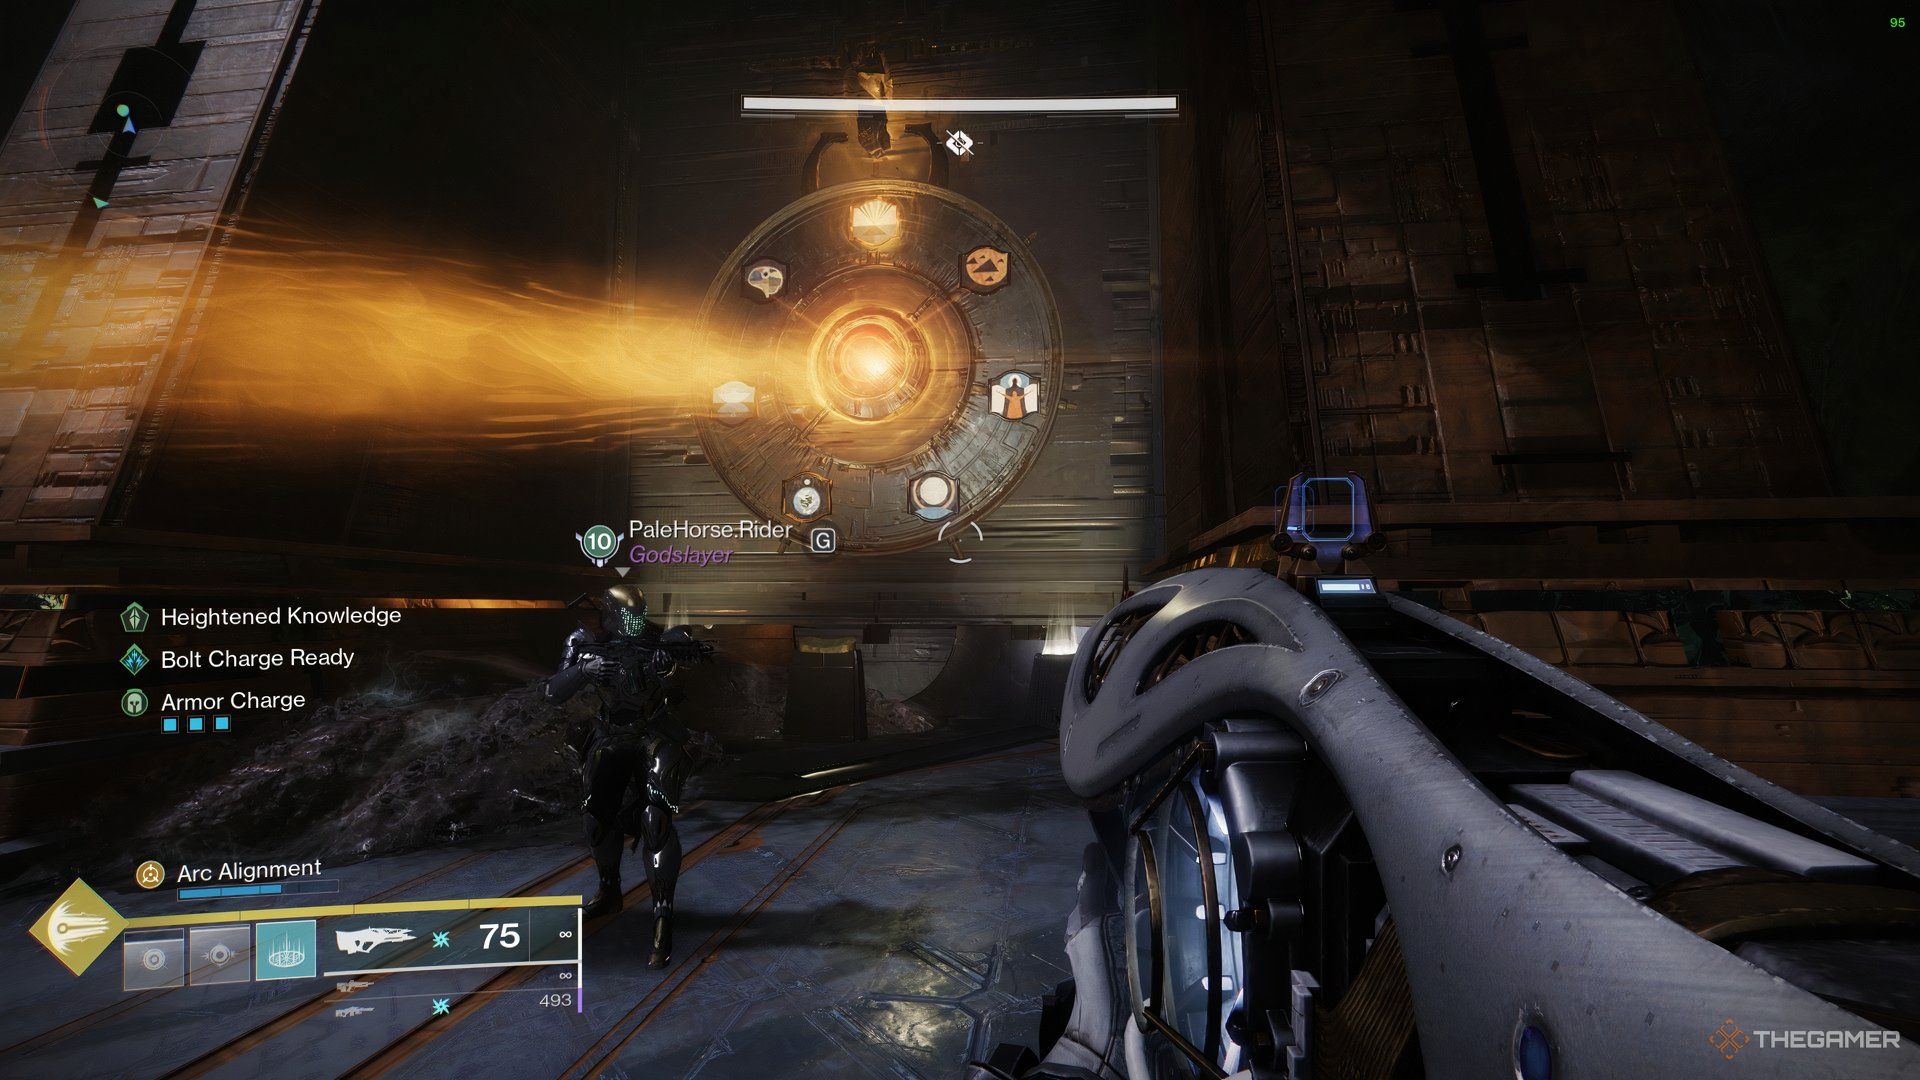
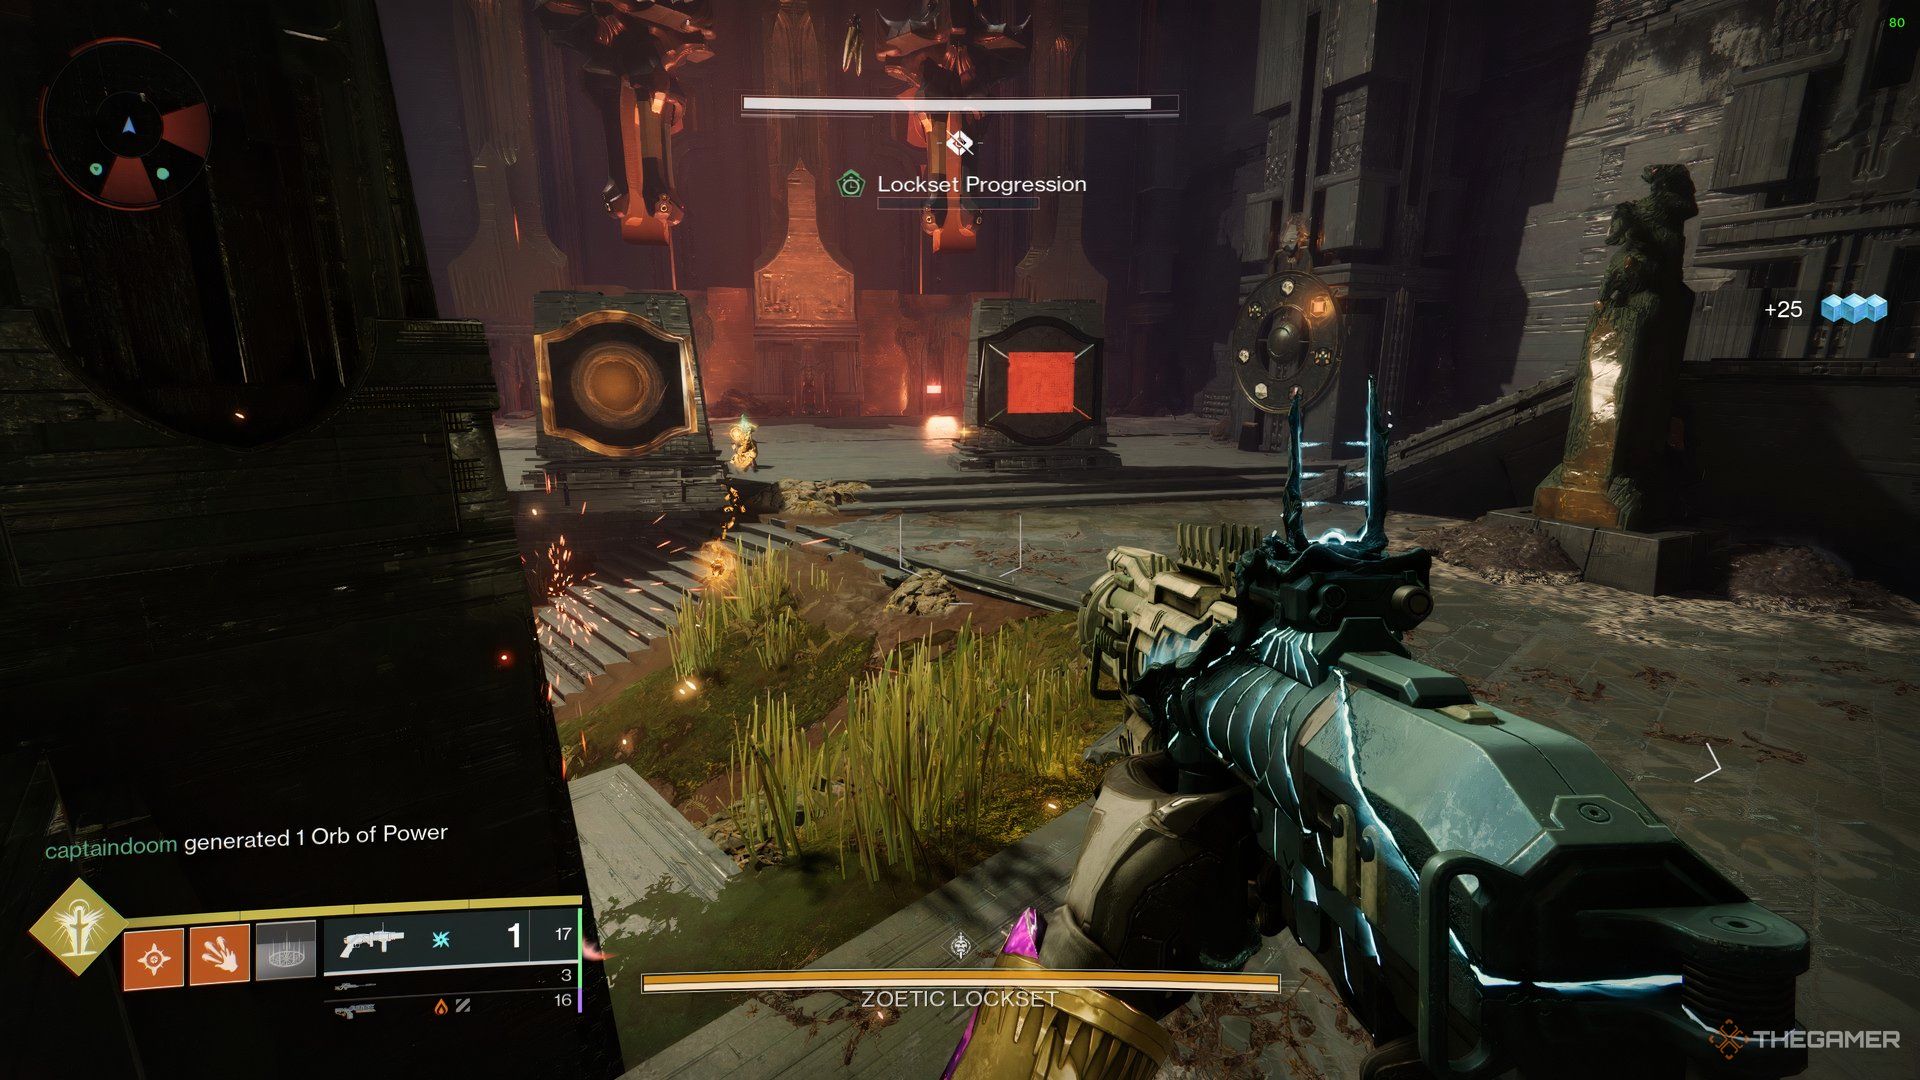
Once you enter the room,you will notice four bosses, but all of themshare the same healthpool.

What happens is, a buff will be shown at the top of your screen calledLockset Progression.
Now from left to right, theboss will open one of its eyesand shine over its corresponding wheel.
Atevery 25 percent, Witches will spawnthat will drop the Knowledge Buffs.

The kind of symbol that appears on the slab will change the response of the encounter.
The way you place theKill symbol will decide how long the damage phase continues.
If you place the Kill symbol towards the veryleft, you receive the longest damagephase.

If the Kill symbol is placed on the veryright, the damage phase is significantly shortened.
Now, your objective is toget Kill on the left-most slabandStop on the other threeslabs.
This is the ideal and the safest damage option.

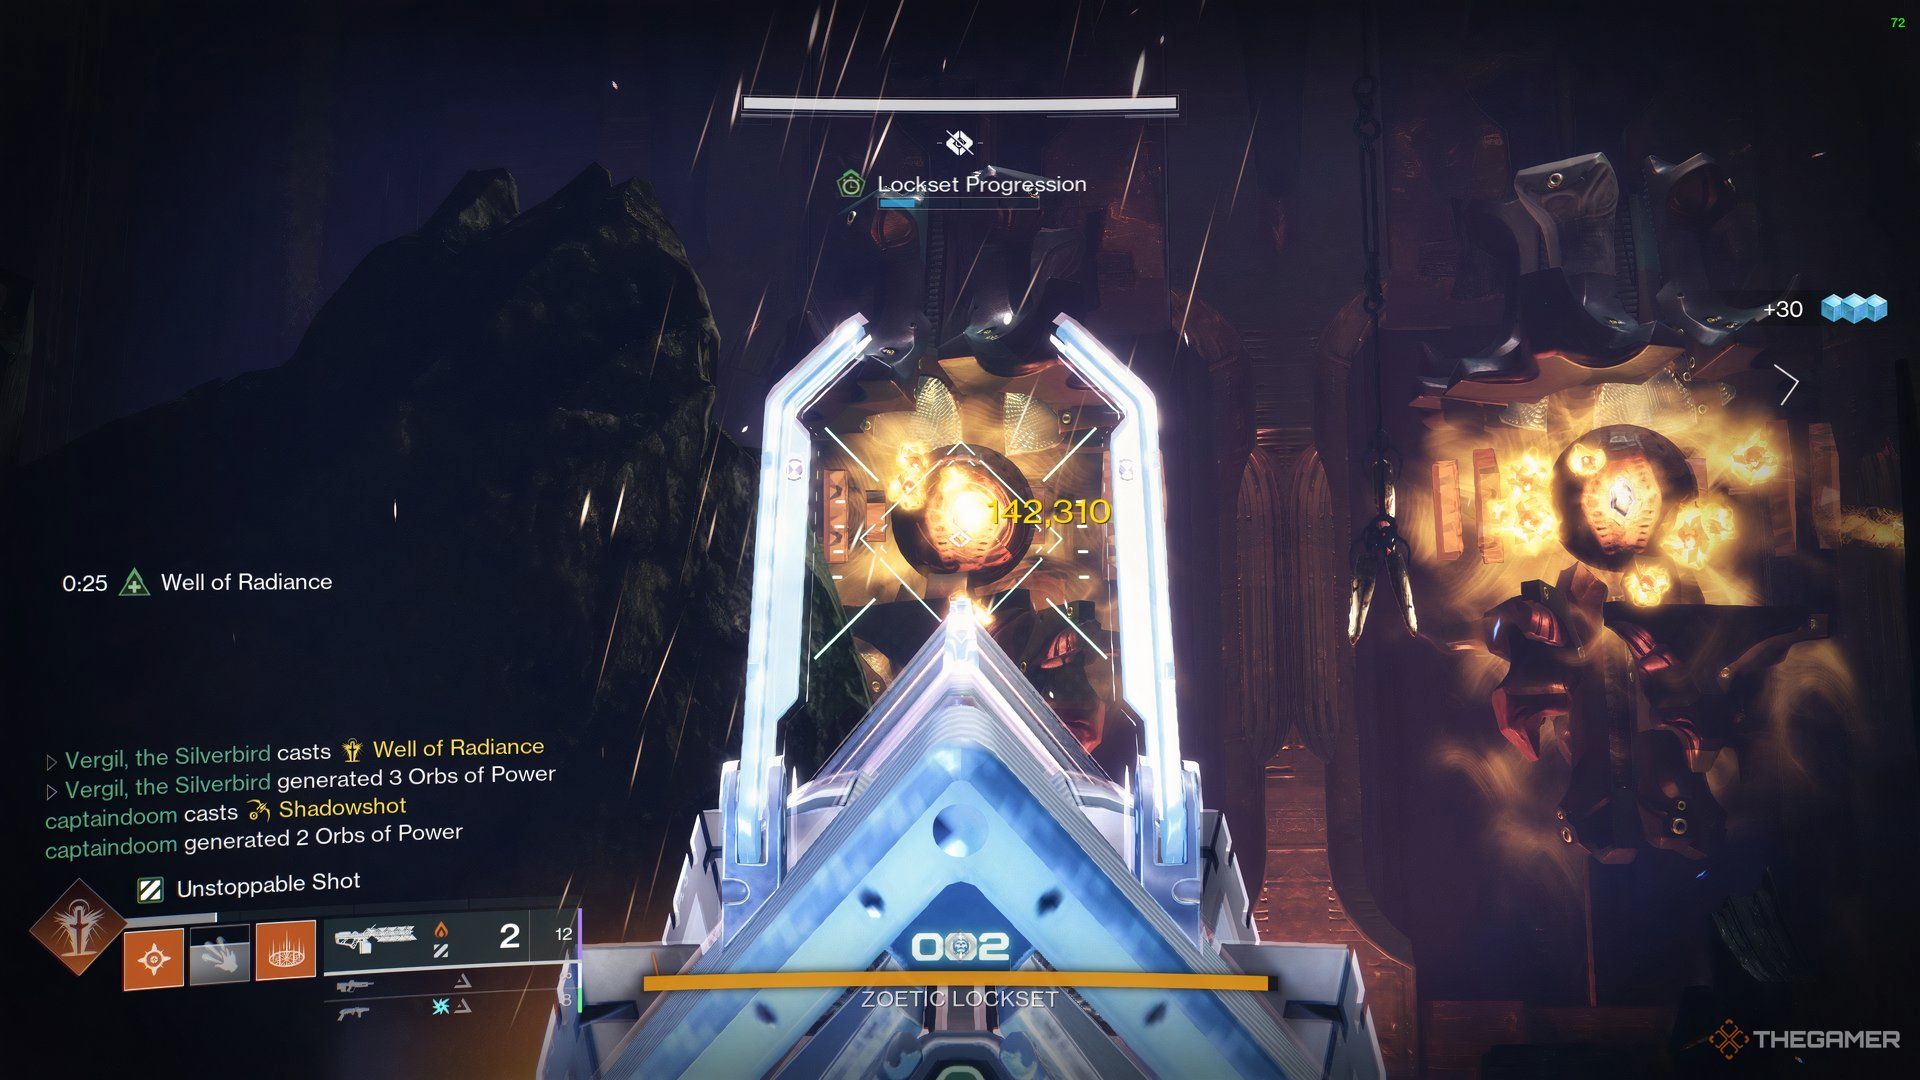
Zoetic Lockset DPS Phase
when you obtain Kill on one slab, the DPS phase begins.
However, this is not recommended as you have zero control over what happens in the other slabs.
DPS as much as possible, and eventually, the boss will reset and damage will end.

You will have to repeat everything as explained in the previous section to start DPS once more.
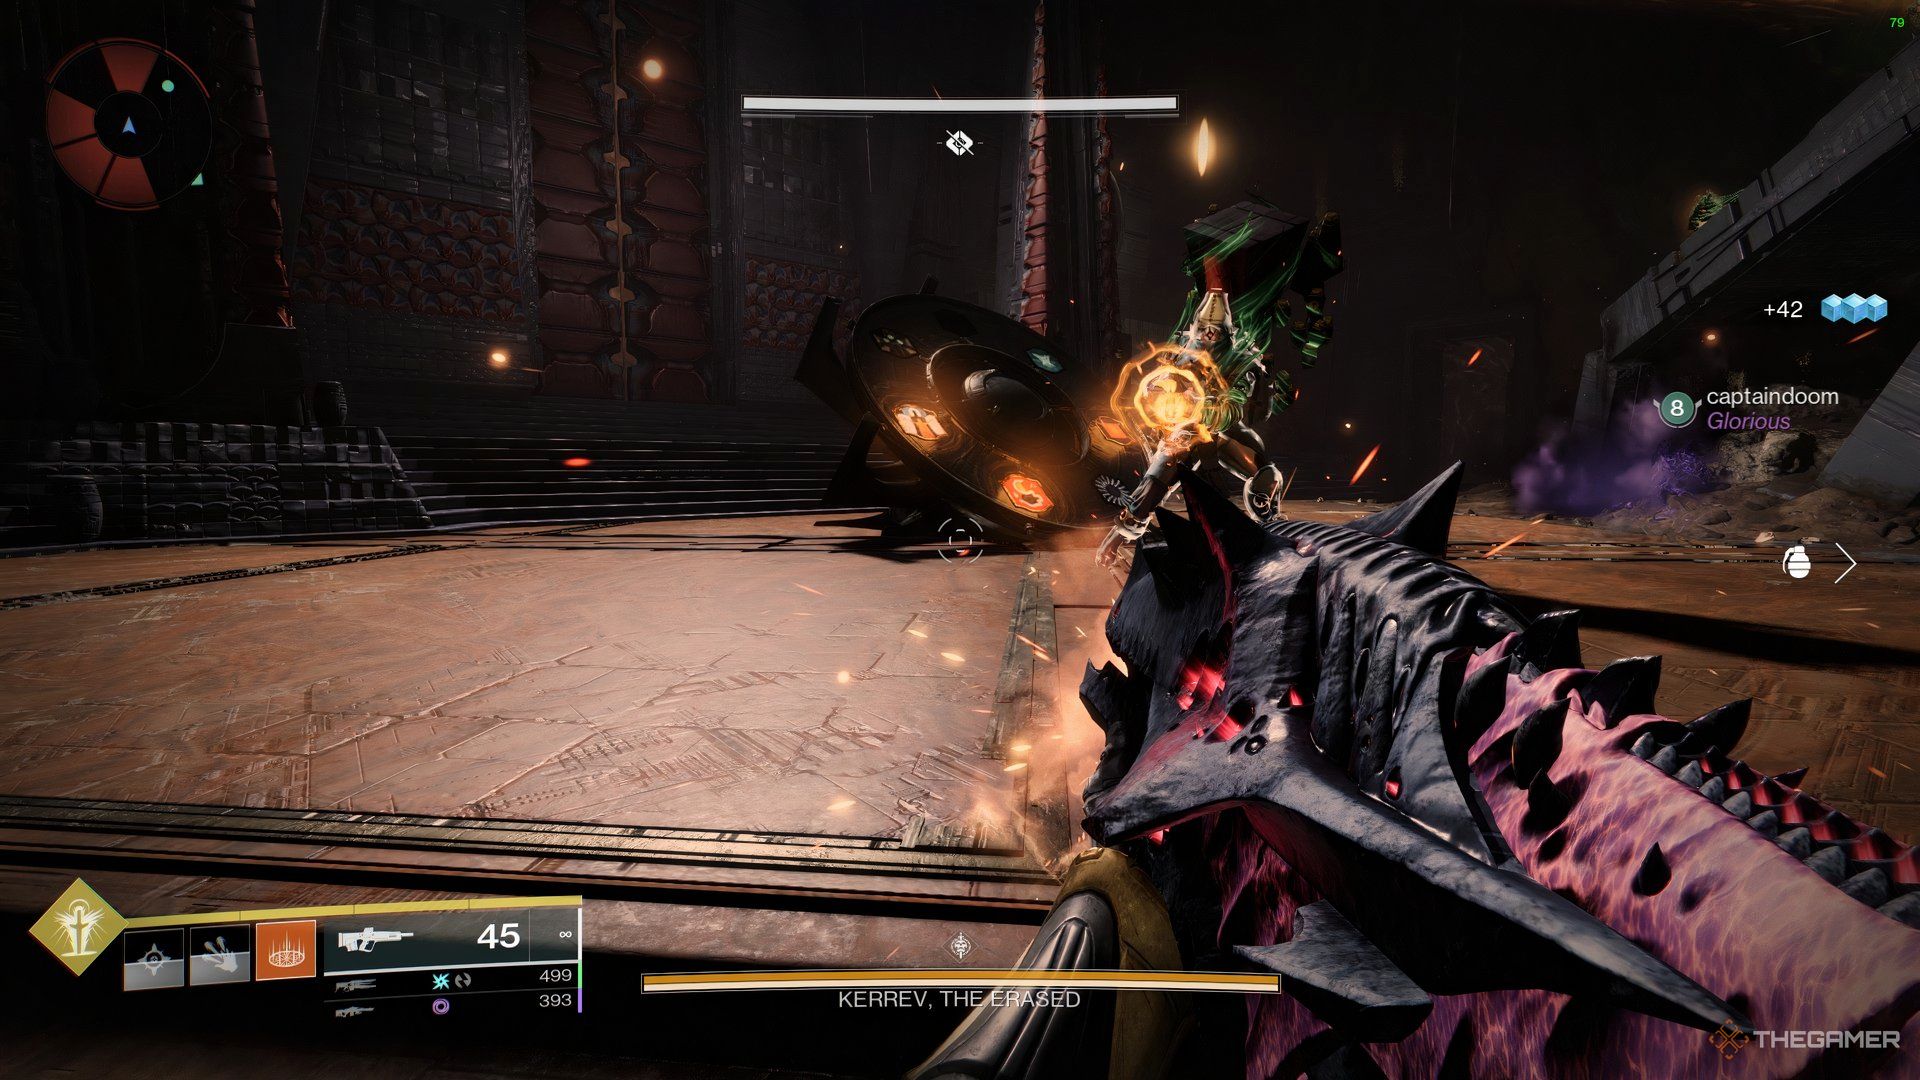
Once the DPS phase ends, the boss’s eyes will drop down in the form of balls.
You will notice a small cavity right where the chest spawns after the encounter is done.

Reach The Boss
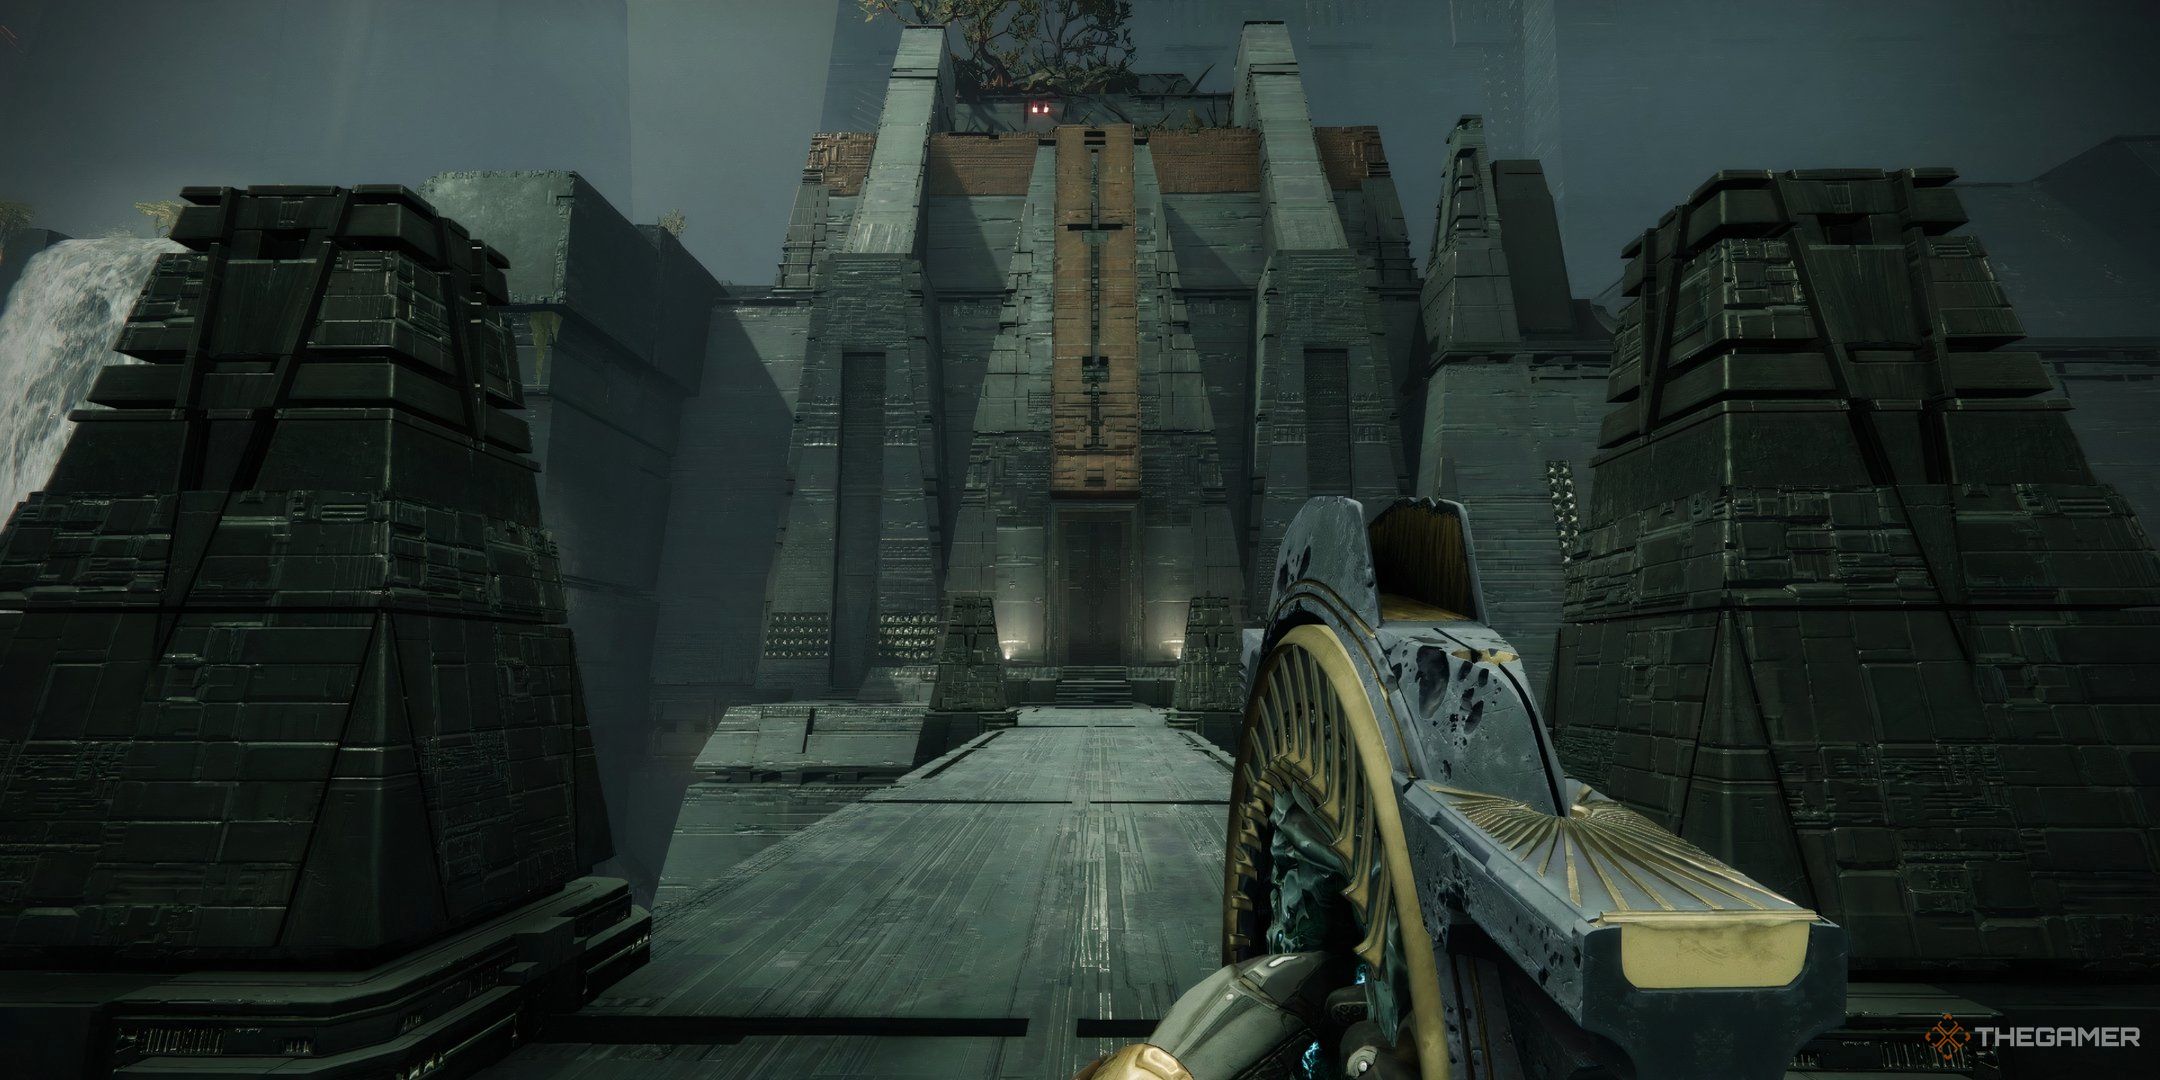
Once you complete the second encounter, there is yet another traversal section.
However, the biggest point to note here is that you will come acrossyet another symbol puzzle.
However, you need tomatch the symbolsinstead of simply shining on random wheels.

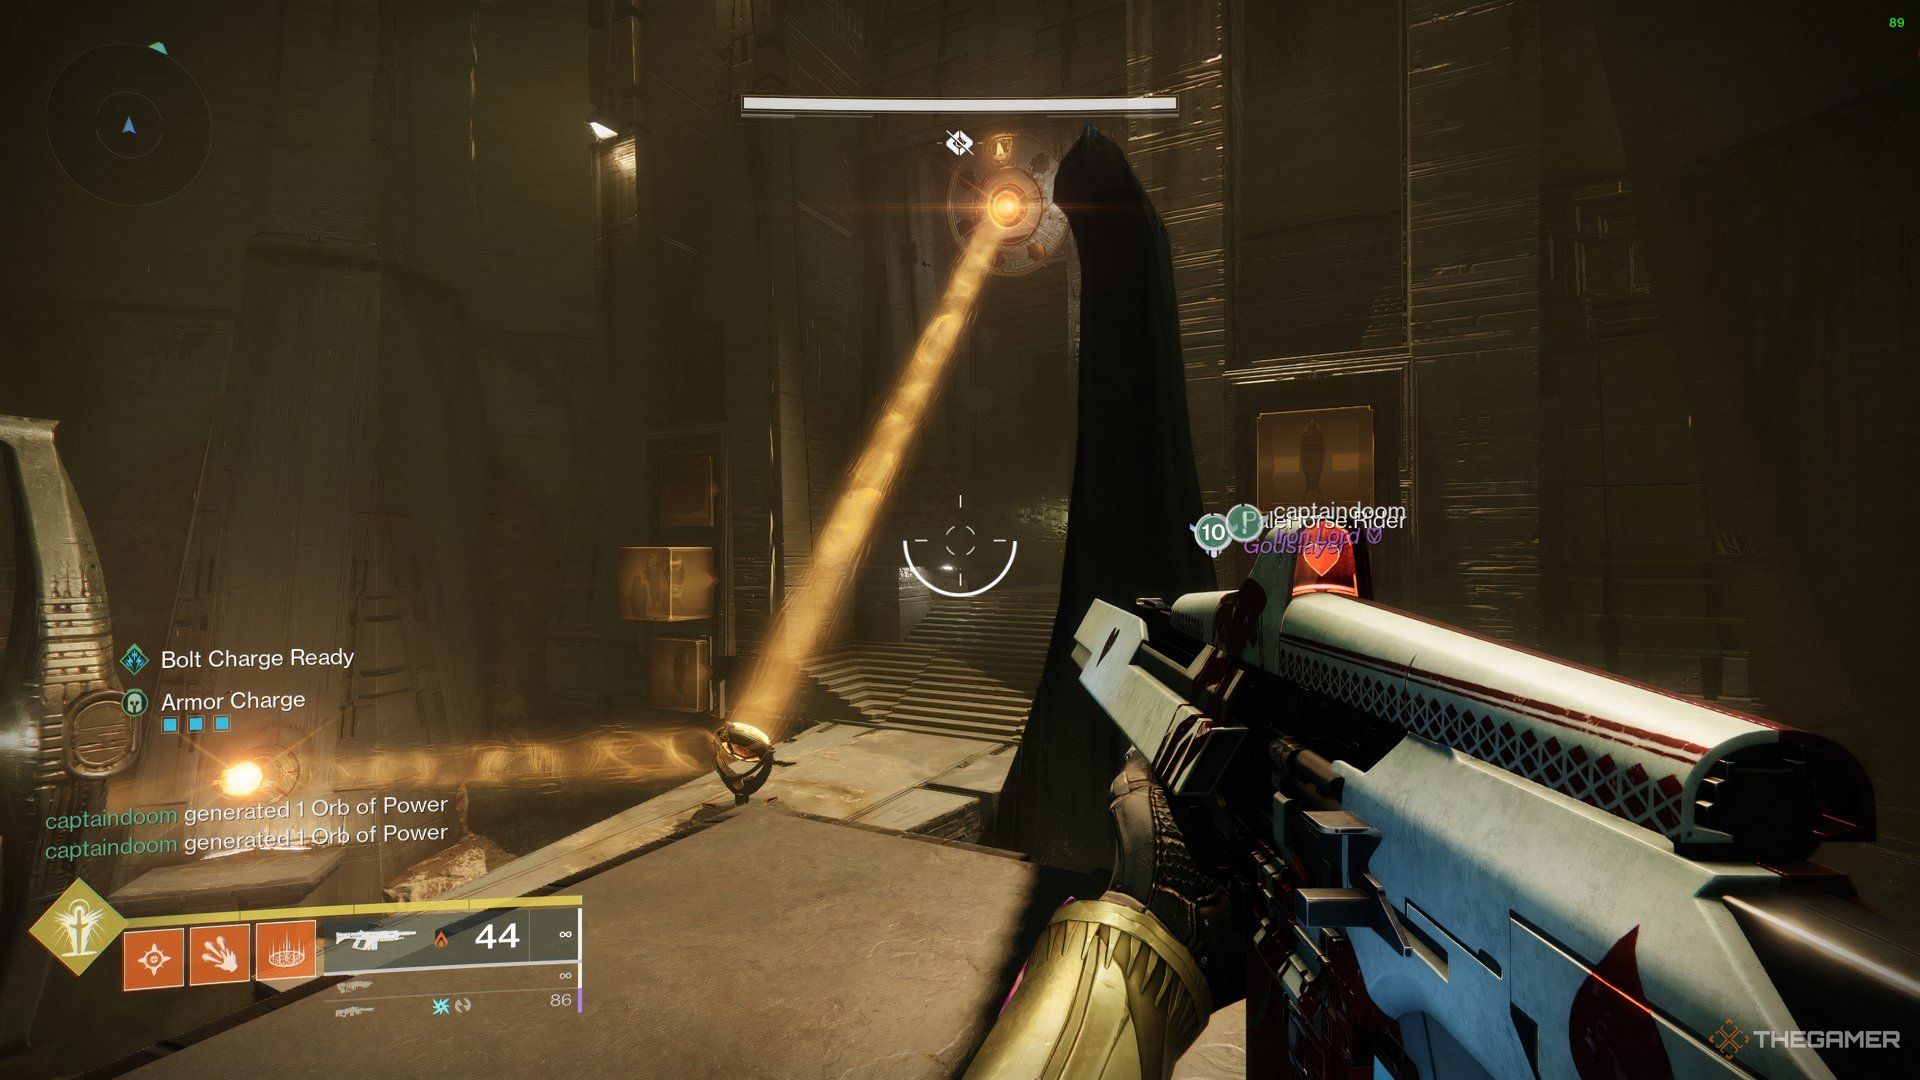
From these symbols, reflect the light until it hits the wheels at the top of the room.
Once both wheels are lit up, the puzzle is finished.
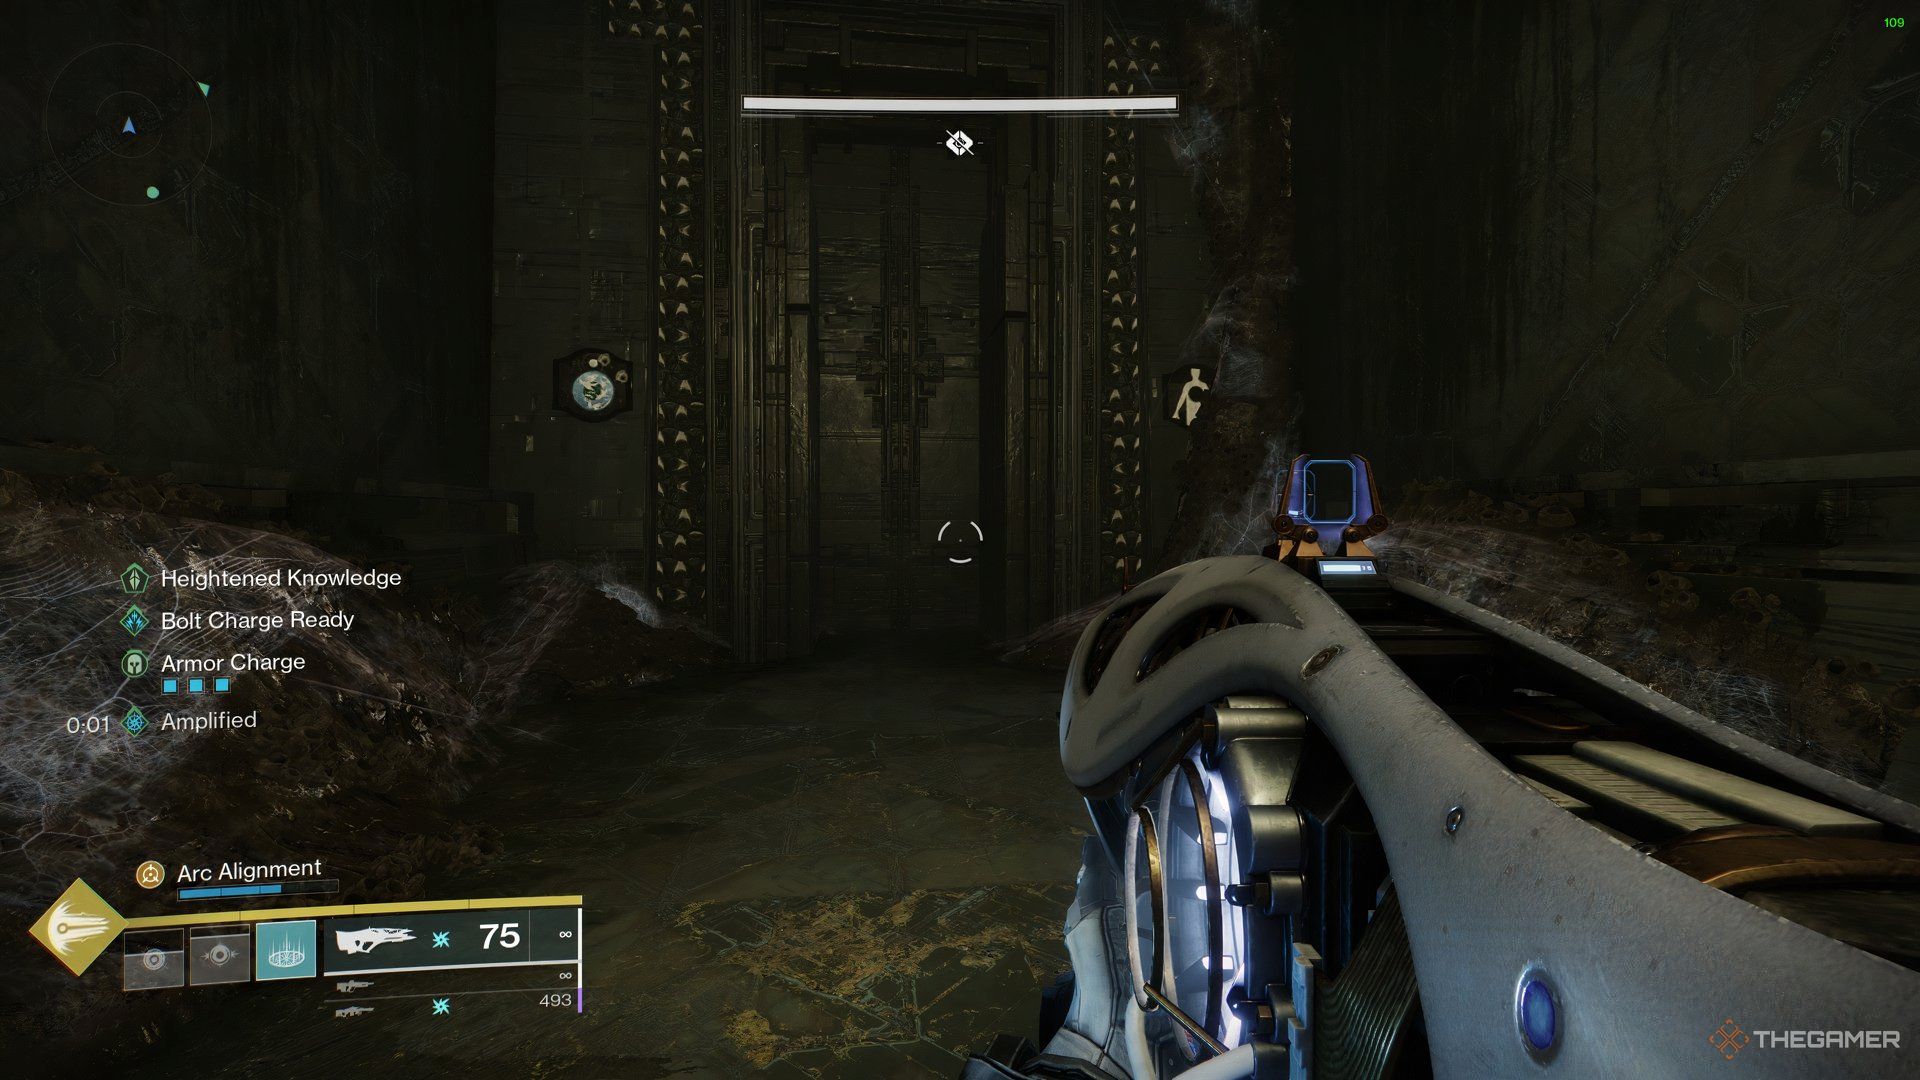
You will notice that even though the puzzle is complete, the door hasn’t opened.
Get used to this door mechanic as you will need to use it in the final boss.
For instance, theright sideof the wheel might sayPyramid, Give, Darkness which is true.
The left sideof the wheel might say,Witness, Drink, Light, which is false.
This is justan example, andyours will be different,but you get the idea.
The Truthspeaker Grimwill drop a symbol which will always be the first one of the true statement.
In the rooms on the left and the right, a Subjugator will spawn.
The boss room and the one below, you will find a yellow health bar Hive Knight.
It is crucial you do this, as ammo will be a problem against the boss.
The entire room is divided into four sections.
The one below the boss can be accessed via a couple of stairs.
First, you need todefeat the Stasis Scionthat spawns in those rooms andreceive the Unwritten Empowerment buff.
First, verify youhide in one of the shadowy regionsof the boss room.

This is because, a few seconds after you activate the DPS,the entire room starts burning.
If you look at the boss’s HP bar, you’ll notice thathis shield is depleting.
Once the shield goes to zero, place your Well of Radiance, andstart damaging the boss.
The boss doesn’t do much as long as you are standing inside the Well.
When that happens, repeat the mechanics once again until the boss is dead.
Once you defeat the boss, collect the chest; that is the end of the Sundered Doctrine dungeon.
Particle Deconstruction, Horde Shuttle, and much more make a triumphant return in Episode: Heresy.