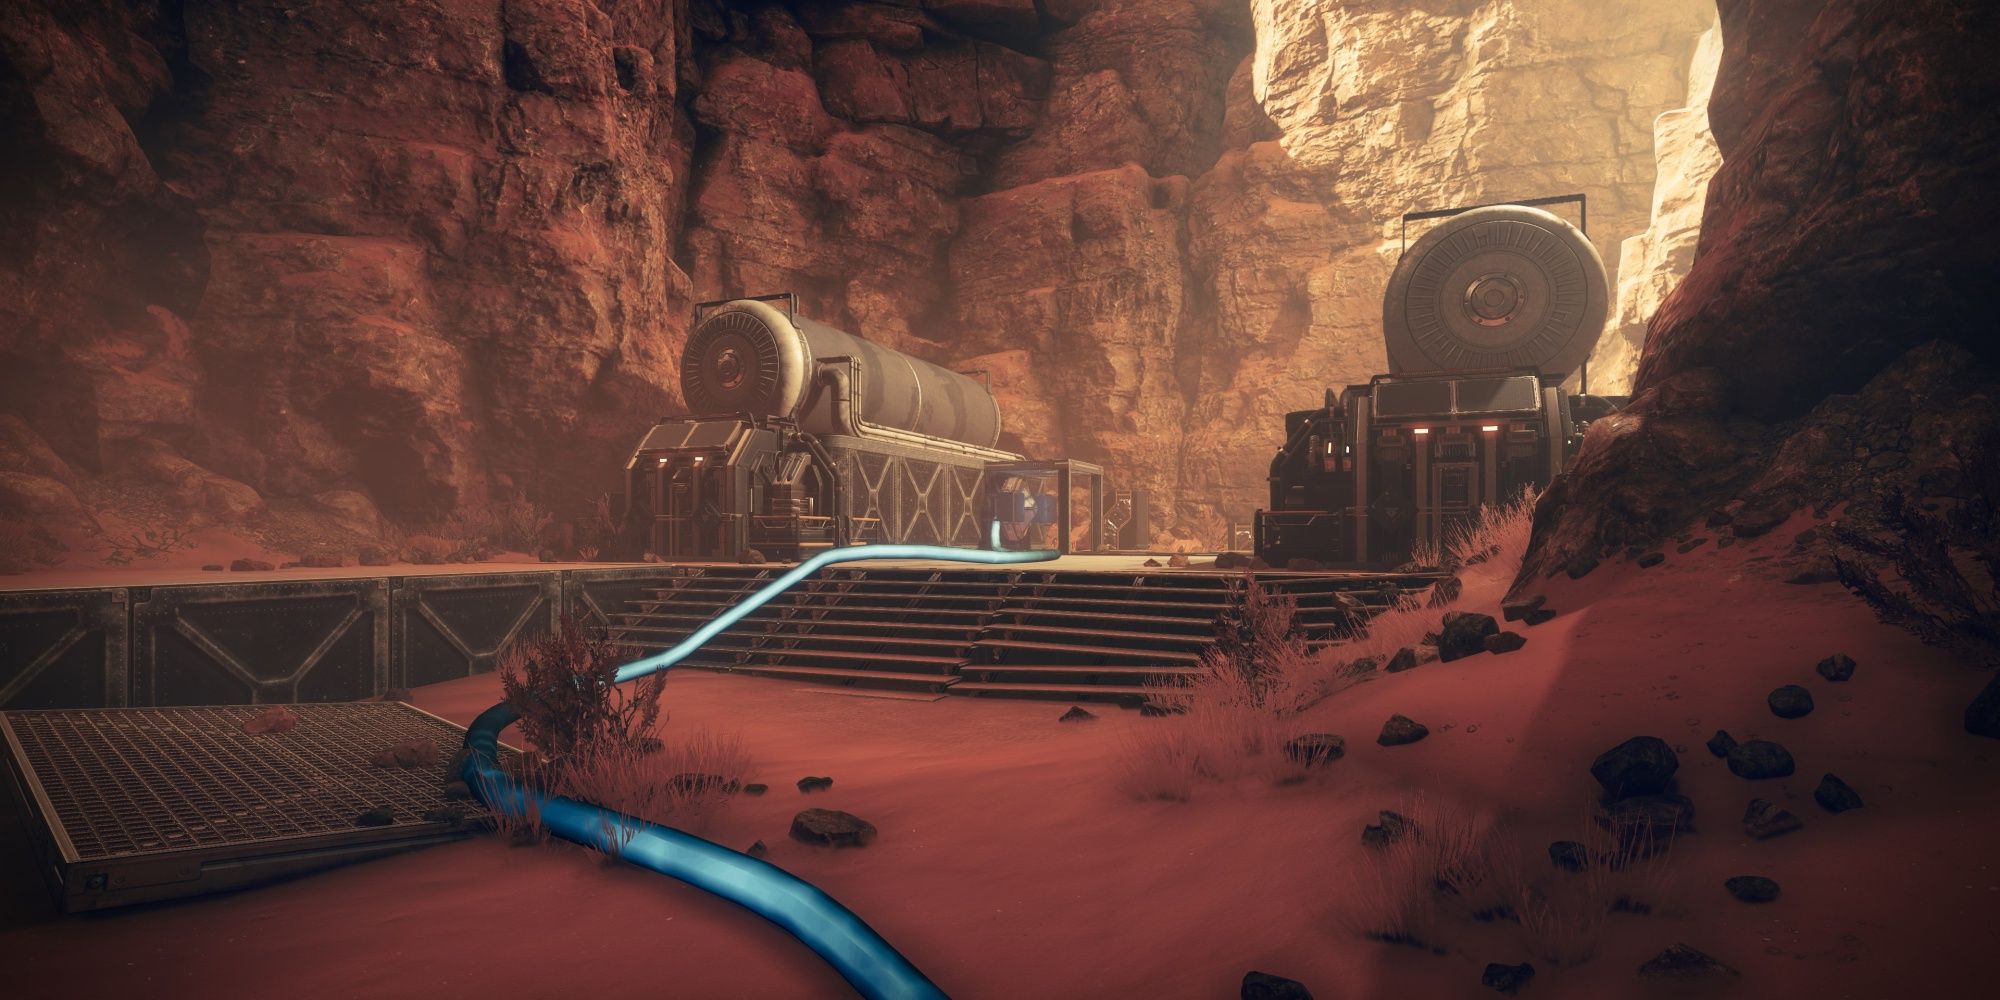
If you love chill dungeons or wild west-themed gear, this dungeon is for you.
That’s what this guide is for.
This guide doesnotshowcase collectible locations.

you’re able to find a video walkthrough onYouTuber Esoterickk’s channel.
We’ll have a god roll guide for the dungeon weapons soon; stay tuned.
For now, visitlight.ggto see dungeon weapon rolls.

Recommended Loadouts
A power level of 1,570 is recommended for Normal Spire of the Watcher.
Master difficulty recommends a Power level of 1,610 or greater.
Master difficulty features Champions and drops Artifice armor.

Witherhoard is just an incredibly reliable weapon with excellent ammo efficiency.
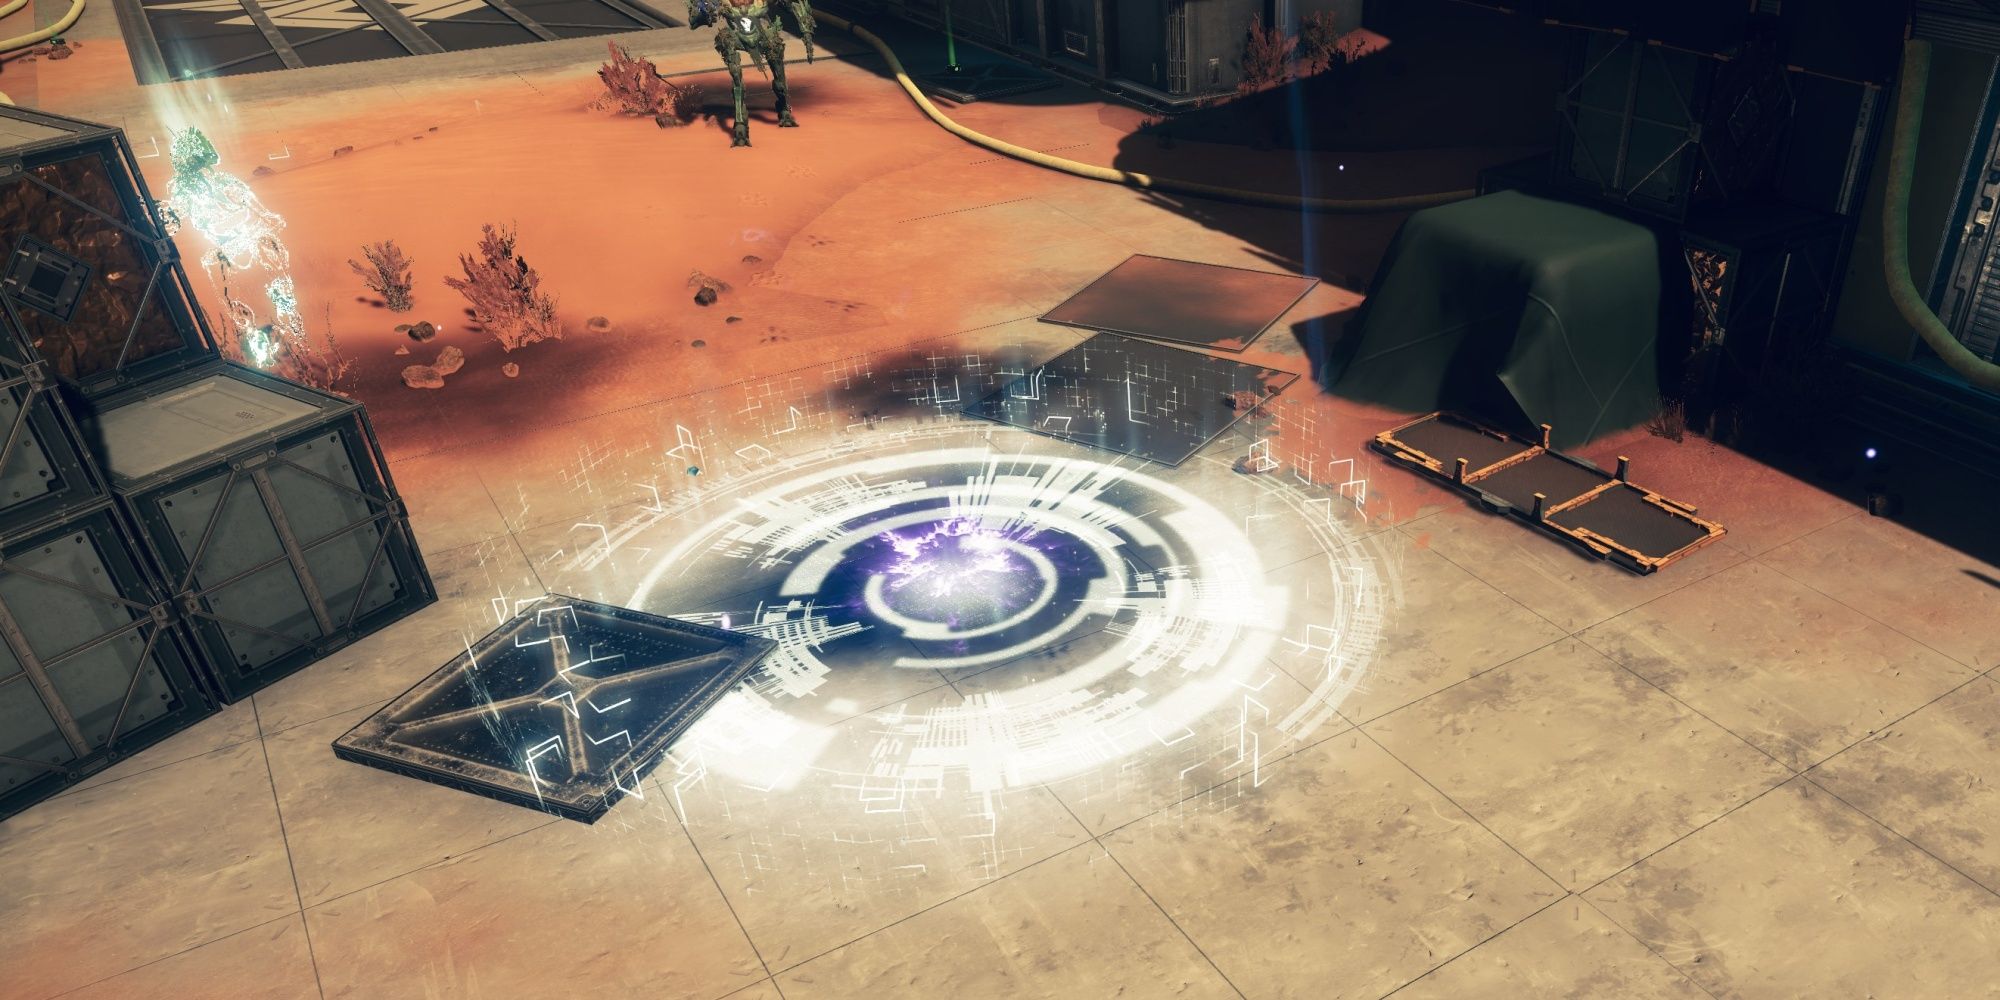
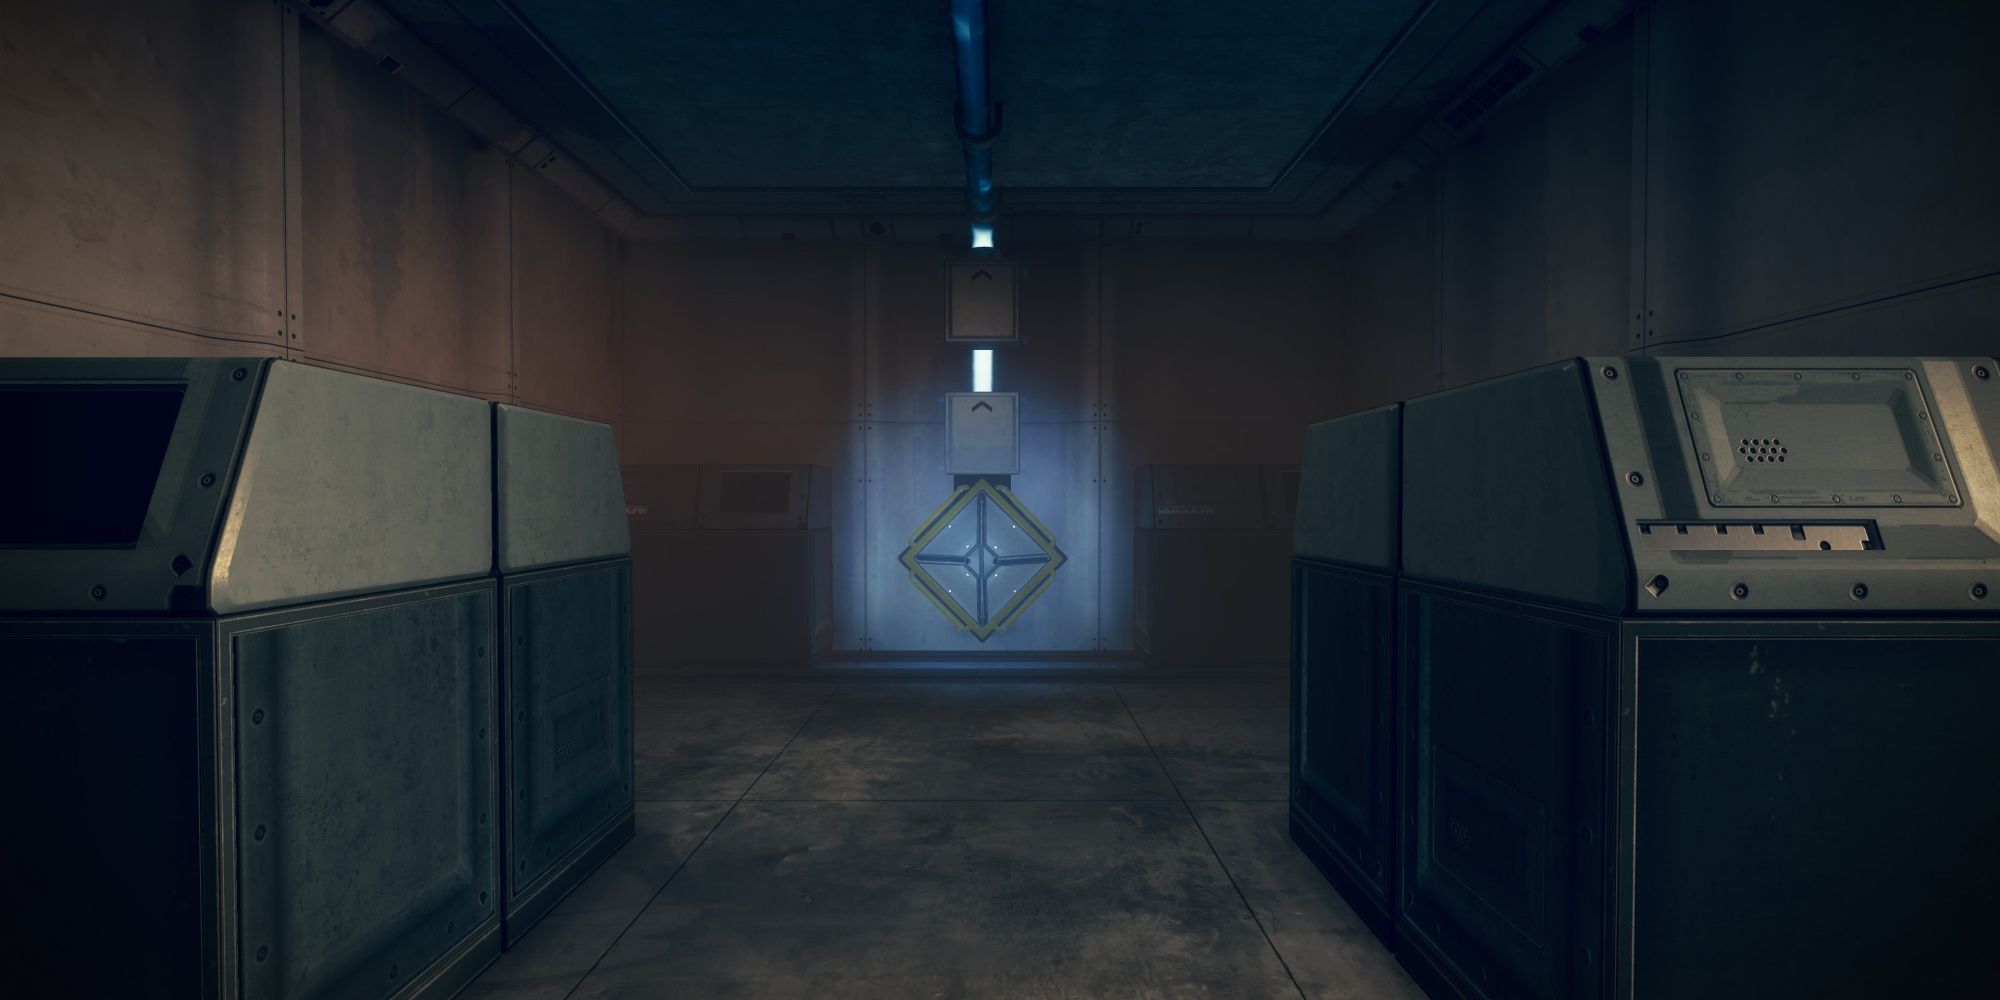
This will grant theArctrician bufffor 30 seconds, allowing you to activate diamond-shaped switches by shooting them.
Successfully powering a switch will add five seconds to your Arctrician timer.
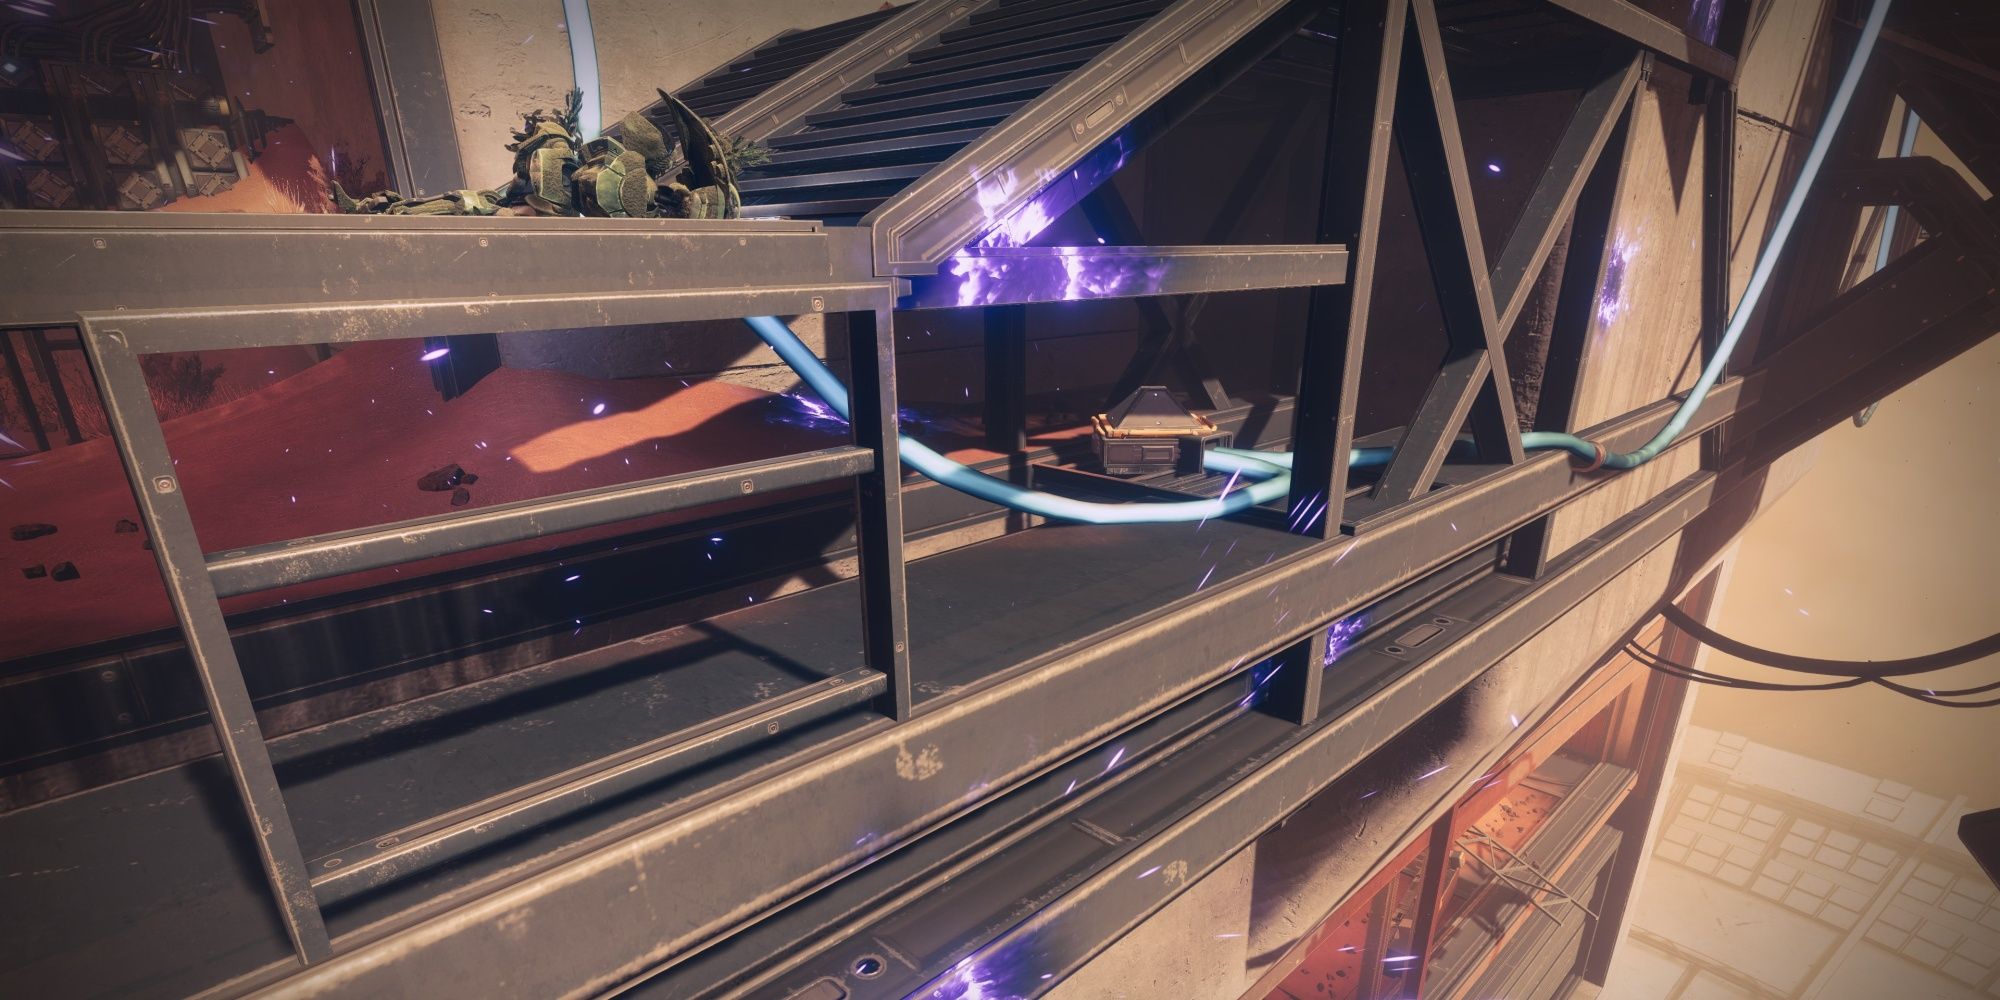
A successfully powered switch will have at least one blue-glowing cable.
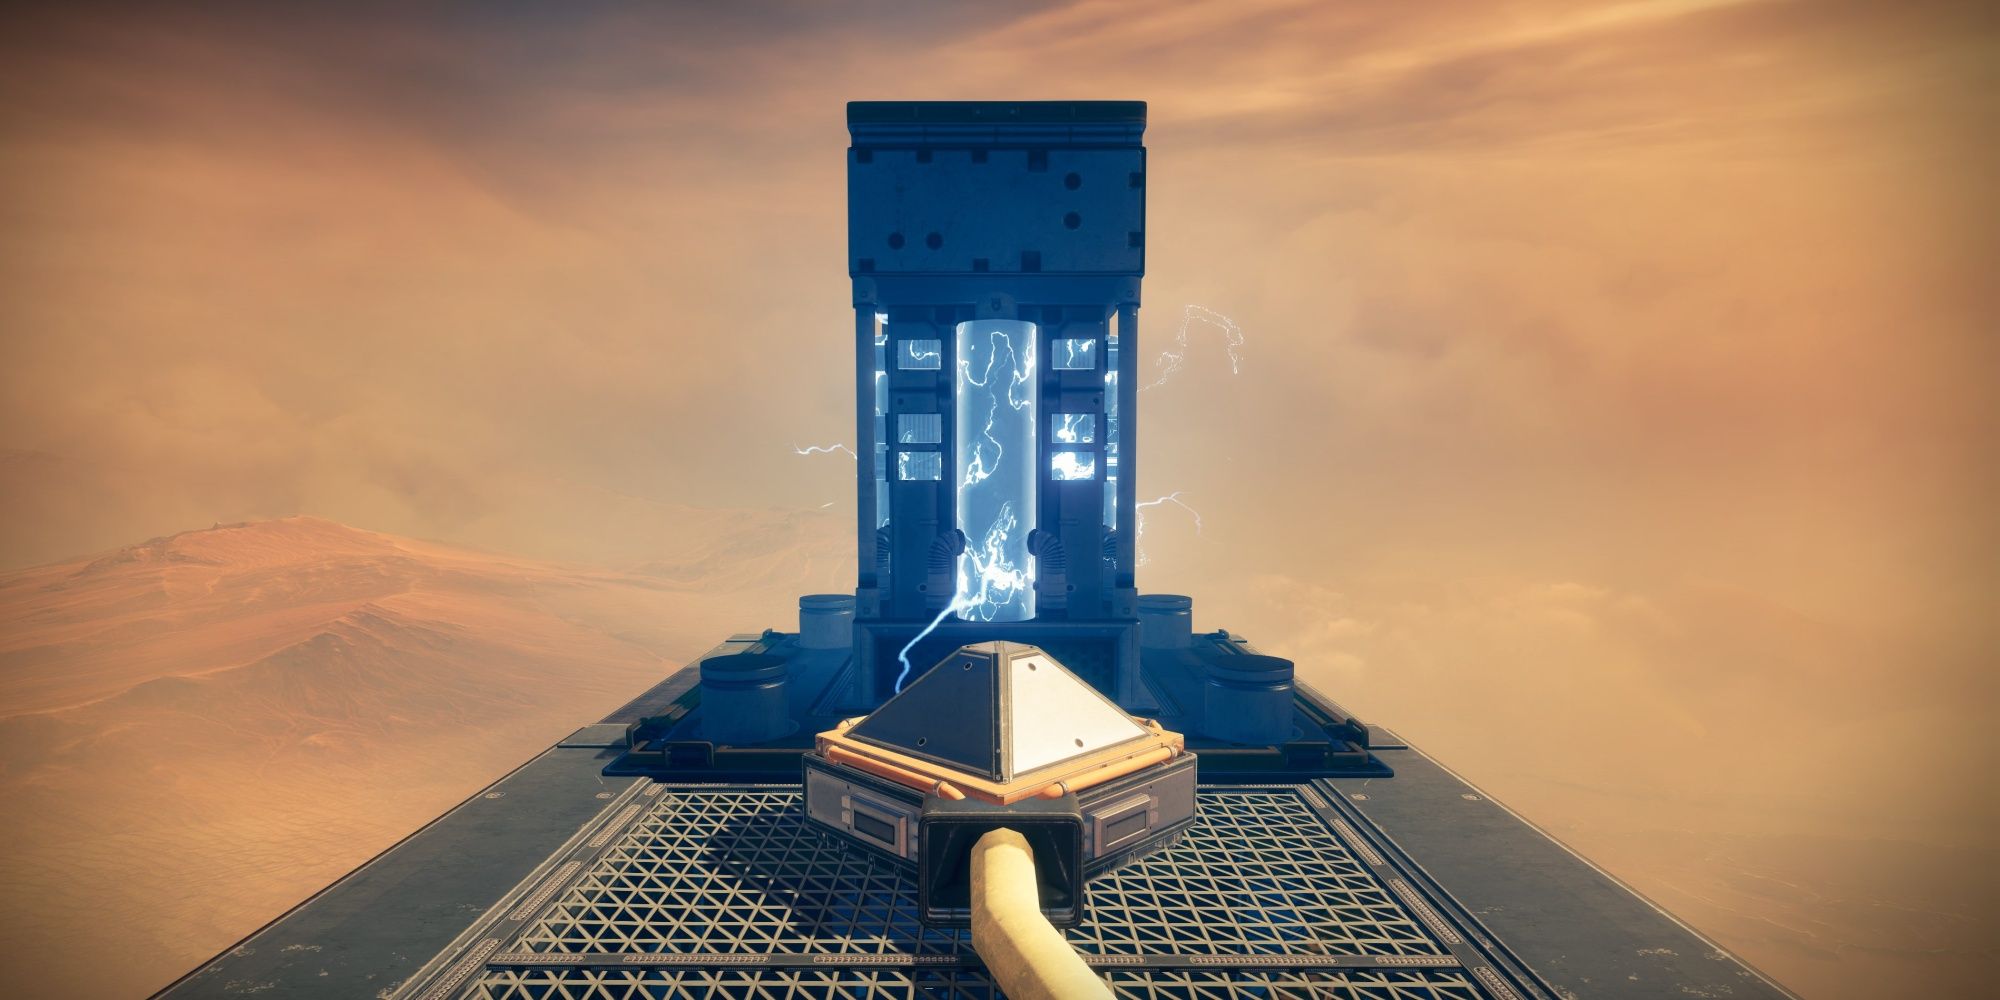
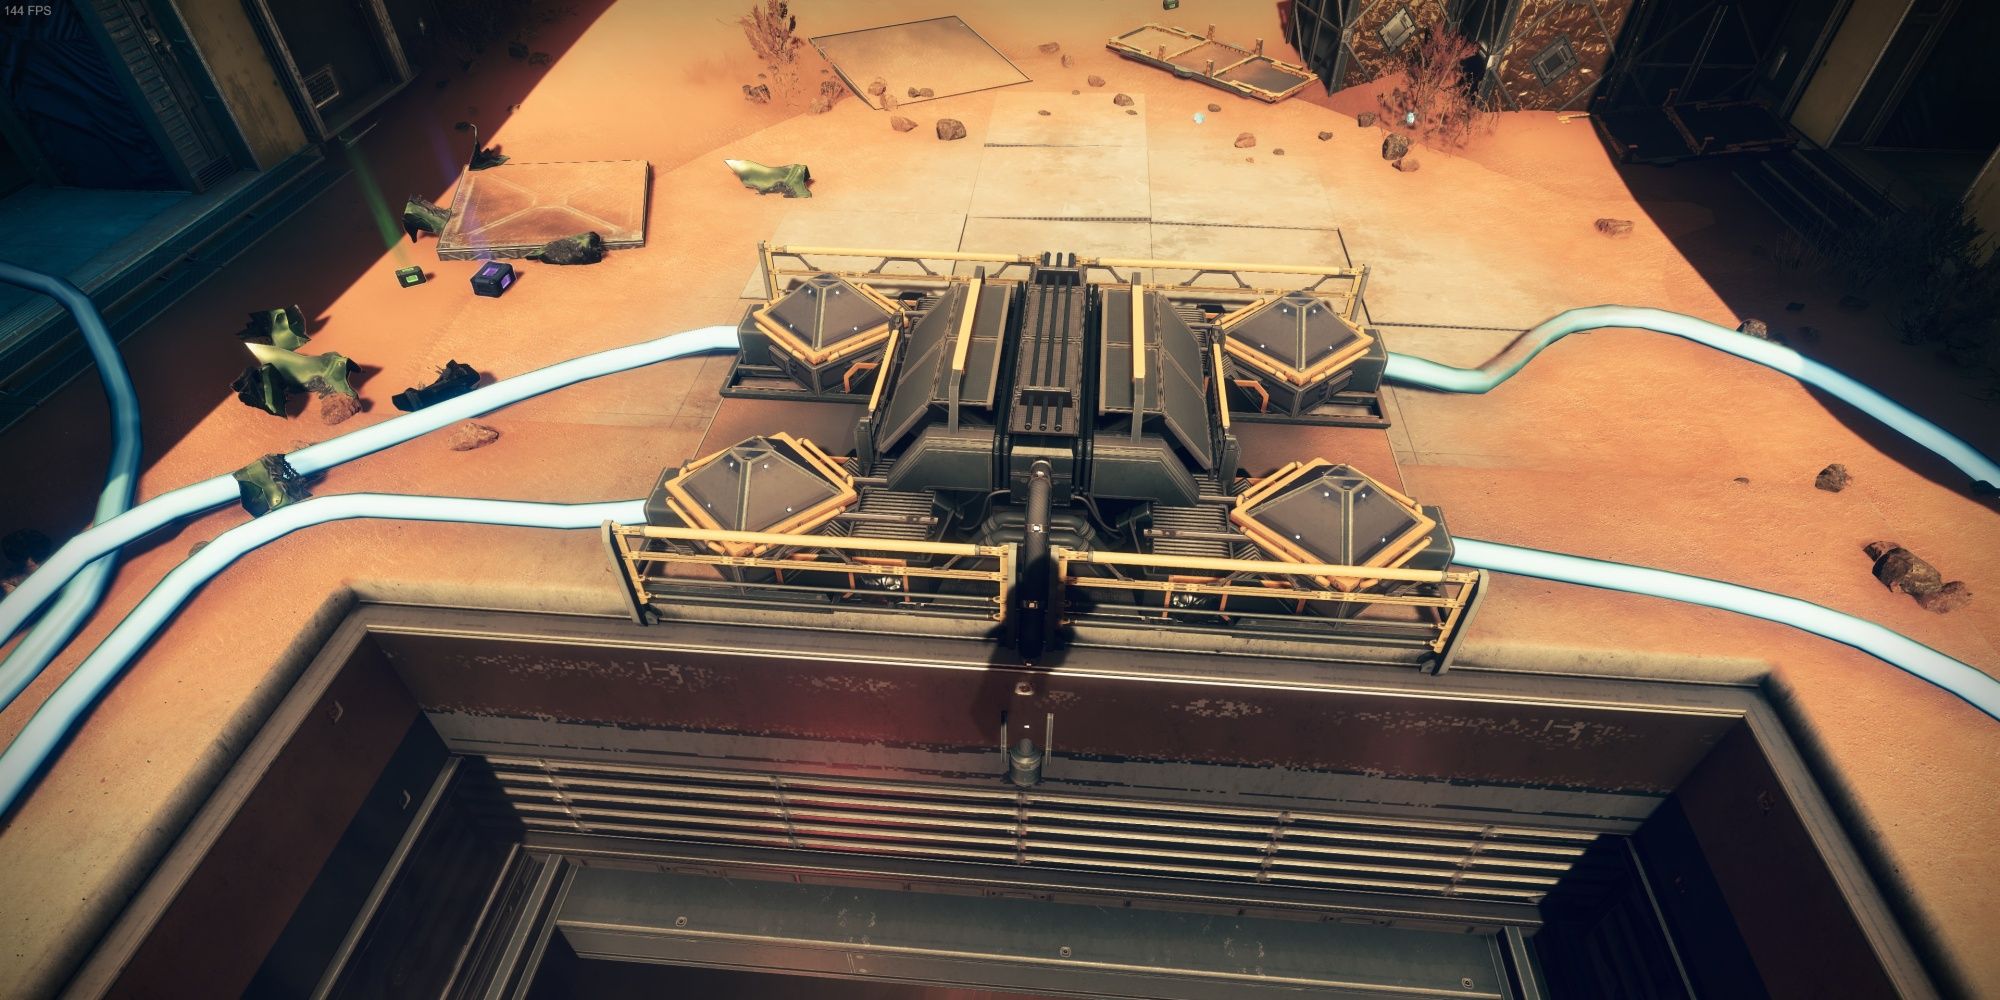
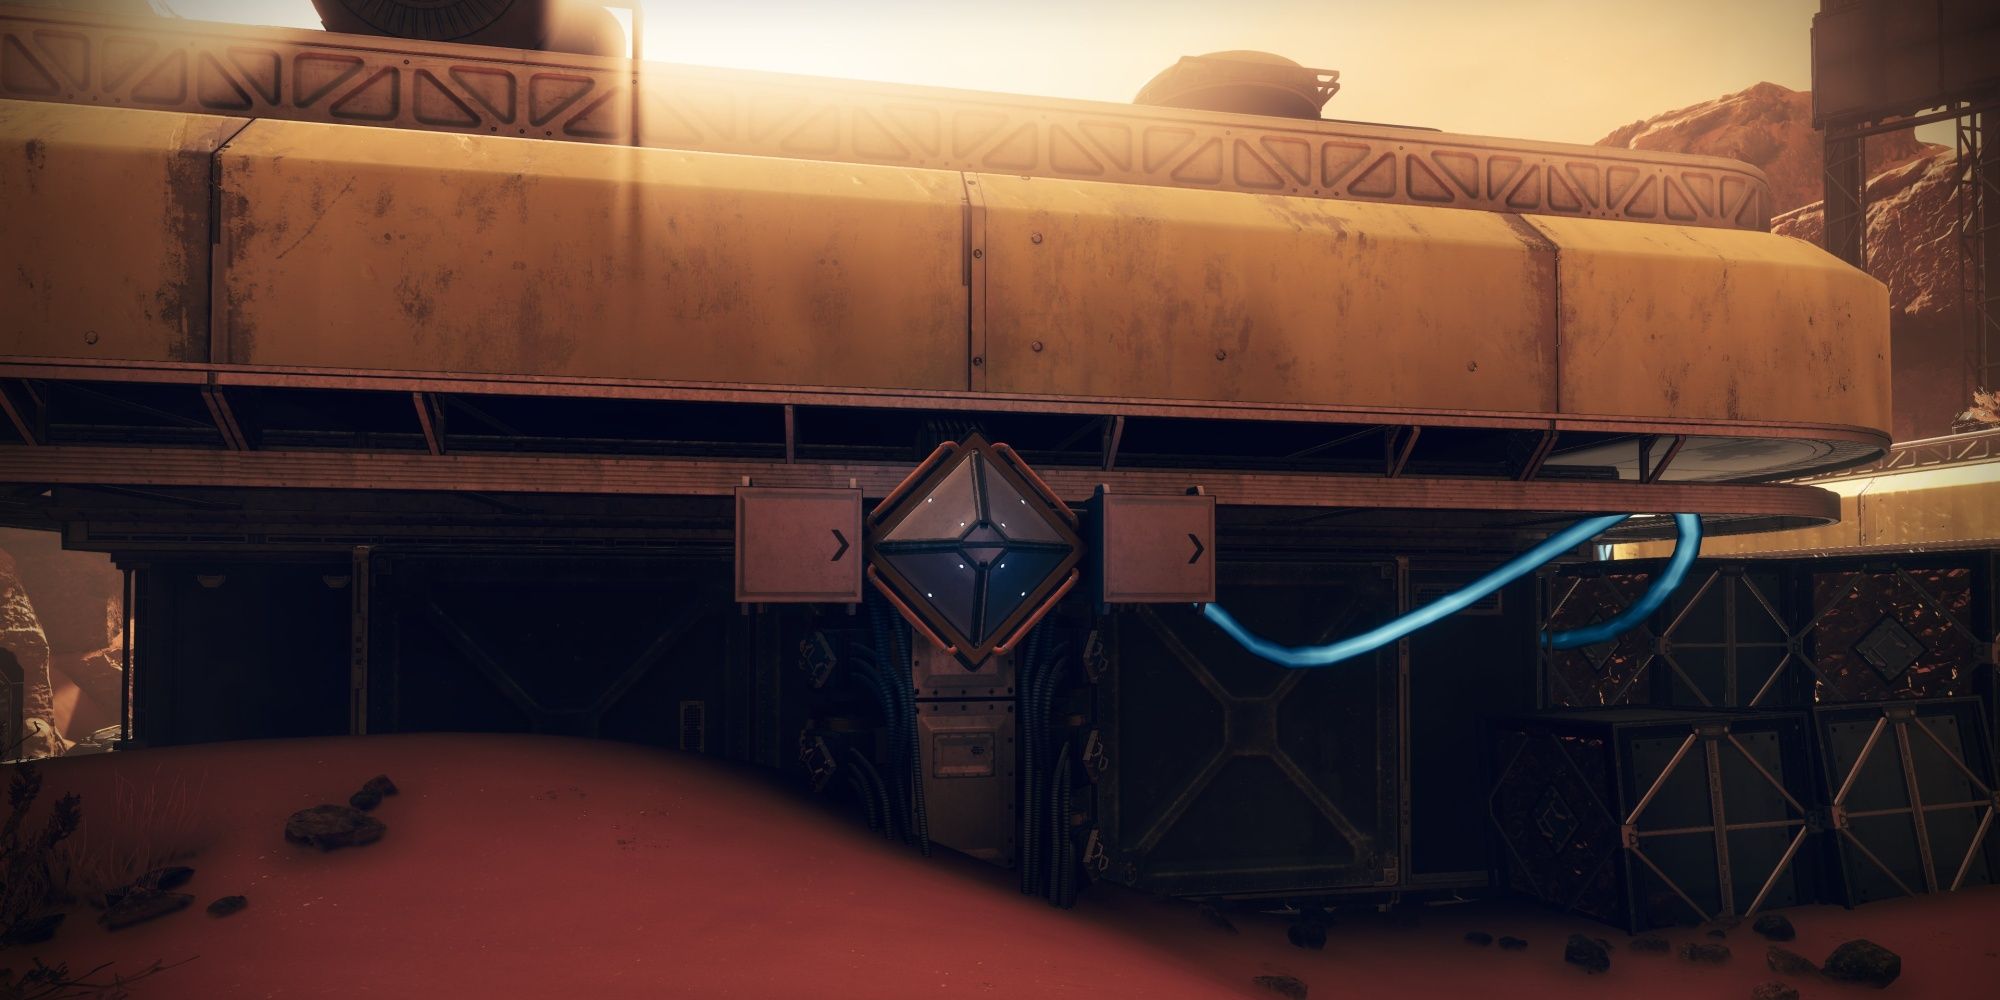
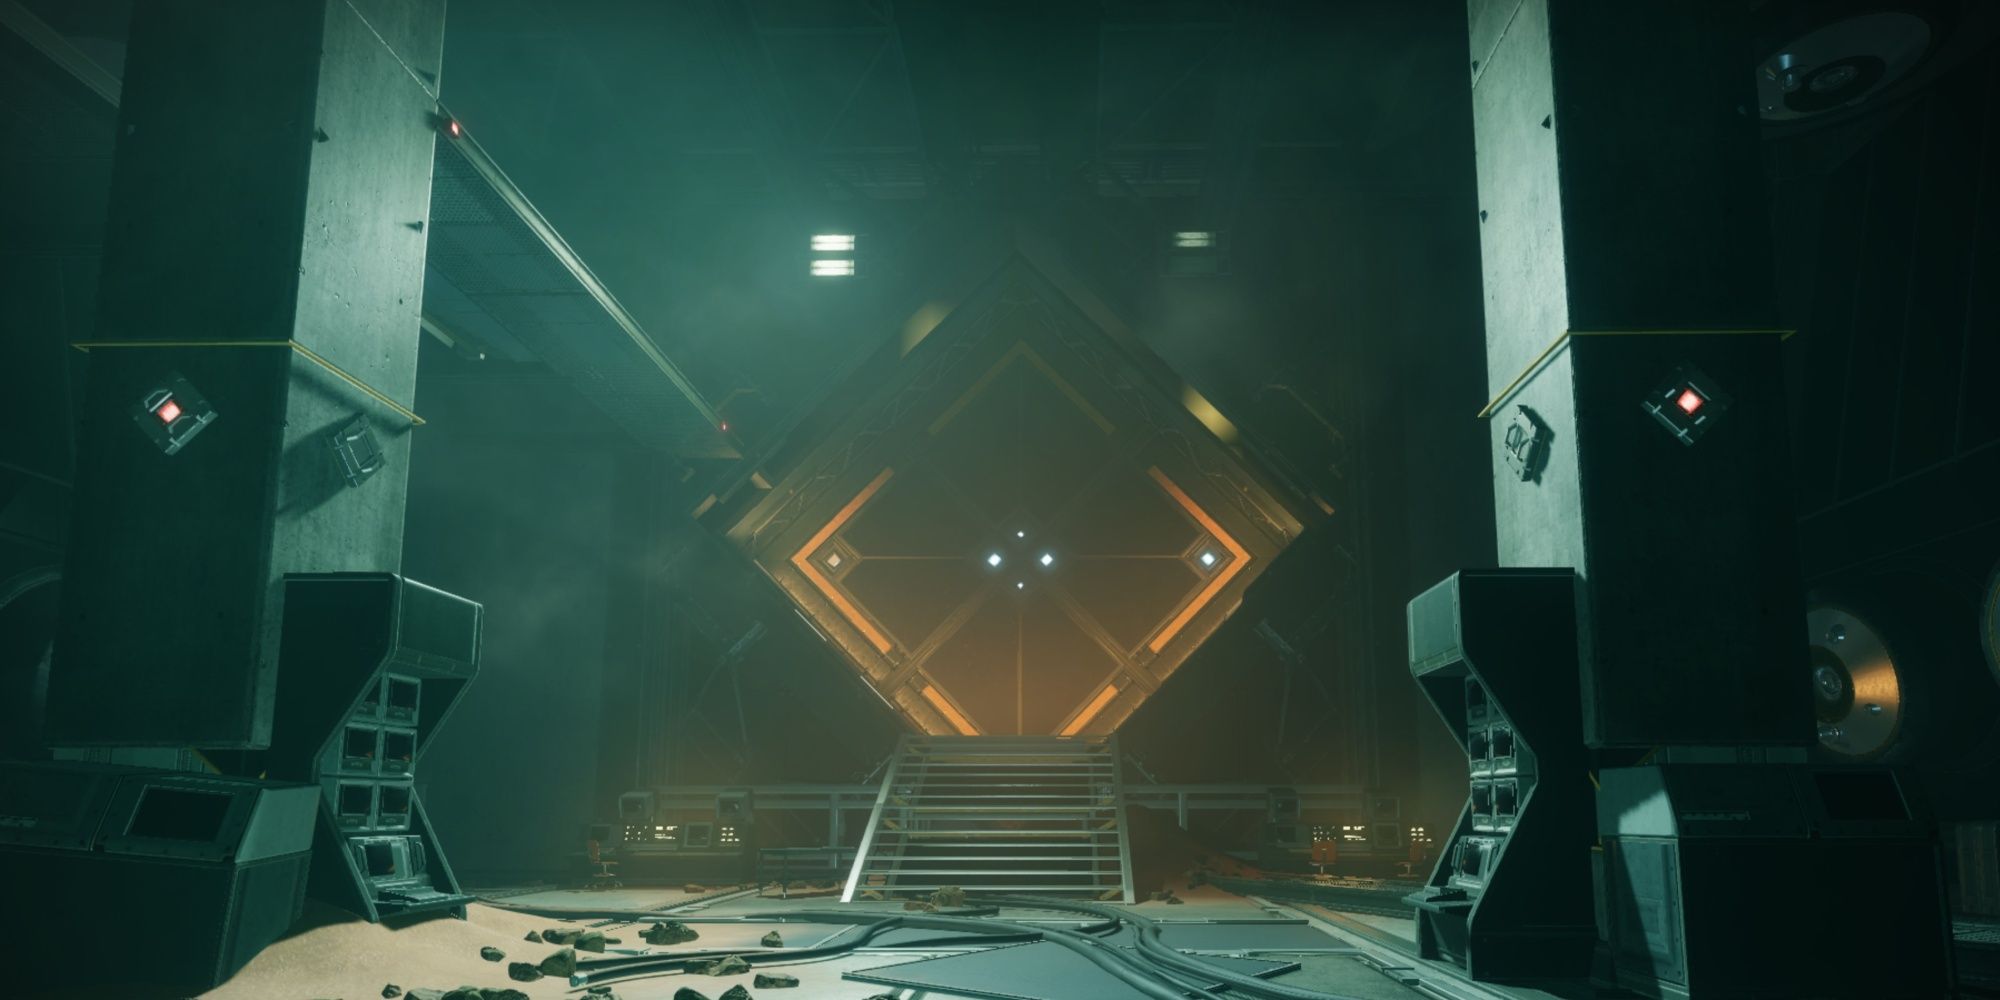
Start by looking for a power source.
These look like diamond-shaped switches with an electrical box strapped onto them.
Grab the Arctrician buff and start shooting switches.
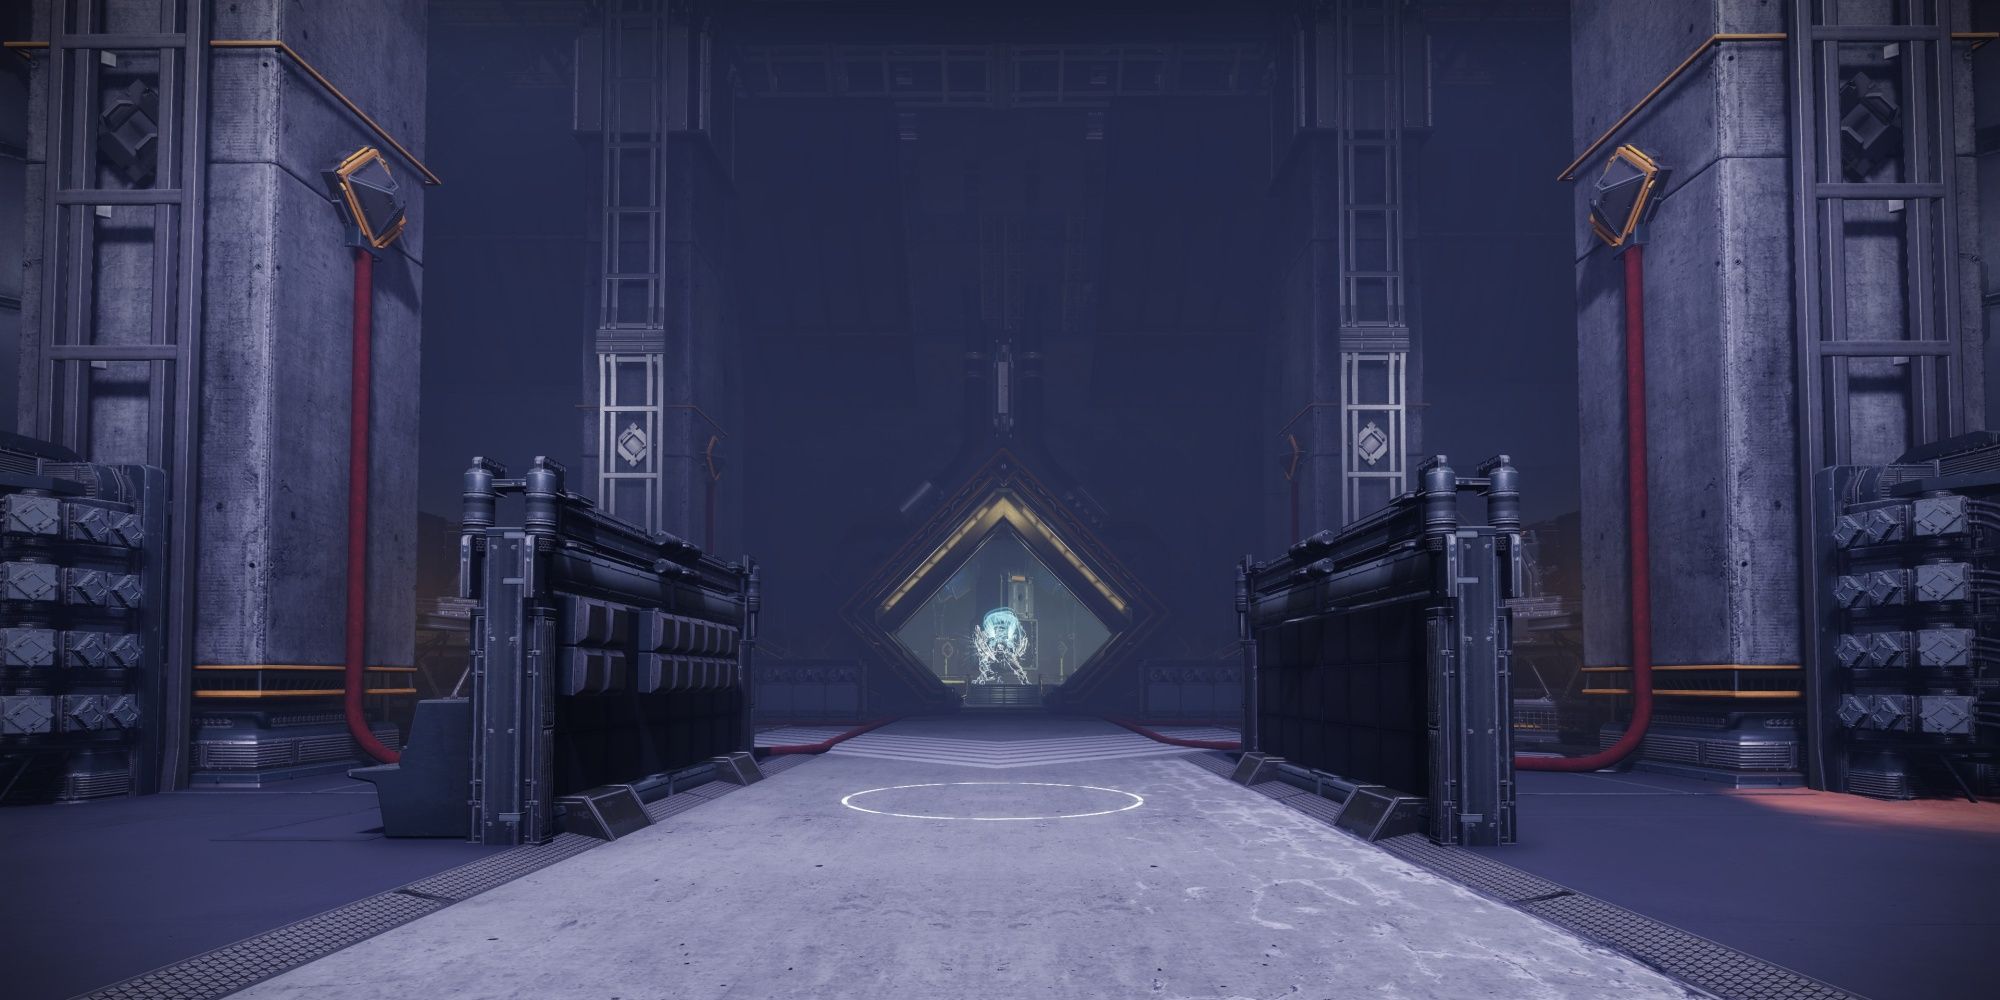
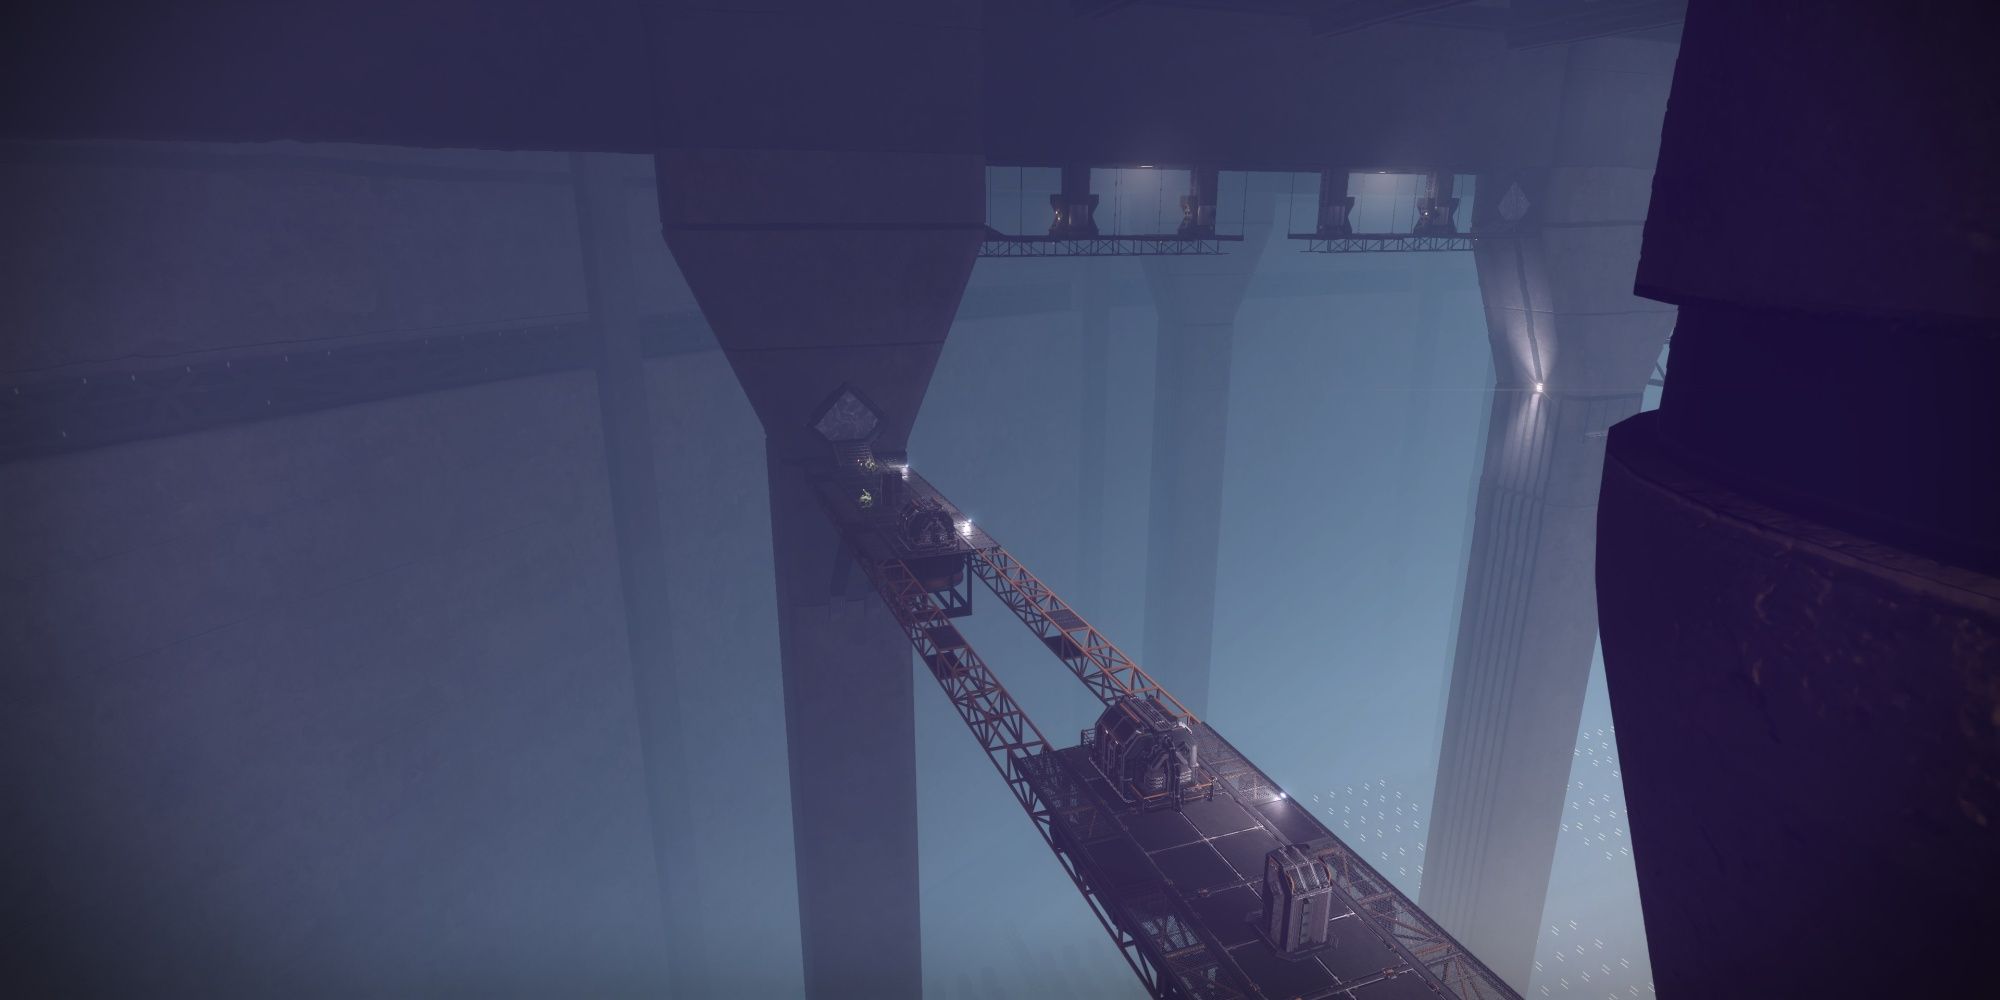
Activating an elevator will bring you further up the tower.
Once the chest spawns, climb up the platforms behind it to reach the next encounter.
Start the encounter by walking near the Harpy.
This will spawn a Vex Minotaur to your right.
Each walkway has around six switches.
The longer this takes, the shorter your DPS phase will be.
If your distance isn’t optimal, the boss will start to glow a bright red color.
When the DPS phase ends, the Harpy will explode, pushing back all players out of cover.
Reactivate the fuel rods to start another DPS phase.
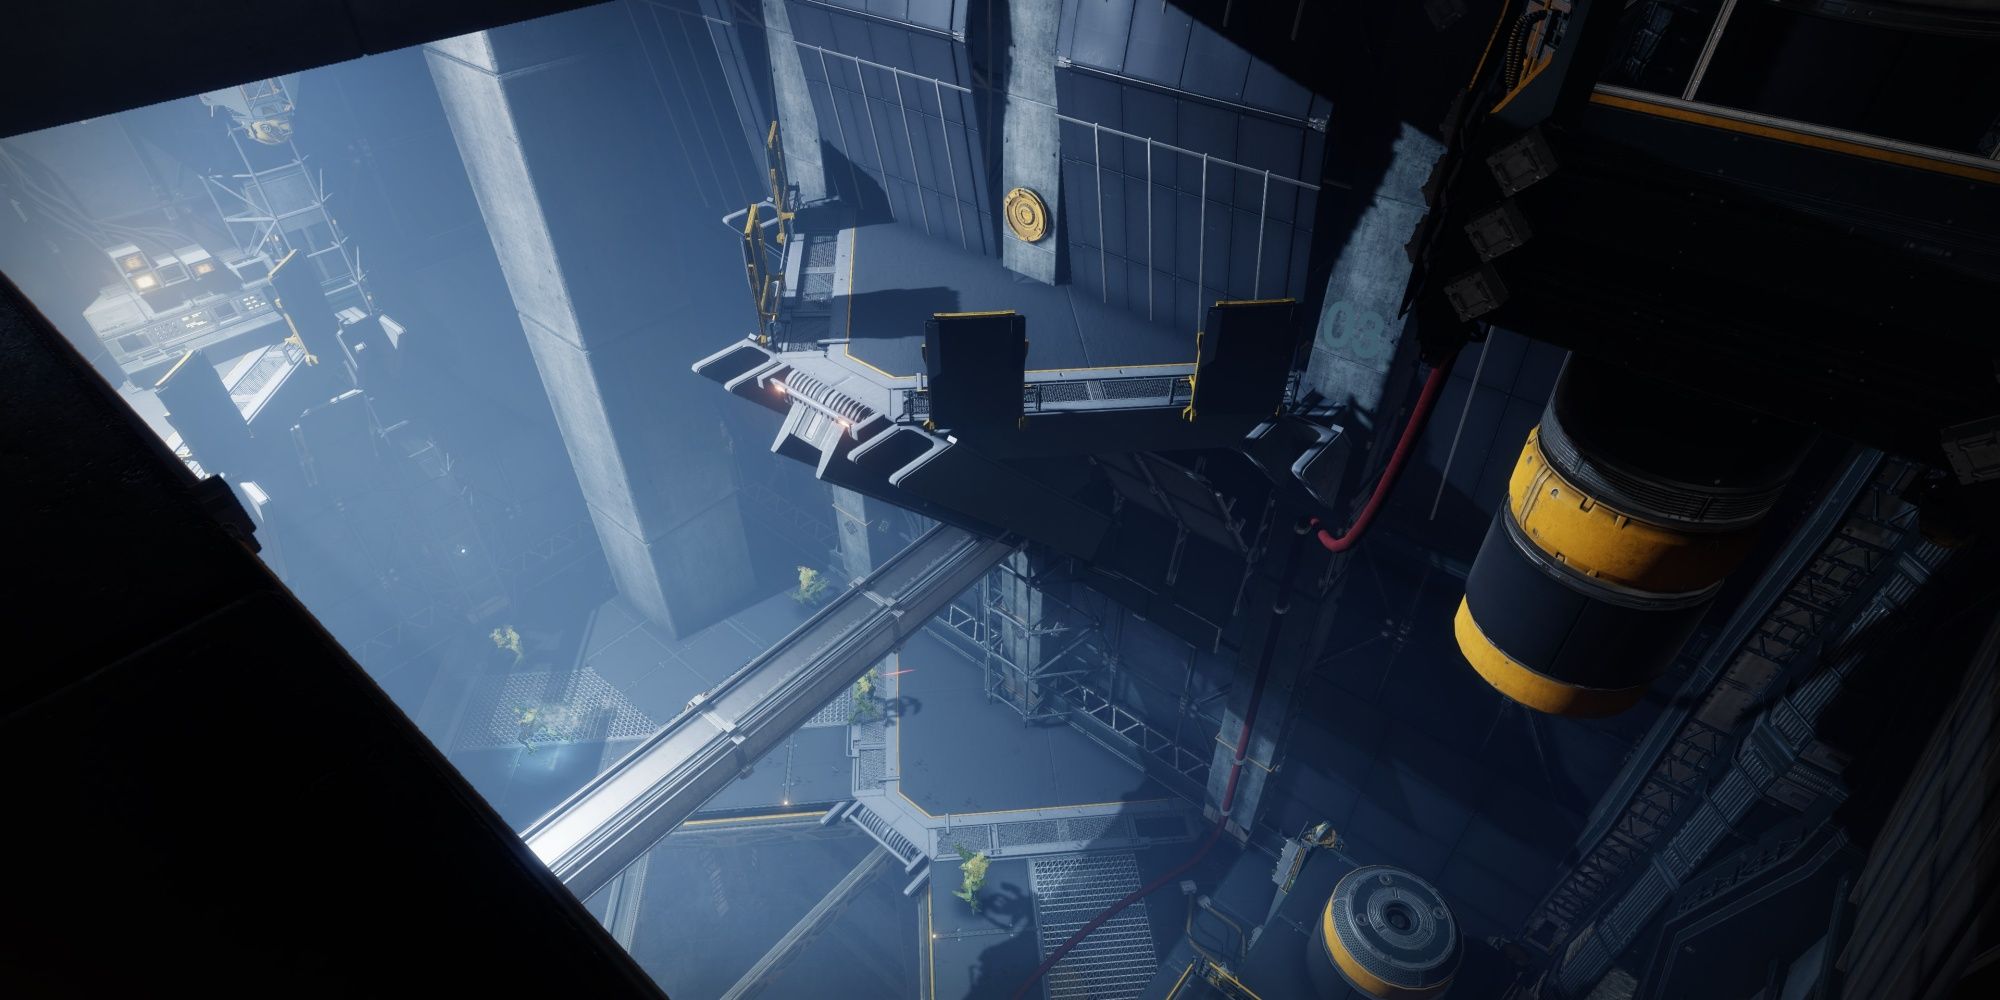
Descend
The Vex aren’t happy with your intrusion and have triggered the tower’s self-destruction sequence.
You’ll need to reach the lower levels of the Seraph tower before it’s too late.
You’ll find the path downward beside the reward chest from the last encounter.
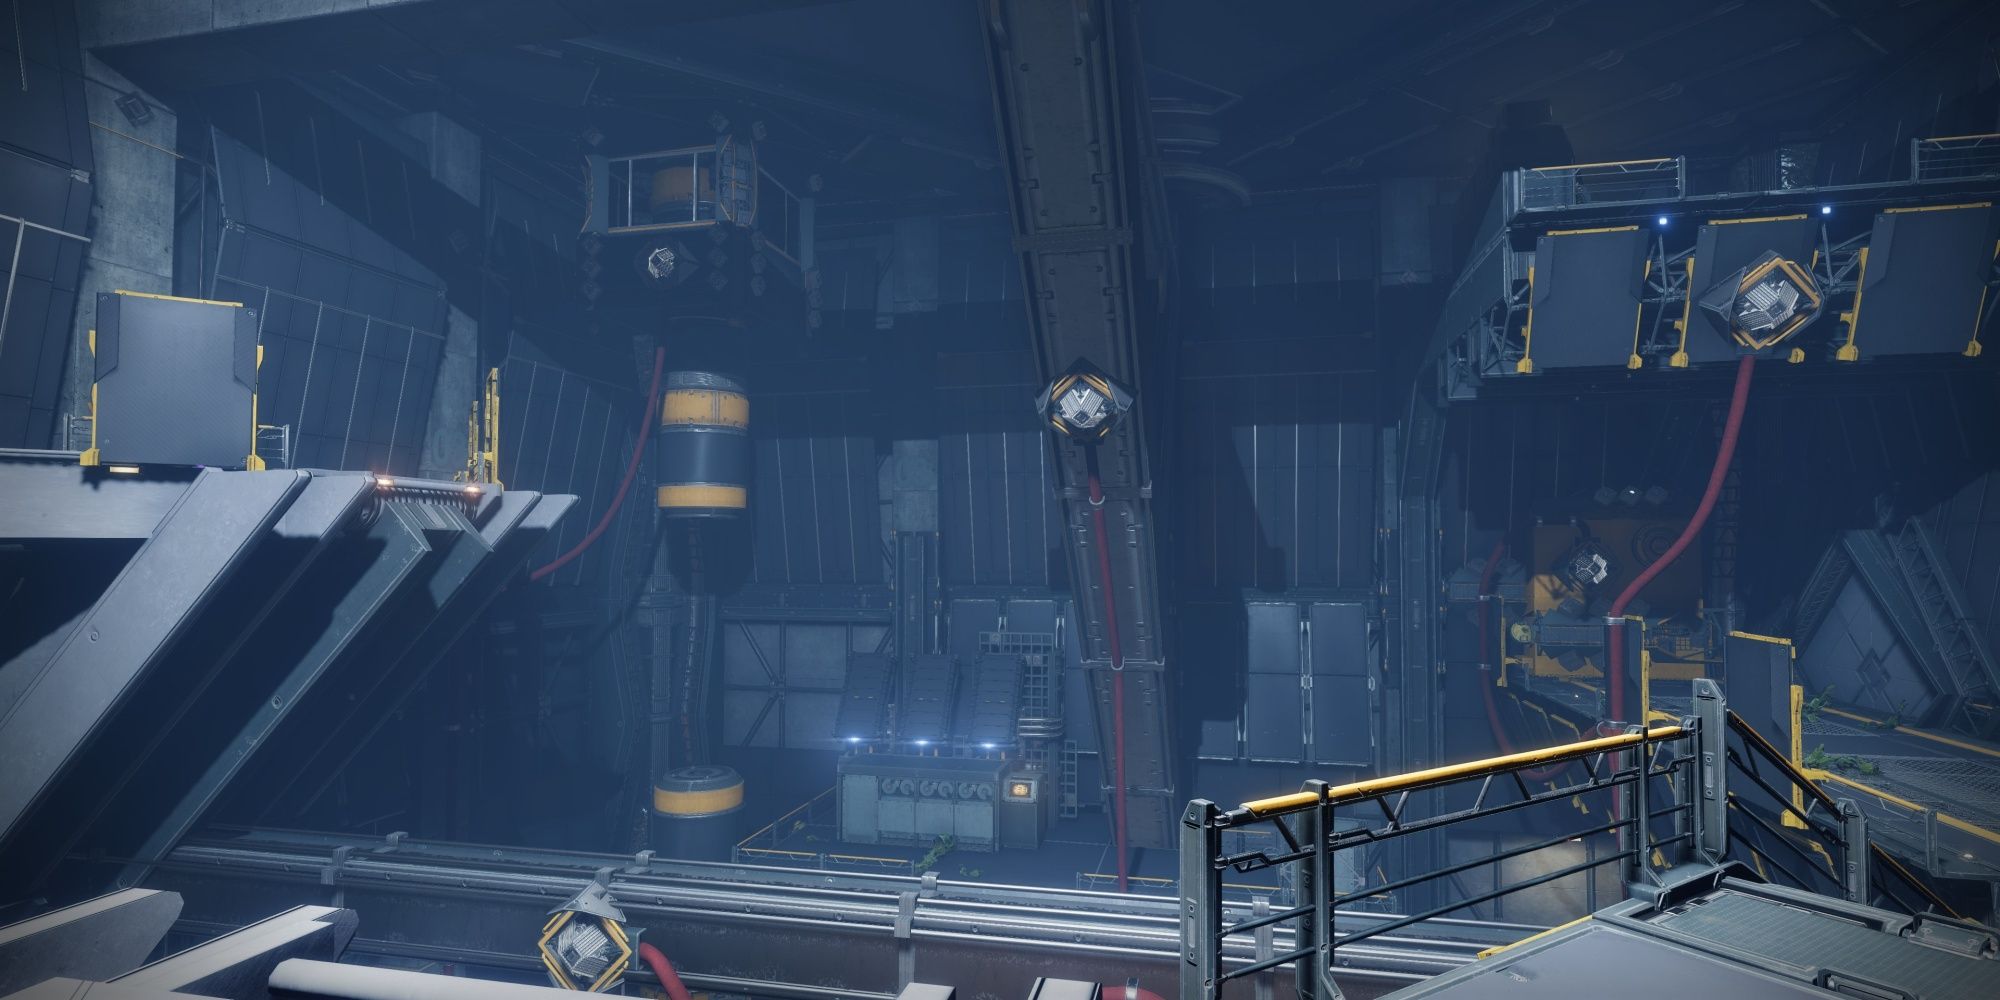
Unlike past encounters, these wires are red, signifying that they’re wired to a timed circuit.
The good news is that these switches are right next to each other.
Equip your hardest-hitting weapons and spec for general survivability.
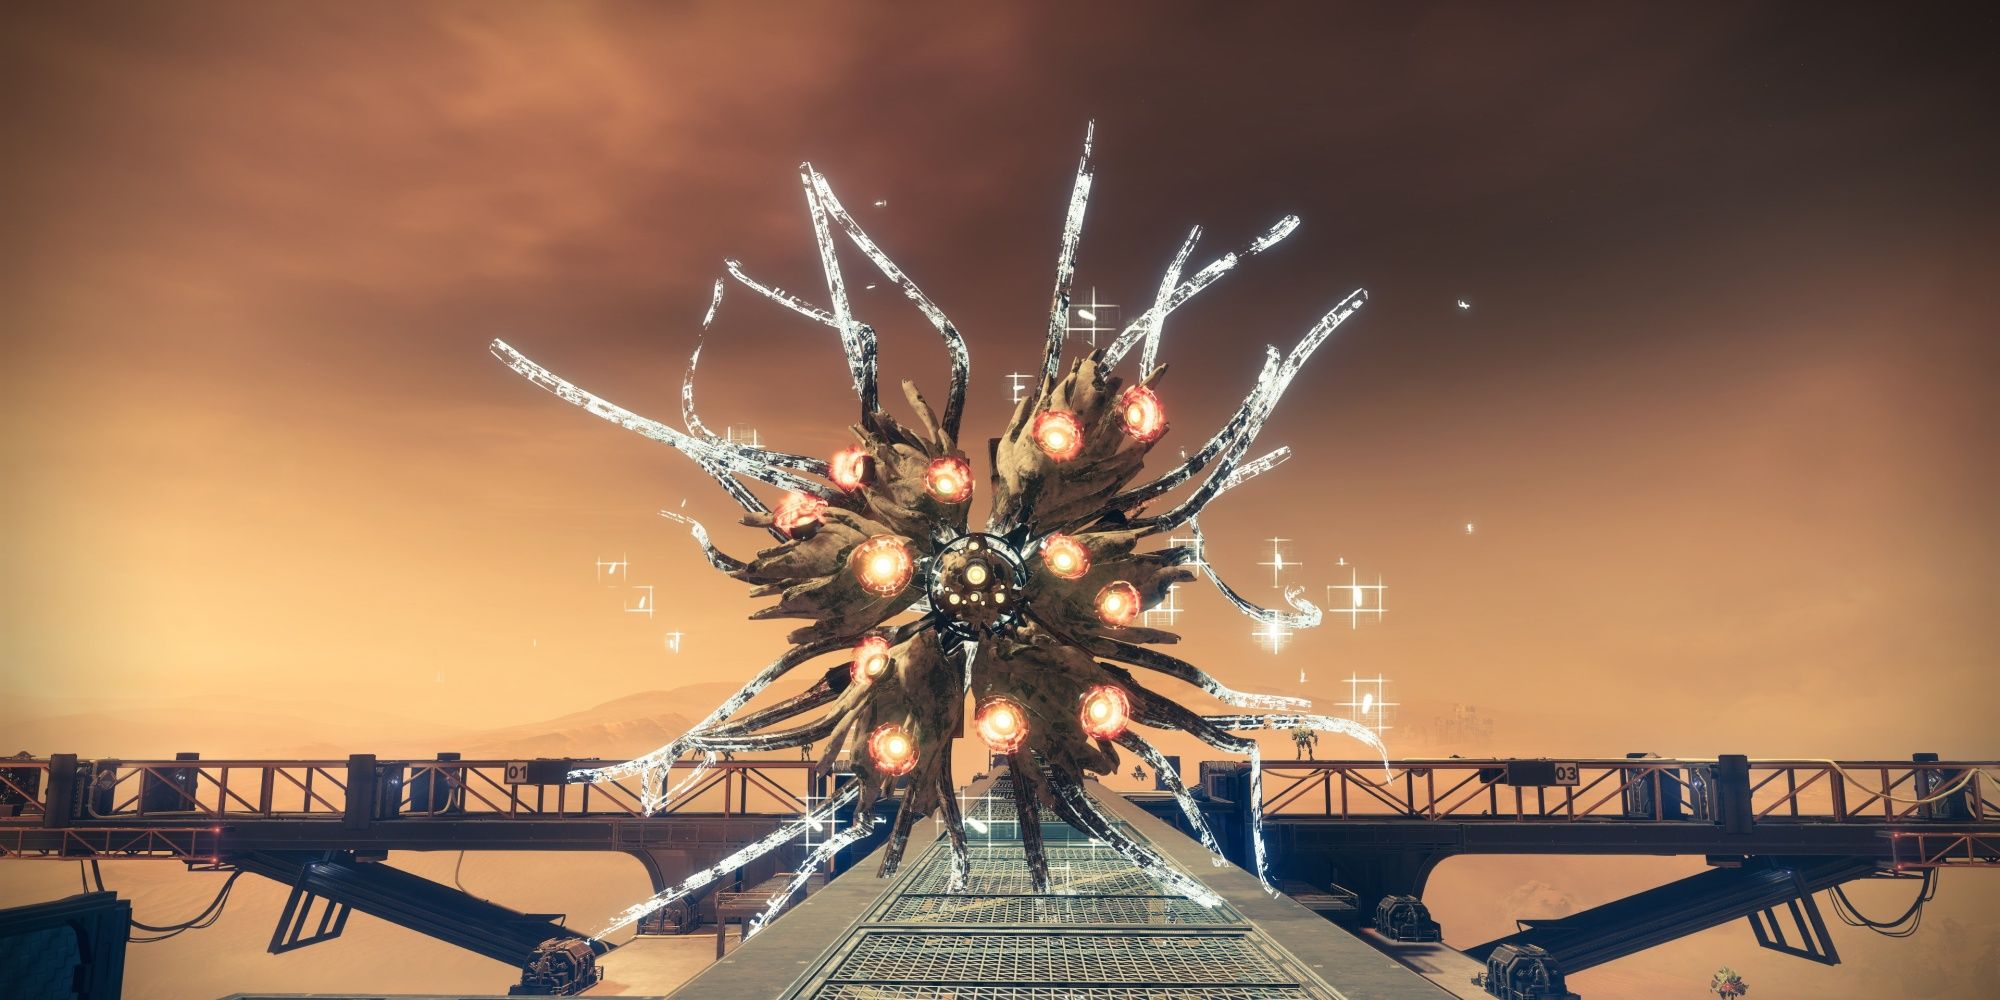
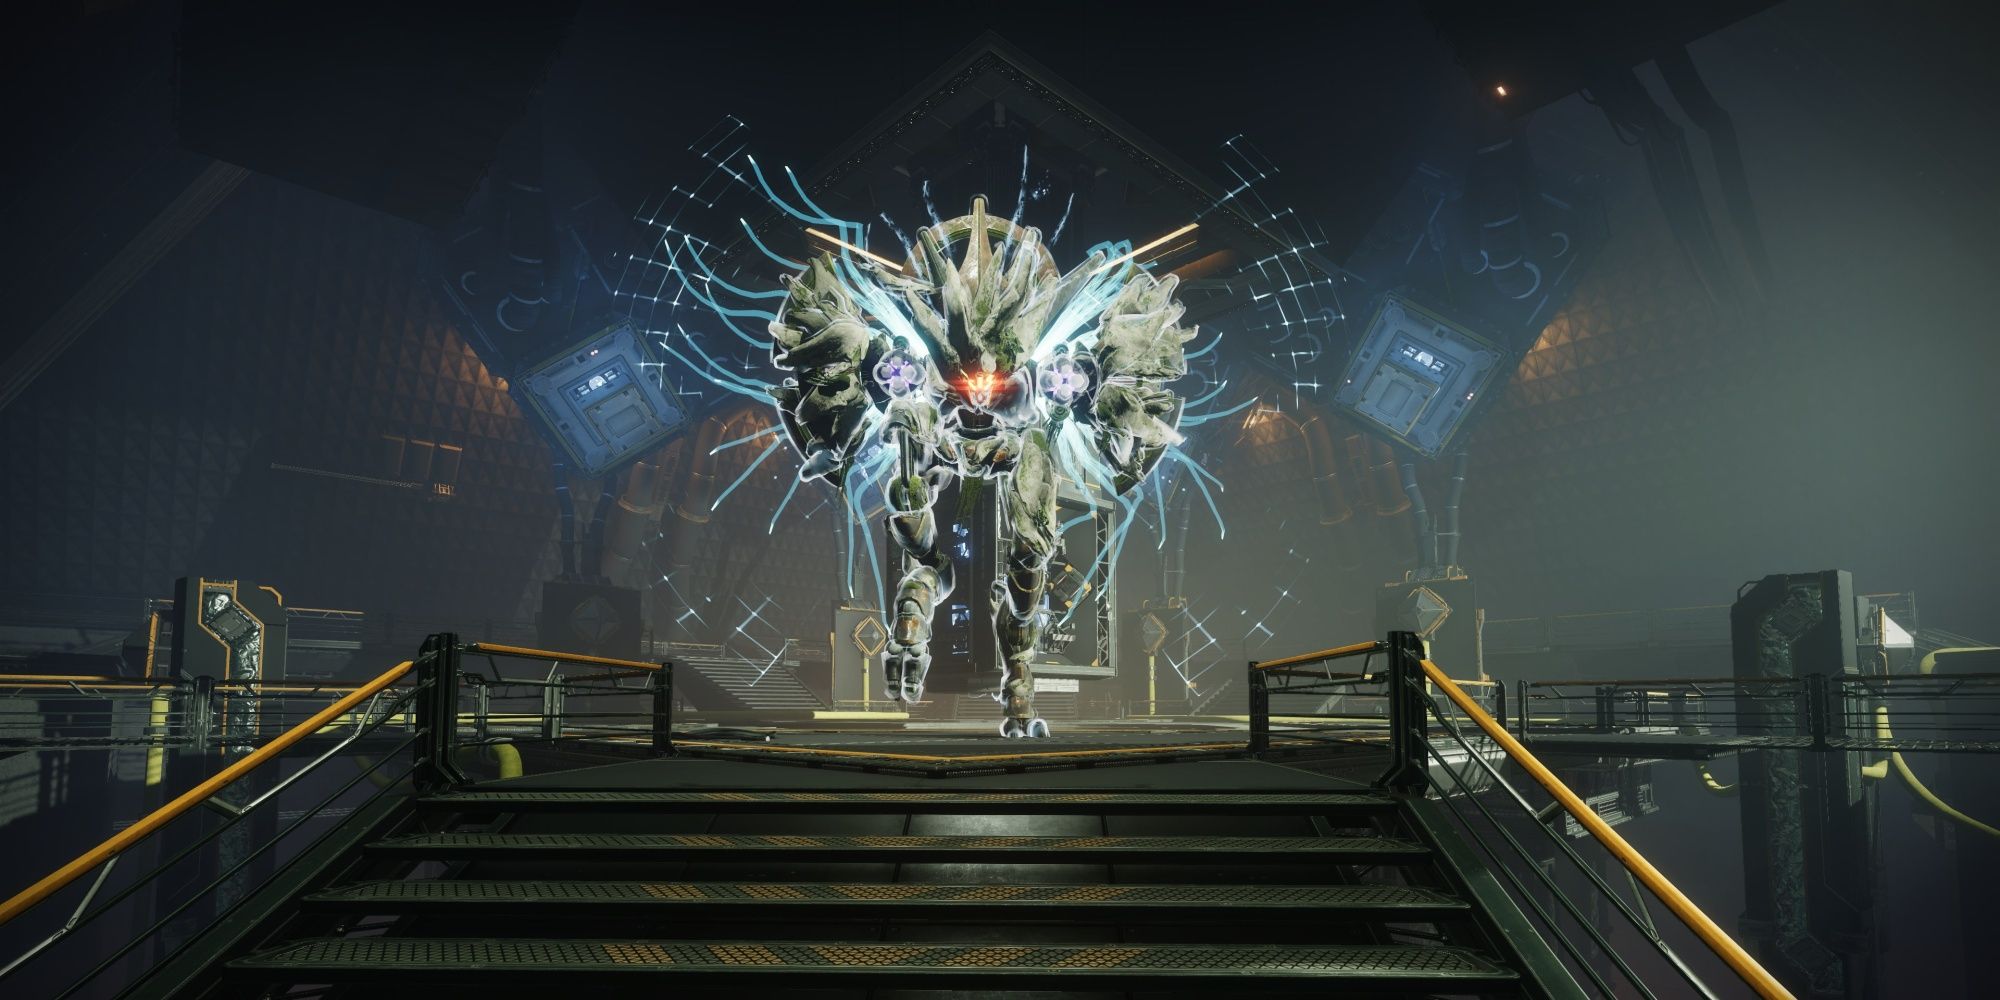
It’s time to tango with a Wyvern.
Defeat the Hydras to spawn two Vex Minotaurs, granting you the Arctrition buff upon slaying either of them.
Be on the lookout for the explosive Harpys while doing this.
Charging two circuits will start a meltdown in the reactor chamber.
It behaves as your typical Wyvern, slowly walking towards you while pelting your position with powerful Void cannons.
Defeat this Wyvern to wipe the dungeon and receive your loot.
Next:Destiny 2: Every New Weapon In Season Of The Seraph