Fortunately, that’s what this guide is for.
This also unlocked weekly challenges for King’s Fall, allowing players to earn double loot for certain encounters.
Master Difficulty Champions
Master has all three Champion types.
Encounter completions have a small chance of dropping Adept mods as well, provided you’re still missing them.
Adept weapons donotroll with enhanced perks.
We cover this in more detail in ourArmor 2.0 guide.
Via: Skarrow9 (YouTube)
Master King’s Fall doesnotdrop Artifice armor.
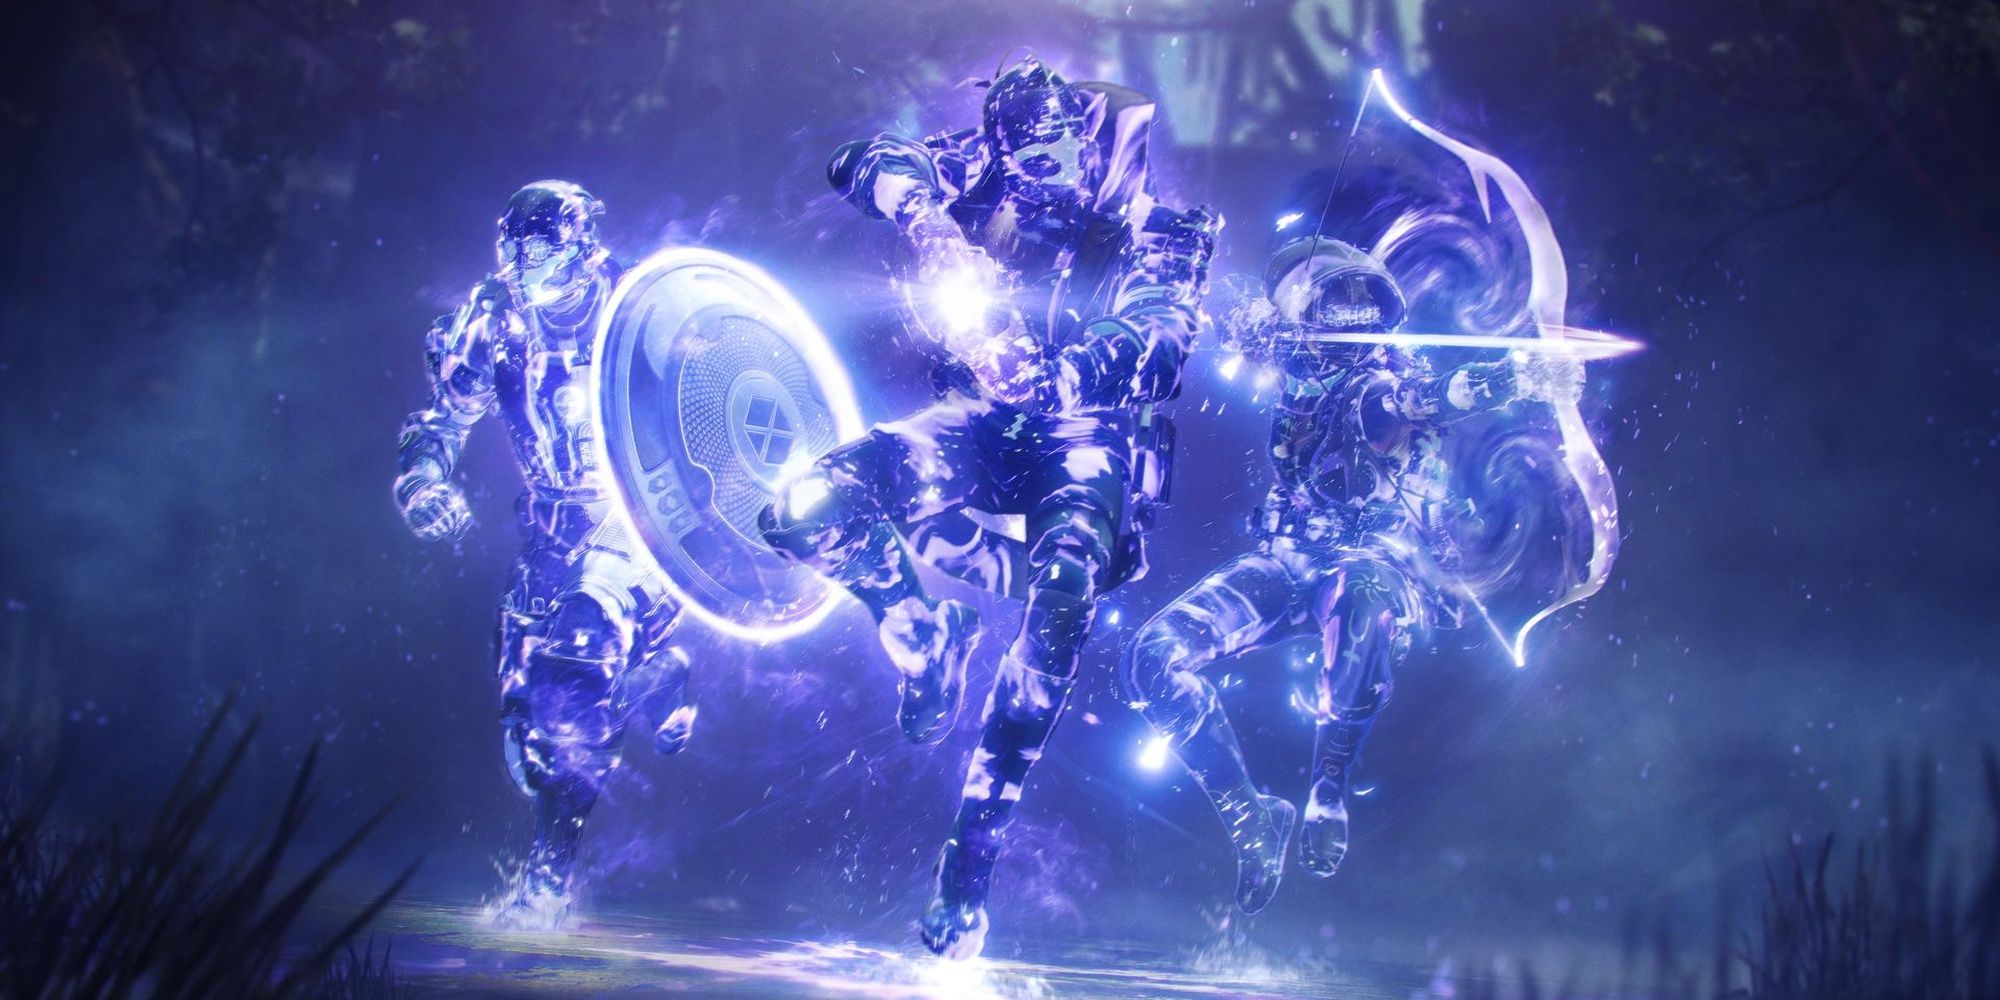
Huntersshould use either Nightstalker or Revenant for King’s Fall.
Nightstalkers can keep their team safe with Trapper’s Ambush invisibility and debuff bosses with Shadowshot.
If you’re playing on Master or struggling to survive, Revenant with Renewal Grasps is a great choice.
Warlockscan’t go wrong with Shadebinder or Dawnblade.
Shadebinder can lock down adds with Bleak Watcher turrets andOsmiomancy Gloves.
Titanscan use either Sunbreaker or Sentinel.
Sunbreaker is virtually invincible with Loreley Splendor equipped, allowing you to gain x2 Restoration from deploying your Barricade.
If your team needs a damage buff or survivability, play Sentinel.
Ward of Dawn and Void Overshields can be incredibly useful for new raiders.
If you already cleared that encounter, you’ll getSpoils of Conquestinstead.
A short overview of each challenge can be found below.
Devious Thievery
After grabbing a Taken Knight’s Buff Claimer effect, you have five seconds to swap buffs.
Gaze Amaze
The player with Golgoroth’s Gaze must be standing in a Pool of Light upon swapping buffs.
Under Construction
You cannot stand on the same plate twice in a single phase.
Hands Off
You cannot kill the same Ogre or Light-Eater Knight twice throughout the entire encounter.
Triumph Challenges
Overzealous
Complete the Basilica encounter while never allowing more than one player to stand near a Totem.
Brand Buster
Complete the Warpriest encounter while never letting the same player obtain the Brand until everyone else has.
Taking Turns
Complete the Golgoroth encounter while never letting the same player taunt Golgoroth until everyone else has.
The Floor Is Lava
Complete the Daughters encounter while never letting a Torn Between Dimensions player touch the ground.
Overwhelming Power
Complete the Oryx encounter by detonating enough bombs to trigger the last stand in the same round.
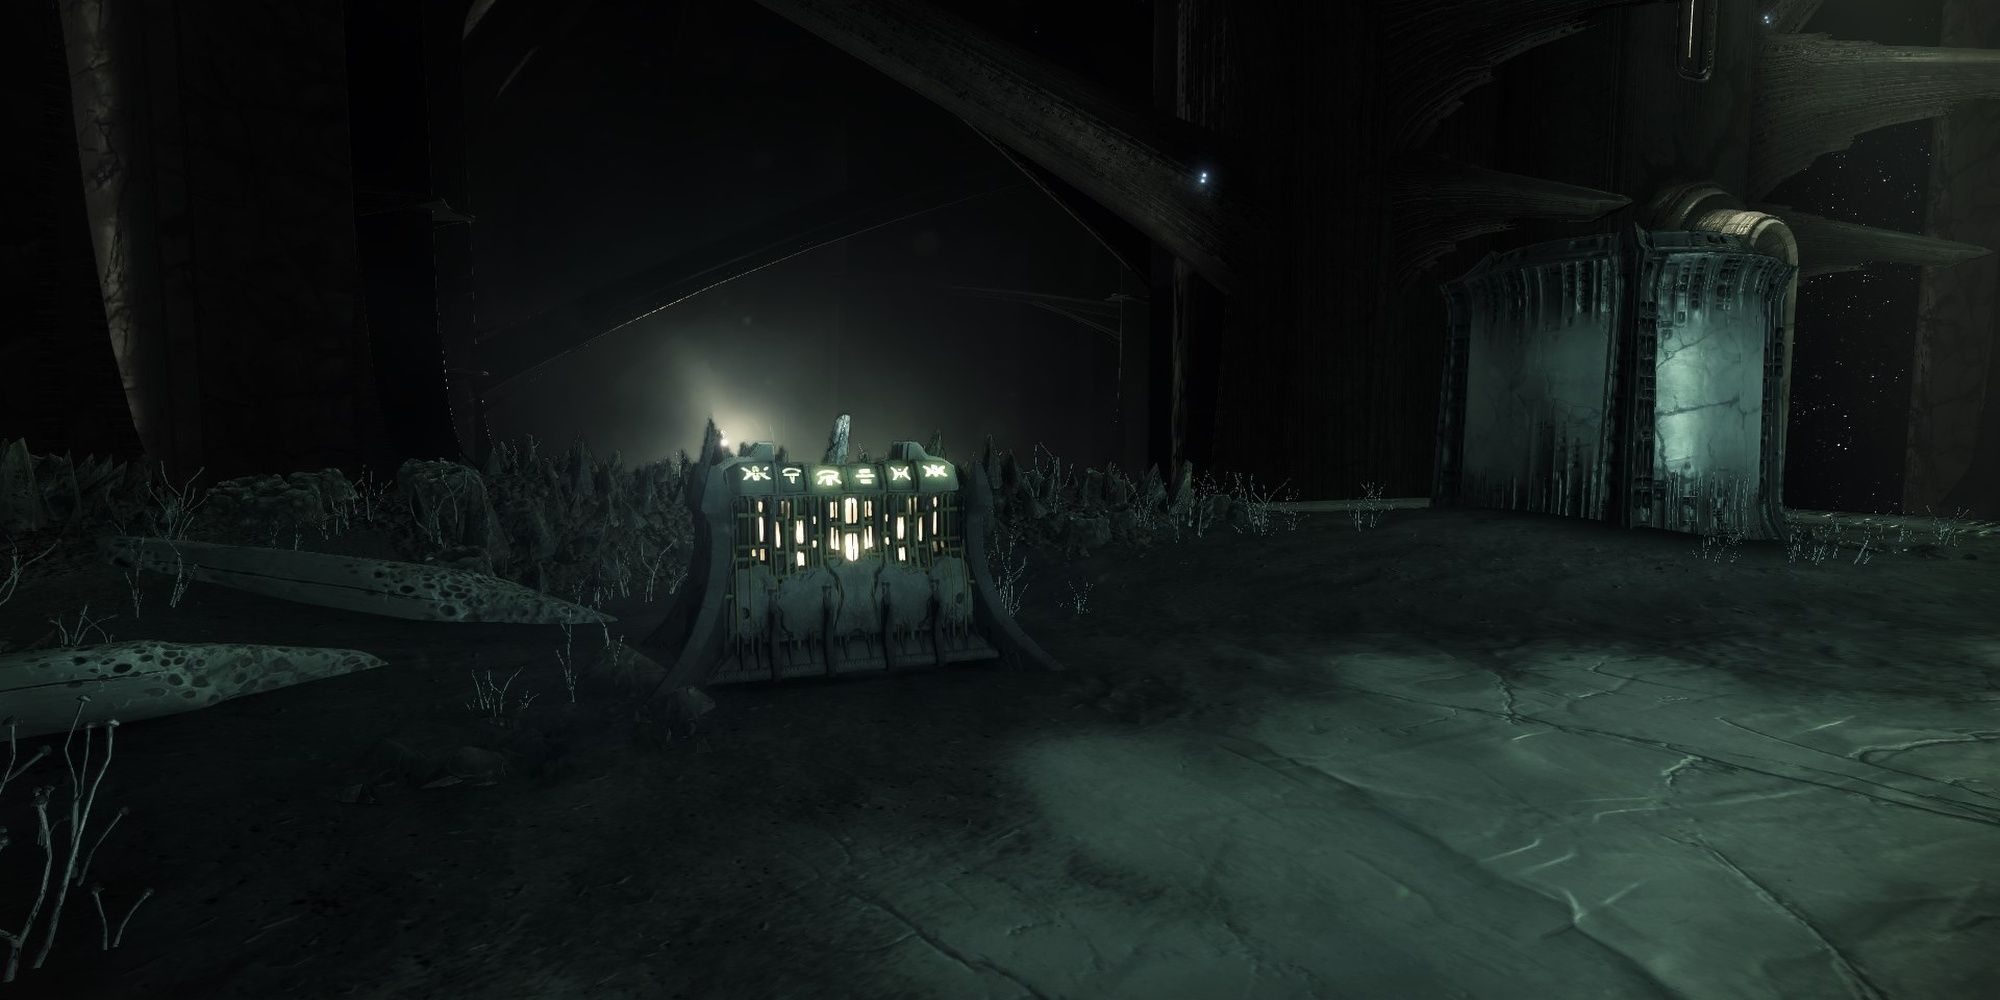
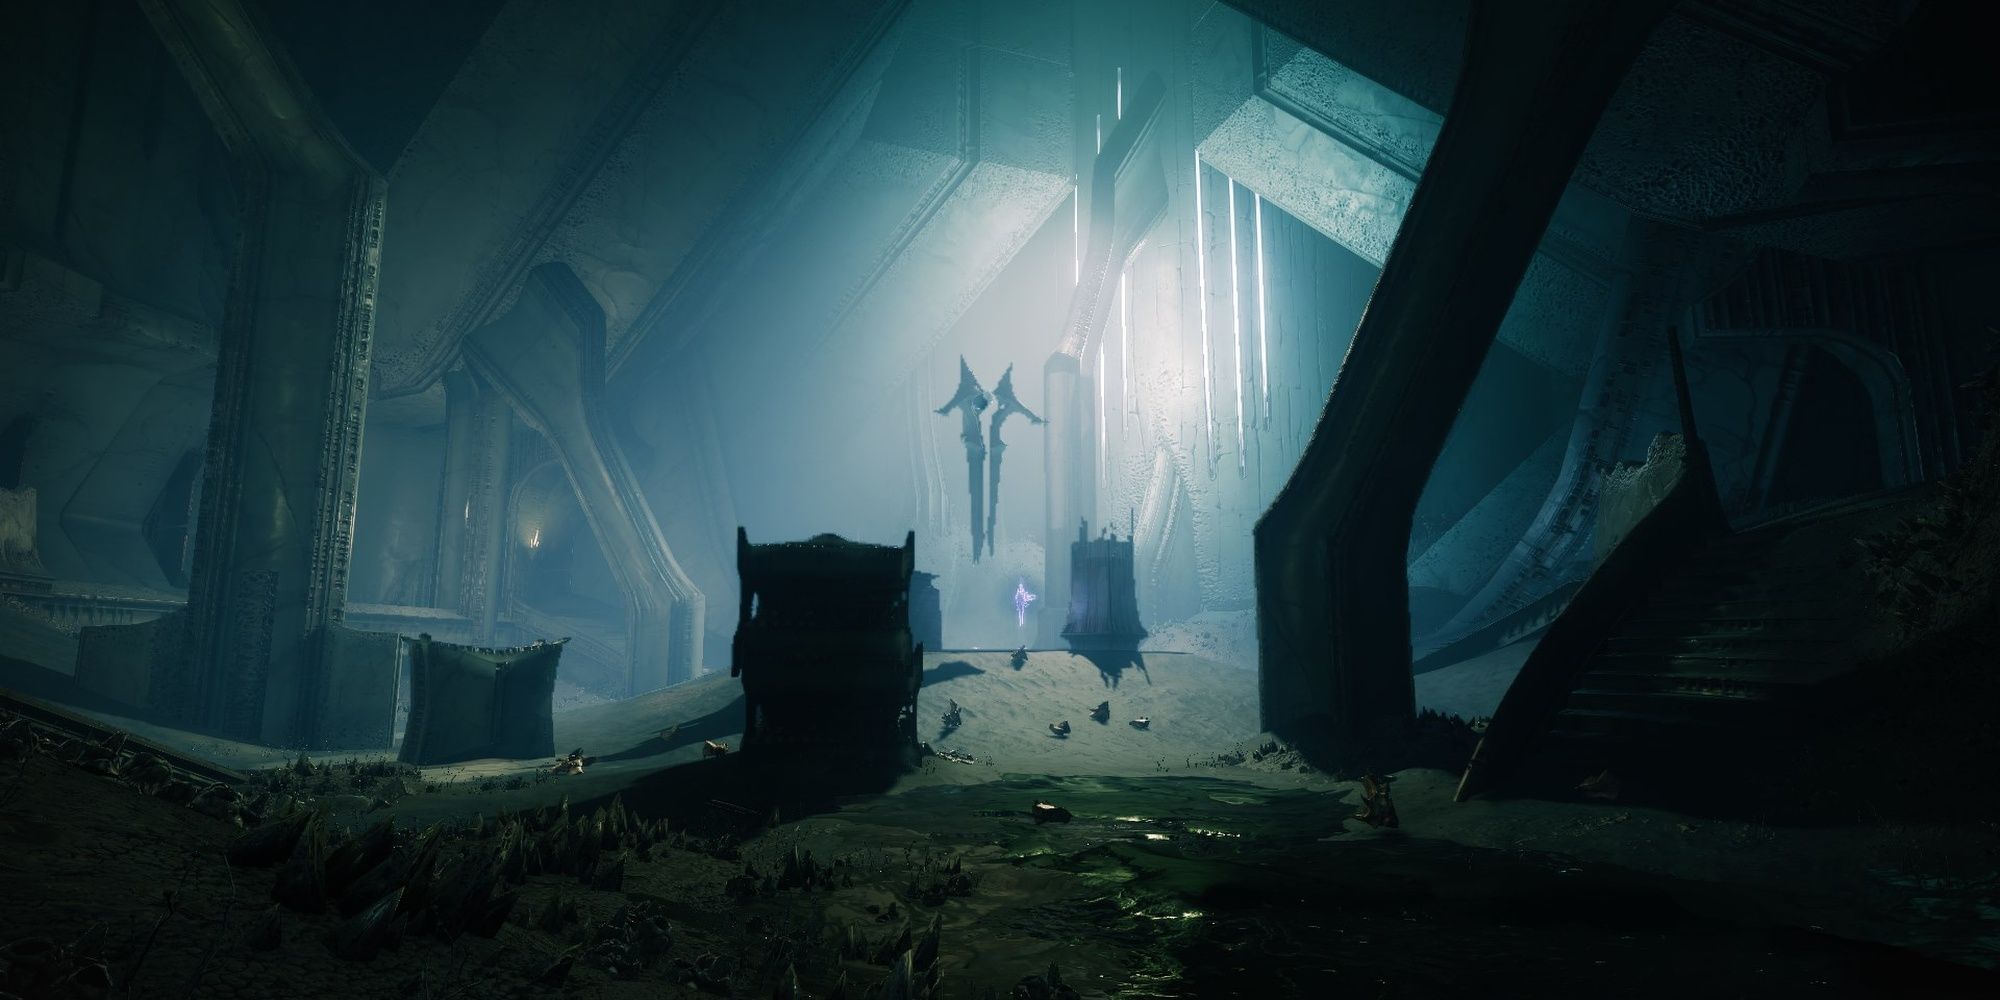
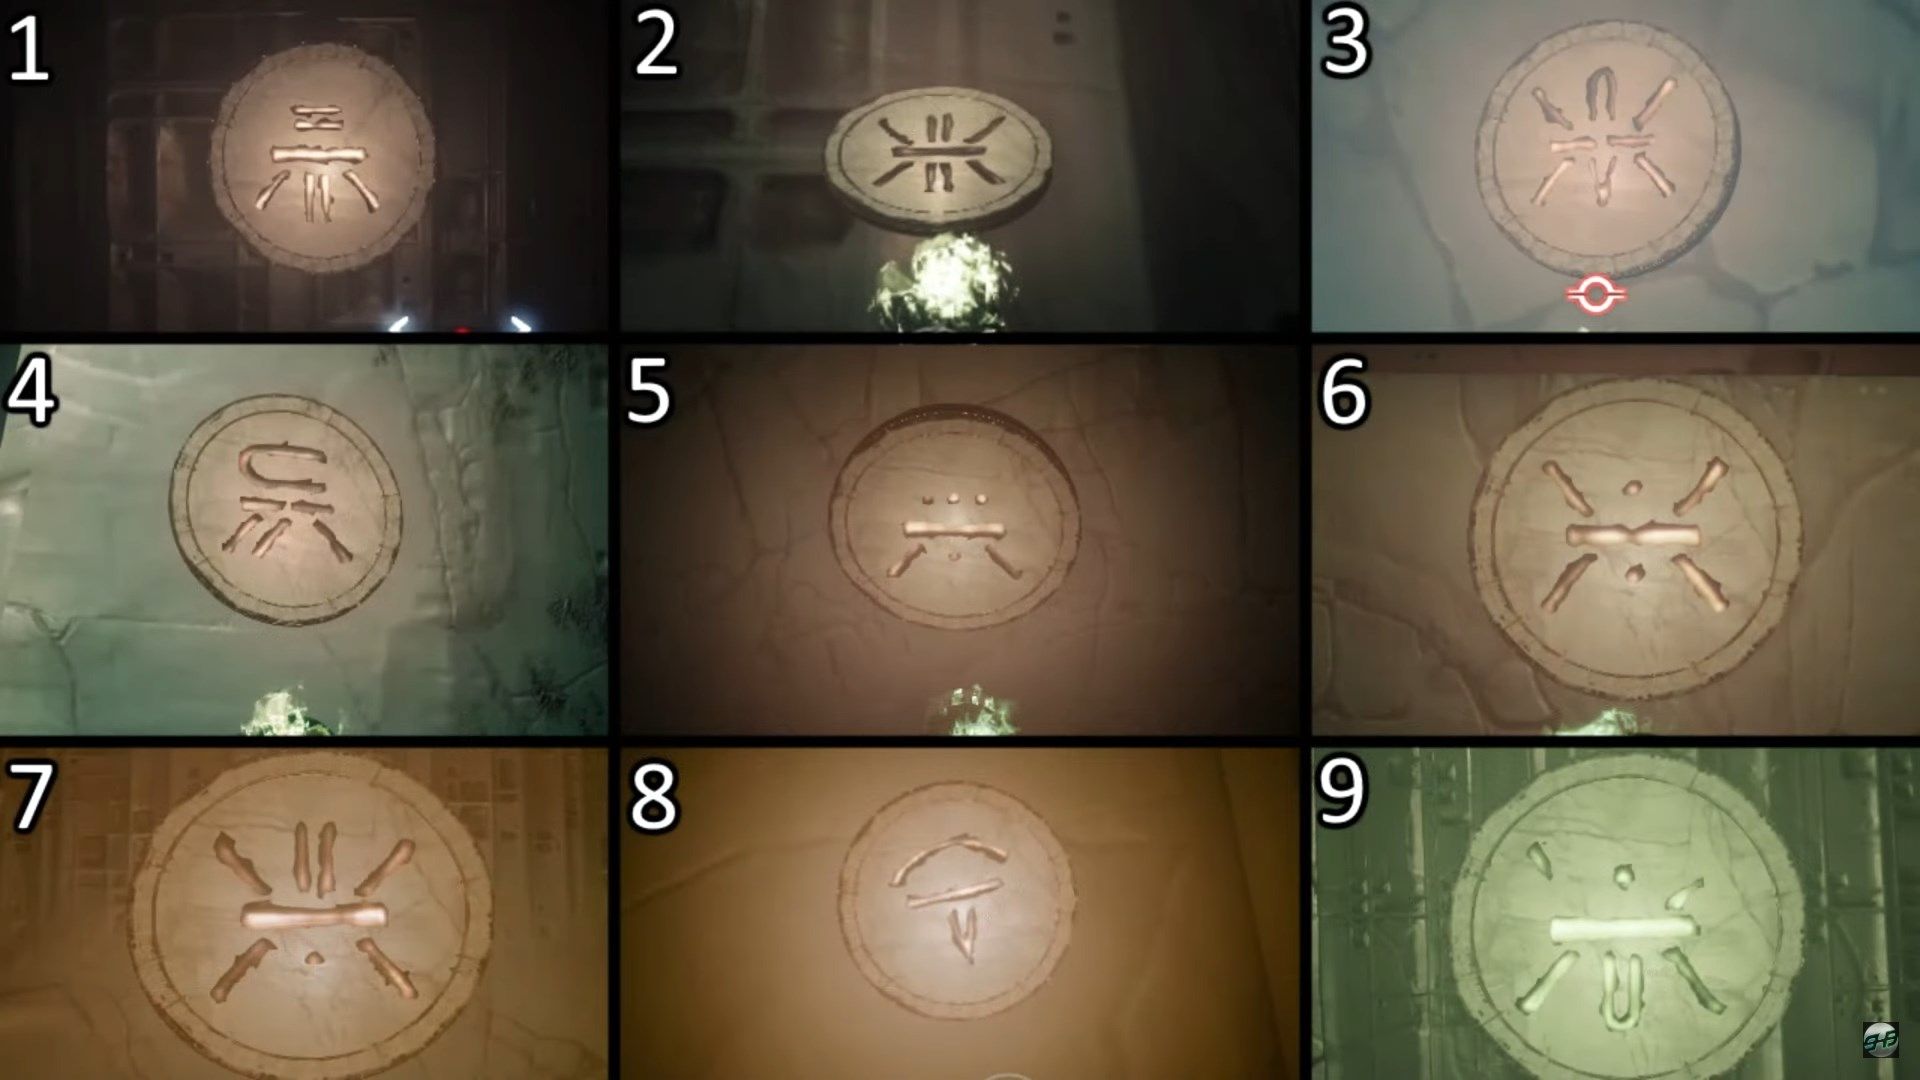
There are nine Hive symbols scattered across the Dreadnaught.
If you played the original Destiny, the symbols are right under the Court of Oryx portal.
Record these three symbols somewhere you’re able to reference.
Most symbols are located right before or after an encounter.
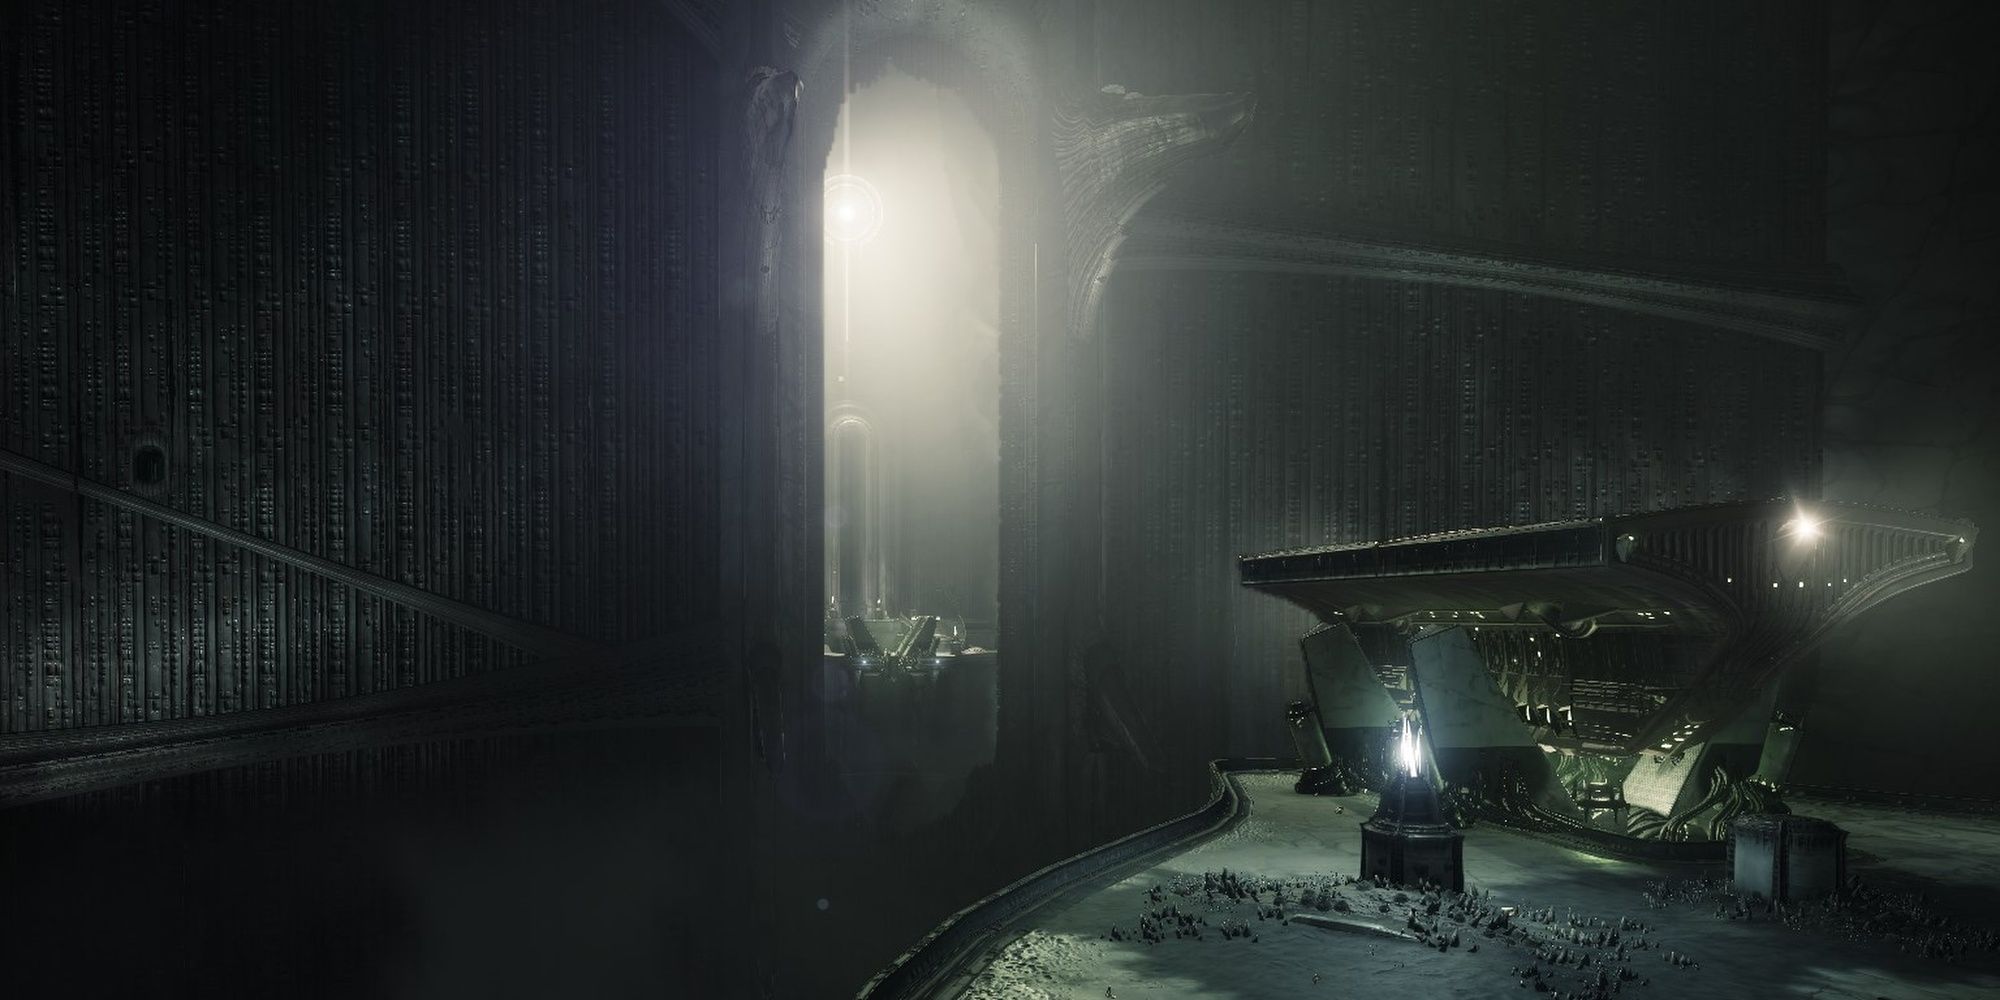
You’ll notice a hole in the left-side wall.
Take the ship across until you reach a spikey platform just before your ship docks.

Jump off the Hive ship onto the platform and follow the narrow path jutting out of the wall.
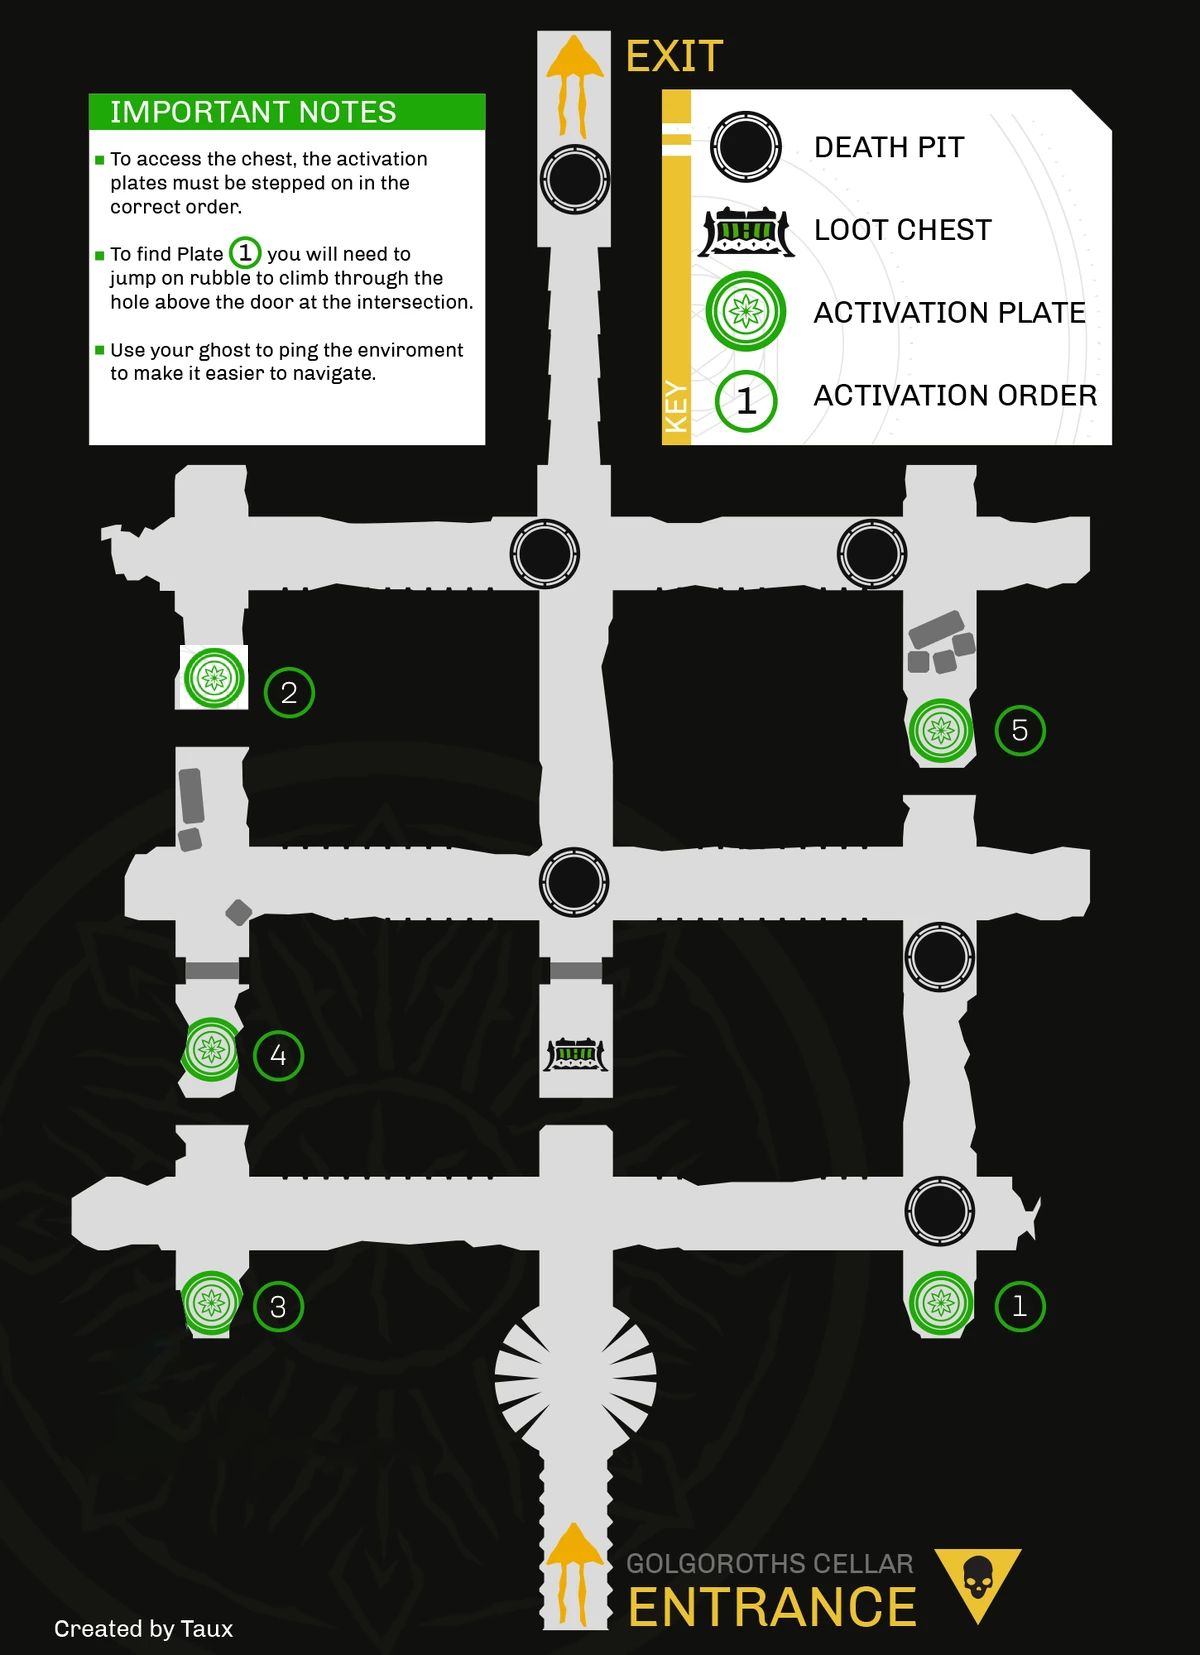
The door will open when players have stood on the last two plates in the jumping puzzle.
There are five plates within the maze you’ll need your fireteam to stand on.
You’ll need to stand on the plates in a certain order to spawn the chest.
You’ll be directly across from them.
Pull out your Ghost to reveal a series of hidden platforms.
Climb up a nearby pillar, then use your Ghost to find another set of platforms.
These will eventually lead you to a hole in the wall.
Enter this hidden room to find the chest.
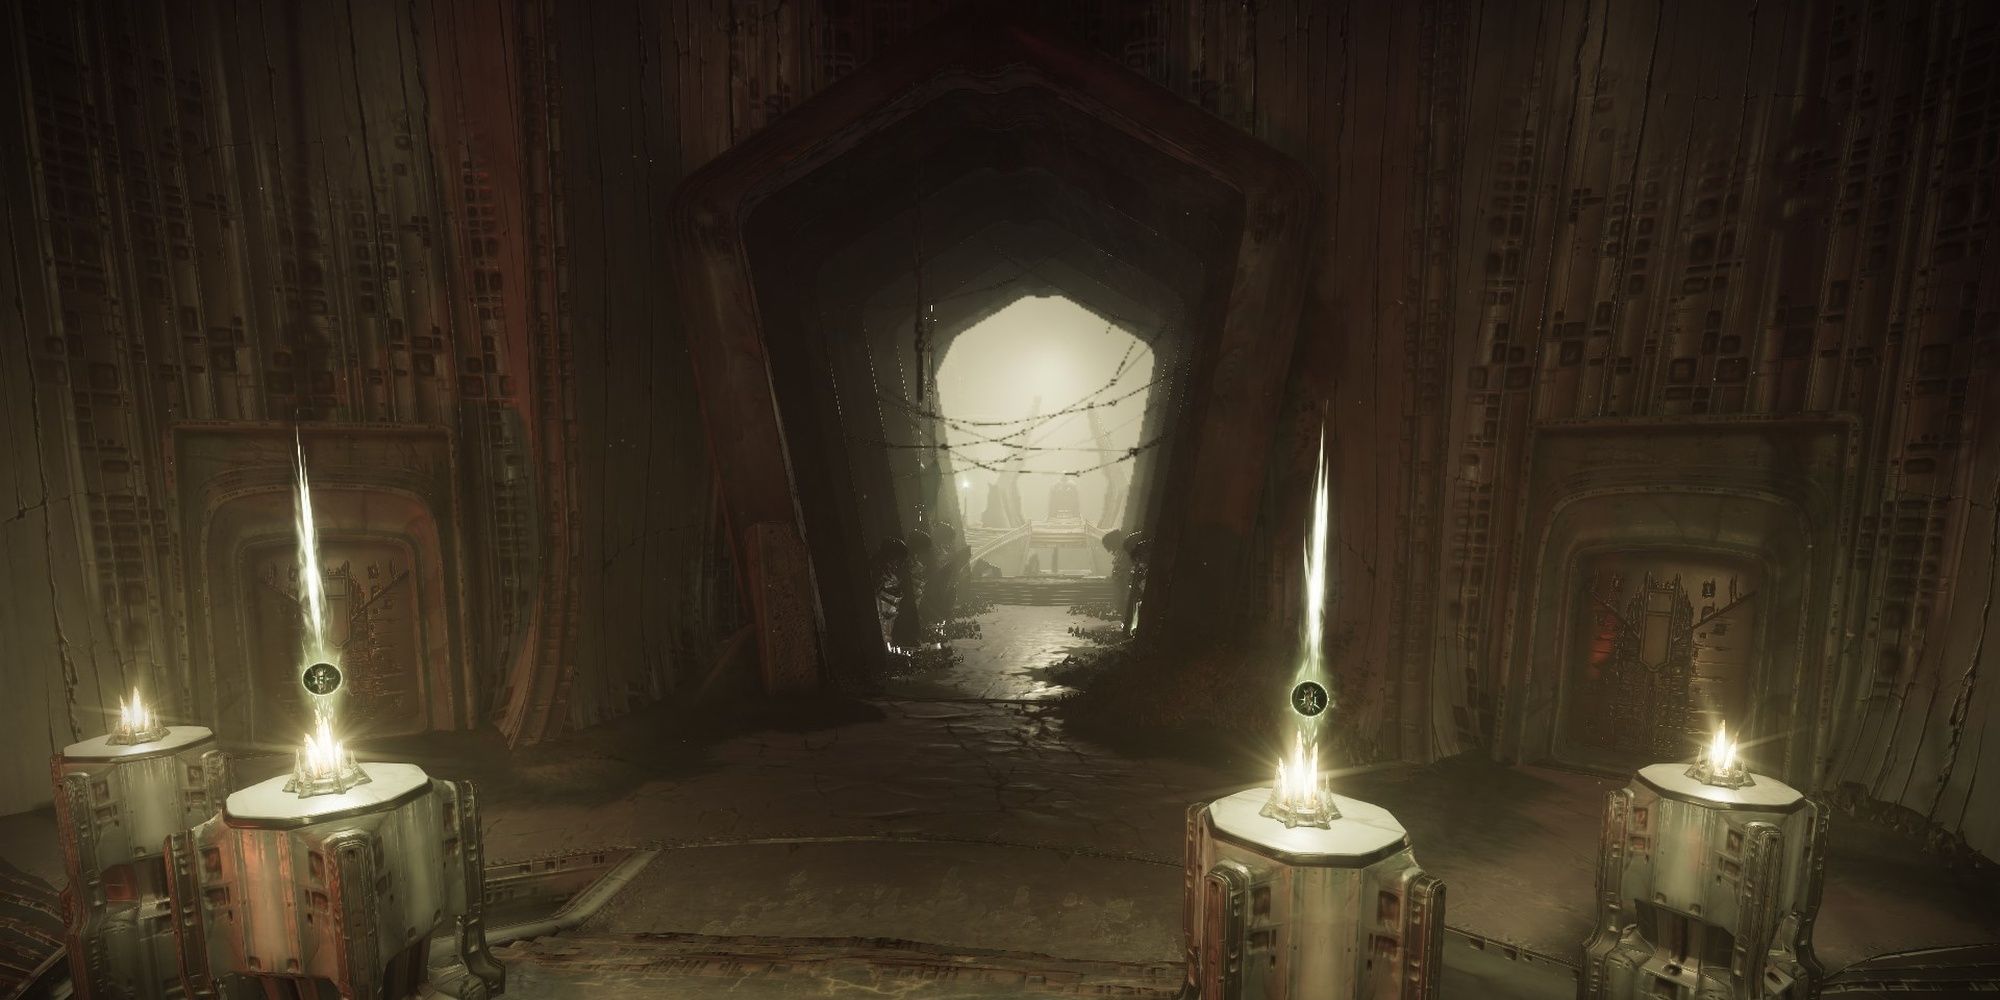
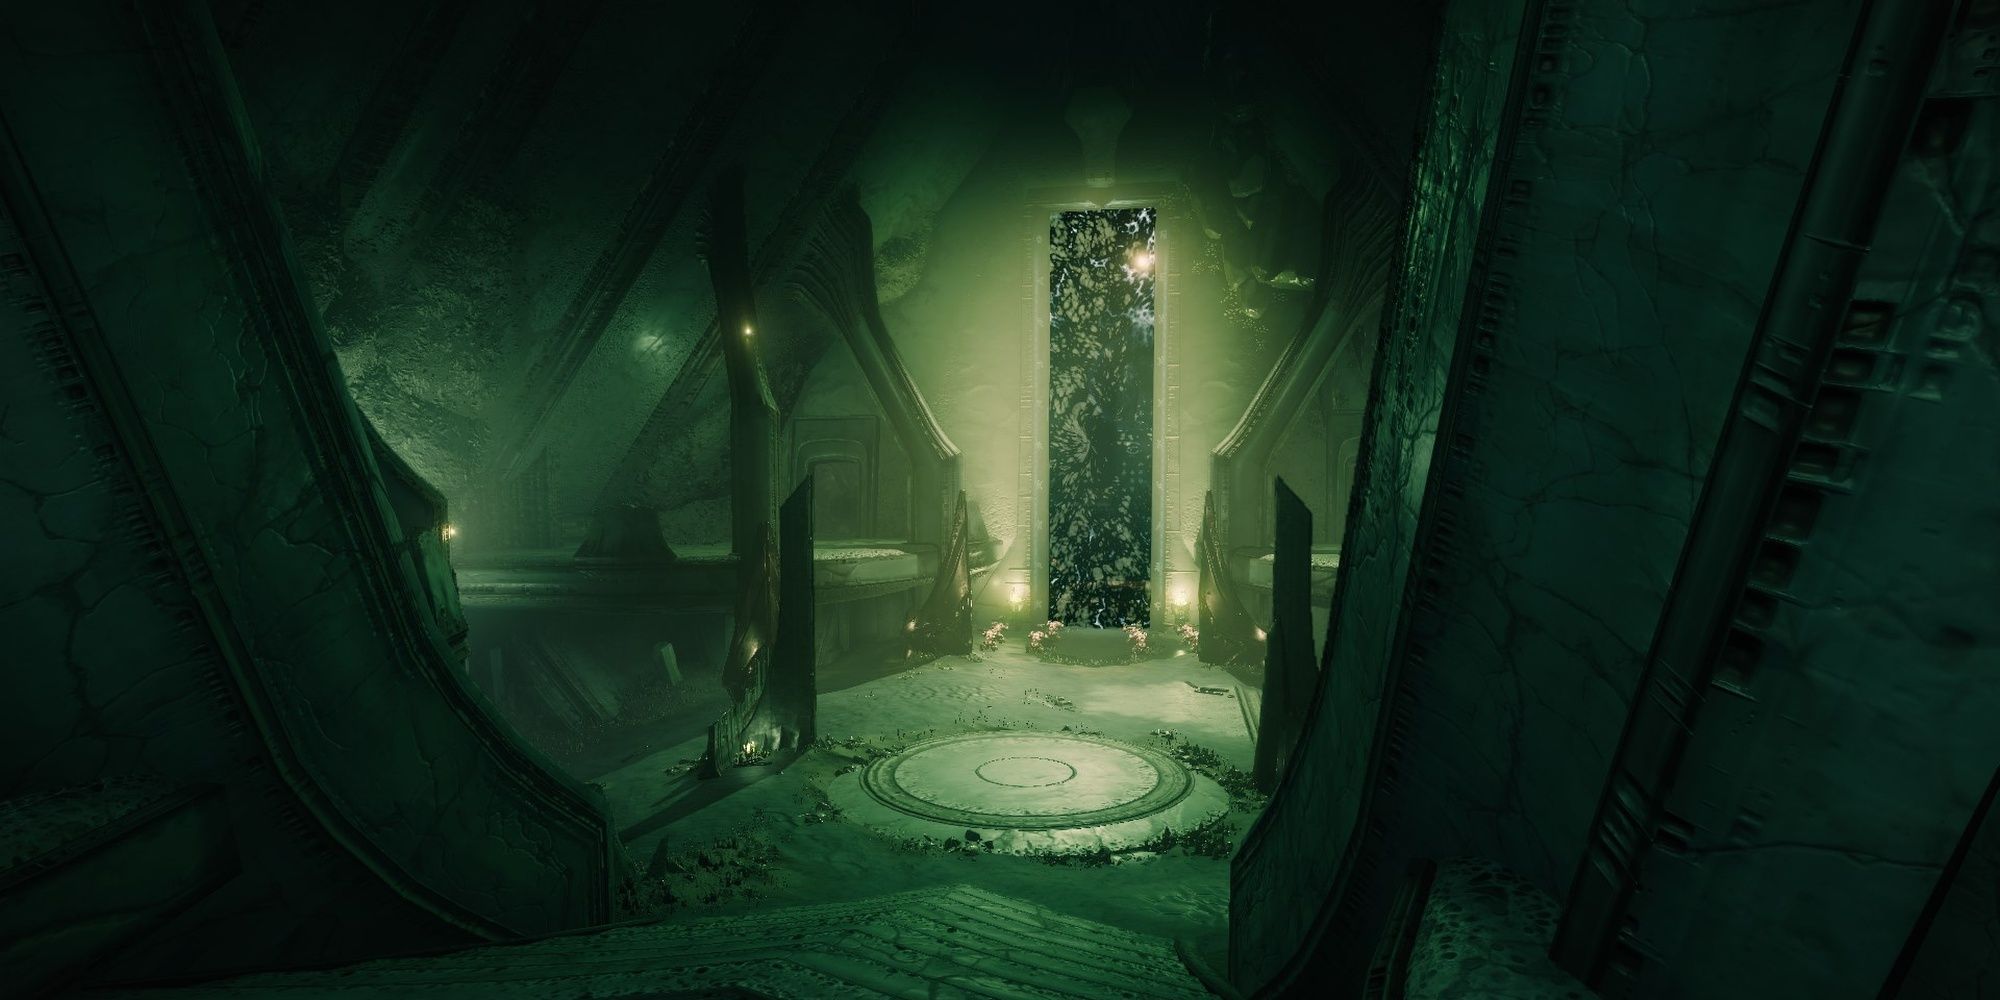
Directly in front of you will be two Hive artifacts that look like glowing orbs.
Split your group in half and assign one member from each group to grab an orb.
Orbs have a set duration, so both teams will want to coordinate picking up orbs and dunking.
Via: Skarrow9 (YouTube)
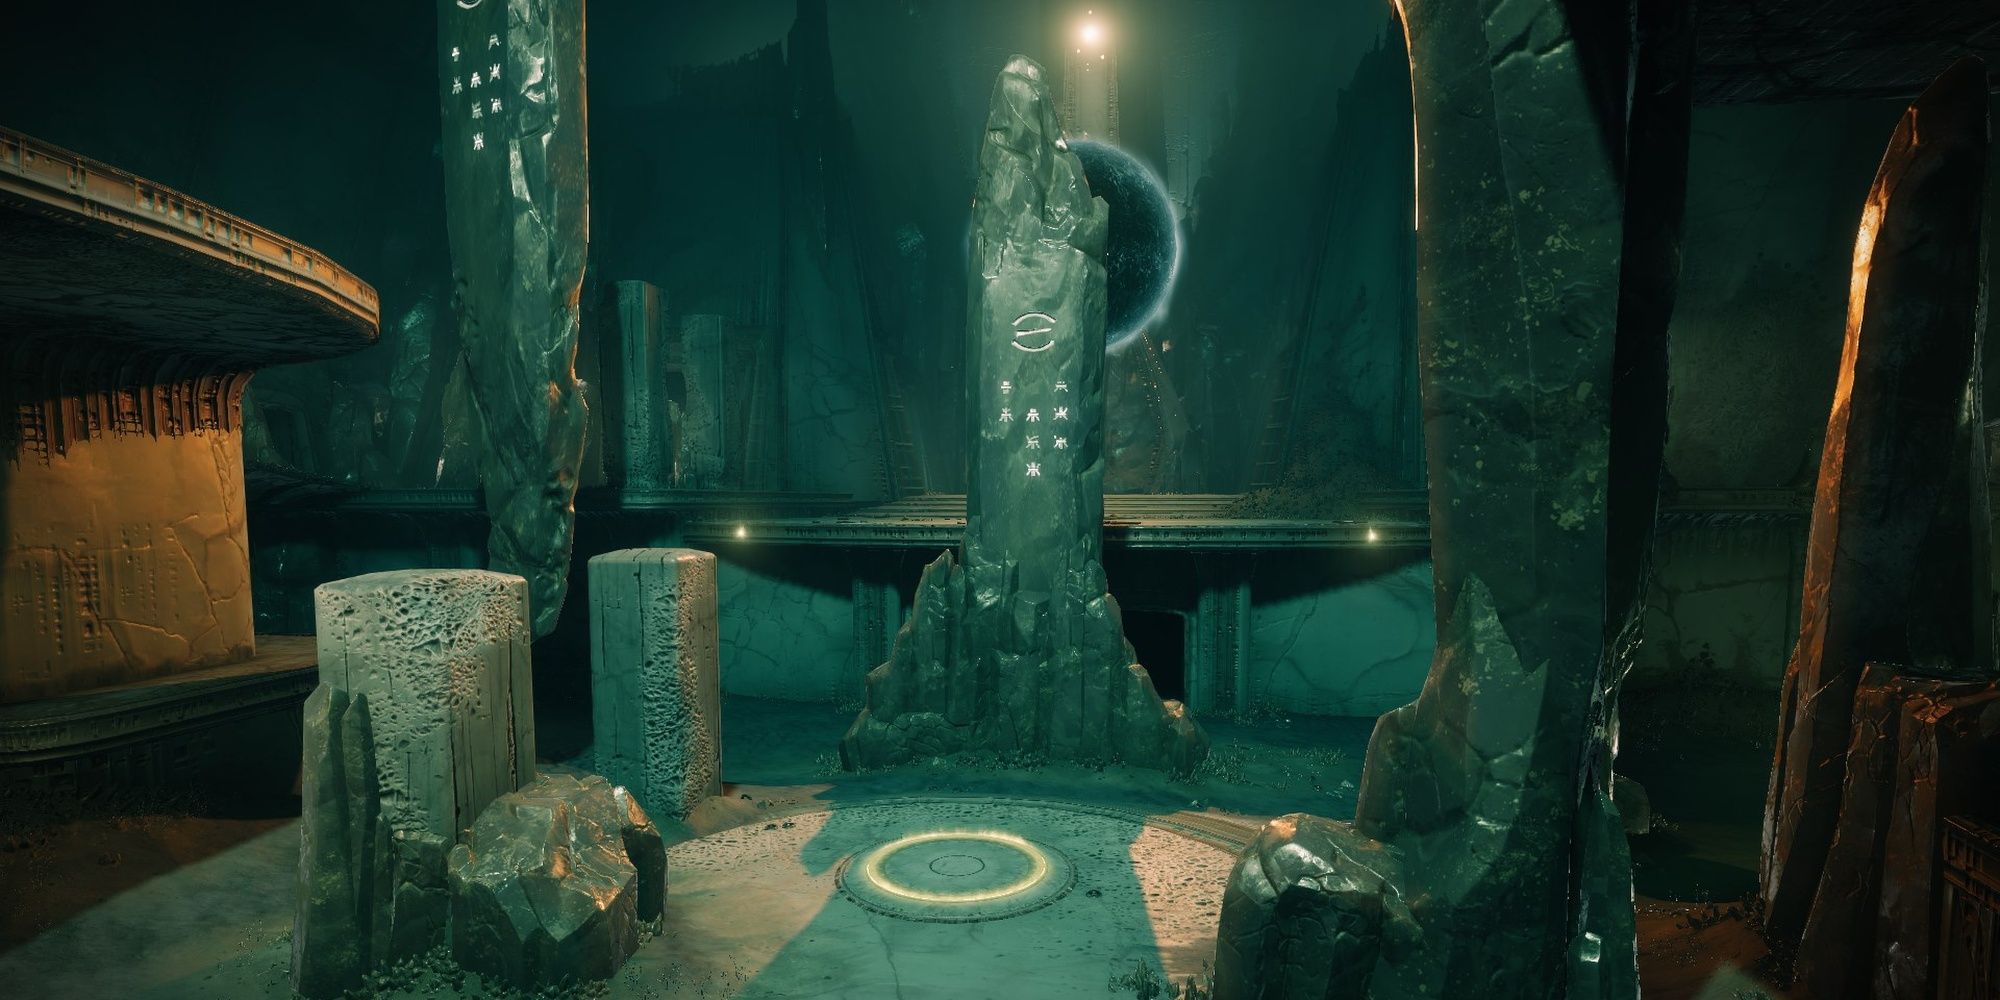
Dunking the first orbs will cause them to spawn in the left and right-hand sides of the Dreadnaught.
Backtrack to find these divergent paths.
Your goal is to either escort the ball to the statues.

Depositing at all six statues will kick off the portal to a short jumping puzzle and the first encounter.
Be patient and wait for a Hive ship to appear before jumping.
You’ll eventually make your way to a second docking bay.
Two plates will be next to the docking platform.
Have one player stand on each plate to start the tomb ship’s flight path.
Everyone else will stand atop the ship to reach the other side.
Once there, you’ll find two more plates to stand on.
Once again, have one player stand on each plate to send the ship back.
Wait for the players to get on the ship, then step on the plates to regroup your fireteam.
Via: Taux
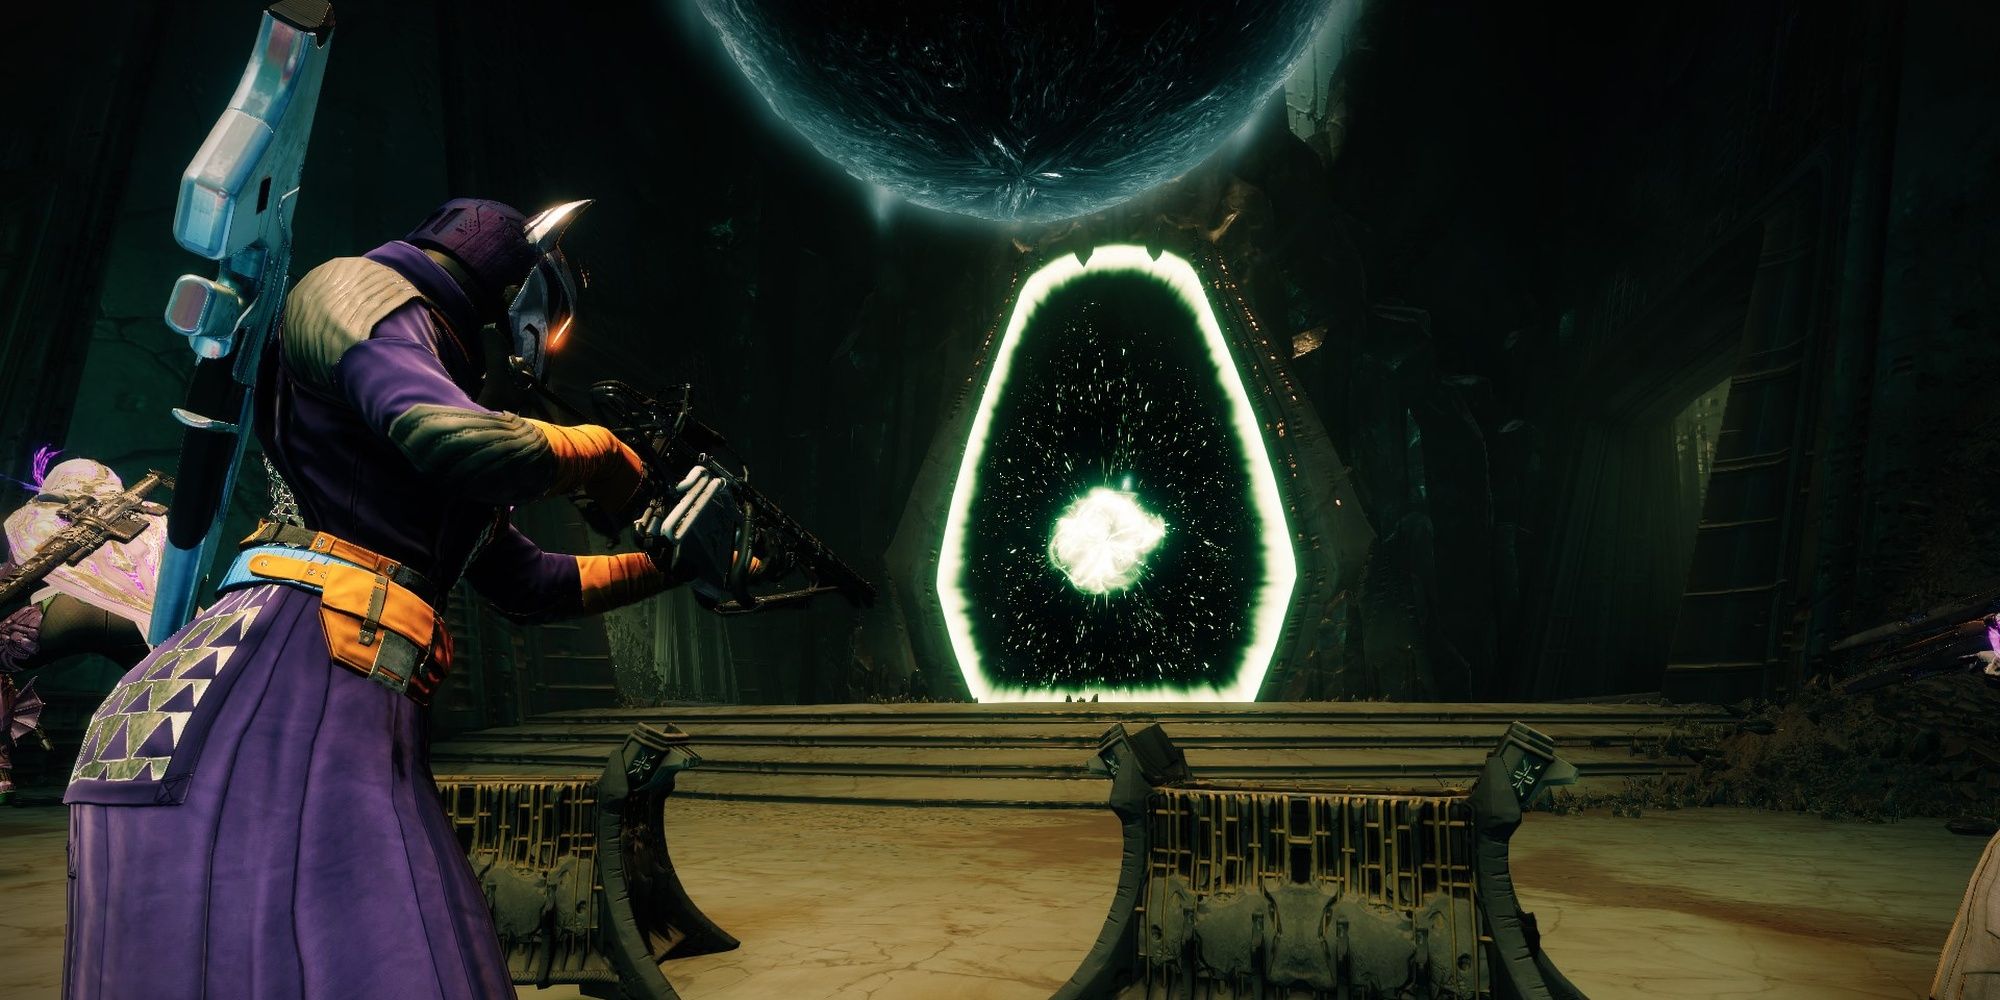
Proceed to the gravity lift that launches you to the first encounter.
Roles
Brand Holders
Deathsingers
Brand Claimers
Rolls for this encounter aren’t static.
You’ll be switching rolls constantly as the encounter continues.
No bosses are present for this encounter, sogo all-in on add clear.
Before you begin, split your raid team into two groups.Each group will cover one side of the arena.
If the totem is left unattended for too long, your fireteam wipes.
Anyone that’s actively holding a Brand should stand under these totems to prevent the fireteam from wiping.
Depositing a large sum of Deathsinger stacks will cause an Unstoppable Ogre to spawn at the center plate.
Have Unstoppable counters at the ready to quickly eliminate this Champion.
With this aura in hand, head back to your side.
You effectively switch roles at this point.
There’s a clear rhythm to this encounter that shouldn’t take long to get the hang of.
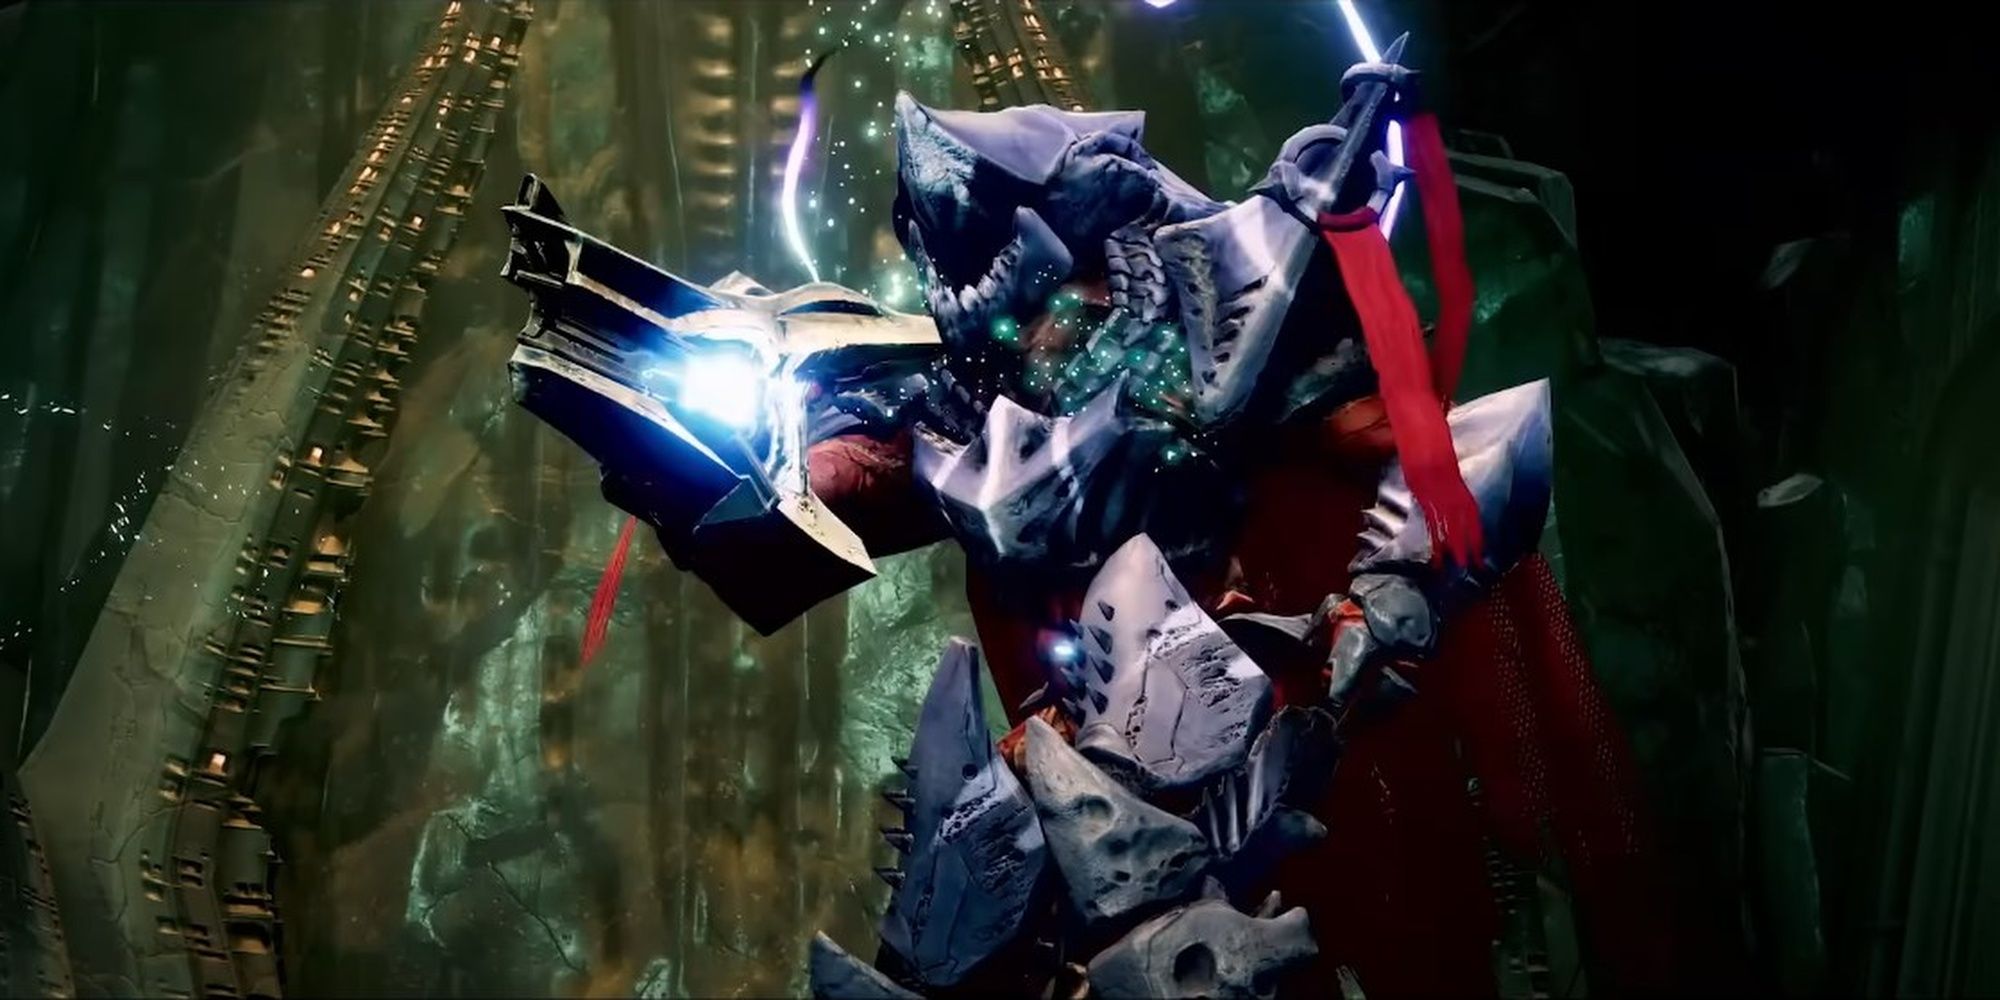
Warpriest has a massive health pool and tends to move around during the DPS phase.
Divinity, Linear Fusion Rifles, and Sniper Rifles are highly recommended.
Split your raid team into pairs, dividing them amongst one of three plates.
Start the encounter by standing on all three plates at once.
Adds will begin to spill out from the opposite end of the arena.
Keep them at bay with your Primary weapons and abilities.
Have one person from each pair getneartheir plate; don’t stand on it just yet.
Have the respective side step on their plate.
If middle gets their pillar lit first, simply step off and on the plate.
Warpriest DPS
Right as someone gains the Brand aura,immediatelylook for a Taken Knight spawning.
It will spawn beside one of the three plates used for viewing Glyphs.
The person with the Initiate Brand will begin counting down their timer to the fireteam.

you’re free to repeat this one additional time by slaying another Taken Knight and using its buff.
Beware of the boss' tendency to strafe behind pillars.
Reposition as needed, keep refreshing the DPS aura, and stay beside a piece of cover.

Take cover behind the shadow of a nearby pillar to avoid taking damage.
You’ll need to make it across by following a specific path.
Alternatively, it’s possible for you to stand on hidden plates to spawn a hidden chest.
Rocket and Grenade Launchers are ill-advised.Use Linear Fusion Rifles instead.
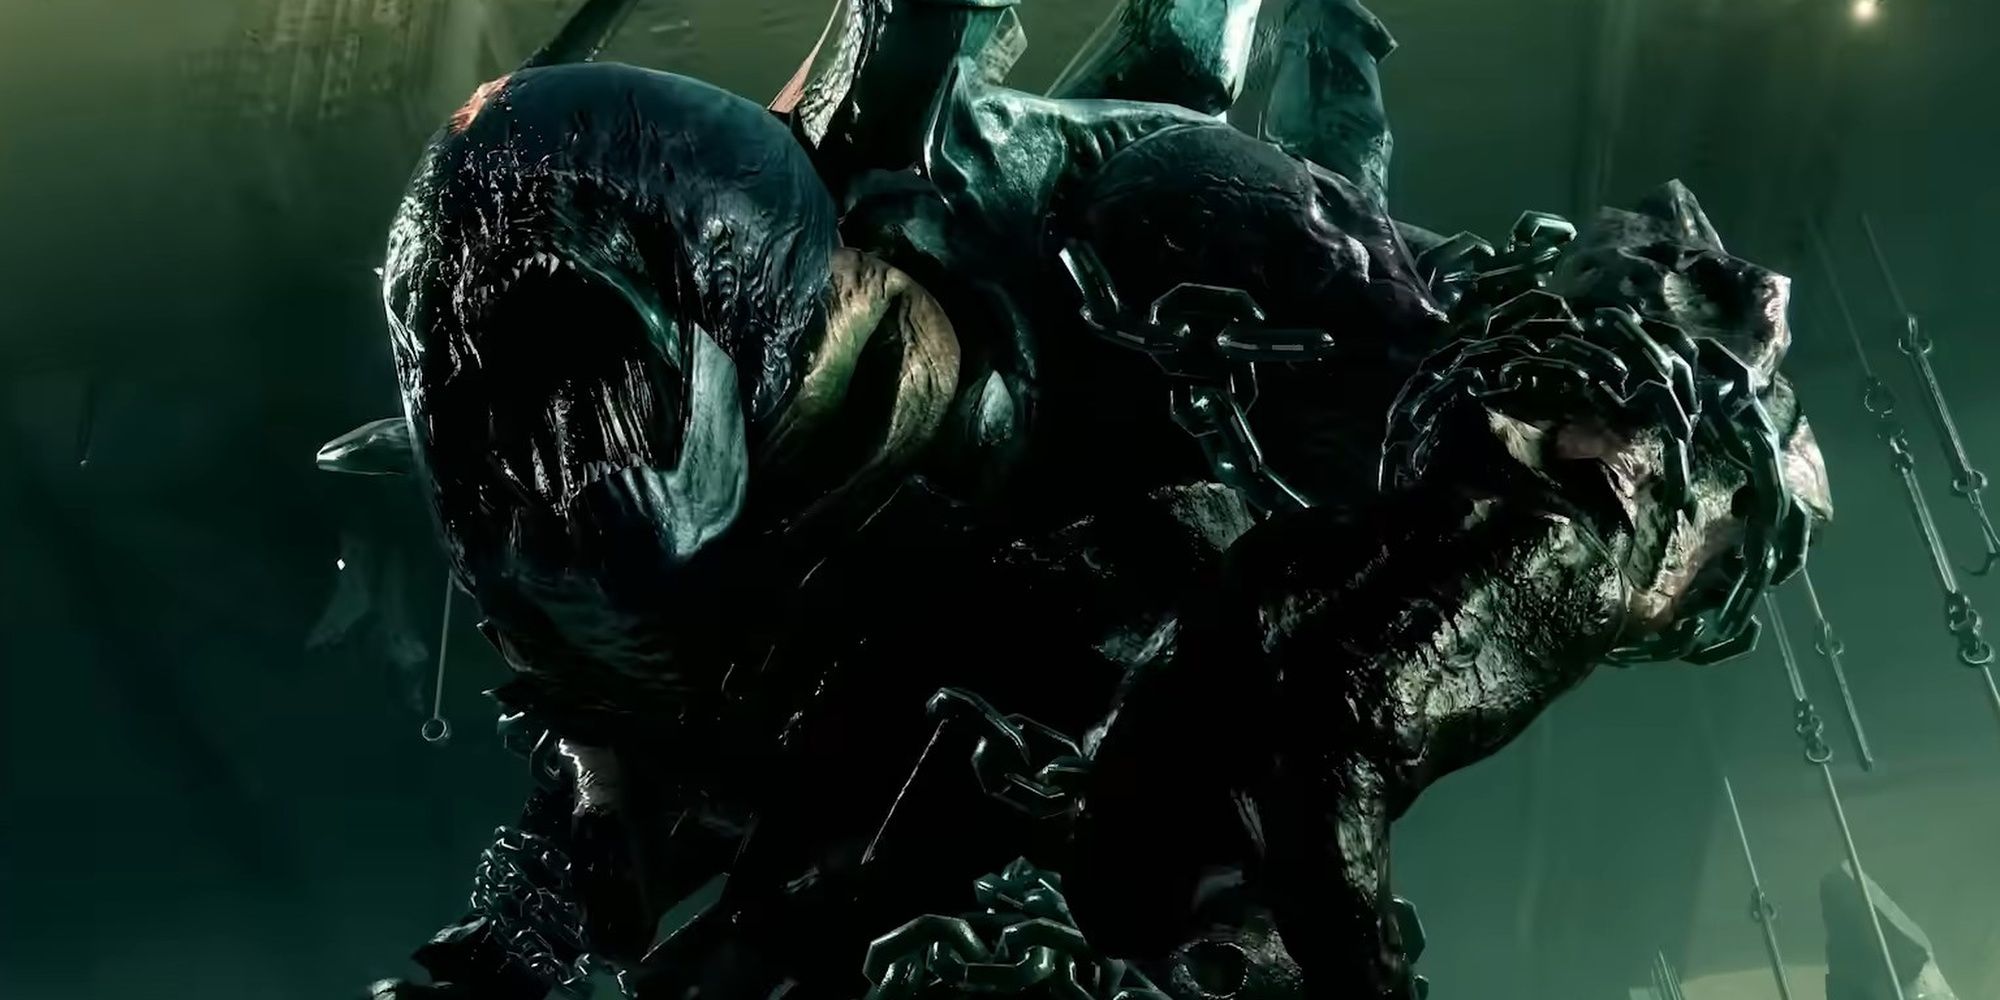
Taunters should use Arbalest to one-tap Golgoroth’s back.
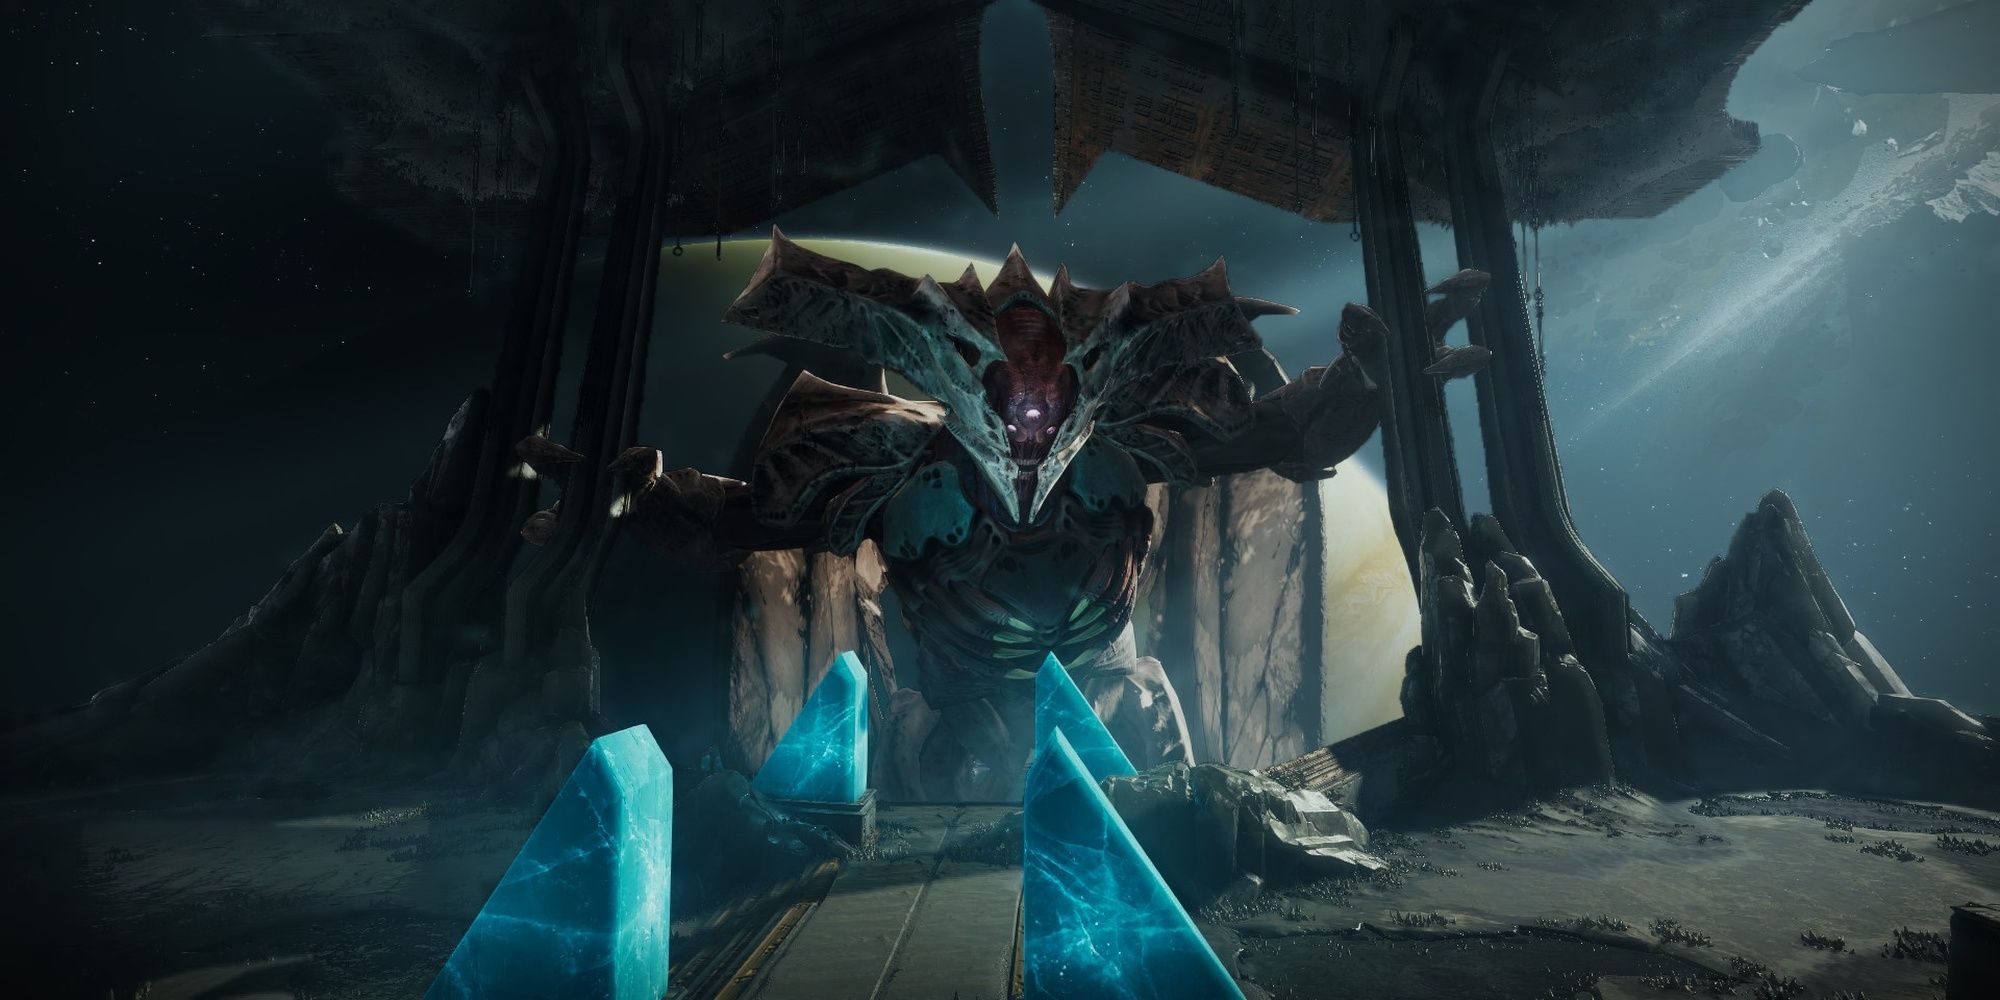
Golgoroth is a massive Ogre that has a devastating beam and a strange weakpoint in its stomach.

Pay little mind to it for now.
With the adds taken care of, assign two players to taunt Golgoroth.
The other four Guardians will focus on damaging the boss.

Start the boss fight by having one taunter damage Golgoroth’s back.
You typically want to spawn another pool after each gaze swap.
You must run outside the pool to prevent this debuff from killing anyone.
you might use this debuff to damage Golgoroth, although it doesn’t hurt them much.
Failure to do so ends the DPS phase early.
Adds will respawn as well.
You have four tries before Golgoroth enrages, same as all other bosses.
Stand inside the pool to damage Golgoroth.
Whoever has the boss' attention will run near your group to align Golgoroth’s chest with your party.
When you enter a Pool of Reclaimed Light, be watchful for the Unstable Light debuff.
When Golgoroth’s Gaze gets swapped, look at the ceiling for another orb.
Destroy it to create another Pool of Reclaimed Light, maximizing your DPS.
Once DPS ends,deal with the adds and restock on ammo.
Arbalest one-taps Golgoroth’s back.
Destroy any Axiom Darts that the Ogre spawns.
While youdon’thave Golgoroth’s Gaze,position yourself to damage Golgoroth’s back.
Help the DPS team break their orb by damaging it with a few Special or MG rounds.
Help your teammate with Golgoroth’s Gaze destroy Axiom Darts.
Once DPS ends,deal with the adds and restock on ammo.
You’ll need to avoid thrusting pillar traps as you parkour along the Dreadnaught’s interior wall.
A hidden chest may also be located here, found across the chasm beside some Taken Vandal enemies.
before you roll, equip a weapon that’s good for add clear and another for bossing.
They must run towards the glowing plate and look for the Blightguard fragmenta floating orb that looks Taken.
This process repeats two more times, each time selecting new plates and Guardians to become Torn.
Throughout this entire process, Taken Centurions, Hobgoblins, and Vandals will start to flood the arena.
Trinity Ghoul, Salvager’s Salvo, and Stasis abilities can make short work of these enemies.
You have two minutes to get this done before you wipe.Be swift.
The DPS phase will make you immune to the wipe mechanic and reset Dirge’s timer when triggered.
If you fail to do so, your fireteam wipes.
Consider leaving the first Daughter at a sliver of HP if your raid team is running low on ammo.
The vulnerable Daughter changes with each DPS phase.
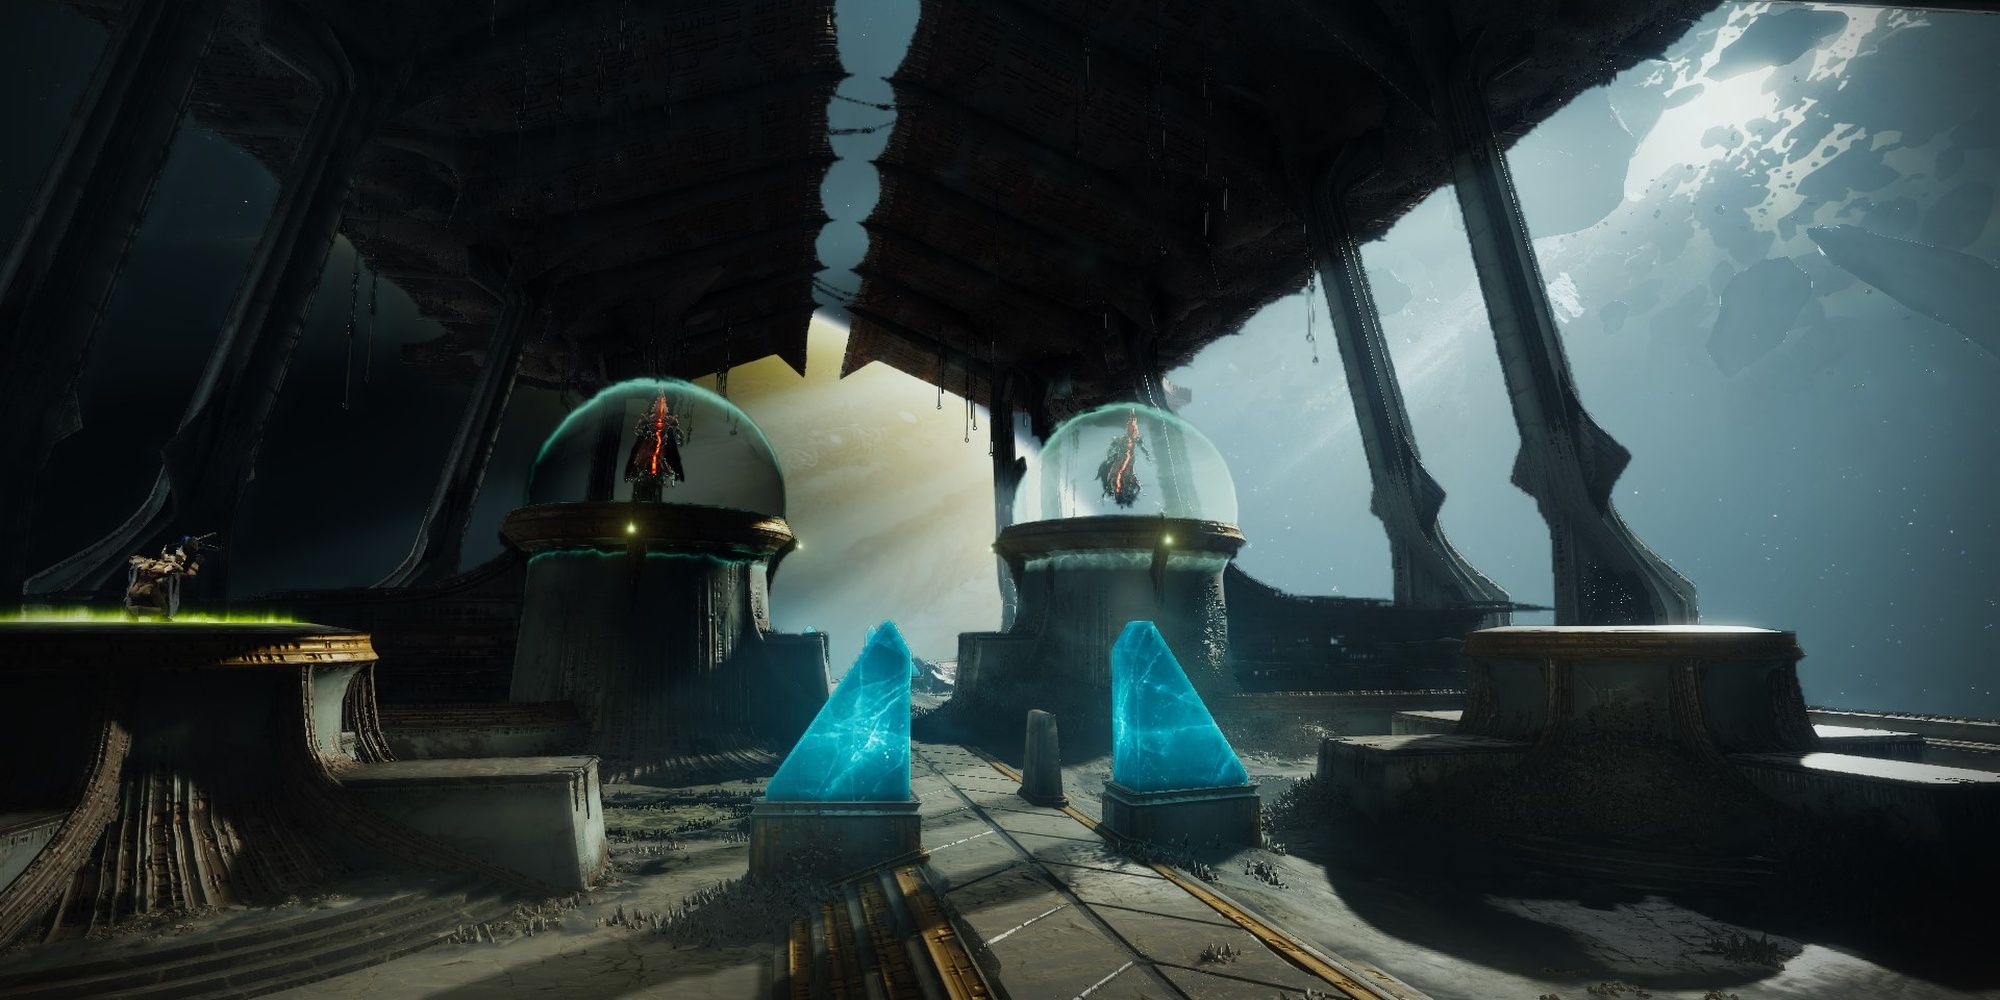
Get everyone near a good vantage point and pop your Supers.
The ledges under the Wizards are a good spot if you’ve dealt with the Taken adds.
Debuff the Wizard with Divinity or Shadowshot, then rip into her HP with your favorite Linear Fusion Rifle.
Encounter Rundown: Plates
When the encounter begins,make your way to your assigned plate.
Unless you are Torn or attempting a challenge, there’s no need to swap positions.
If your plate is glowing green,step on it.
Look for a floating orb (showcased as a HUD icon) and call out the plate location.
If someone calls your name/plate,step on it.
This will create platforms that lead a Torn player to the Blightguard fragment.
If your plate catches fire, the callout was incorrect or someone jumped on their plate by mistake.
If you get Torn at any point, have a flex player take your spot.
Cover your plate once you’re no longer Torn.
When a Daughter has her aura stolen, reposition with the rest of your raid team to start DPS.
Return to your original plate once DPS is over.
Encounter Rundown: Flex
When the encounter begins,focus on clearing adds and snipers.
Snipers spawn on isolated platforms, and adds spawn near each plate.
If you get Torn,grab the orb like normal.
Go back to add clear when you’re done.
You’ll see a Taken orb floating above a nearby plate.
Call out the location/owner of the plate to step on it.
If you’re the third Torn player,you’ll gain a buff when you grab the orb.
Head to the Daughter who’s actively attacking your fireteam and hold the interact key.
This will start the DPS phase and give your team an immunity aura.
If you’re covering a plate and get Torn,ask a Flex player to cover for you.
Boss DPS is paramount here.
Taken Knights will spawn on raised circular plates on the corners of the arena.
That plate must be stood on by someone.
And just like the last encounter, you must run to the glowing plate.
Call out which plate has an orb.
You’ll need to complete this a total of three times to start the DPS phase.
While this is happening,Light-Eater Ogreswill spawn beside each plate.
venture to kill them before the Knights can reach an Orb.
If the Knight grabs an Orb, your DPS window against Oryx will become shorter.
By the time your fireteam is grabbing the third Blightguard fragment, theVessel of Oryxwill spawn.
This Knight is immune to all damage normally, but this can be stripped with the restored Blightguard.
When Oryx slams the first plate, have someone stand on that plate.
The person who becomes Torn willnotrun to the Blightguard piece.
Activate the Corrupted Light orbs, then book it to whoever has the Aura of Immortality.
Everyone else should stand in the middle of the arena.
This will prevent your fireteam from dying to Oryx’s wipe mechanic, giving you a lengthy DPS window.
The more Corrupted Light orbs you disrupted, the longer this DPS window will be.
Regroup near the aura-buffed Guardian, plant your Supers, and rip into Oryx’s now-exposed chest cavity.
Oryx is vulnerable for the entire last stand.
Assign yourself to one of four plates in the arena.
When his hand moves away from the plate, it’ll begin to glow.
Standing atop the plate will cause two things to happen:
1.
You’ll see a floating orb, located directly above another Guardian’s plate.
Either you or the Torn runner call this out.
One random member of your fireteam will become Torn.
If you were Torn, skip to the Torn rundown of this guide.
If you get Torn during the encounter, have a flex/add-clear player take your place.
Return to the middle of the map and damage Oryx.
Stay still to keep your team alive during the DPS phase.
Assist the north or south end with killing adds, Ogres, and Knights.
Have one flex player on each side.
More Ogres will spawn shortly thereafter, one spawning at each plate in a counter-clockwise rotation.
Killing the Ogre will spawn an orb of Corrupted Light.
After the Ogres are dealt with,keep an eye out for Light-Eater Knights that spawn.
They’ll rush towards Ogre Orbs and steal them.
Kill them before they can steal anything.
If a plate Guardian ever gets Torn,you’ll substitute for them.
Stand on their plate if needed, and keep their side free of adds.
When Oryx starts his wipe mechanic,you’ll want to stand near the middle with the aura-wielder.
If the aura-wielder originally protected a plate, stand in their Corrupted Light orb instead.
Stand on the glowing plate and look for a floating orb.Call out which plate the orb is floating above.
That plate defender will stand on their plate, spawning platforms you could use to reach the orb.
Touch the orb to progress the encounter and remove the Taken effect from your character.
Run up to the Vessel of Oryx to make them vulnerable by giving yourself the Aura of Immortality.
This protects you and nearby allies from Oryx’s wipe mechanic.
Next:Destiny 2: A Complete Guide To The Duality Dungeon
