Quick Links
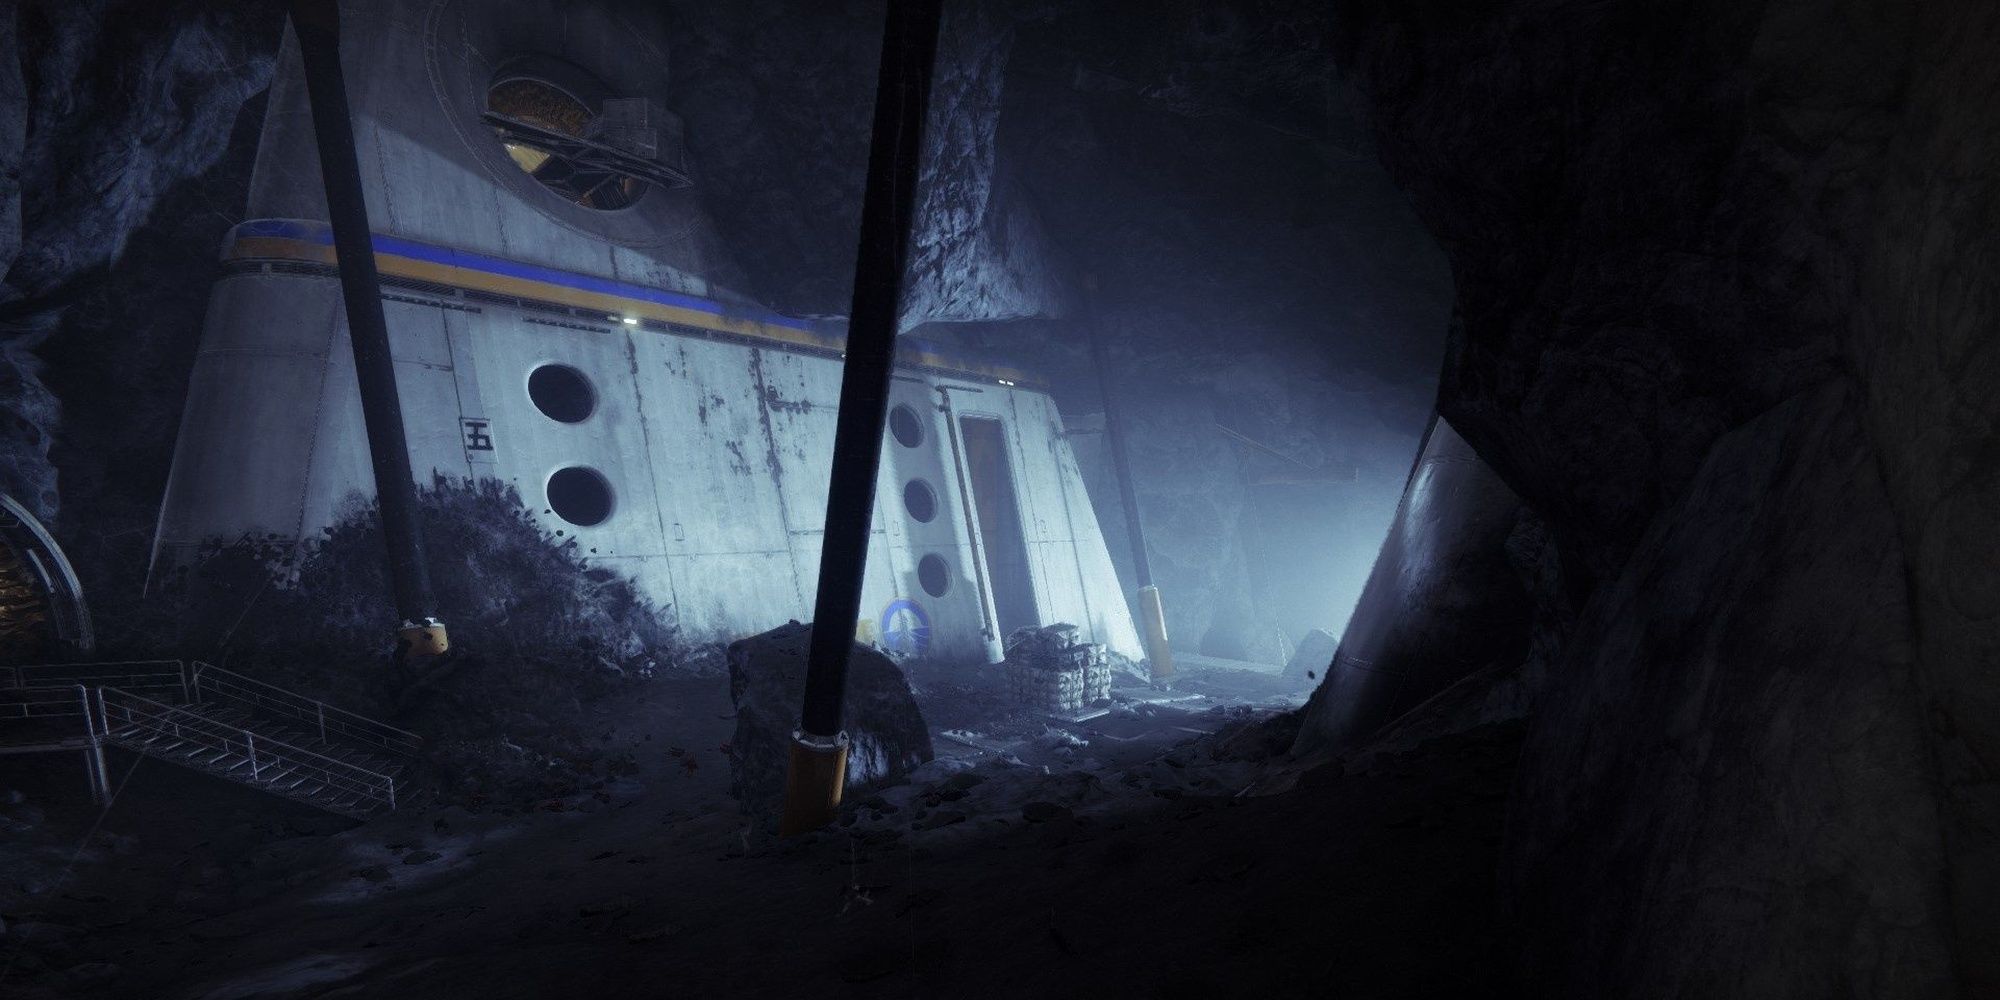
K1 Revelation isa fairly easy Lost Sector to farminDestiny 2.
It just so happens that this Lost Sector also makes for a great Legend and Master Lost Sector farm.
Modifiers And Recommended Loadout
K1 Revelation is one of the easier Master Lost Sectors in Destiny 2.
Fire Pit
Acolytes drop fire pools when slain.
Master Difficulty
Equipment Locked
You will not be able to change your equipped loadout after this activity starts.
Match Game
Enemy shields are highly resistant to all unmatched elemental damage.
Extra Champions
This mode contains additional Champions.
Limited Revives
Limited fireteam revives.
Gain additional revives by defeating Champions.

Modifiers for K1 Revelation are surprisingly mild.
Arbalest and Wish-Ender are amazing picks here.
Unstoppable Ogres are also quite dangerous, so be sure your Unstoppable counter can be triggered from a distance.

Bring a good Void Heavy, and you’ll clear this Lost Sector with little issue.
Titansare best off with the Sunbreaker subclass.
Sunspots make your abilities charge faster and make you harder to kill.

Pair this subclass with Loreley Splendor and 100 Resilience to become virtually unkillable.
Voidwalker matches the burn, has high Devour uptime, and has access to powerful grenades.
Shadebinder can spam Bleak Watcher turrets to stunlock entire waves of enemies, proving useful for the final boss.

Pick your favorite subclass.
Weapons
Arbalest
Counters Barrier Champions with ease.
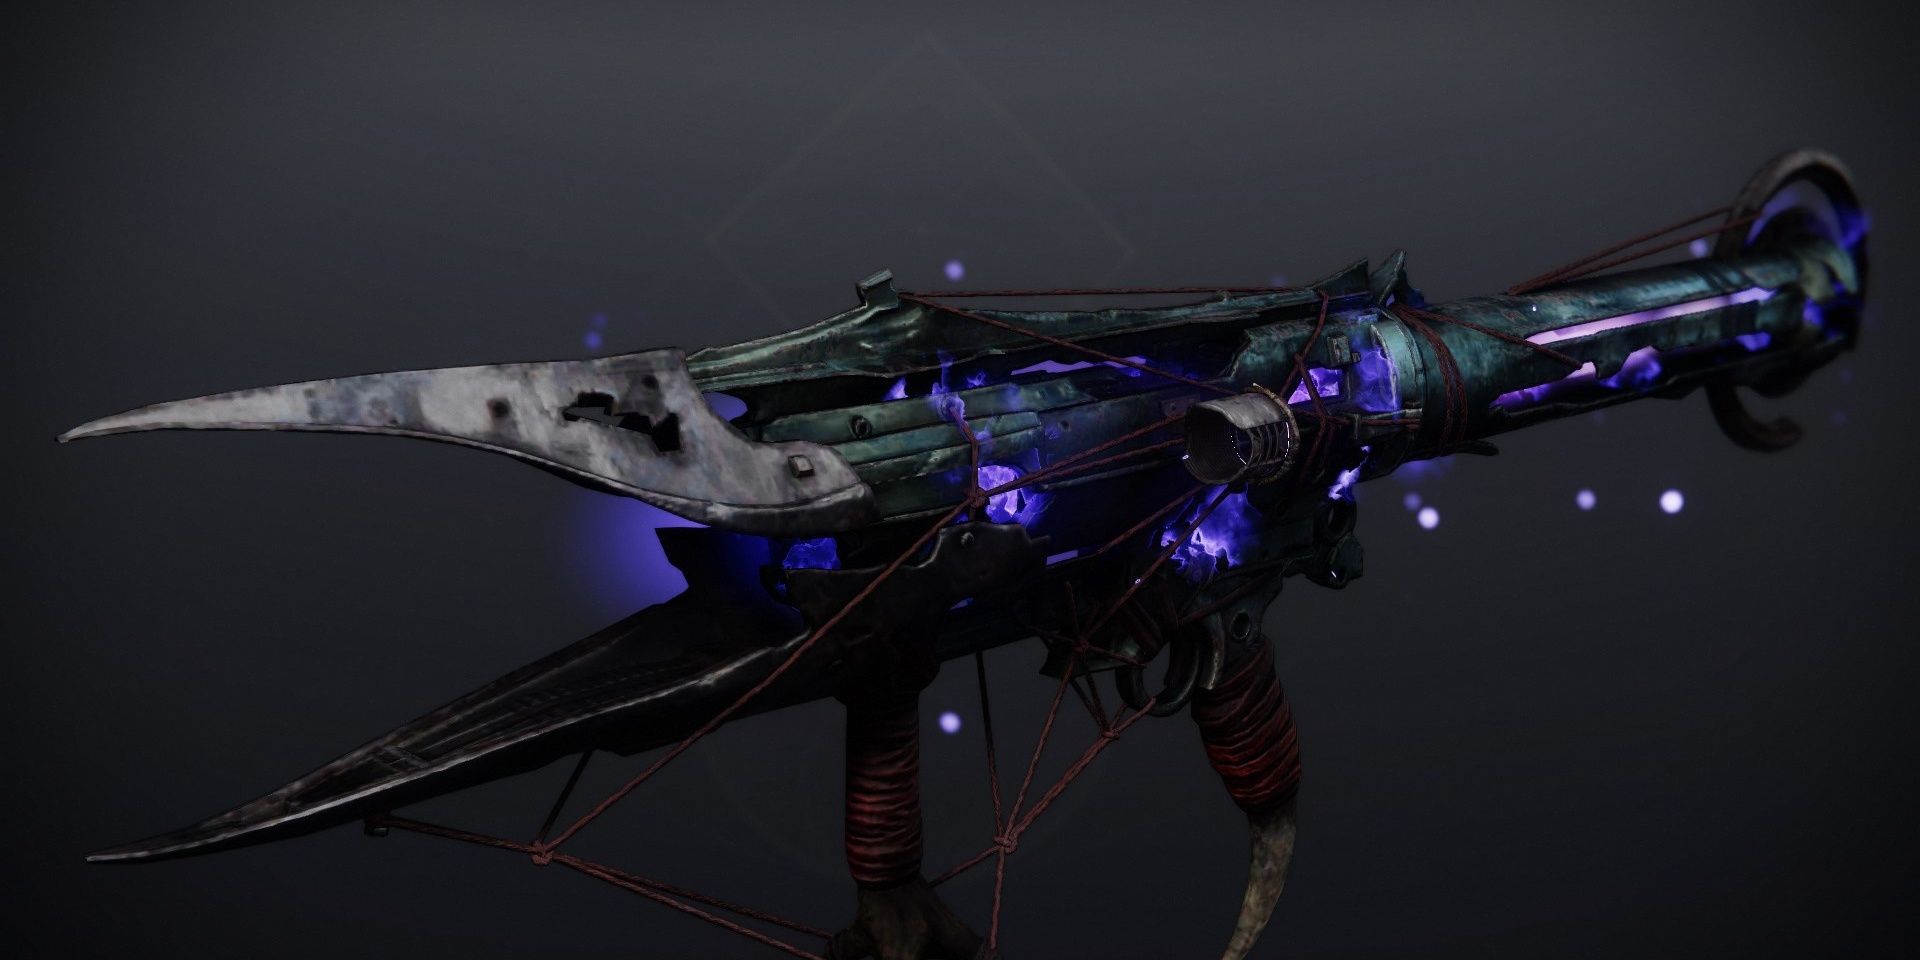
Wish-Ender
One-taps Barrier shields and deals absurd damage for a Primary.
Void Bow
Matches the burn and counters Barrier Champions this season.
Deathbringer
One of the hardest-hitting Rocket Launchers in the game, especially with Void burn.
Graviton Lance
Excellent add-clear and Champion damage thanks to the burn.
Telesto
Great damage, ammo efficiency, and can lock down spawn locations.
For easy clears, use Arbalest with an Unstoppable counter.
For quick clears, consider a Void SMG and a Void Heavy like Deathbringer.

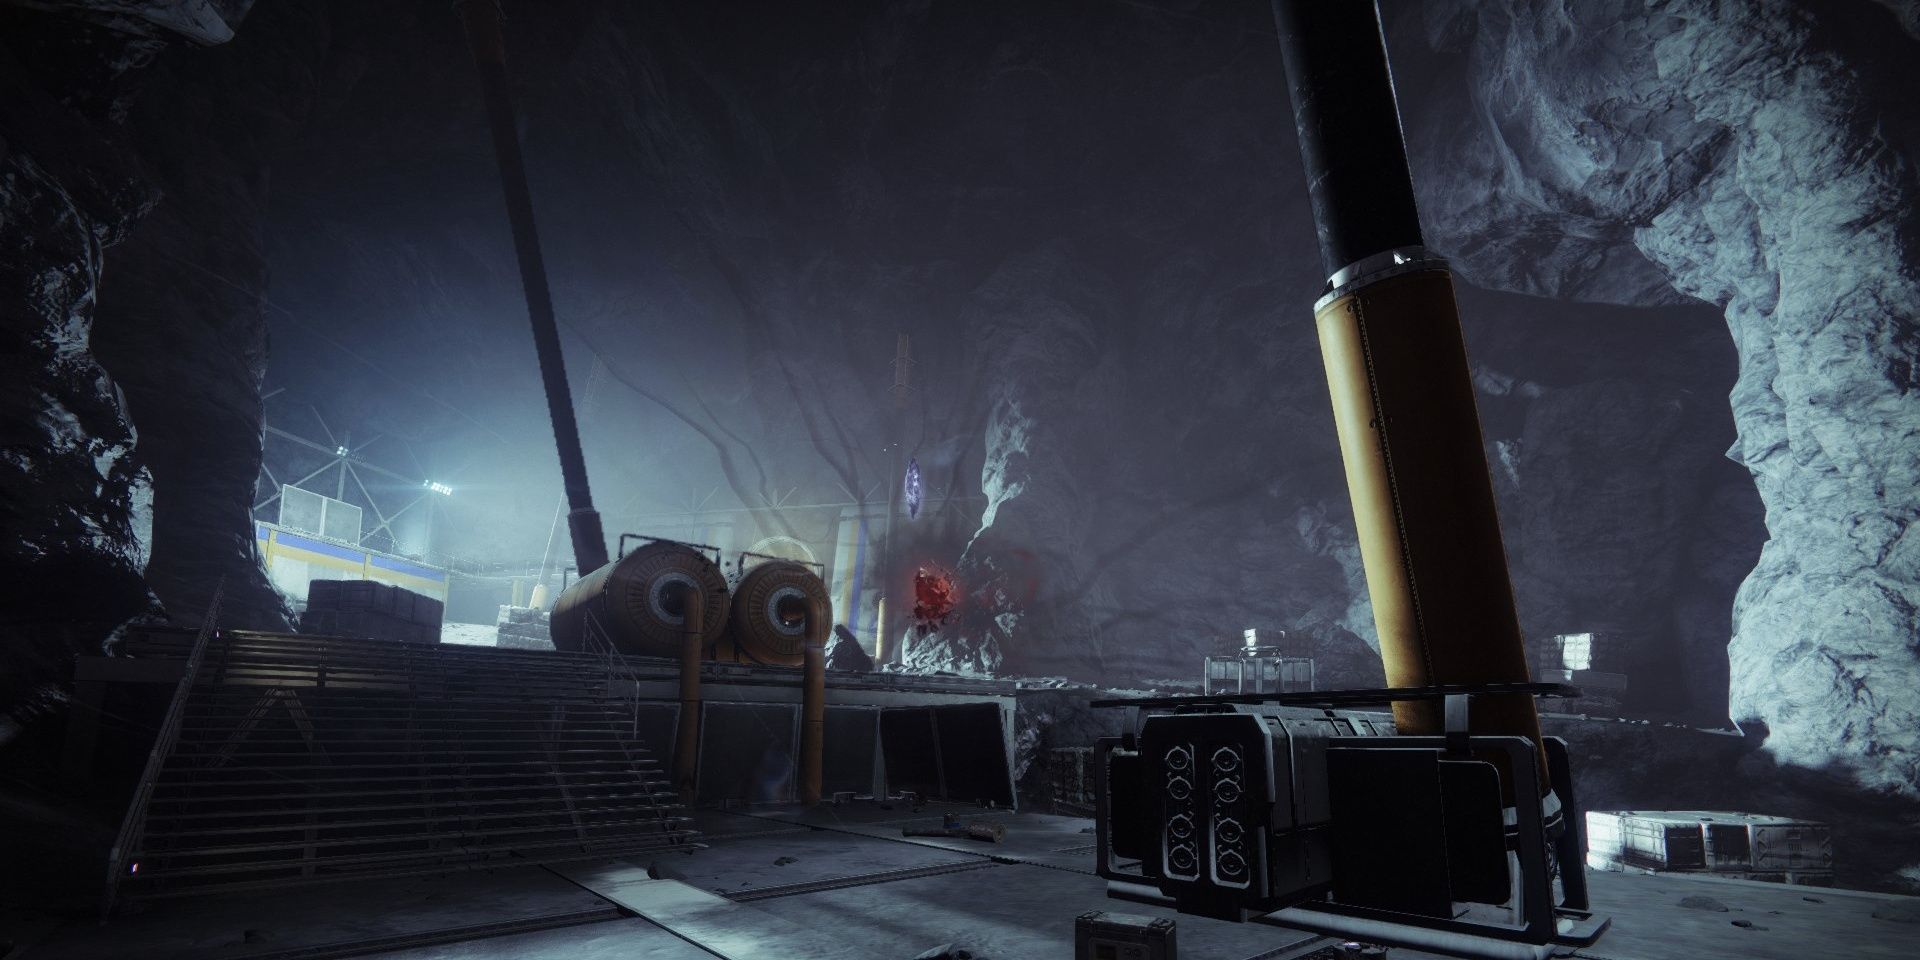
The first room will have around a dozen Acolytes for you to kill.
Use any AoE weapon or ability to eliminate all the Hive.
This will cause aBarrier Knightto retreat from the nearby ledge to a destroyed platform in the back.

Once it retreats, remove 20% of its HP to force its shield to appear.
Break the shield, then unload your Heavy into it.
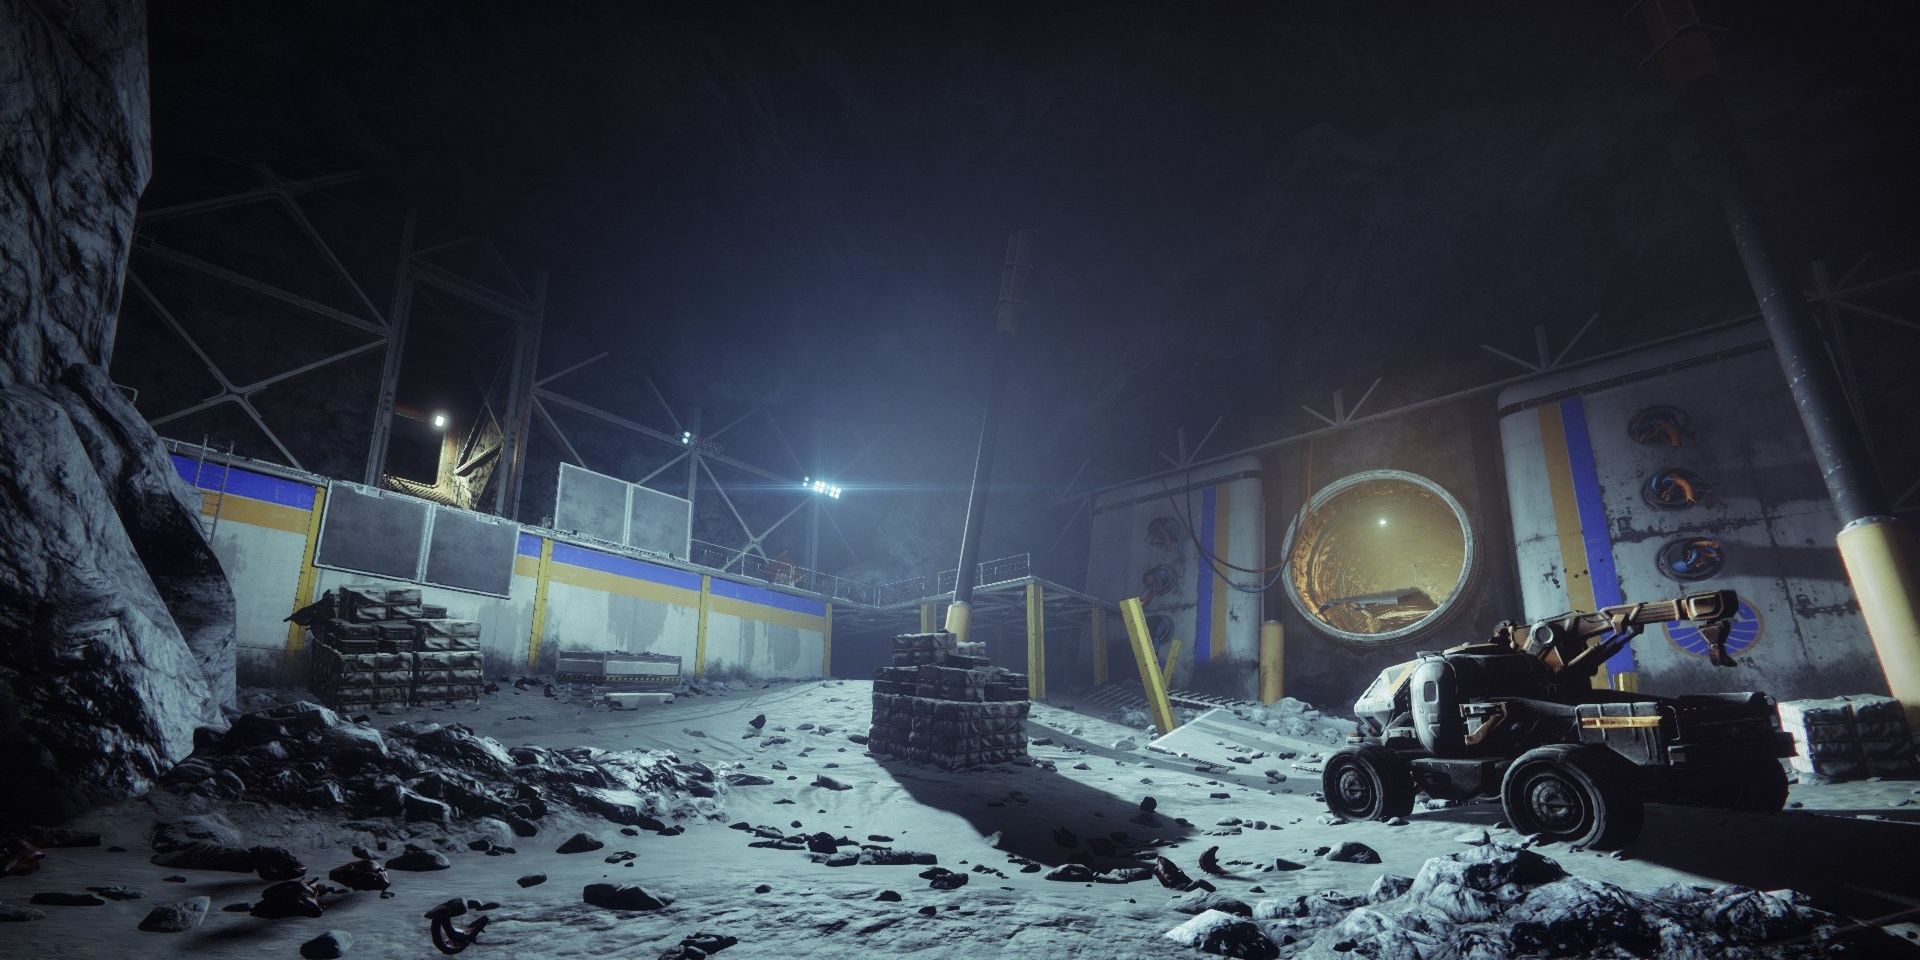
When slain, run to the lone cart on the right ledge.
Take out the Acolytes on the platform, then defeat the secondBarrier Knight.
Defeat the Barrier Champion, then find the best piece of cover in the area.
Stun the Ogre, then give it everything you have, Heavy and all.
Staircases and natural cover work the best here.
it’s possible for you to use the nearby staircase as cover.
Kill any remaining Acolytes, then damage the boss.
When the boss reaches 66% HP, it’ll spawn an additionalBarrier Knight.
Once again, pelt away at the Knight from a distance, avoiding the Ogre as much as possible.
Kill the adds, then damage the boss once more.
At 50% HP, a wave of Thralls will charge you.
They will be accompanied by aHive Knight with an Arc shield.
You’re clear to nuke the Ogre at this point.
Loot the chest on the catwalk at the end of the room to finish the Lost Sector run.
Next:Destiny 2: How To Prepare For The Lightfall Expansion
