Your journey across the Living Lands inAvowedleads you to a final showdown againstLodwyn.
Fighting Lodwyn is about adjusting to how she reacts, meaning changing for each phase.
I’d rather say ten Hail Marys than fight another one of these.
You’ll wantspells, healing, and both melee and ranged attacksto end her tyranny once and for all.
Atwo-handed weapon with high damagecan get you through this phase quickly, which is what you’ll want.
This isthe easiest phase, so youdon’t want to waste potions heretoo much.

Rush inclose to Lodwyn, thendodge away as she swingsher sword back.
She isa slow fighter here, but very powerful, so play conservatively enough to avoid being hit.
Once she drops tohalf health,she willfall to her knees and fully heal.
When she misses, she slams her sword into the ground, leaving herself vulnerable.
Lodwyn’s Second Phase
After healing, Lodwyn approaches the battle completely differently.
Shenow attacks from range, shootingfireballsanddropping rockson you.

For this phase, you shouldswitch to ranged weapons, with an emphasis onStun.
She alsosummons Shadow Summons in battle.
When these are defeated, she justsummons more, meaningdefeating them is not the priority.

WhenLodwyn drops to zero health, she fully healsagain, and your tactics change once more.
Lodwyn’s Third Phase
This time,Lodwyn summons two Pristine Maegfolc.
Therefore, you should target them whilestill chipping down Lodwyn’s health.
She’s back on theslow yet powerful melee attacks, sowatch your staminaandhit her hard before dodging away.
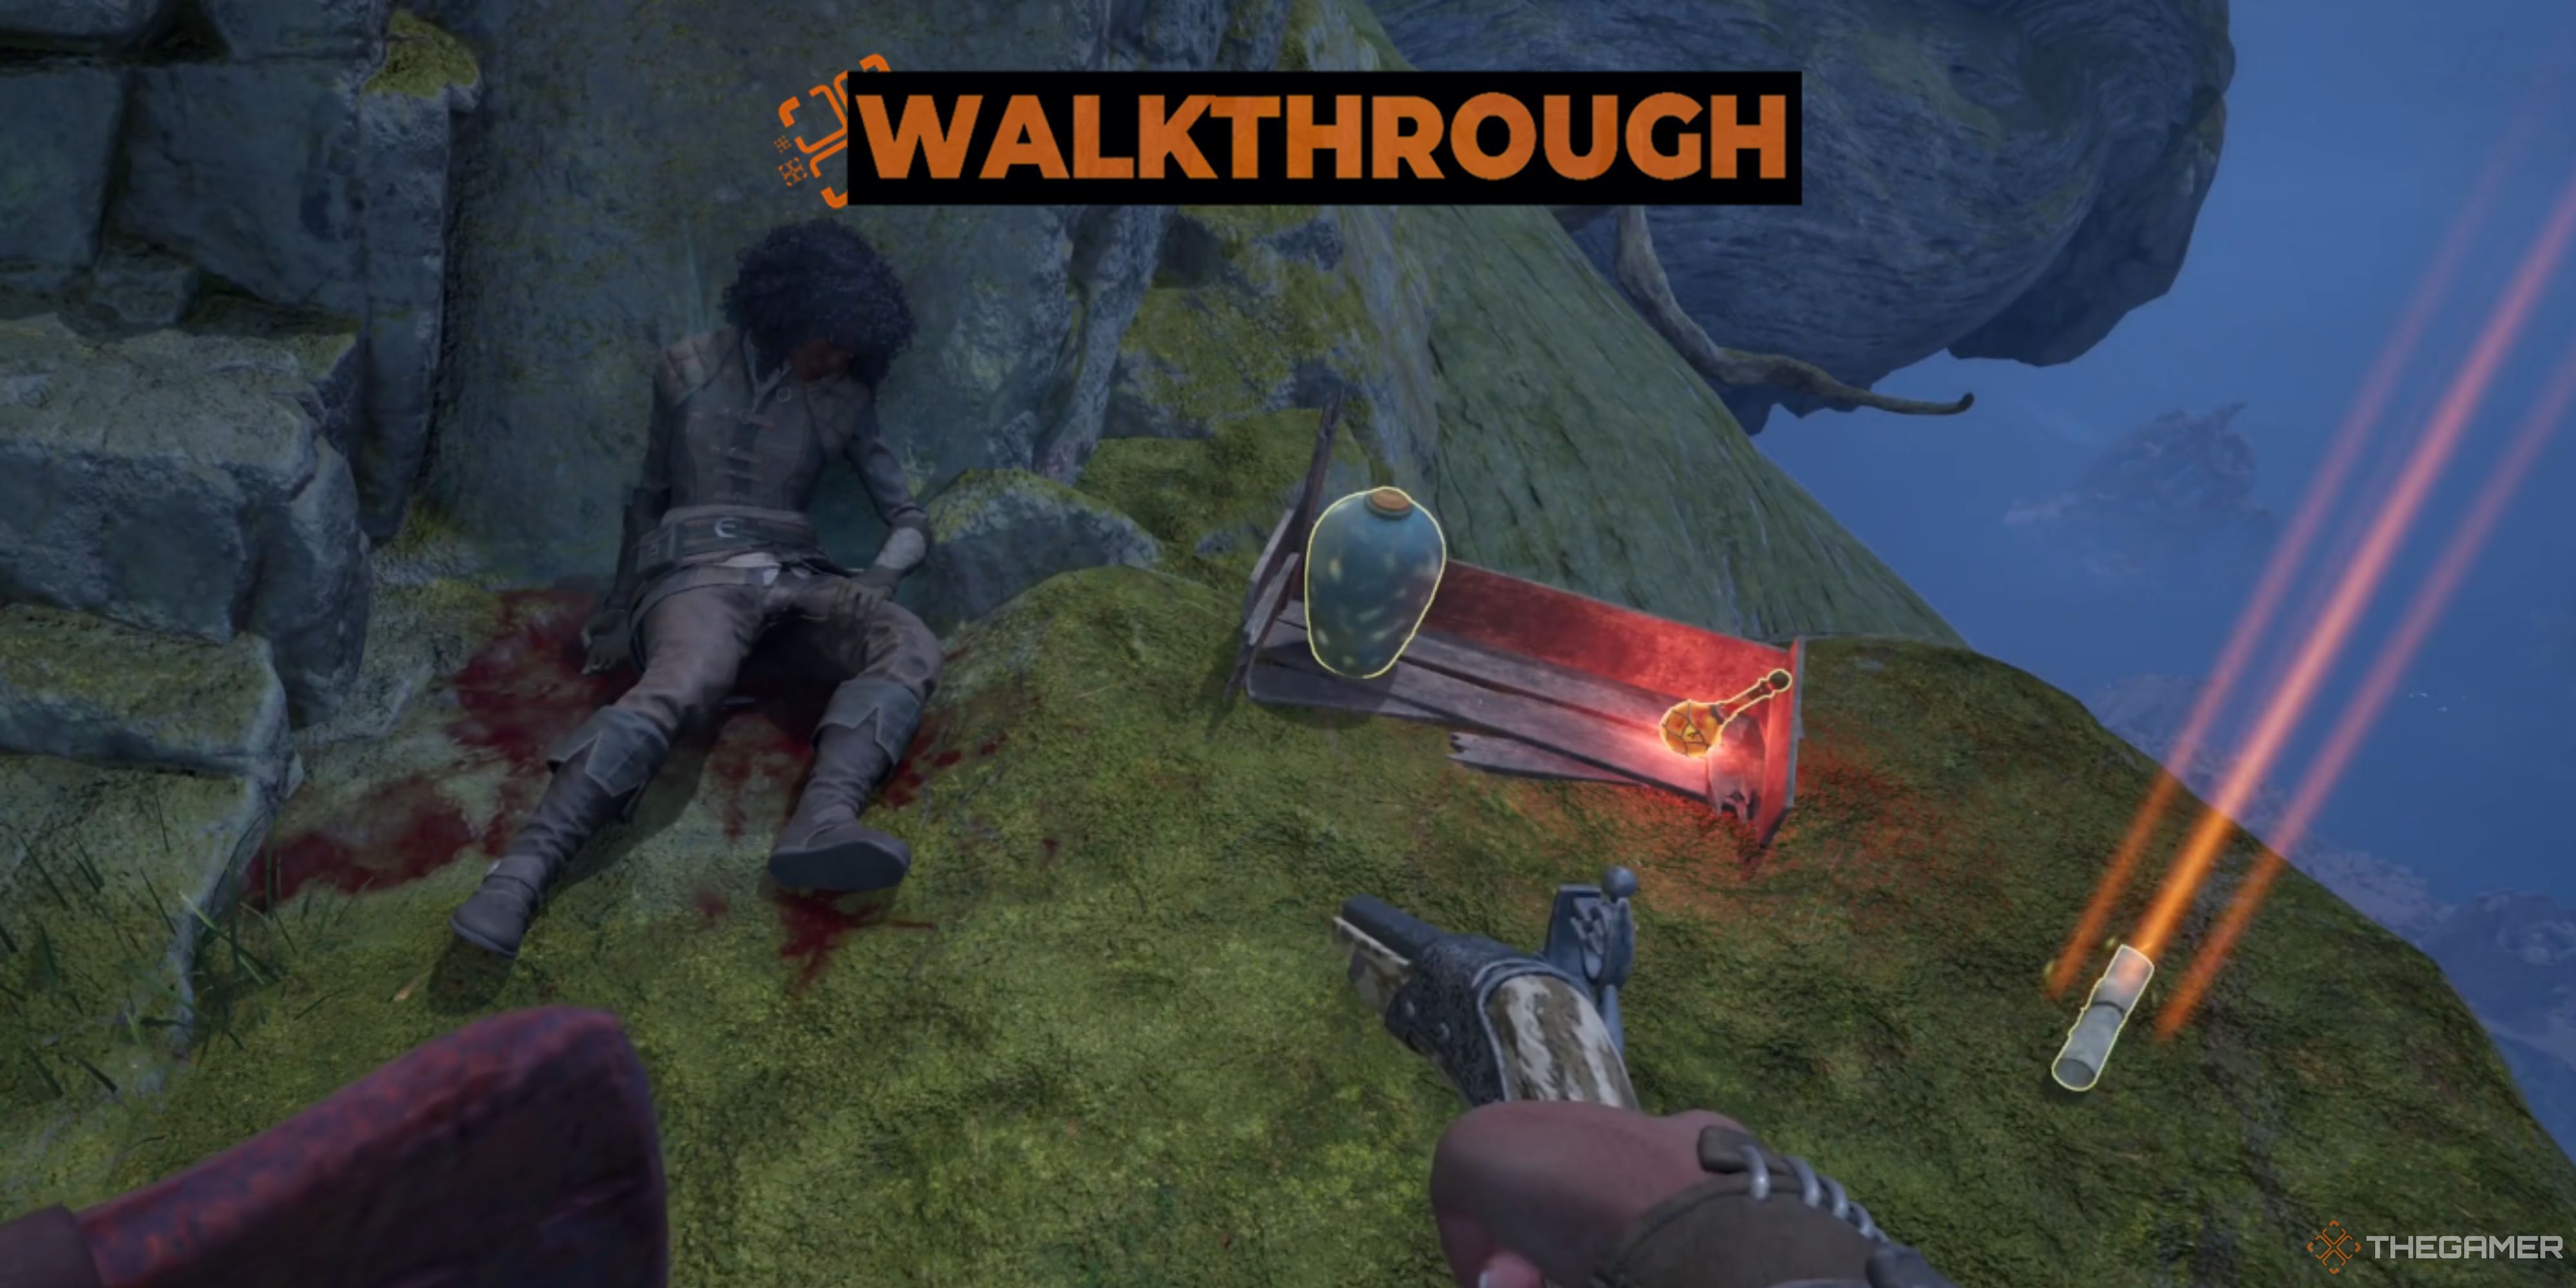
Sanza’s four cartographers have gone missing in Dawnshore, Emerald Stair, Shatterscarp, and Galawain’s Tusks.
